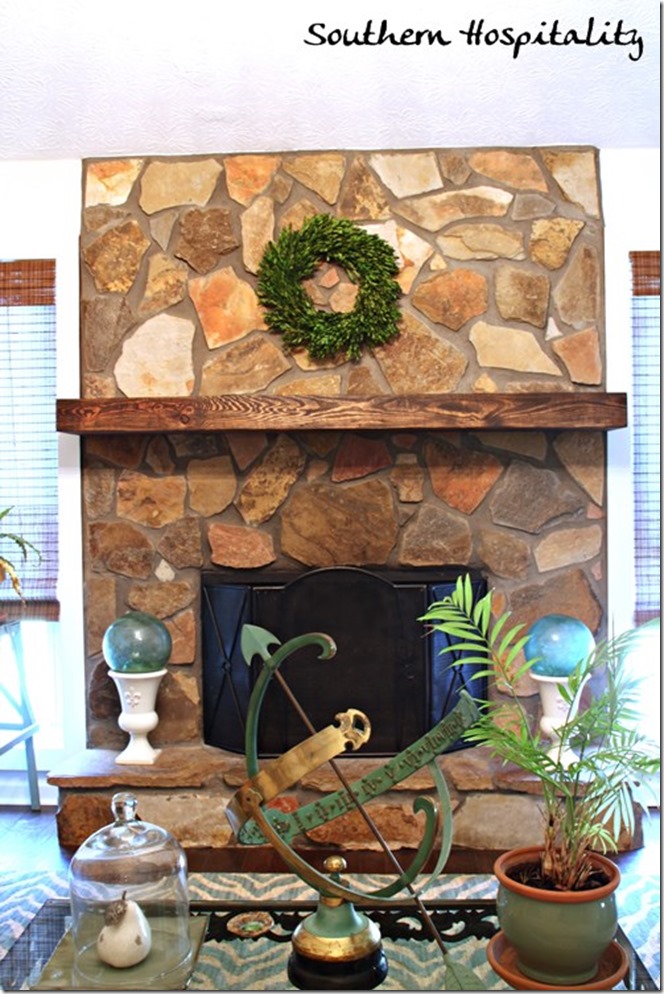
I shared my beautiful new rustic mantel, but I also wanted to share the process that was done to get it installed. As I mentioned, we know when to call the pros and this was a job for professionals, guys who have done this countless times. I found a recommendation for a handy guy through a friend of mine and he was great. He had another guy with him and the 2 of them did a wonderful job getting my mantel installed, with minimal amount of mess. Cost for the install was $250.00, money well spent.
For details on where I got the mantel, you can read all about that at this post about the reclaimed mantel and how I stained it. By the way, it came from Southern Accents in Cullman, AL. Great place!
Here’s what happened that day. These aren’t the best pics, but I was snapping in a hurry in low light.
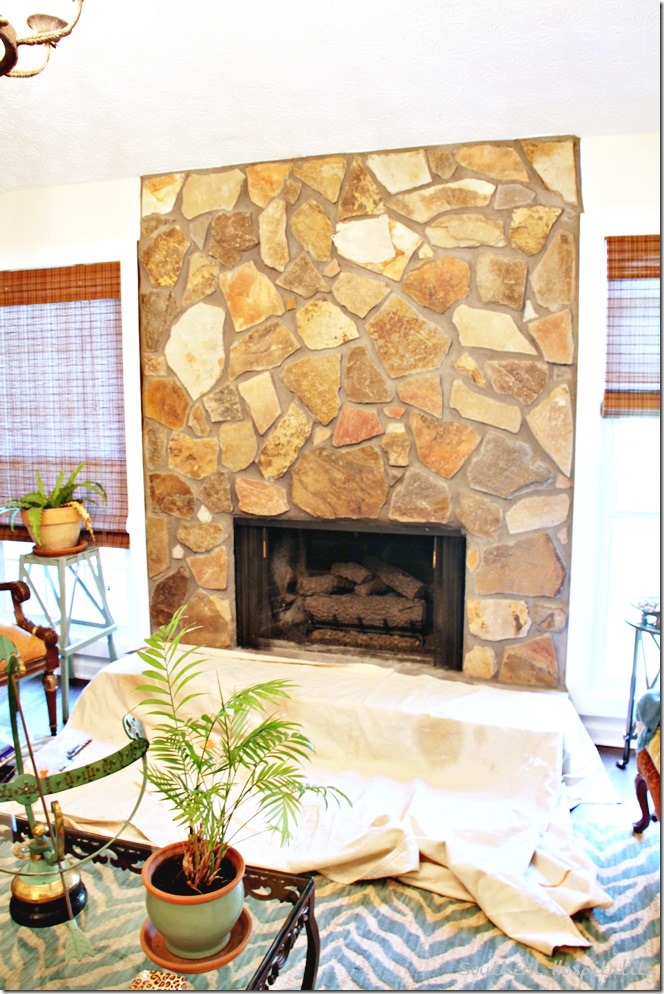
They came in with a big tarp and covered up my hearth and floor to keep things clean. I appreciated that very much.
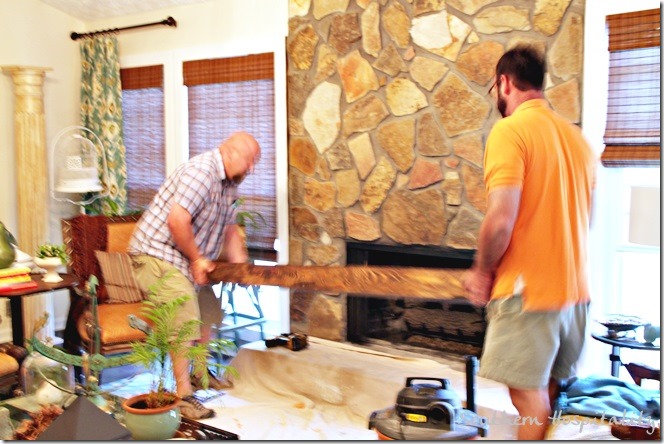
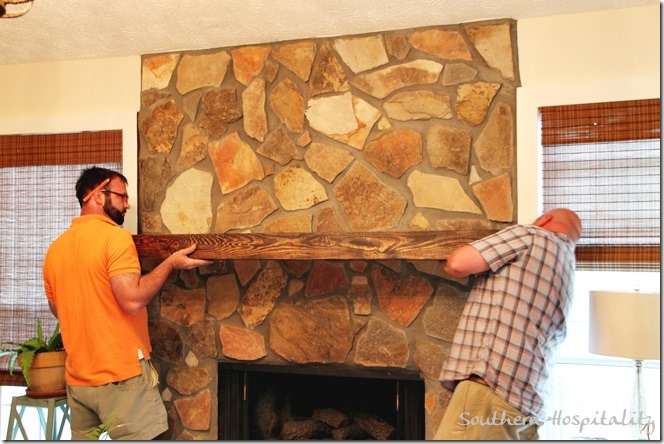
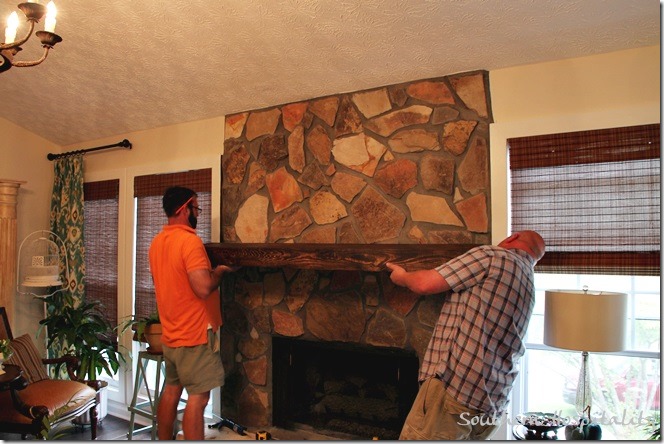
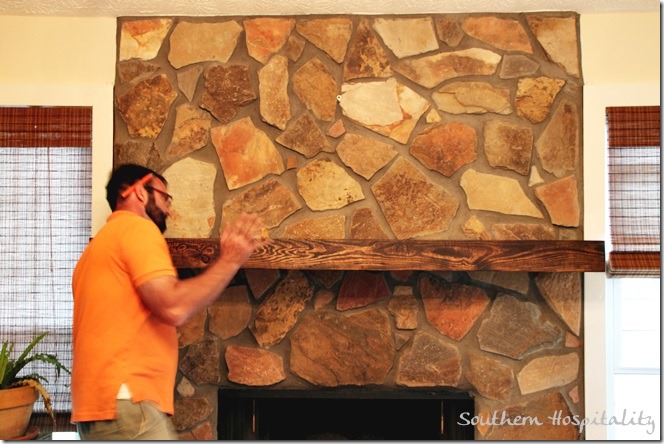
They brought in the mantel from my garage and then held it in place while we decided up, down, yes that’s good right there!
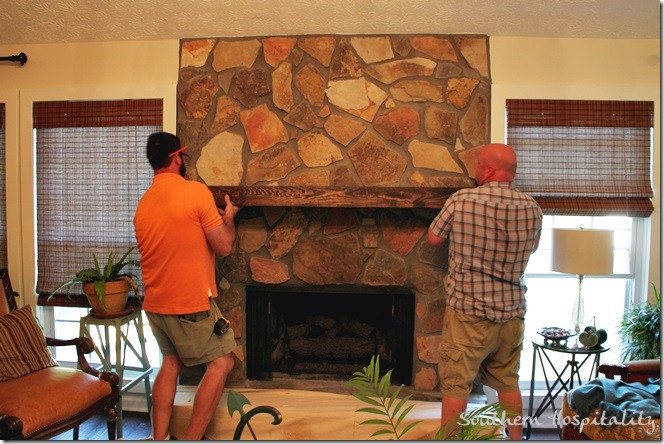
I stood back looking and we finally decided on the sweet spot. I’m very happy with where it was placed. They marked the spot that it would sit.
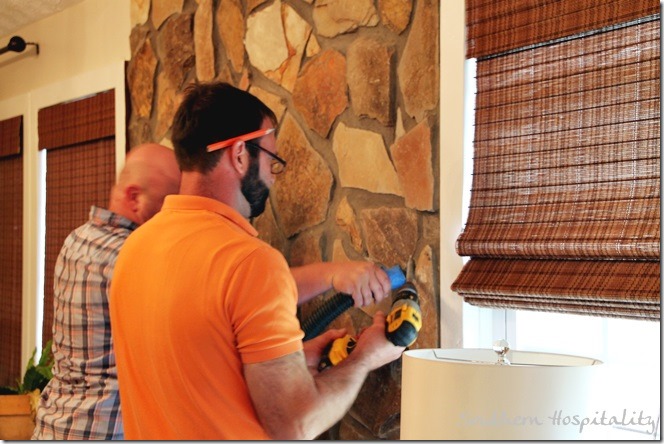
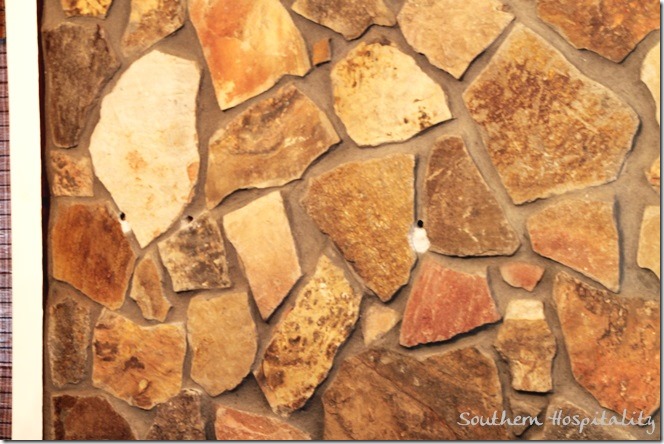
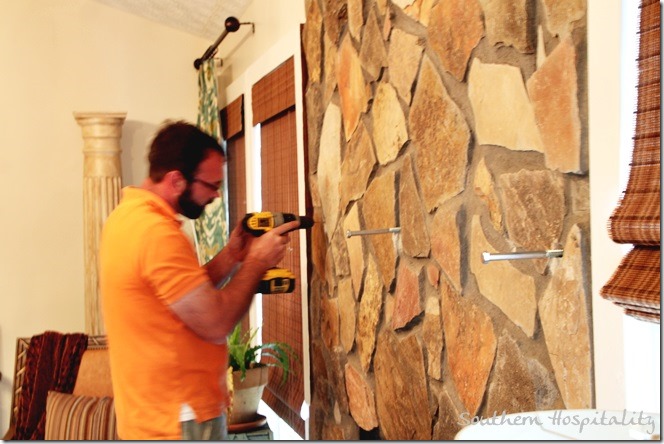
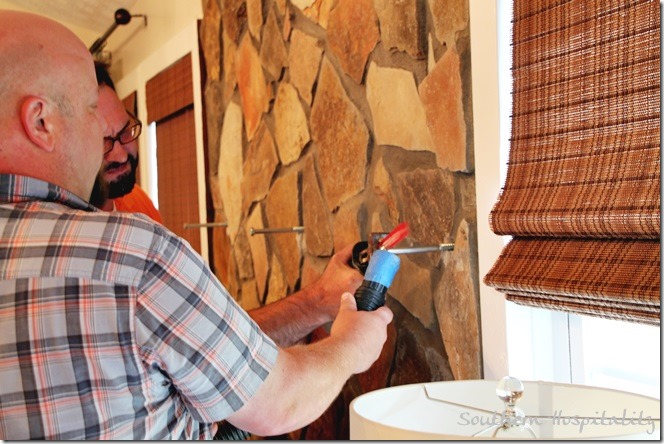
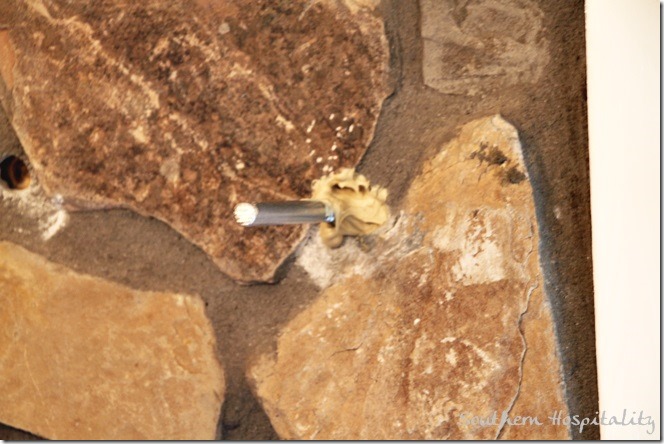
Then they proceed to drill holes in the mortar of my rock, after locating the studs, to anchor these huge bolts that would hold up the mantel.
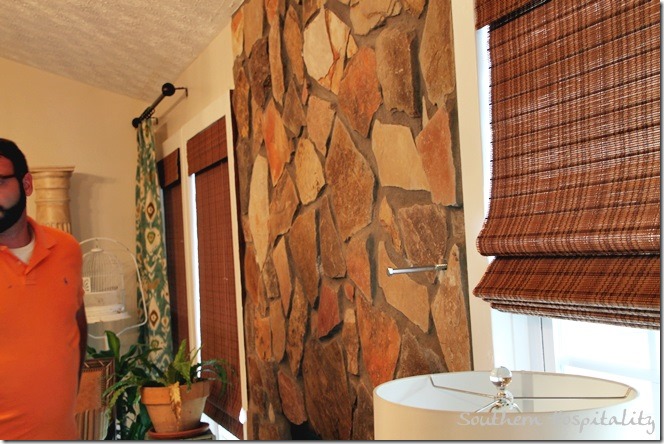
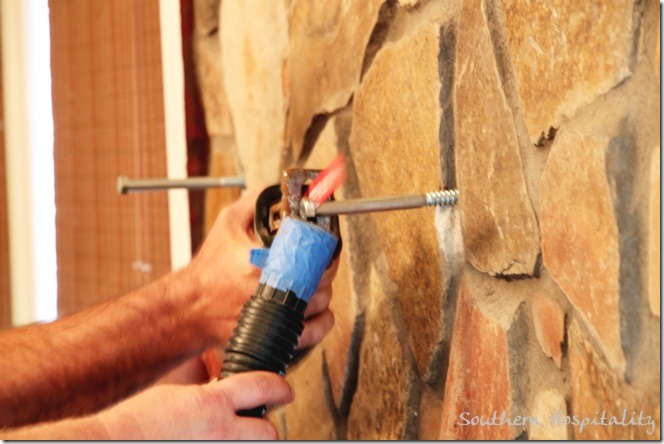
Three holes across the rock face and they were ready to add these huge bolts, screwed into the studs behind the rock.
One bolt in place in the first stud.
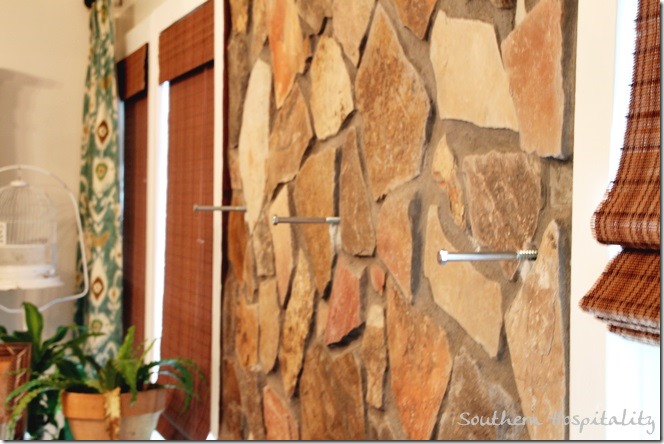
Then 2 more drilled and in place.
All 3 ready to go.
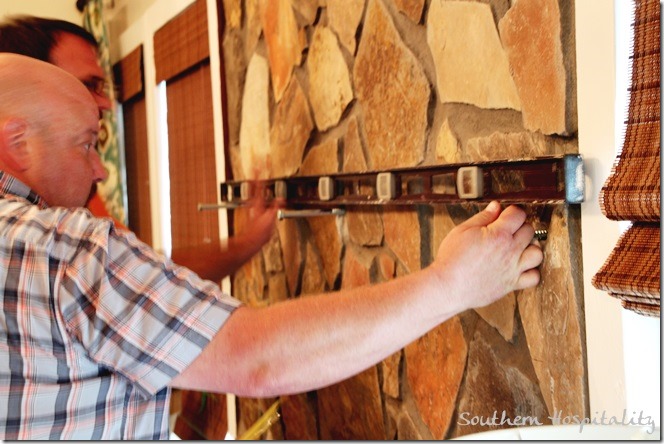
Leveling and playing around with the bolts.
Then they cut off the large heads of the bolts so that they could slide onto the mantel.
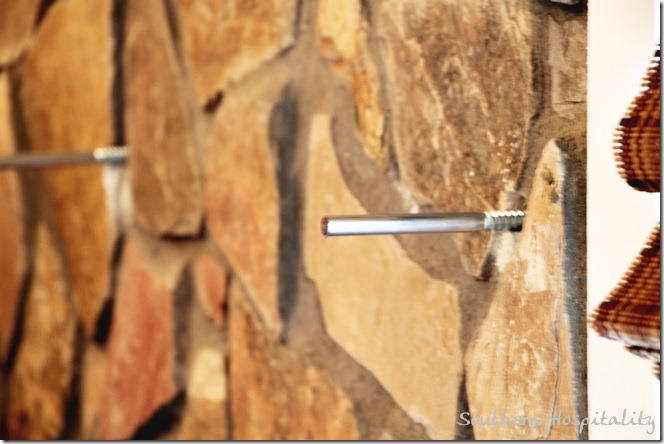
All 3 heads cut off.
Ready for placement.
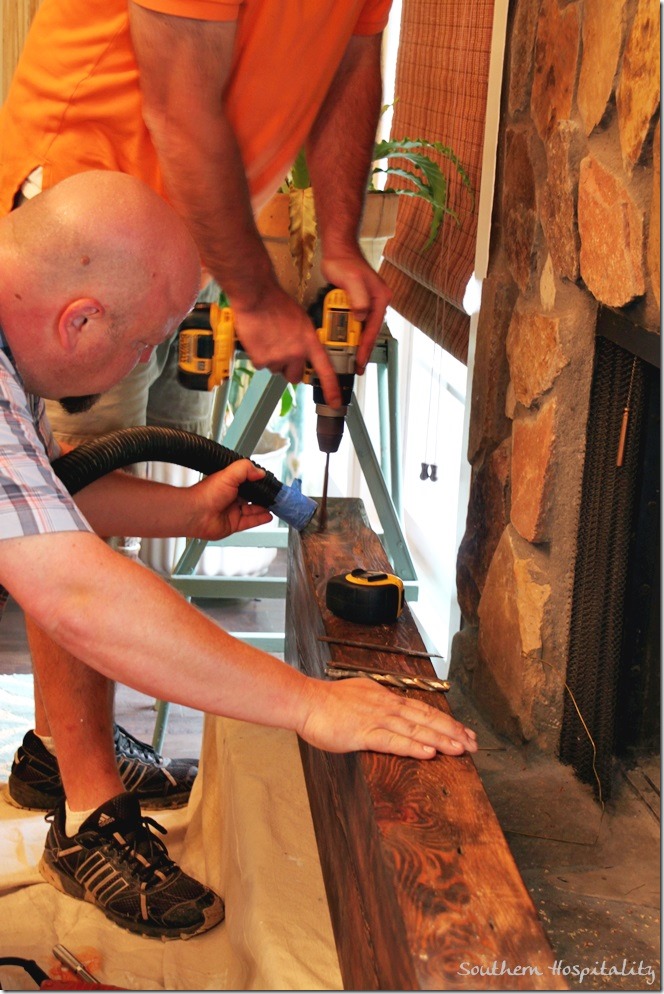
Next they measured precisely and drilled holes exactly on the backside of the mantel where it needed to line up with those bolts. Oh my word, if I had to do measuring like that, it would never turn out right!
But their measuring turned out perfect, the mantel slid into place and it was ready to anchor in permanently.
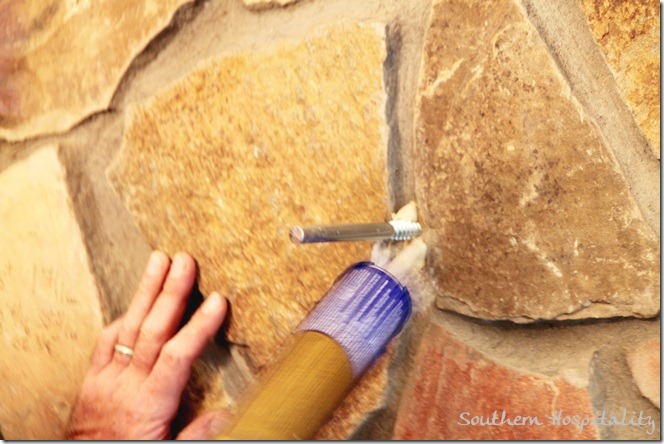
But, first a little liquid nails went into the holes where the bolts are.
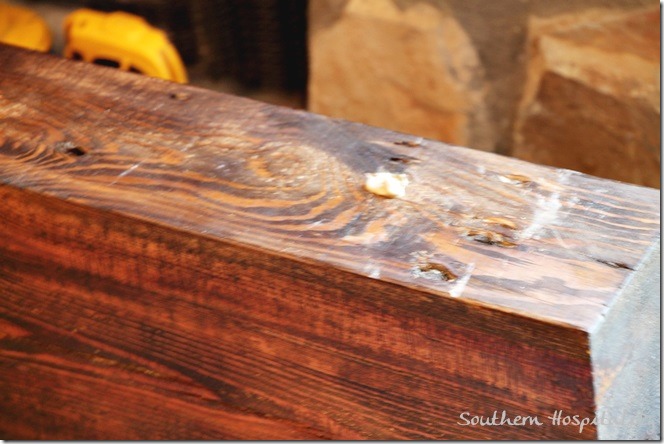
As well as the holes in the mantel.
Ready for the mantel.
And one last time it is slid into place for it’s final resting place. Yahoo, we have a mantel!
He shifted and moved it in place a few times, told me not to touch it for 24 hours and I was good to go.
And that’s the story of my mantel installation. Glad I called in the pros for this one. These guys did a great job and they do other jobs too, so if you are interested in contacting them, here’s the information. Chip is the guy in the plaid shirt and you can reach him here. I was very pleased with their work and they told me they can do all sorts of remodeling and renovation projects.
If you’d like to get in touch with Chip and company, here is his contact info:
Chip Phillips
RSC Contracting, LLC
404-477-7802
One more little thing for today, Wayfair is featuring my Fall wreath, along with several others over on their page today, so stop over for more Fall inspiration.


Where did you find your lovely mantel?
Thanks for sharing Rhoda. I always wondered how those mantels were held in place! Now I know. And I agree about the measuring. I would never get it right!!
The back of the mantle would have looked like swiss cheese if I ever tried to line up those bolts. Worth every cent to have that hung. I love the rustic mantle, perfect for the stone and you got the placement right on…that must have been a nerve wracking decision.
Beautiful mantel, Rhoda. I would have hired someone, too- there is no way I would risk putting twenty-seven holes in my rock trying to get the bolts level, then another twenty-seven in the mantel trying to get it lined up. Yikes! I think I add these guys to my contact list.
*need to add
Looks great Rhoda! Reminds me of the HGTV shoot! Love a rustic mantel!
Beautiful mantel!!
Hi!
Just found you via The Lettered Cottage. So funny that last night my husband and I installed our mantle from Southern Accents in Cullman. We used a French cleat but our mantle had legs and was from an 1870’s farmhouse. Yours looks fabulous! Can’t wait to see what you do next!
Your mantle looks so great, it’s so fun to decorate a mantle for all the seasons. I love your fall decorations on an earlier post.
Rhoda,
Your mantle looks wonderful! I’m curious…how were they able to locate the studs through the stonework & mortar? Did a regular stud finder work? I’m about to hang a mantle myself and that seems to be my current obstacle. Thanks!
HI, Kitty, I’m not sure exactly how they found the studs, but it was fast when they found them. They might have found one then measured over and found the others. They did drill more than three holes to find them, I think.
i love your mantel and your stone fireplace. when my dad stoned our fireplace he added rocks to hold up a mantel….but we still need to find a good one, right now its just an old board!! thanks for sharing yours!
Beautiful mantel, Rhoda! Love it!!
Have a lovely day!
Hugs!
These two guys do AWESOME work! They are the best!!
Rhoda-
Thanks for the wonderful write-up & your kind remarks!Please contact us in the future if we may be of further assistance to you – It was a pleasure working with you!
Very Sincerely,
Chip Phillips
RSC Contracting, LLC
I totally agree with you. They did a wonderful job installing your mantel.
Your new mantel looks great!! It looks like it has always been there!! Perfect!!