HI, friends! Will this move ever end? I have hauled and hauled stuff over to the new house and it’s all stored in the basement until we get moved in this week and I can get some sort of semblance of order going. We have been working on projects in the house and that delayed us getting moved in. We took our time to get some of these things done that would have been much harder after we moved in, so that’s why we’ve been dragging it out. But I’m so ready to get this move over and get back to normal. Moving is tough and every time I do it, I vow to get rid of most of my stuff and I’m determined to do that more this time. Why is it so easy to keep so much stuff? I’m so guilty of that.
In the meantime, I wanted to share with you the very first project that Mark did at our new house. He is very talented with wood working as you’ve probably already guessed and he is really good at figuring things out and putting it all together. I’m so proud of what he can do. When we looked at the new house, we both said that the bar area needed something to make it look better. It really needed trim work, so we started looking on Pinterest and came up with a plan from my friend, Cassity’s blog, Remodelaholic and this Kitchen Island Makeover. Once we saw this picture, that was our inspiration photo and off to work he went.
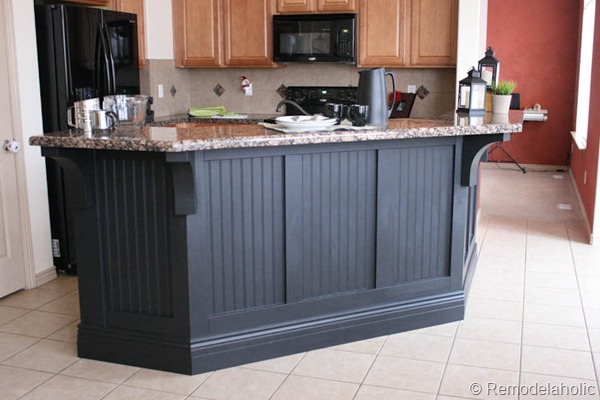
We have been looking on Pinterest for inspiration pics to use as a guide for what we want to do and we sit down and talk it all out before starting. We both have very similar taste and it’s fun to hash these out together.
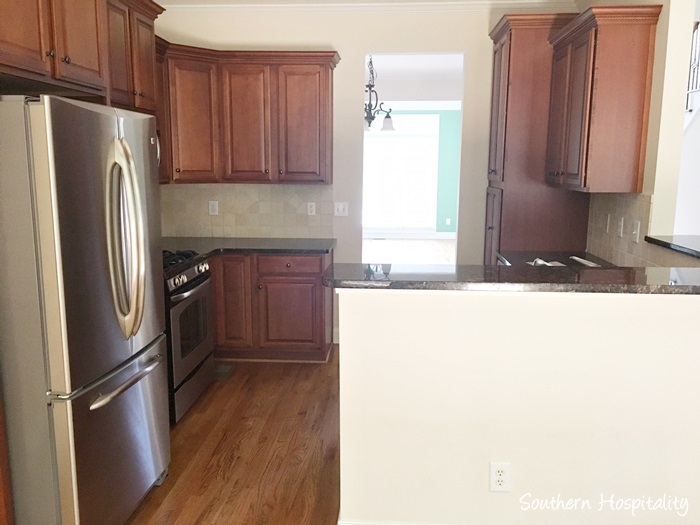
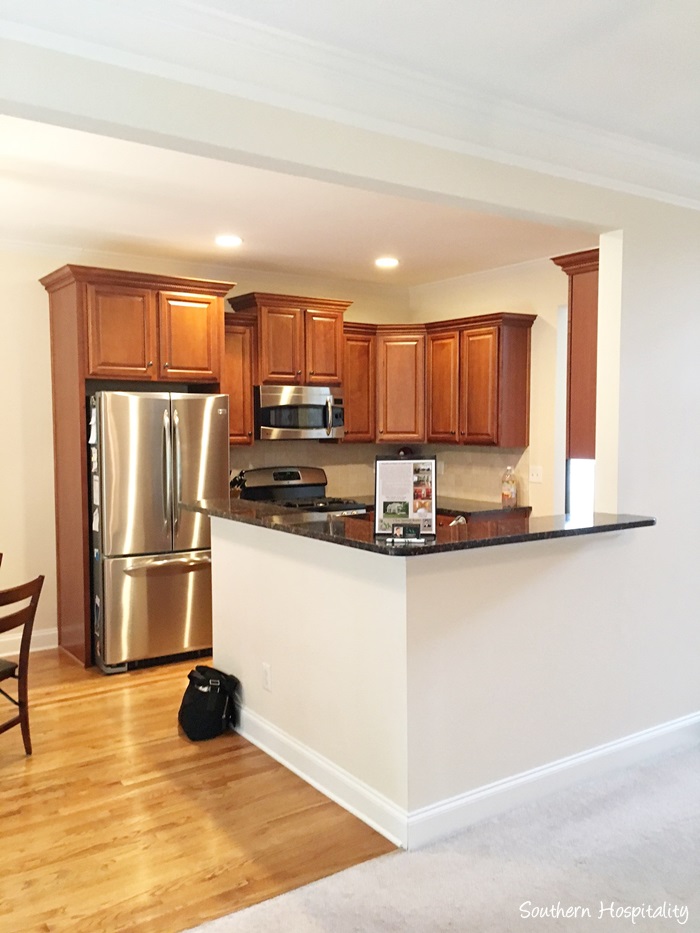
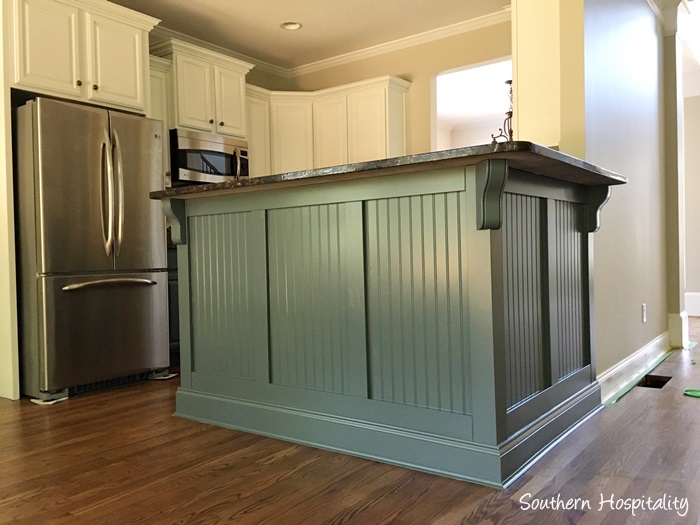
Here’s what the kitchen looked like when we closed. The bar area was just drywall and completely unfinished and just looked like it was missing something. It definitely needed some trim to dress it up!
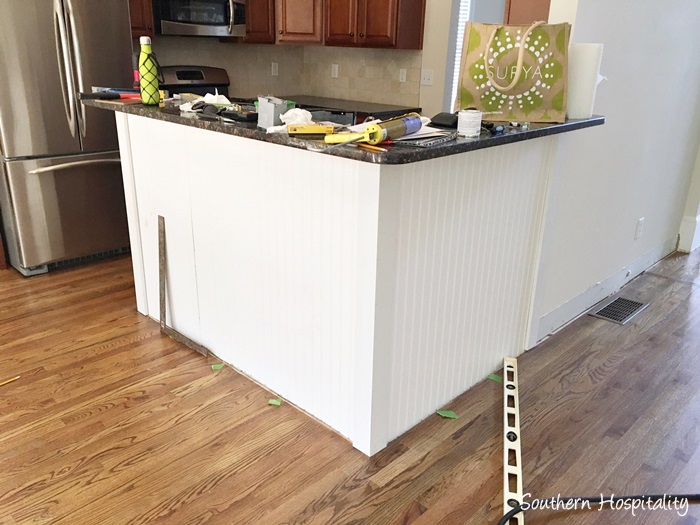
We bought smooth MDF beadboard paneling from Home Depot to trim out the bar area. Mark figured out all the cuts and made the beadboard fit on really nice.
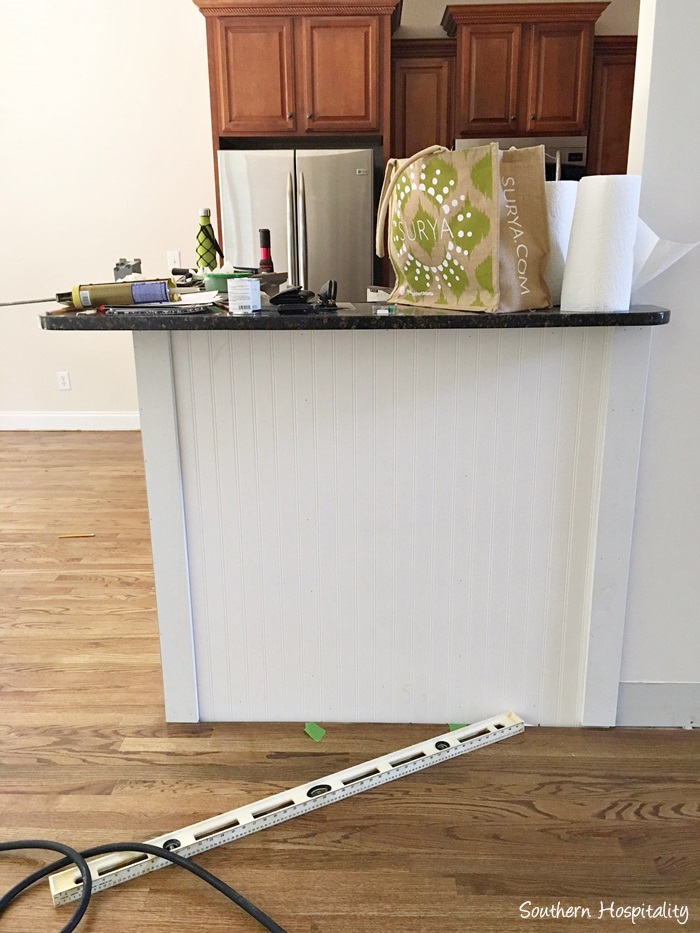
We talked out the spacing of the battens to be added and decided on two on the short side and 3 on the longer side. He stopped the trim right under the edge of the granite on this side and it makes the bar look like a built in piece of furniture.
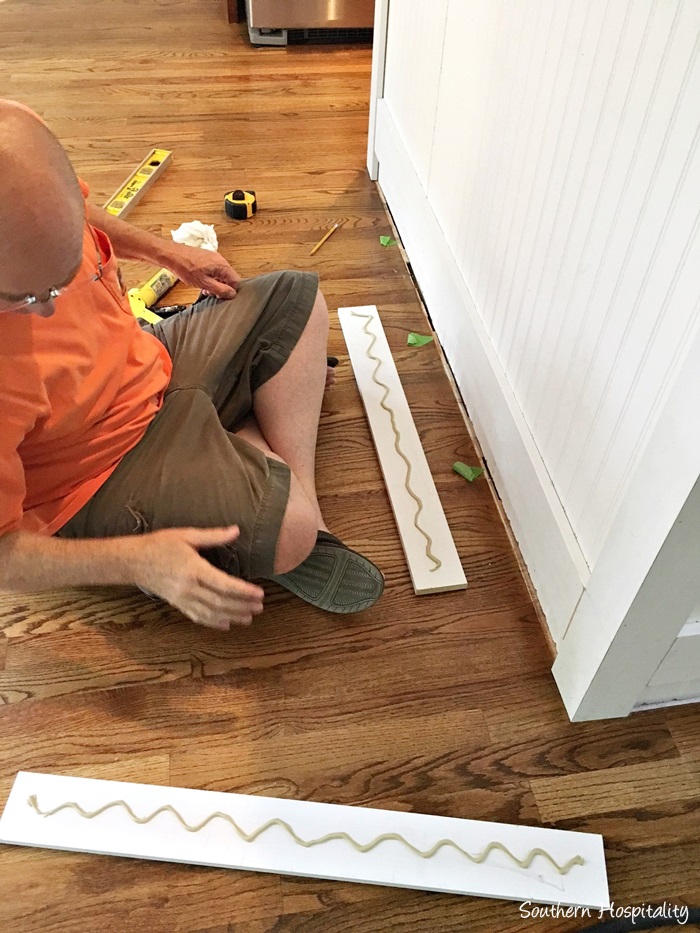
He used his nail gun and Liquid Nails to attach the horizontal and vertical boards. He knew he wanted a horizontal board across the bottom so installed it higher to allow for the baseboard trim to go on top and reveal the board. It just looks more layered this way.
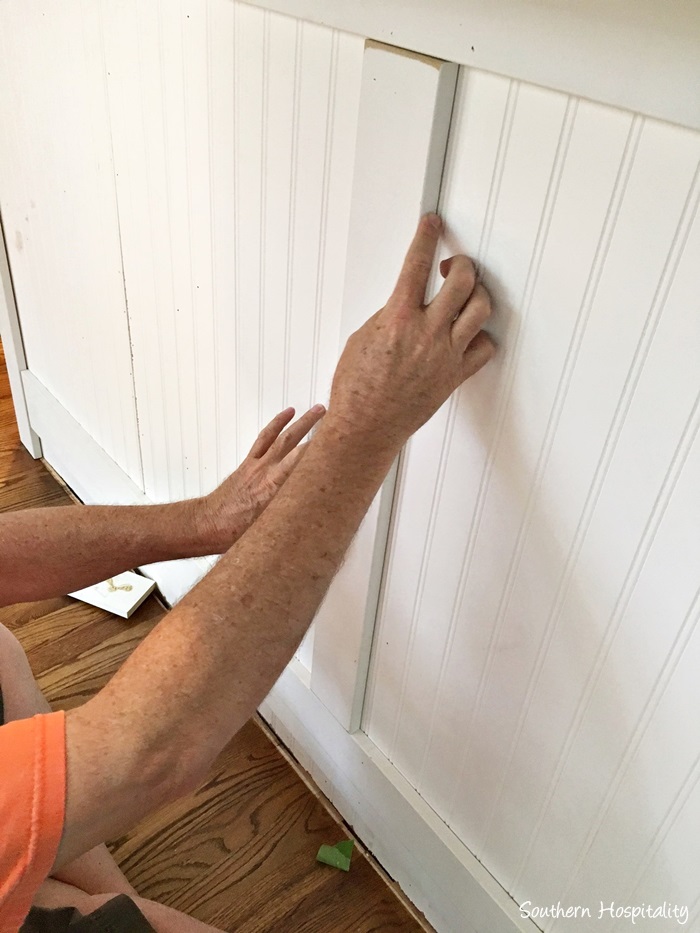
He spaced the battens (1 x 4″ MDF boards) apart and got them even across the long side and he nailed and glued them up.
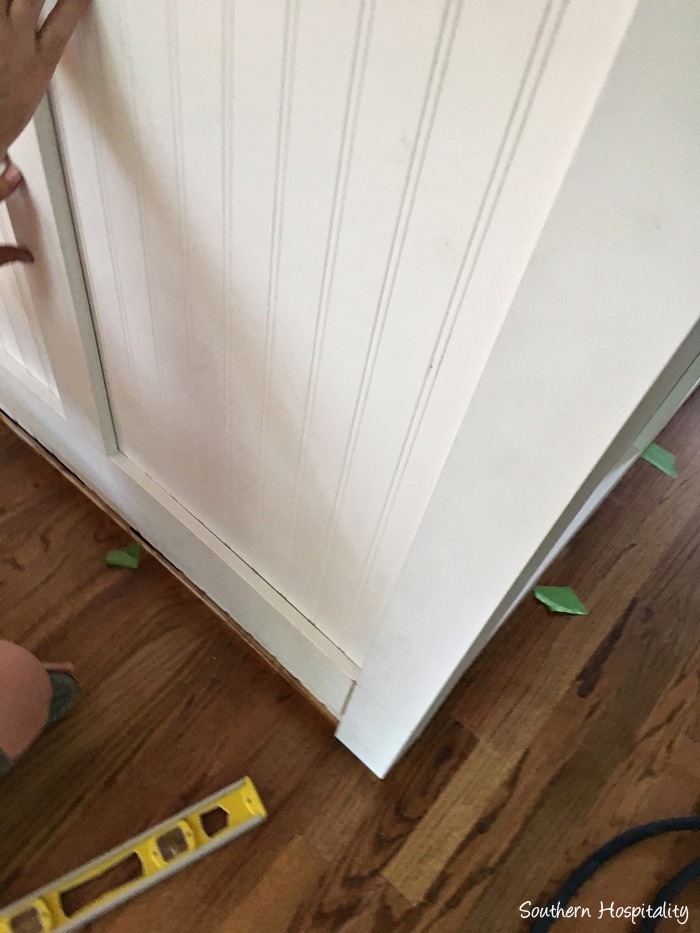
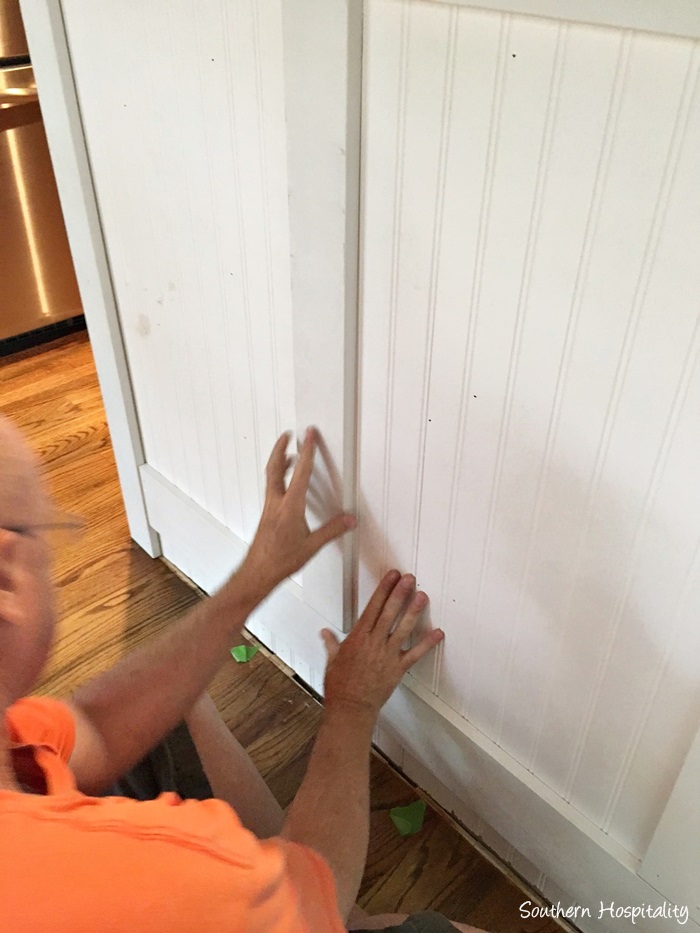
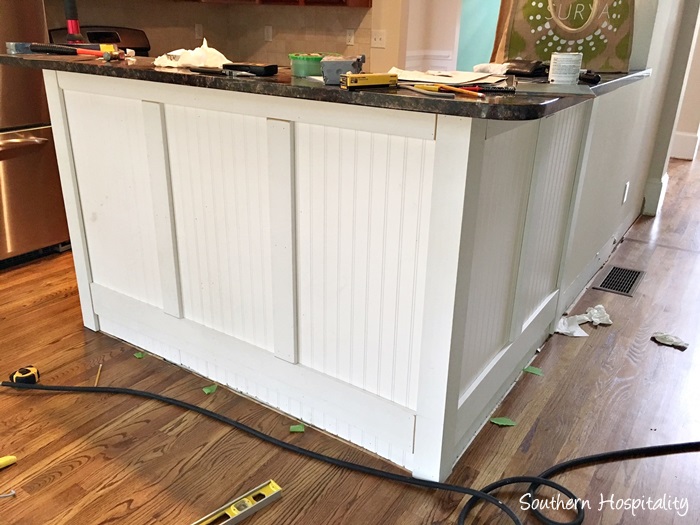
All boards installed and ready to caulk and paint. He worked hard to get the bar finished before our painters came to paint inside. Since we had them paint the cabinets with their pro sprayer he wanted the bar ready to paint so they could spray it too.
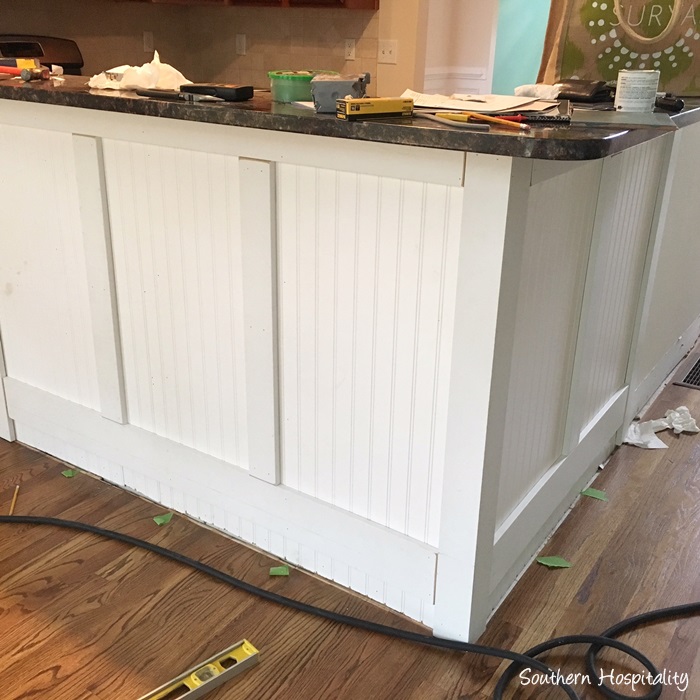
We worked getting it caulked the day before the painters arrived and it was ready to paint.
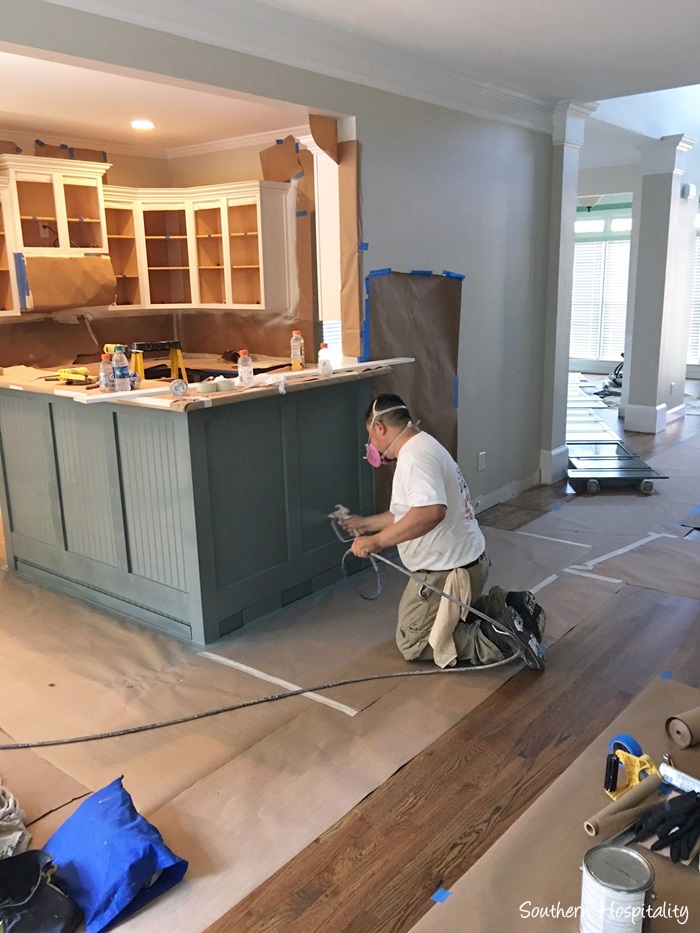
Our painter, Alberto, took these shots for me as he was spraying the bar and working on the kitchen cabinets. I’ll do another separate post about the kitchen cabinets when I get that all together. We love how the kitchen turned out!
I’ll go ahead and share Alberto’s contact information with you. Alberto’s number is 770.900.6740 and his company is Nicholas Romero. We love the job he and his crew did for our kitchen cabinets, inside painting and exterior painting.
Here’s the painting our cabinets post all about that project and the painters.
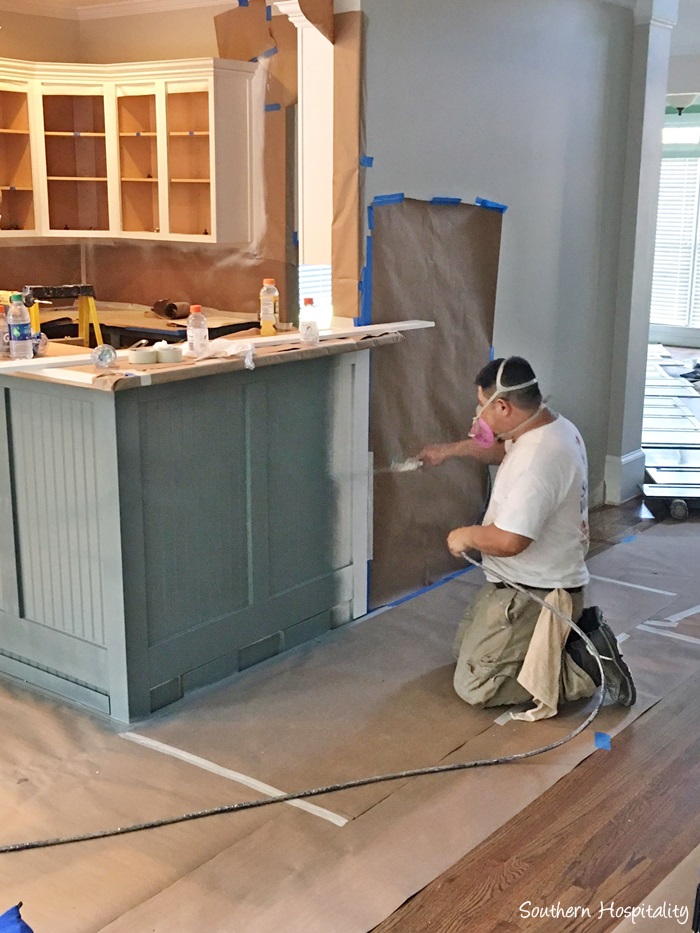
Those spray guns really do the trick and make a smooth finish. The painters taped off the floor and painted everything and it turned out so nice and smooth.
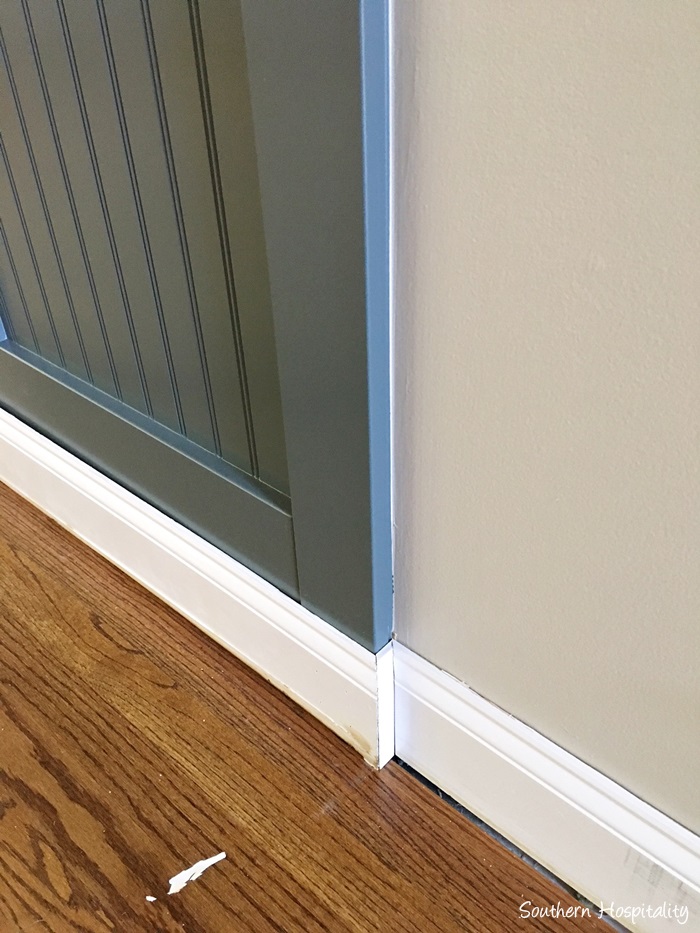
We are so happy with how it turned out!
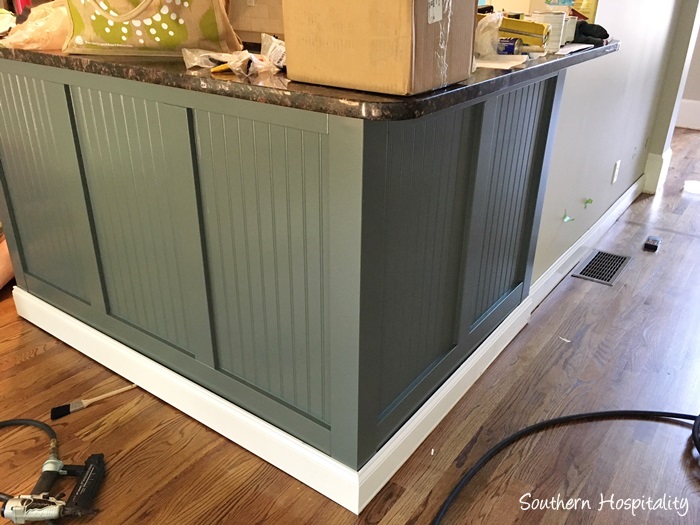
Mark then measured the baseboard trim and fit it on, nailing and caulking the bottom board too.
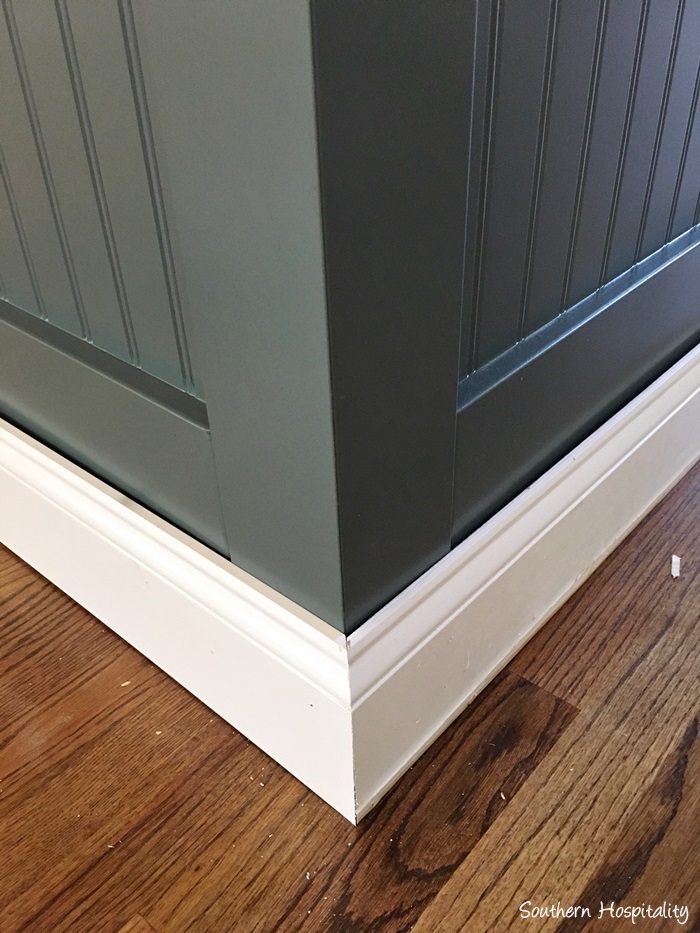
There was a little gap between the baseboard and bottom trim, but caulking took care of that.
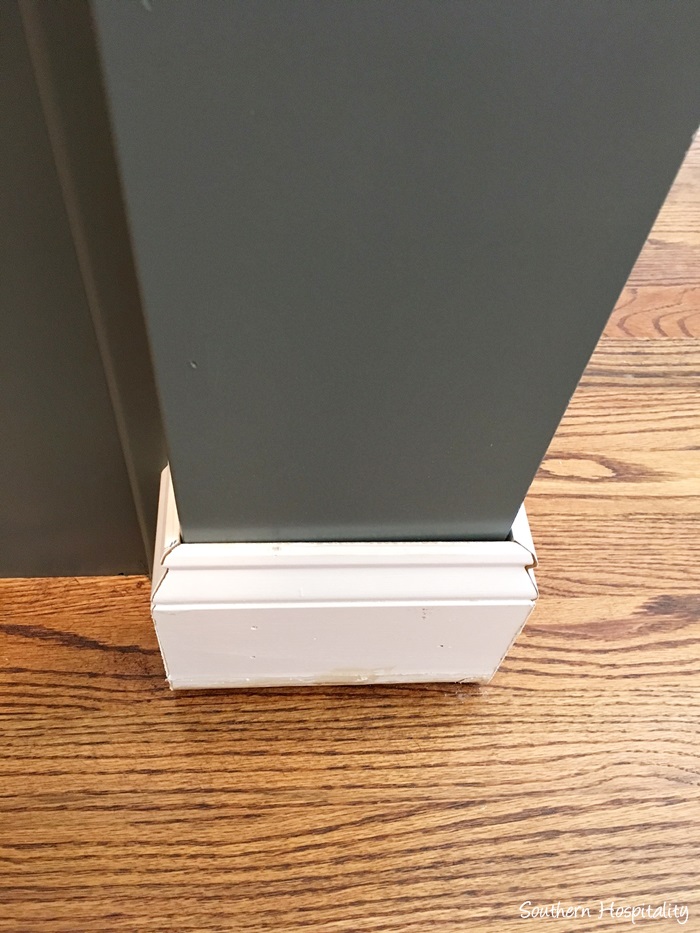
Turning the corner in the kitchen with baseboard trim.
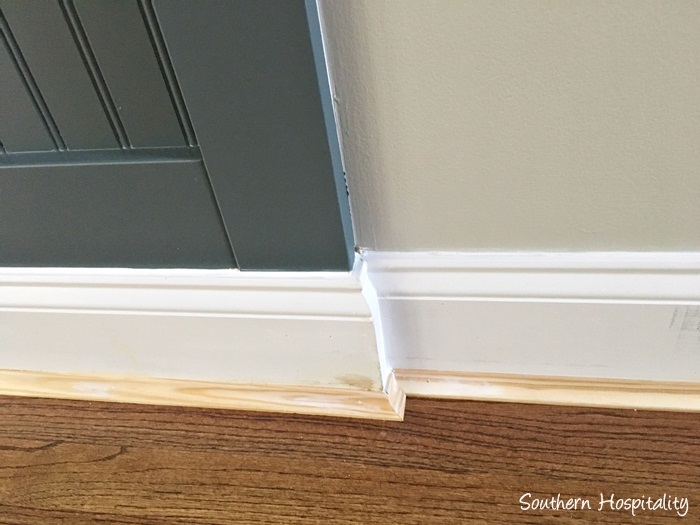
He did such a great job turning this little corner where the bar ends and the wall begins on the front side of the bar. These little precision cuts look great when they are done well. He opted for cove molding over quarter round here on the bottom level and we’re going to do that all on this floor. I love the cove molding too, gives a nice finished look and a little different from quarter round.
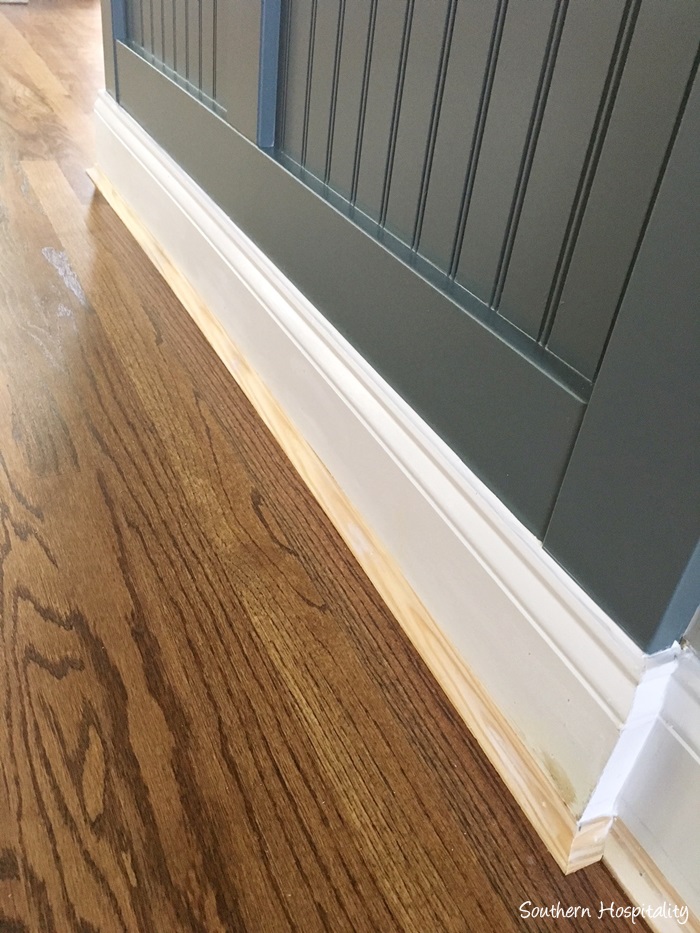
Cove molding is hollowed out a little and makes a nice trim a the bottom of a baseboard or column.
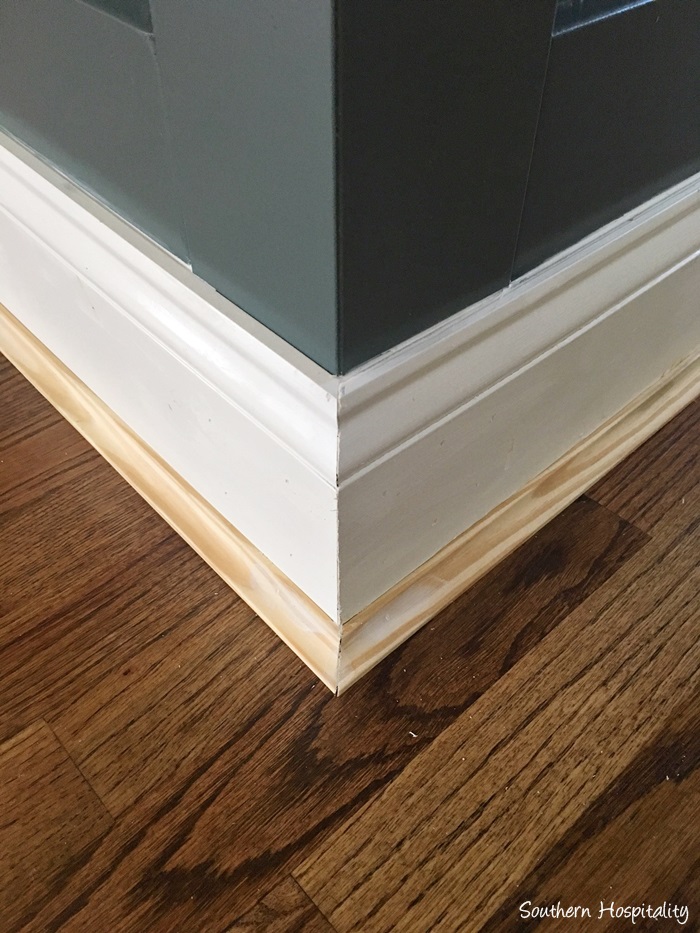
Nice cuts and ready to paint.
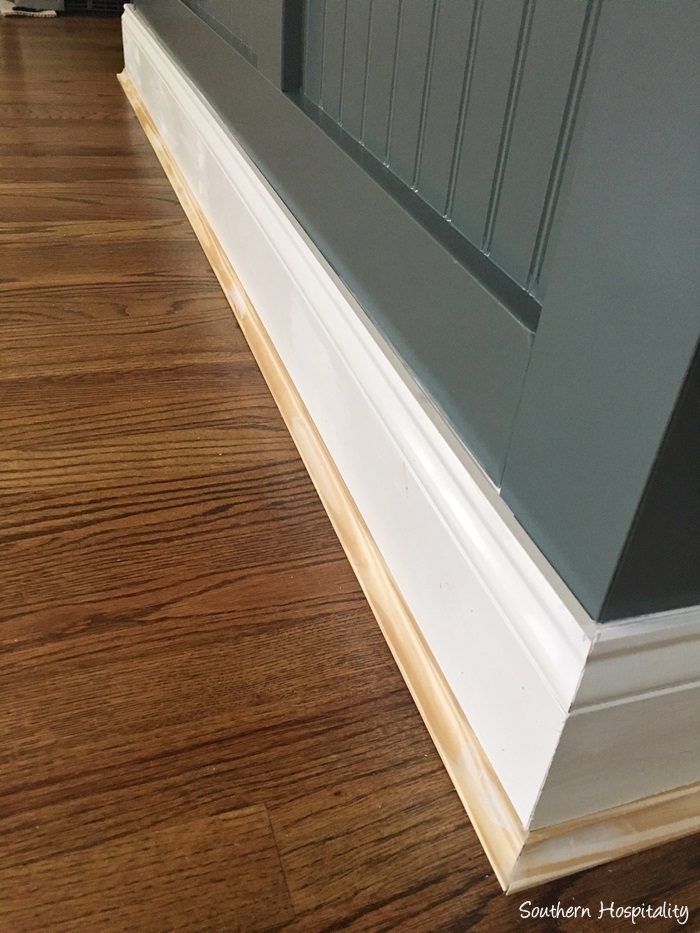
Cove molding installed.
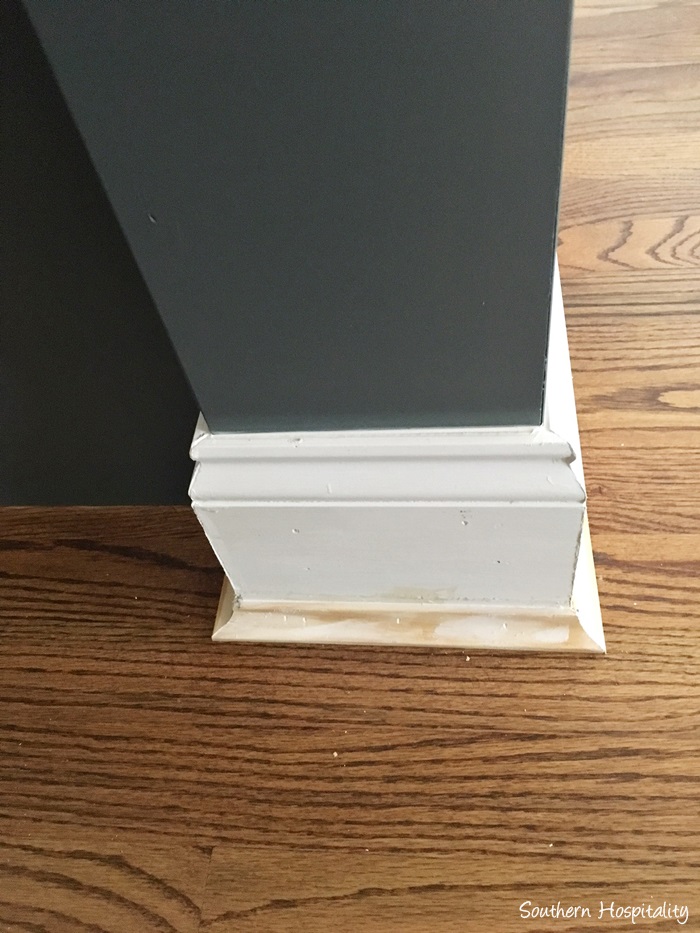
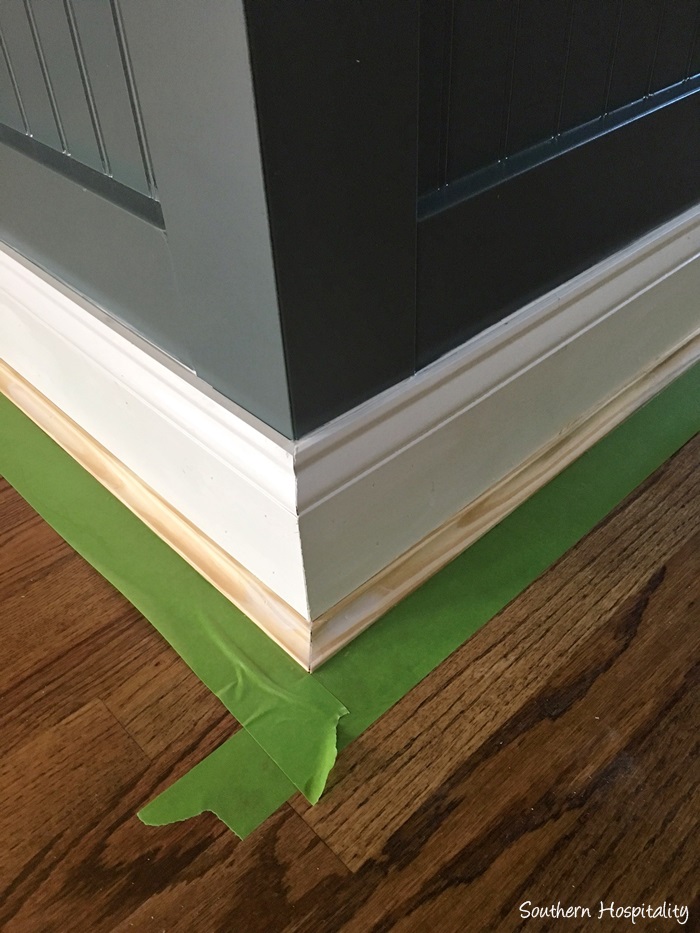
Frogtape in place and ready to paint.
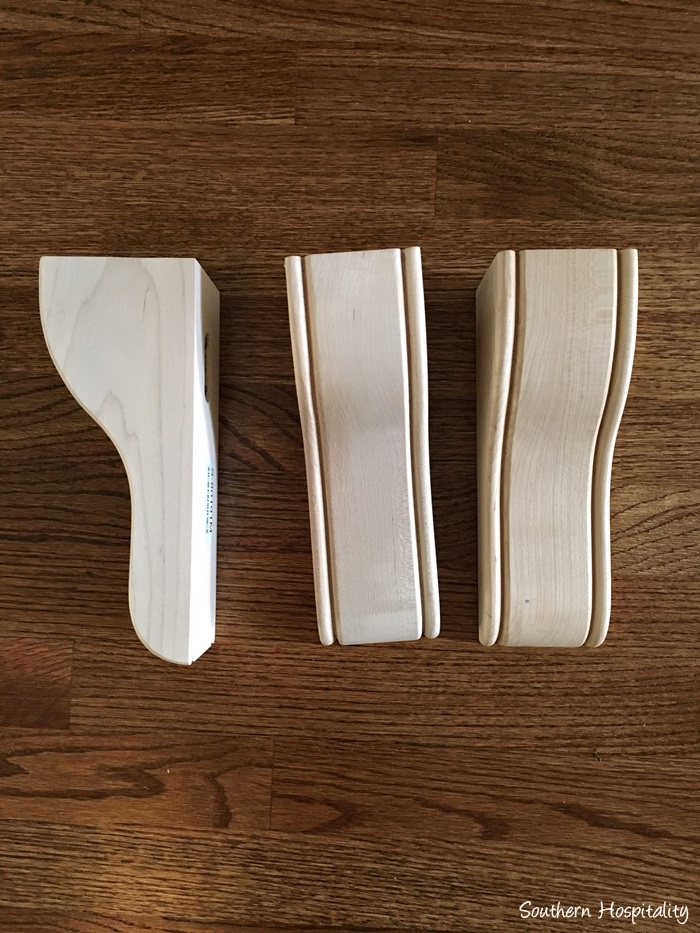
The last finishing touch for the bar was these corbels. Working with Haven sponsor, Osborne Wood Products, we measured and decided on these beautiful corbels called San Francisco Contemporary bracket with beaded edge and we think they are perfect. A big thanks to Osborne Wood for supplying these 3 corbels for this project, it was a huge help and we love the finished product.
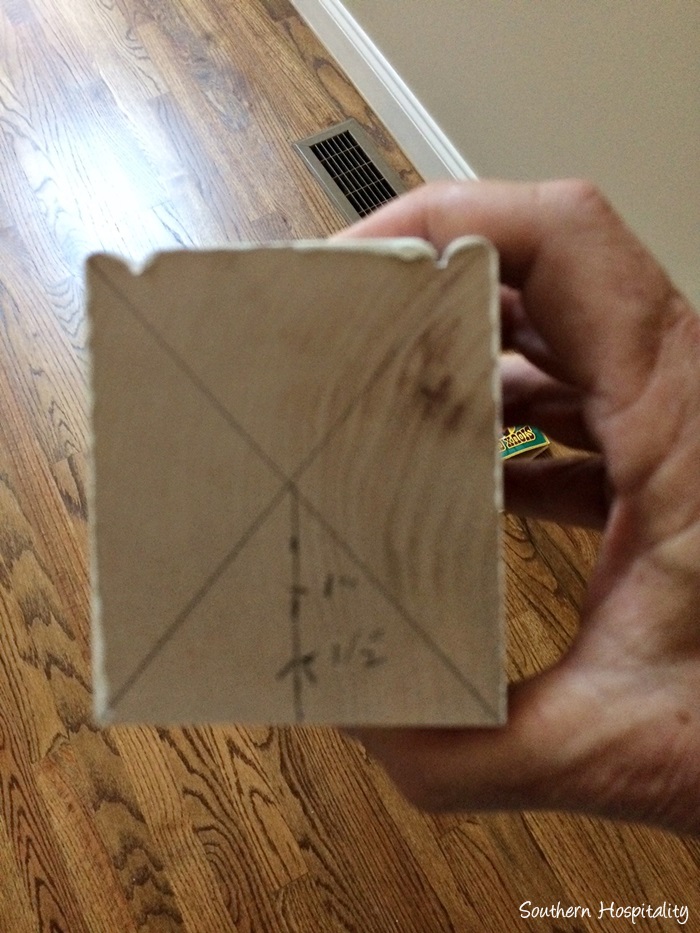
Mark had to figure out how to cut the corner bracket to fit snugly right on the corner of the bar and he marked the center.
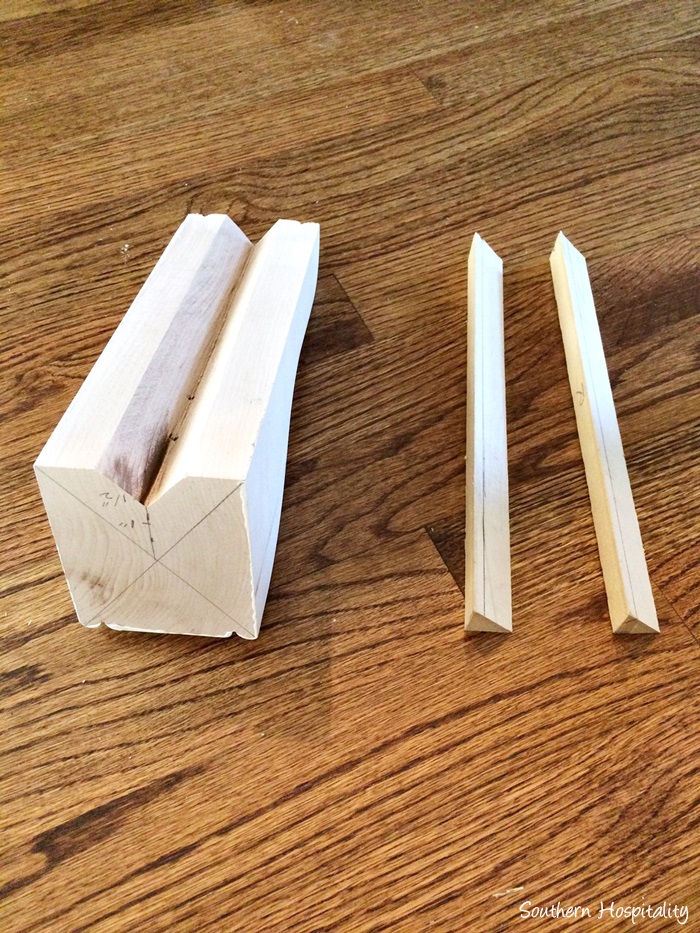
Then he notched out the corbel to sit right on the corner of the bar. What he then had to do since he couldn’t cut into the corbel any further with his saw blade was how to add to the corbel to extend it so there were no gaps.
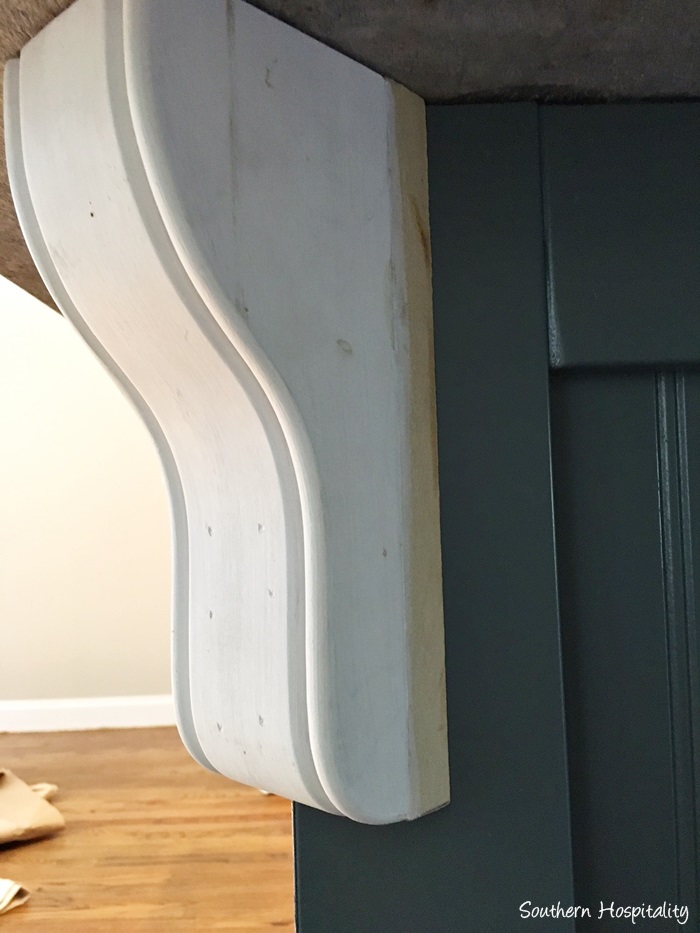
That corner one was the tricky one and I’m glad he’s so smart to figure these things out, definitely not my strong suit, angles and cuts. He used some of the wood that he cut off to fill in the edges and caulked it all.
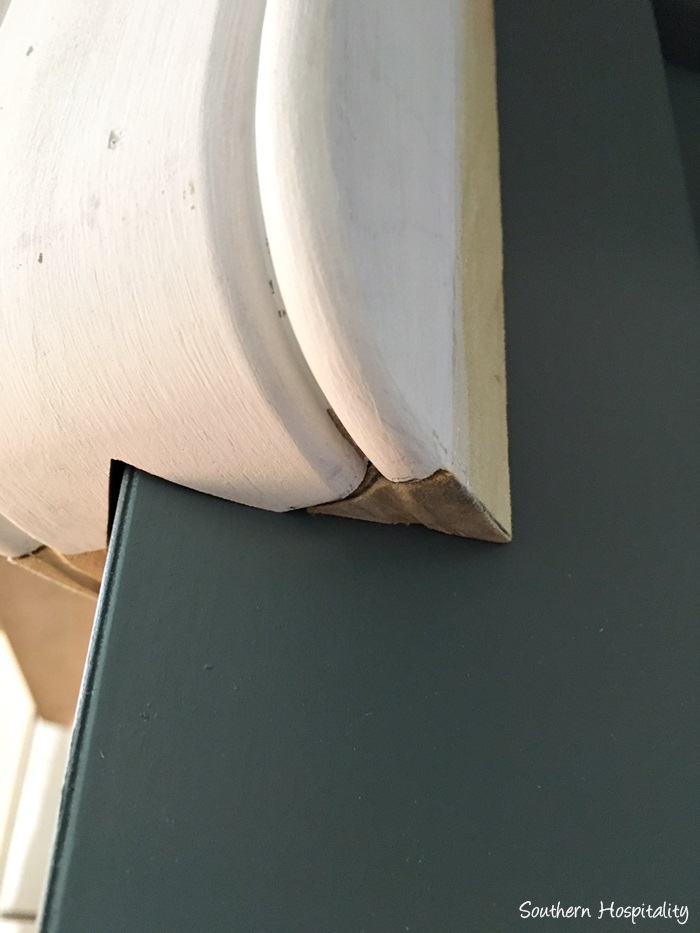
He had to fill in a small piece in the bottom too.
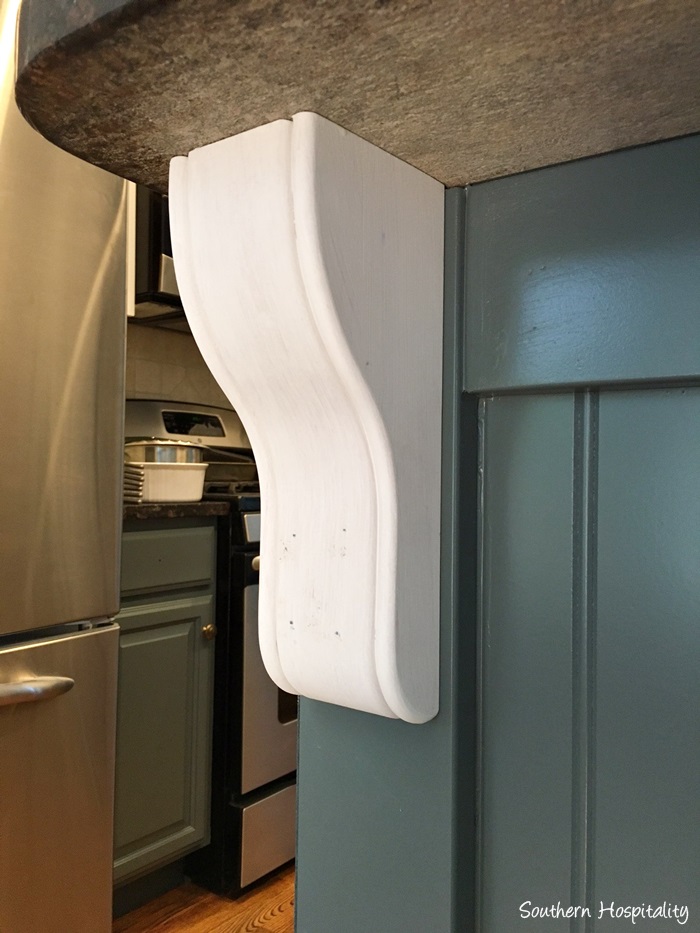
The other 2 were no problem, they just sit on the boards and he nailed and glued them into place. I primed them all.
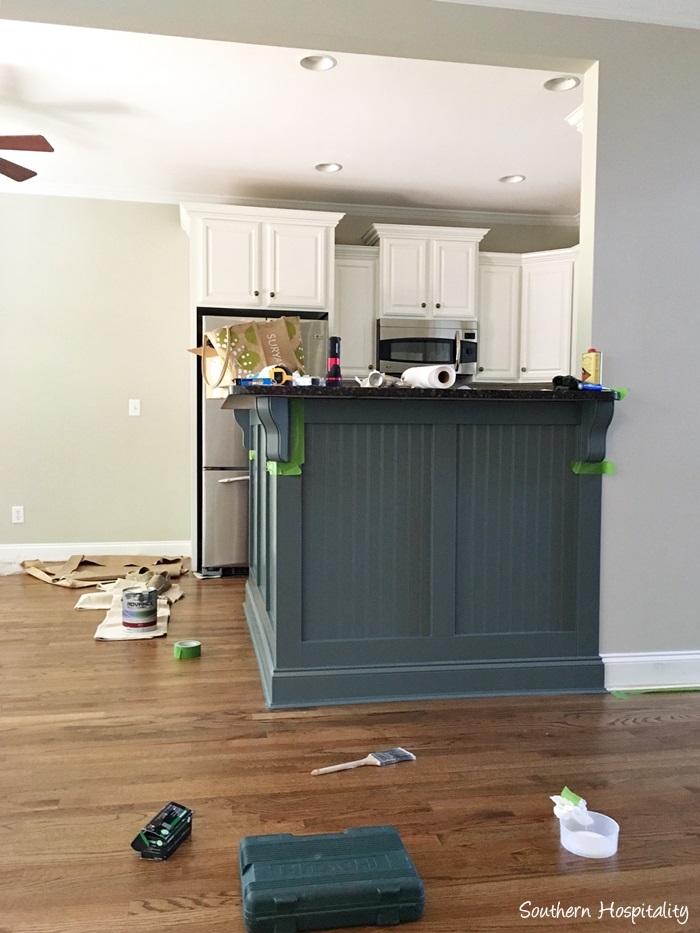
After they were all installed it was time to paint them, so we got that done.
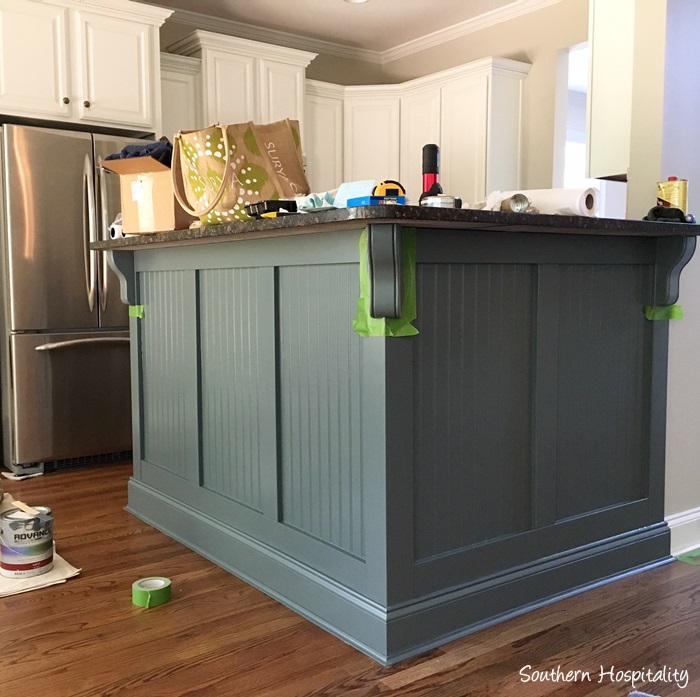
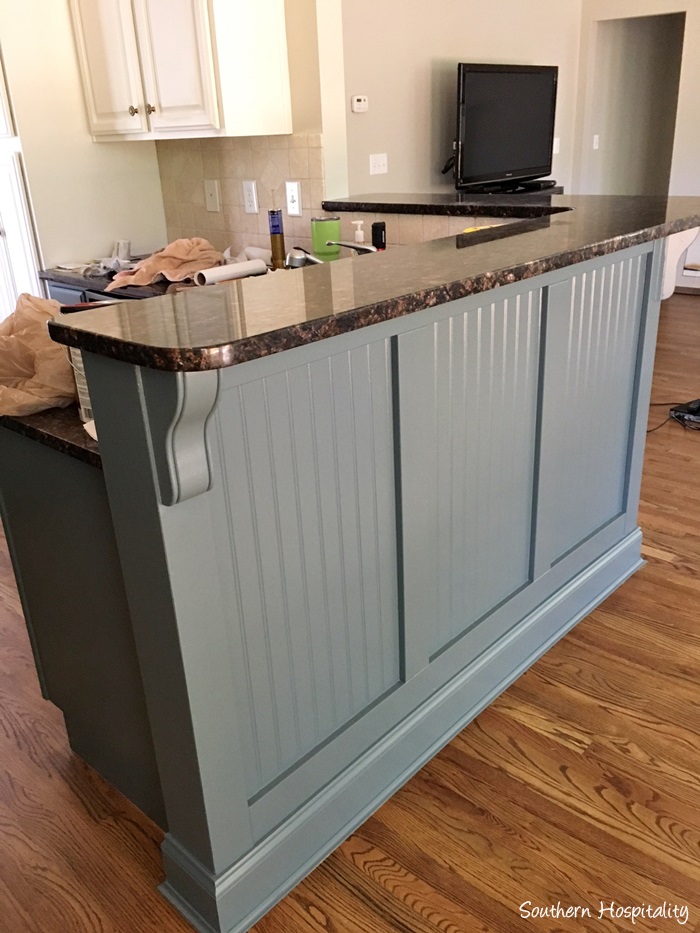
And here’s the bar all finished and painted. We just love it! It’s so striking when you walk in the door and now it doesn’t feel so boring and unfinished.
Here’s another look at the Before bar:
And the same angle after, quite the change don’t you think?! We love it!
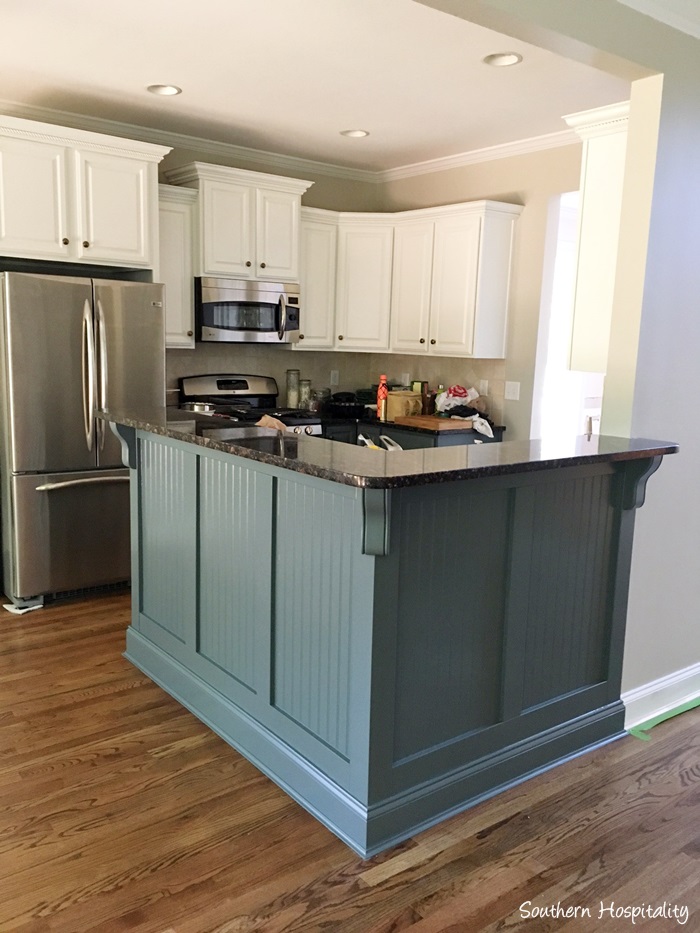
It’s exactly like we pictured it would look and we couldn’t be happier. The color of the bar and lower cabinets is Benjamin Moore Knoxville Gray. It’s a deep blue/gray shade and very rich and pretty.
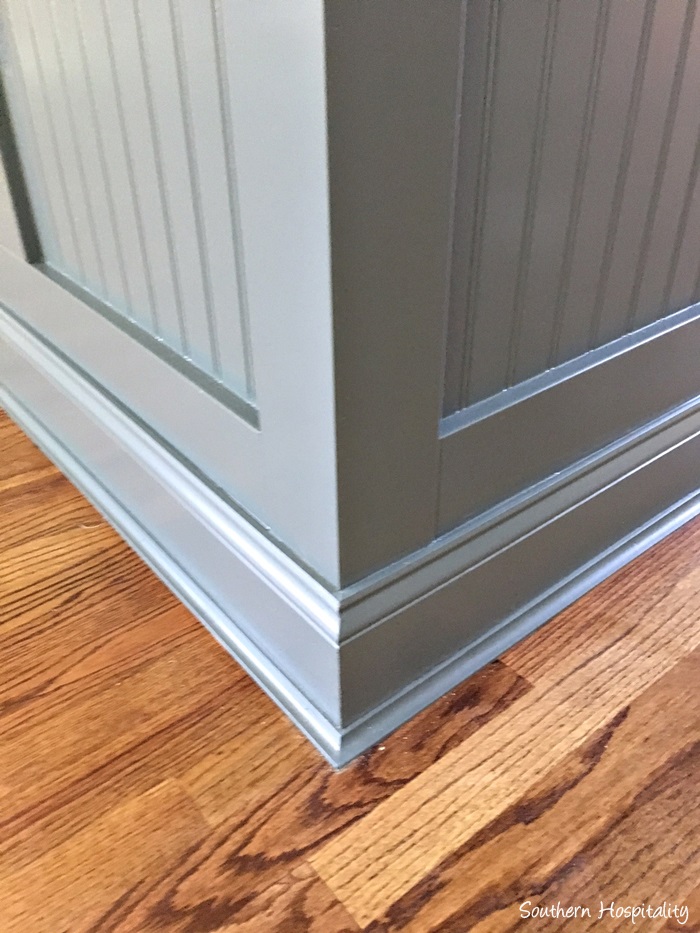
Closeup of the corner. Hard to get an accurate pic when sun is coming in one side.
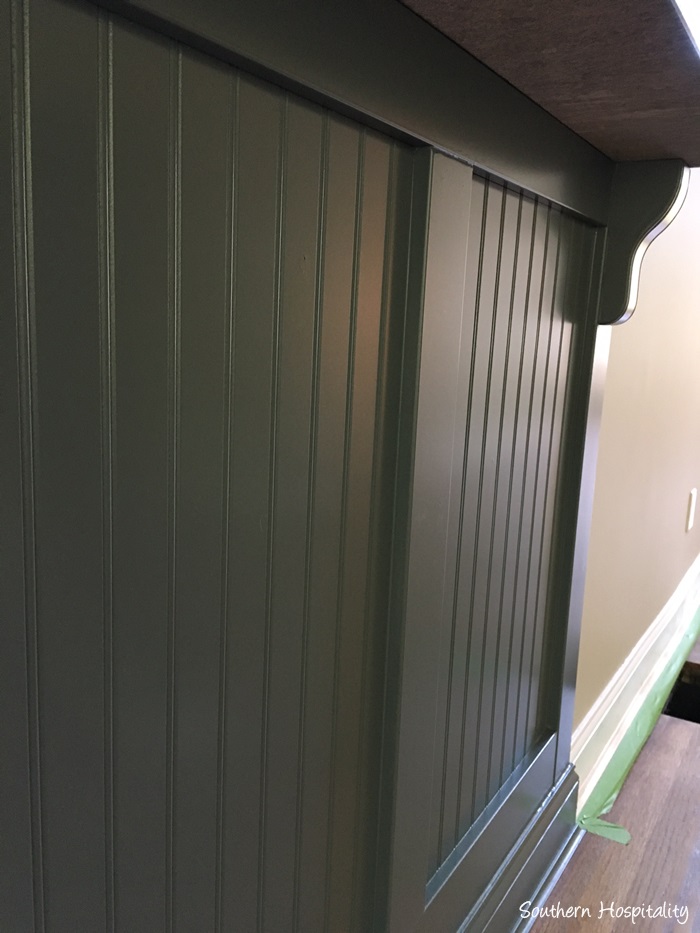
It looks very moody and deep at night and lighter in the daytime.
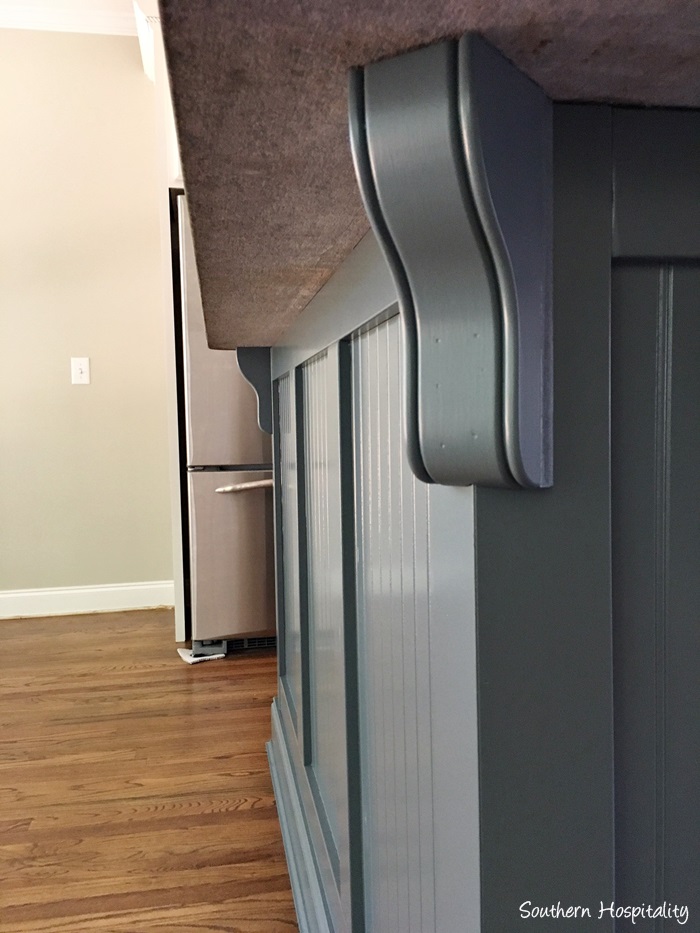
We are thrilled with this first project completed in the new house and can’t wait for more. Mark is working on the dining room next and it will be gorgeous too. Can’t wait to get my dining room furniture in there.
And that’s the kitchen bar, all finished and looking beautiful. Another big shout to Osborne Wood products for the final touch of those corbels. We may have been able to go slightly bigger with the corbels, but I had to find something that wasn’t too wide for the boards or to deep for the granite so we settled on these and love them. They definitely add just the right touch to our bar area!
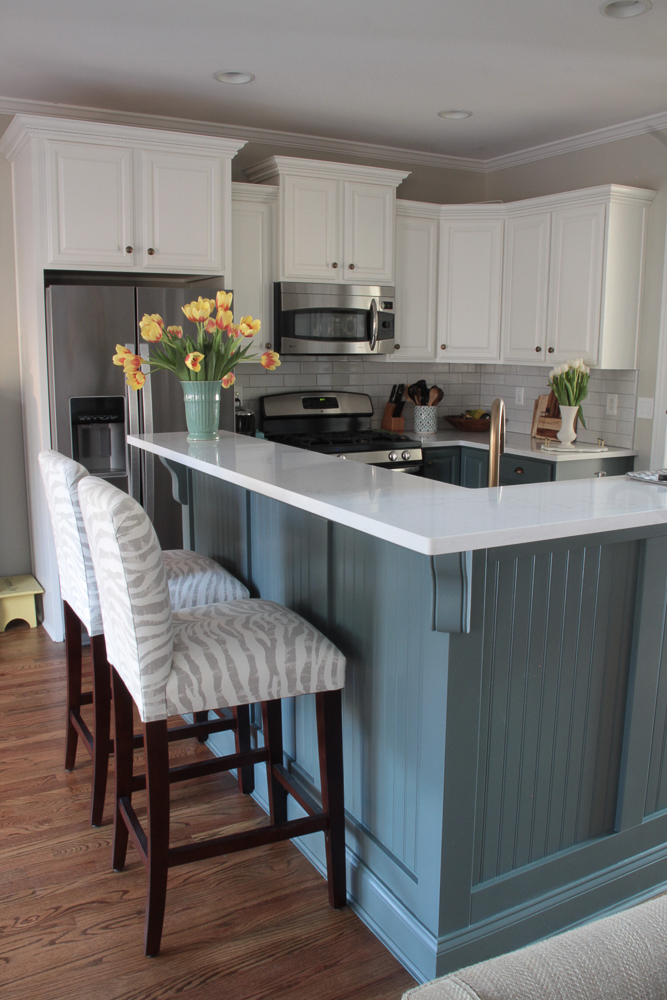
{a look at the bar after 2nd phase completed}
I can’t wait to get everything decorated and styled and then I’ll take better pics of the kitchen and show you that part too. It was so nice to get the kitchen professionally sprayed and we love the 2 colors.
Kitchen Paint: Top Cabinets, Benjamin Moore Advance: White Dove
Bottom Cabinets and Bar, Benjamin Moore Advance: Knoxville Gray
Note: Osborne Wood products sent us the corbels at no charge for this project.


How exactly were the boards cut for the corners on the bead board??
I think he cut them on a 45 degree angle on those corners.
Wow! What a change it looks so different – love the color. Wish I had a hubby like yours to work on things. I have learned chalk is our best friend and will make everything look more finished. Great job! Looking forward to seeing more.
Thanks for stopping by Vicki! I’m so glad Mark is handy and enjoys doing projects.
Wow, this is such a helpful example of proper millwork details. Thank you for sharing.
I followed this as a guide and did the same thing but painted off white to match other cabinets. Looks great. Thanks for the inspiration and helping those without imagination.