As I mentioned on the painting diamonds post, I’ve already moved on the porch and can’t wait to show you. The day before I got the furniture moved in, we finished up the screening, so I wanted to show you that process. Our screens are nothing fancy, but they will work just fine. We didn’t opt for pop in screens that are pre-made, but rather we bought rolls of screen and cut them to fit each section, 3 in all.
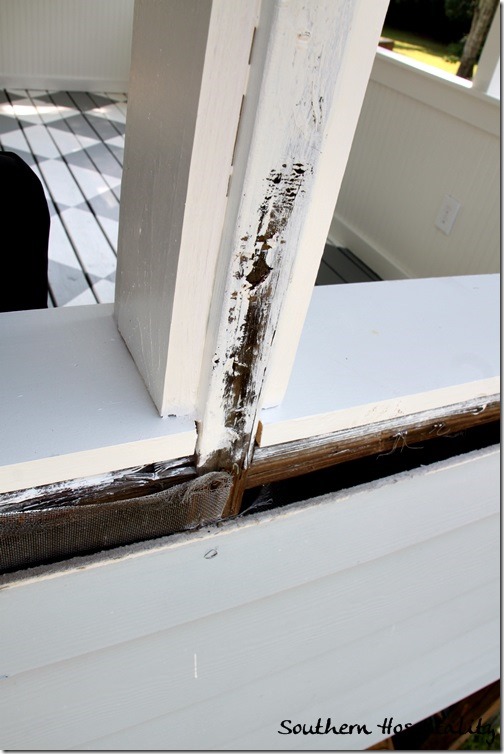
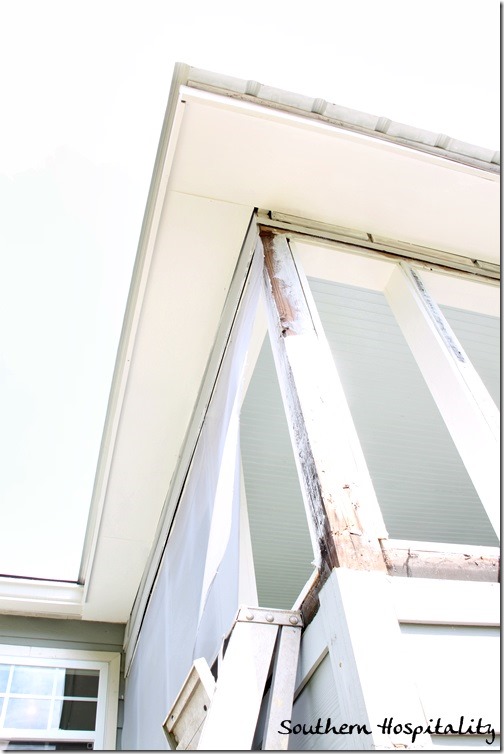
Outside the old boards were removed that held in the old screening, which had rotted and was all torn out when we started renovation. We’ll add new pieces of trim boards here.
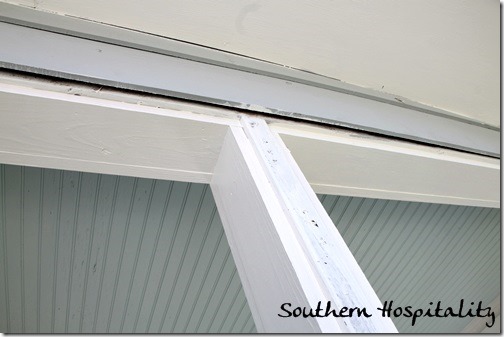
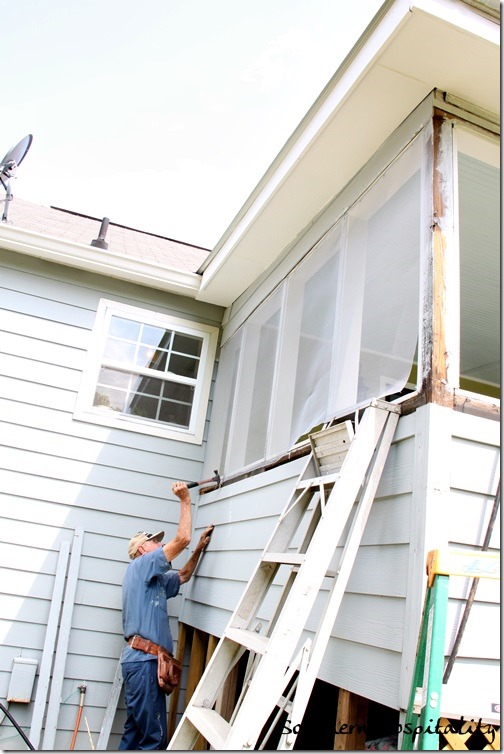
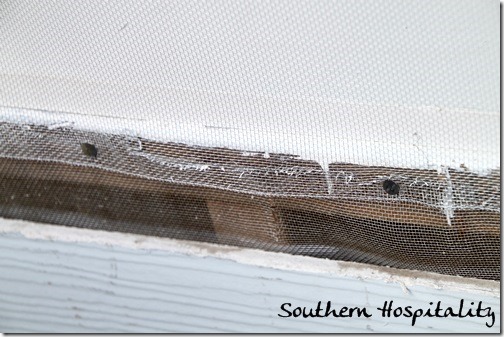
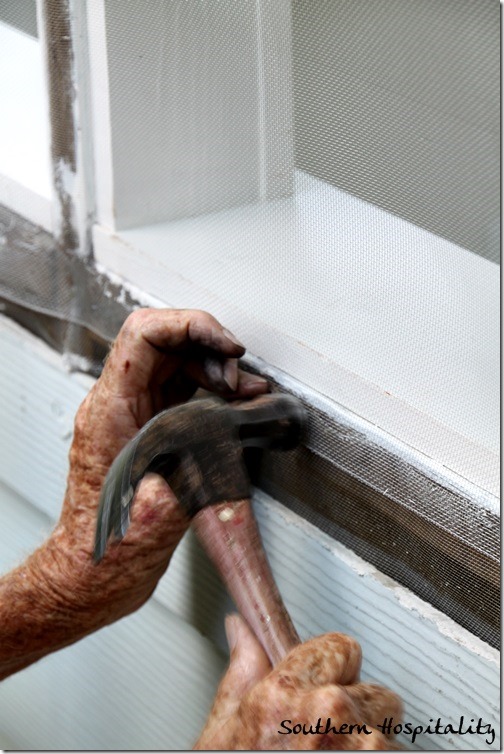
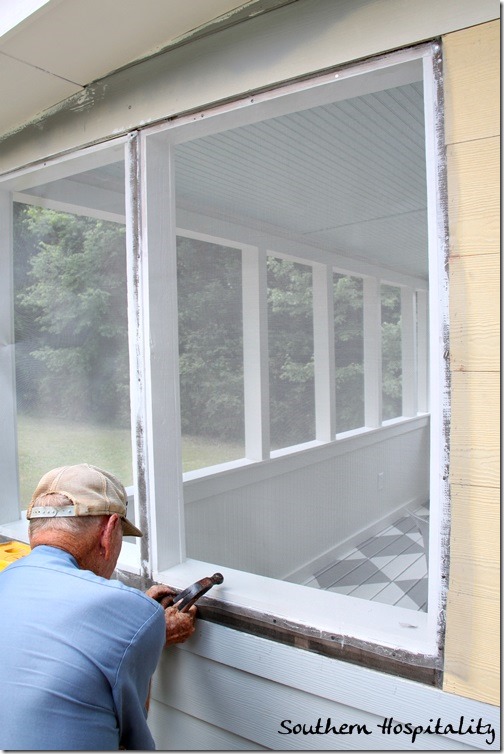
From the outside, the new screening will get nailed up and then all trimmed out on top to hide the nails. We were going to use my small nail gun with staples, but the staples ended up cutting through the screening altogether, so my dad used some small drywall nails with a head on top to tack down the screening. It worked fine!
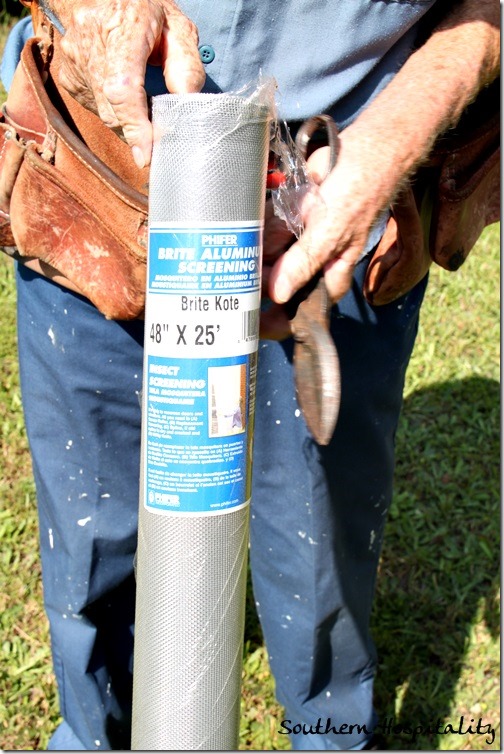
We bought enough screening to wrap around all 3 sides of the open windows from Lowes. Each section was cut to fit each of the 3 sides of the porch.
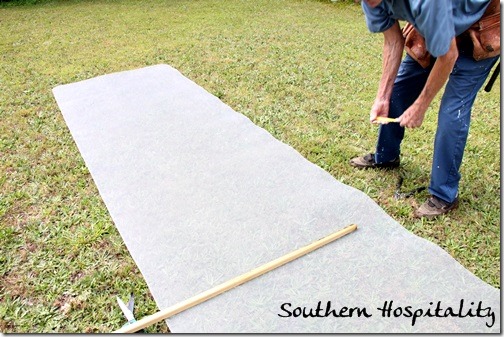
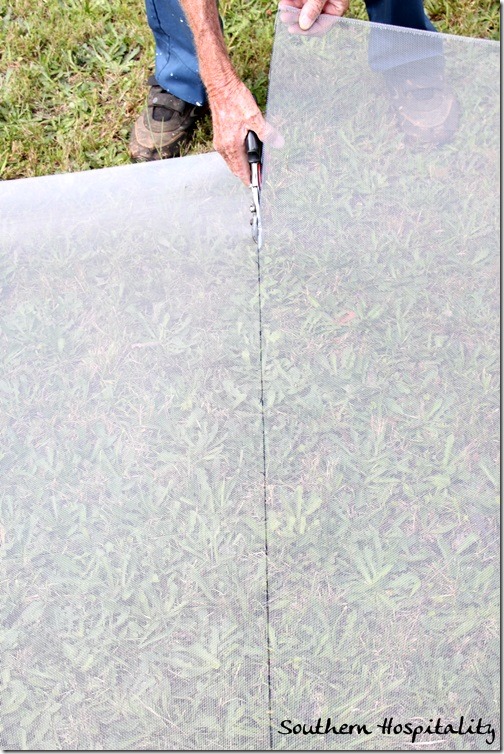
We rolled it out on the grass and measured our first piece which would be tacked up first. Luckily, my windows were the exact same height as this premade screening and we didn’t have to cut that part, just the width.
I used a Sharpie to draw a line to follow for cutting the screen.
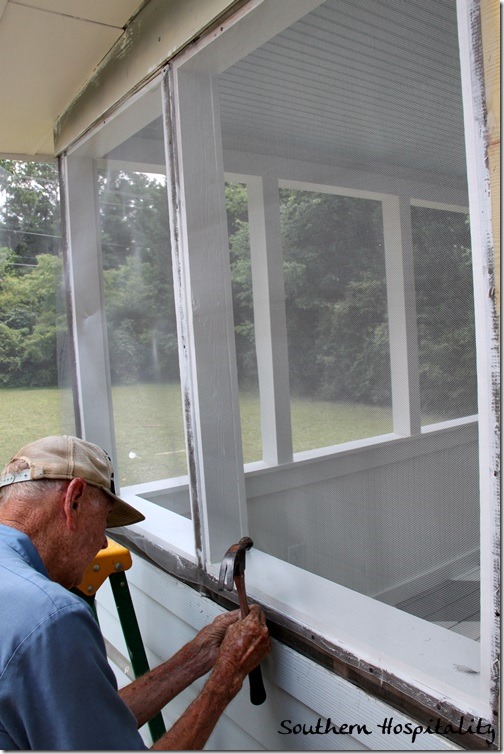
And we were ready to start putting up the first piece. We both got up on the ladders, my dad on one side and me on the other, pulling the screen taut. It covers that whole side and we stretched it taut and pulled top, bottom and sides, tacking it with the nails as we went along.
Finishing up in the corner, this end was complete.
We then moved to the long side and added screening on this side, working around to the far side which is the shortest side.
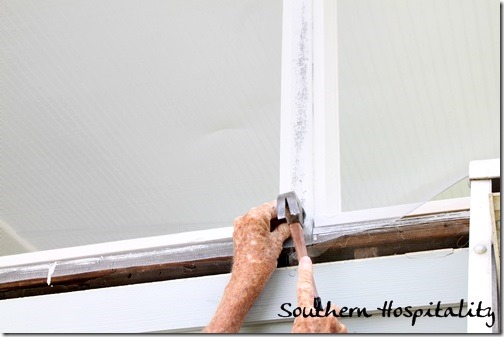
Here are the nails we used, pulling taut, and tacking it all down. We tacked it on the top, bottom, sides and on the vertical pieces of wood in the middle.
Tacking the nails in.
One side done.
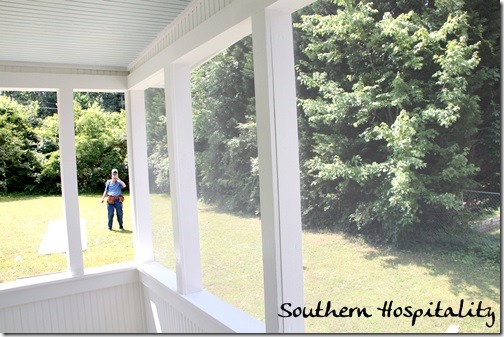
And all of it complete now! We will go back and add the trim pieces outside as soon as we can. Most of the stairs are finished and once the trim is done, then I’ll paint things out.
I’m so happy to be on the porch finally and can’t wait to show it all decorated! I’m in LOVE with this porch, a cozy 10 x 14’ space. It’s amazing how having an outdoor room like this adds to a home. I’m so grateful to my dad for helping me with this project and hanging in there with me this spring, getting it done. He’s my hero and I appreciate his expertise so much. He’s ready to get his one done too so he can relax a bit the rest of this summer. We were just thinking back on last year when we were going full speed ahead on renovating my house. So glad it’s all done and this is the last big job to be done! I love my daddy!
If you want to come to my yardsale on Friday and Sat. a.m. (8-12 both days), please email me tonight and I’ll give you the address. We’ll be setting up and ready to go by 8 a.m. on Friday with some great stuff!


Yay!! Enjoy, Rhoda — you’ve earned it! And your daddy, too. 🙂
xo Heidi
Rhoda, can’t wait to see this with all your furniture in place. We live on our porch. It was a screened in porch for years, but we wanted to use it year round. In order to do that, we installed French doors and windows and added Phantom screens. Now it can be closed up with heat or AC or we can open it up with screens. It’s the best room! We live in this space. Just wish it were larger. ‘-) You have a talented dad! It will be a fitting tribute to celebrate his birthday on the new porch. If I lived near Atlanta, I’d be at your sale tomorrow. Sad I will miss it. I know you have beautiful things. ~ Sarah
Your father is such a treasure Rhoda.
Great job on the porch!
I know this if off-topic, but what do you use to make your inspiration boards? Do you have some sort of software or do you use something online? I have been looking online and have not found anything I like as much. Thanks!
Hi, Lisa, I’ve used both Olioboard and Polyvore online programs. I think I like Olioboard the best, but they are both good. Just join and give it a try!
Thanks so much, Rhoda. I will try Olioboard.
Rhoda, you and your dad are so inspiring. I am constantly amazed at how productive your two are. You will certainly deserve some down time relaxing together in your new porch. Of all the projects you’ve blogged about, this is the one that’s been the most fun to watch unfold.
The porch looks great! The picture of your daddy’s hands reminded me of the song with the lyrics “There was always love in Daddy’s hands”. There’s a lot of love going into your house and it shows!
It’s going to look great!! I certainly appreciate you and your dad’s hard work. :)!!
I have always wanted a screened-in porch. Yours is just great. Your dad did a great job! You must be so proud! My dad is 88.5 yrs old and still does projects, too. Slowing down a bit but I think that is what keeps them going! Good luck at your yard sale!
I can’t wait to see the finished porch! It is going to be such a wonderful outdoor room!!! And what a precious gift you have in your father!! He is precious & a true blessing to his little girl!
I love the method you used for the screening. Seems much easier and less expensive than using custom framed screens. My only concern … are you afraid the screening might lose its tautness and start stretching out a bit? How easy was it to secure super tight?
HI, Susan, it really is very taut and I don’t think it will lose that unless it’s pressed on, which I don’t plan on doing. It should hold up fine, especially after we get the outside trimmed out with some molding, that will hold it down even more.
I LOVE the pic of your Dad’s hands!! Brought back good memories for me. The hands that put a lot of hard work….and even more love….into helping you make your house into a home!!! If I were you, would frame that pic and display it proudly in my home!!
The picture of your Daddy’s hands would make such a beautiful picture. It took my breath away when I saw it because there is so much love in his hands. Even though we go through many trials in life, God has truly blessed you with your family.
I love how you screened your deck. I hadn’t thought of using the rolls of screen, but it looks like it worked beautifully!