We are still plugging away at the master bathroom makeover and today I thought I’d share some of the lighting I looked at while planning for this makeover. I spent hours on my computer looking at all sorts of lighting for the new space. We would need a chandelier, since the old fan was coming down. I tried to figure out a way to keep a fan in there, but I couldn’t make it work. I didn’t want a fan to ruin the look of the new bathroom, plus we only used the fan a few times in the summer. So a new chandelier it is!
I would also need sconces to flank the mirrors over the vanity. I knew the style I wanted and as I looked through all the options I would save them to a private Pinterest board so I could keep track of what I had looked at. Once Mark and I narrowed down the styles (he has opinions too!), I ordered them and got them in. I’ve already shared those on the mood board I shared earlier, but here it is again.
If you missed that planning post, read it here and it will explain everything going on in the bathroom with before pics too.

The one with the chain will take the place of the fan and be the show stopper in the bathroom. The round one will go in the water closet and the sconces will flank the mirrors. Those sconces are bigger than they look, so we will have some bold lighting going on in here, but I think it will be pretty. Those faucets for the sink are very large and bold too and are so pretty.
Pin for later!
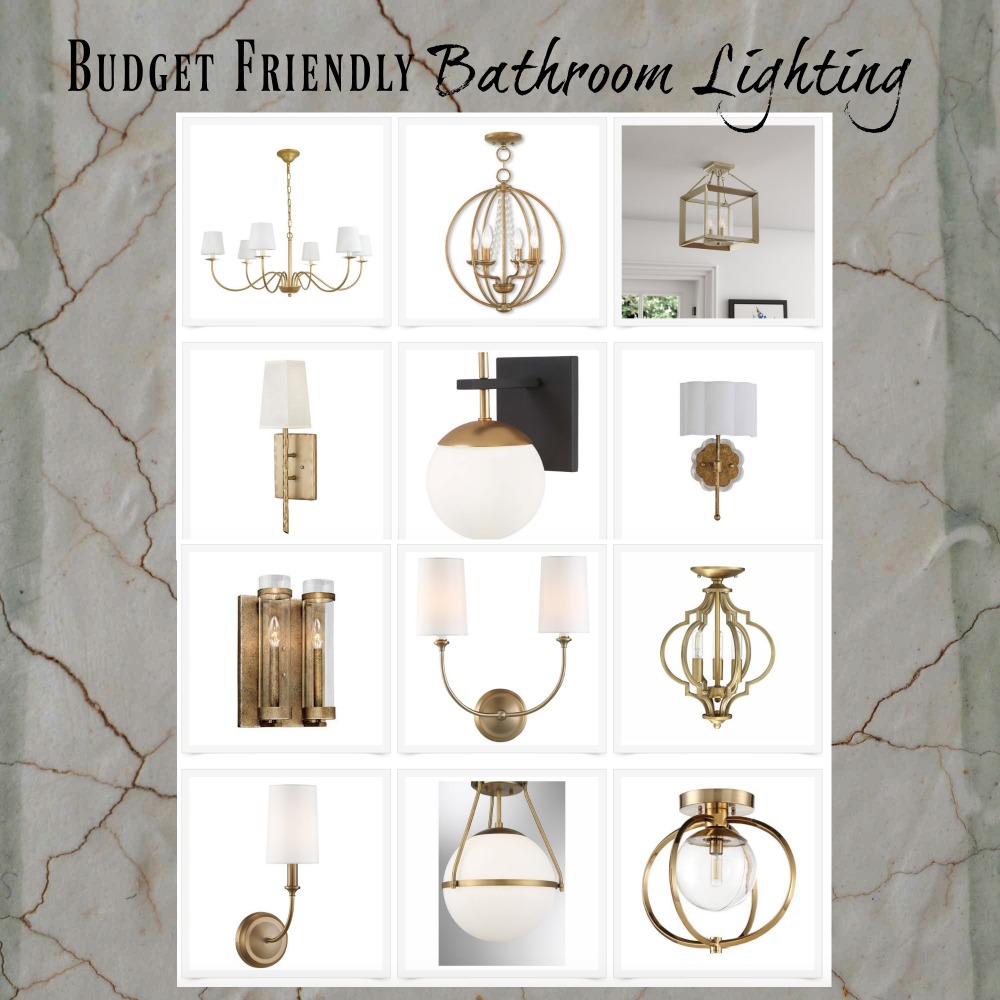
Here are all the ones I saved and considered and most of these are budget friendly options (affiliate links used). Click the photos to go to each one:
So those are some of the lighting options I found and liked. There are so many out there, but I was looking at gold tones for our space and had my heart set on mostly using gold fixtures. I’m doing a mix of gold, brushed nickel and a little bit of black in there to mix things up.
I’m sharing a few in progress pics of the first week. It takes longer than you would think to get a bathroom finished and I think we have about a week or 2 more to go. The countertop got delayed and will be in this week, I hope and the guys will be tiling the vanity wall as well as getting the faucets installed after that happens. Lots to do! And Mark and I are working on things over the weekend that we need to get done in there, so it’s going to be exciting to see it all come together.
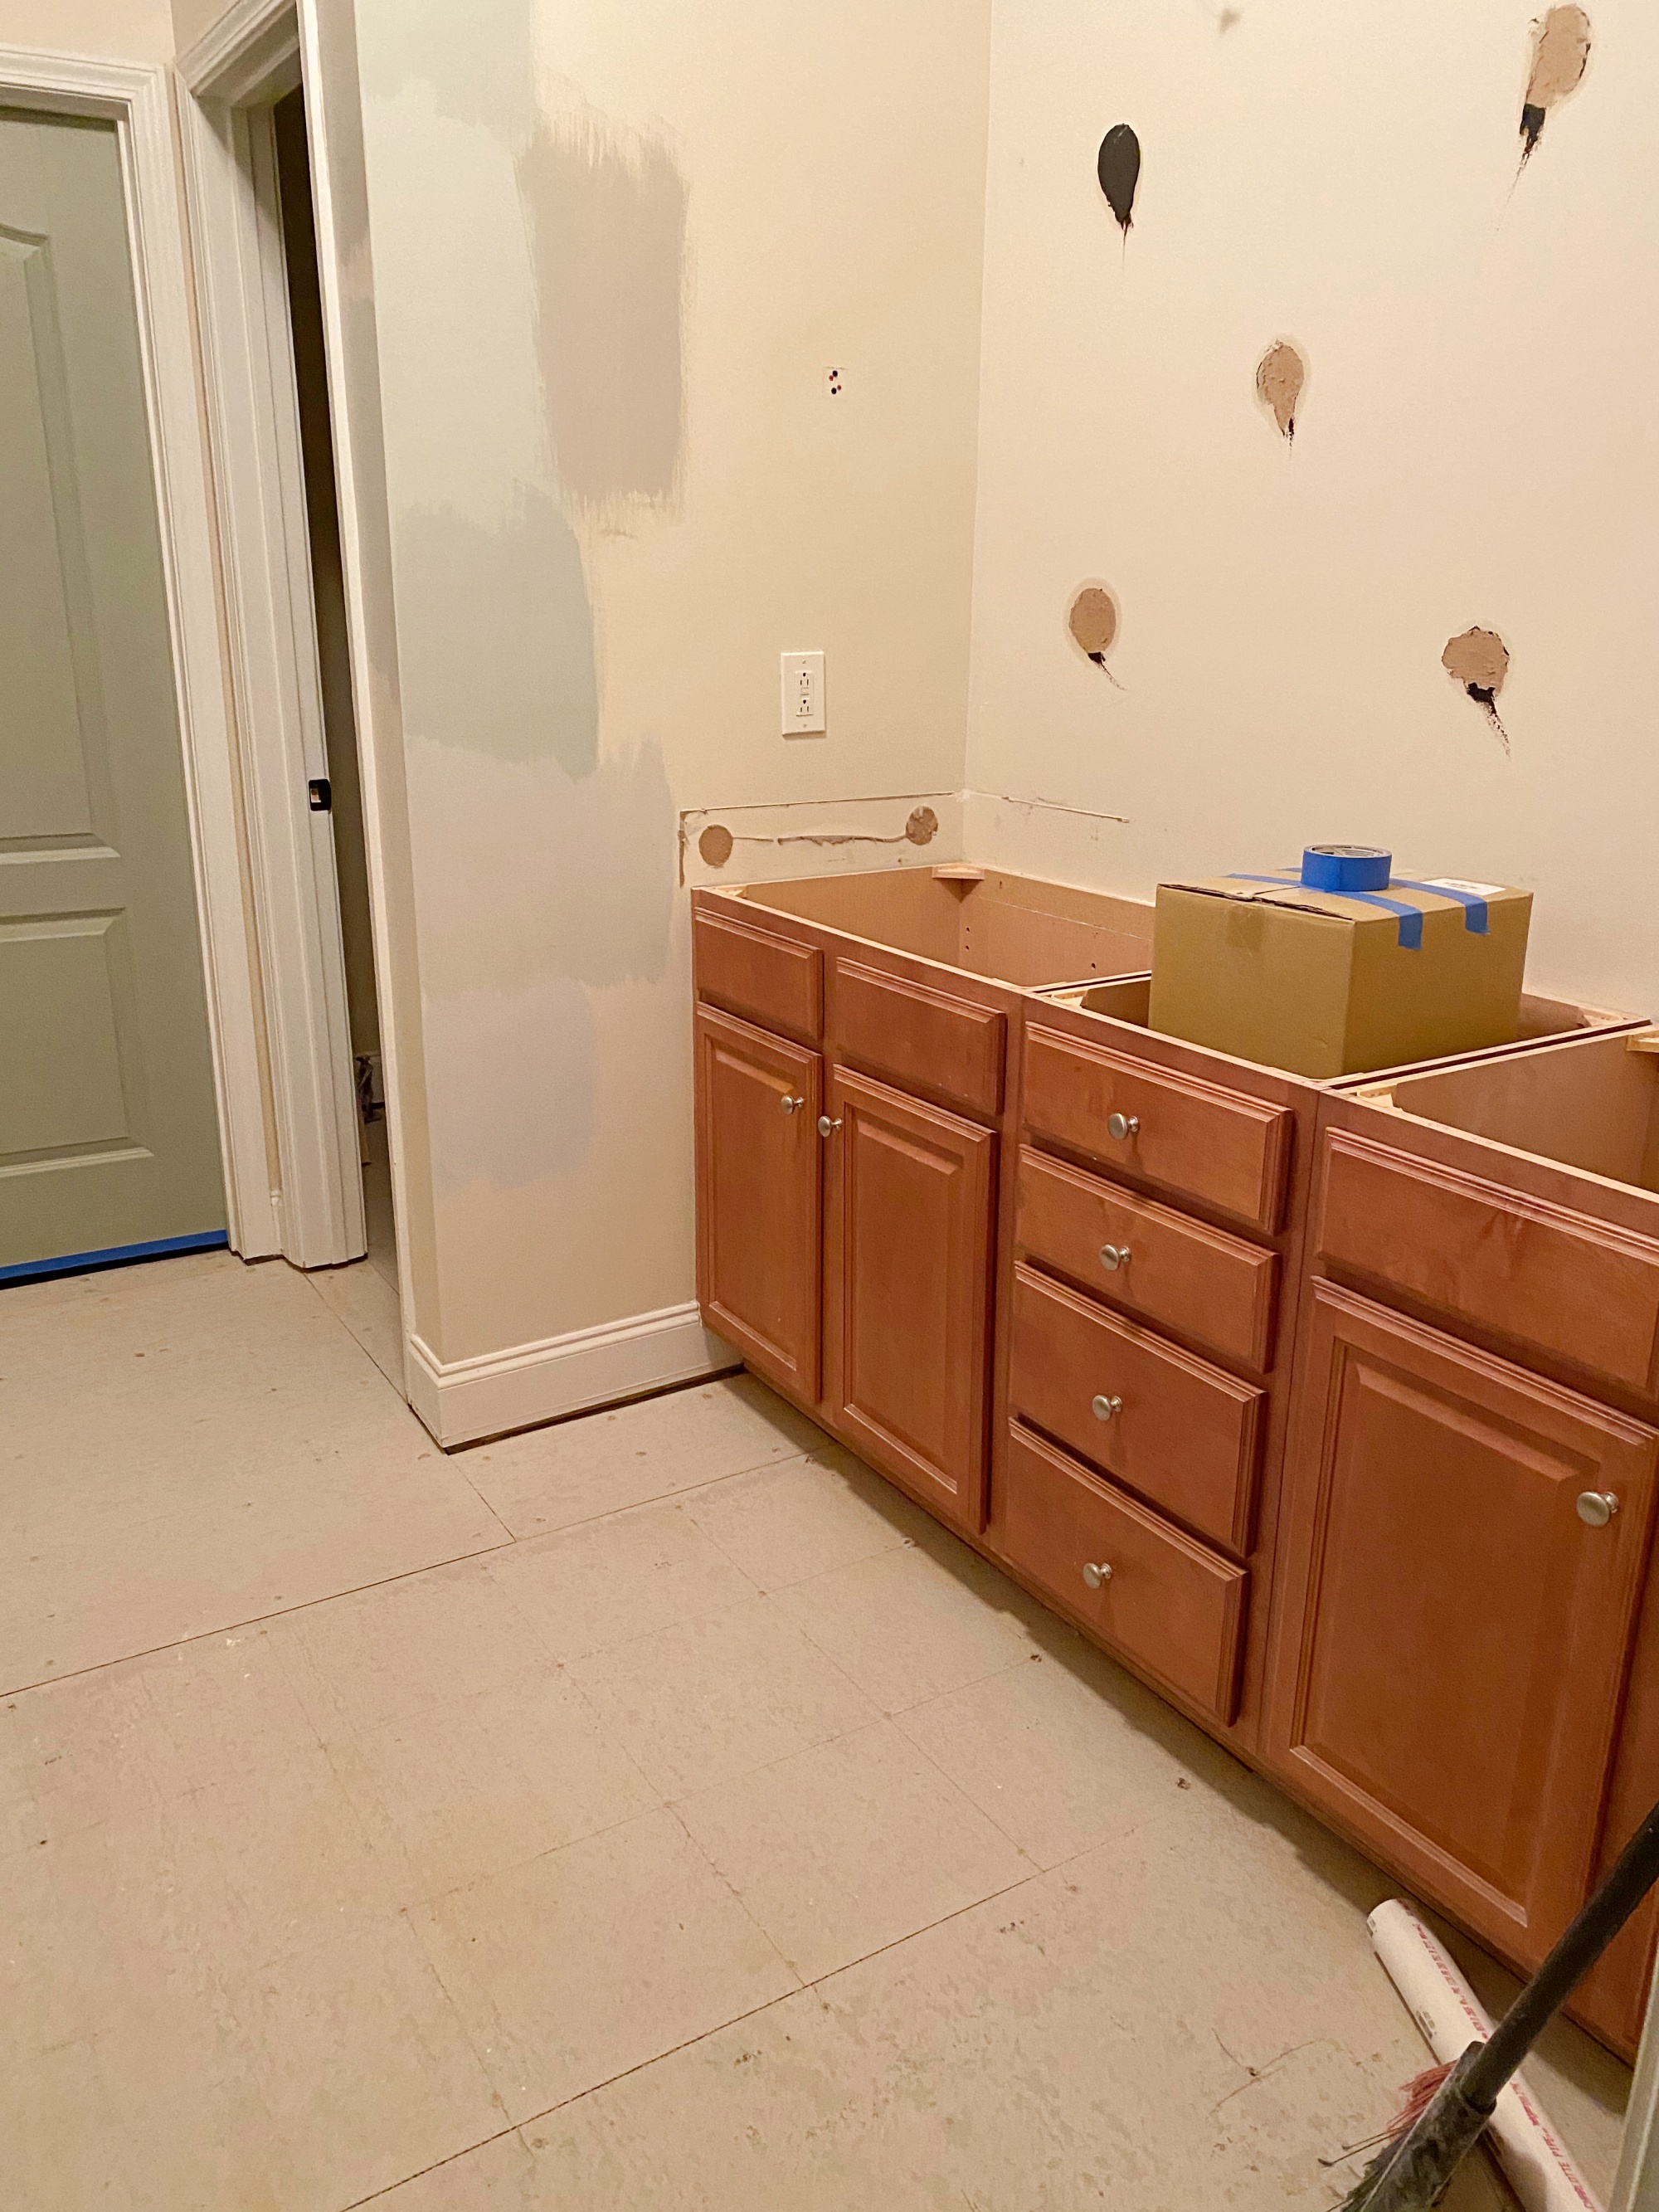
Here’s what it looked like after it was gutted and the new concrete backerboard went back in.
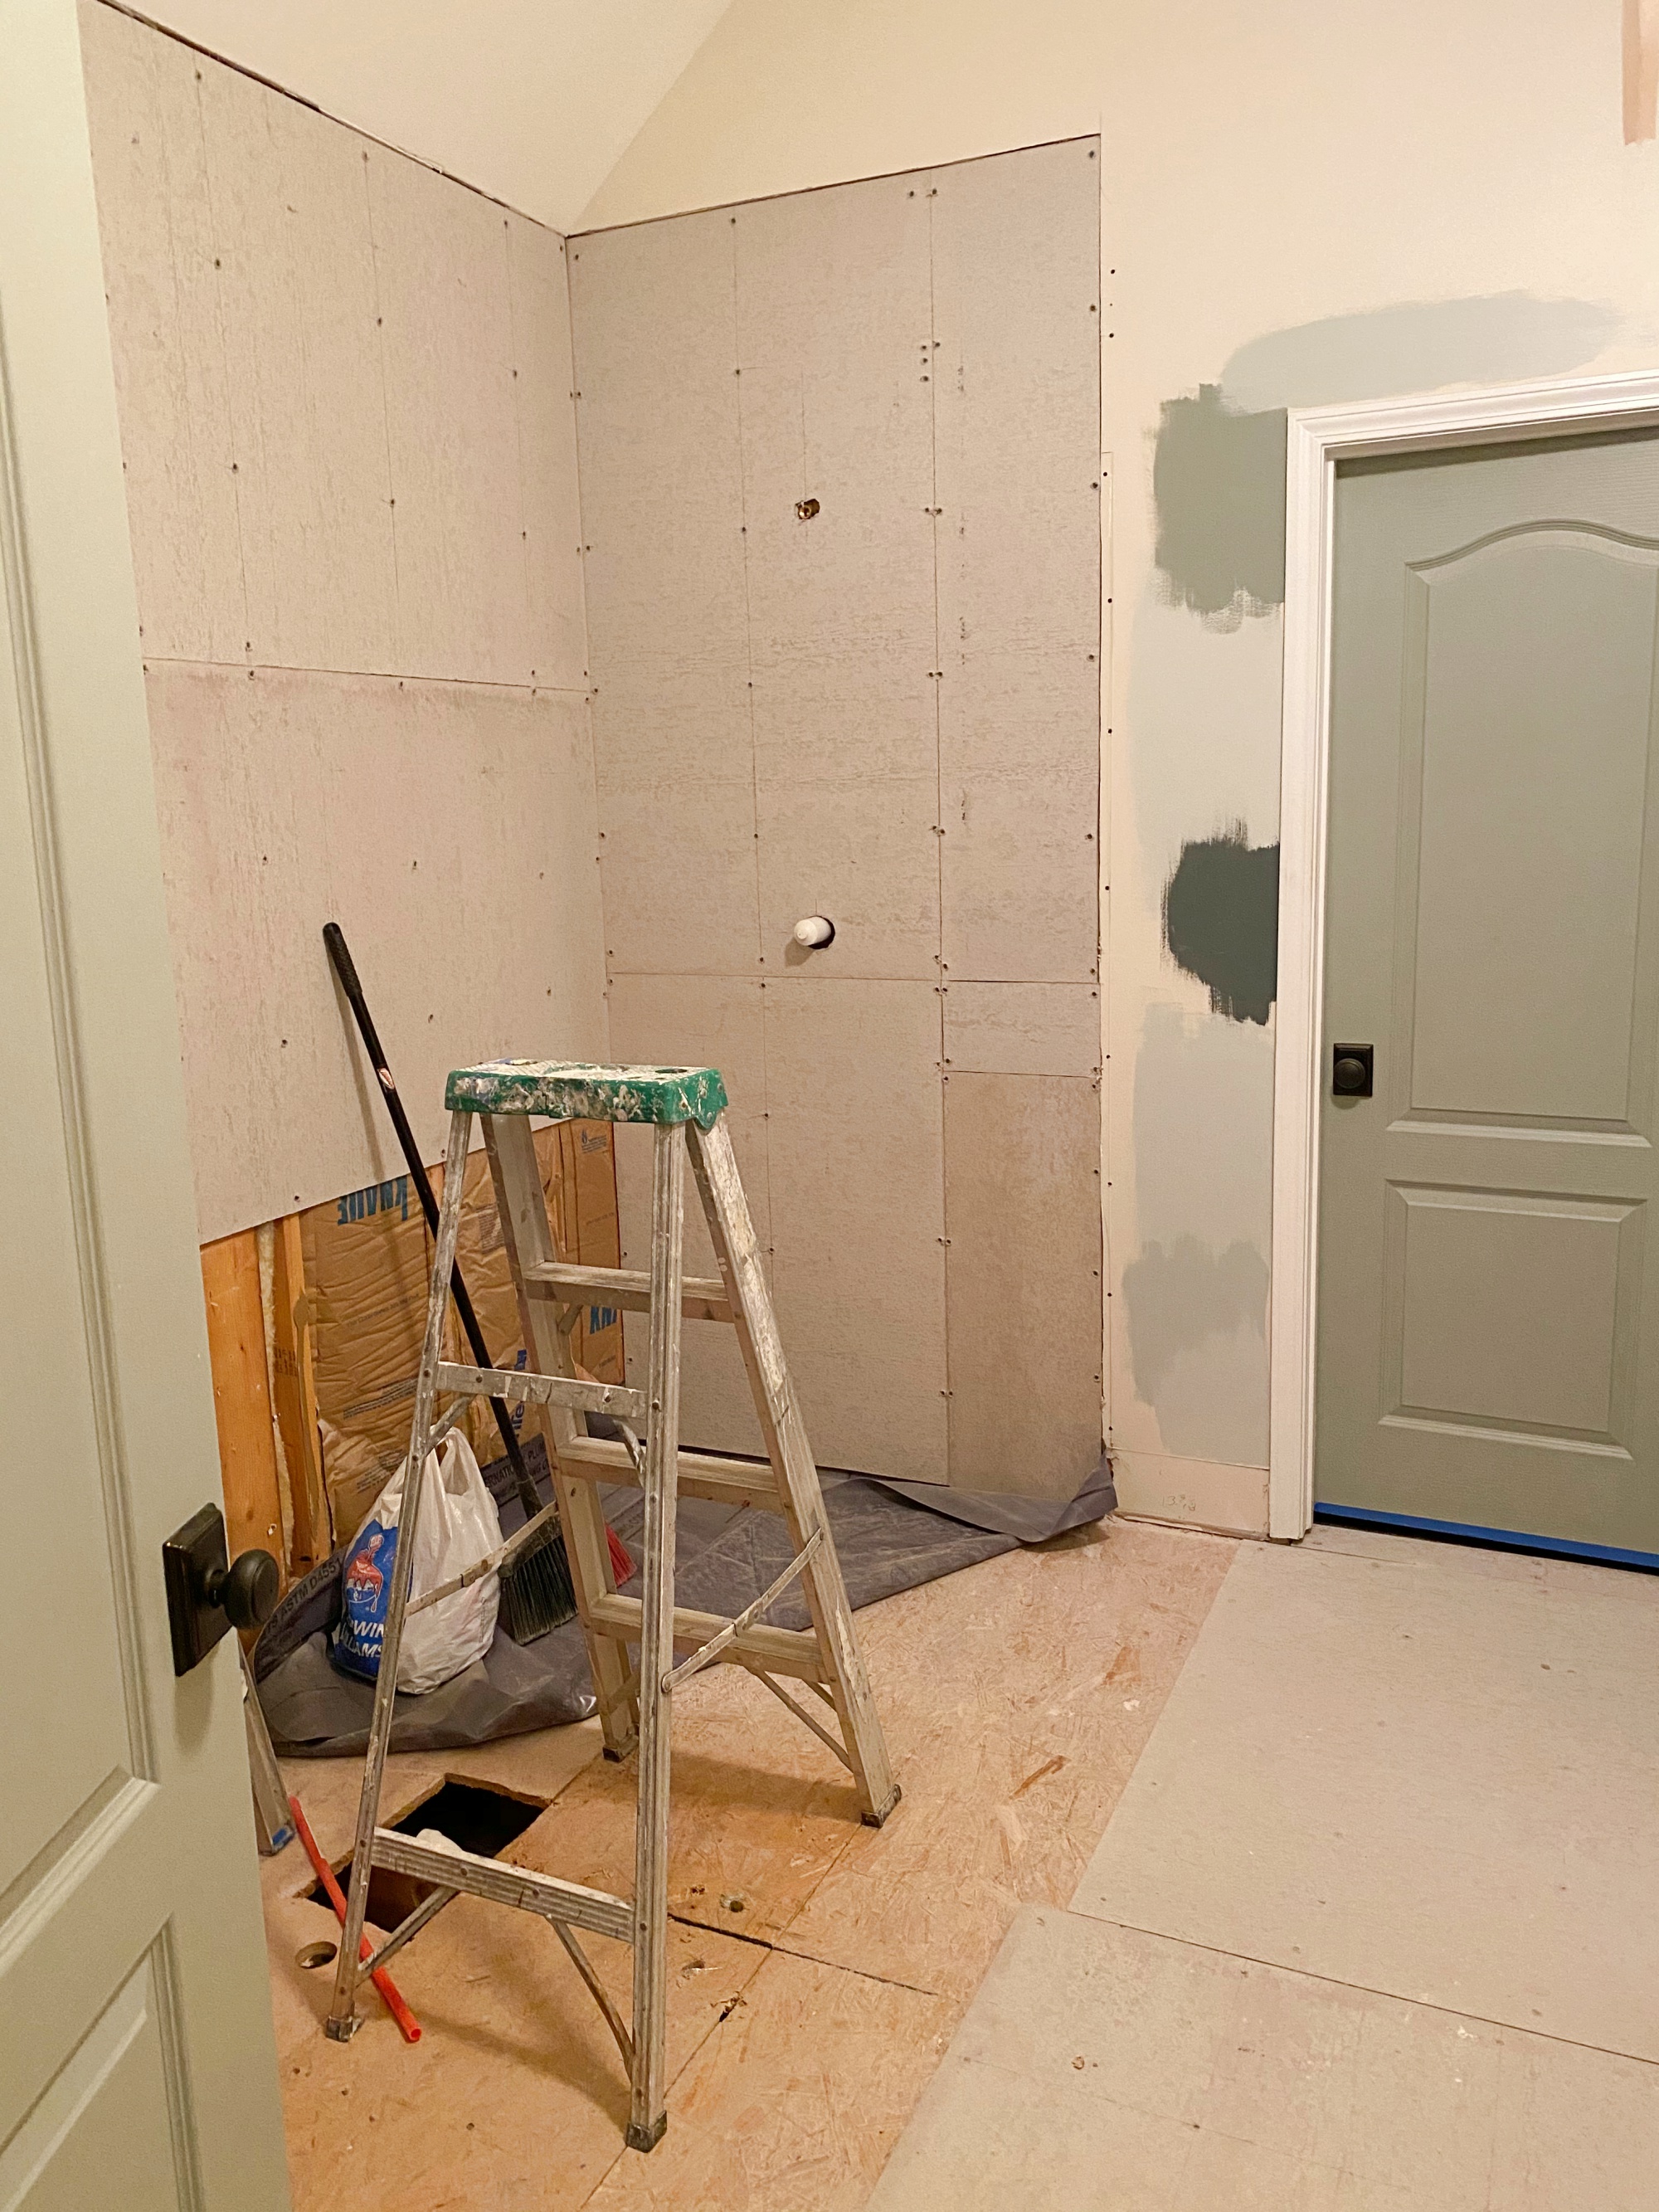
Backerboard in the shower too. Everything came out except the vanity which I’m painting and getting new countertops.
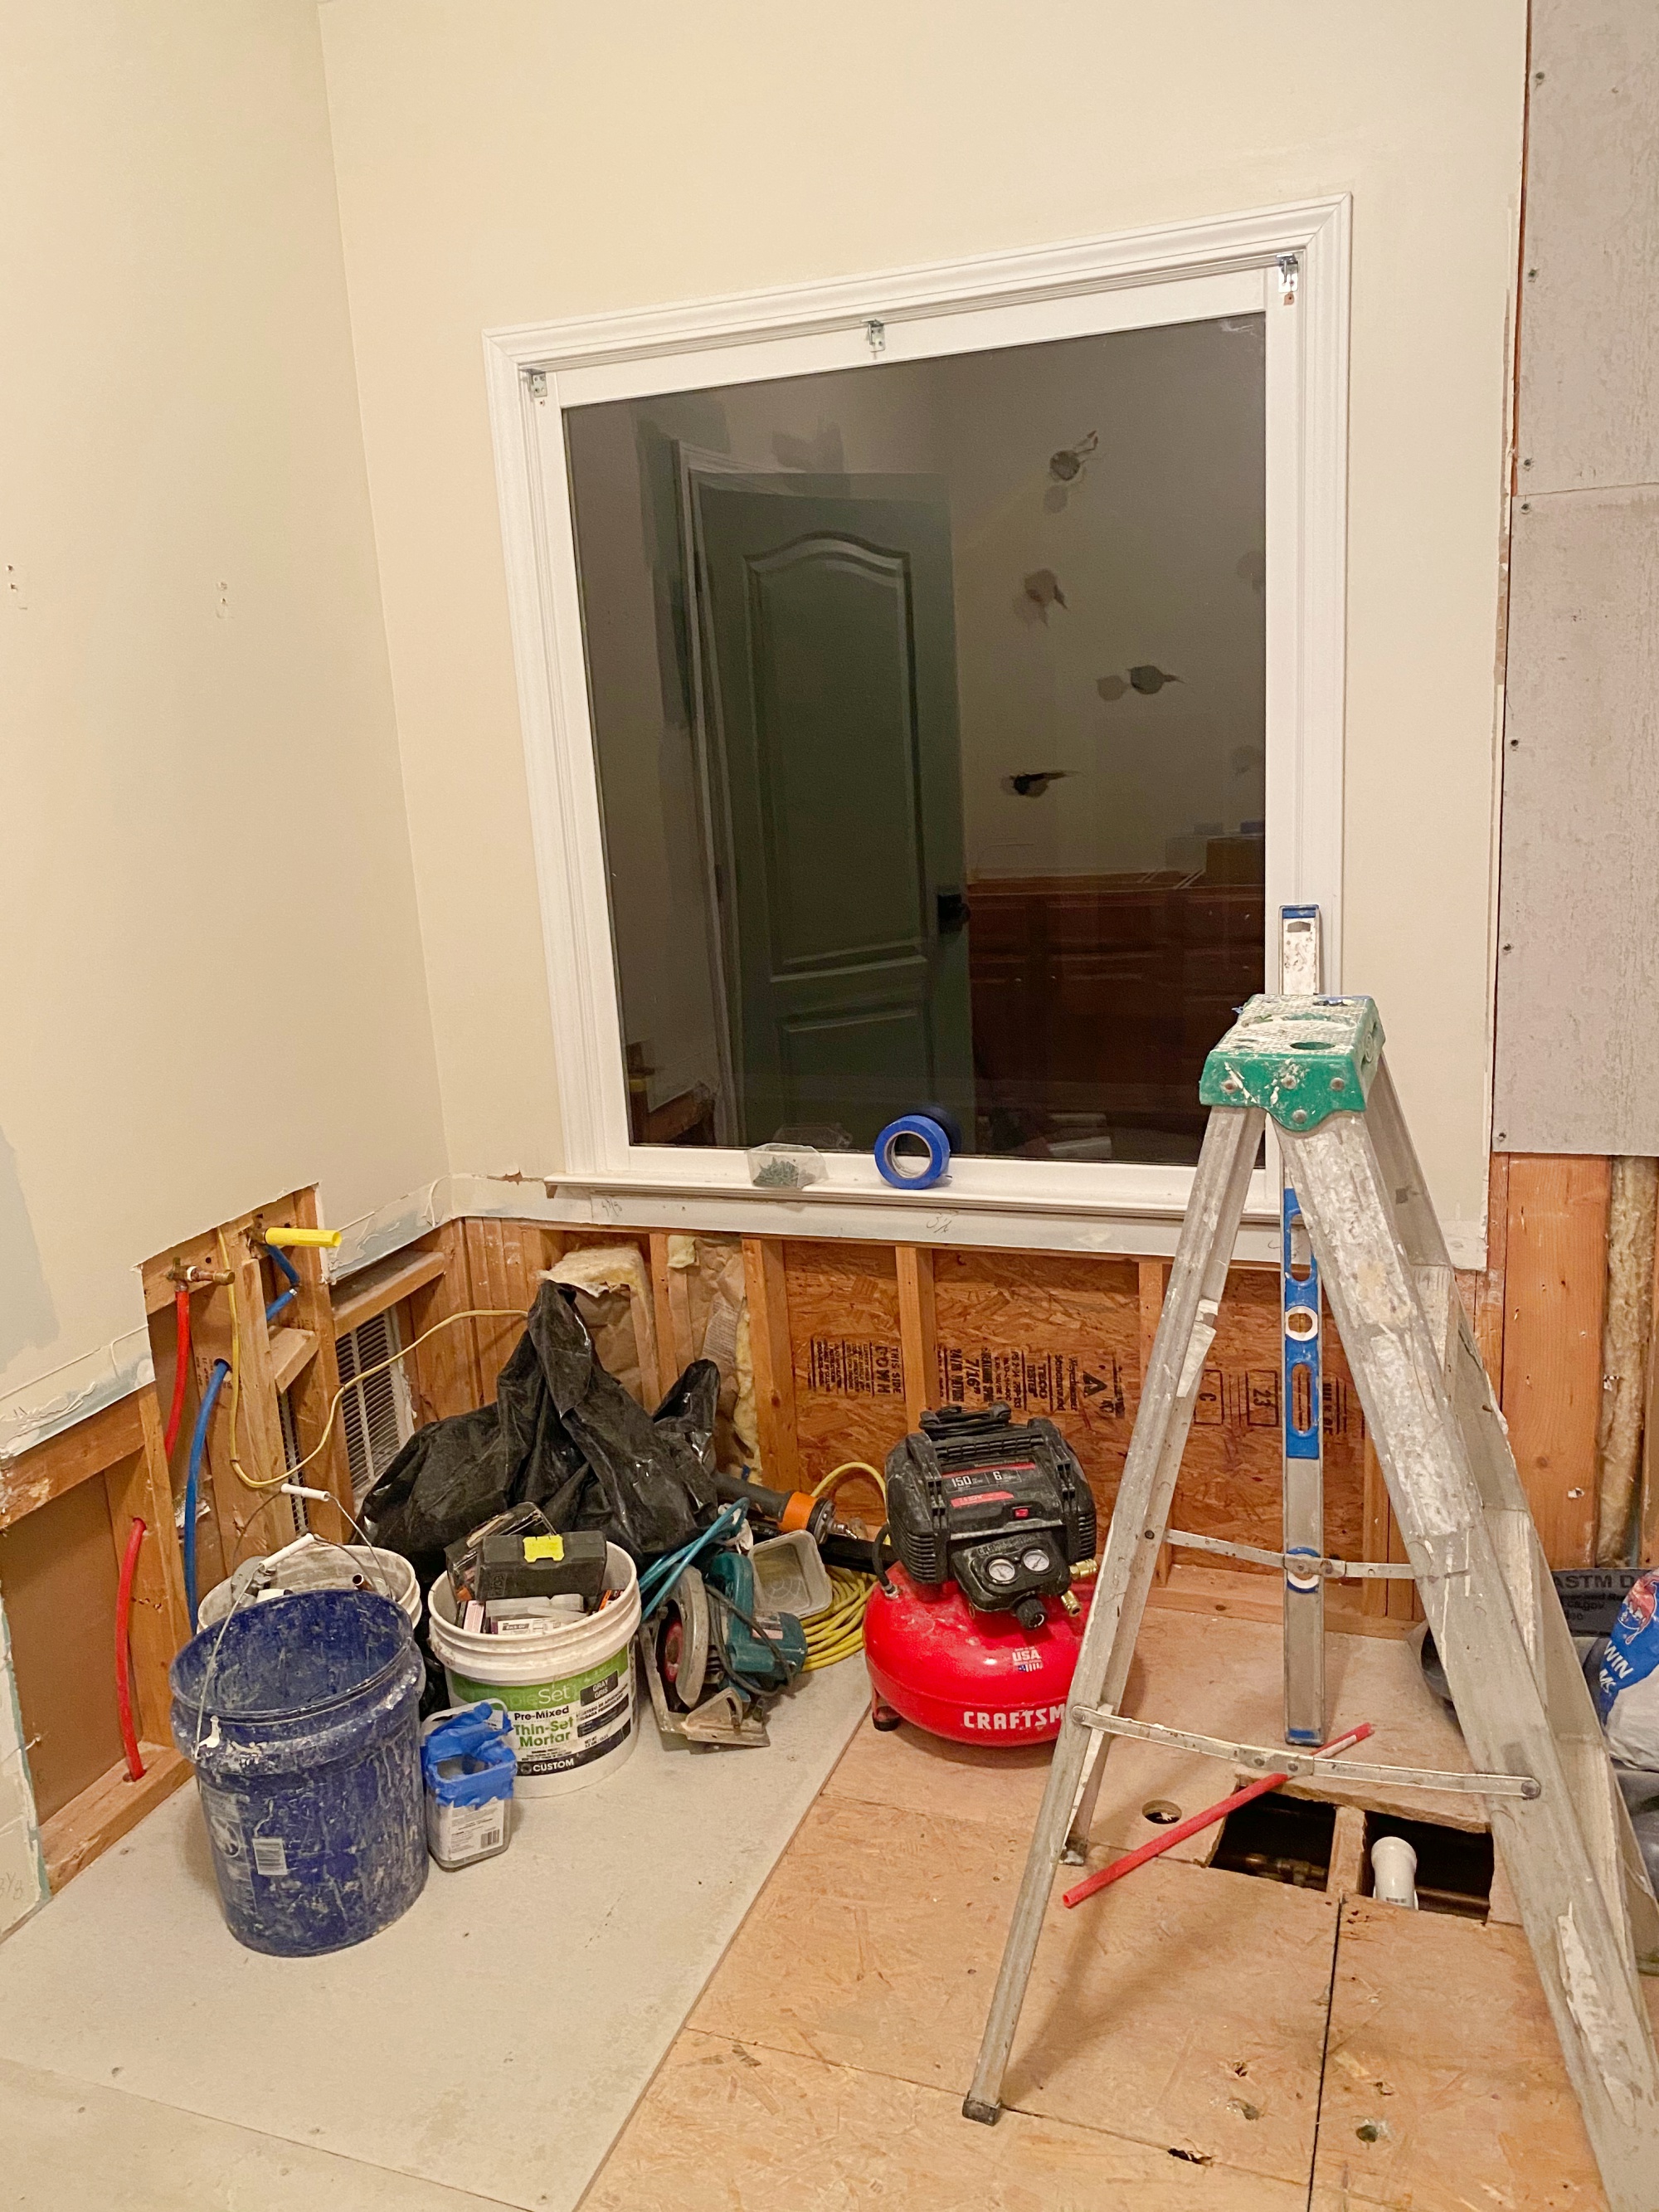
This big picture window is where the new tub will go. I don’t think we will miss that giant jetted tub that was here. I only used it a couple of times. But a soaker tub will be nice, I think. We had Sunburst Shutters come out and measure for a new Plantation shutter in here. It will be white like the trim and ceiling and I think it’s going to be so pretty. We love our other Sunburst Shutters and I’m happy to be working with them again. This way, I can open the top portion of the shutters to let in light and still have privacy below.
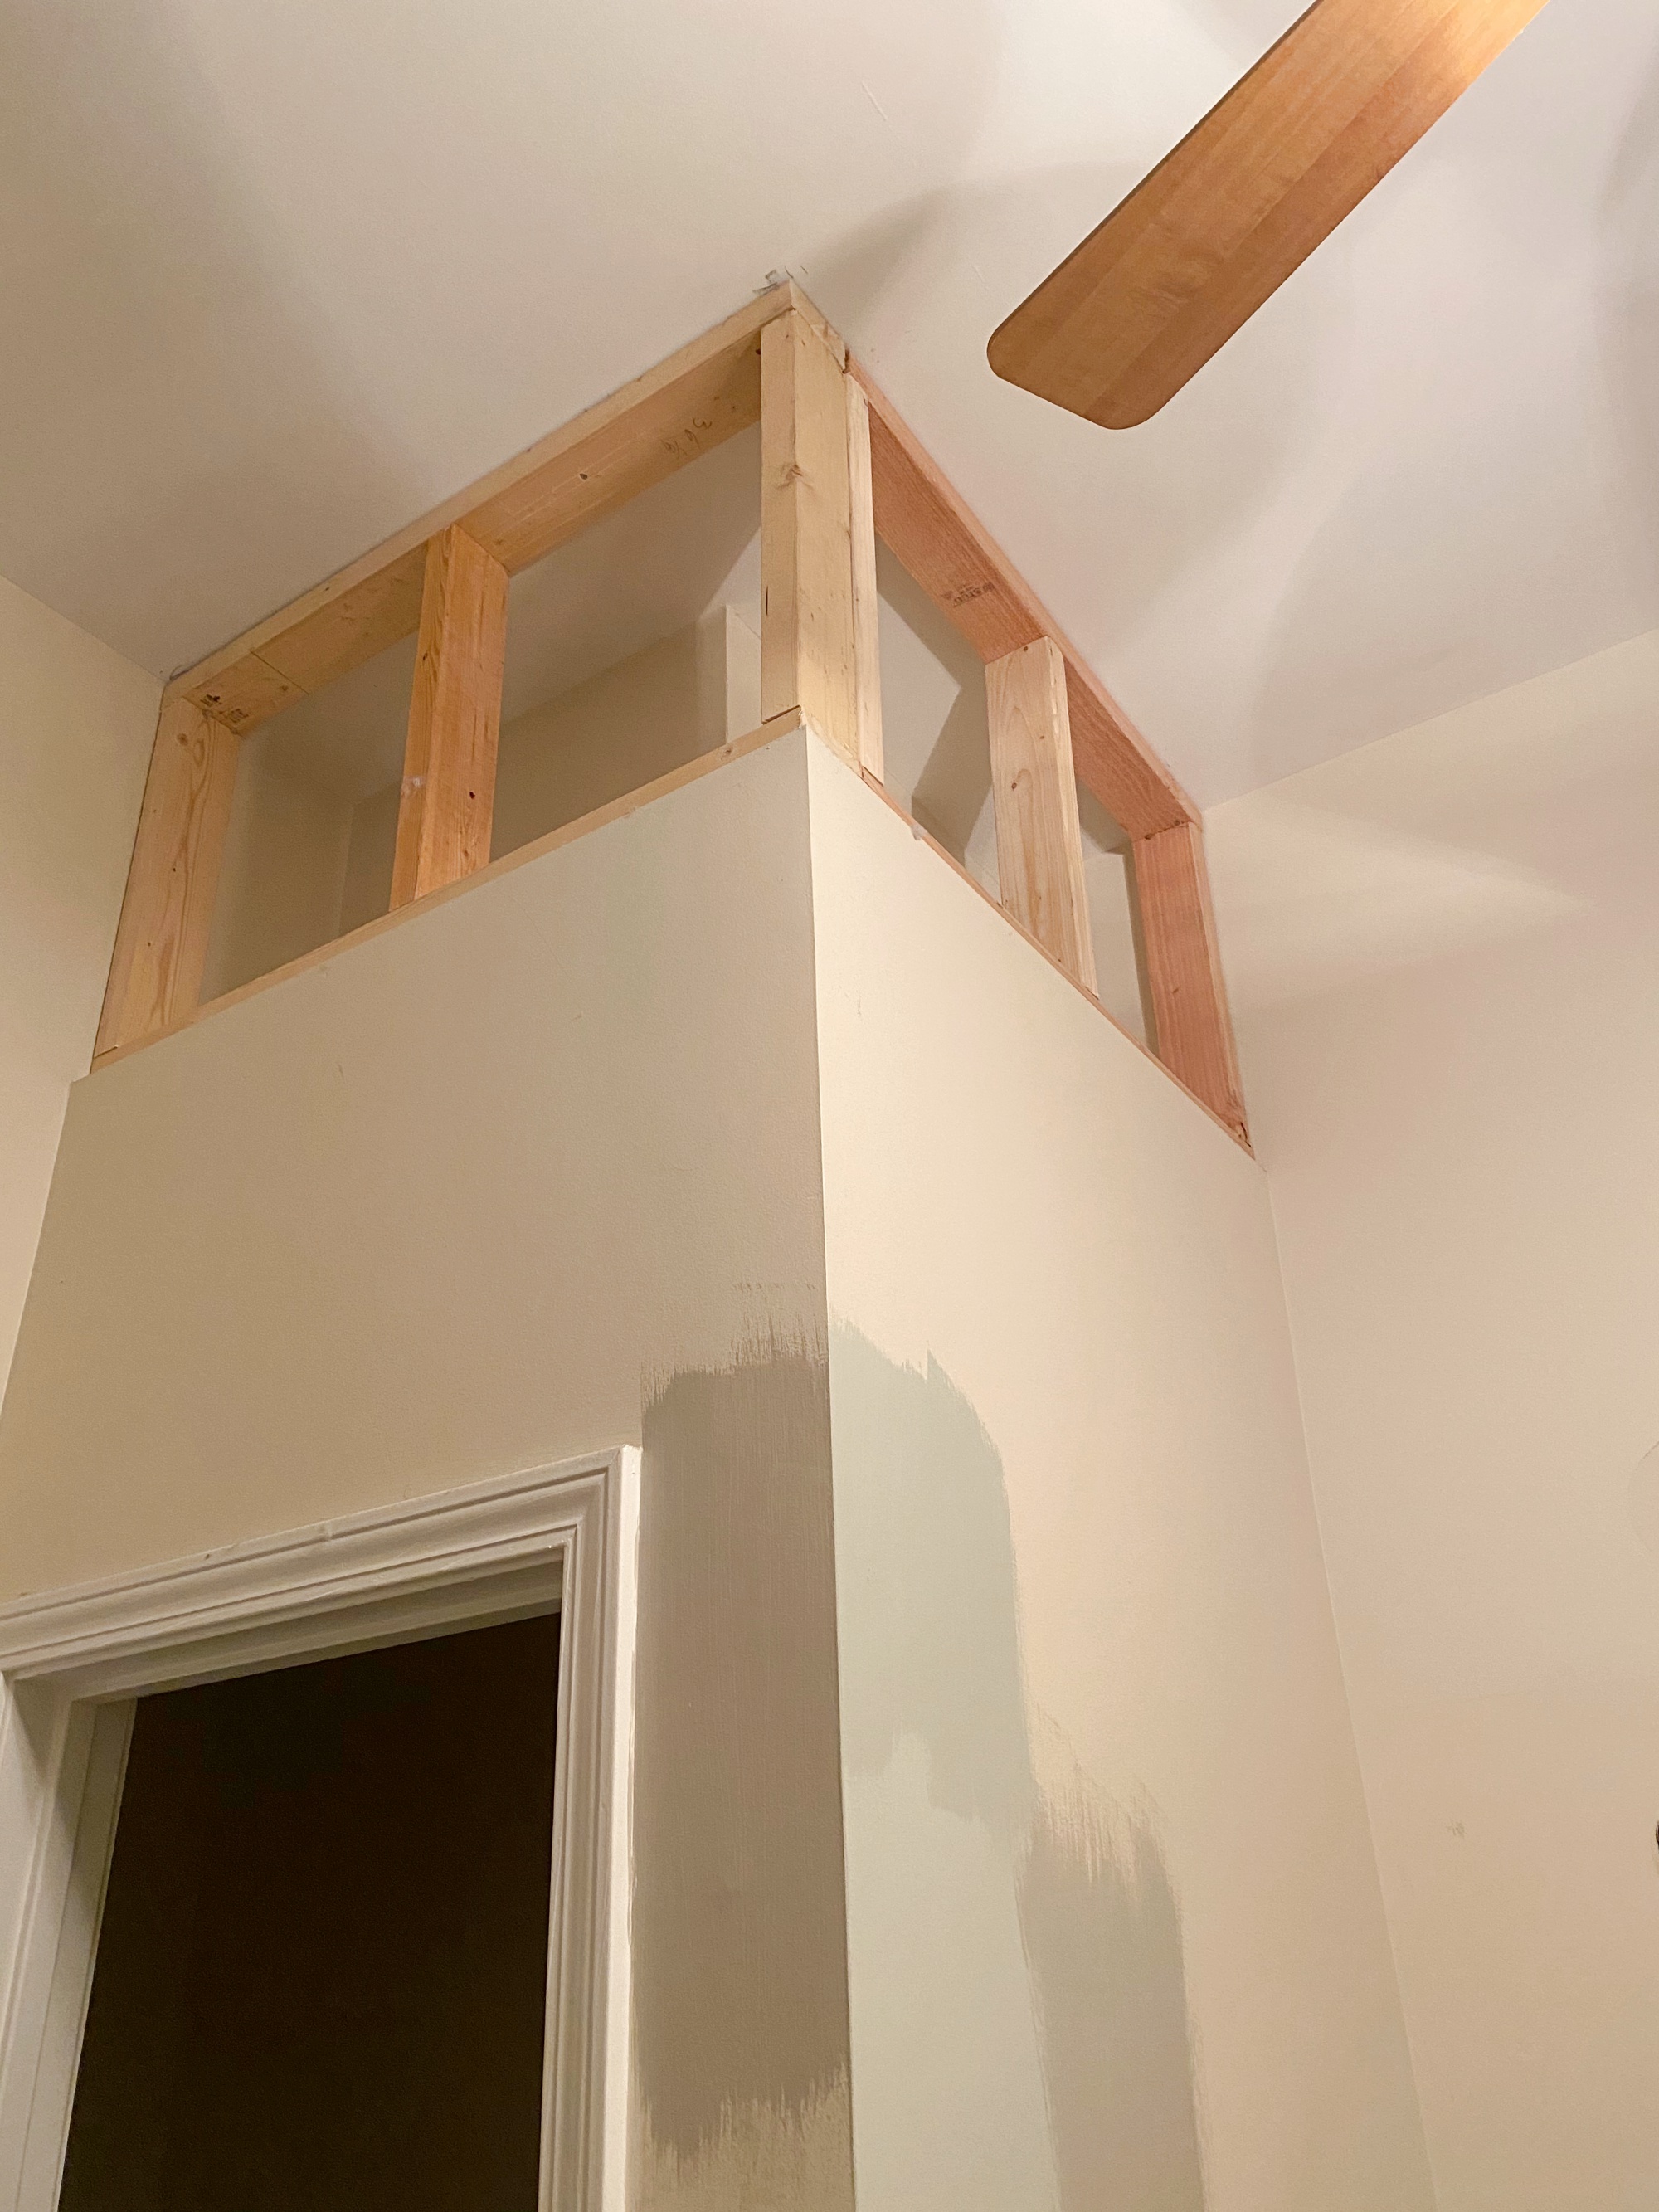
We had them close up this niche in the corner. It wasn’t doing anything and sort of ruined the look of tile going all the way up the wall over the vanity so I needed a straight line up here.
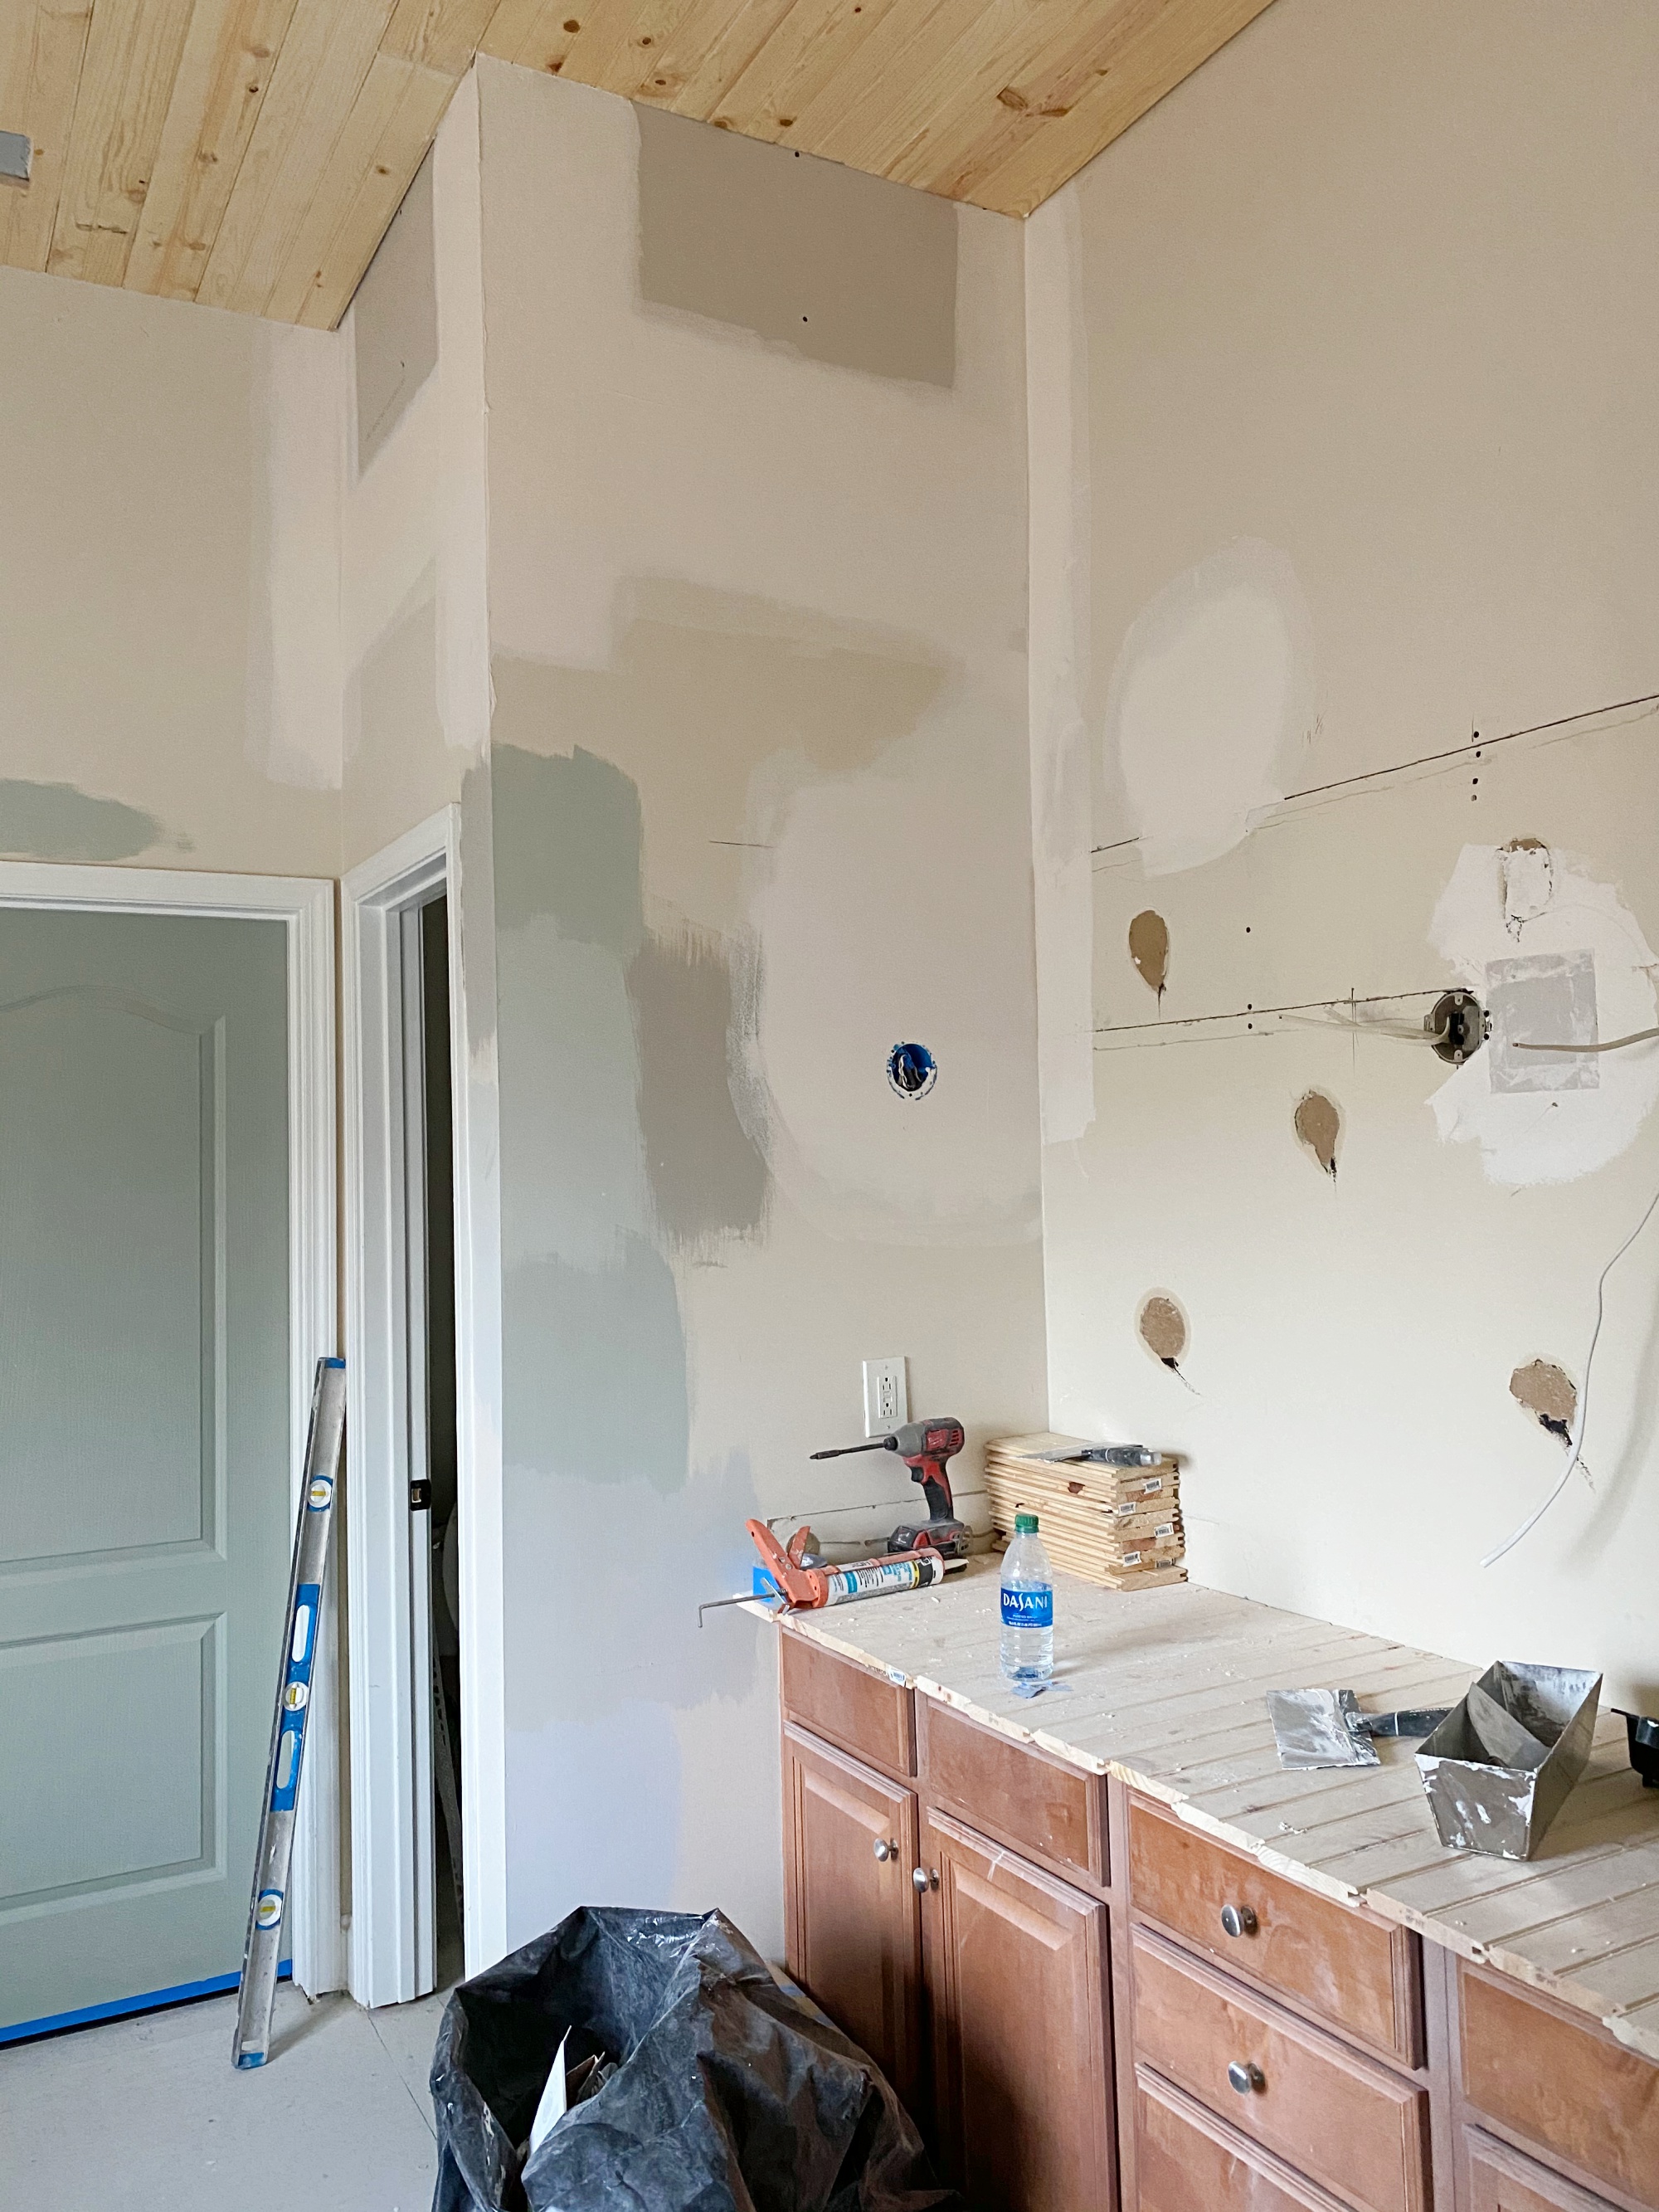
I like it much better closed off and now it’s all straight when the tile gets installed on the vanity wall. I love the look of a tiled wall!
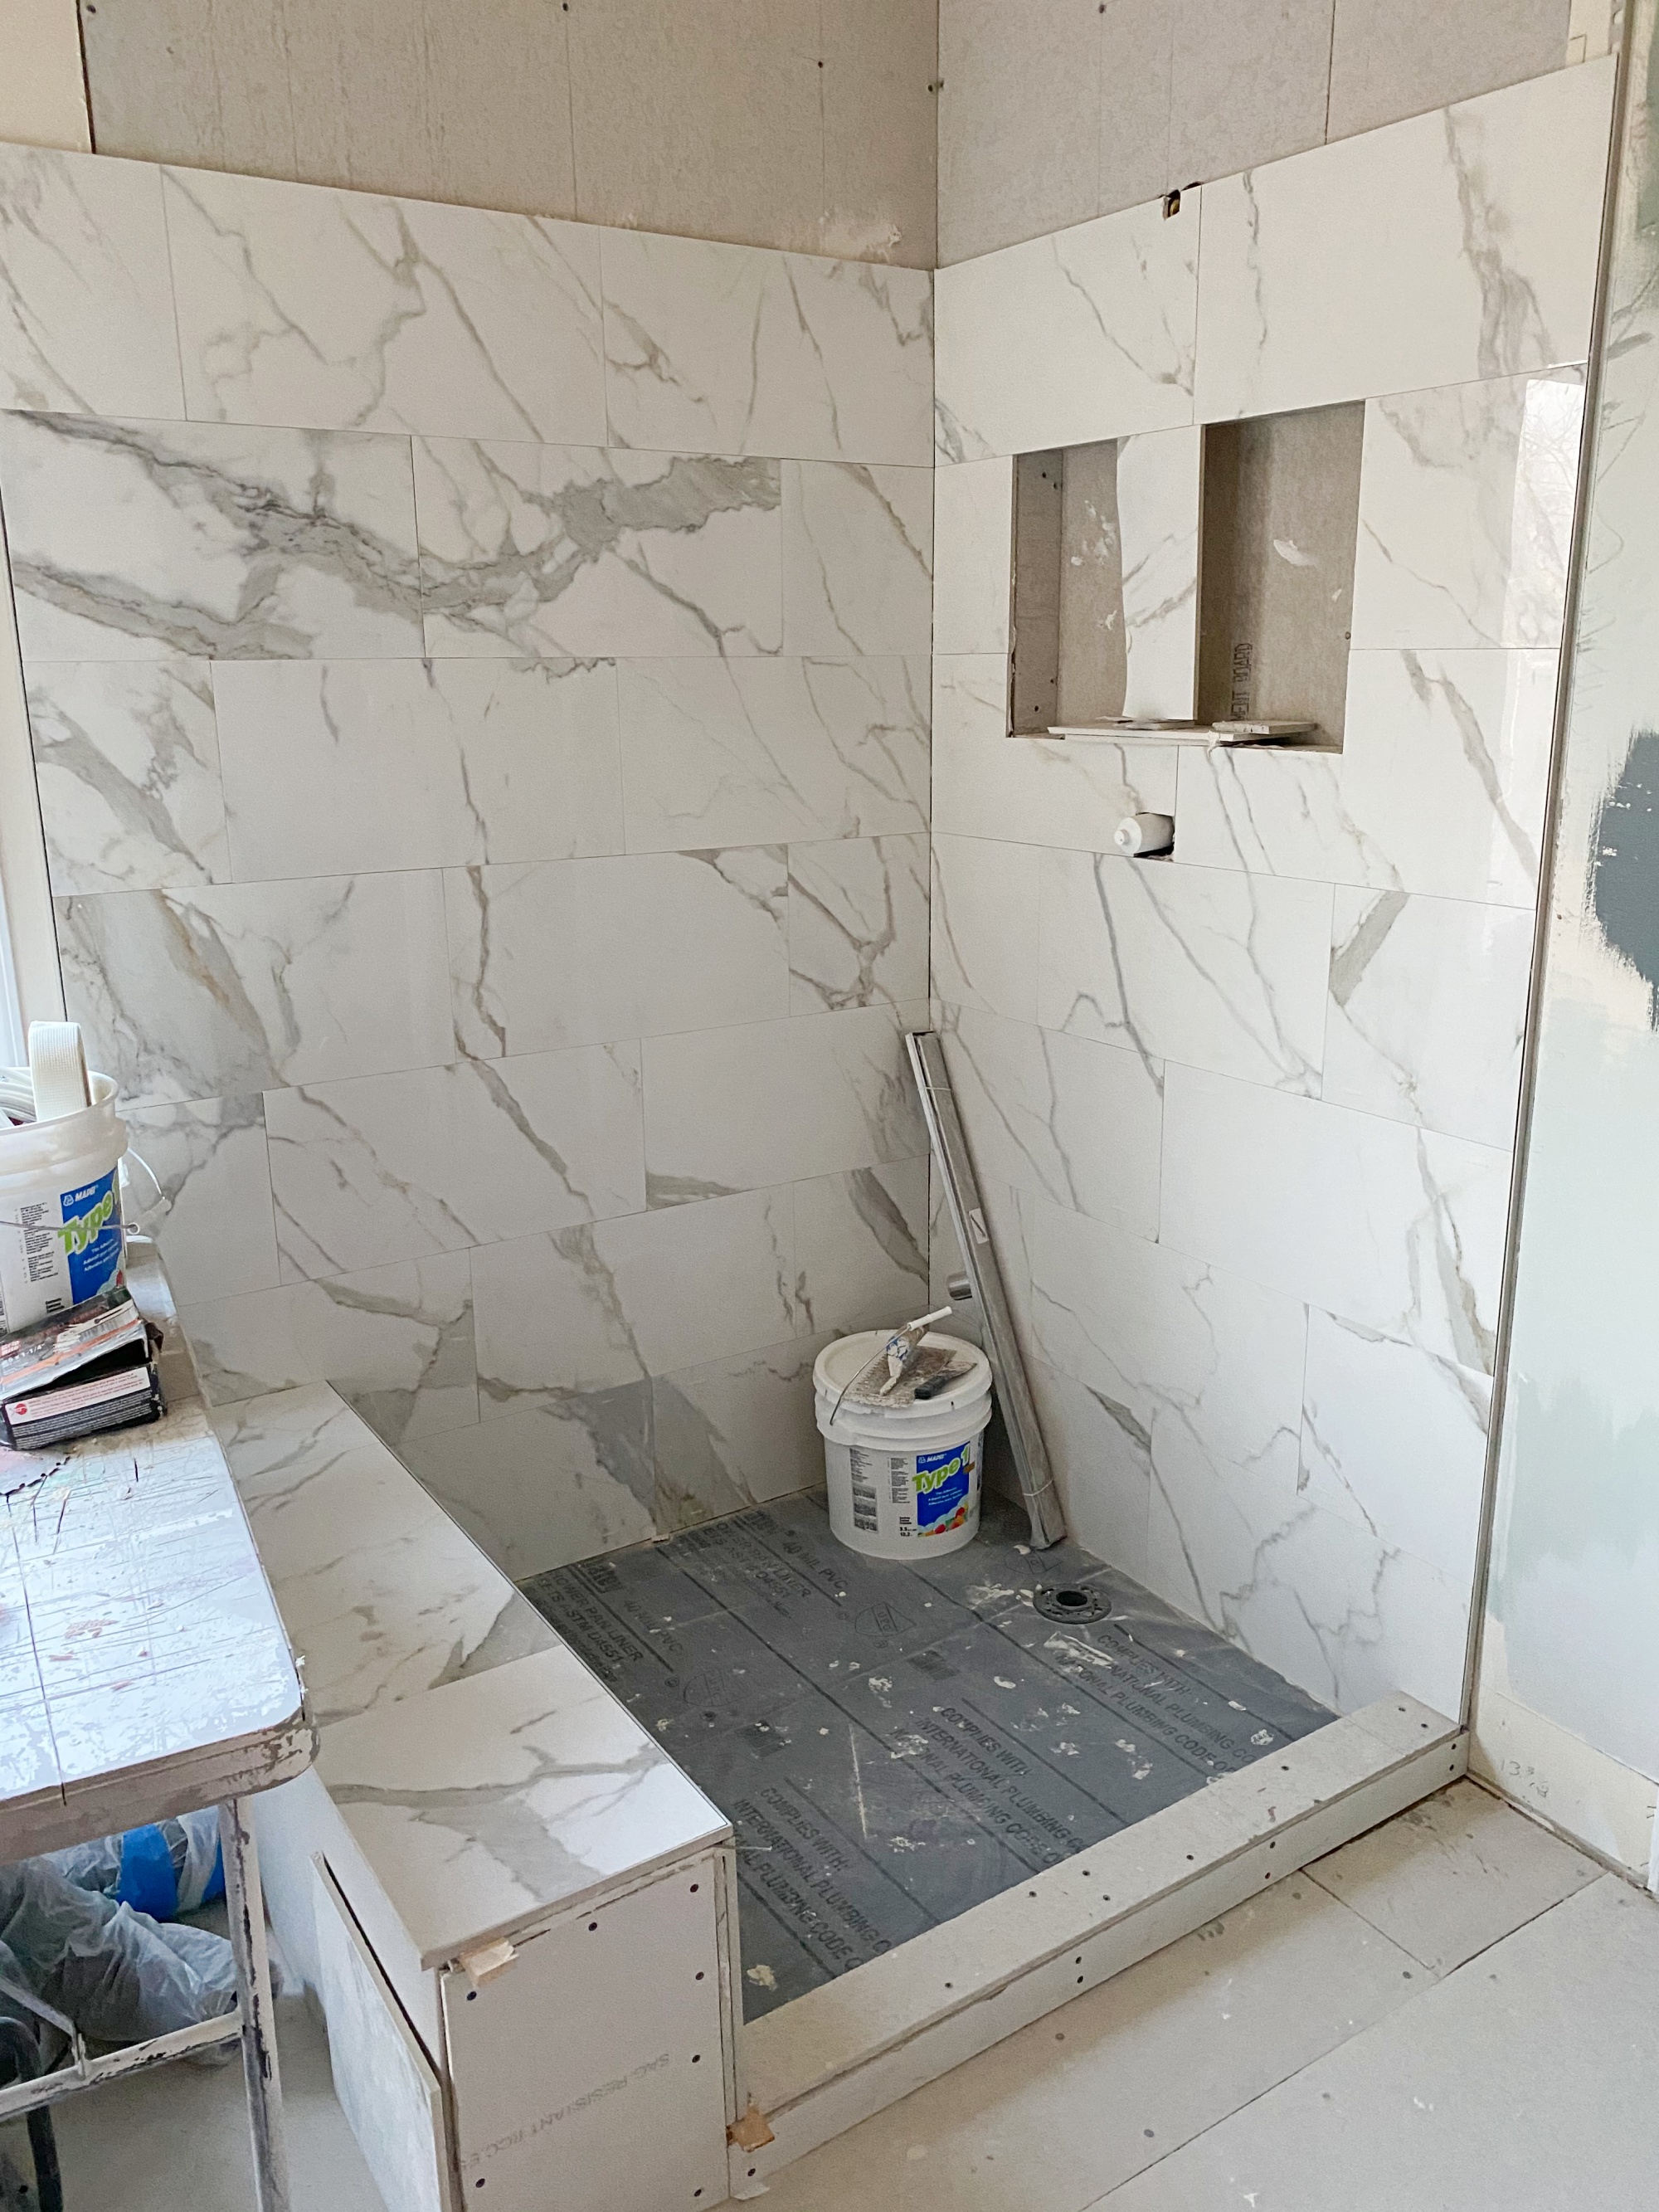
Here’s some progress in the shower. It’s my own fault, but I didn’t take into account that we might do a little bench in here, so we ran out of the large tiles to finish the shower. Those are on order now and being sent from Walker Zanger. I need 12 more pieces. Oh the details that go into a bathroom renovation! It’s looking so good though, I’m really excited to get to the finish line.
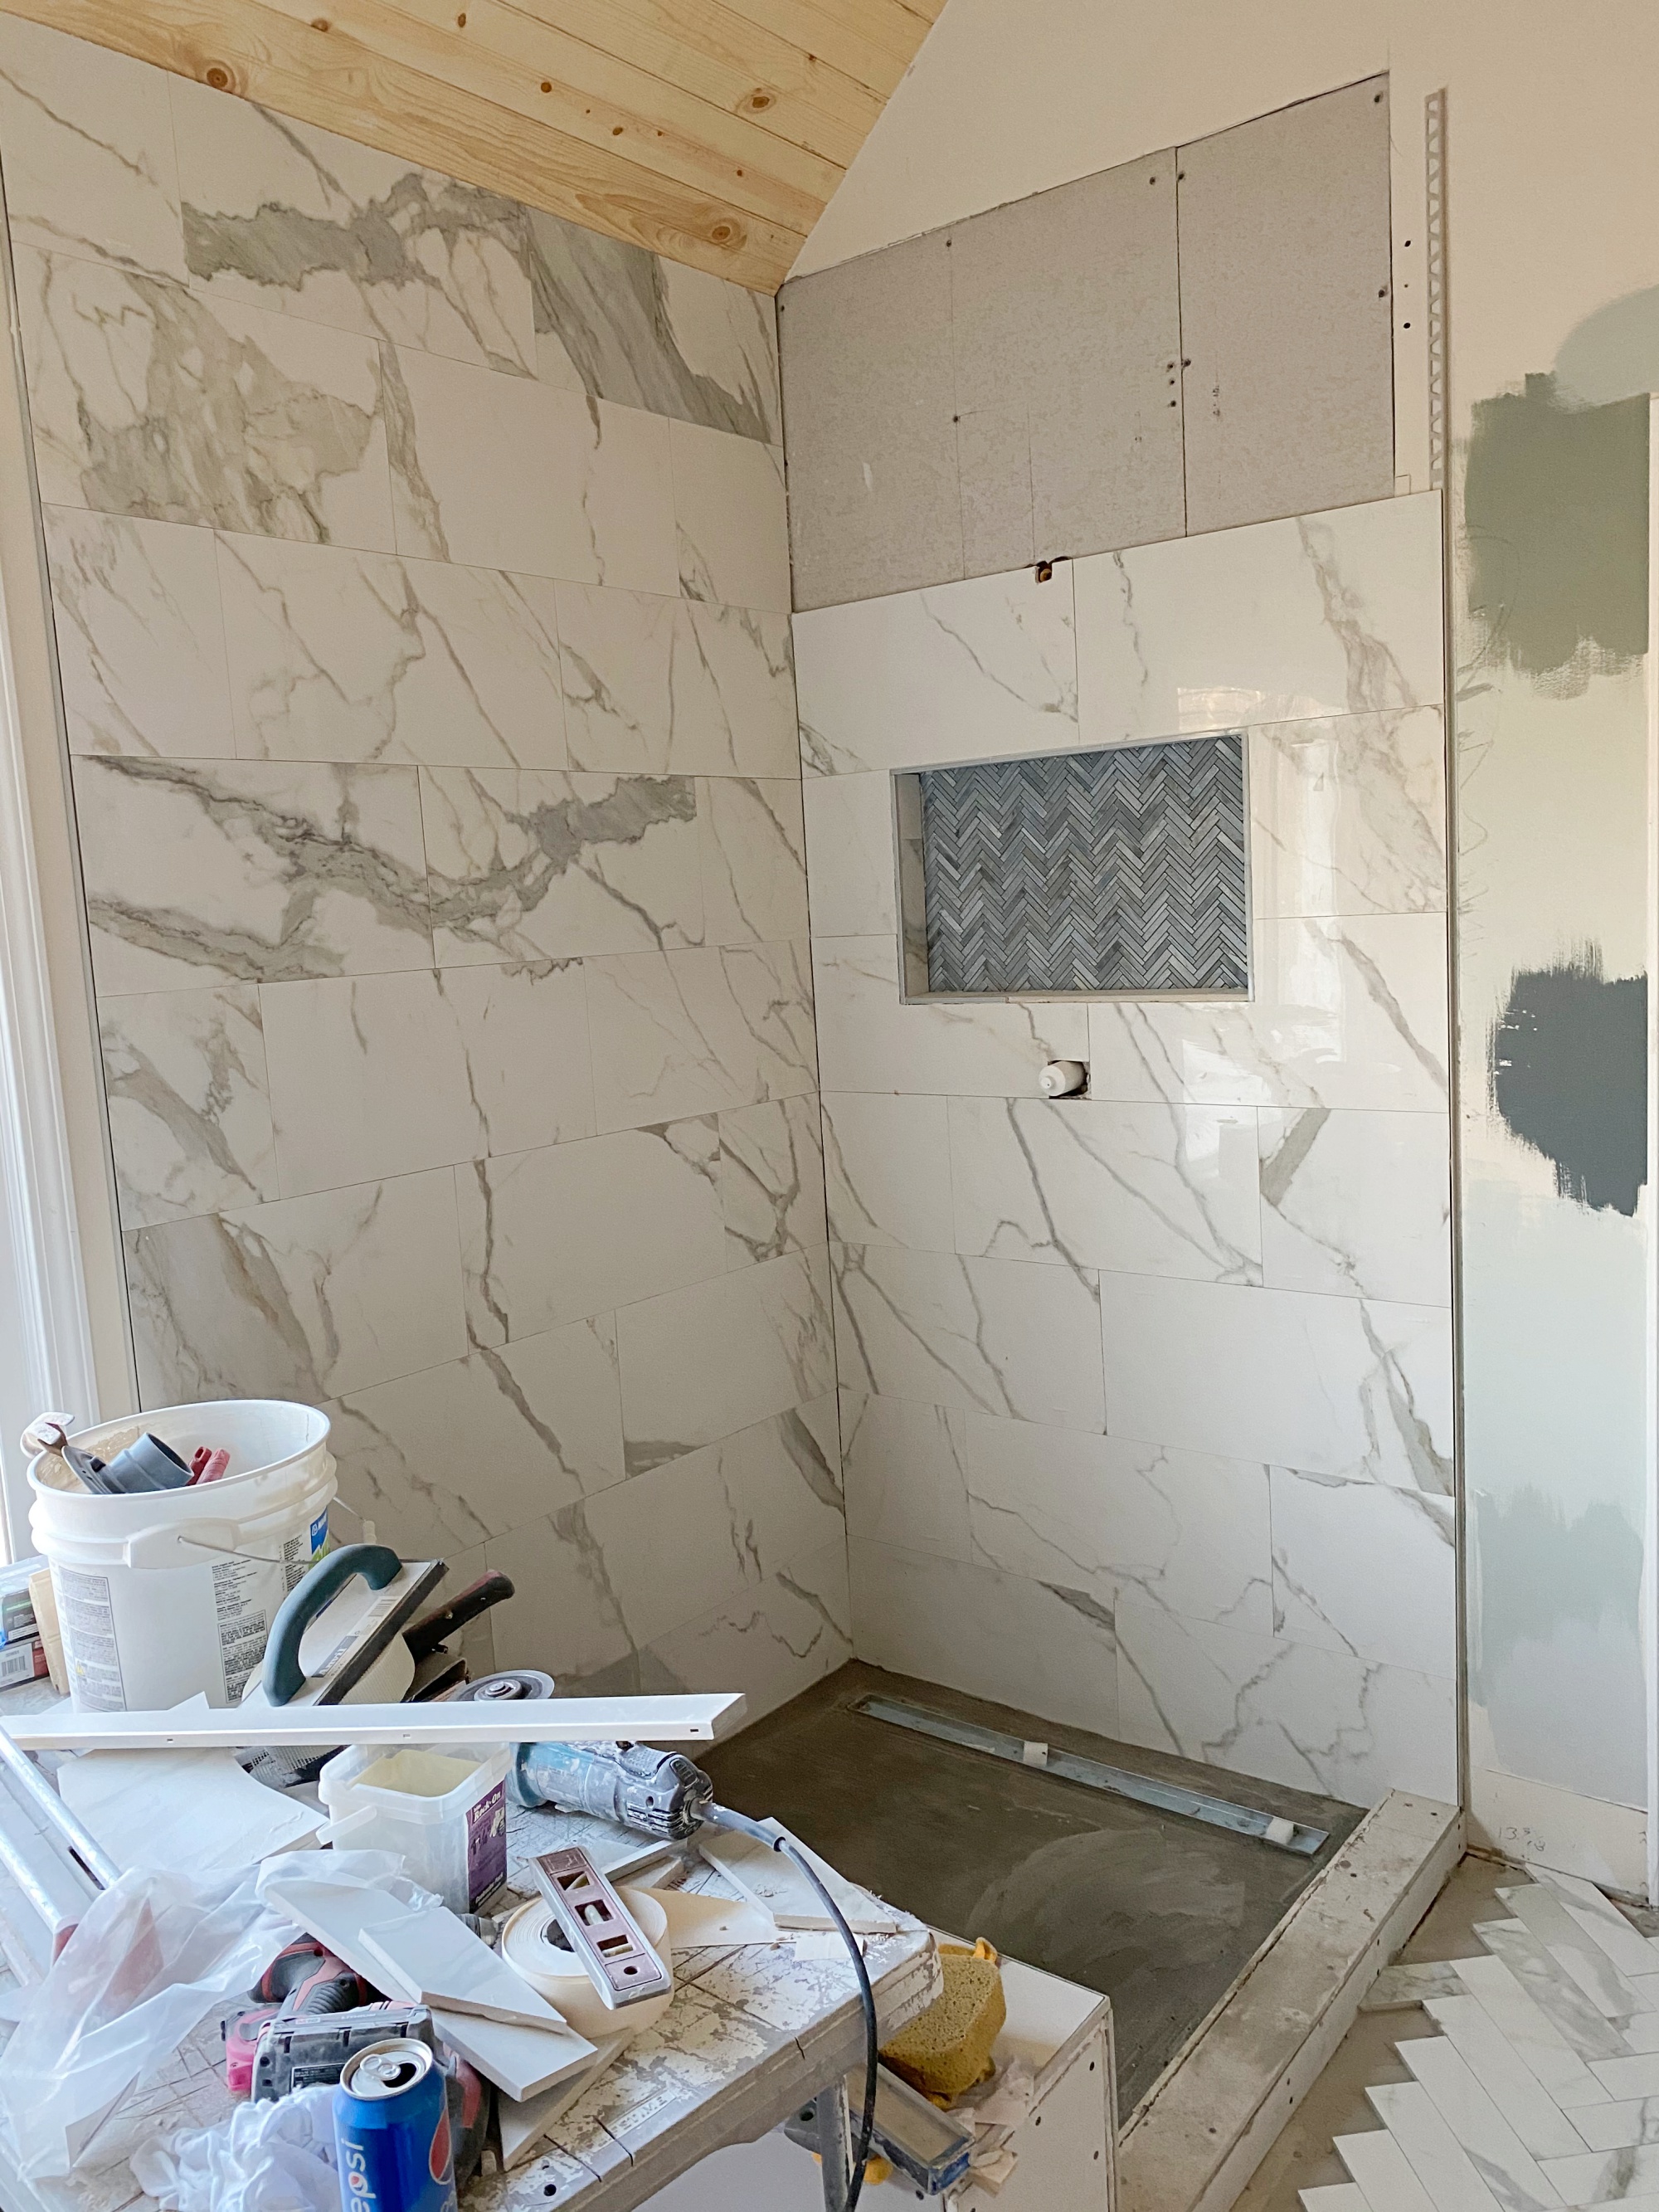
One more shot of the niche in the shower with that pretty marble tile that will also go in the shower floor.
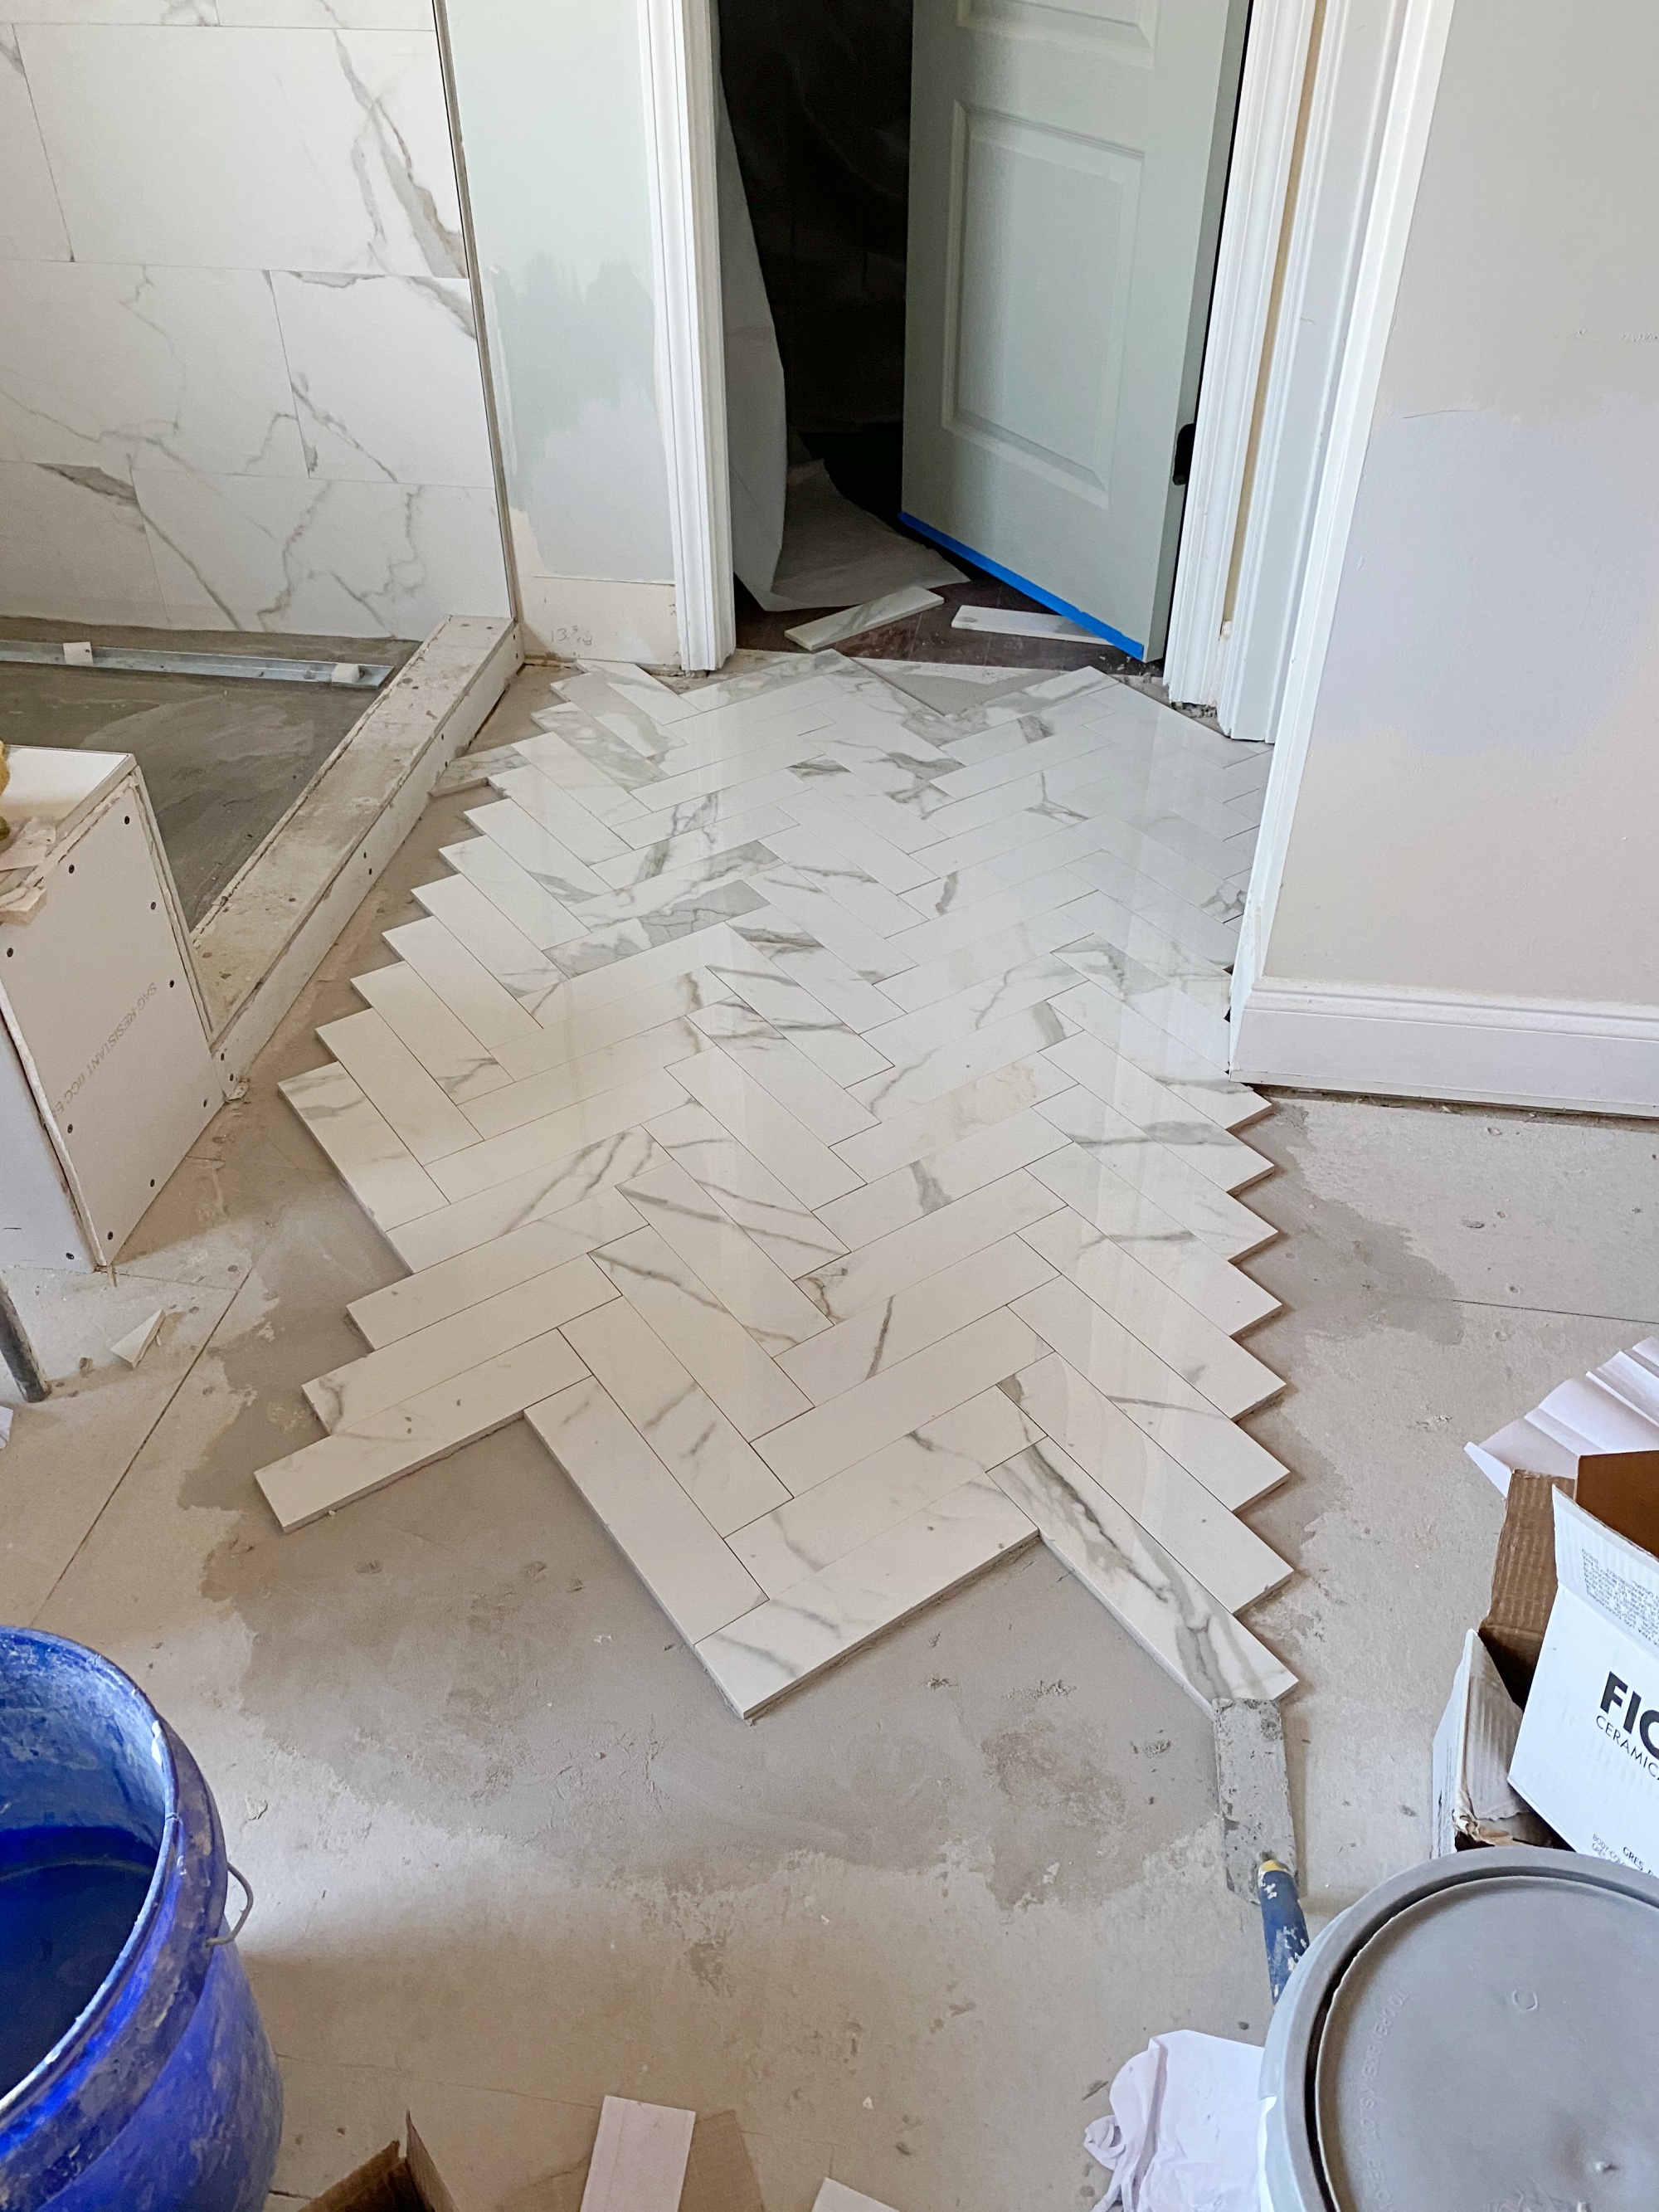
It’s so fun to finally see the tiling happening and how pretty it’s all looking. So excited!
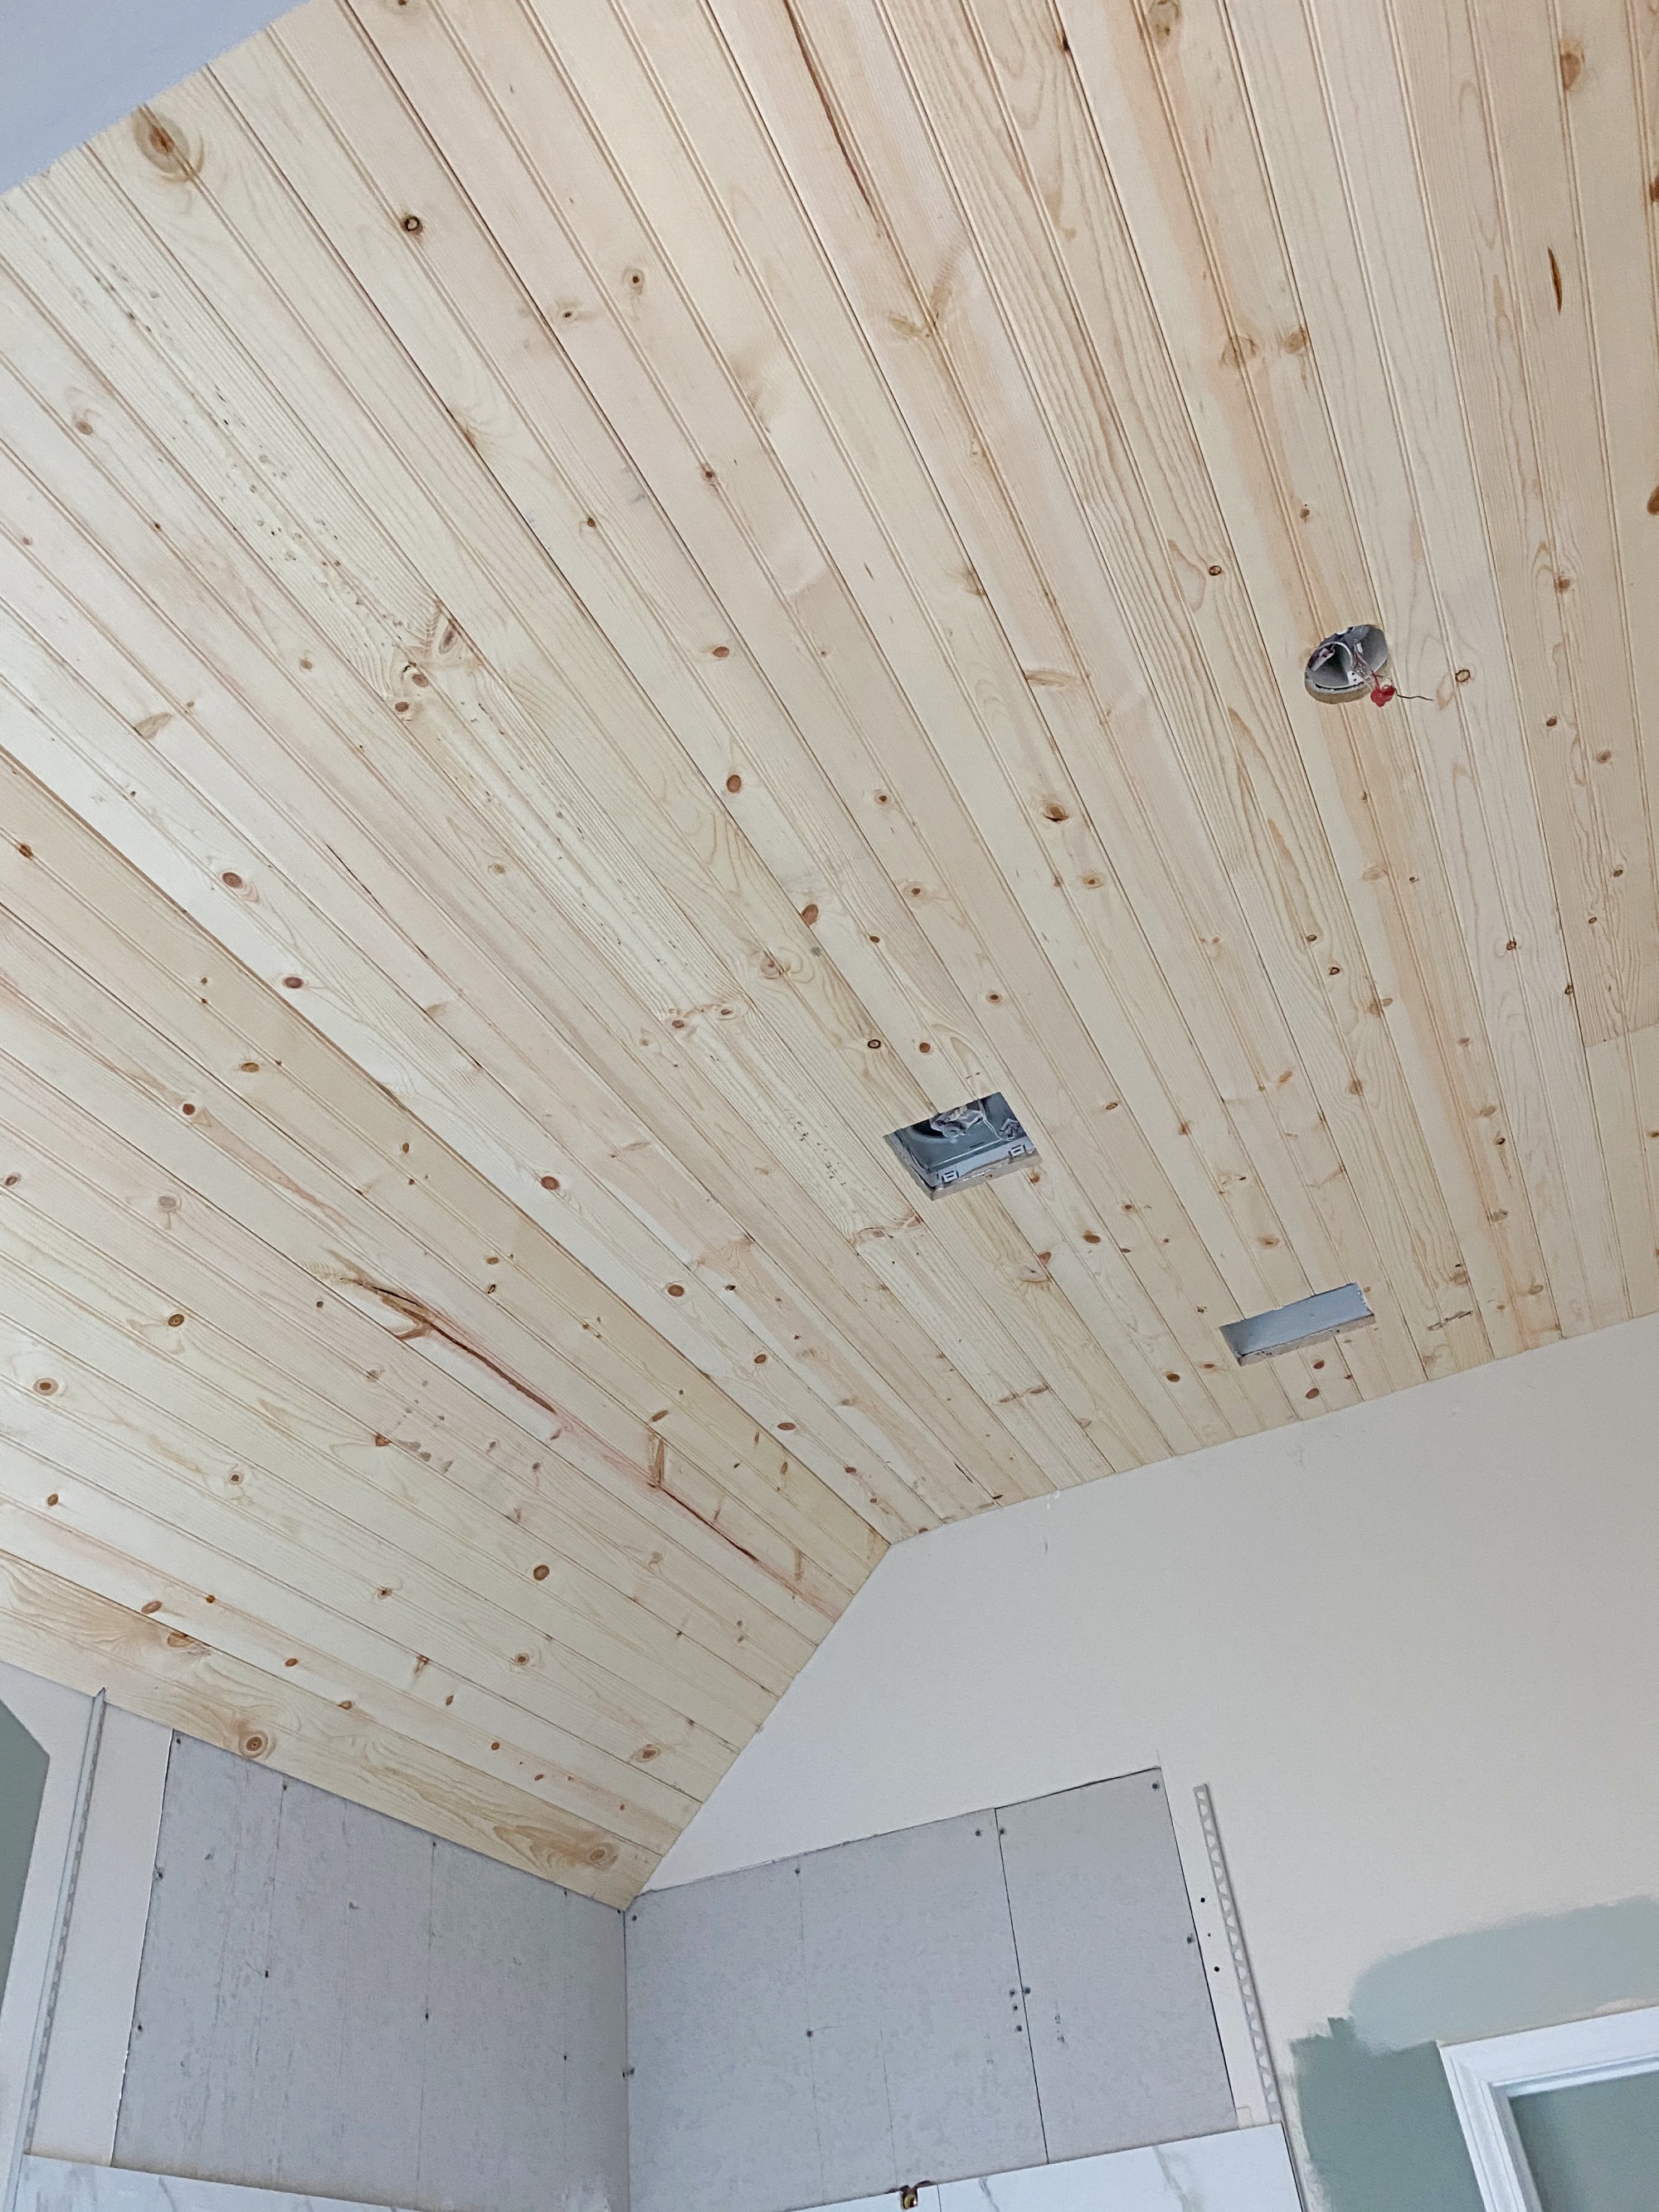
They did a great job putting up the tongue and groove ceiling. This will all get primed and painted.
Mark and I will be working around them on the weekend and adding some board and batten around the tub area and also in the water closet. I think this is going to add lots of extra detail. We’re also planning to add chunkier moldings around the door frames to beef them up too. All those little things make a difference, don’t they?
So that’s it for the progress for the first 2 weeks. The first week was gutting and doing those things like plumbing and moving light fixtures. That all took awhile before they could get busy with the tiling. I also have a delay getting the countertops installed and hoping that happens this week. I’m going with a pretty marble look quartz. Hoping this all turns out as amazing as I see it in my head! I may not do another progress post, but we’ll be working hard to get this finished in February. I think we have at least 2 more weeks, maybe more before it’s all done and the final thing is checked off the list. I know it will be worth all the dust and mess, but I really can’t wait to get to the finish on this one!


I love the lights you chose! Could you please share the paint color of the third swatch down on your swatch wall? Kind of a gray-green color? Thanks so much!
Thanks, Lori! I think the swatch you mean is Comfort Gray from Sherwin Williams. It’s on the same strip as my door color, Oyster Bay. That whole strip of colors is beautiful.
I really like all your choices Rhoda but that shower is amazing. As we age it is nice to have the option of accessible showers. Cant wait to see it finished.
Thank you, Arlene, I’m so happy with how it’s coming together. It’s slow going, but we will get there!
Rhoda, who did you purchase your lighting from? Your bathroom is going to be gorgeous!
Hi, Bette Jo, all the links in this post are where I got my lighting. See my mood board and click on the pictures below that will take you to the sites.
I love you shower tile, but I am concerned about the apparent lack of waterproofing underneath of it. Normally you would see the seams and screw holes taped and then usually a water proof layer, like RedGard, applied to maintain a waterproof barrier. Just an observation..
Hi, Susan, the concrete board is a water barrier and my contractor told me the red layer isn’t necessary. I’ve seen other bathrooms that didn’t have this layer either.
This is an exciting renovation and I’m eagerly following it because my husband and I are redoing our master bath and the configuration is exactly the same, except for the ceiling height. I’m curious to know the dimensions of you shower and tub area and your vanity. I love the design and can’t wait to see the finished project! Taking lots of notes and starting my own private Pinterest board … such a helpful tool!
HI Candi, thanks so much! I have analyzed and shopped and pondered over every single detail, so be prepared for that in your own renovation. Our vanity is 84″ long, the shower is about 4’x5′, the tub dimension is 59″ wide and about 32″ wide I think, so it fits in that little nook with about 3″ to spare on either side. We did slide out the shower just a few inches toward the window to give us a little more space in there.
Your selections are stunning, especially the lights. I am, however, confused about the vanity and this could be because I missed some earlier posts. Where is the navy blue vanity/table and mirror (shown at the beginning of this post) going to be placed and where were they purchased? This piece of furniture is obviously not 84 inches long as you indicated the vanity to be nor is it the old cabinet which you mentioned keeping. I would also appreciate the source of the rug. This is going to be one special bath.
HI, Betty, the navy piece is just a placeholder for the vanity color for my mood board purposes. We are keeping our current vanity. Here’s a link to my rug, I’ll be sharing all the sources in one post when it’s all finished too.
http://shrsl.com/1ylfc
Rhoda,
Thanks for your response . . . and so prompt too. You indicated that the navy table was just a holding spot for your actual color. Where did you find it (i.e., is it an actual table which can be purchased)?
Many thanks,
Betty
I found it online when I searched the color I’m using, Fusion Mineral paint in Midnight Blue. I’m sure it’s a piece someone painted for themselves.
Beautiful choices, Rhoda, simply beautiful! Is there such a thing as too much lighting in a bath?!? No! 😊
Hi Rhoda
Maybe I missed it. Could you please share the tile choices.
The large marble look tile and both the flooring choices. Also do the lights have to be rated for wet areas?
Thanks
HI, Jude, I never did link the tile, but I’ll do that and also share it when I post the reveal. It’s all from Walker Zanger. I’ll go back and add links. The lights should be fine in a bathroom. I’ve never heard of just bathroom lights.
HI, Jude, I’ve linked the tile from Walker Zanger in this post. I couldn’t get the link to the gray green one, but the others are there (there are 4 total). The shower wall is the same as that smaller one on the floor. https://southernhospitalityblog.com/new-traditional-master-bathroom-mood-board/
Who are you working with on this project?? I live in ATL as well.
HI, Ashley, I’m working with Walker Zanger on my tile. I will probably be using Legacy Granite in Alpharetta for my countertops. I’ve got a contractor I will share later when then project is done, he’s out of Cumming.