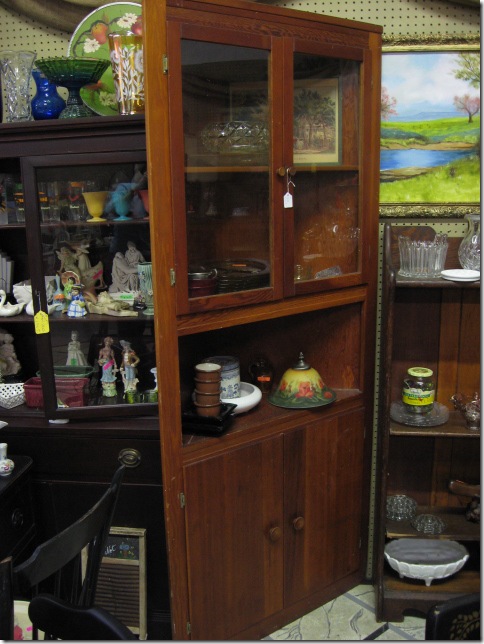
For those of you who like to see the process, this one’s for you. You all saw the corner cabinet as it was found in the dusty corner of an antique mall. Old and tired, but all it needed was some love and PAINT. Paint is the key.
I knew already that I would paint it white. Now, Jill in NC asked me why I chose white instead of black, since most of my paint projects have involved black or dark brown paint. And I still love those black projects. My table and chairs here in this breakfast area are black. I have a very old French antique cupboard in this same space that is a very pretty wood, probably walnut with a gorgeous patina. My kitchen cabinets are very white laminate. So, with all this mix, how do you decide what color to paint a new piece coming in like this? I have no idea how to tell you how I figure these things out, I just do. I thought the creamy white paint on this would play well against the black and walnut woods here already. I don’t ever go for matchy-matchy, I love the mix of textures and colors and this just seems to work for me. So Jill, if you’re reading, you could easily mix in some creamy white things with your love of black too. I don’t think you want to go all black in a room, a mix is much better.
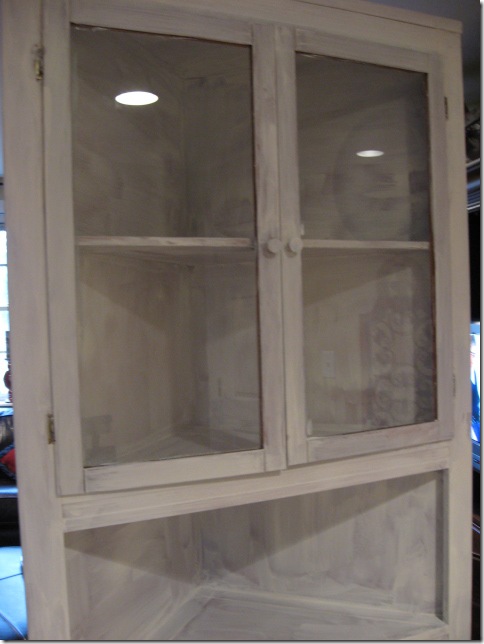
So, step one was priming everything. Someone asked me if I sand. I never sand. Never. If anything, I’ll use Liquid Sandpaper, that stuff in a bottle that you just wipe on a piece to degloss. I’ve never had a problem with things coming off, but if I was doing kitchen cabinets again, I would certainly go through the right steps to make sure that paint stays put. So, if you feel like sanding is a good idea on what you’re doing, then go for it and that is recommended for really shiny surfaces. I just never do. I didn’t even use Liquid Sandpaper on this piece. I felt like the surface would be fine with just priming and painting. I used Kilz water-based primer and painted it on. It doesn’t have to be really smooth, just get it on there and cover all the bare wood.
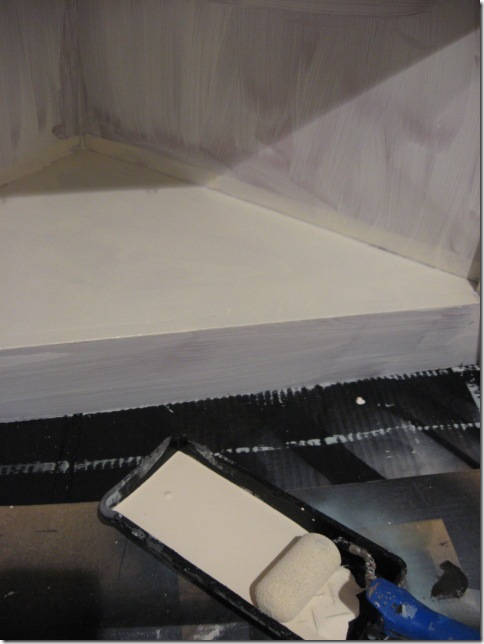
Let that dry overnight and you’re ready to start painting. I always use plain water-based latex on my furniture projects and have never had a problem with them. Well, that is unless I use spray paint and spray paints are oil-based and are very tough. I used satin spray paint on my kitchen chairs and they have held up like iron for 8 years now. But anyway, I used left over wall paint (in Eggshell finish) from the dining room to do this project. I love it when that works out and I can use paint I already have. This is basically Antique White and was perfect for this piece. So, I used my trusty little foam roller (from Lowes) that I always use on projects like this. You’ll need a small paintbrush (about 1-2”) to get into the crevices and the foam roller works great on the flat surfaces. Paint it all over with one coat, let dry overnight and then do the next coat. Someone asked about a clear poly on top. I never do that either. I probably should, but I just never get around to that step, but if you really think you need more protection on a piece, then by all means put on a couple coats of clear poly to seal it from dings. This piece won’t have a lot of wear and tear, so I’m really not too worried about dings. When you’re painting and rolling a piece, the main thing is to watch for drips as it is drying and get those brushed out.
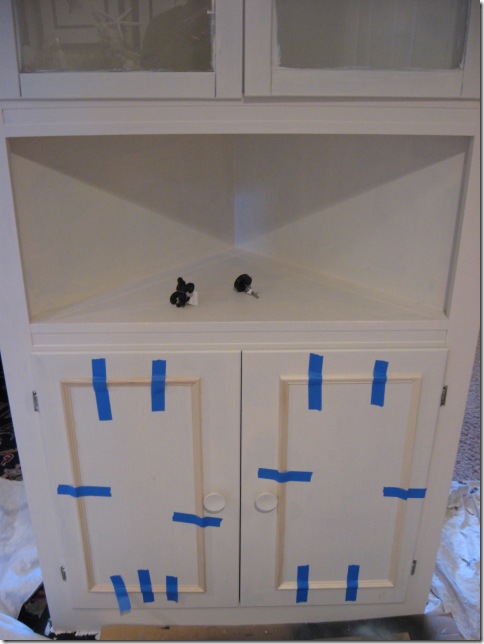
After the first coat is when I decided to add the molding to the doors, so I went to Lowes and picked up 2 pieces of small picture frame molding, cut it with the miter box saw and glued them on with wood glue. Tape them down to dry overnight. You would normally do this first before you even prime, but I decided after the fact to do it.
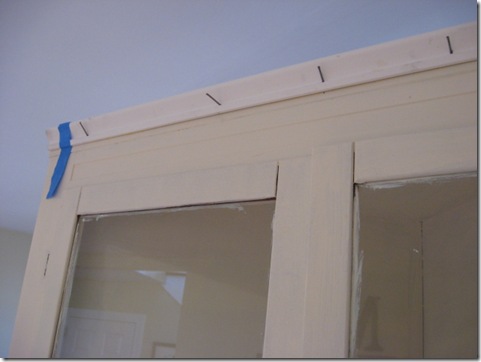
I added the leftover piece of molding from my dining room molding project to the top. Glued it on with wood glue too & added some finish nails to hold it in place until it dried. Then painted it all with a 2nd coat of paint. You can see I didn’t tape off the glass when I painted either. You can tape it off, but I’m usually too lazy to do that and simply go back with a razor blade after the paint is dry and scrape off the paint. Doesn’t take long at all to do that.
Now, for the herb names, I went online with Powerpoint and chose the largest font and kept enlarging it (you can type in a larger # until it keeps going up in size.) This is French Script font. Kept enlarging the font until it filled the whole page and that was as big as I could make it. Printed out 6 of them. I found that anything larger than 6 letters would be too large to fit and keep them all the same size, so I made sure I picked names with 6 or less letters. I measured the back of each cabinet space to see how large it was & cut the burlap pieces to size, cutting 6 of them.
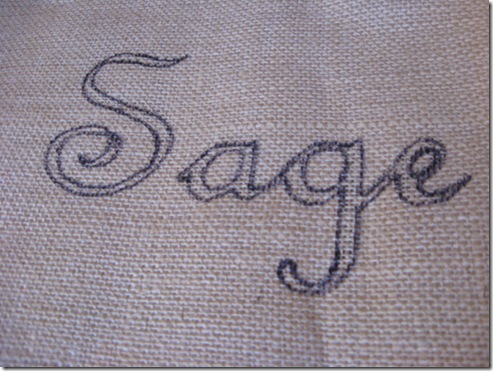
Now, I learned this little trick from Joy, who does all sorts of projects on her blog, how to trace something by holding it up to the light. You tape the paper behind your burlap piece, then hold it up to a window to trace. I used a Sharpie to trace.
And this is what it looks like when the tracing is done.
Keep tracing all of them.
Here is what it looks like taped on a window. I actually did this in my garage window and just taped it up and then held down one side with my hand, while tracing with the other. This isn’t a good pic, but you can see it really well once you hold down the fabric on top of the word. Just trace away and it will turn out fine.
Then, I didn’t get a pic of this while I was doing it, but take a small stiff bristled paintbrush (a sturdy one, not flimsy) and fill in with black paint. That’s all there is to it! Very easy. I painted all of these in probably an hour and 1/2.
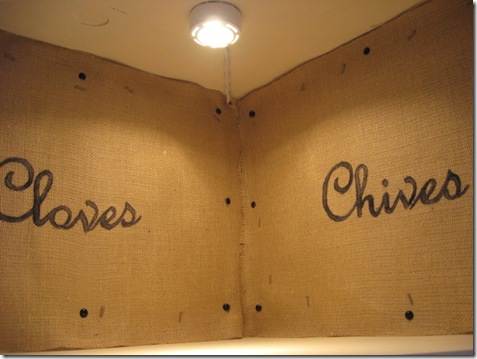
Then, I used my electric staple gun to staple the burlap on the backing. It was very hard wood, but the staples worked fine. Went back and hammered in the black tacks at intervals until I had them all in place. The hammering took the longest, that wood was SO hard.
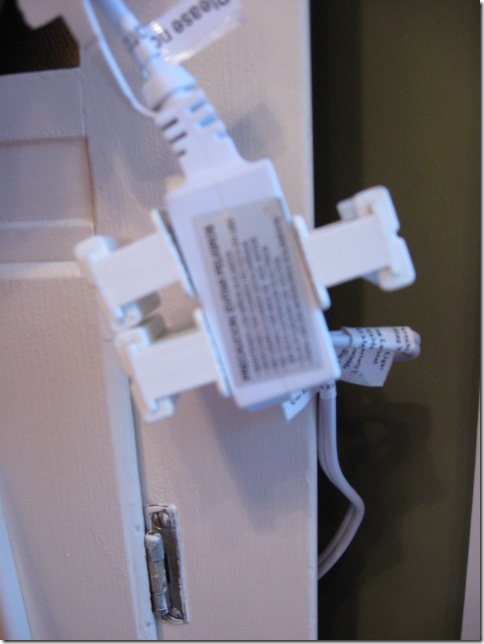
For the light installation, I used 3 puck Xenon lights from Utilitech ($19.99 from Lowes for the 3 pack). Sorry I threw away the packaging and didn’t get a pic of them, but they come in a 3 pack and other quantities also. They were easy to install after I got the directions out and studied them. There are tiny screws to attach them under each shelf. I did use my electric cordless screwdriver/drill to drill a hole for the wire to go through (and broke the drill bit in the process). You feed the raw end through the hole first and then put them together on the other side.
They have raw ends on the wires, you slide them into a little plastic cage (read directions first!) and then close up the ends with another plastic piece that slides into place. The directions say to look for a ribbed side and smooth side of the wire & place them just so. Took me a minute to figure that out & then it was, AHA! You can see in the above pic the 3 plastic cages I’m talking about and then they are all 3 plugged into an extension cord that comes with the set and it has a little on/off switch on the cord, so you plug it into an outlet & then hide the cord to the side of the cabinet. Couldn’t be easier! You can see the white wire runs through the back and behind the burlap. I am SO glad I decided to add lights. It was $20 well spent and really adds so much to it.
So, that’s how I did the corner cabinet in a nutshell. Click here to see my other post with all the closeups of the finished cabinet. I really hope you’ll all try something like this too. The sky is the limit with whatever your imagination can dream up. Colors, textures, fabrics, knobs, whatever your heart desires, let the creativity flow.
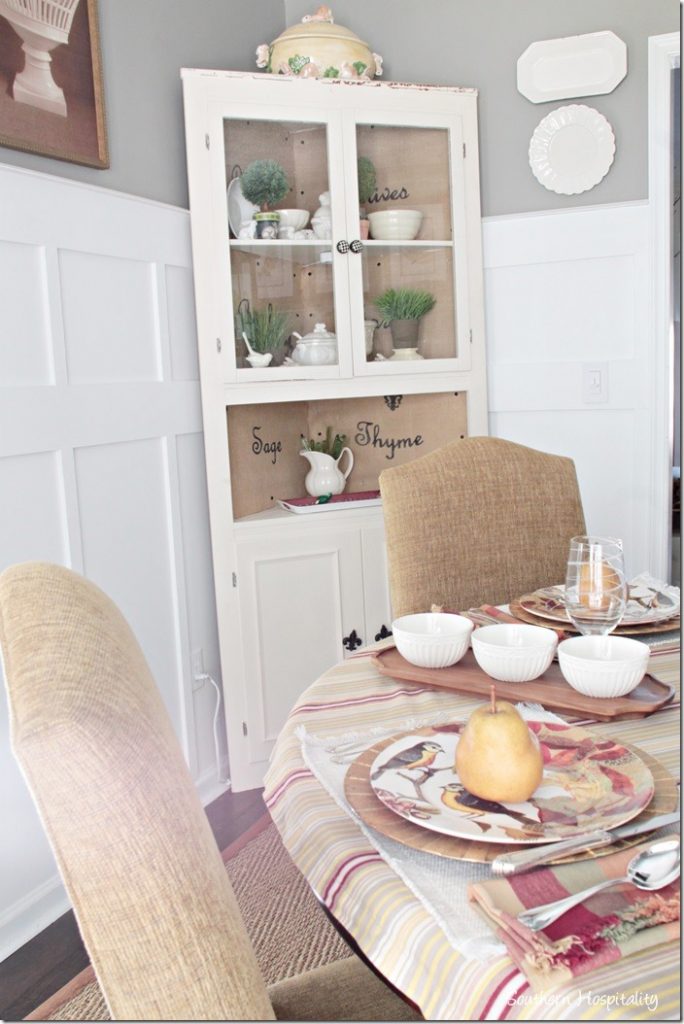
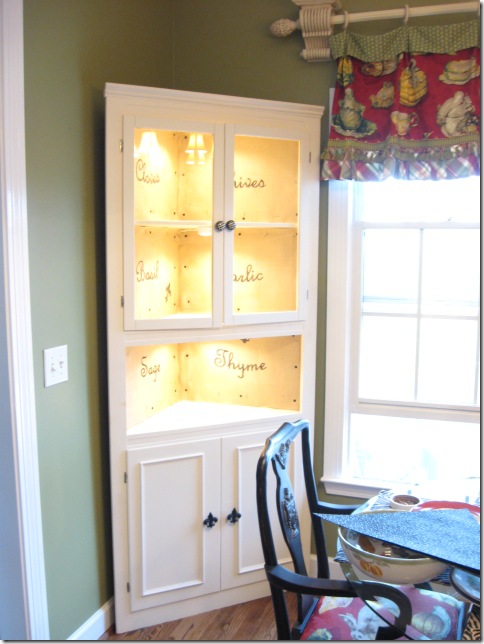
Here’s the cabinet in my current house, it’s moved with me and still looks good!







I love the cabinet with the spices printed on burlap. I recently added “spice” words to my backsplash wall using vinyl and my Cricut machine. I have to be careful not to use wall lettering everywhere in my house! My kitchen decorating is my #1 priority right now and my next project is using your no sew cornice. I’ll send a picture when it’s finished. My URL website shows the spice lettering. Love your blog and ideas!
I love this cabinet so much. I am going to marry it.
I absolutely love this cabinet! I’m thinking of having my husband remaking it or at least one similar! Could I bother you for measurements? I’d really appreciate it!!!
Hi, Alyssa, that cabinet is 80″ tall, the corner angle is 18″ deep, width across front 35″. Hope that helps. You can find these cabinets at antique malls all around, very similar. This one is pine.