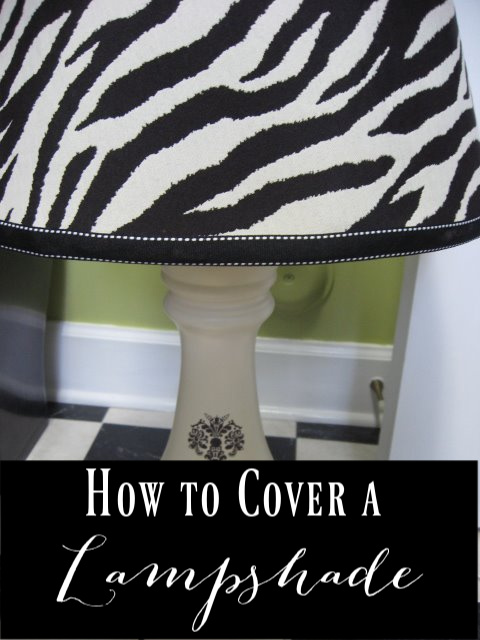
How to cover a lampshade with a simple method and using a glue gun. Cut fabric, fold and glue and before you know it, you’ll have a new lampshade

How to Cover A Lampshade
So, I’ve done a lampshade covering tutorial before, but thought I’d throw it in here again, with my newest project underway. You’ve seen the yardsale lamps I found for the guestroom redo & I spied some fabric that I really wanted to use on these lamps, so that meant recovering my own. That also meant I sure didn’t want to pay much for lampshades that I was just going to recover. So, back to the junk store that I told you about last year..where I found 2 of these beauties for $1 each…just right for this budget. You can see they were in sad shape, but the price was right. The fabric on there was literally falling apart, so I went ahead and ripped it off.
And ended up with just the metal frame. Now, I’ve never covered a lamp with just the metal frame before, but I figured I’d wing it. Since my new fabric needed something to stick to, I pulled out some old white lining fabric I had laying around.
And pieced it together, hot gluing it at the top and bottom of the framing, overlapping it as I went around. I pulled it as tight as I could to get a taut framework for my new fabric.
I snipped off the extra fabric and turned it just under the top and bottom of the frame, pulling and gluing, pulling and gluing (man, does that hot glue hurt!).
It looked like this when I was finished. Nothing pretty about it, but it’s not going to stay like this.


You are so talented and I am so envious of your talent (wink)! I love visiting and seeing what projects you are working on and what is coming next.
🙂
Sheila
Rhoda, they turned out great! I love that fun fabric you found! ~ Les
Terrific tutorial! I need to do that to some of mine…there is a lamp in my middle son’s room that could benefit. It has seashells in the bottom, so a beachy fabric would be great.
Keep a small bowl with ice water in it when using the glue gun…quick relief! And have some lavender salve or essential oil around too…it’s WONDERFUL
Great job Rhoda, now you have two unique lamps that no one else has, so it really makes it special for that reason alone, but the fact the you did it yourself, that even better. So crafty, you are!
Love them- so adorable!
You did a professional job with those shades. I love the fabric because I’m partial to animal prints. It coordinates so well with the base. Isn’t it amazing what you can do with a thrift store find? Great job, great price.
Oh, I so came over at just the right time. I have several lamp’s that need just a little oomph! Great post.
I’m catching up on all my favorite blogs:) Glad to be back!
Melissa – Off The Wall
Wow…how darling they turned out! You go girl!
Hugs!
Kat
Omg!! I love those. They would be perfect in our master bedroom.
LeAnn
Great job on the lampshades. I’ve been putting off a project like this for so long, I’m not telling. Maybe this will get me going. Hopefully!
I think I have responded to this lamp redo before. But I will again! Good job!
Rhoda, I have always wanted to try to cover a lampshade. You did a beautiful job. That is truly trash to treasure. Thanks for the instructions.
Hugs…Jeanne
Hi Rhoda,
Thanks for linking to Trash to Treasure! It is now a treasure for sure. You have so much on your blog…I frequently revisit some of your posts. Love your index at the bottom.
diane
That turned out BEAUTIFULLY…and would look perfect in my daughters room!!
Those look amazing. That is just talent!
Well, I am just beside myself, this is soooo pretty. and you make it look easy which i know dern well won’t be but gonna try it anyway!! ;O)
Did you use a stamp of some kind on the lamp? So pretty…
you always just amaze me!!
love, bj
O frabjous day!
I found you through a link on Eddie’s blog, and I am so pleased.
I look forward to reading and seeing what you do.
I stumbled upon your site and just love it! :0) This tutorial is great! I have some old lamps that I spray painted bright red but the shades are oh so ugly. I’ve never redone shades before and I was dreading it but now I’m totally inspired as your instructions made it seem like something I could tackle!
Wonderful tutorial. But I had to tell you, I saw a cute little lampshade the other day in some catalog…they used a zebra fabric that had some spandex in it, then bit of elastic top and bottom, just a little taller than the lampshade would be. Talk about an easy fix. I am thinking about trying that for a temporary fix until I decide what I’ll do for design scheme in this room. I’d love a beachy theme like your guest room if I can figure out how.
Thank you so much for the informative information…I was searching the internet for step by step instructions as I am looking to do the same project. Your information was great and the pictures helped too. Wish me luck and I appreciate your time to share!
Dawn W. Manhattan Beach, Ca