I’m adding this to Chris at Just A Girl’s, I Can Do That party, so welcome if you’re dropping by! Take a look around and stay awhile.
Last year, I showed you some cute monogram wood plaques that I made for my sister and niece for Christmas. Thought they turned out pretty cute. We are also doing some craft projects for the Holiday House to sell, so I volunteered to put together a few of these and put them up for grabs, hoping they will sell. I put a Christmas spin on some too, so I’ll show you the details on how to put these all together.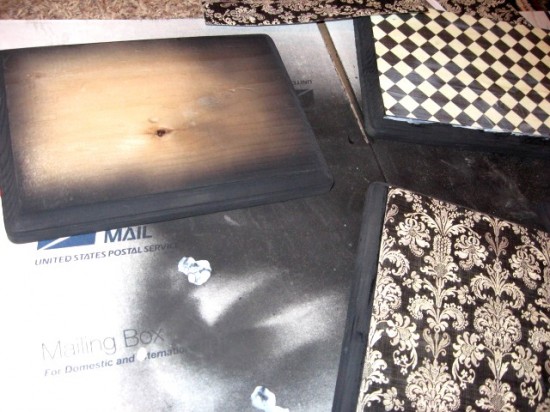
First, you know those unfinished wood plaques that all the craft stores have? These are from Hobby Lobby. Find the right size for your wooden letters to sit in the middle and you’re all set. I spray painted the edges and didn’t even cover the middle since that part will be decoupaged. Pick out scrapbook paper that you want to use. Wait for it to go on sale 1/2 off at Hobby Lobby. 🙂
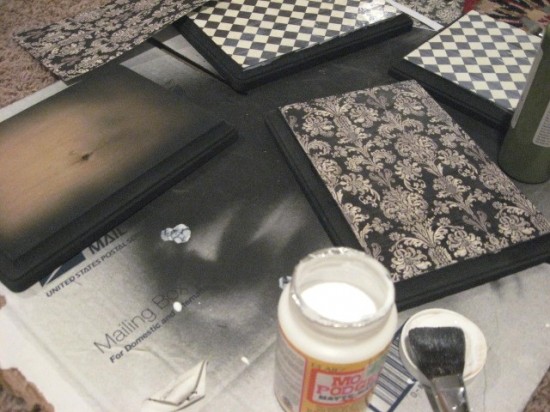
Just place the square edge of your paper onto the wood plaque and crease it on 2 sides where you’ll need to cut with scissors. Cut to fit the top. Then get out the decoupage and a brush and go to town slopping the decoupage on there. I did the backside first and then placed it down. Rub your finger over the paper to smooth out the bubbles. Those seem to happen. Paint over the top of the paper with the decoupage too and keep smoothing til it is flat. And you will have wood plaques that looks like the above. Let it dry well.
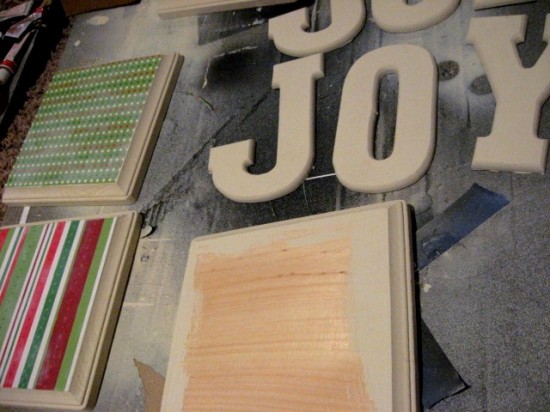
On to the next ones. I decided to do 3 plaques and spell out JOY for Christmas and picked out some pretty Christmas-y striped and polka-dot paper for this one. I used some left over wall paint on these and again, just painted the edges, along with the letters. 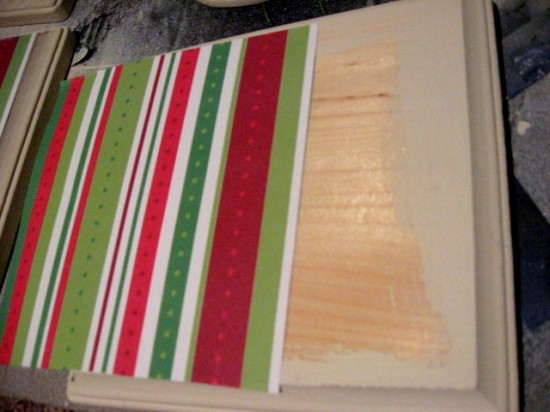
Same thing, cut your paper and glue it on.
Now, we’re ready to put on the letters. I glued these on with wood glue and let them dry overnight. Then, I got out my Rub N Buff, which you’ve heard me talk about before. I love this Spanish Copper color when used on black. It really accents the edges of black painted things well. Put this on with an old cloth over your finger. And just rub it along the raised edges. I did the sides of the letters and the sides of the wood plaques. 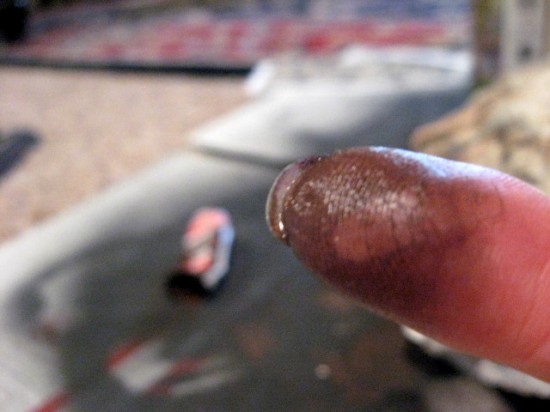
And if you don’t wear a glove, your finger will probably look like this. Don’t worry, it will wear off soon. 🙂 Rub N Buff is a metallic paste product and is really fun to use on things like this. You can get it at Hobby Lobby or Michaels.
These are just random letters I chose.
The black ones are done. Time to move back to the JOY plaques.
There are several ways to antique things. You can sand and add stain or glaze. Or you can just use some glaze, which works well for lighter painted things. For these, I got out my Ralph Lauren glaze. This one is Smoke. I had a can of Tea-Stain glaze too from my old kitchen cabinet glazing project that I showed you last year, but it was completely dried up, since the can was almost empty. These are wonderful glazes and I’ve been using them for years. This can I think I picked up free (or almost free) at a yardsale along the way and a little goes a long way with these glazes.
Now, for small projects you really don’t need a whole quart of this, I just happened to have it on my shelf. You can buy craft bottle sizes of glaze (at the craft stores) and mix your own. Use about 1/2 and 1/2, glaze and paint. Pick up a small bottle of Raw Umber craft paint and mix it with glaze and you’ll have the same thing as this one. You can darken or lighten it depending on how much Raw Umber you put in. Got all that??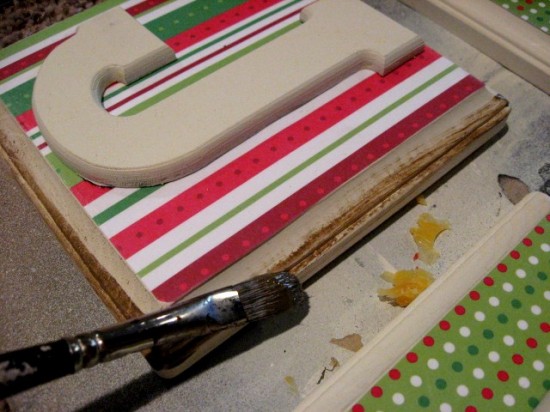
Get out a small paintbrush and brush the glaze along the edges. Have a damp cloth handy. You will need to immediately go back and wipe off most of the glaze.
Brush along the edges, then take most of it off with the damp cloth.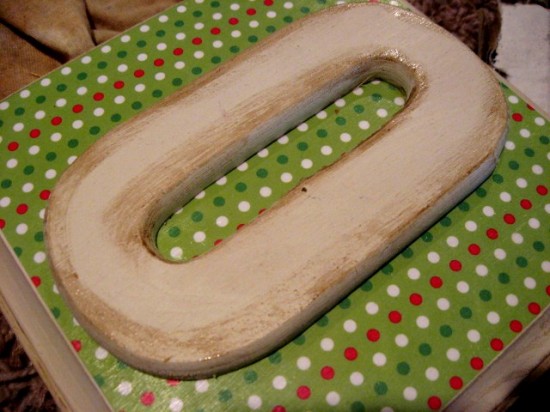
Don’t let it sit too long. Once the antiquing is done, then I added some fun polka-dots to the letters.
Got out my craft paints and found some colors that worked with my Christmas paper. I actually ended up using the green wall paint from my kitchen (Laura Ashley Olive 4), on the green dots, since I liked it the best.
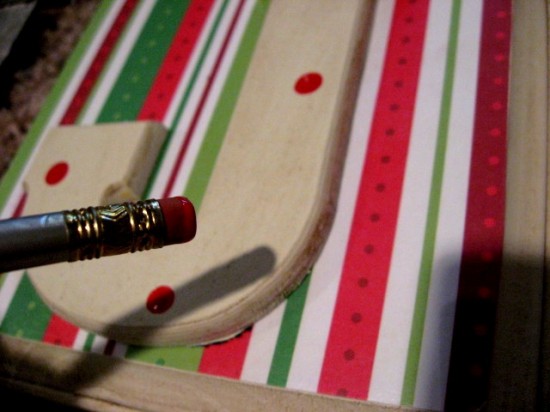
You’ll need an extra special tool just for this part…ummmm, I mean, a pencil eraser. Daub it in the paint and start dotting. You’ll need to have it loaded pretty well to make a nice squishy dot.
And just have fun putting those dots randomly over the letters. Let your imagination and creativity run wild. 🙂
Dots and more dots.
And here’s the side of the white plaques where the glaze is “hanging up”. Yes, that’s a technical term.
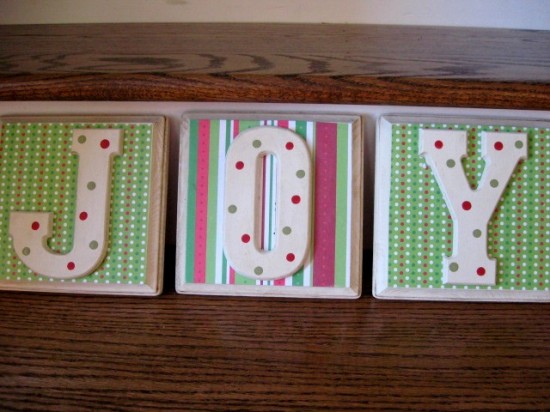
And here they are all finished! I think they are pretty darn cute and I would hang them up for Christmas in my kitchen if I kept them.
Hope you got some ideas on this one and will try it yourself. I originally got this idea from Joy and ran with it. There are endless possibilities for colors and scrapbook paper combinations, so have a ball with this one and try it out. These would make some very fun and inexpensive Christmas gifts .
Joining Kimba’s DIY Day.


and I now have my project for the weekend! I love this!! Thanks for sharing!
Love it Rhoda!!! I may have to add these to my Christmas project list!
Rhoda, those are just as cute as can be! Love these! Great job. “Joy” looks so cheery!
XO,
Sheila 🙂
Endless possibilities with all the scropbooking paper out there! Very cute.
those are fantastic! so clever, and cute. thanks for sharing the how-tos.
This is a great idea, Rhoda, and one I am doing myself for gifts. I did one for my sister last week and was going to post about it, but I found out she secretly reads my blog. I now have all the supplies to make one for myself so I can post that one. I’m going to try your glazing technique since I just posted something {a Christmas decoration plaque} and had used a walnut stain which I think was just too dark. I think I might have a little more time to wipe with the glaze. Love the holiday ones ~ I”ll have to try them, too!
What a totally cute idea! Thanks for the awesome tutorial. Your photography was amazing.
🙂
Layla
thank you Rhoda, great idea!!.
Quick question. . . What kind of finishing glaze do you use on them? Especially over the scrapbook paper part? Thanks!
Rhoda,
You would laugh out LOUD if you saw what was under my hutch! These works in progress…. Right now I’m doing some with vintage botanicals I printed online….LOVE The JOY!
These are adorable, easy, inexpensive, and right down my alley! Love them.
Oh I love those! They turned out amazing. I cant wait to get started on holiday decorating!
fabulous! i have been contemplating on doing something like this. just not sure where to put it… hmmmm
OH what great projects! I can’t wait to start on this one too! Omgosh, I need to finish painting my fireplace though! hee hee… Rhoda, you are awesome! Thank you for sharing!
Sandra
Absolutely precious! I love your style and enjoy your blog every single day! I will be doing these letter plaques as gifts AND decor for my home this season….
Rhoda, I just love these! So great for a personalized gift for a special friend. Easy, quick and so cute.
So easy and fun! My girls would love to have these in their rooms. You gave a great tutorial, so maybe I can pull this off! Thank you for sharing.
Jennifer
Love, love, love these!!! Great inspiration. Thanks for sharing. You have such a delightful blog. Blessings!!
Rhoda, these are adorable. Thank you for taking the time to show us exactly how you did this. I love your tutorials!
Those are too much fun, Rhoda! 🙂 I love the “JOY” plaques. Those would make great Christmas gifts! (okay, and maybe some for me too)