A few weeks ago, I posted about my friend, Ruby’s new lake cottage that they are building up at Lake Alatoona here in North Atlanta. There’s not a lot to report on yet on the building process, but the basement has gone in and they are framing in the main floor now, so things are definitely happening. Ruby’s been busy gathering ideas for all the things she wants in the house, including kitchen cabinets, and all the other details that will be happening before she can blink. Building a house from scratch is a huge undertaking and I’ve only done it once. It’s so exciting seeing a house come to life and then actually get to move in there and enjoy it. I can’t wait to see Ruby’s Craftsman style lake cottage all finished and decorated. It’s going to be gorgeous and in that lake setting, what a stunner it will be!
In the meantime, I told Ruby I’d paint that drop leaf table we rescued from the tear down house and I’ve been working on it, making it over into something pretty that will do justice to the cottage home. I think it turned out adorable, so here’s the process I did to get it all painted and cute looking.
My inspiration was this table that I saw in Queen of Hearts Antiques here locally.
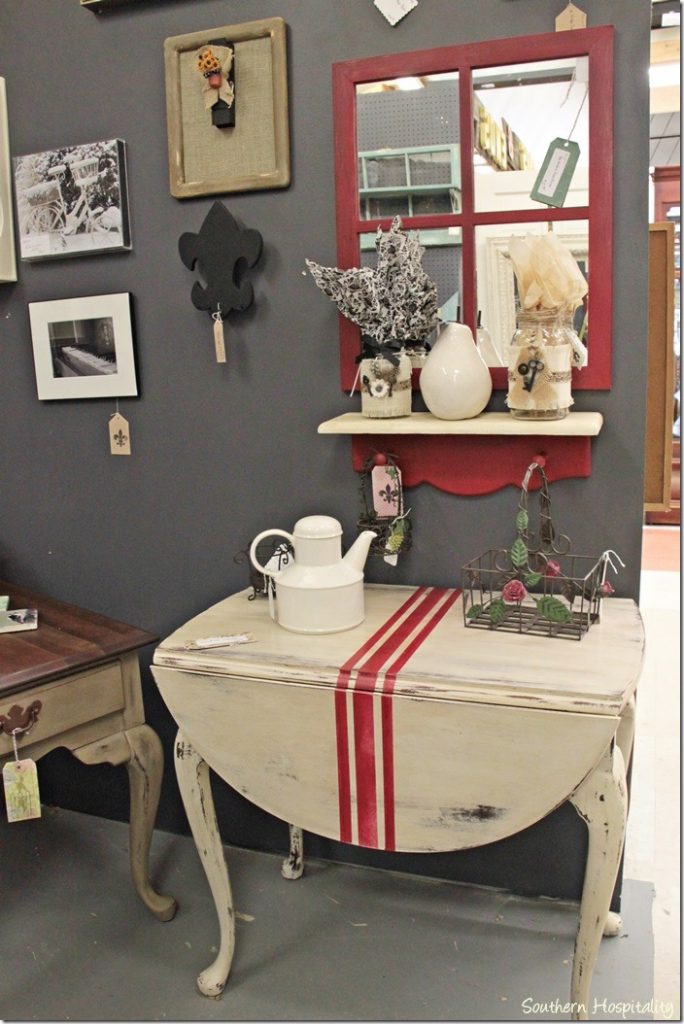
I loved the stripes on this table and thought it would be so fun to incorporate that on Ruby’s table, so we went back and forth on colors and settled on navy for the legs, creamy white for the top and stripes in Fennel Green (same as my kitchen color).
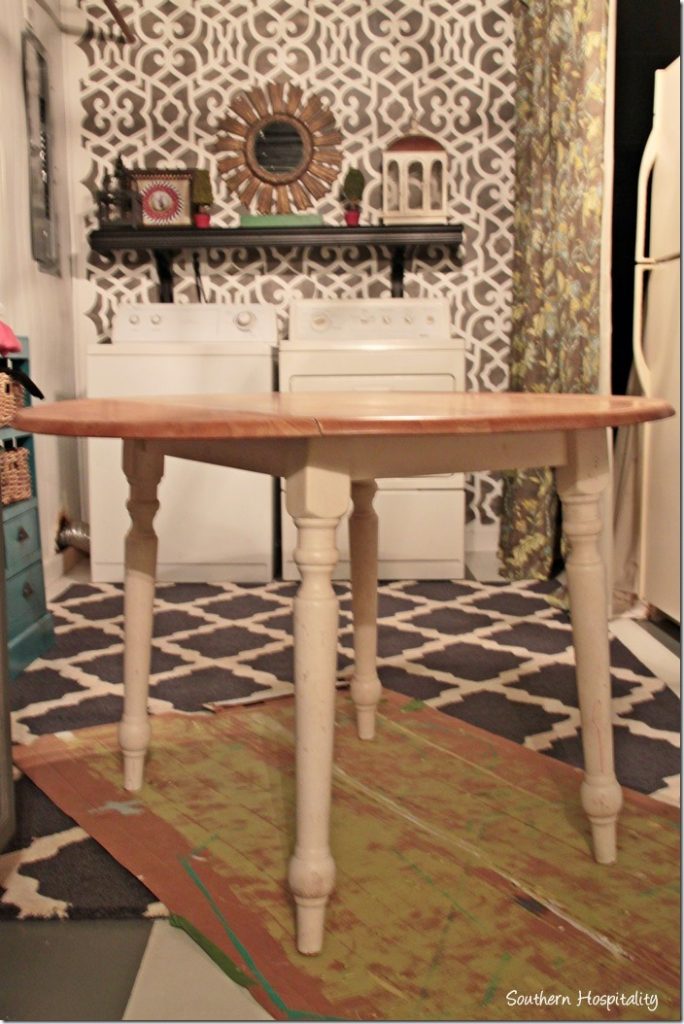
Here’s the table before. It was really dirty from sitting for so long and I wiped it all down well with soap and water before painting. The good thing, it’s solid wood.
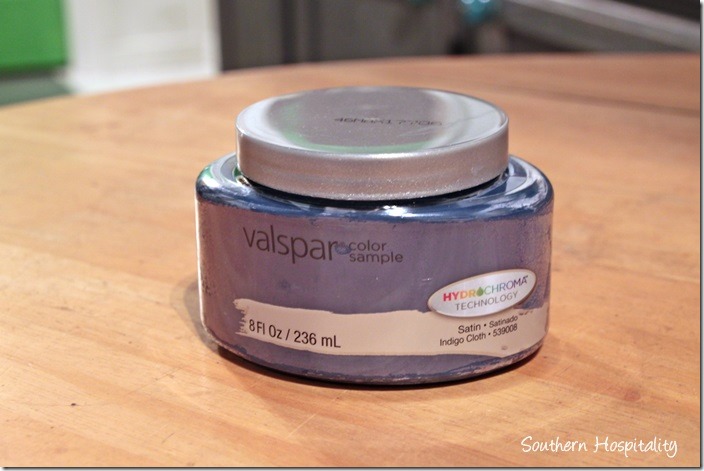
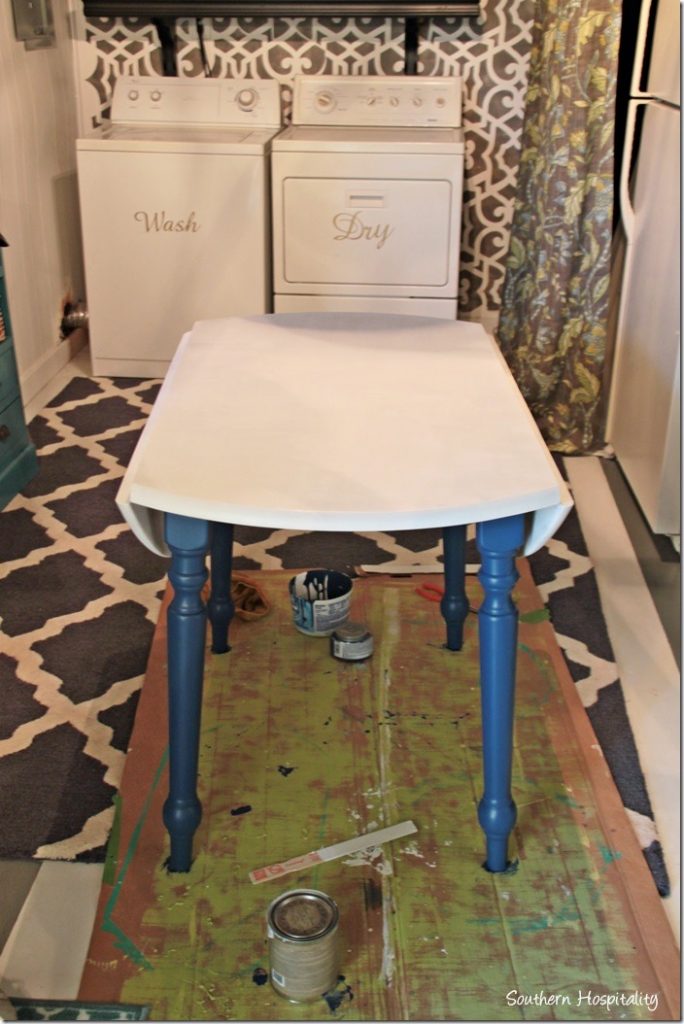
I picked up a color sample from Lowes, a Valspar color called Indigo Cloth. It should be the perfect blue shade for her space. She’s using a lot of blues in her lake cottage.
After painting the legs, I was ready to move on to the top.
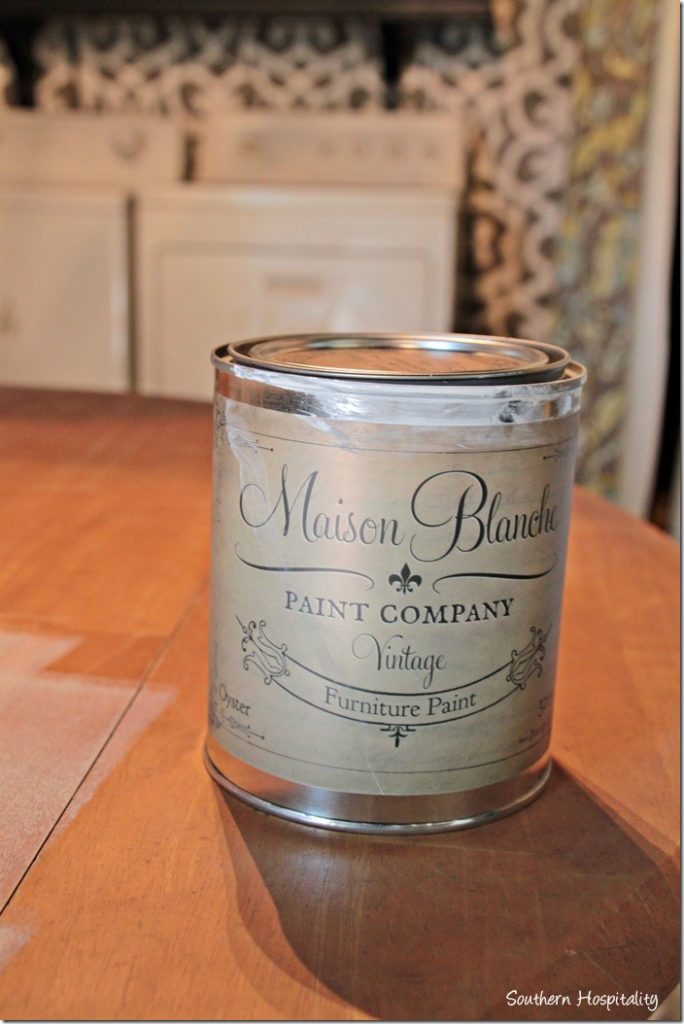
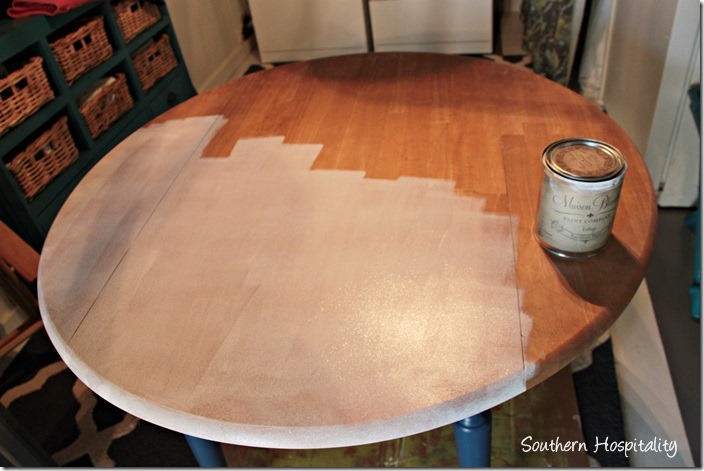
I had received several quarts of a new to me paint brand, Maison Blanche, a chalky paint that’s fairly new on the market, so I got out a color called Oyster to use for the top. It’s a creamy white. This is a flat finish paint and as with other chalk paints, no priming is required, which is the part I love.
I used a small foam roller on the table top and began working.
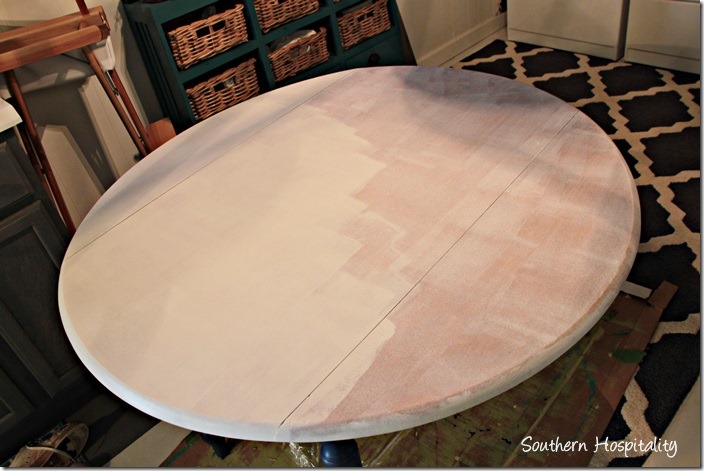
Second coat going on. I ended up doing 3 coats to make sure it was all covered well with a nice even finish.
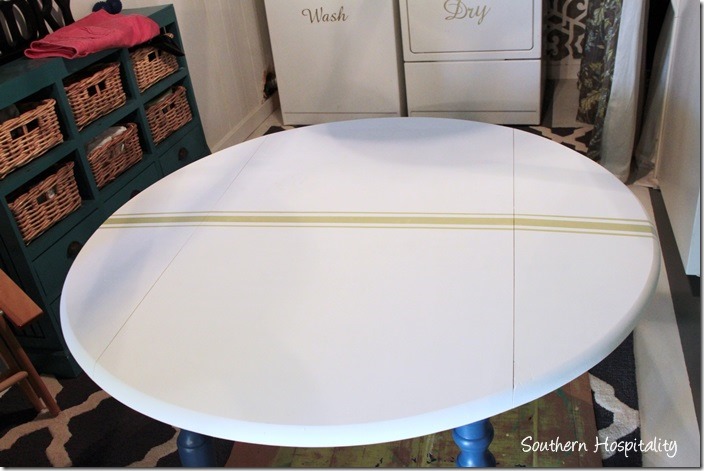
After 3 coats were all dry, I was ready to tackle the stripes. I just knew the stripes would really set this table off!
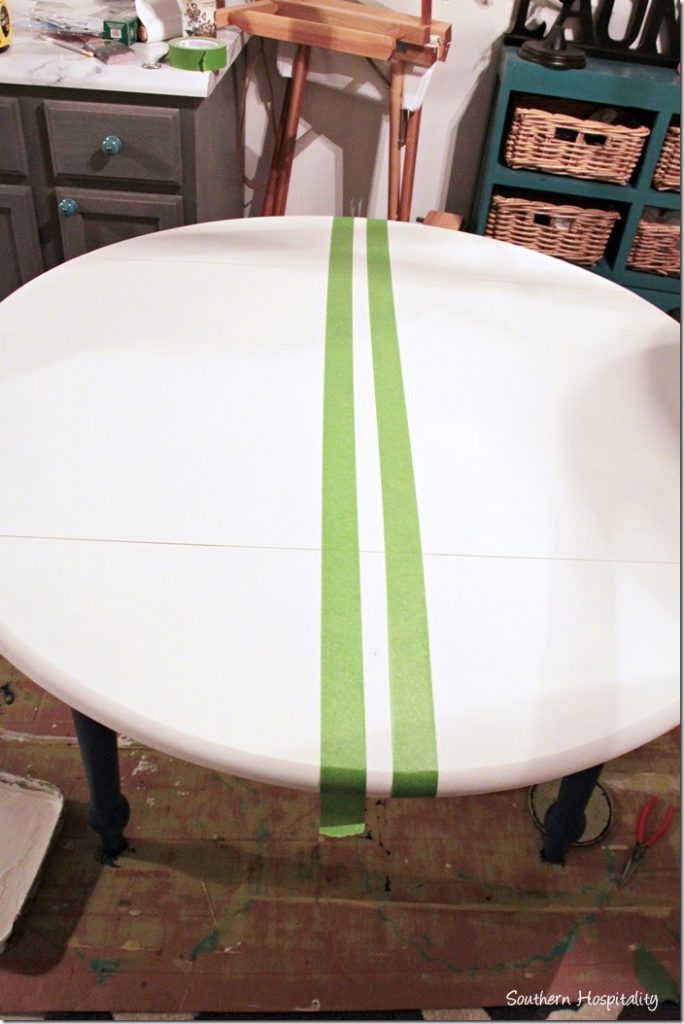
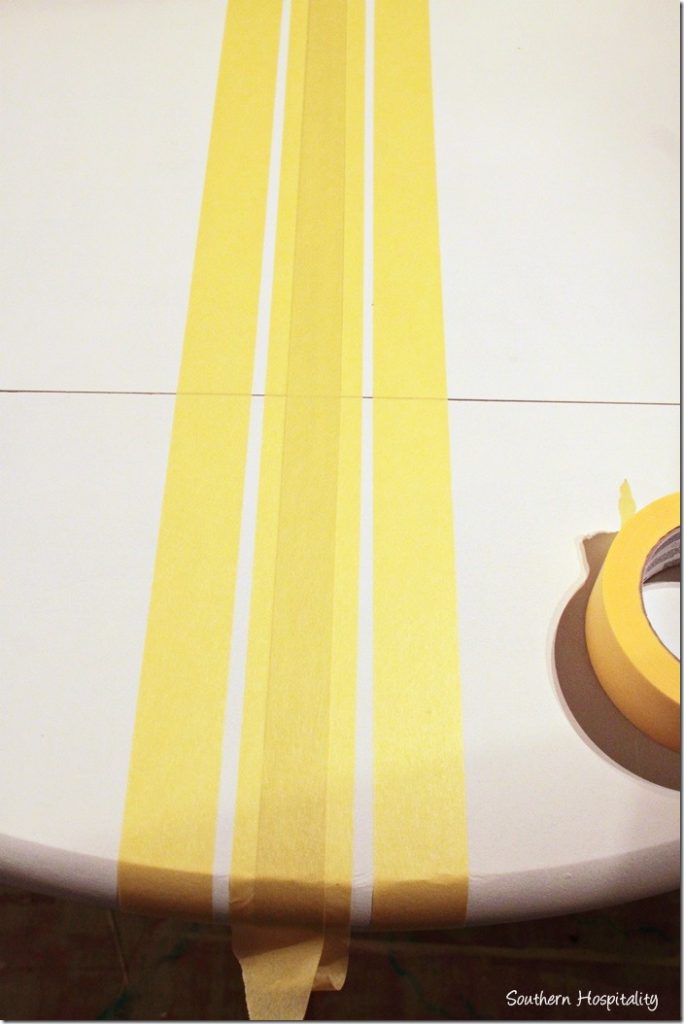
Of course, I used my Frogtape® to tape off my stripes. I measured to the middle of the table and made a pencil mark and then taped on either side of my pencil mark, leaving an inch in between for my stripe. I measure all along the stripe to be sure I was keeping it all at an inch.
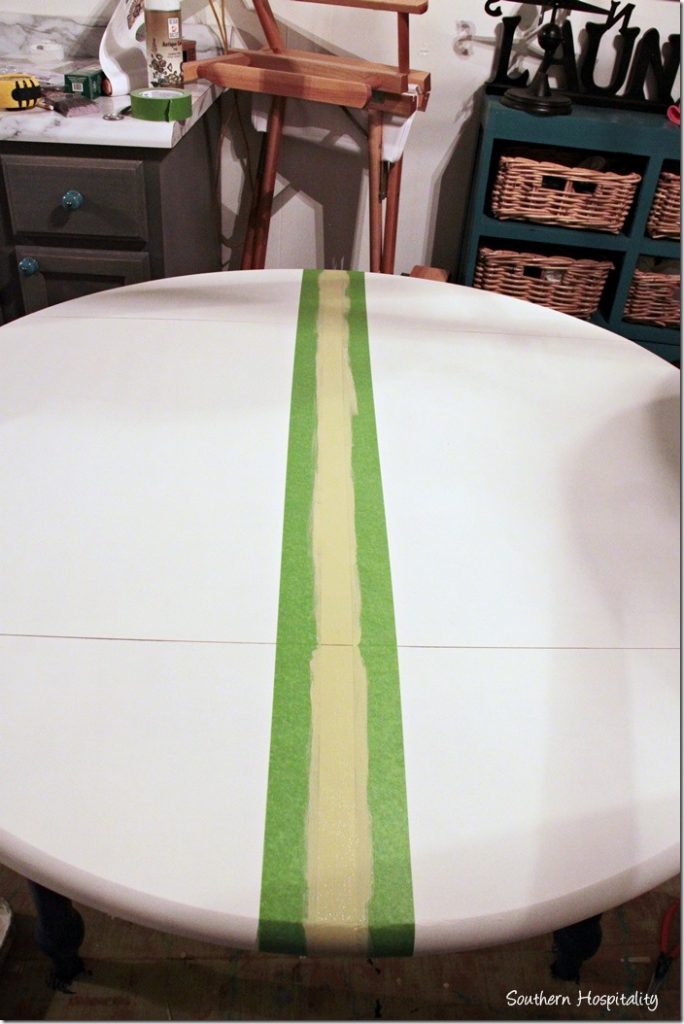
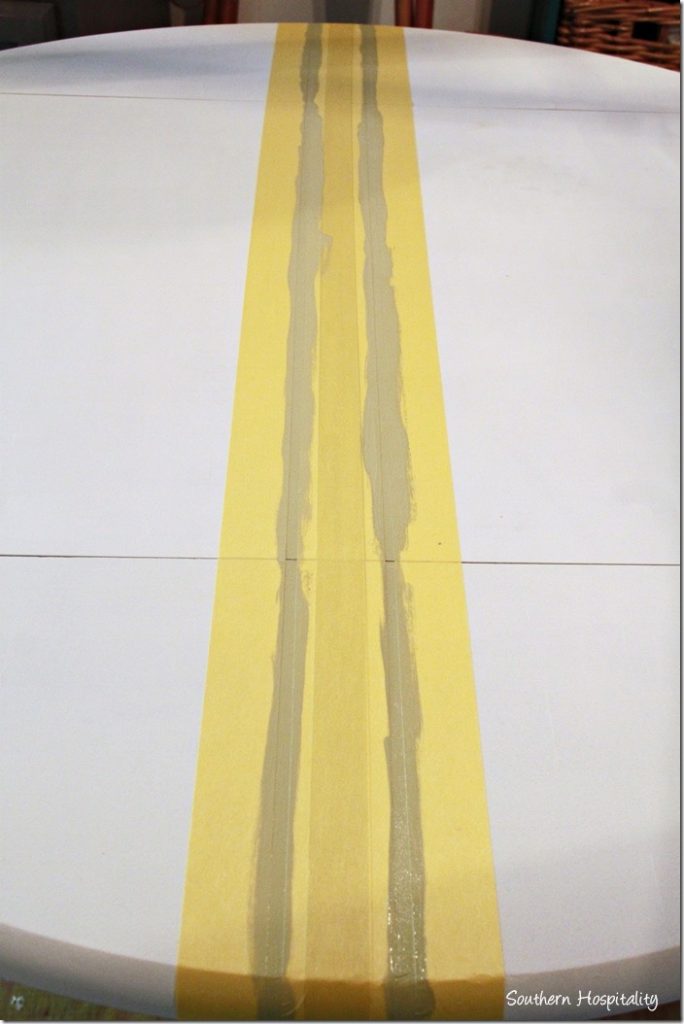
Using a small craft brush, I brushed on Fennel, a pretty green, the same one in my kitchen.
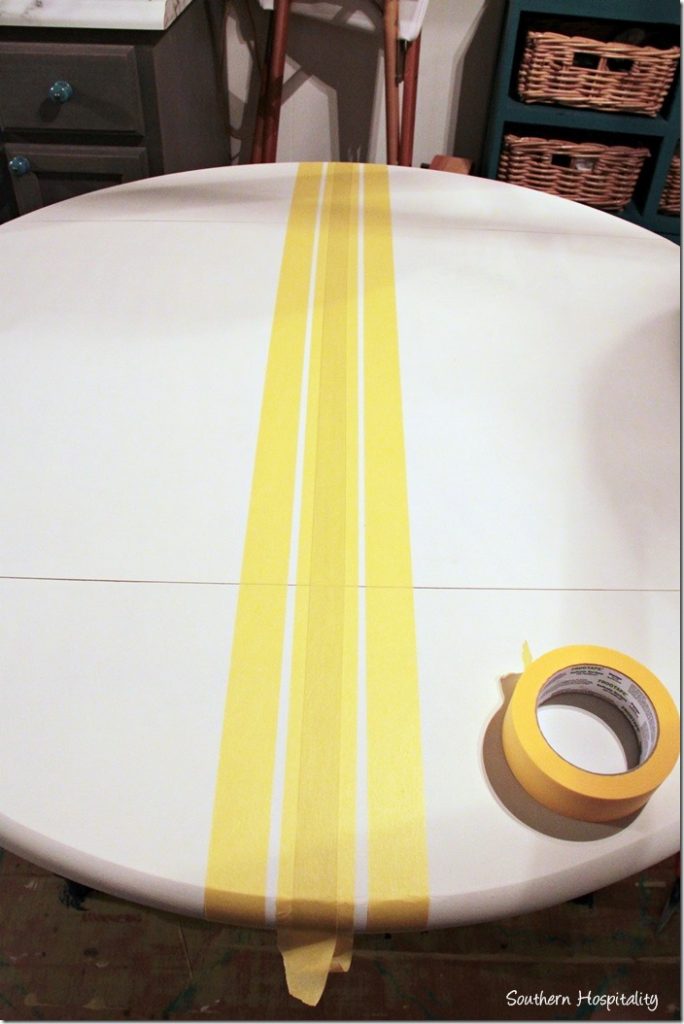
I forgot to take a pic of that one stripe done before I moved on to the other 2, but after the big stripe was dry, I used FrogTape® Delicate Surface just to be sure it wouldn’t hurt my newly painted middle stripe. I simply taped on top of the green stripe, lining up one edge on the stripe and leaving a little edge on either side. Then I taped two pieces on either side of that, creating smaller stripes on each side of the large middle stripe. Make sense? I think you’ll get it in a minute if there is any confusion.
Making sure the tape is nice and flat, I then began to paint the small green stripes.
Paint on.
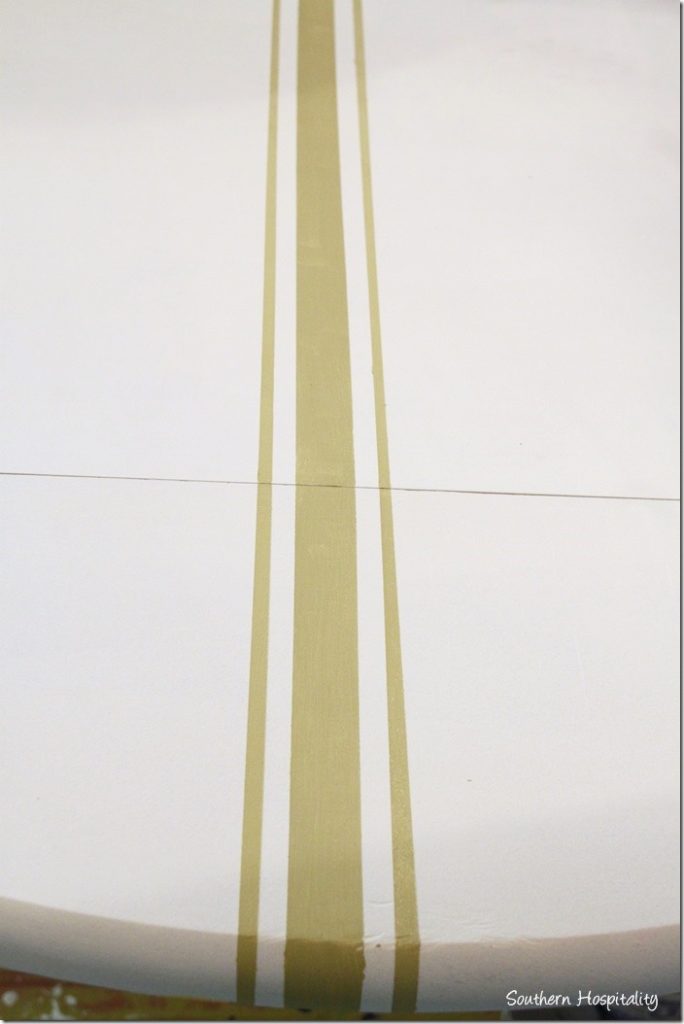
As soon as I paint the stripes, I always take off the tape, making sure to pull away from the wet paint and getting the tape off of there.
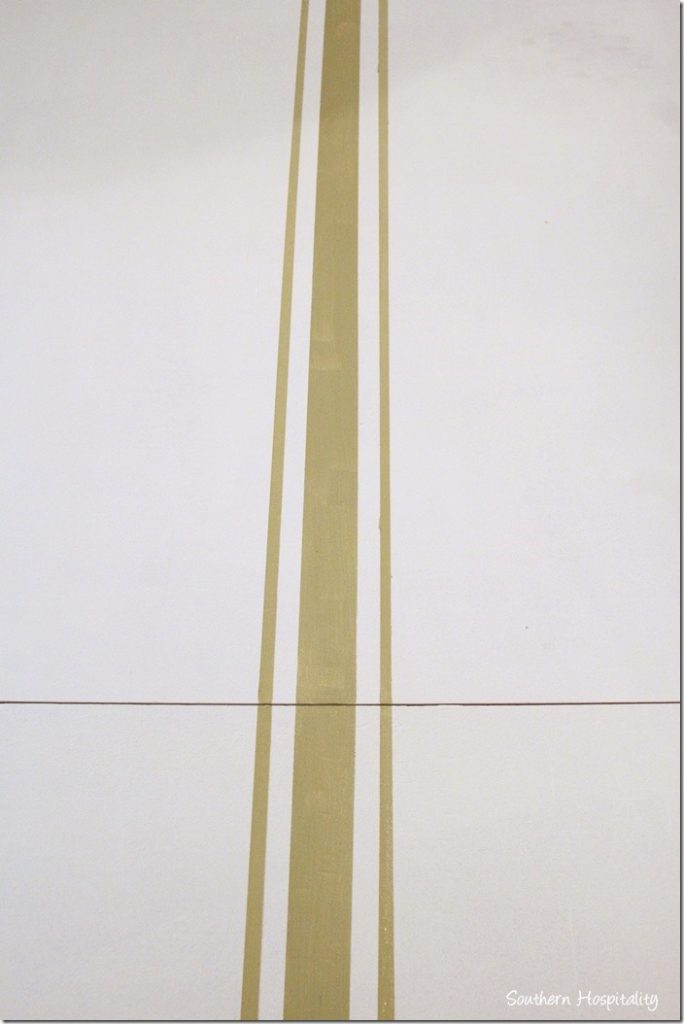
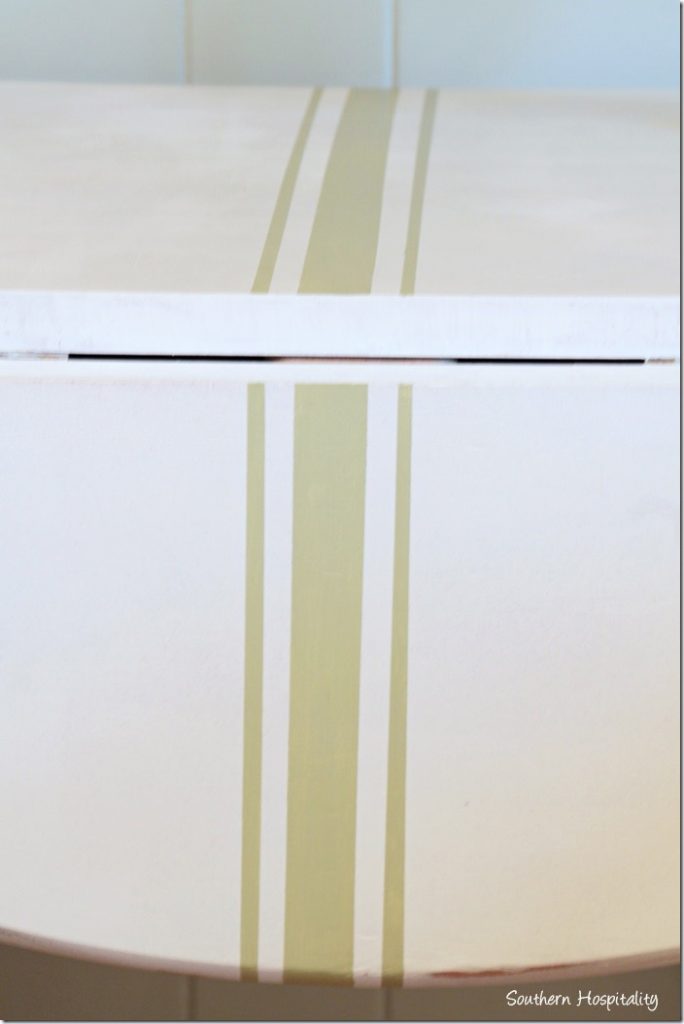
Throw away the tape and let the stripes dry. Tada!
I love the stripes, they really add a nice punch to the table.
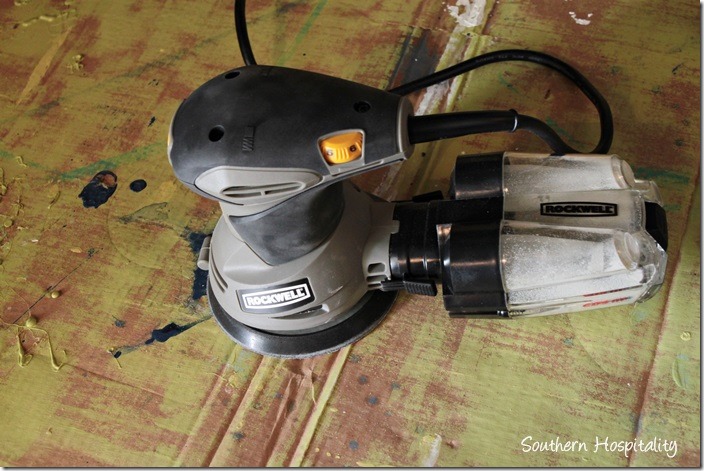
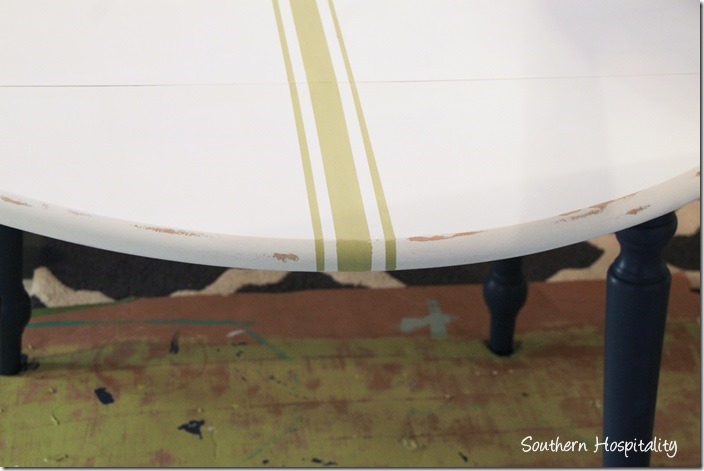
Next step was sanding down the edges, to give it a distressed look. I don’t want the table to look too new. We’re going for vintage cottage. Using the electric sander that I got from Rockwell, I began to lightly hit the edges all around the table, varying the distressing and not making it too heavy.
Just a few hits of the sander all along the edges is all it needed. Be careful with an electric sander and don’t keep it on the surface too long or it will take off way too much. Light touch!
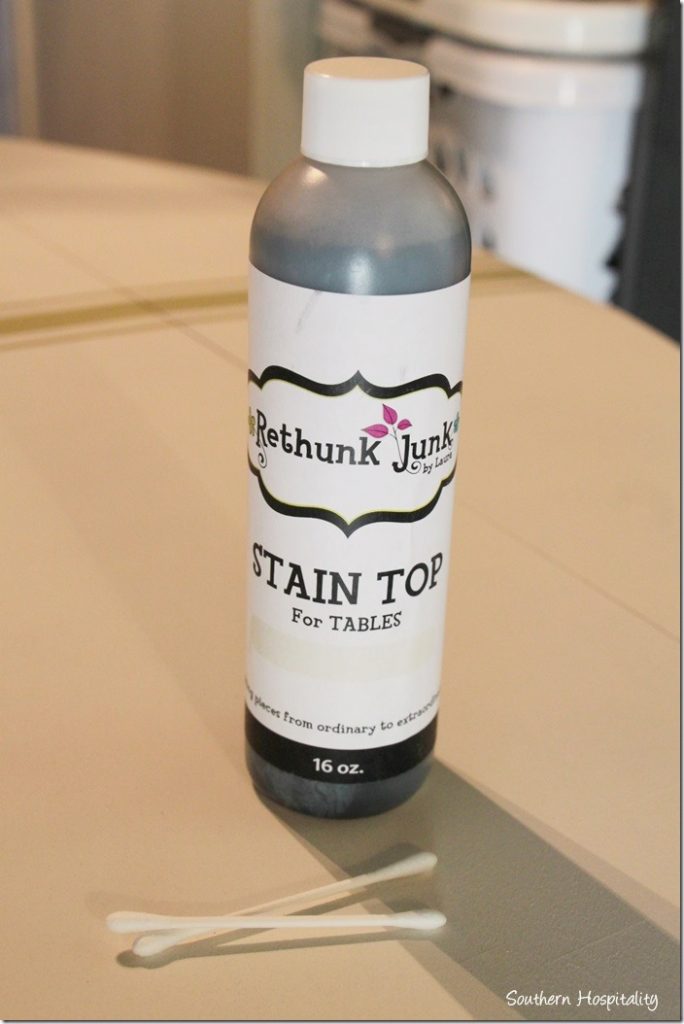
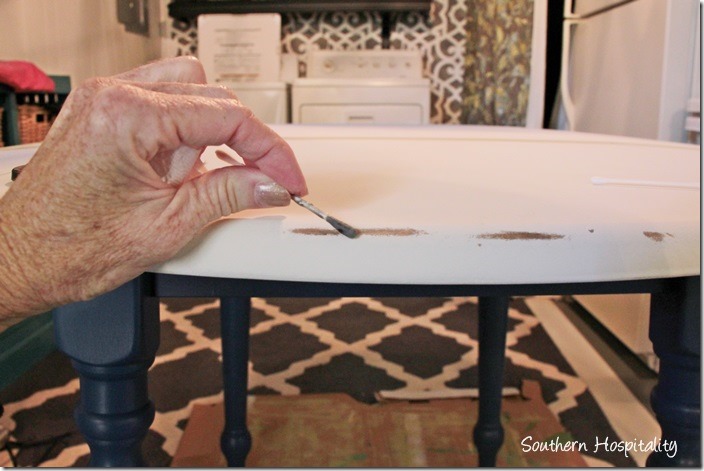
Using a method I’ve done before on raw wood, I used Stain Top from Rethunk Junk Laura, who has a shop at Woodstock Market. She had given us all some samples of her product, so it was handy and I tried it out on the distressed parts, using a q-tip.
Like this. Lightly brush over the raw wood and then I wiped it off with a paper towel. It leaves just a bit of brown on there, but I didn’t want it too heavy.
Then, I waxed the entire top with Fiddes and Sons clear wax. It’s hard to show this part, but using a wax brush I have, I rubbed in the clear wax to half the table, then took an old towel and buffed it out. It gives a slight shine to the surface, which is hard to see in pics. This step only took about 5 minutes or so. I did half the table, then the other half. It really looks good after waxing.
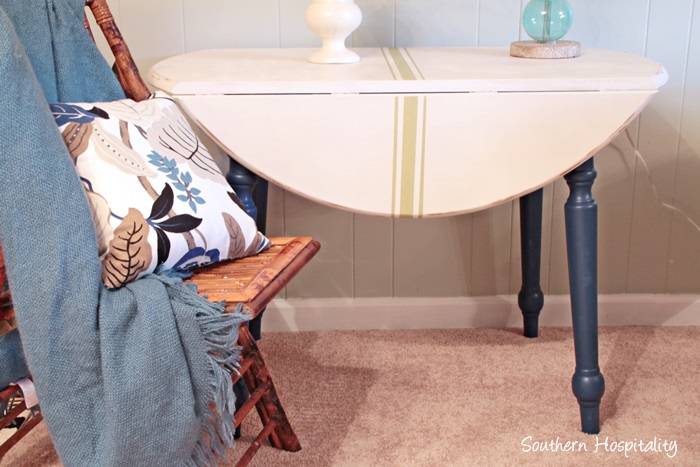
And here’s the finished table. I set it up so it would look pretty, but this table will go to Ruby’s new cottage as soon as she can use it.
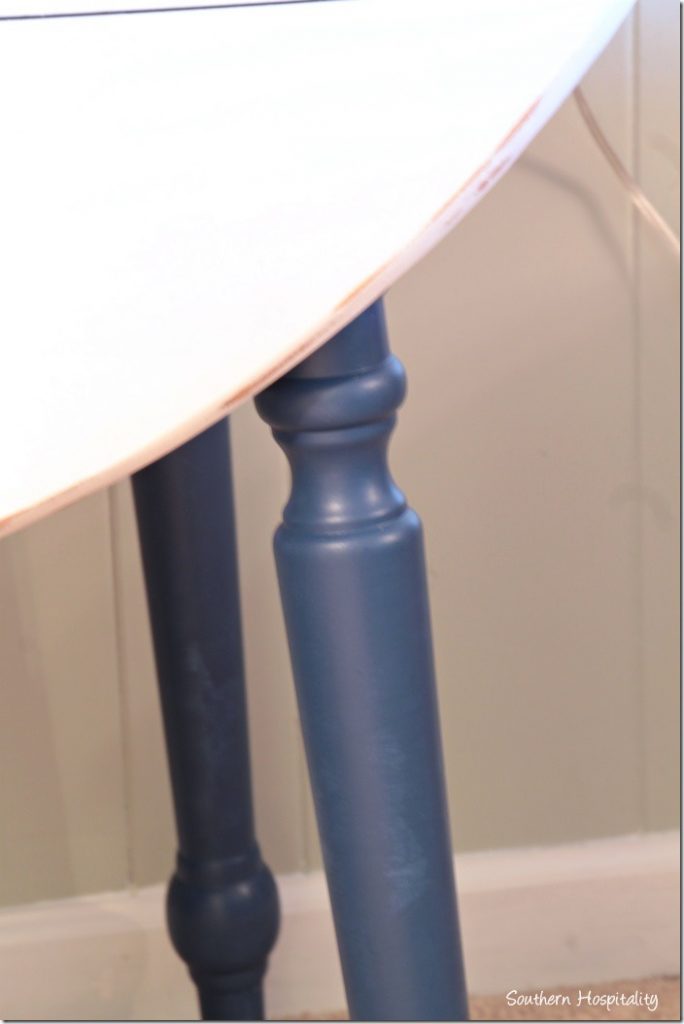
I love the blue legs and the bit of distressing along the edges.
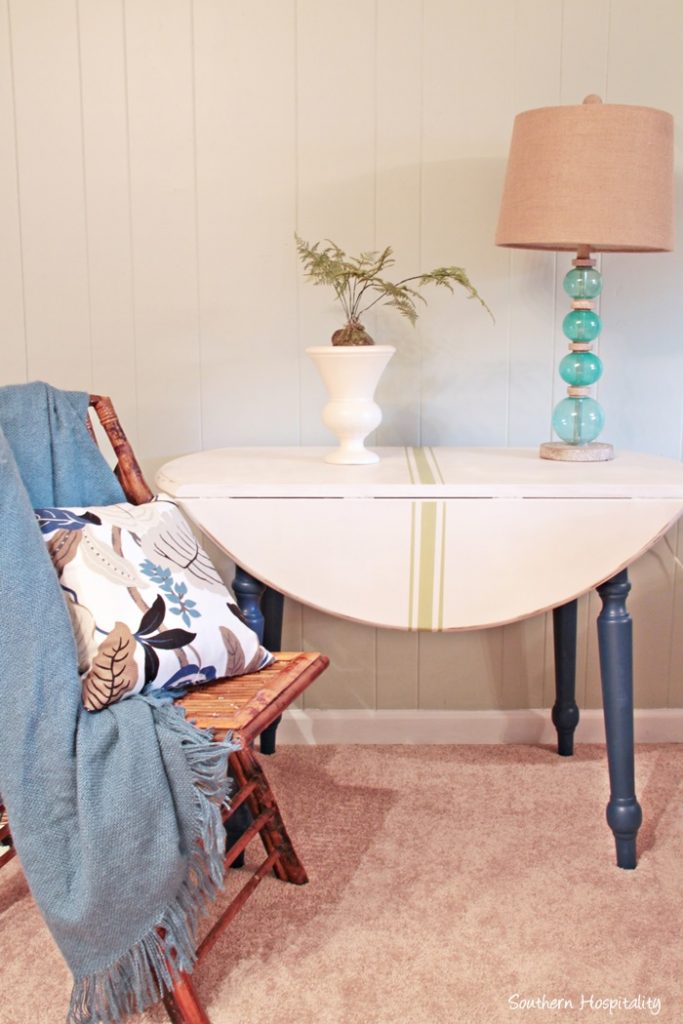
Now it’s a sweet little table with so much more character to it. I love saving an old piece and giving it new life and it will be fun to see where it lands in the lake cottage.
Ruby took me to the house that was the deciding factor for them on building their lake cottage. Her builder had seen this house and thought it would be perfect for them. She got to go see it and they made the choice to build the same house, with a few little changes. She took me to the inspiration house here in Marietta recently and the lady was nice and let me take pics, so I’ll be sharing those this Friday on Feature Friday. You will love it and I can totally picture this house at the lake on that beautiful lake lot!
Working with FrogTape®, I’m always on the lookout for something that I can repurpose and make better. That’s my Frogtape project this month, hope this got you inspired once again with the POWER of paint and how you can virtually change anything with paint. My fave home improvement weapon, paint does wonders for everything.

Disclosure: I am a Brand Ambassador for FrogTape® and receive compensation for completing projects for FrogTape®. All opinions, projects, and ideas are based on my own experience.



Hi Rhoda,
It looks so pretty. I like the legs you painted. What kind of paint brush did you use? It looks so smooth on the legs.
Jennifer
Hi Jennifer, I used a 2 inch angled regular paint brush on the legs.
Turned out really cute!
Winner! Well done, Rhoda that’s a lovely little occasional table now, and the colourway you chose is brilliant. Love the blue legs….. I am looking for a dark blue like that for one of my living room walls.
I am seriously crushing on the color combo!! Love how this transformation turned out. It will be fun to see it placed in her new home. Jane
I love this look and Frogtape sure helps get there!
Great job! I love the colors you used. Another chalky paint I have enjoyed is the Americana Brand available at Home Depot, Hob Lob, and Michael’s. I bought my first container at HD, but then discovered that I can use my 40% or 50% off coupon at Michael’s for it. They make a clear wax, a brown wax, and even a clear varnish. I have painted several pieces of furniture with it and have been so pleased, especially b/c the cost is a fraction of the ASCP. Keep calm and paint on!!!!!
Great job! Love the colors you chose!
Great job! I was going to ask about how the legs were done as well, but I got my answer in the first comment.
The table makeover looks great!! And I love the center stripe detail – so fun!
xo. Leslie
Segreto Finishes
Great job–LOVE the color choices so much am writing down the blue and green you used! 🙂 Nit-picky question: would it be a lot of work to continue the stripe on the edge of the table, so when the drop leaf is down, the stripe is visually cohesive? (They did that on your inspiration piece). Probably not worth the hassle, eh?
You know, I didn’t even notice that on my inspiration piece, but I really don’t think it detracts from the look at all. Who knows, I might go back and do it, we’ll see.
I too thought the stripe should be continued. Looks great though!
I love the stripe! I just painted an old table I found in my parents garage. It’s square but that stripe would pretty it up! Thanks for the inspriation! Although I painted the legs and table top the same color, I believe I am going to re-paint the legs darker.
Rhoda,
Thanks for the details. With old man winter approaching (and my outdoor days numbered) I am planning some painting projects. I appreciate that you show the steps and details…not just the before and after (tah dah!) post. ~Julie
Very cute…it’s always fun to recycle and old piece! Wish I saved my old pine coffee table:(
Absolutely wonderful, you did a great job!
Anne.