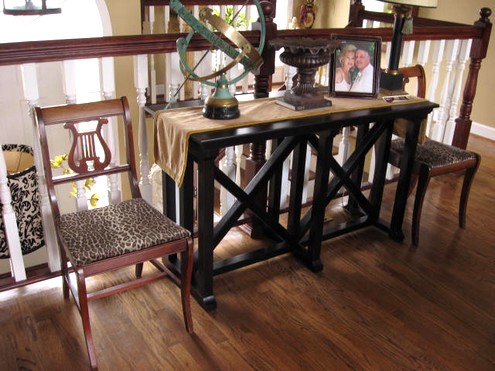
Back in 2002, I was on the cutting edge of the black painted furniture craze, when after doing a kitchen renovation at my house in Georgia, I painted my kitchen chairs black (which I shared about 2 years ago here). And I haven’t looked back since then. There have been many more furniture transformations using black paint since that day. I think this trend actually started with Ballards Designs (at least to me) when I picked up their catalog and began seeing black furniture, a light bulb went off. I can do that!
You’ve seen countless demonstrations of painting furniture black on the web, but here’s mine….again. 🙂 So, join me today for another black spray paint project.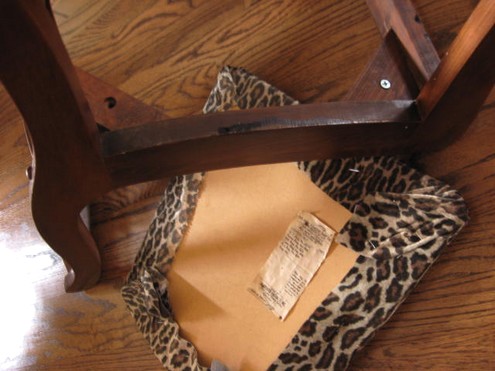
These 2 harp back chairs are yardsale finds (of course, they are!) and I’ve enjoyed them in their brown state for a few years now, but have lately been eyeing them with black on the brain. So, I got busy and changed them. First, you take off the seats by unscrewing those 4 screws. I’ve changed the fabric on these a couple of times which is as easy as stapling and pulling fabric.
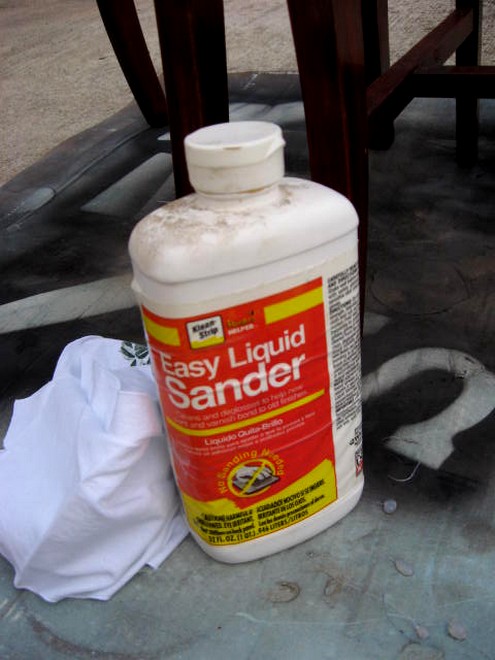
Outside they went and first I wiped them down with a liquid sander. This step just deglosses wood furniture and helps the paint to adhere better. I do this instead of priming, which most wood pieces don’t require. I hardly ever prime real wood, but I definitely prime anything that is fake or veneer.
I used Rustoleum Black Satin spray paint on these, but any brand will do. I don’t like using flat or high gloss on furniture, Satin is always my preference.
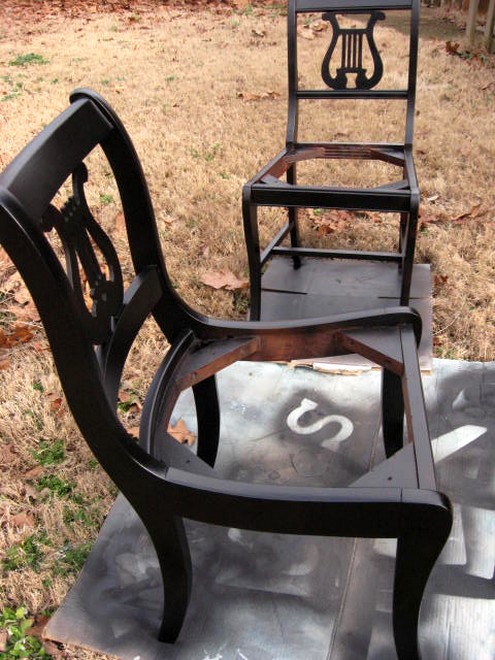
After drying about 10 minutes, the chairs are ready for their spray paint debut. Try to spray evenly with minimal drips. If it does start to drip, keep a paper towel handy to blot it before it dries that way. Not always easy to do if there is any wind outside. I prefer to do 2 light coats, letting them dry in between. Easy, easy! 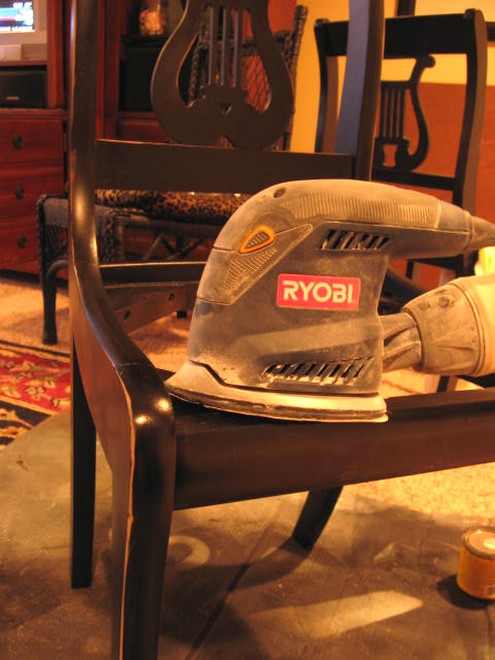
After they are good and dry, I took the sander to the edges. You want to distress in the areas that would most likely wear with age, like the rails, top and edge of the legs. I didn’t go too heavy with it, since I prefer a light distressing.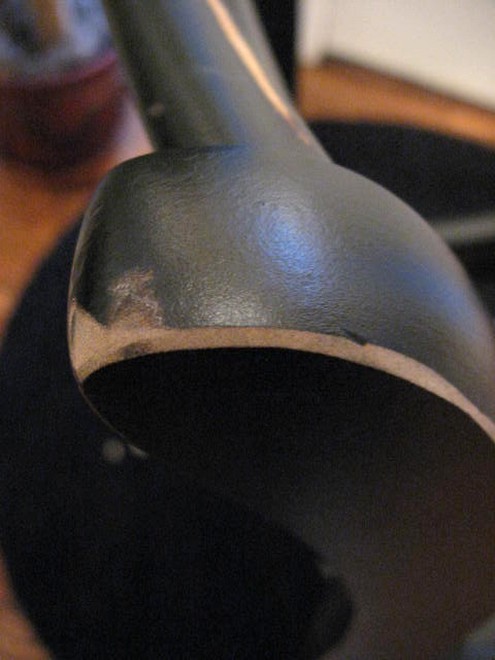
Like this, this looks good.
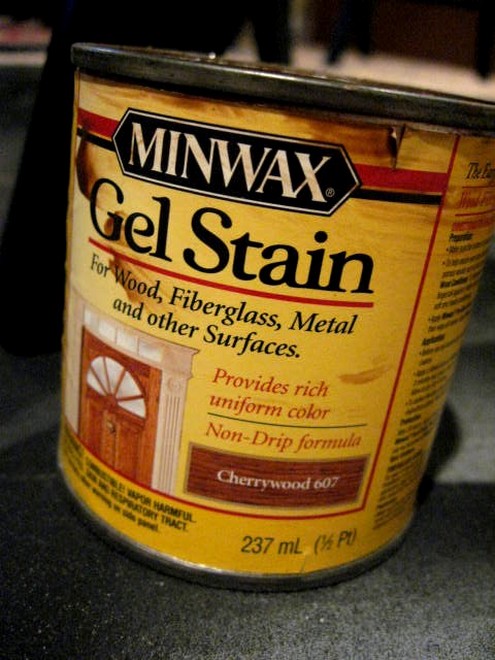
One little step I like to do after sanding, is getting out a can of stain. This is what I had handy, Cherrywood gelstain.
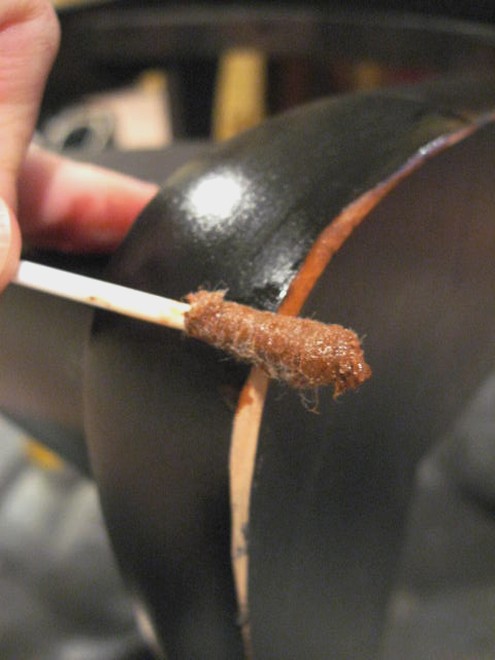
Grab a q-tip and swipe a little stain on that bare wood that you’ve just sanded down. It will give it a nice deep brown tone and seal it up. I just love the way this looks afterward. Take a paper towel and wipe off the excess.
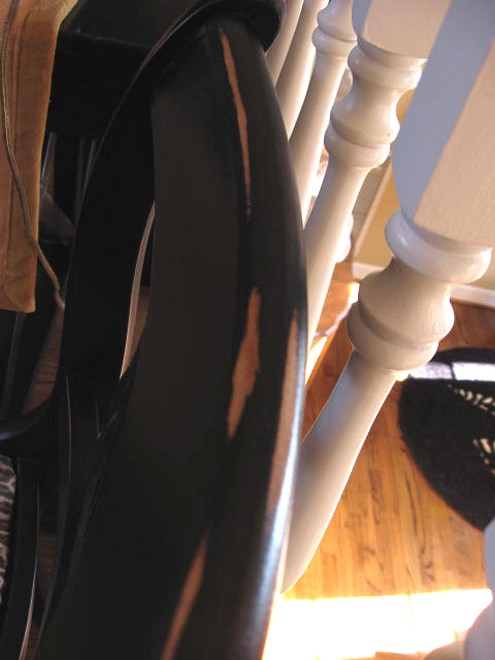
And you’ll be left with some pretty distressing.
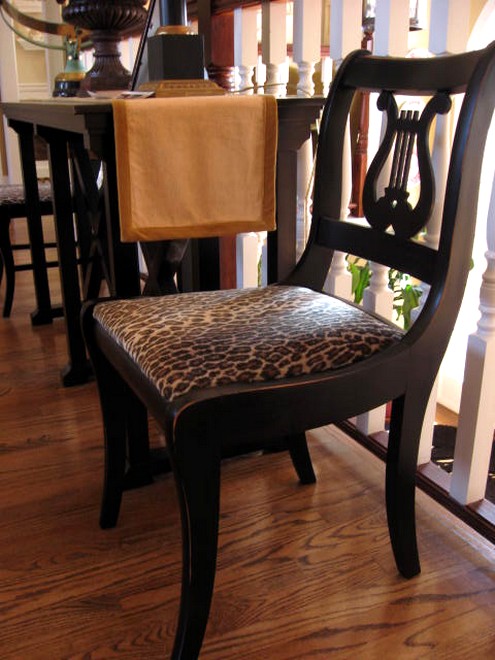
The chairs are back in place and I’m happy with them. They fit in better with the black console table they are hanging out with.
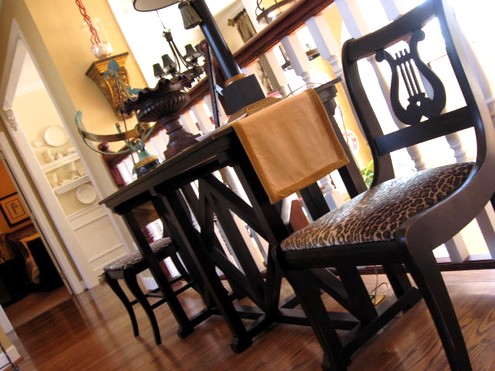
Don’t you think?
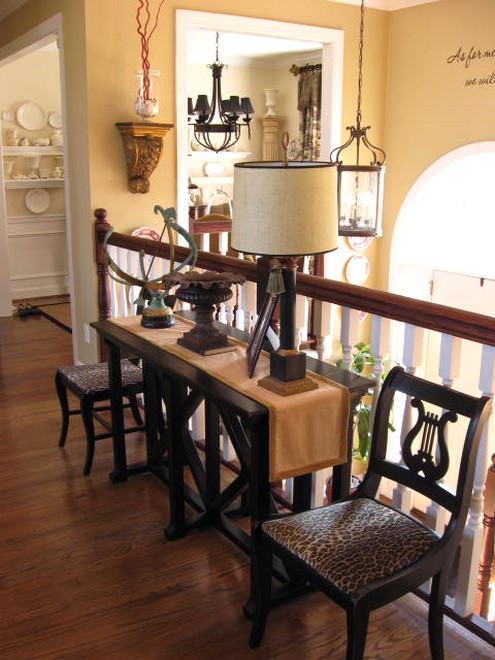
I’m likin’ the black a lot. 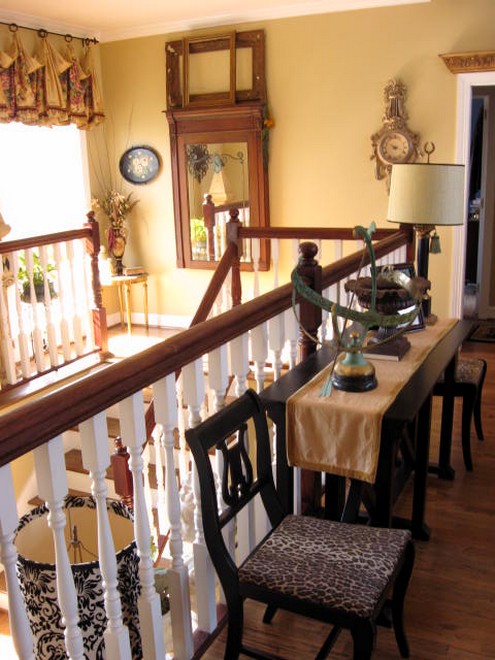
Yardsale chairs rescued and saved. You gotta love that!
So, do you have something that needs a can of black spray paint to renew and revive?
Added to:
Sarah’s Before and After Party
Kimba’s DIY Day
Susan’s Met Monday


Cool! Can you spray paint bigger pieces (like a dresser) or do you have to paint those with a brush?
I had never painted ANY furniture before ASCP, but now I’m ready to try some Ben Moore and Sherwin Williams. Not sure about spray can paint, but what the heck?!
They turned out gorgeous and I love the leopard print you used just goes so well with the black on the chairs!
Love the chairs, so inspired to so this on a new (vintage) cane sofa I just found. Did you seal the chairs after at all. Keep wondering if I should use a poly spray after?
Love your blog!
Thanks, Mary Ellen! No, I did not use any sealer after spraying them. That oil-based spray paint sticks really well & I’ve never had any chipping on those chairs.
question: The furniture I ‘m starting with is a country blue. Do i need to do anything different then the above instructions? Thank you
I followed your directions as the steps you had looked simple and the product looked amazing….so I picked up three pieces from second hand stores and tried your technique….They look amazing!!!! Thank you soo much for the tutorial it was the simplest and best without a doubt!!!! :o) Twylla from Hatzic, British Columbia
Looks beautiful. I want to try this soon!
I have done a lot with the black paint also I also did my cabinets in the kitchen. Instead of using the srpay paint I used MILK PAINT all I can say is WOW. It is so eay to work with I have carried the black wood into our great room also. I have found out if you don’t like it just change it DONT BE AFRAID
I have chairs very similar to these and I want to reinforce the strength of the seats. They go apart just like the ones you show. Mine are a birds eye maple look and I love the two pedastal table that goes with it. Originally it was purchased from a yard sale and we had six chairs, one chair was broken because the wood is weakening and my husband fell out of it as it fell apart. I wood glued it back together and it worked for a long time so long as no one sat on it. Well we had company and in the busy moments someone sat on it and it fell apart. I want to figure out how to reinforce the other five chairs do you have any idea?? I can send a picture for you.
Hi, Sharon, I am not a furniture repair expert,so if I were you I would take those chairs to someone who does repairs and restoration on furniture and ask them to help you. It might be that they all need to be reglued and clamped in place and that might tighten everything up, but sometimes you have to have the right tools for that to work.
I’ve been searching for a blog on painting chairs…As luck would have it- I’m planning on painting the exact same chairs- and black!! So cool to have found you! Thank you!
Thank you SO MUCH for posting this – I just finished my first DIY project and am thrilled with the results!!! My only question is, how do you care for/clean the chairs? I did this technique on a coffee table and 2 end tables and just want to know the best way to dust, in particular – don’t want to use Endust or something that would hurt the paint job. Thanks again!!
HI, Mandi, just dust with a duster or use a damp cloth on areas that get a lot of dust. Black is harder to keep clean, unfortunately, dust does show on them. The paint job should hold up just fine for you.
Do you use anything to seal it? If this was going to be a coffee table for example, would you recommend a spray sealer to protect the paint/stain from wear?
Shelly, you could certainly seal it if you want, but I didn’t do a thing to my chairs and they still look great. I did a distressed look, but if you don’t want any chips, then you could easily add a spray poly. Spray paint is oil-based, so make sure you stick with oil on oil.
I have painted a chest the distressed black from your instructions but would like for the furniture to have more of a smoother feel. Do you think a clear laquer spray paint would work over your distressed black paint?
Hi, Peggy, you could try sanding with a fine sandpaper like 220 grit and then respraying and that should smooth it out for you more. And a clear coat of lacquer couldn’t hurt either, just be careful and not get it too glossy cause that shows more imperfections. I like a matte finish myself.
So, why has no one told me this before? I am a DIY junkie and follow many blogs, but this is the first time I’ve read how to distress the furniture and then stain the distressing to make it look believably old and worn. Thank you!
Also, a comment on Miss Mustard Seed’s book – I’d love to be able to afford it right now at Christmas. I’ve read her blog posts many times. What I’d like to know from her book is how to “let go and let God” bring fulfillment to my life creatively. The Creator made me a “creative” creature but I’ve let the cares and sorrows of this life keep me from fulfilling my potential. I’m 66 and it is time I stop sabatoging my own efforts. My house will be paid off in four months and I can quit my job so it is my intent to start some kind of creative enterprise (perhaps a blog?) and maybe Marion’s book would be just the thing to get me started. God bless you and her for the sunshine you bring.
Betty McLellen
Love the chairs painted black. I’m a big fan of anything black. I’ve used many cans of black spray paint in my decorating days. Loving the cushions!!!!. Good job.
I absolutely love your black chairs! They are so pretty!! I have an entertainment center that I purchased from Walmart a few years back that is CHEAP particleboard covered with a faux woodlook paper that I would love to paint over but I am unsure if I need to remove the paper (faux woodlook) on top before I sand and prime it. Any suggestions?
Hi, Misty, you can’t sand faux wood/particle board, so the best thing would be to prime it with a good primer and then 2 coats of paint. That should work fine!
Wow! So glad I found this post. I actually have the exact same chairs! Mine are already black as is my kitchen table and I was thinking of painting them. Now I know how to change the seat part too! haha thanks:)
Help me! I used your blog about distressed black furniture as well as a few others I read online and attempted my first distressed wood project. I wanted the black paint to stick well (contrary to another readers experience) so I primed with oil based primer. Then I painted black and I went to do the distressing but the white primer shows through and even with the gel stain it looks like white primer over wood under black paint. yikes! What can I do to not have the white show but keep the distressed look?
HI, Nicole, that’s a tough one! I’ve seen that happen before and you’ll notice in my instructions, I didn’t prime on the pieces I distressed. I used black spray paint and the oil paint sticks well. I’m not sure now that you can do a true distressed look and not have the primer show.
Do you ever finish with a wax or sealer of any kind? I love the stained distressing.
HI, Vicki, I haven’t found a need for a sealer on my spray painted things. It’s an oil-based finish and has held up just great for me.