This project is sponsored by Daich Coatings SpreadStone. They sent me this product to try out. I’m so happy to share this with you all as I love, love the outcome!
DIY: How to tape off a concrete patio and use a concrete stone paint faux finish technique to create a stone/slate tile looking patio. A DIY project anyone can do with time and effort!
Hey, friends! Well, I’m back after almost a month of working on our patio to share with you one of my favorite DIY projects I’ve ever completed. Y’all have watched me DIY a lot of things on this blog, many when I was younger than I am now. I’m happy to say that this 62 year old Boomer rocked this project and got it done! I wasn’t sure how long it would take me and at the beginning, my disclaimer was that it might be next March or April before it all was completed, but I forged ahead and got it done. Thank goodness the weather finally cooperated and the last 2 sections were done in much cooler temps. Outdoor DIY’s in 95 degree weather is for the birds!
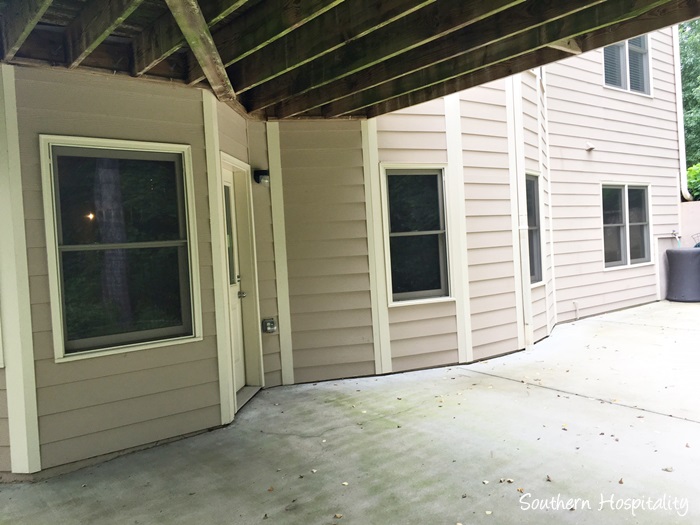
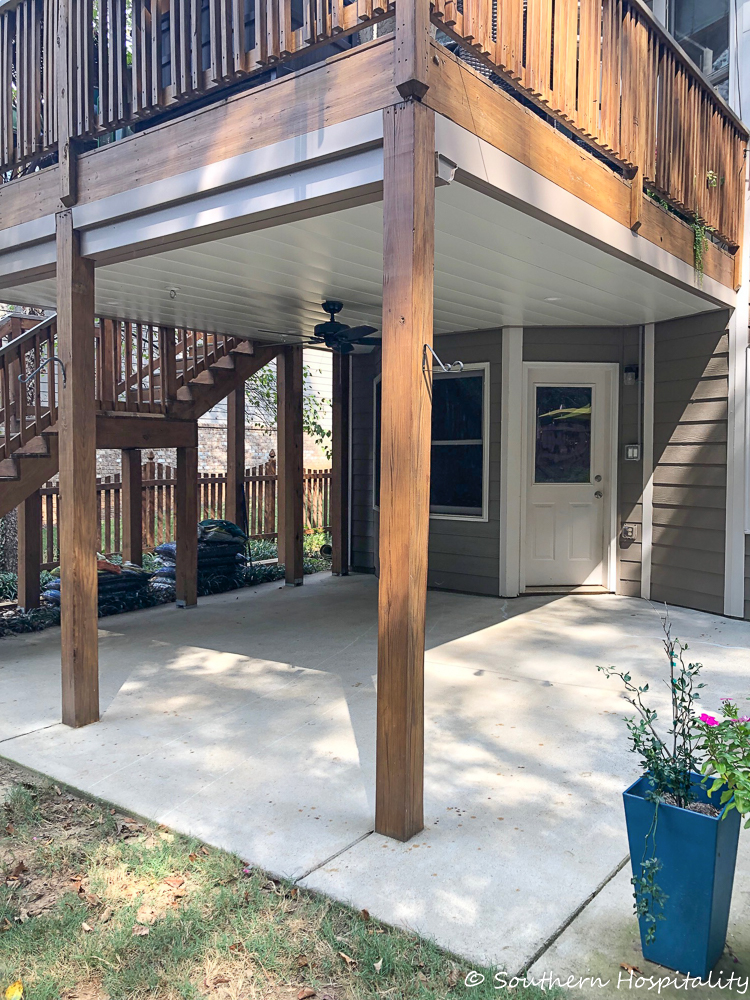
Here’s a look at our house just after we bought it, under the deck on the patio.
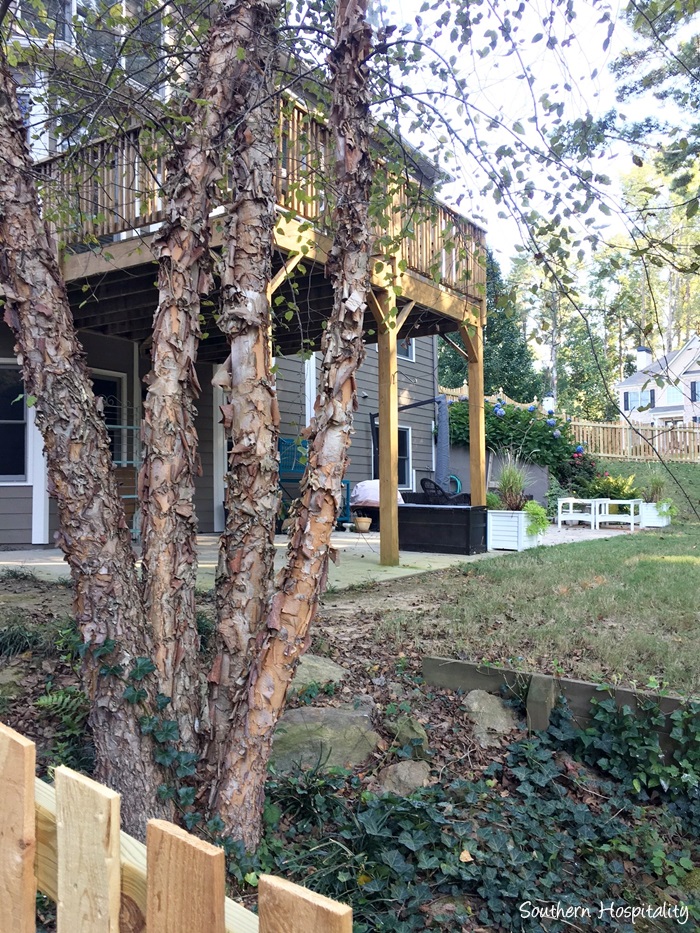
And right after getting the fence installed.
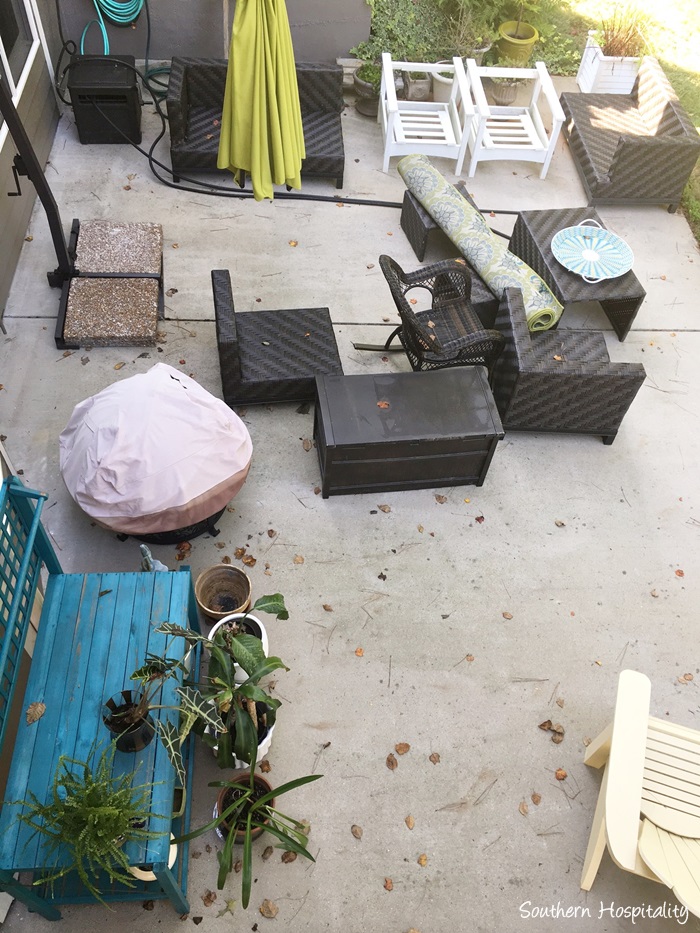
Right after moving in.
I’ll go ahead and show you the AFTER shot now so you can get excited about this project!
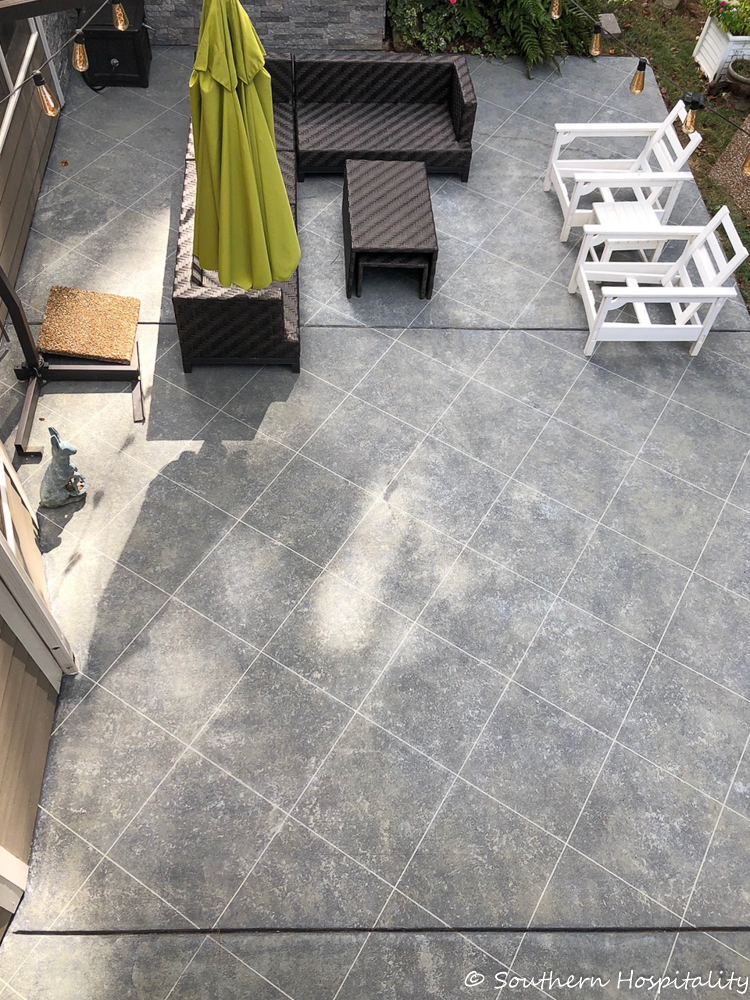
And here’s the finished project using Daich Spreadstone products.
Today I’m going to share the entire project with you, in a step by step format and show you how I did it. If I can do it, you can too! Here’s how this project came about. I have been thinking and thinking ever since we moved in here 2 years ago on ways to improve the concrete patio we have. It’s a large patio at 17′ wide by 43′ long and I contemplated adding real tile to it or doing some sort of stencil project.
I wanted to make it look better and with all our rain, it stayed green so much of the time in certain areas that stayed damp. I was hoping to find something that would scrub up better and stay cleaner longer, plus make the concrete not look so well, concrete-y! Concrete is a great material but if I can dress it up and make it look better, then I’m all for that. I had been reading up online about staining concrete and taping off squares like I’ve done before on my old screened porch. Concrete stain was one of the things I had in mind and I figured it would give me somewhat of the look I was going for.
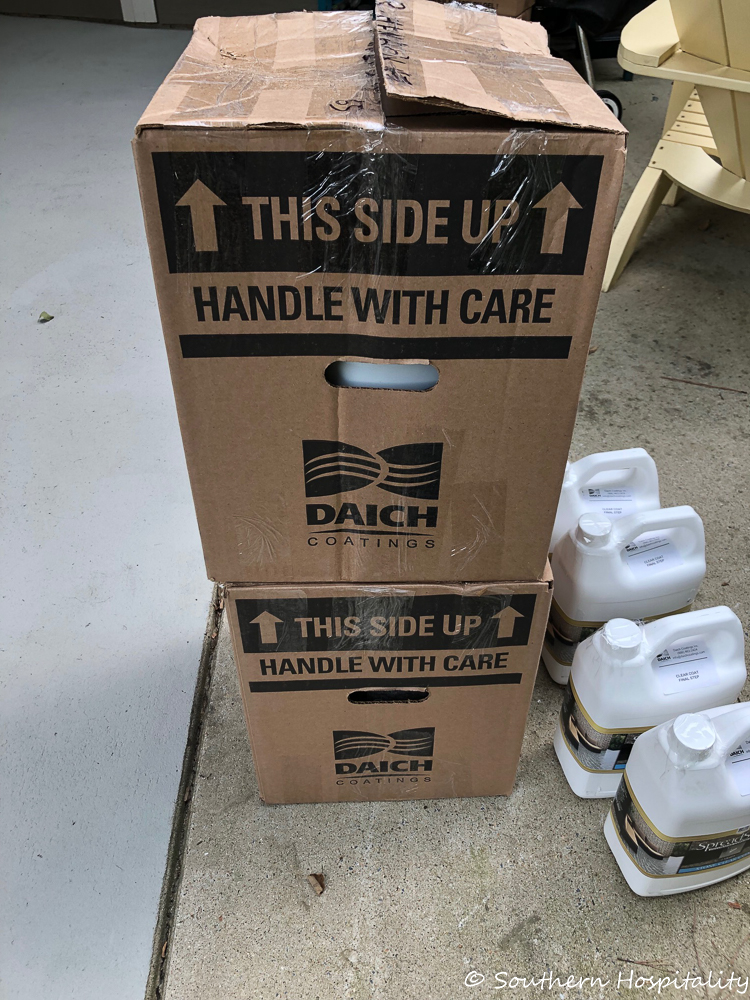
About mid-summer, I got an email from a company called Daich Coatings. I clicked and read it. I get PR emails all the time, every single day from PR companies sending me product information. I guess they figure bloggers will share them with their audience, which I don’t usually do, but I’m always on the lookout for products and companies I can partner with for projects we want to do around here. When I clicked over to the Daich website and started reading about their concrete products, one in particular caught my eye. It was called SpreadStone (click here to look at colors, I used Lake Rock, a great match for our house siding) and they had videos and picture samples of that particular product and I loved how real it looked. That link is a good one for pictures and how-to’s as well. This is what convinced me I could do it! They have other concrete products too that are not quite as labor intensive as this one, but look good too for dressing up concrete patios, walkways, or garage floors, so check them out on that link under Products/Floor Coatings. RollerRock is also a good looking product that comes in several colors.
With the SpreadStone product, they used a tape method to tape off squares which gives the illusion of real stone tile. Sign me up! I knew it would probably be labor intensive, but I was willing to give it a try and see what I could do to our patio, so I wrote them back and told them about my project, that I was looking for a product that would give me a tile look back there. We chatted back and forth, I told them the size of my patio, the color I had chosen in SpreadStone (Lake Rock) and Daich shipped out the product to me on a big pallet. It was huge and took a freight company to get it to my door from Canada, where Daich is located.
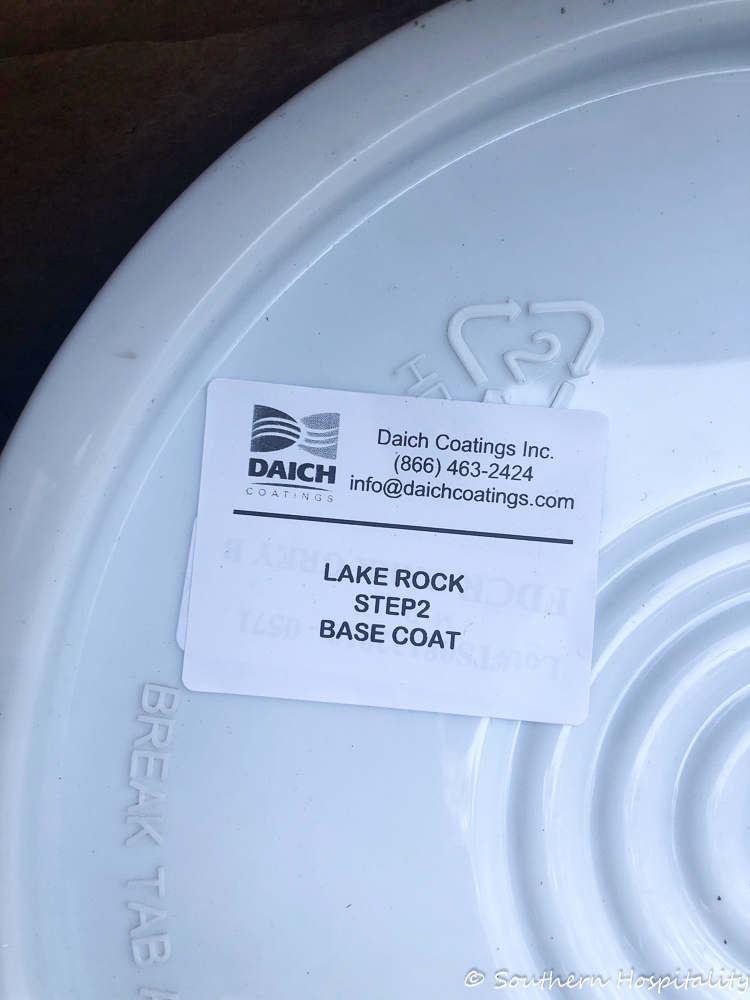
I received a lot of product and started going through the instructions, watching the videos and unpacking the boxes to see what I had.
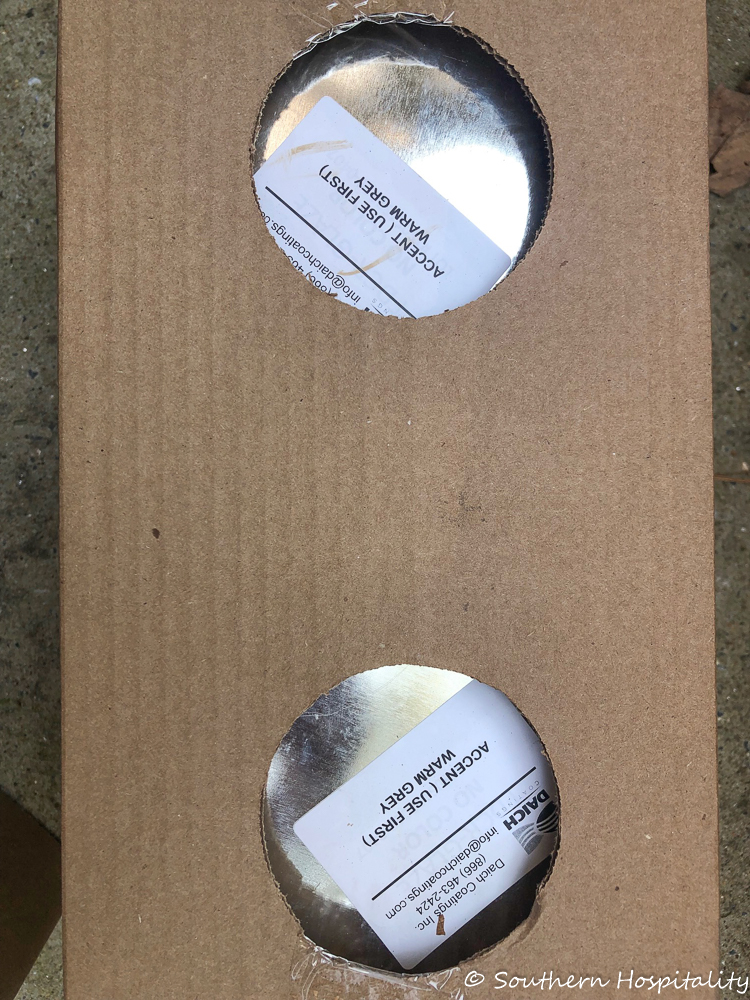
They had everything labeled very nicely for me so it was easy to see which products were to be used first. Definitely read all the directions before you get started on this project if you try it. I was a little nervous to start with, but after successfully completing section one of our patio, I flew on to the next 2 sections without stopping. I started this project September 17th and finished all three sections October 12th. Not bad at all! And this was going out of town and with lots of interruptions. There are several steps involved but don’t let that scare you!
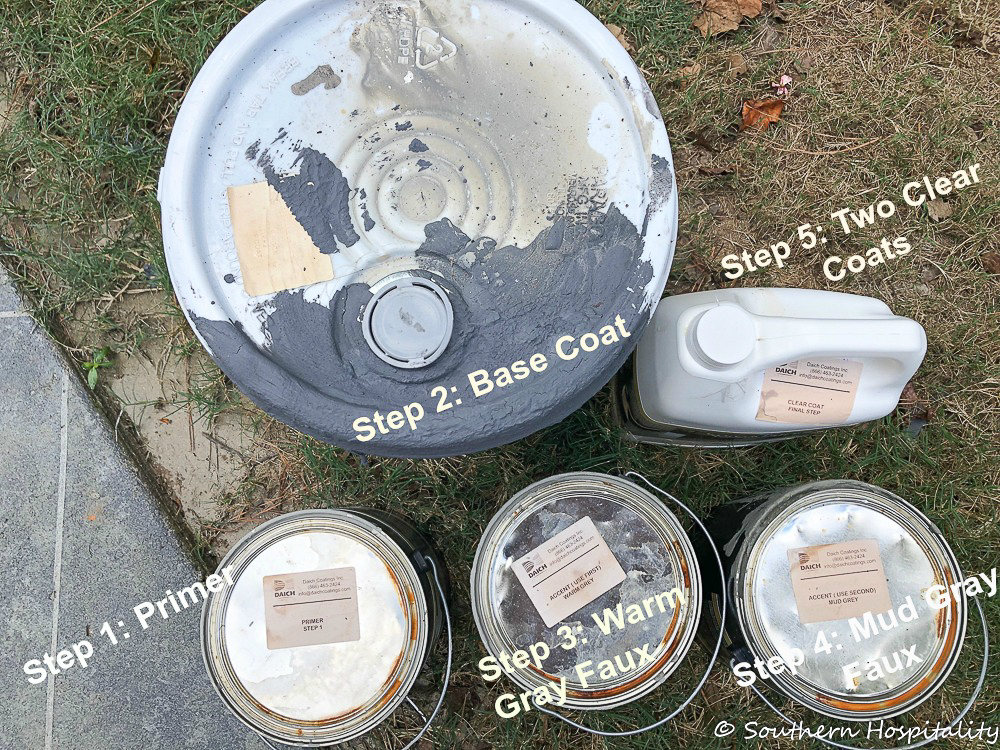
I labeled this picture with the product steps to show you in what order the product is applied. But the steps below will take you through the entire project and how I achieved this look on our patio. I took most of the pics in progress on section one, but then quickly went on to sections 2 and 3 as you will see at the bottom. I’m so completely happy with how this project turned out and it has completely transformed our patio space!
As this project was being done, we had Phantom Screens installed as well, which I’ll be sharing soon in another post, but it’s been an exciting month around our house for outdoor projects.
Here are the step by step instructions on how I did our patio. But definitely read the Daich website and look at their videos for more. I couldn’t take video of myself very well since most of the painting was done when Mark was at work. But their videos show the faux finish roller very well and the method to achieve the stone look. This link from Home Depot has a video on the side, so check it out. It has a slate stencil instead of what I used, but the same application method is used.
Here’s a video I watched on You Tube from Daich, so check this out too, it shows the grout line method and the faux roller how-to:
Now, let’s get to the project!
Step One: Pressure Wash your concrete
Definitely start with a clean patio. I pressure washed each section right before I started painting it. This section under the patio was my first section. I had posts to work around so that was a little slower, but it all worked out. I have a battery powered blower handy too to keep blowing debris off. There is always going to be leaf debris, dog hair, or ants that want to get in your way, so keep a blower handy as you’re working to keep it as clean as you can.
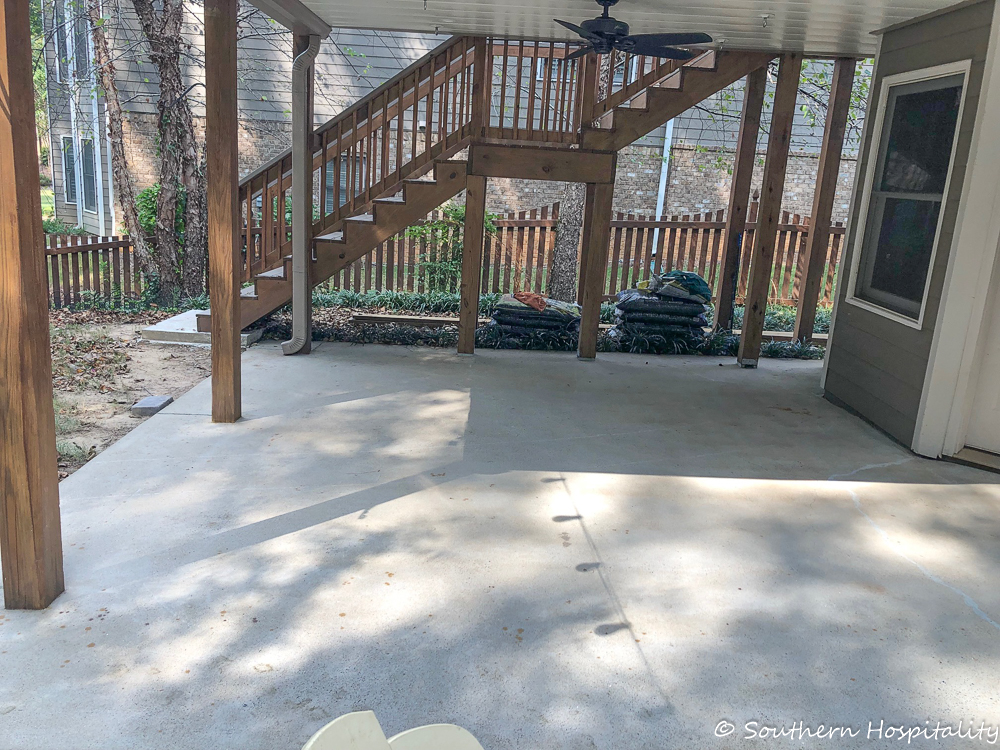
All clean and ready to paint with primer. I did one coat per day, but you can actually do it a little faster according to the video. I did end up doing both faux colors on the same day after the first section was done.
Step 2: Roll on Primer Coat
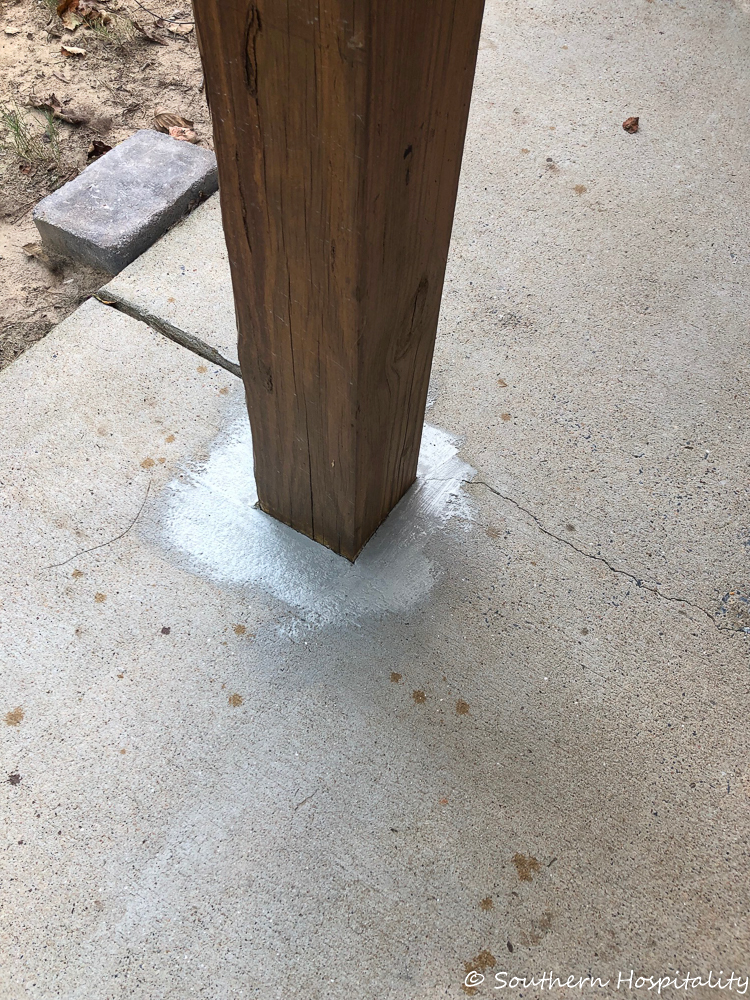
I ended up taping around the bottom of the house siding and around these posts so I wouldn’t get paint all over them. You’ll need a paintbrush too that you don’t mind messing up. These paints have stone particles in them so don’t use a good brush, but everything washes up with water.
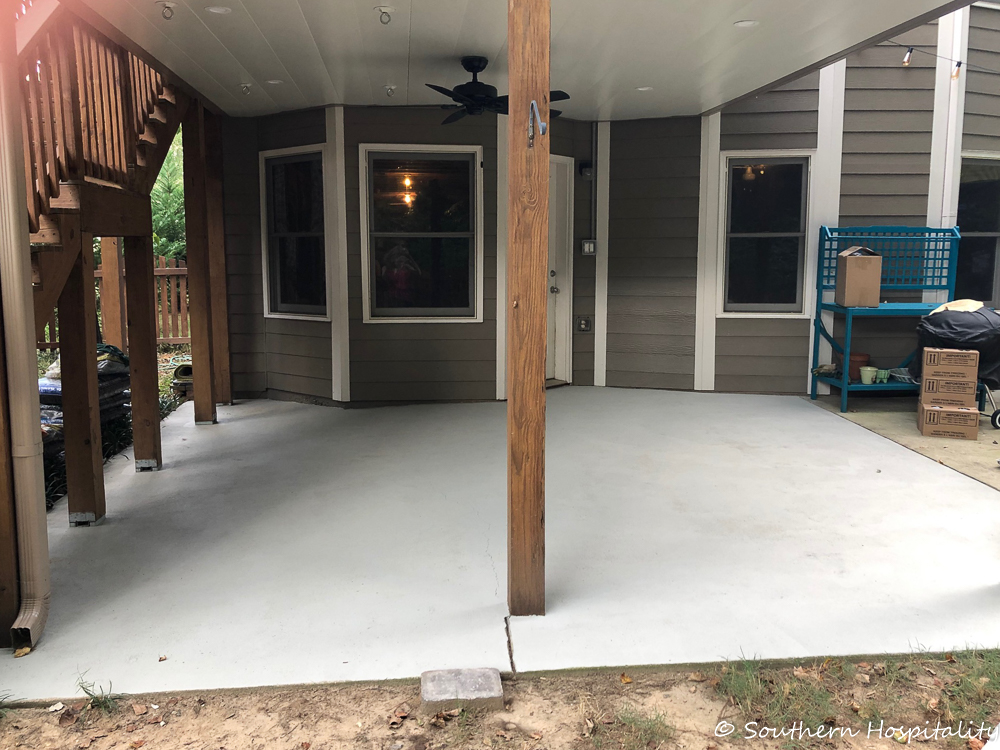
All primed and ready to tape squares!
Step 3: Tape Off Squares (I used 24″ squares for our patio)
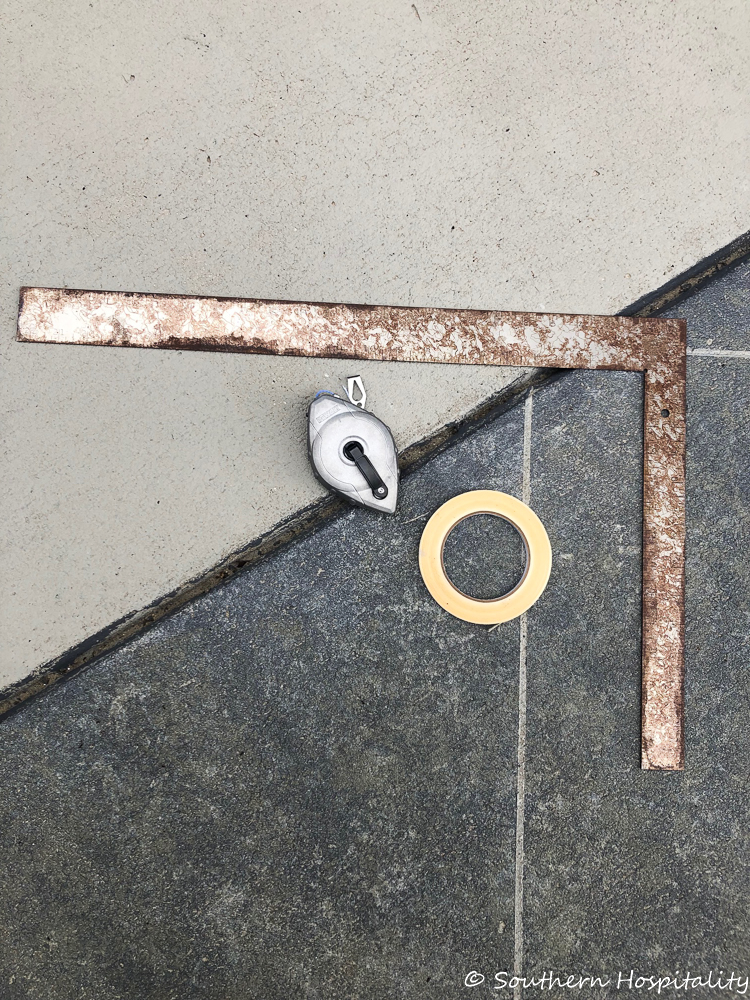
These are the tools you’ll need first thing to tape off your patio into squares. I first tried to do this by myself with a cardboard template but found that didn’t work to keep my lines straight. I did measure to the middle of this section of the patio to get started so that everything will flow out from there.
Two people, a chalk line, and square are necessary to tape off the patio. The tape is from Daich and came with my supplies. They also have faux finish rollers too, I’ll show you that as well.
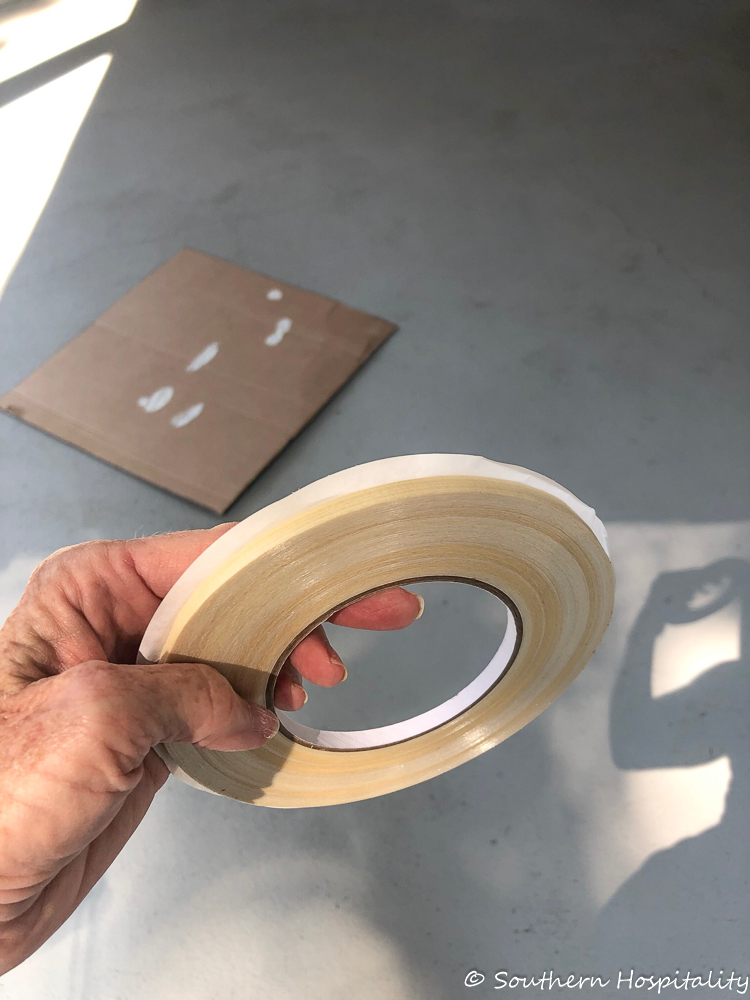
1/4″ tape from Daich leaves a nice faux grout line.
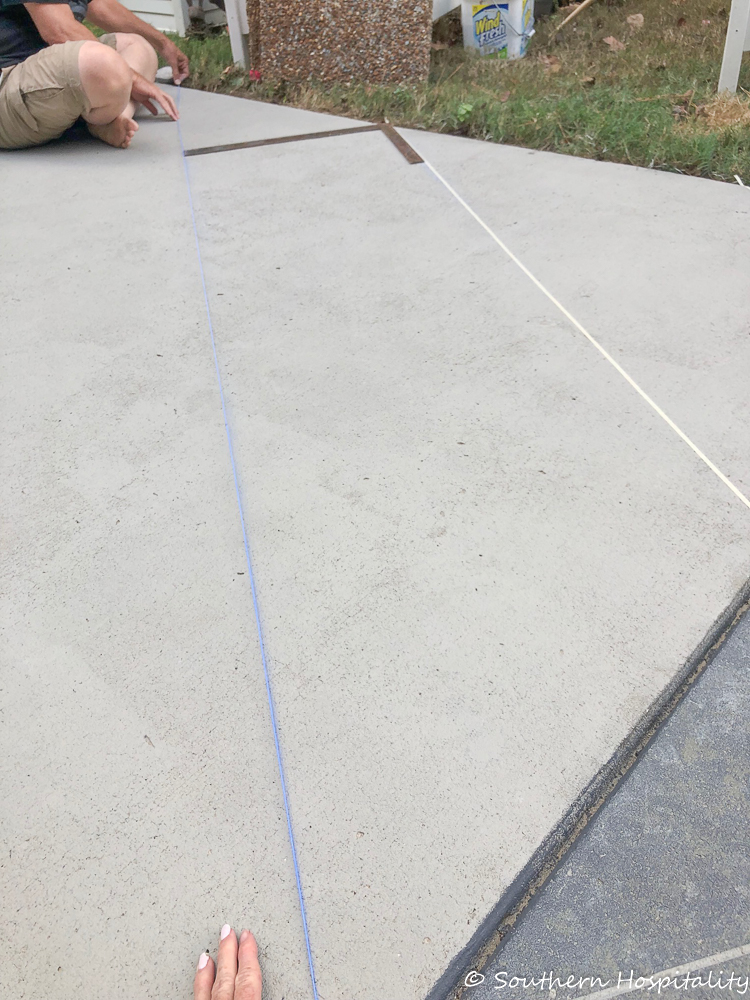
Here’s a good pic of how Mark and I worked together on section 2. On the first section, I started in the middle with my first square and turned it on the diagonal. Then worked my way out to the edge of the patio. Once the first section was taped off and painted, we then continued on to the next section, measuring from the tape lines that were already there. But get your grid established the way you want it first and then continue it from there to the rest of the sections. Make sense? We had 3 separate sections of concrete, so I did each one separately.
I was on one end with the chalk line and Mark was on the other. I was continuing a line of grout from the previous section (that you can’t see in this pic), but I’m holding the chalk line right on the grout line from the previous section and Mark is on the other end with his 24″ square chalking a straight line which I then taped off.
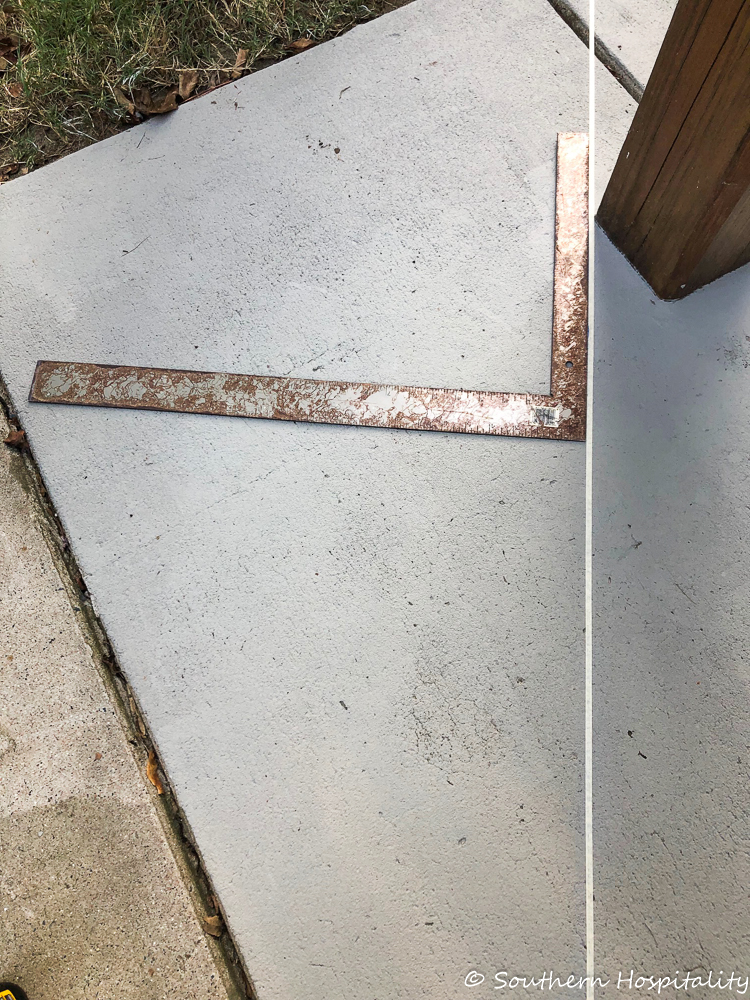
Just keep your measurement going until you have all diagonal lines taped off. We moved in one direction, then went across in the other direction, creating all the 24″ squares. The primer color will be the grout line when finished and pulled up, so this goes right on top of the primer coat. These pics are not completely in order as the above pic is section one when we were taping it off. But hopefully you get the idea!
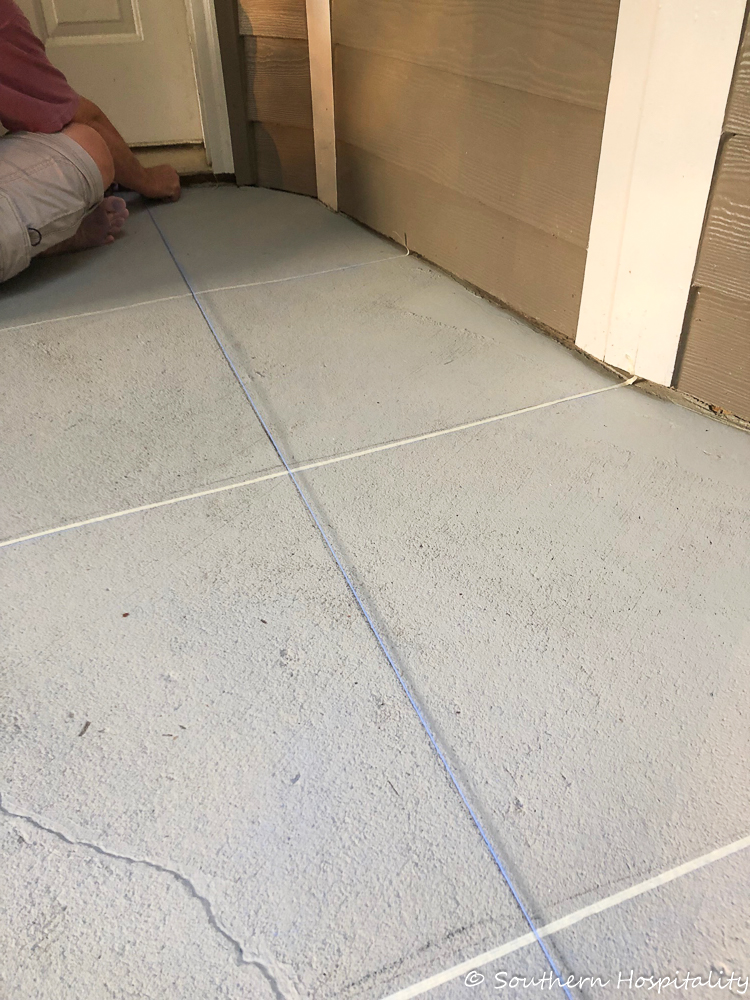
Here’s a shot from the first section with Mark on one side and me on the other. We chalked a line and then I immediately added the tape on top. Be sure to leave tails on either end so you can pull the tape easily when it’s time.
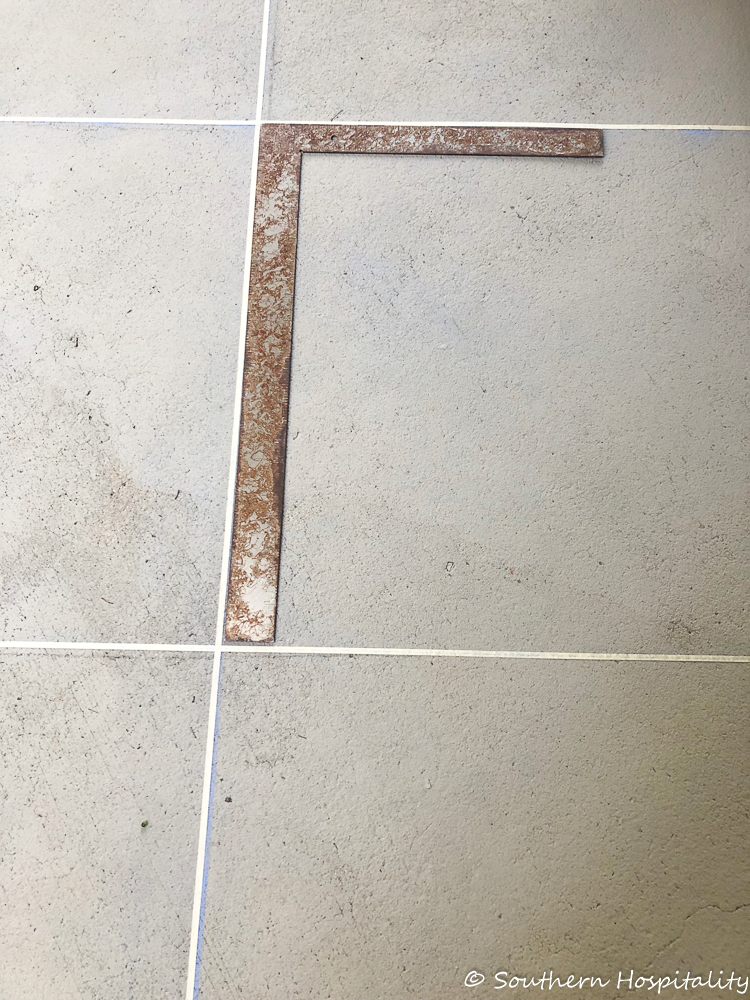
Here’s how your squares should look if you’re using a 24″ square like I did.
Note: The chalk line and taping was the only part Mark helped me with. I did the whole painting of the project myself! I just want to put that out there. If I hadn’t had to have help with the chalk line, I would have done it all by myself.
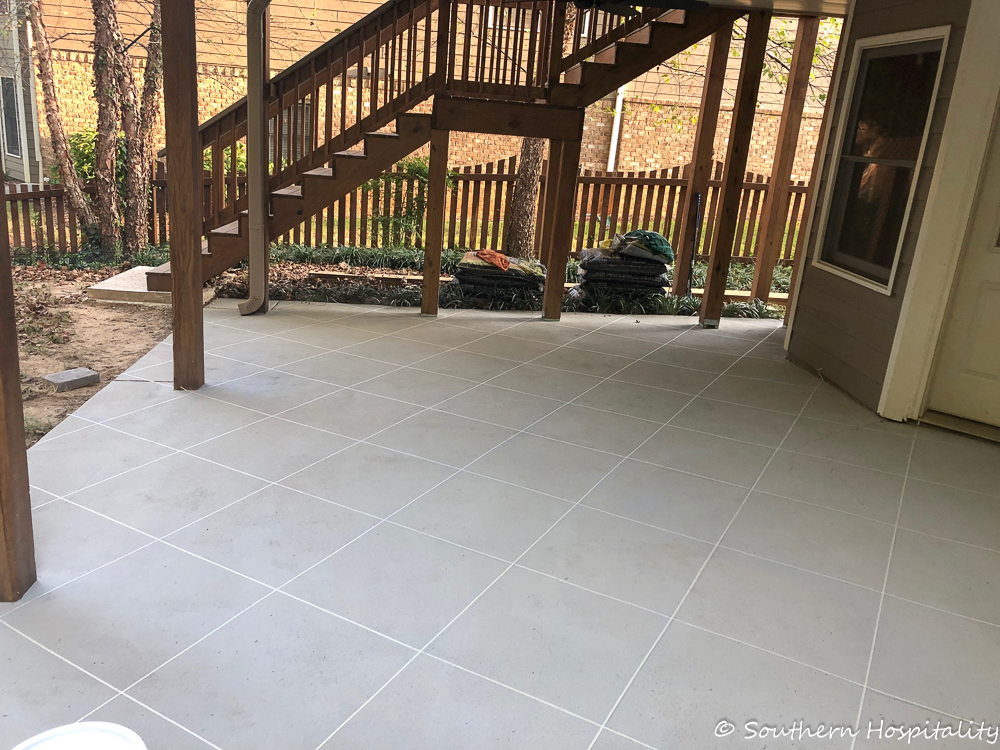
Taped off on top of the primer.
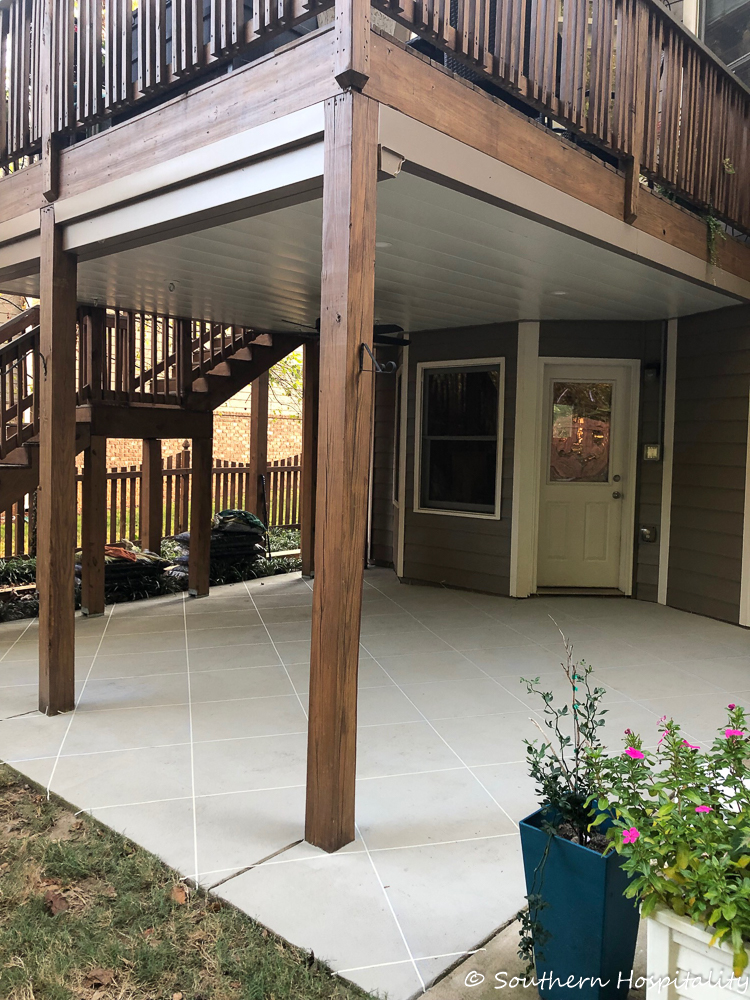
The whole patio taped off on top of the primer coat.
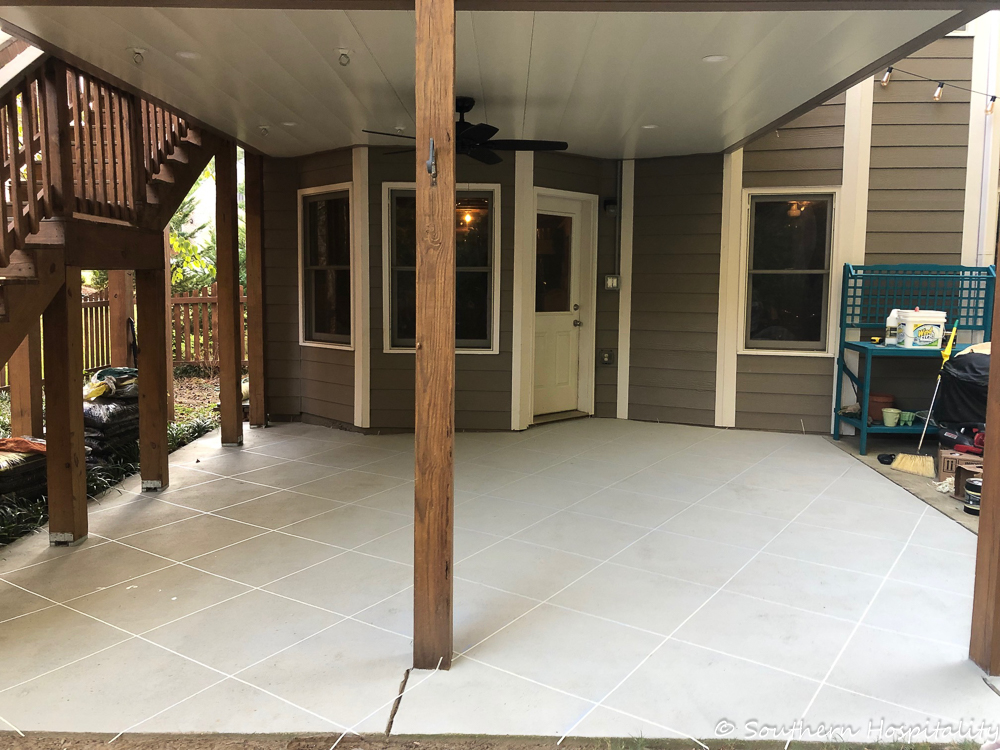
I wanted to show all the angles so you can see the diagonals I created with the tape. Diagonal squares are so much more interesting than straight squares would be.
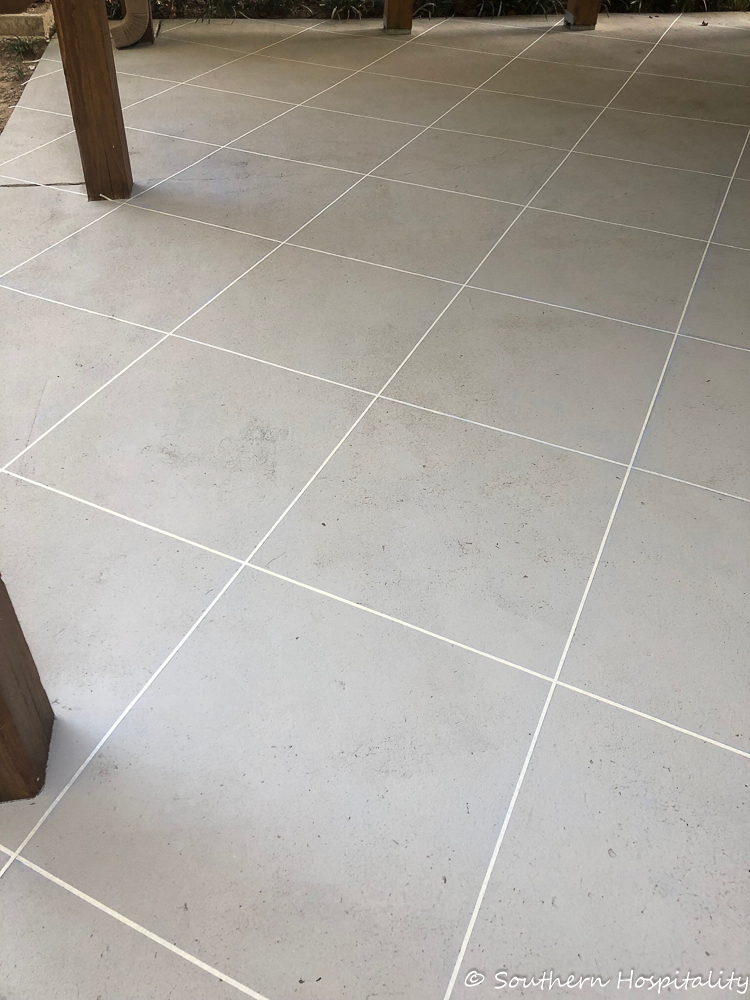
Step 4: Seal over Tape with Primer
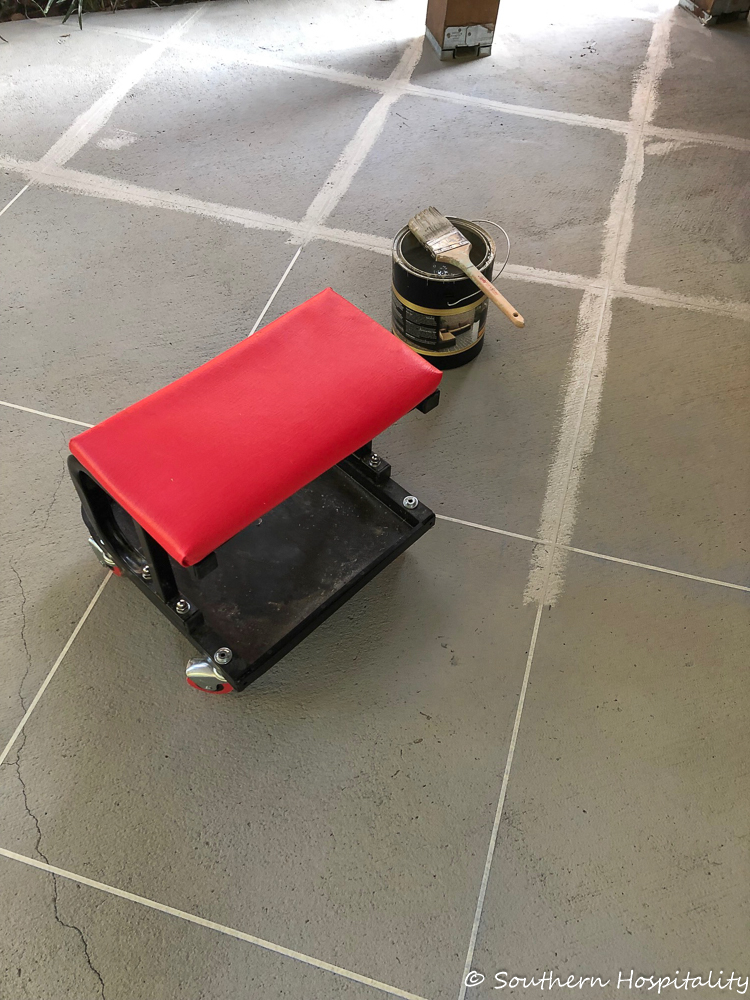
A tip I got from Peter Daich was to then go back with a brush and “seal” down the tape lines with the primer again. This ensures that there will be minimal seepage of the next coats of paint under the tape. The tape stays on until all of the layers are completed and comes up just before the clear coats go on. Mark’s red rolling stool helped my back a lot on this process! I rolled around the patio painting lines.
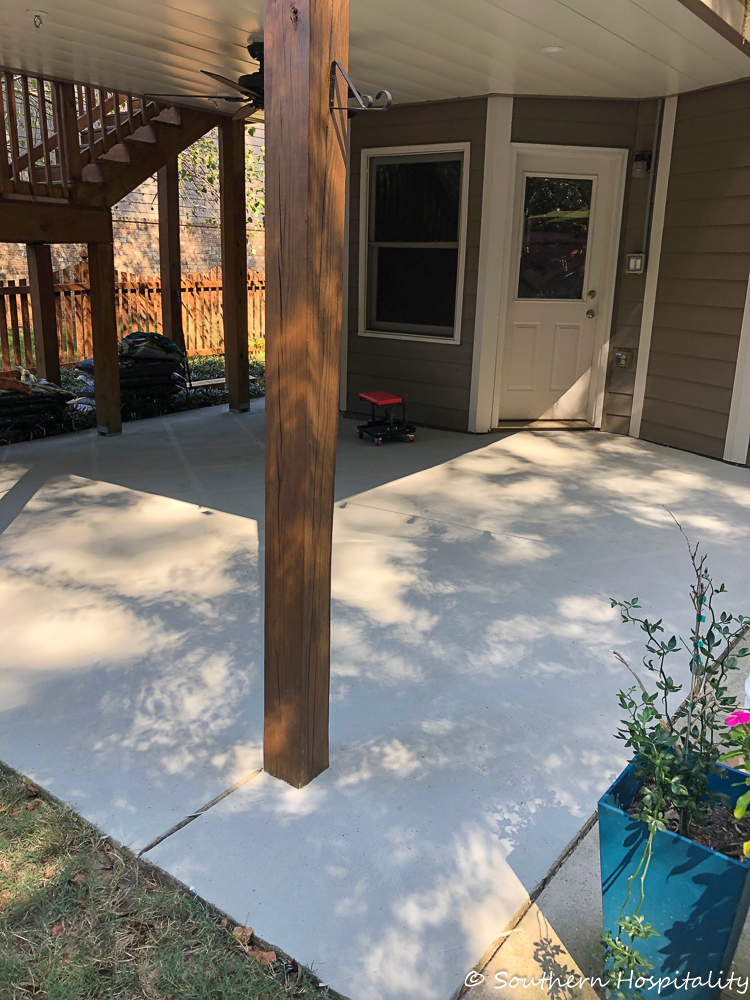
Once they are all painted over, the tape disappears, but it’s going to do its job under there and give me a gorgeous look when finished. This is a layer by layer, step by step process, but I think it’s totally worth the effort! I would do it again in a minute.
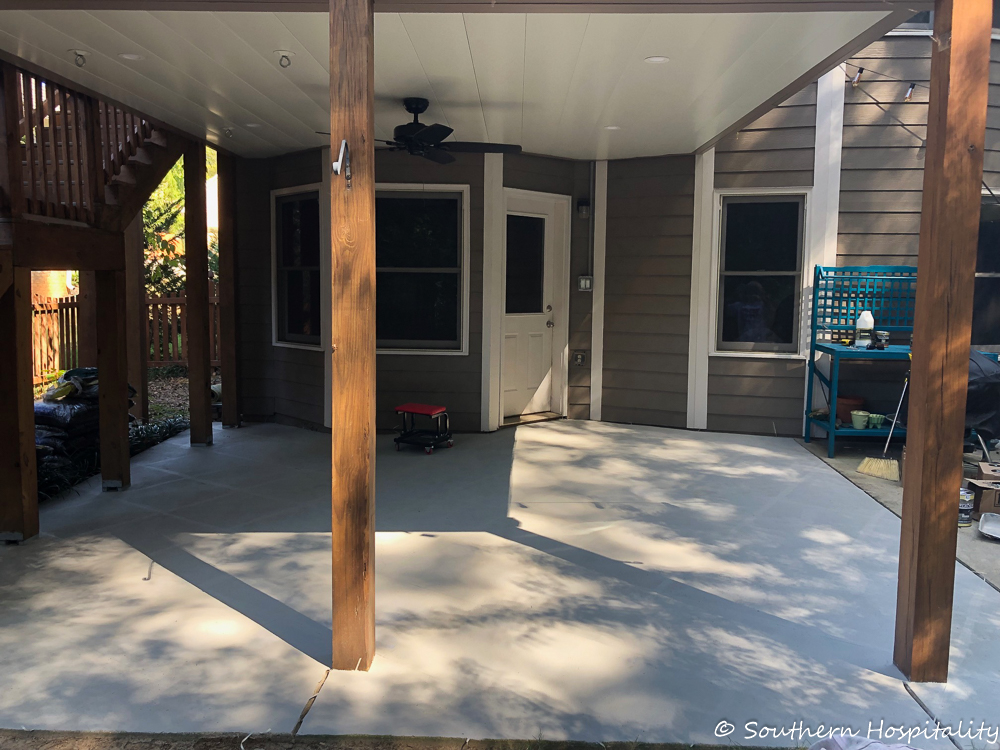
Taped and ready for the next coat.
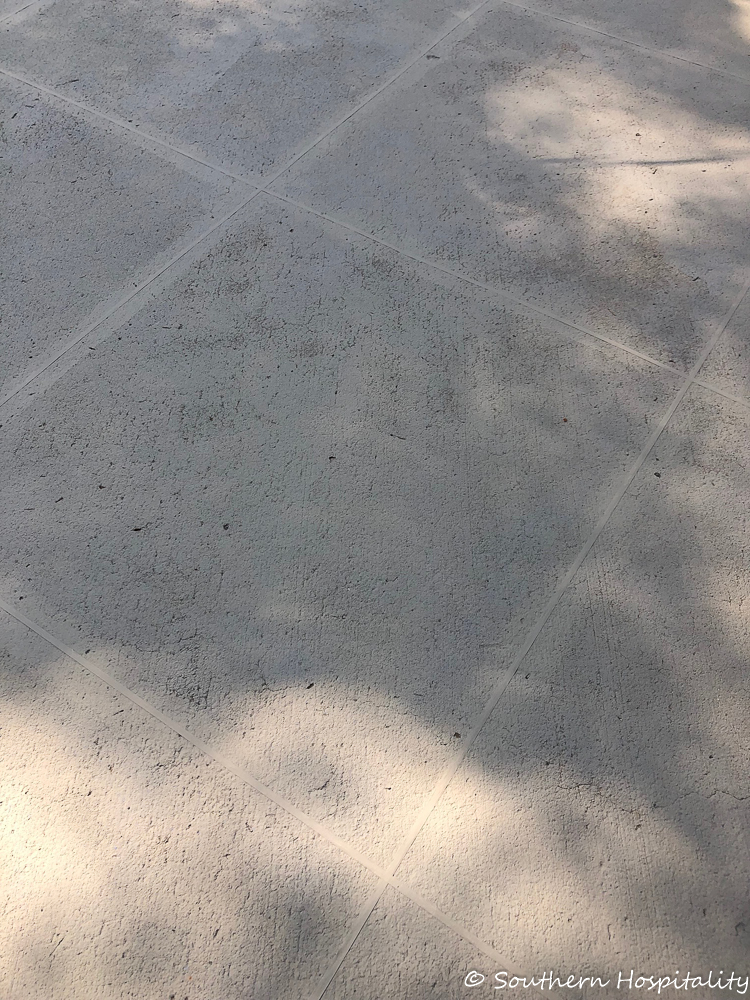
Step 5: Roll on Base Coat (Charcoal color)
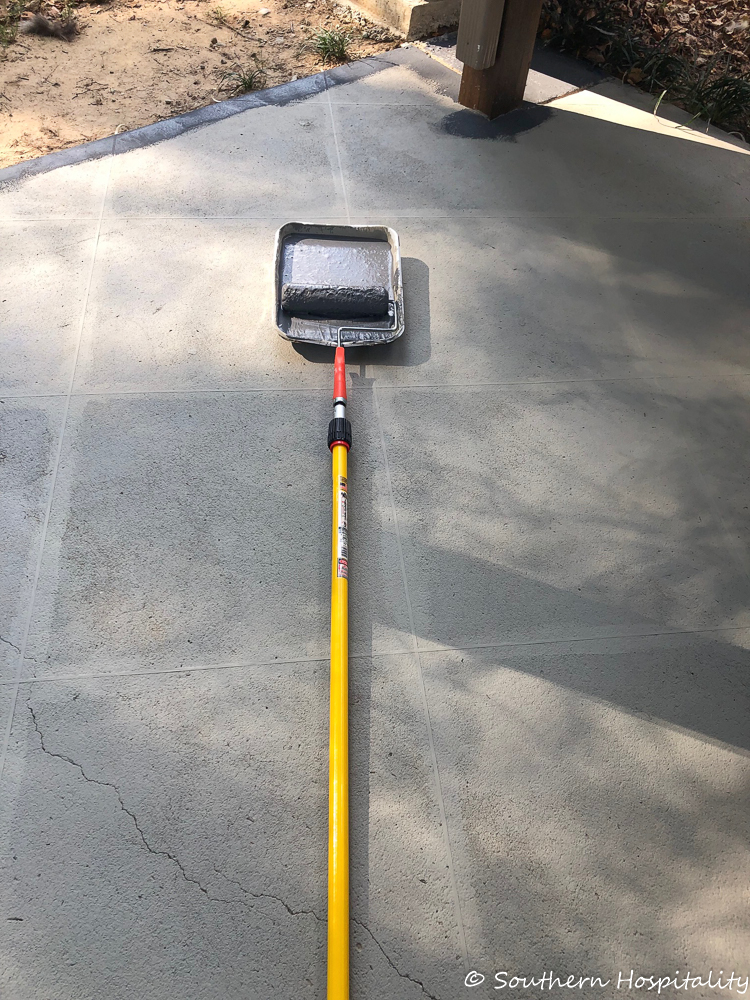
The next coat that goes on is the Charcoal Base coat. My color choice is Lake Rock and these are the colors that go with this particular one. They don’t call it charcoal, but the color is charcoal gray. They just call it Base Coat. It’s a thick paint with lots of stone particles, so it’s thicker to apply. Definitely get a 1/2″ roller for this coat, it holds much more paint and you can control it easier. For the other coats I used a 3/8″ roller as recommended, but a 1/2″ roller works much better for this base coat. I painted with a brush around the perimeter of the house and posts and rolled most of the rest.
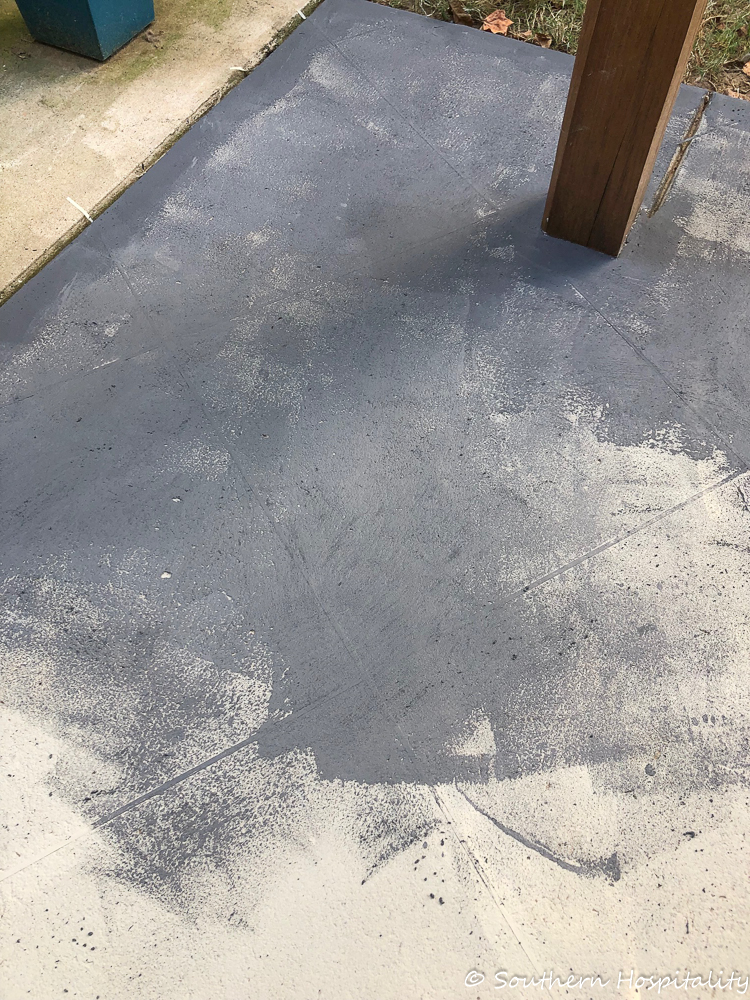
It was slow going until I got the 1/2″ roller and then went much faster.

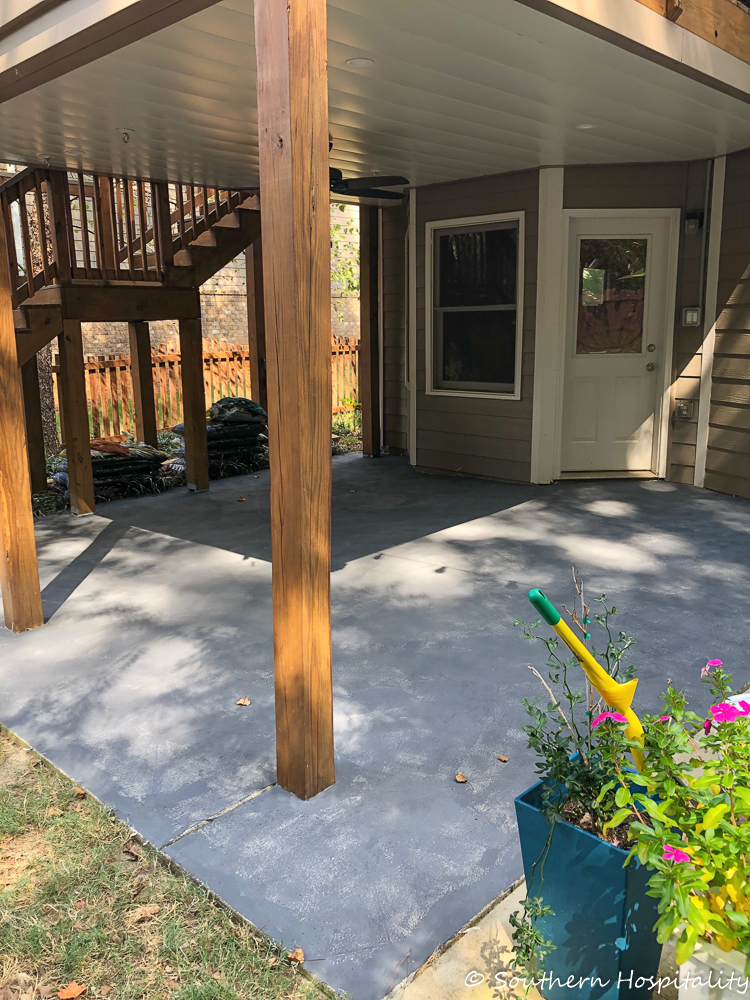
All done! I was told also not to worry about some of the primer showing through. Once the 2 faux finish colors go on top, it will all blend together. So I didn’t worry about the Base coat being splotchy, it’s hard to cover every bit of concrete so it’s OK for some of the primer coat to show through.
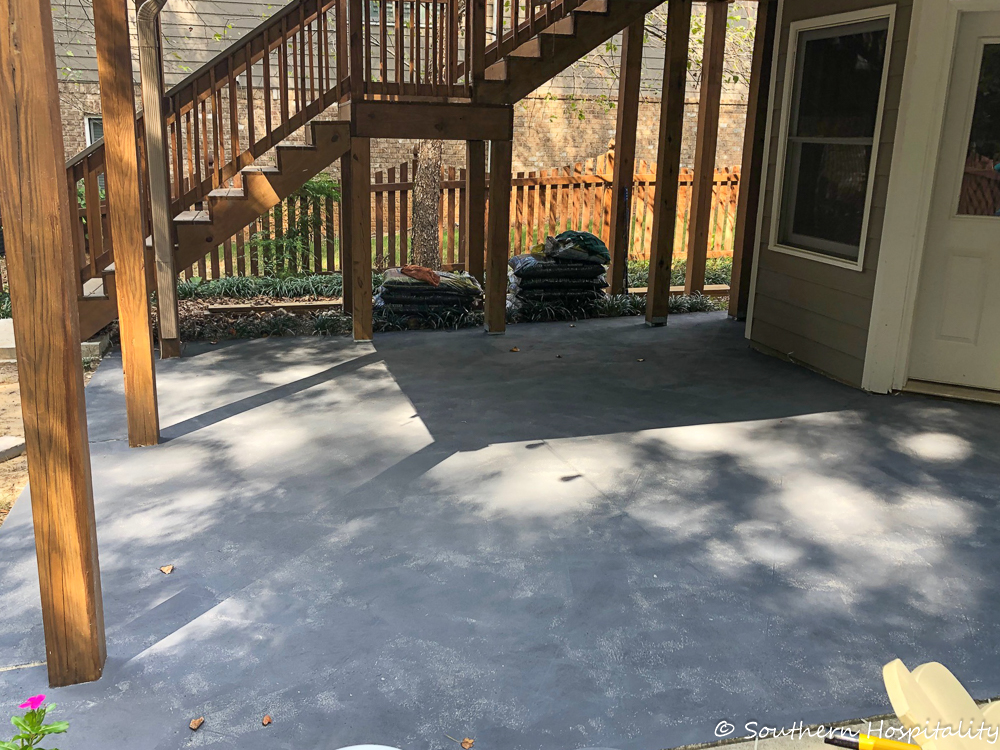
Ready for Faux finish coat 1.
Step 6: Roll on Accent 1 Warm Gray with Faux Roller
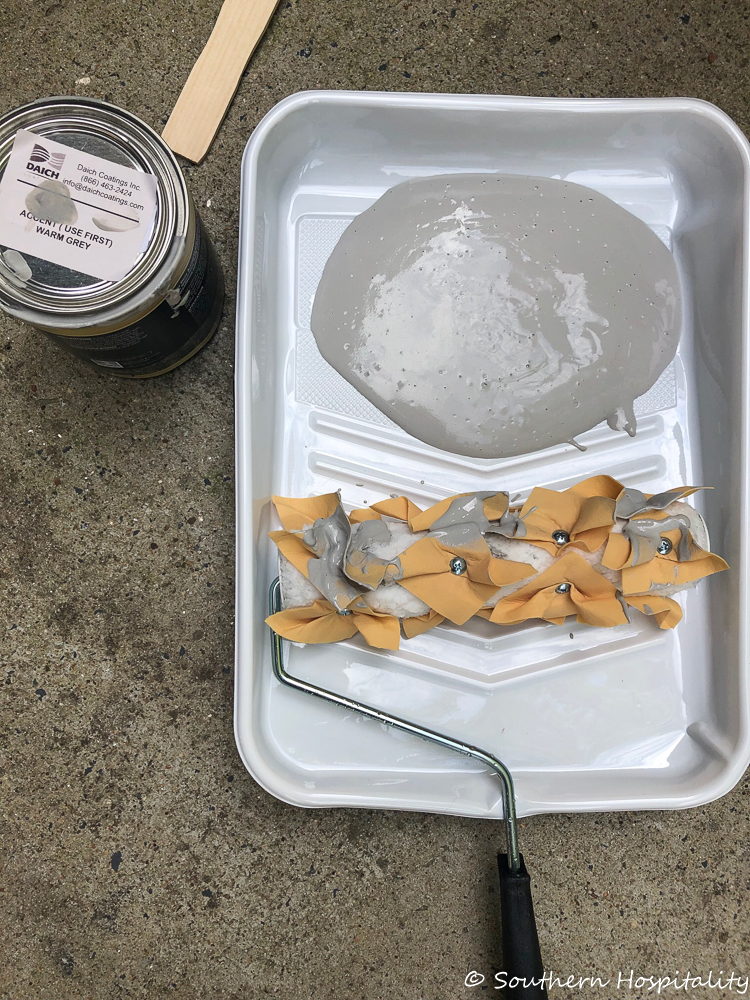
Now it gets really interesting to watch! Once the Base coat is on it’s time for the first faux finish coat. This color is Warm Gray and will add a lighter faux finish on top of the charcoal base coat. The faux finish roller should be lightly misted and damp when you start. This is when you should watch the video that Daich has out, since this part is a little intimidating. Dip the roller in the paint, roll it a bit to get some off and then lightly put the roller down and roll it towards you and you’ll see the roller do its thing.
They recommend that you roll back and forth in an X and overlap until the color starts blending together. It’s going to look splotchy and scary, but I promise it all comes together in the end. I had some areas that were heavier and some lighter. You could see that the roller was leaving marks which gives it a stone look and that’s what you want.
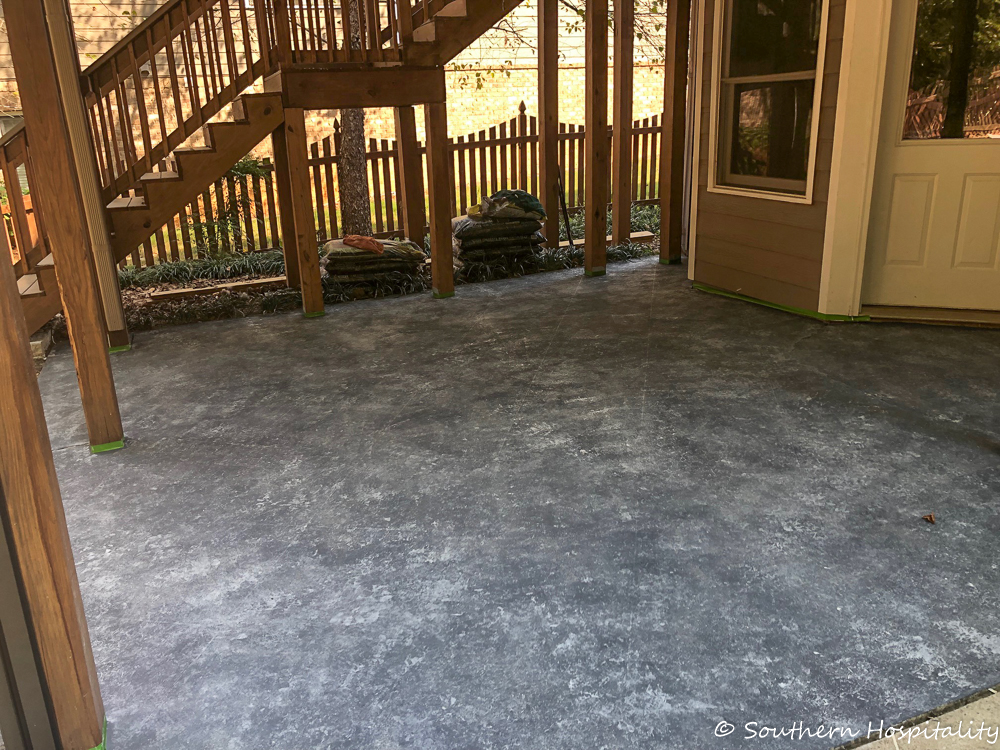
Here’s that part all done. It just looks like the light gray tones down the charcoal and gives it more texture and pattern. But you can see some areas are heavier than others.
I took several pics of this so you can see it from different angles.
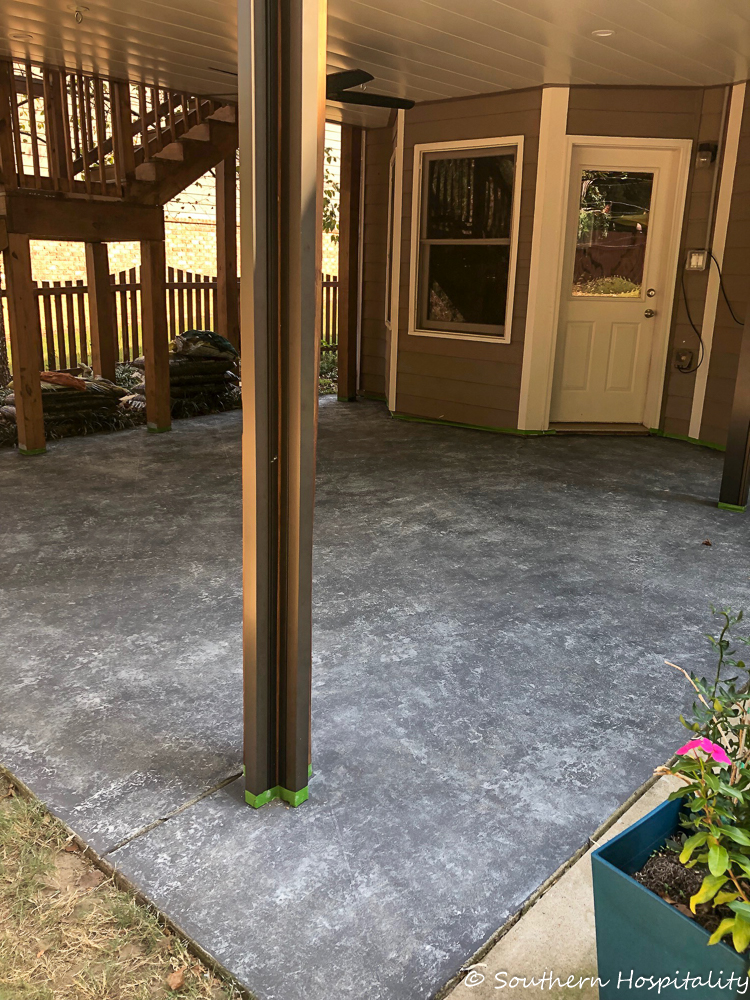
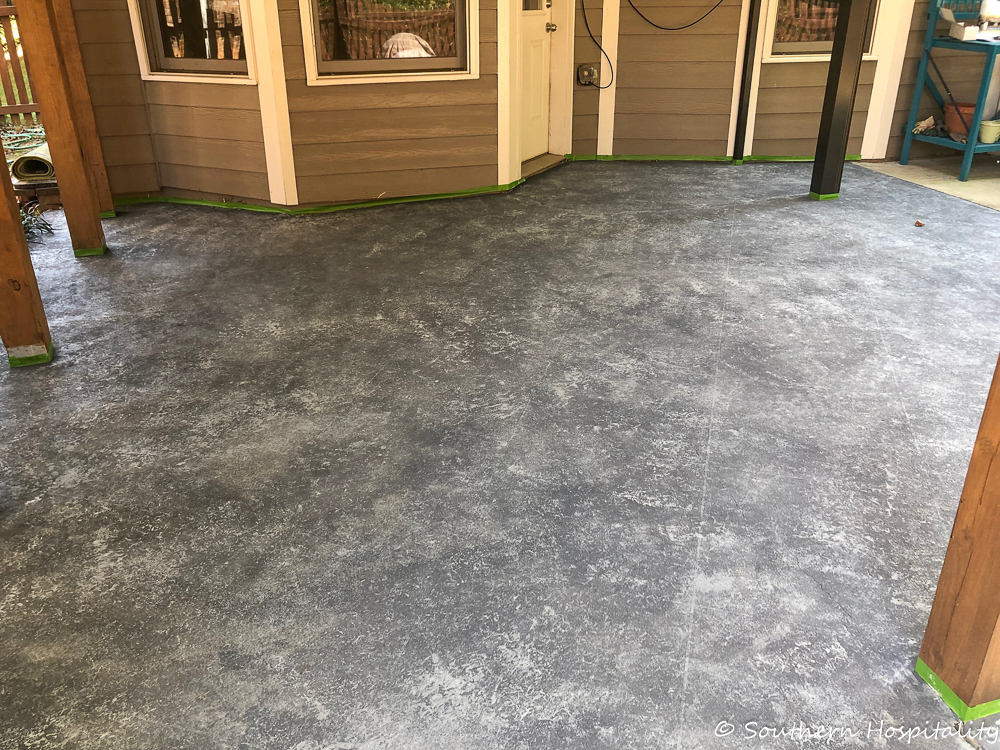
I was already liking it a lot! I knew the other faux coat would make it look even better.
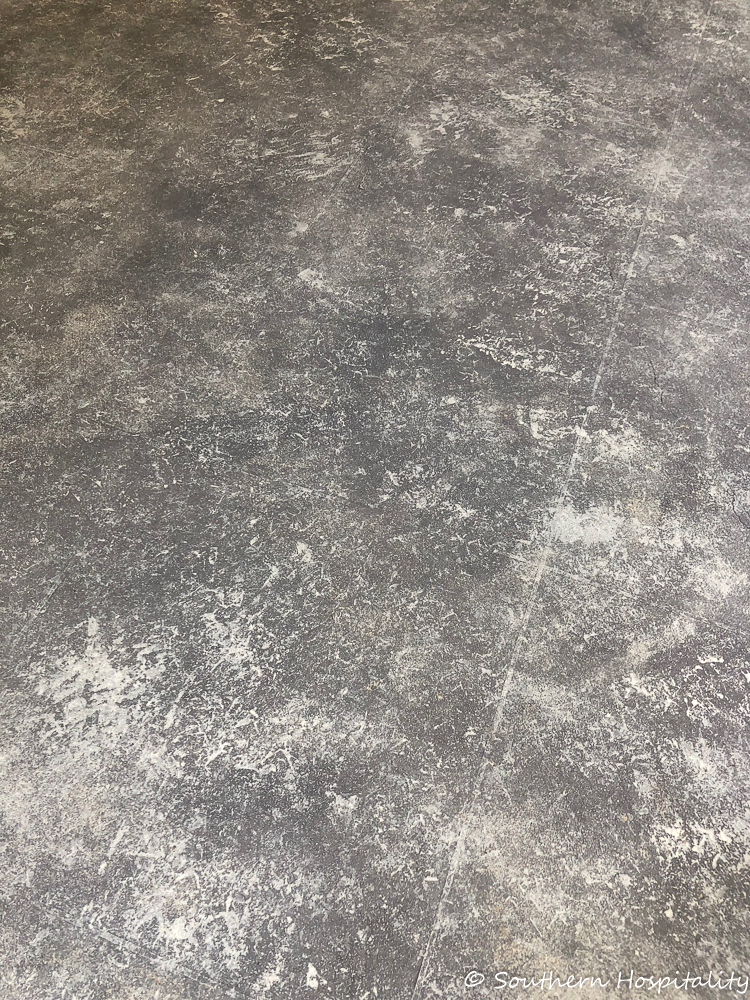
Step 7: Roll on Accent Color Mud Gray with Faux Roller
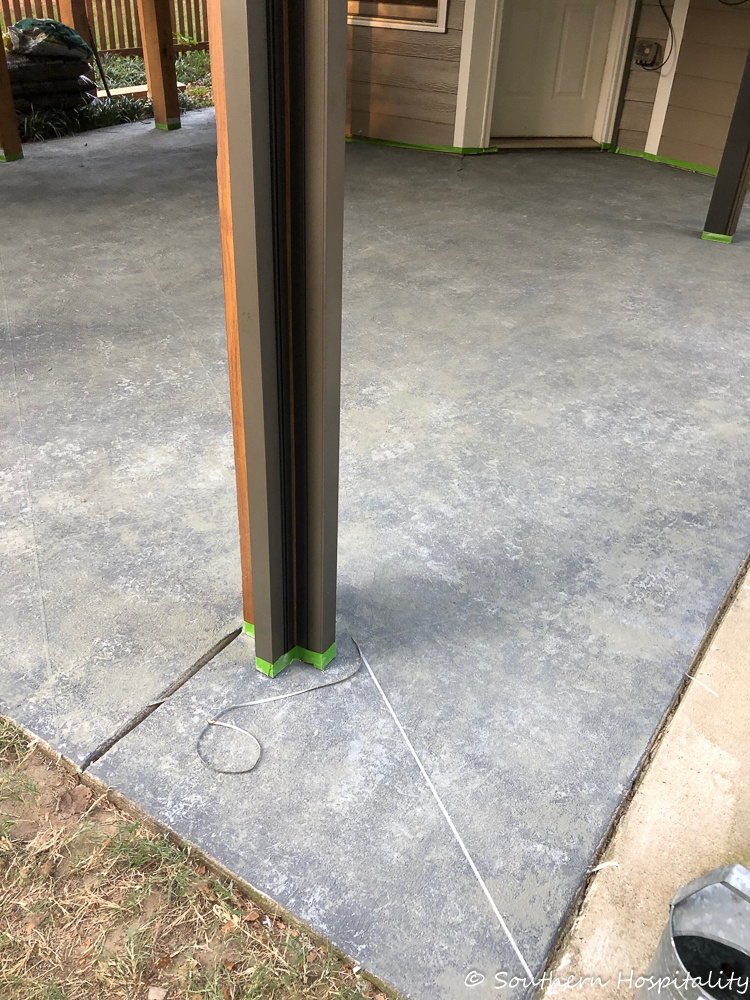
So next I used Mud Gray, the 2nd accent color using the same method with the faux roller. It has a muddy brown tone and really smushes all the colors together giving it more of a real stone look. The roller has those little tails on it that move the paint around and gives it that stone look.
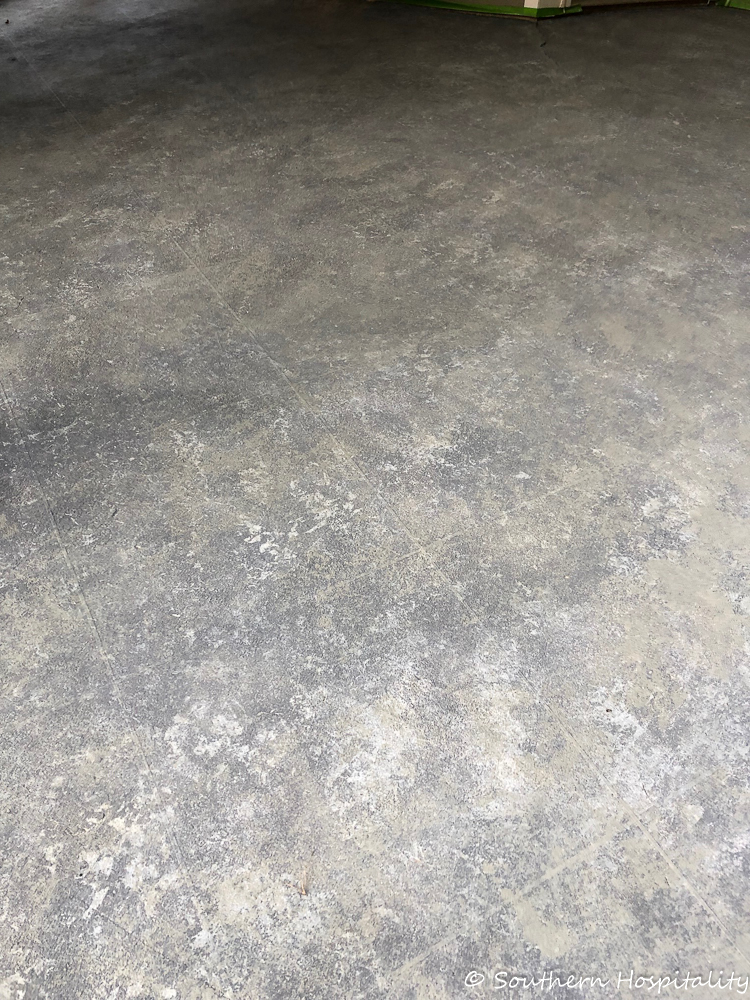
I loved it already just from this look and knew that once the tape came up it would look great. The 2nd color really gives it more depth and a little more brown tone which I love because it goes well with our siding color.
Step 8: Pull off Tape! Yippee!
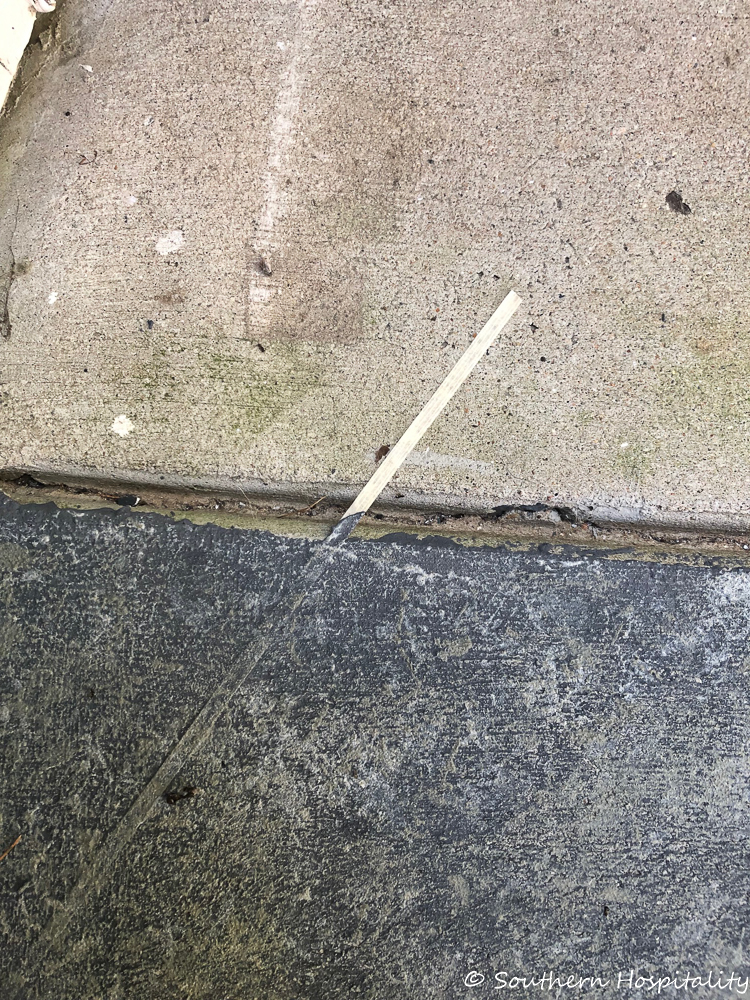
The moment of truth!
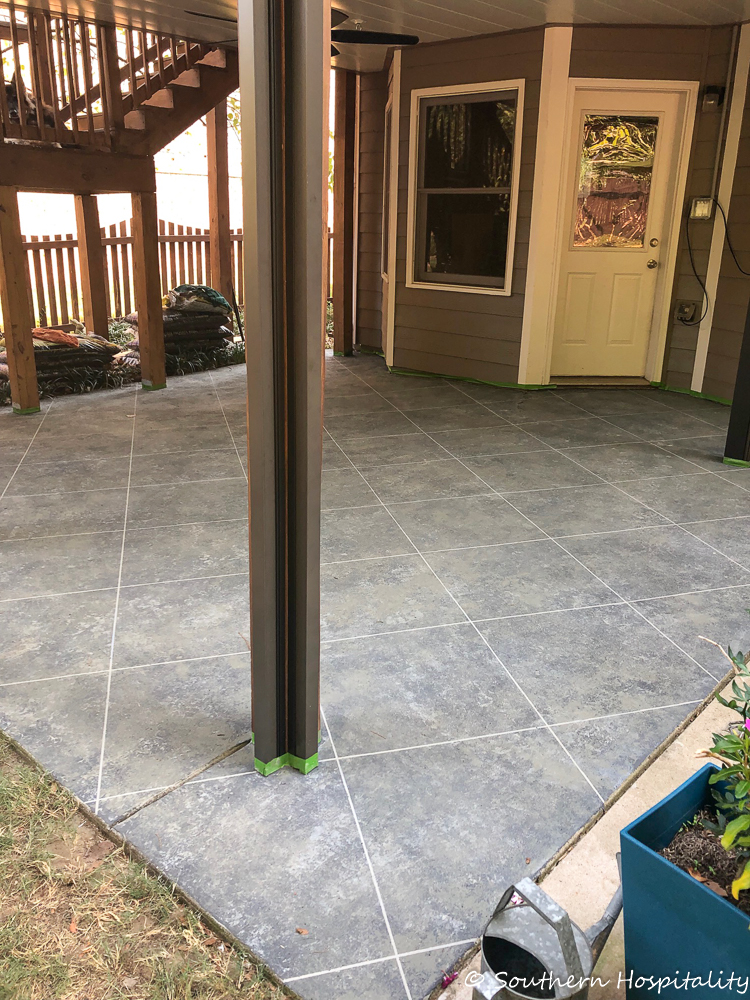
All the tape came up and I was oohing and ahhing all over the place! Mark liked it a lot too after the tape came up and he could see the final product. It didn’t have the top clear coat on in this picture but the final clear coat gives it a subtle sparkly sheen and helps protect it from getting dirty. The whole thing has a little sparkle to it when it’s all finished.
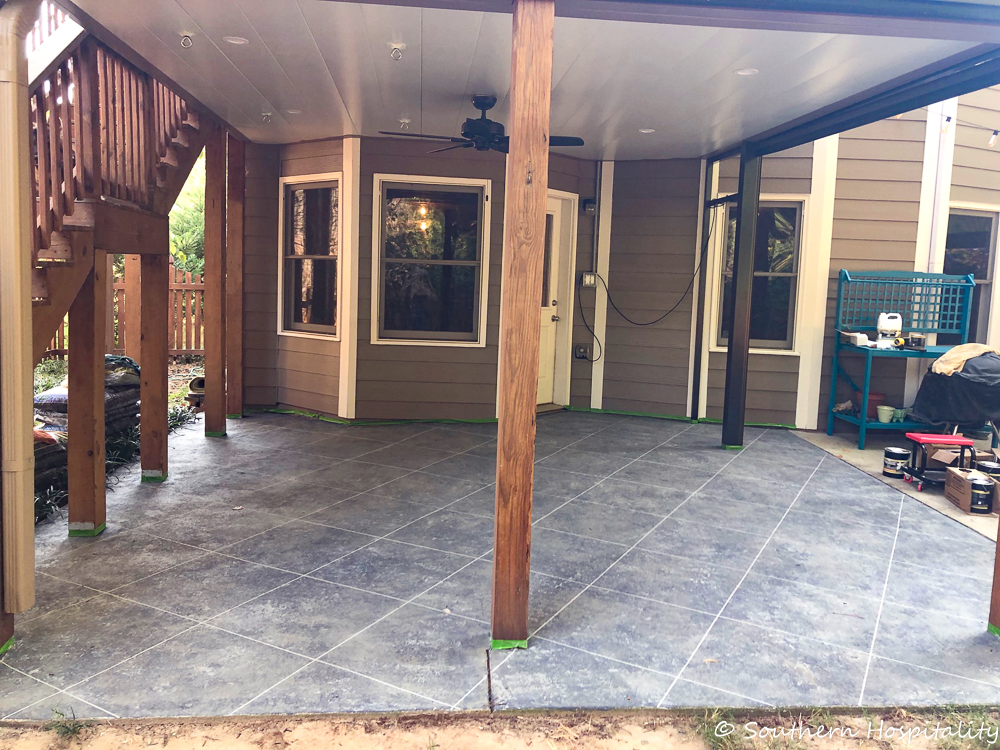
So that’s section one and then I went straight on to Section 2!
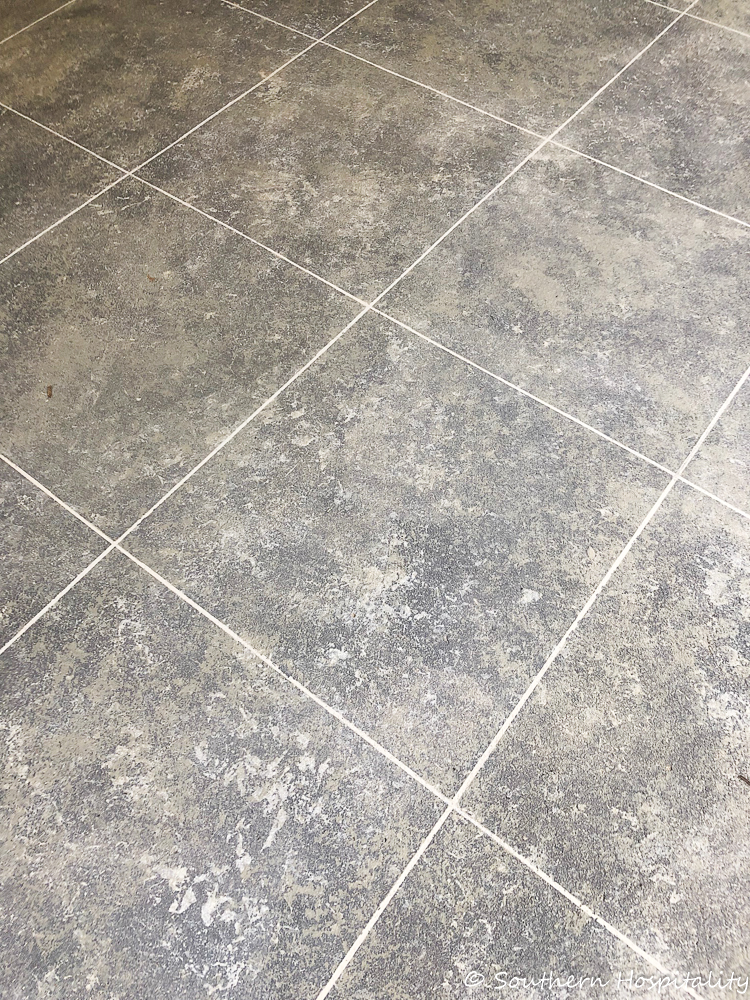
Here’s a good look at the finished product from Section 1 and this one might have the sealer on it, I can’t remember. I was snapping pics all along the way so I could document this project!
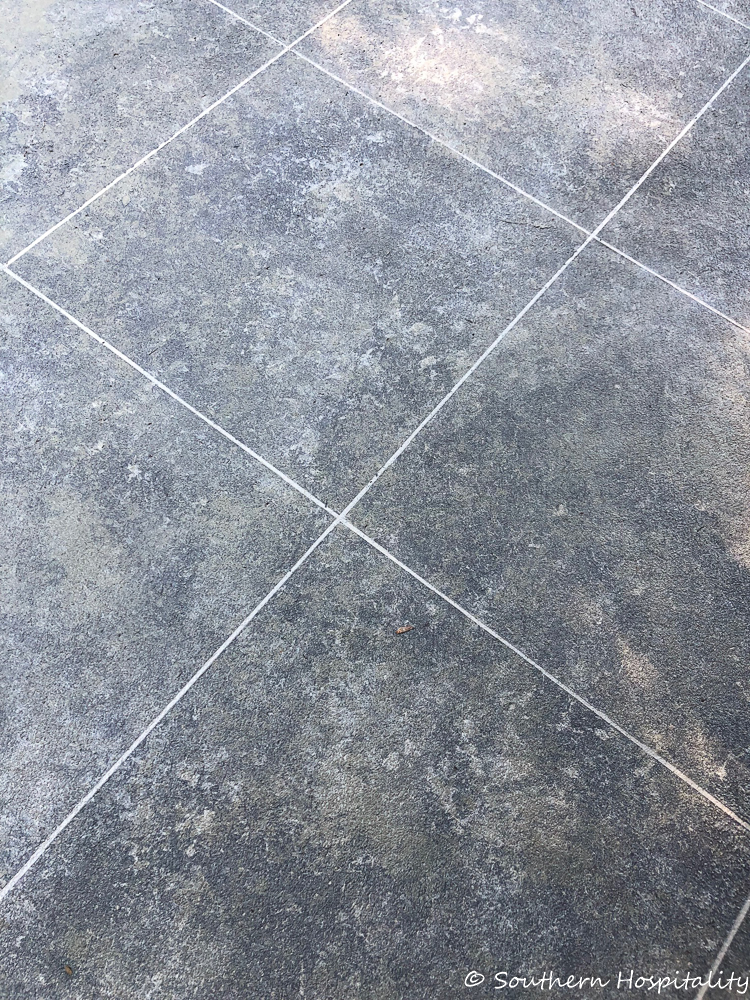
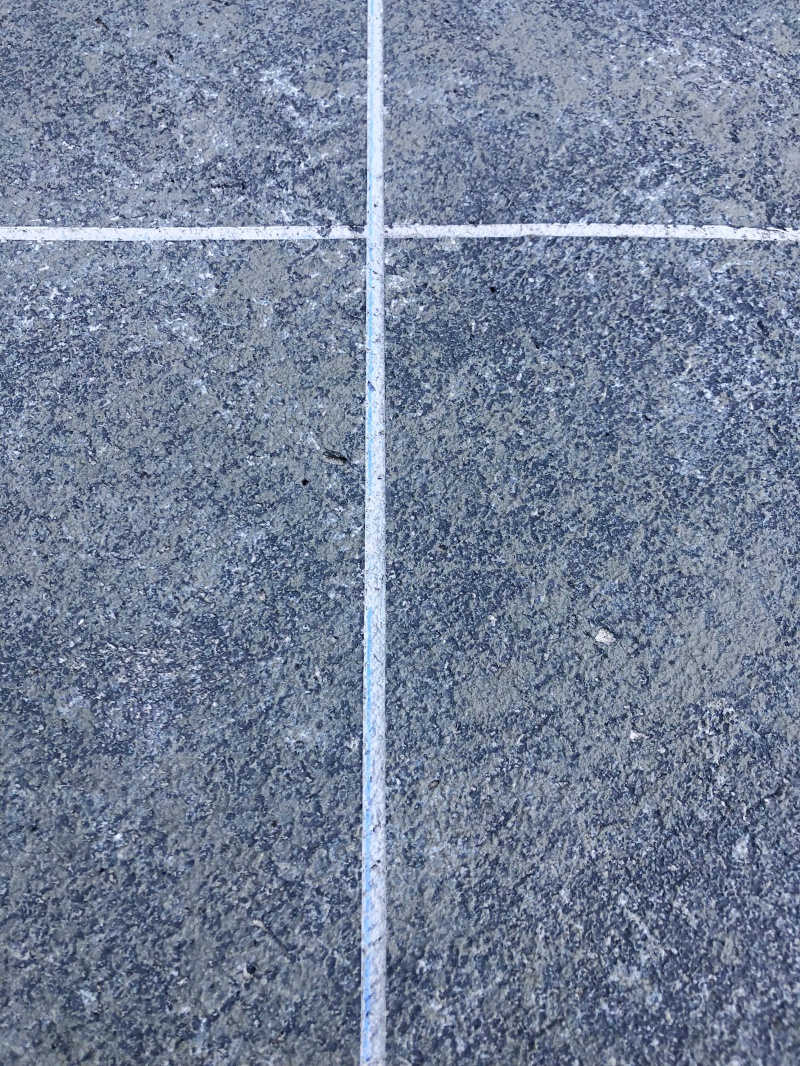
Here’s one more thing to be aware of at this step. Once you rip up the tape, you will have some spots of the blue chalk line coming through, so I took an old wet towel and rolled around on that red rolling stool wiping off the blue so that it wouldn’t show when I put on the clear sealer. You don’t want that to show so take the time to get the chalk up!
Step 9: Roll on Clear Coat Sealer (2 coats, let dry in between)
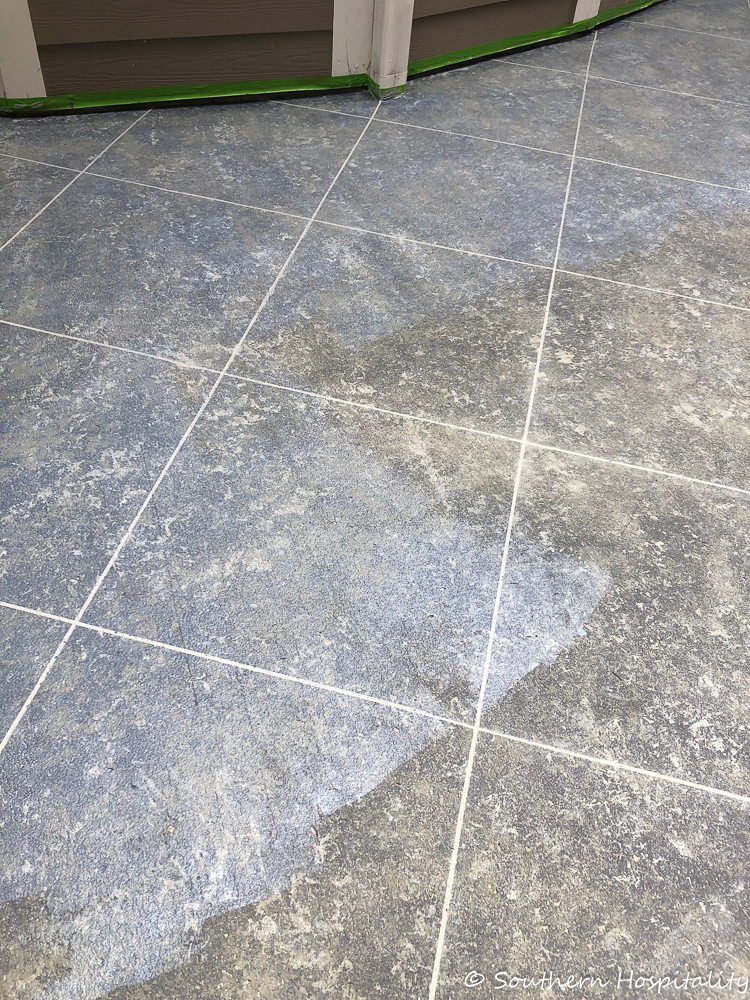
This section is the second section I went on to. I remembered to take a pic of putting on the sealer. It goes on milky white and dries clear. You’ll want to add 2 coats of clear to finish it off. These 2 coats go on fast!
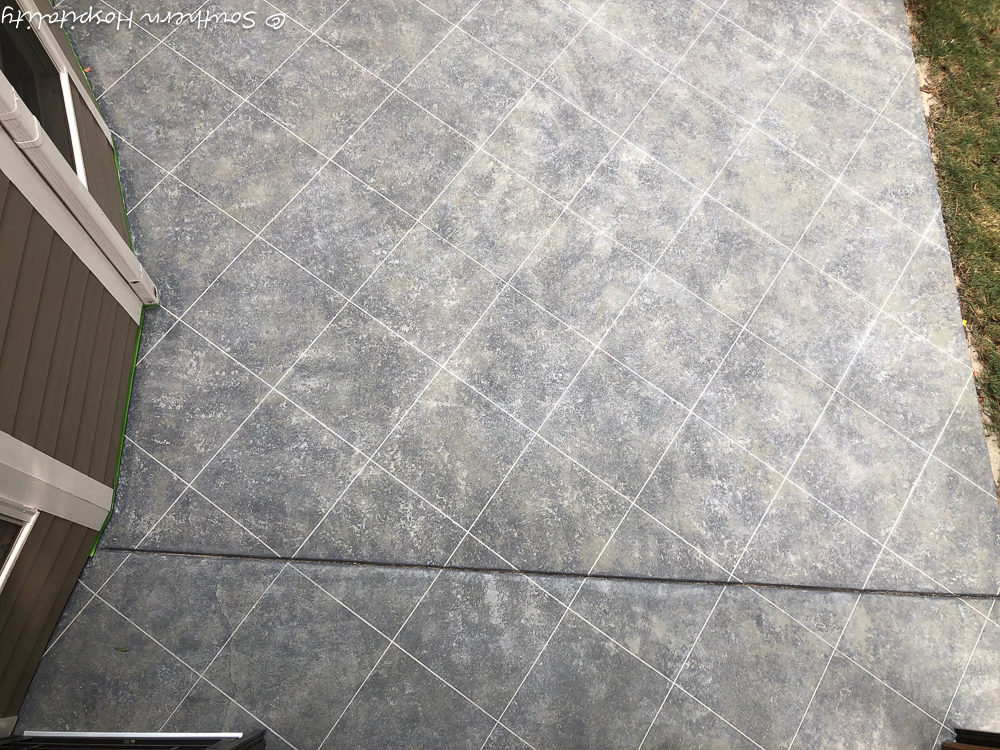
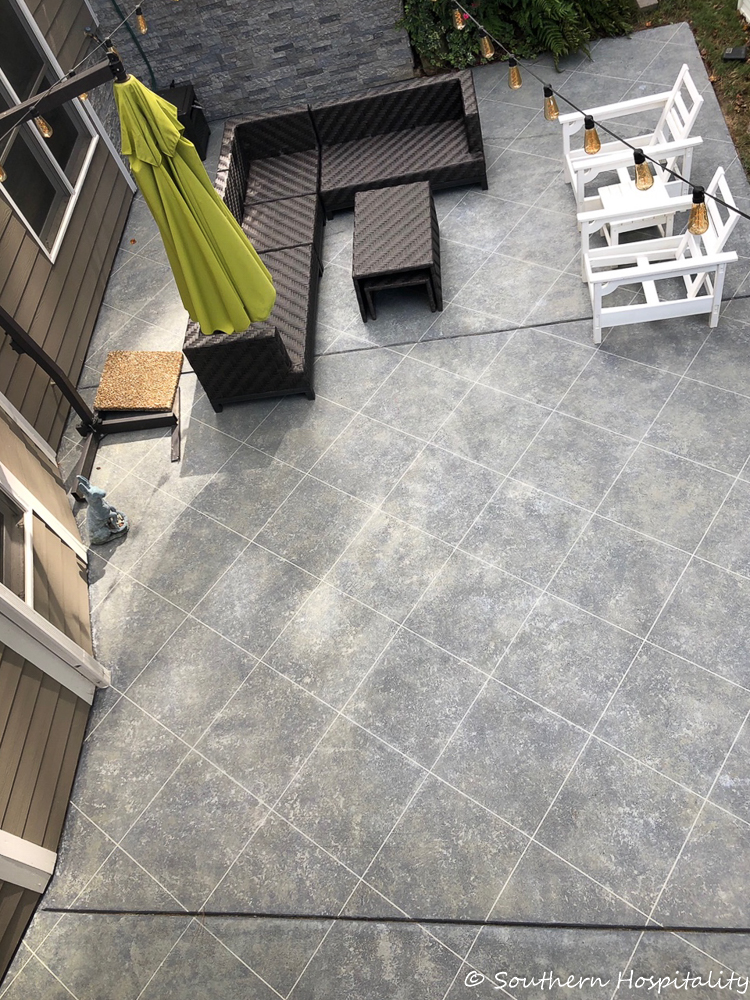
And here’s a shot from above of the first 2 sections done. I am in love with it already and I’m so happy I tackled this labor intensive time consuming project. I sweated a lot doing the first section, but it had started to cool off by the time I got to the second section.
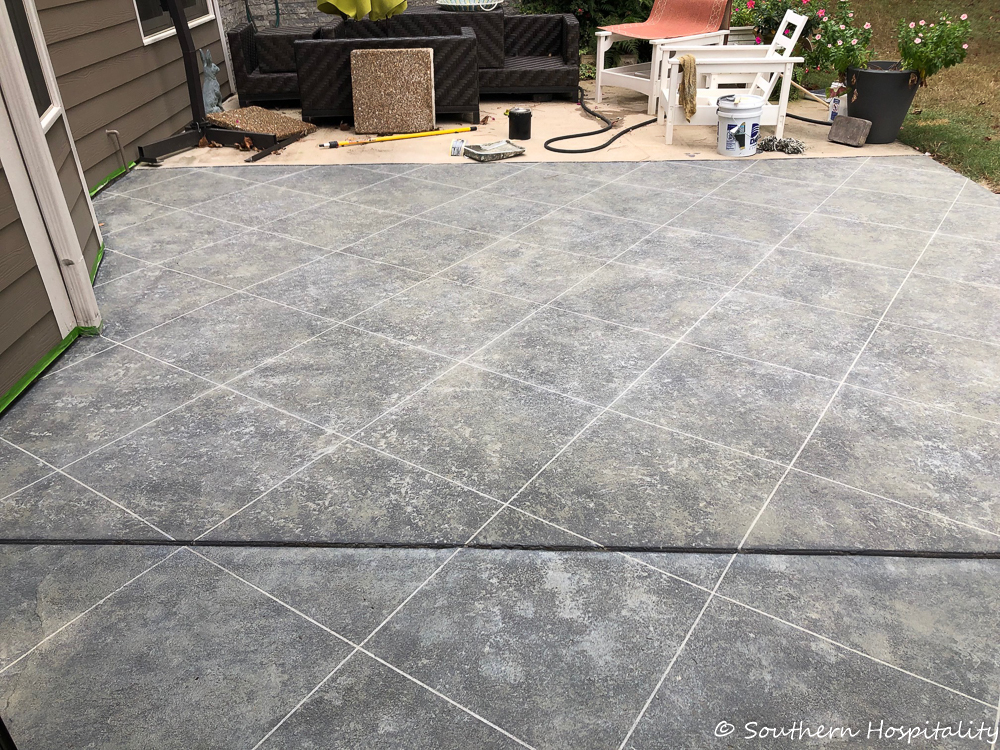
And now I’m moving on to Section 3! I definitely didn’t think I’d get it all done this fast, but the weather cooperated and so my energy level was up and I just kept going. I’m so glad I got it all finished just in time for Fall and Winter. Some of these pics are better than others but you get the idea.
On to Section #3!
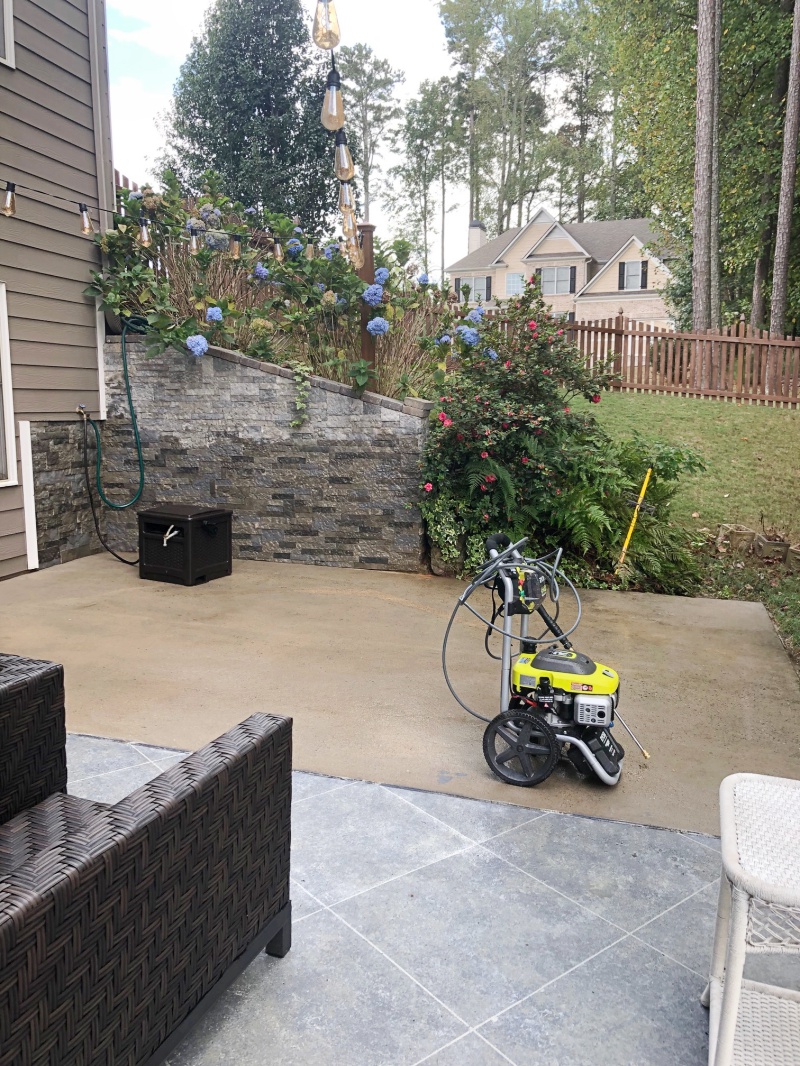
I got out our Ryobi pressure washer and cleaned that section thoroughly. I love this machine, I can start it myself! I let it dry overnight before starting, then did the primer and taped it off.
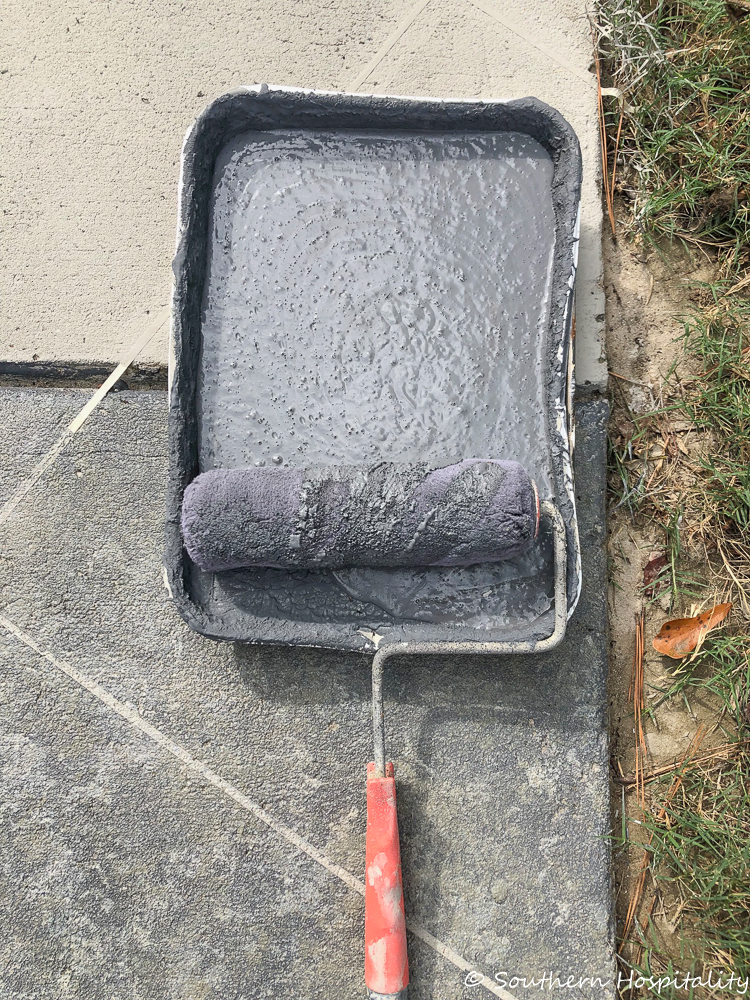
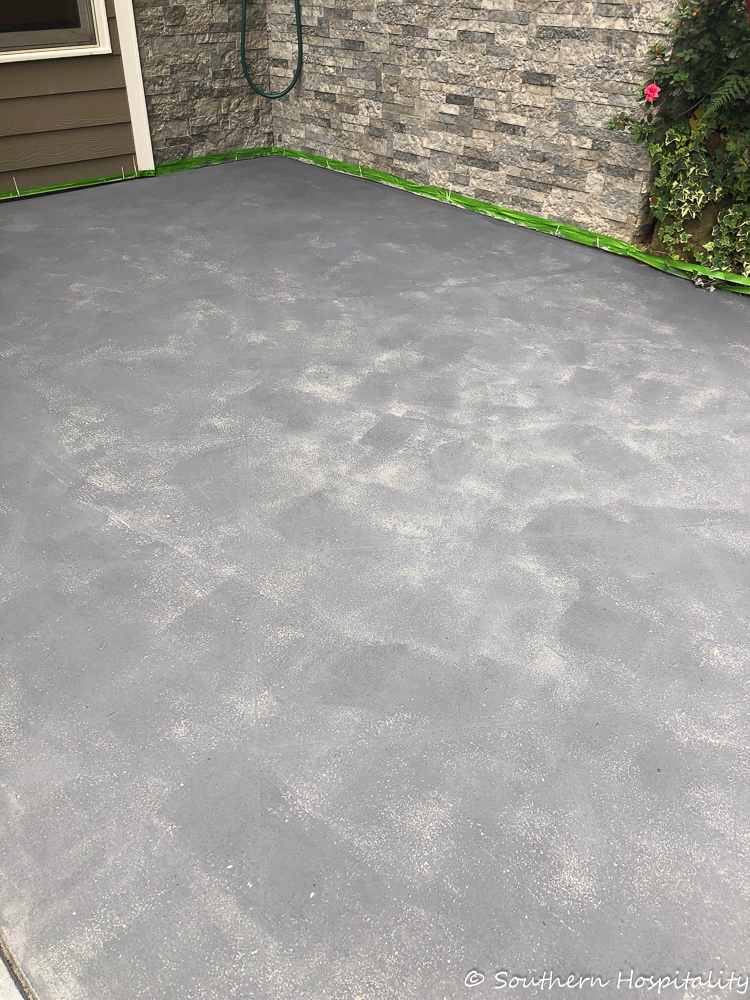
Base coat time.
Above shot after base coat is applied.
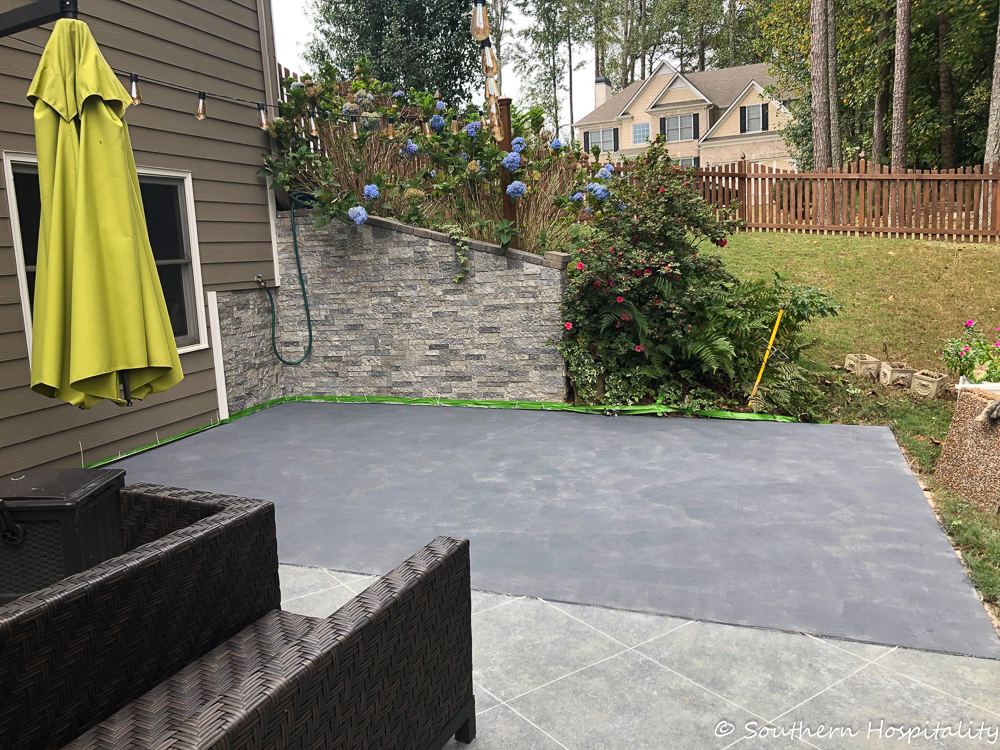
Already primed and taped off under there.
I taped around the faux stone wall we put up last year since I wanted to protect that and the house. You can’t see the tape, but it’s there.

Faux 1: Warm Gray
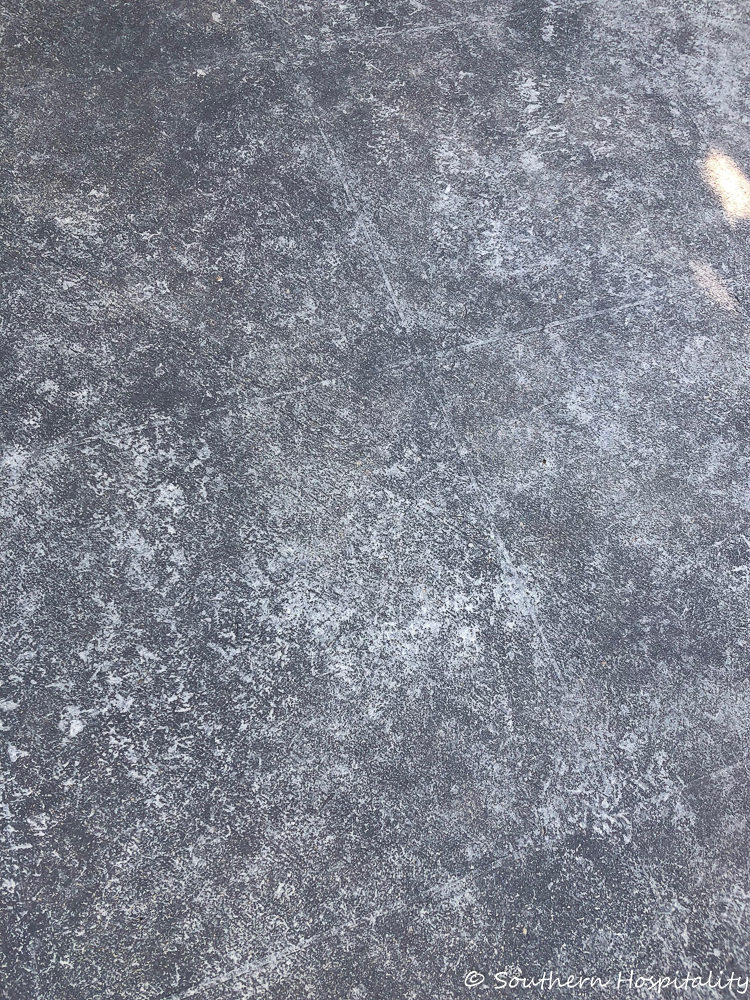
After Warm Gray application.
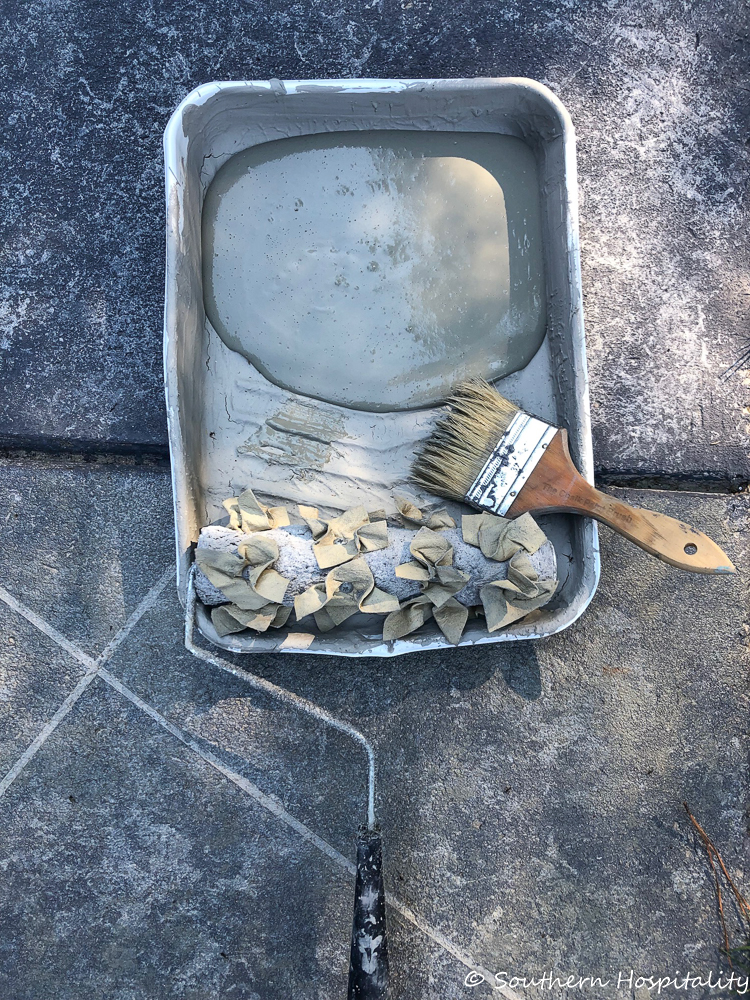
Faux 2: Mud Gray
One more little thing if you have separate concrete sections like we do (see pic above), you’ll want to paint down in the cracks a little bit with your primer and base coat to color it some so it doesn’t stand out too much after it’s all done. It’s easy to just run a paint brush in there to add a little color. Definitely doesn’t have to be perfect. I used a cheap chip brush for this part and for painting around the edges. If you need to add a bit of the faux finish on the edges of your house or anywhere, just dab it with the chip brush a little bit. Don’t overthink this project, there is no such thing as perfection in this one!
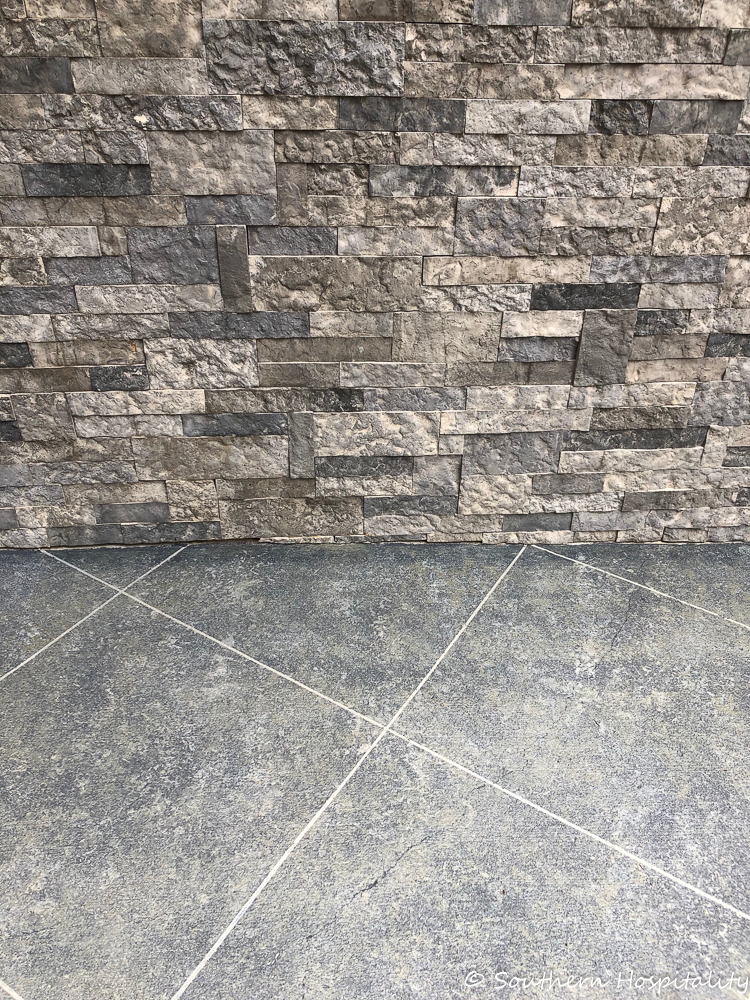
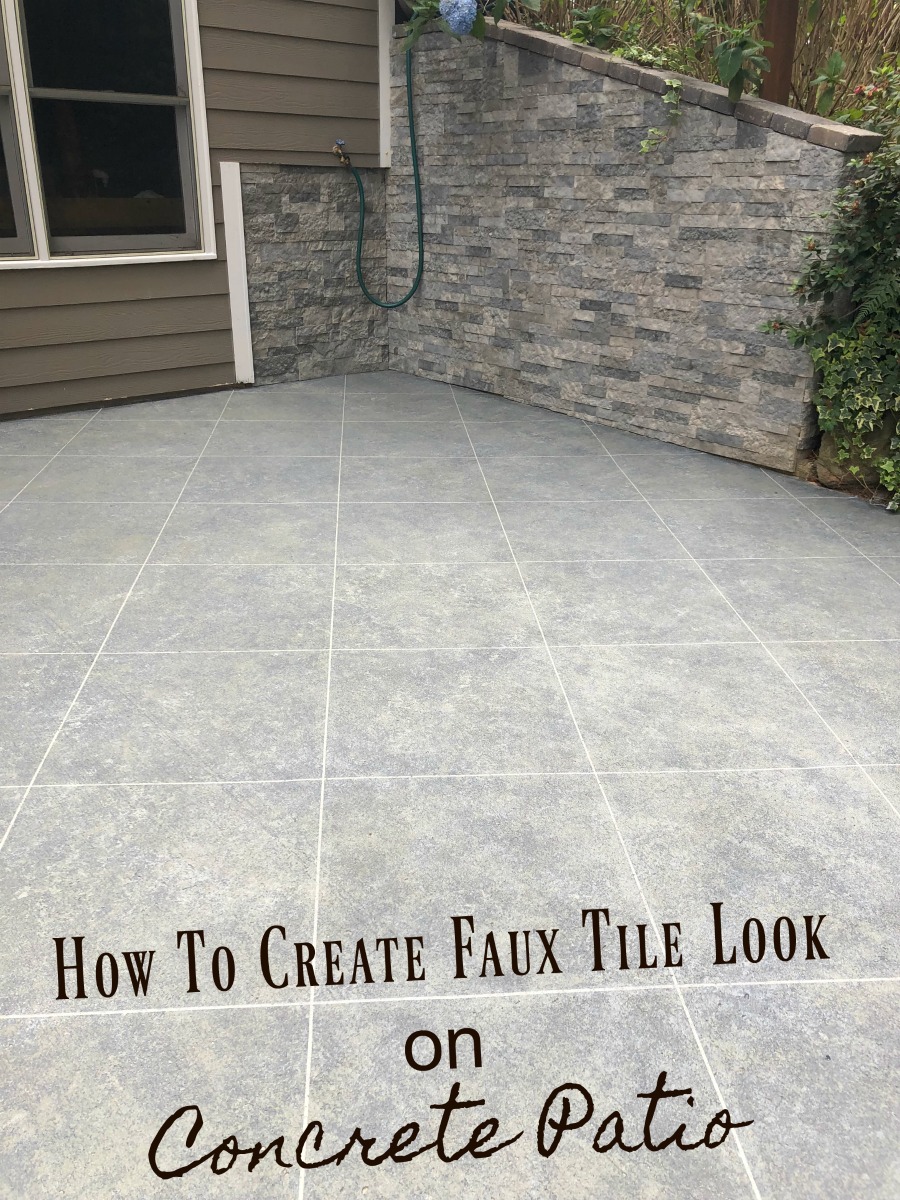
And here’s a good shot of the finished patio floor with both faux coats and the clear top coats next to the faux stone wall we DIY’d last year. I love this patio now, what a difference!
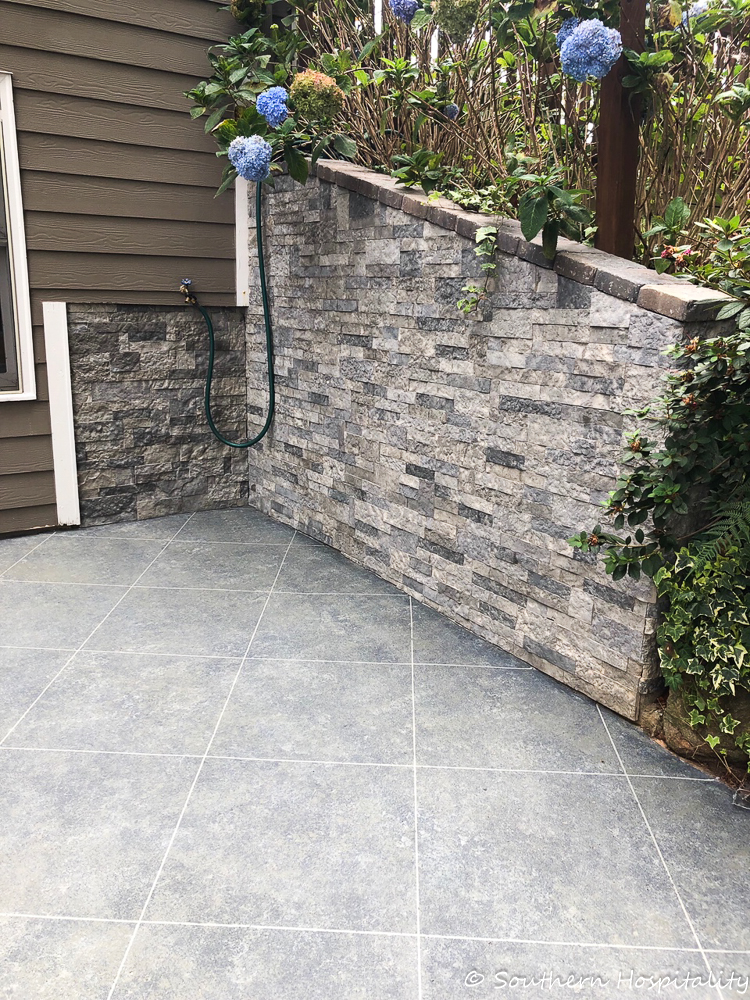
It looks so good with the wall!
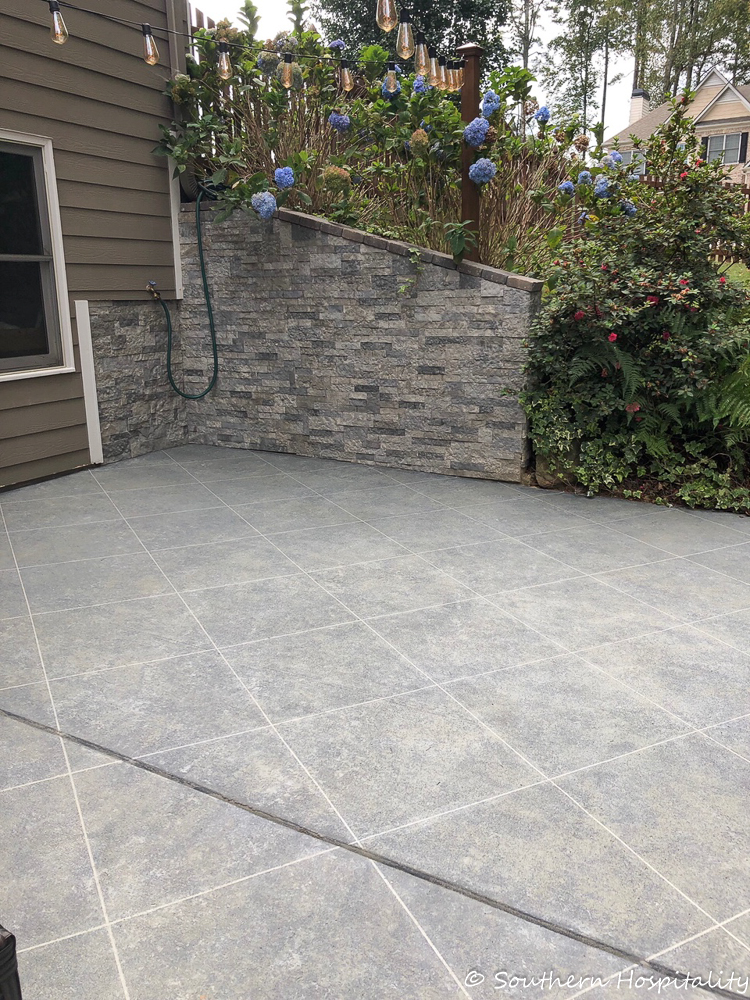
As you can imagine, I’m over the moon happy with our patio now!

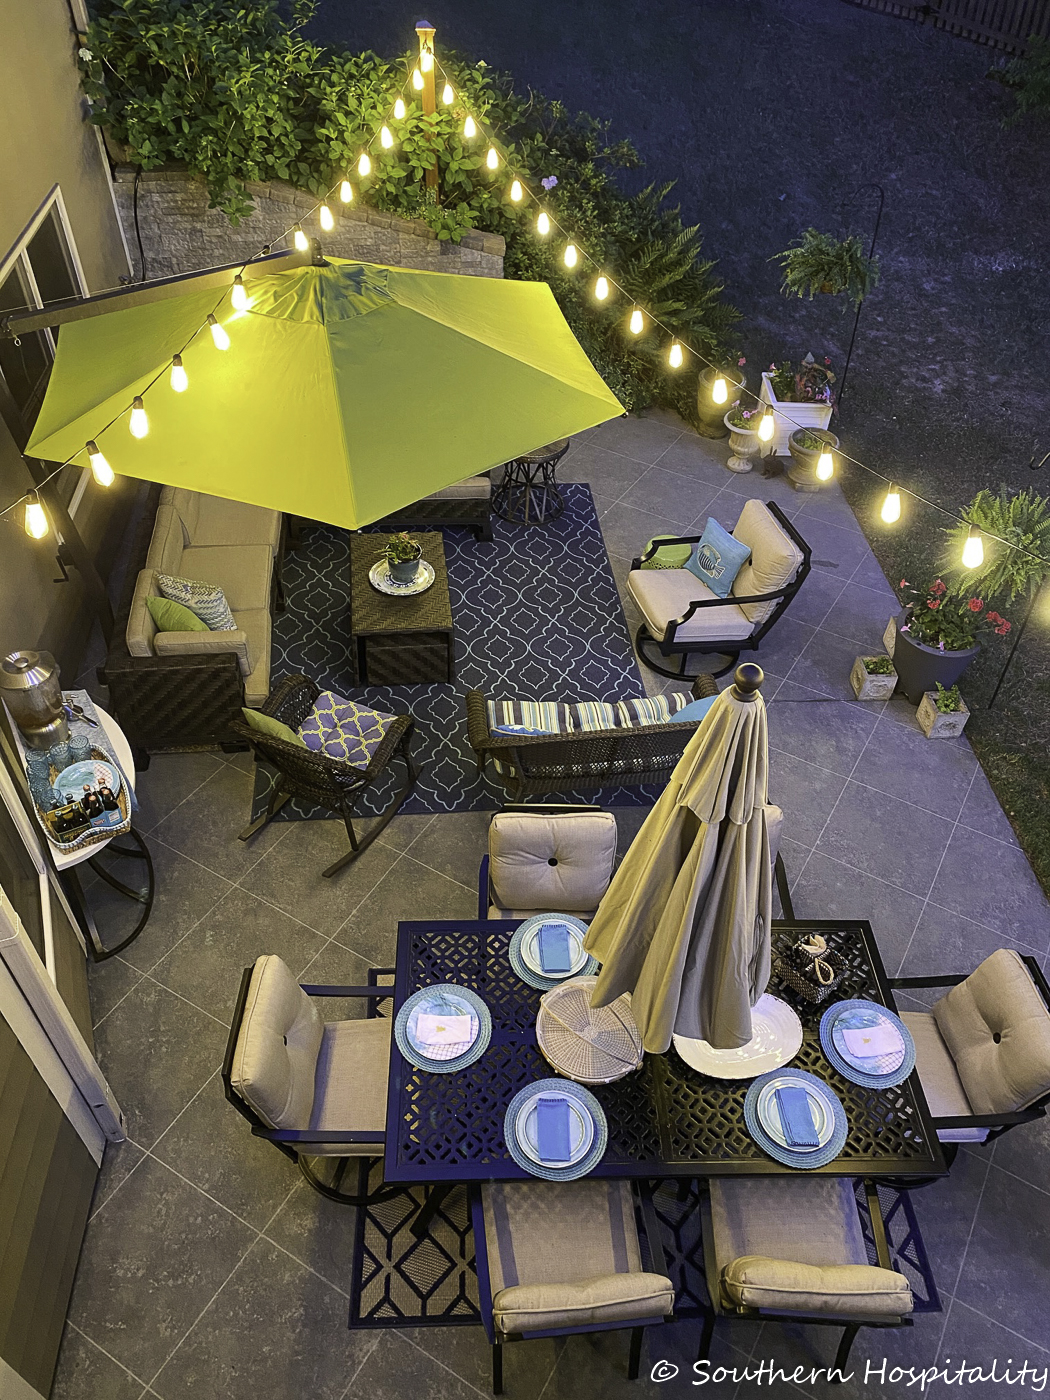
This is as styled as it gets right now. I finished the project and then we started getting rain again and I went out of town, so I’m not going to add the rug back or the cushions until it clears up again. But just looking down from the deck above gives me such a great feeling to see it all done and looking beautiful! I’m 100% happy with how it came out and so proud of myself for doing it. Mark loves it too and has complimented me on it!
Home Depot carries this product in 100 s.f. and 400 s.f. packages. I know many of you are interested in doing this and I would 100% say do it! I have never seen another blogger use this product and I hope my tutorial and how-to will help others tackle a project like this. It was time consuming, but not hard. It just takes determination and some effort to get it done, but it’s well worth it! Someone asked me if I would buy this product if it had not been sponsored and the answer is YES, I totally would.
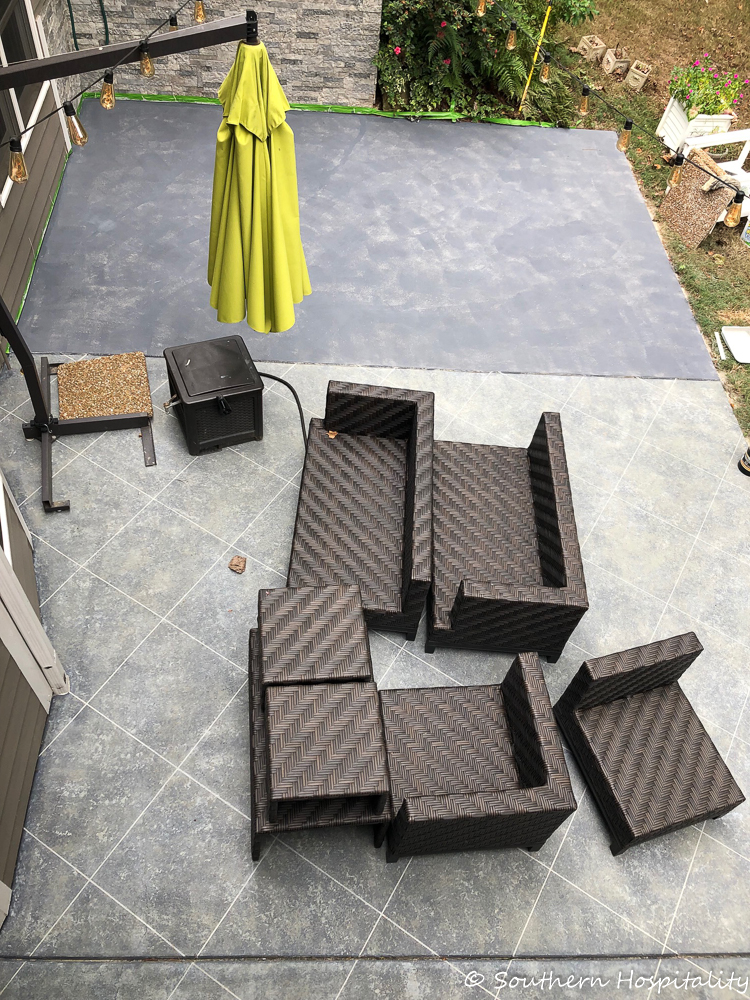
This is a good representation of the color from above on the deck. It looks darker when you’re standing on it, but lighter when viewed above depending on the light and sun on it.
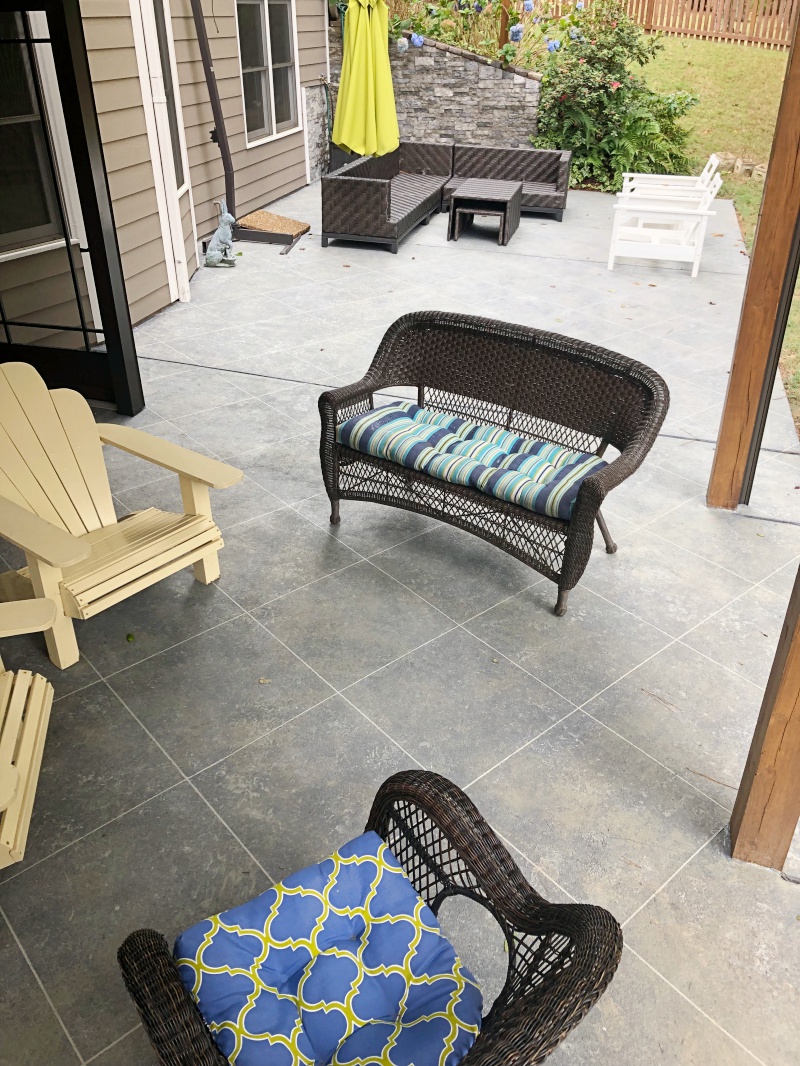
Another quick shot of the unstyled patio with cloudy weather. It’s hard to get a completely accurate look at the color with the difference of how the light shines on each section. It is dark and light at the same time. You can see a small peek at the new screen door that goes with our screened patio which I’ll be sharing as soon as I can.
Here’s the link to Home Depot’s 100 s.f. kit and 400 s.f. kit.(affiliate links used)
And here are the particulars they list for this product, the 400 s.f. kit:
- Complete kit – covers 400 sq. ft.
- All-season exterior performance
- Stands up to water, snow, salt, chemicals, UV and heat
- No hot-tire pickup
- Easy DIY step-by-step application
- Kit includes all coatings, grout line stencil tape, instructional DVD and stone applicator roller
- Adds slip-resistance for safer walking surfaces
- Apply seamlessly or with decorative patterned effects using DAICH pre-cut stencils
- Instantly transform ugly exterior concrete block walls with the look of premium stone
- Real stone formula
Daich also has SpreadStone kits on their website too that you can look at. This one covers 100 s.f. so you would buy as many kits as you need for your square footage.
Here’s a page on their Sealers and Primers too.
I think it’s a great alternative to laying tile and you get the same look. I totally think people are going to think we laid tile down here if they don’t know better. I know people who have done stained stamped concrete and I was going to look into that too, getting someone to do it, but when this came along, I went for it myself and I’m so glad I did. Even if you have a large patio, I think it would be worth it to use this instead of hiring someone to do a treatment. This project is totally doable for the novice DIYer. Our patio is 17′ x 43′ so I consider that large, but it would have cost $1K to DIY this if I had bought all the product (2 of the 400 s.f. kits) and that’s much more cost efficient than hiring out a tile project or stamped concrete. I could have
Please Pin for later!
I hope this gave you all an idea of how this project works and it’s definitely doable. If I can do it, YOU can do it! I am SO glad I tried it and completed it all, it makes a world of difference on our patio. I can’t wait to get everything finished down there and start using our screen porch too. I’ll be sharing that project next!


Rhoda, this looks absolutely wonderful! The layers of product make a big difference in the overall look. Way to go!!
Looks nice. You did a wonderful job. But what of you have cracks in your concrete?
I had a few cracks that I filled in some with a concrete filler in a tube. It doesn’t get rid of the cracks but helped some and then I painted right over. It’s OK that the concrete isn’t perfect.
Hello, This was first time seeing your site and so glad I found it. I clicked on you through Home Style Saturdays. This is gorgeous! You did a wonderful job. Thanks for the tutorial as I would love to possibly try this on a patio area in our back yard. Have a wonderful weekend.
Blessings to you, Candy
HI, Candy, welcome and thanks for stopping by!
I love the way your patio turned out. But I’d also like to know where you got your umbrella. I love it and we’re looking for some shade on our patio. Thank you, Beth
HI, Beth, thank you, I got the umbrella a few years ago, here’s the post:
https://southernhospitalityblog.com/umbrella-addition-patio/
Hi! Absolutely beautiful! You’ve convinced me to do this! The kits on the website and Home Depot have only one accent color. You used a primer, base and two accent colors. Is this a custom order and how did you know how much of each accent color to buy? Thanks!
Hi, Kristin, I’m so glad you are going to try this. I absolutely love the outcome using this Spreadstone product. I worked directly with Spreadstone and Daich sent me the whole kit, but they sell it in 100 s.f. or 400 s.f. kits, so go here and check it out. Everything comes in the kit, be sure to watch the videos and read up on it before you start. Just measure the s.f. of your space to see how much you need. My patio would have needed the 400 s.f. kit but yours might be smaller. I used Lake Rock on mine but there are several colors to choose from. this kit should have both accent colors included unless they have changed something. Lake Rock is what I used and it definitely had 2 accent colors included. If you have doubts before ordering, definitely get in touch with them and ask.
https://daichcoatings.com/shop/spreadstone-decorative-concrete-resurfacing-kit/
How much time did you wait between primer and each coat?
Hi, Tina, I waited at least and hour or 2 I think, or maybe overnight for primer and then the rest the next day. It dries fast outside so you can continue on pretty fast.
Rhoda I love this project! and, I love that you noted you did 99% of the project! Great job! Looks amazing! xo laura in Colorado
My patio is painted, do I need to remove all the paint first?
I think it might depend on how well the paint is adhering. If it’s on there really well you might be able to just start from there with the base coat and the rest of the application process. I would definitely clean it well first and make sure there’s no flaking going on.
Absolutely stunning, great job Rhonda.
I am wondering how this is holding up over time? Assume you get rain and such sitting on it just wondering if it is flaking off, etc. Our deck has a couple spots where water or snow sits until it dries up and wondering how this product is holding up.
It’s holding up great, no flaking or peeling. We have even lightly pressure washed it.
Thank you for posting this project. I have a front porch with concrete base that has needed a finish for many years. Since we live where it gets very cold in the winter, tile is not an option. I have always wanted a slate look finish, but didn’t want it to look like a “crafting project”. This technique sounds exactly what I have been looking for and since you did it yourself, maybe I can do mine as well. It looks fantastic!
You can do it! It’s a very easy DIY project and for a front porch you won’t need much.
I would like to know if / how this stands up to moving the furniture around? Does it chip up? How does it stand up to dogs? We have dogs and kids in our yard, so a lot of activity will be on the patio. I just don’t want to do the work, have it look great and then have it not stand up
Hi Debi, it has held up great. No problem moving furniture around or dogs on it. We had a big dog but she’s no longer with us but it hasn’t been a problem at all. No chipping.