I thought I’d share a quick post on the peel and stick wallpaper project in case you want to try one too. This was my first time using peel and stick, but I have a feeling I’ll use it again. It wasn’t as bad as I thought it might be as far as applying and getting it up.
Full disclosure, I received this wallpaper as a gift from Roommates Decor and I got 6 rolls, I think for my project. Those 6 rolls weren’t quite enough to do it without piecing it, which I’ll show you too, but because I had the bed and nightstands against this wall, it didn’t matter to me that I had to piece it. It still looks great. So just be aware and measure well before you order so you know exactly what you’re getting. I only had enough in one roll to have one long run and part of another run because of the match point. So it can get expensive using wallpaper with a short roll. This wallpaper come in rolls that are 20.5″ wide by 16.5′ long, so with my 9′ ceiling you can see that it didn’t go that far.
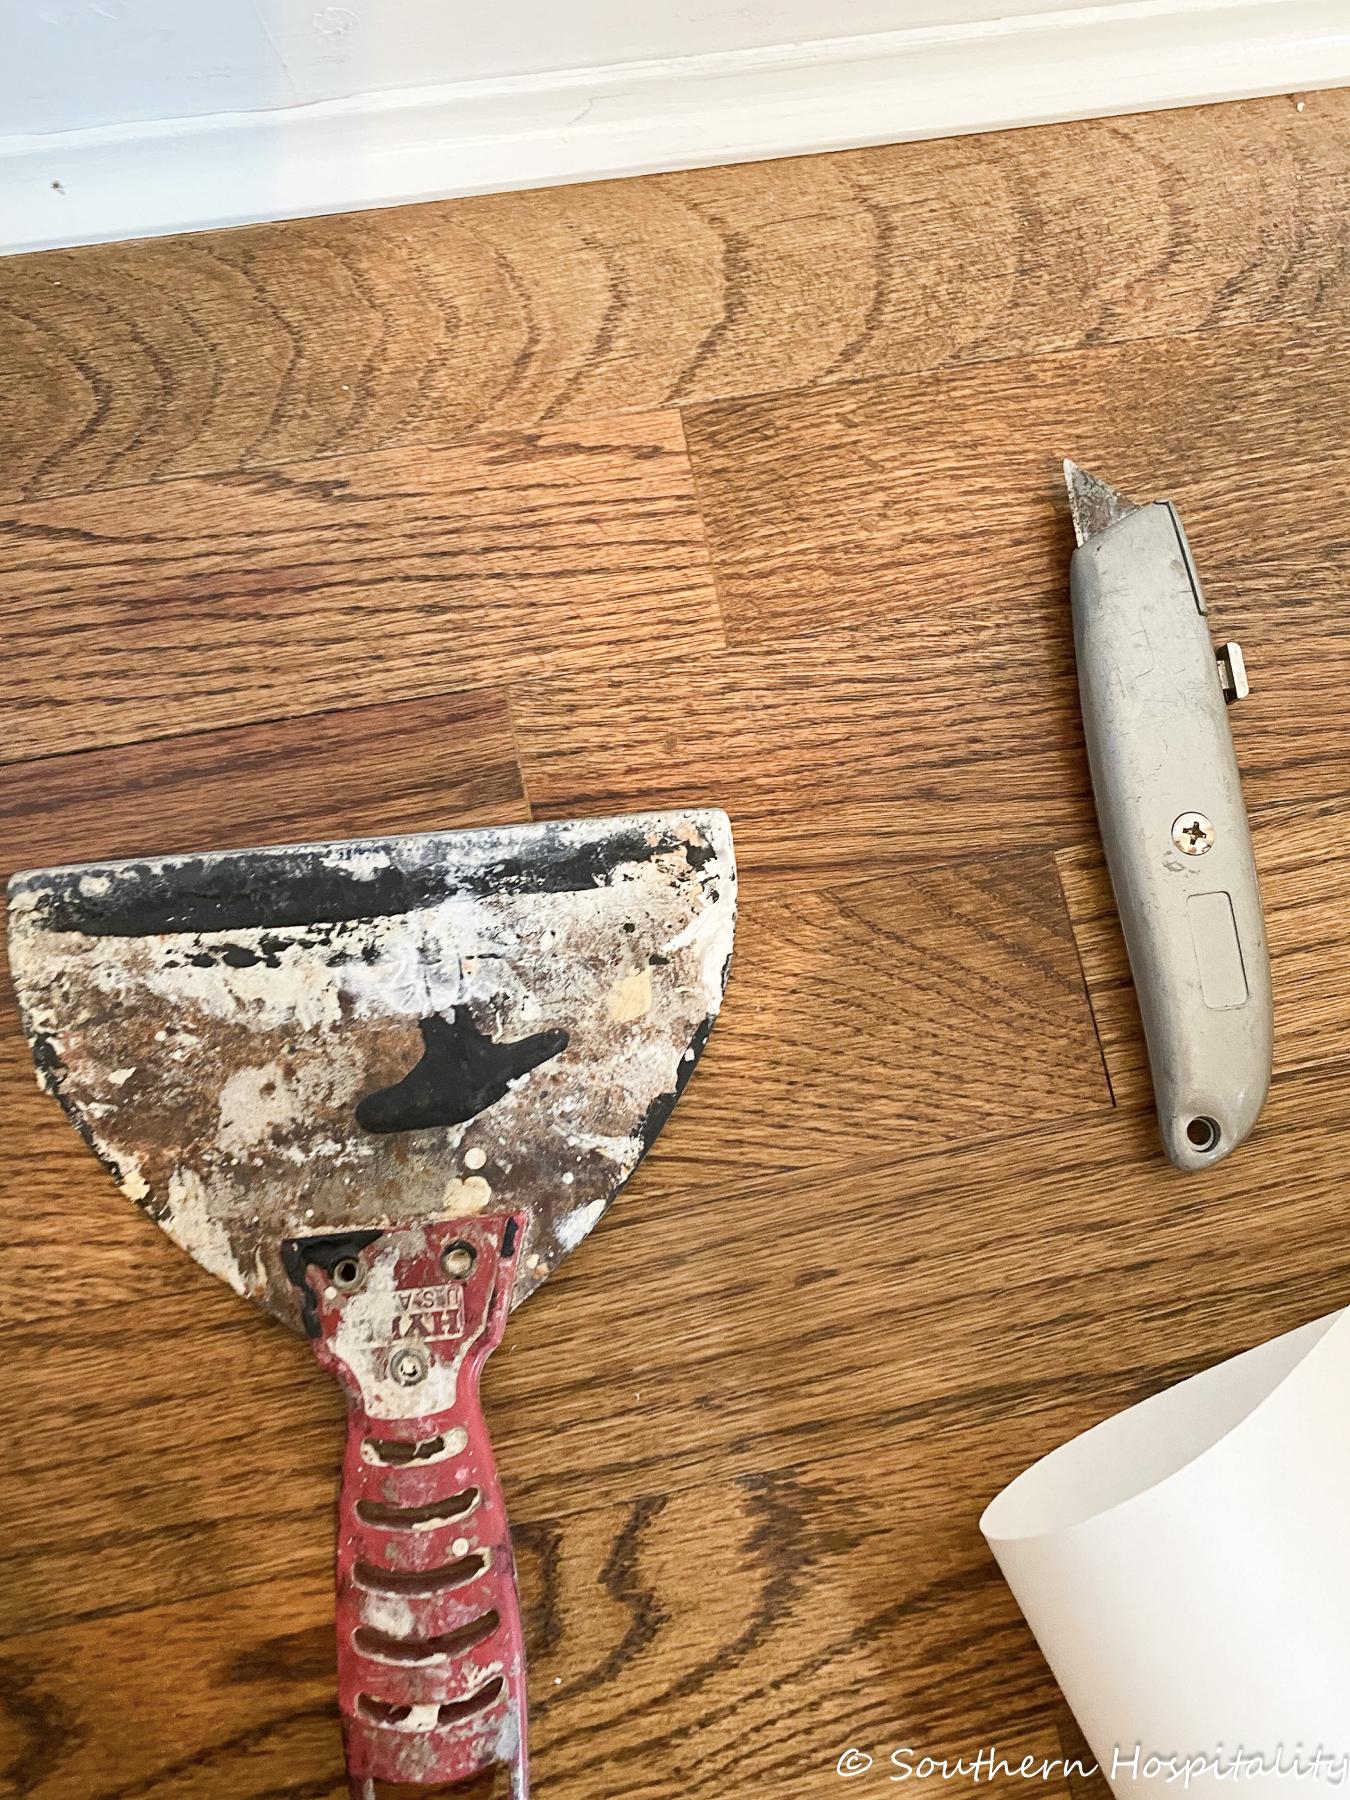
Here are the tools I used for my project. You’ll need something to smooth and use as a straight edge to cut the overage and a cutting tool.
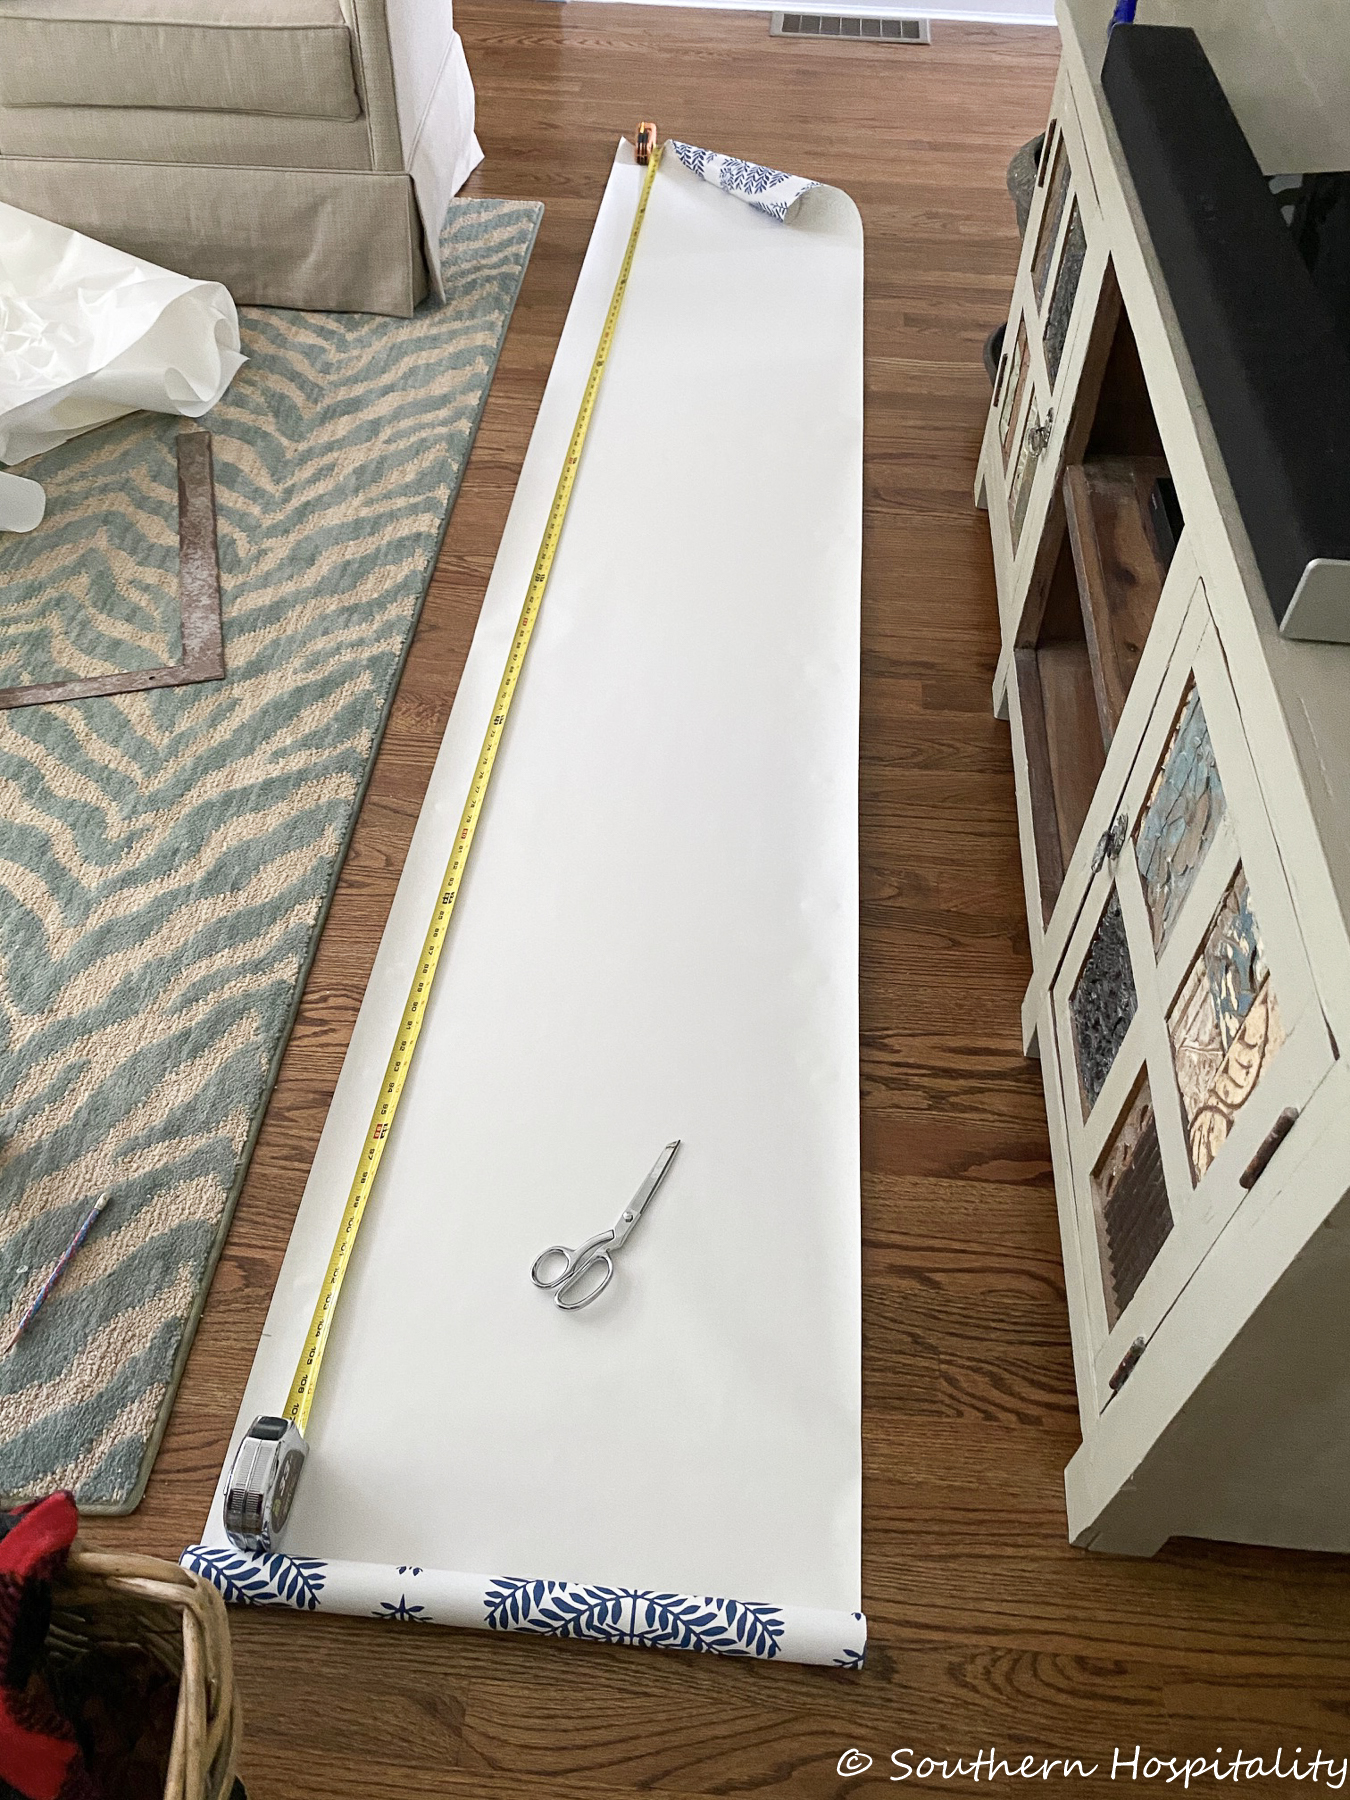
I chose to start in the left corner of my wall, but I’ve heard some people start in the middle. I placed it up and didn’t cut any off the top, but started it in the corner and up to the ceiling in that corner. The object is to start taking off the backing and work your way down the paper. It says that 2 people are preferable, but I only had me, so I made it work. I ended up pulling the backing all the way off all the way down the paper because it was hard to make sure it was lined up properly otherwise. I did have to pull up one side and move it back and forth to be sure I was straight. I used a level on the first piece to see how it looked and it was level enough on the side so I continued on with my second piece. If your wall isn’t plumb then that’s when you run into problems with the paper going up crooked. Mine was good enough.
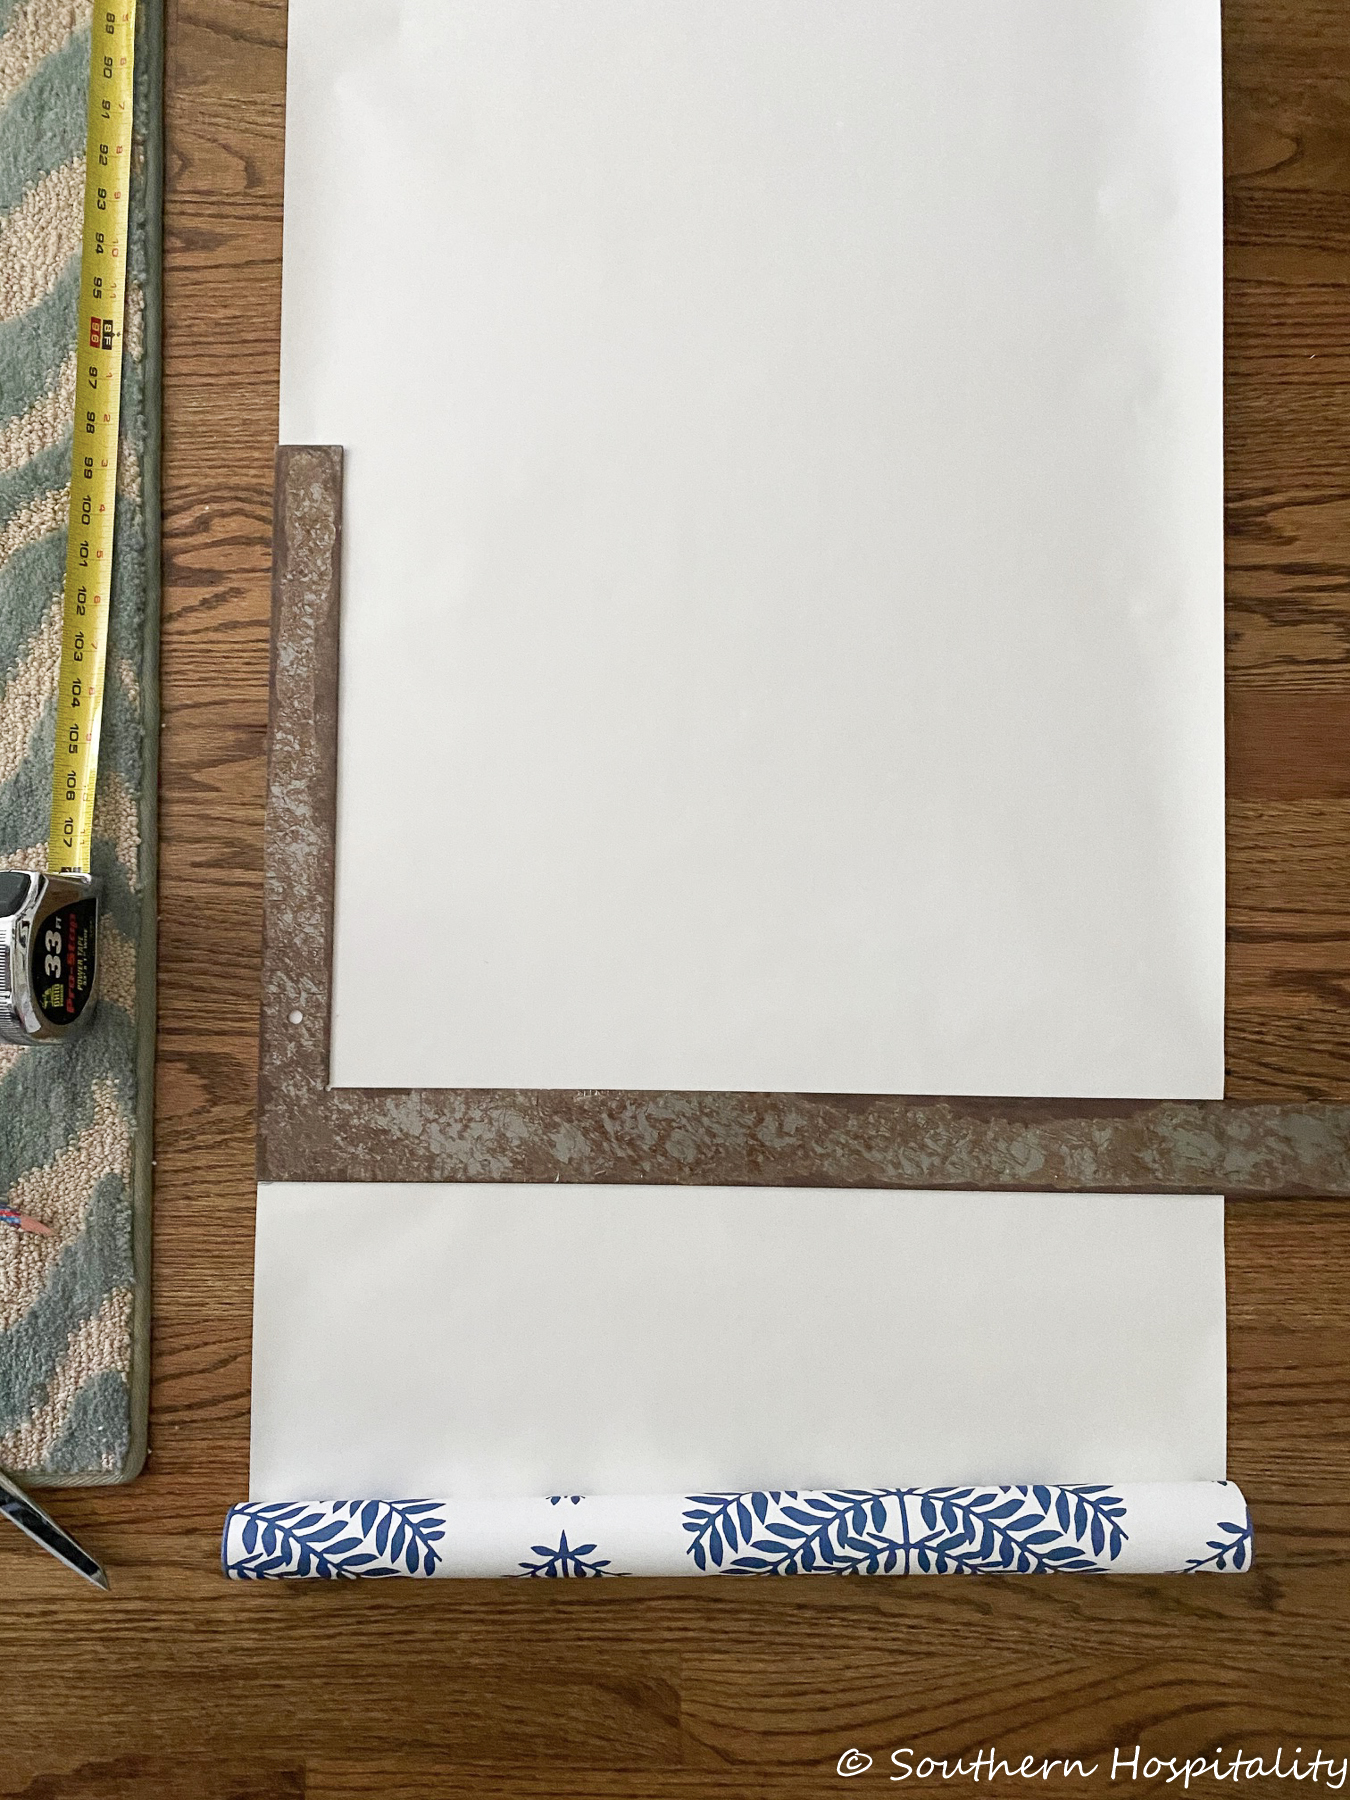
I used a square and pencil to draw lines on my paper to cut straight. On the 2nd strip, I added a couple of inches to top and bottom to be sure I had enough to line up and cut off. So, I got one whole strip from one roll and a partial strip left over from each roll. Since it’s only 20.5″ x 16.5′ long or so it took a lot of rolls to cover this one wall. My ceilings in here are 9′, so that leaves approximately 7′ left over and the match point is about 24″ so do your math before you order.
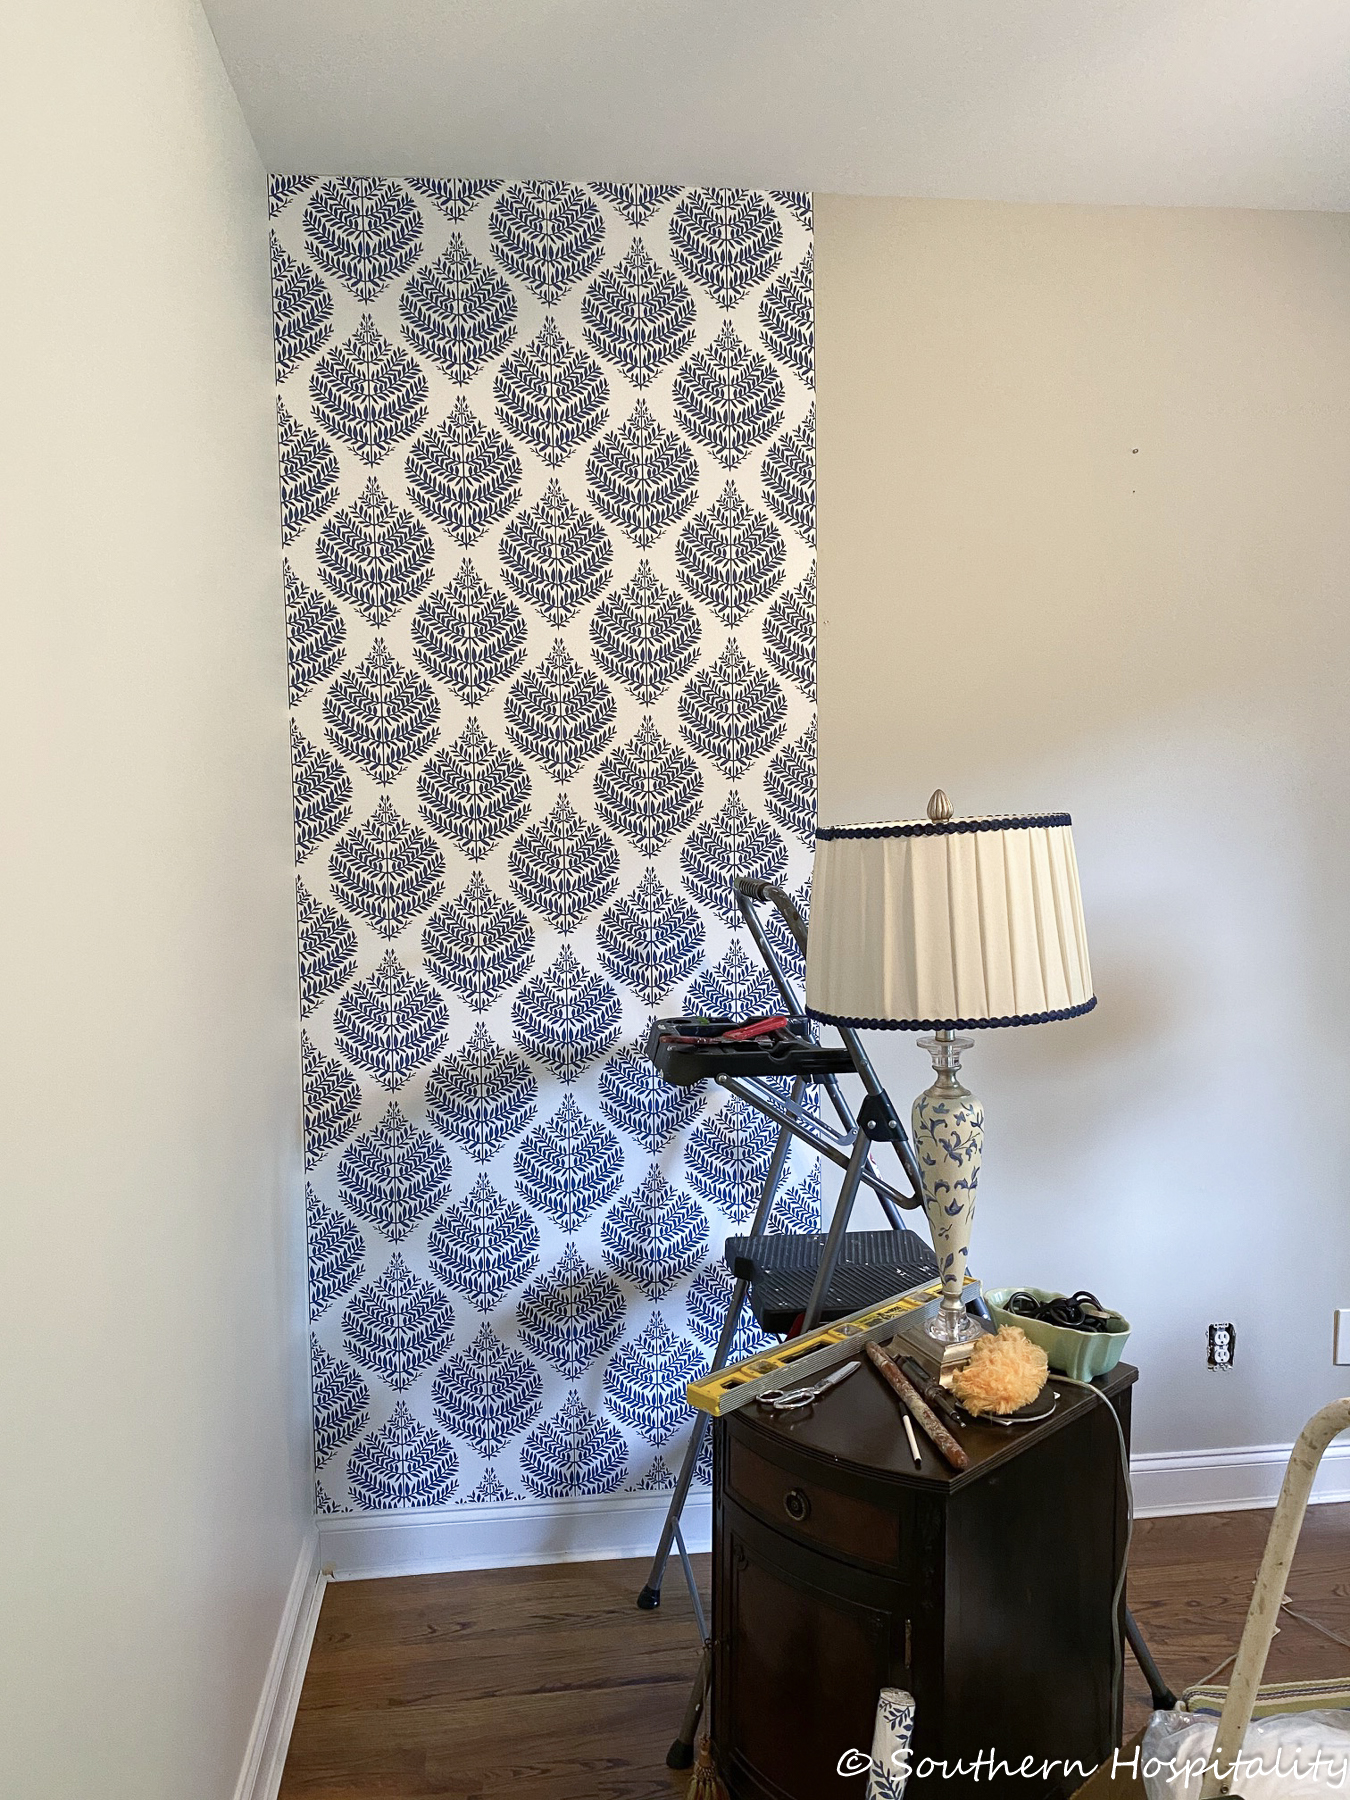
First piece up and smoothed out. On the smoothing, you definitely have to use something smooth and a plastic putty knife would have been better but I used what I had. You will smooth the bubbles out to each side until you get them as smooth as you can.
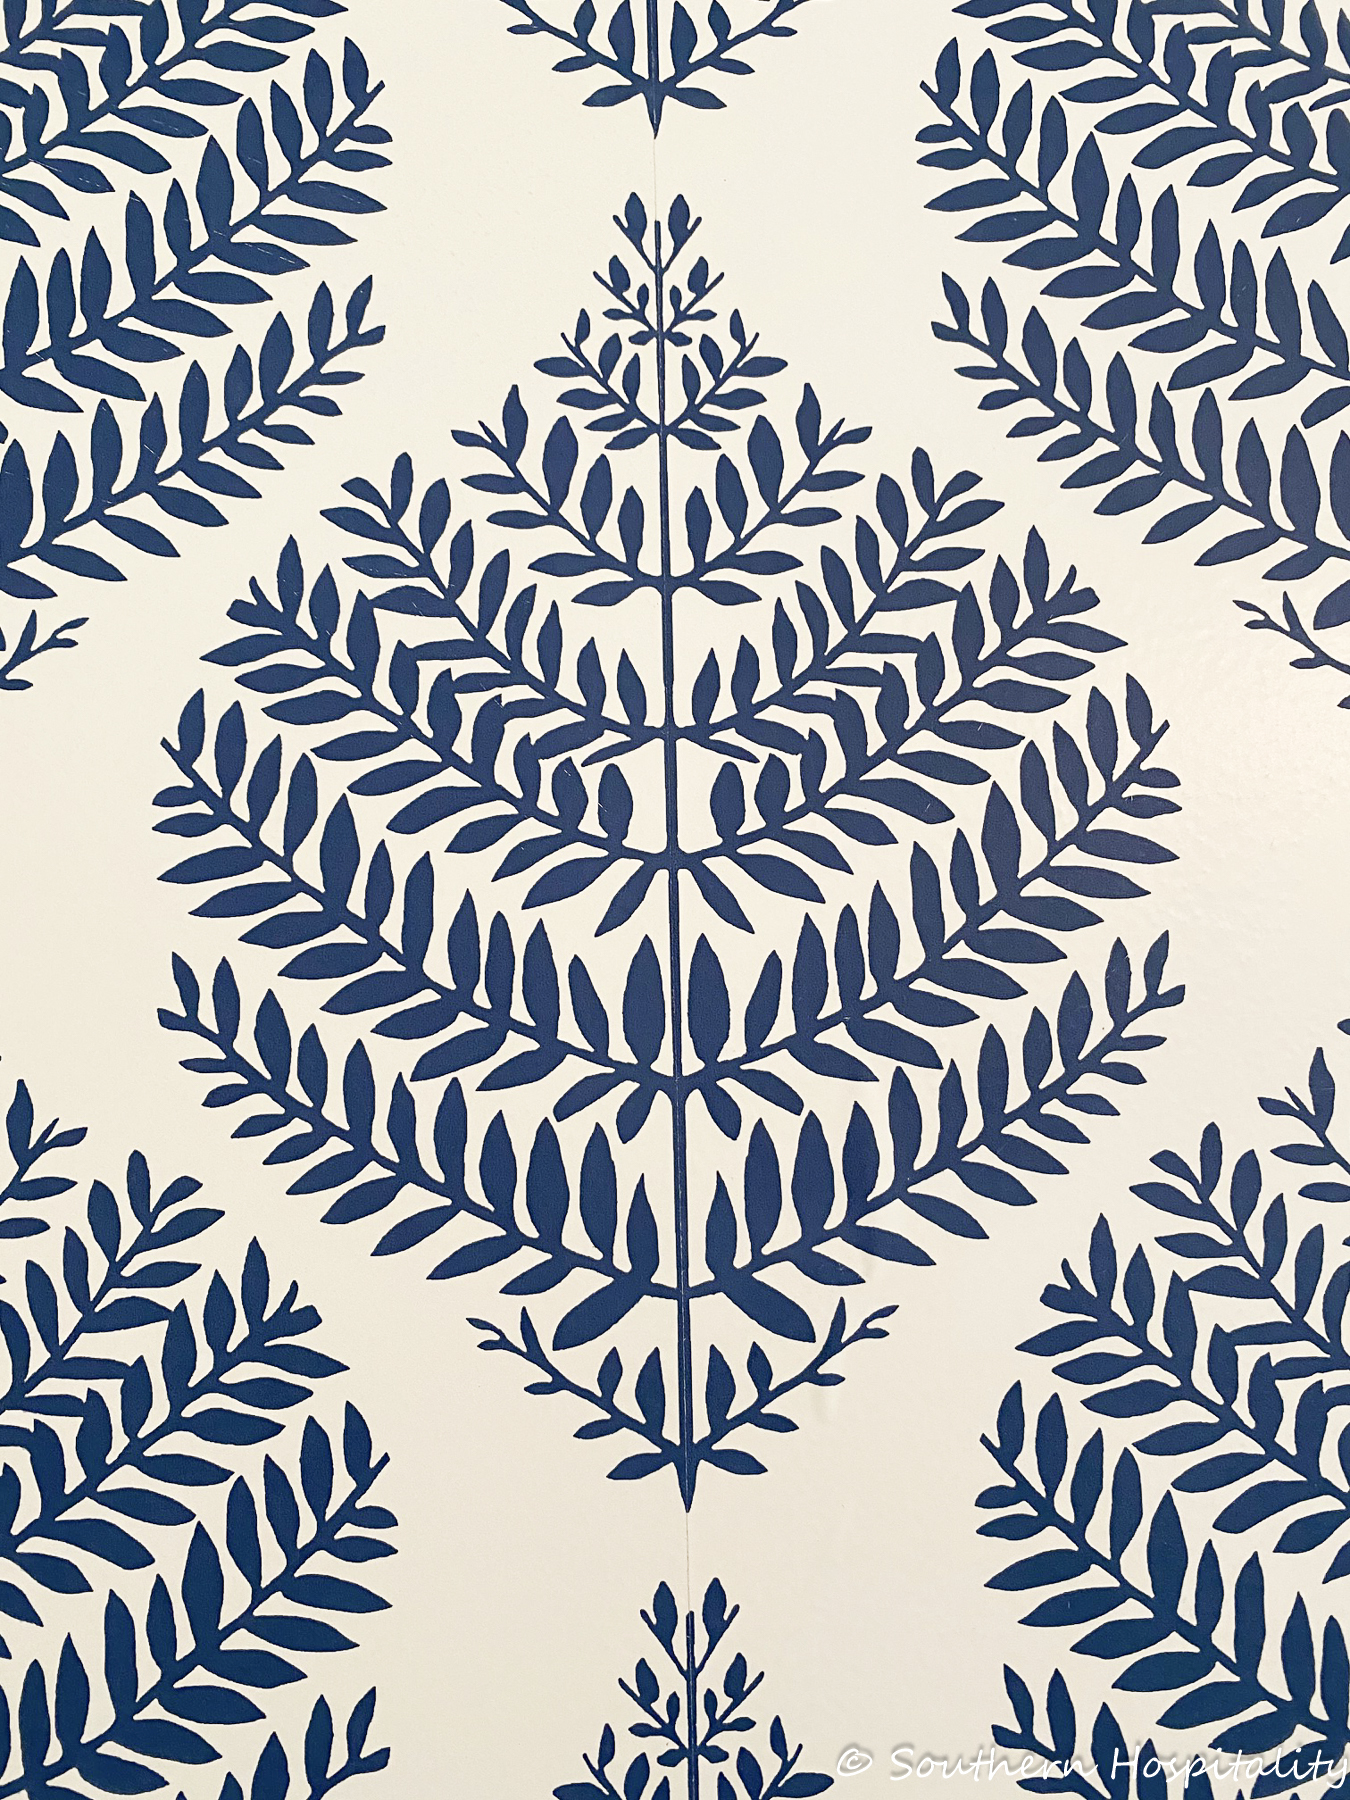
I had to lift each side along the way as I straightened the paper and smoothed the bubbles. You can barely see it here, but the match is right in the middle of this fern, straight down that line. It really is hidden so well. The paper is pretty thick so it doesn’t tear easy and I didn’t have a problem with stretching.
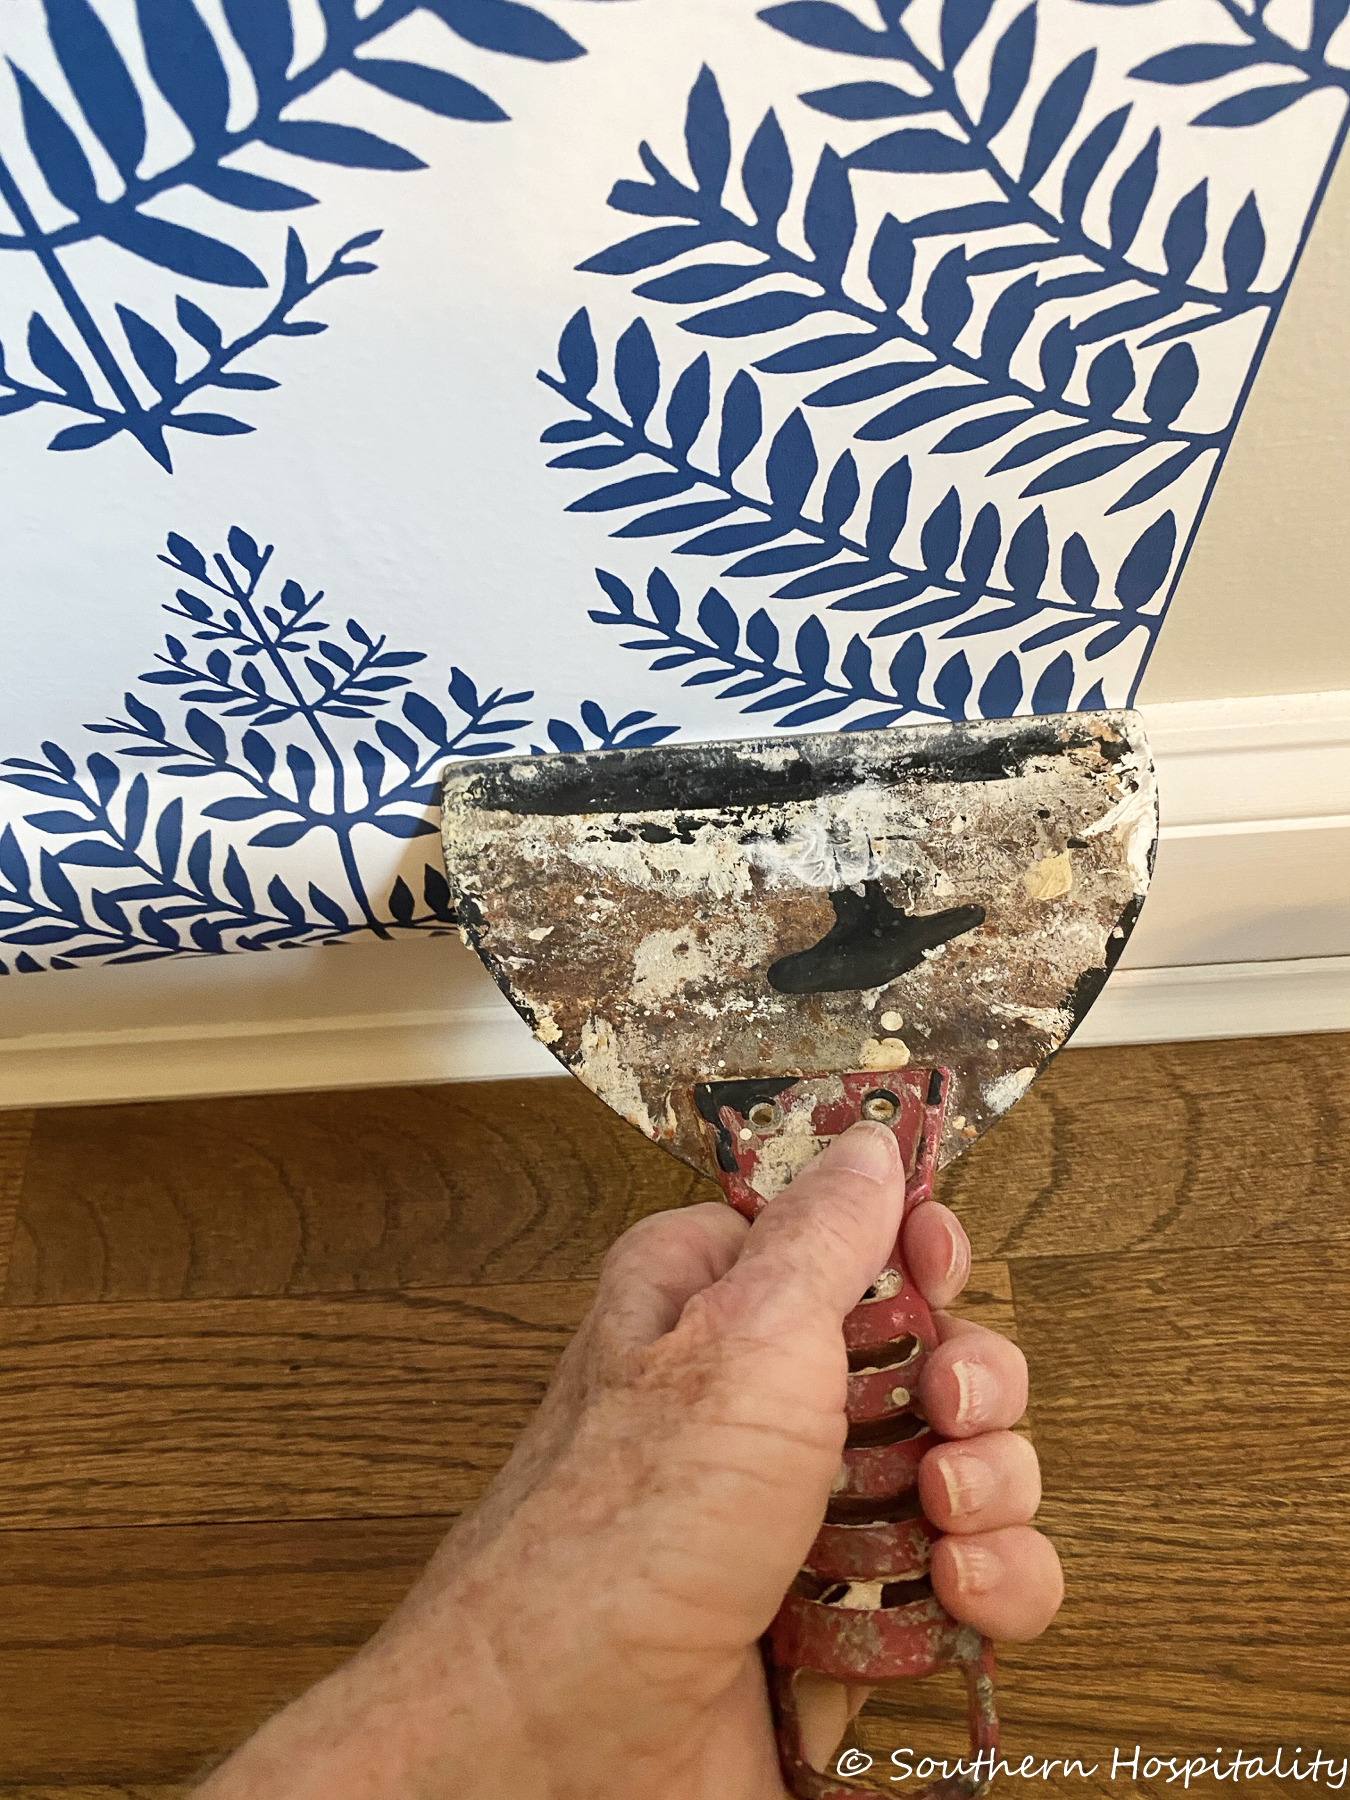
I used my putty knife to press along the baseboard to cut a straight line and remove the excess wallpaper. I did that on the top too along the ceiling line. We are planning to go back and add crown molding to this room eventually which will look nice.
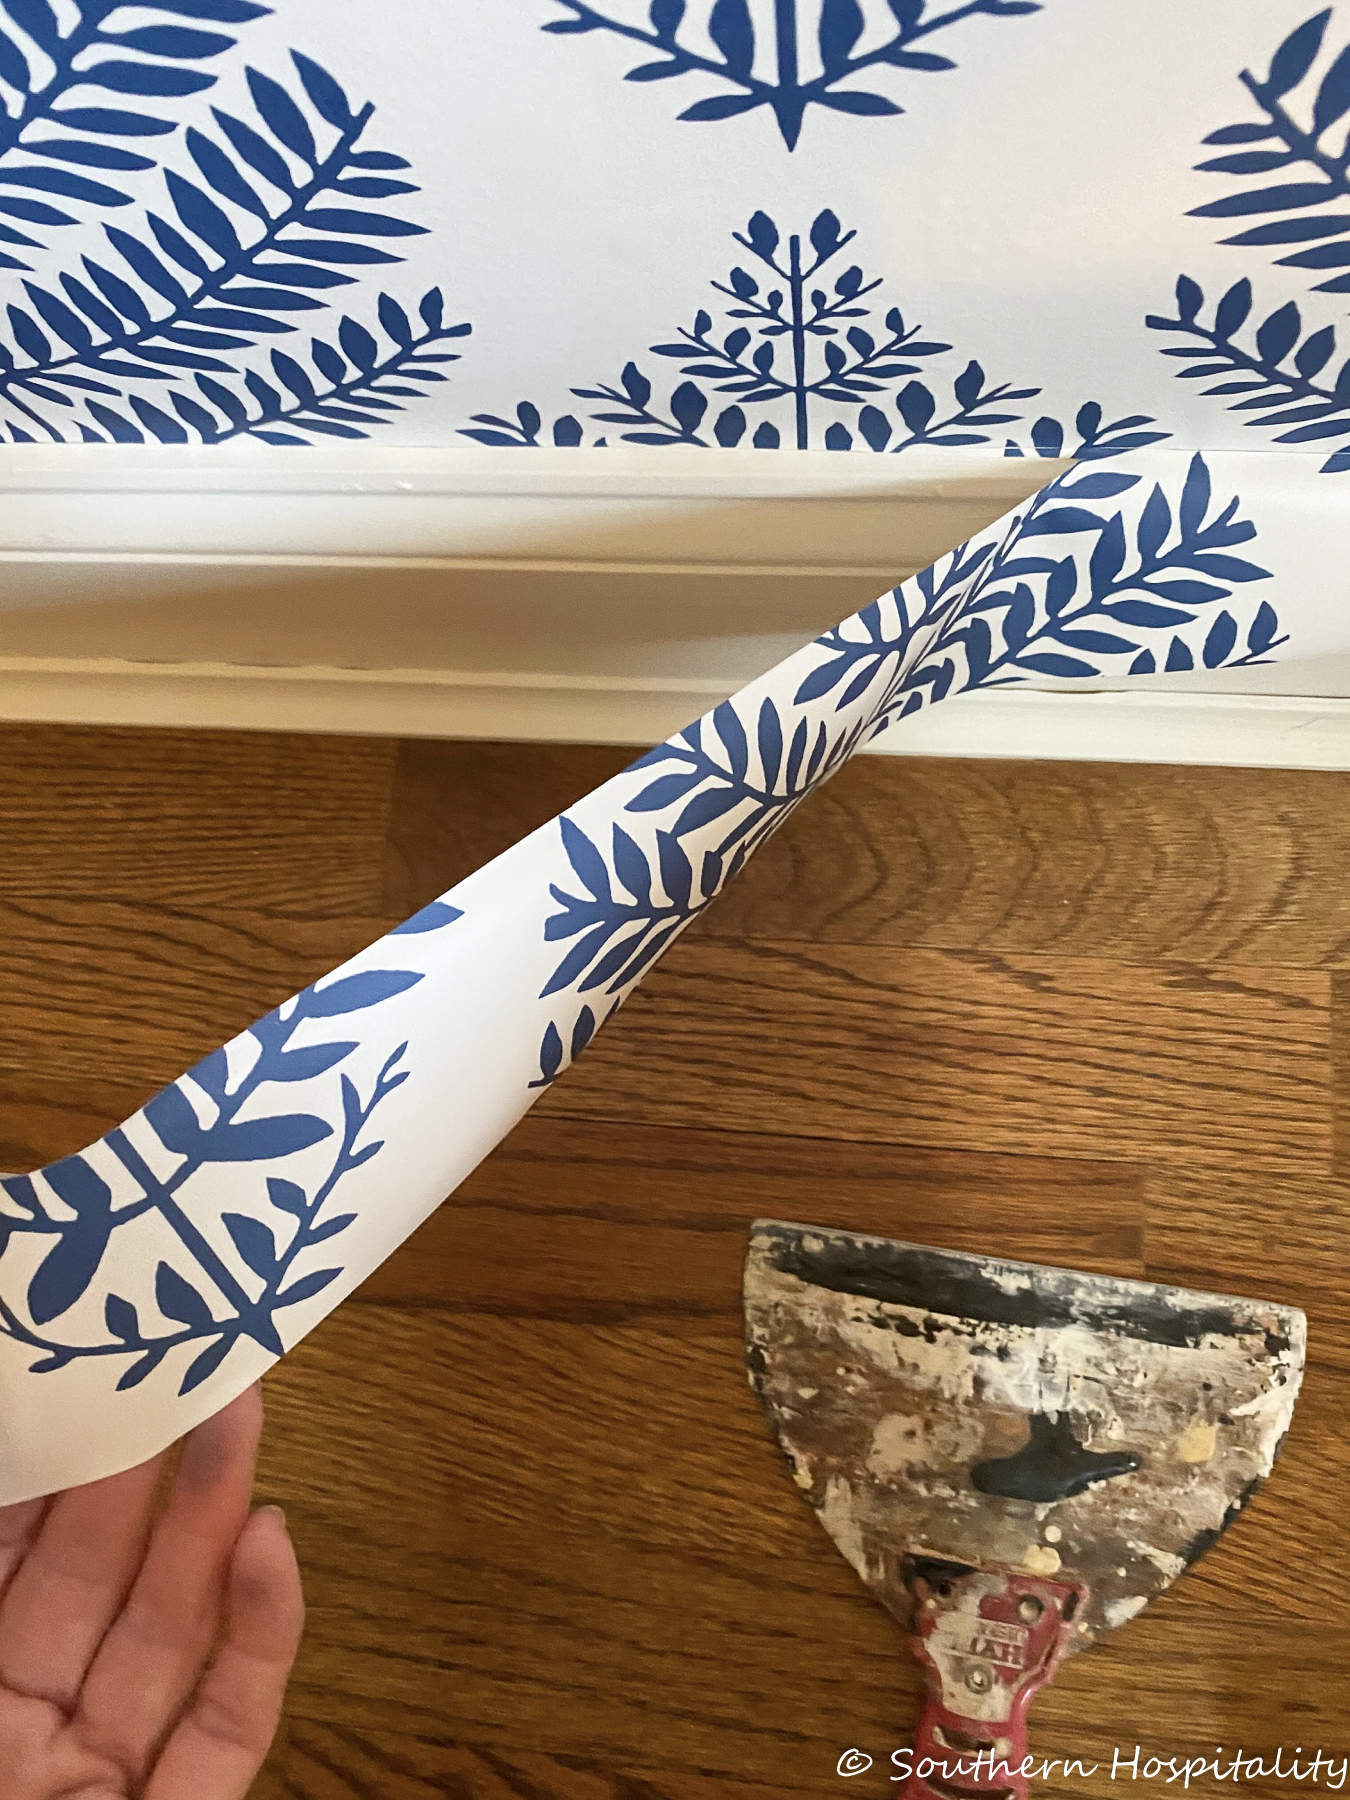
Pulling off excess paper. I do like the peel and stick because it’s less messy, but it is a little tricky since you can smoosh it around like prepasted wallpaper to get it where you want it. The sticky back is a little more tricky to move, but it’s not so bad. I got the hang of it pretty fast.
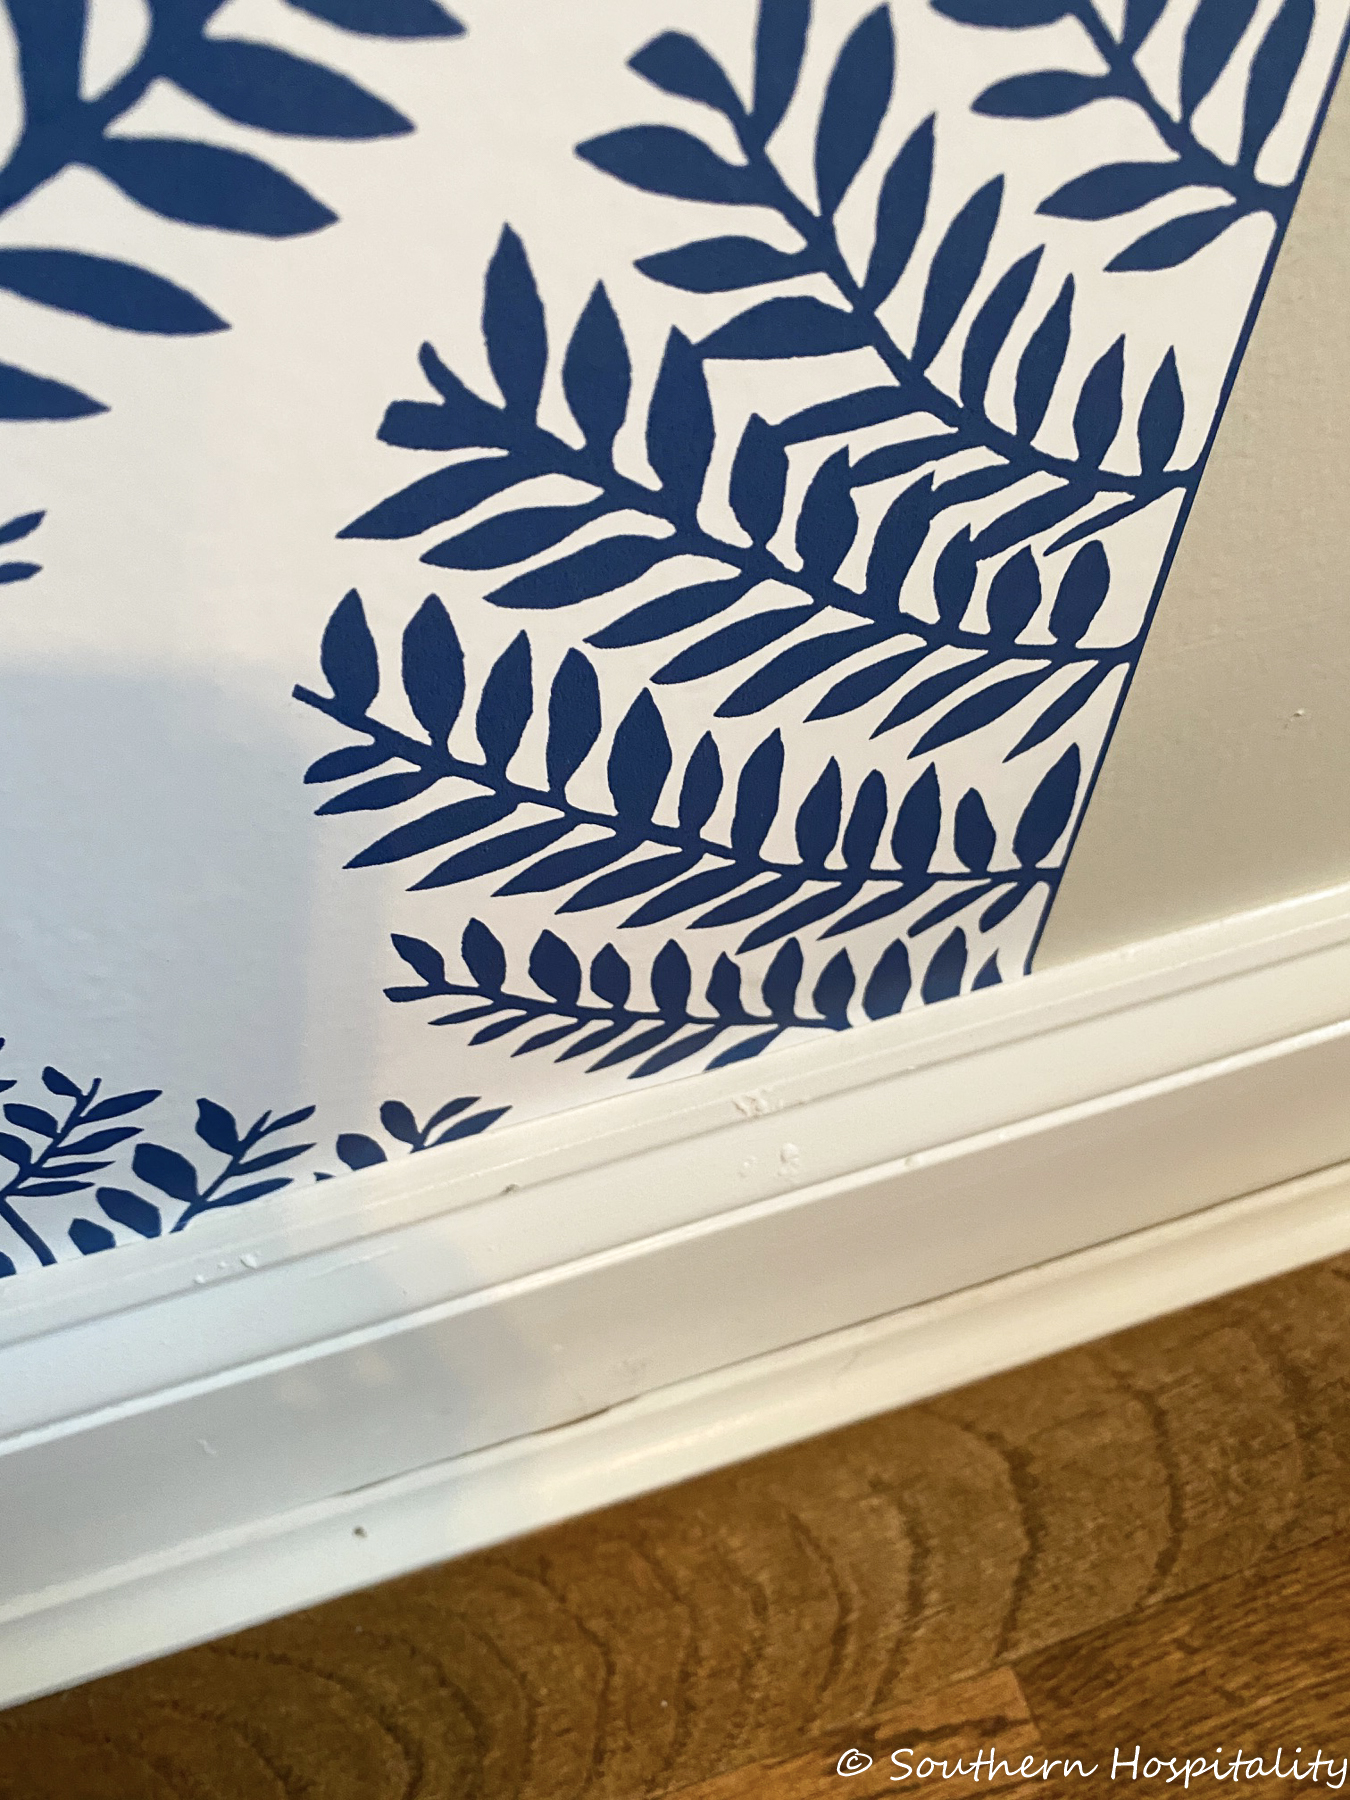
Cut and smoothed and ready for the next piece.
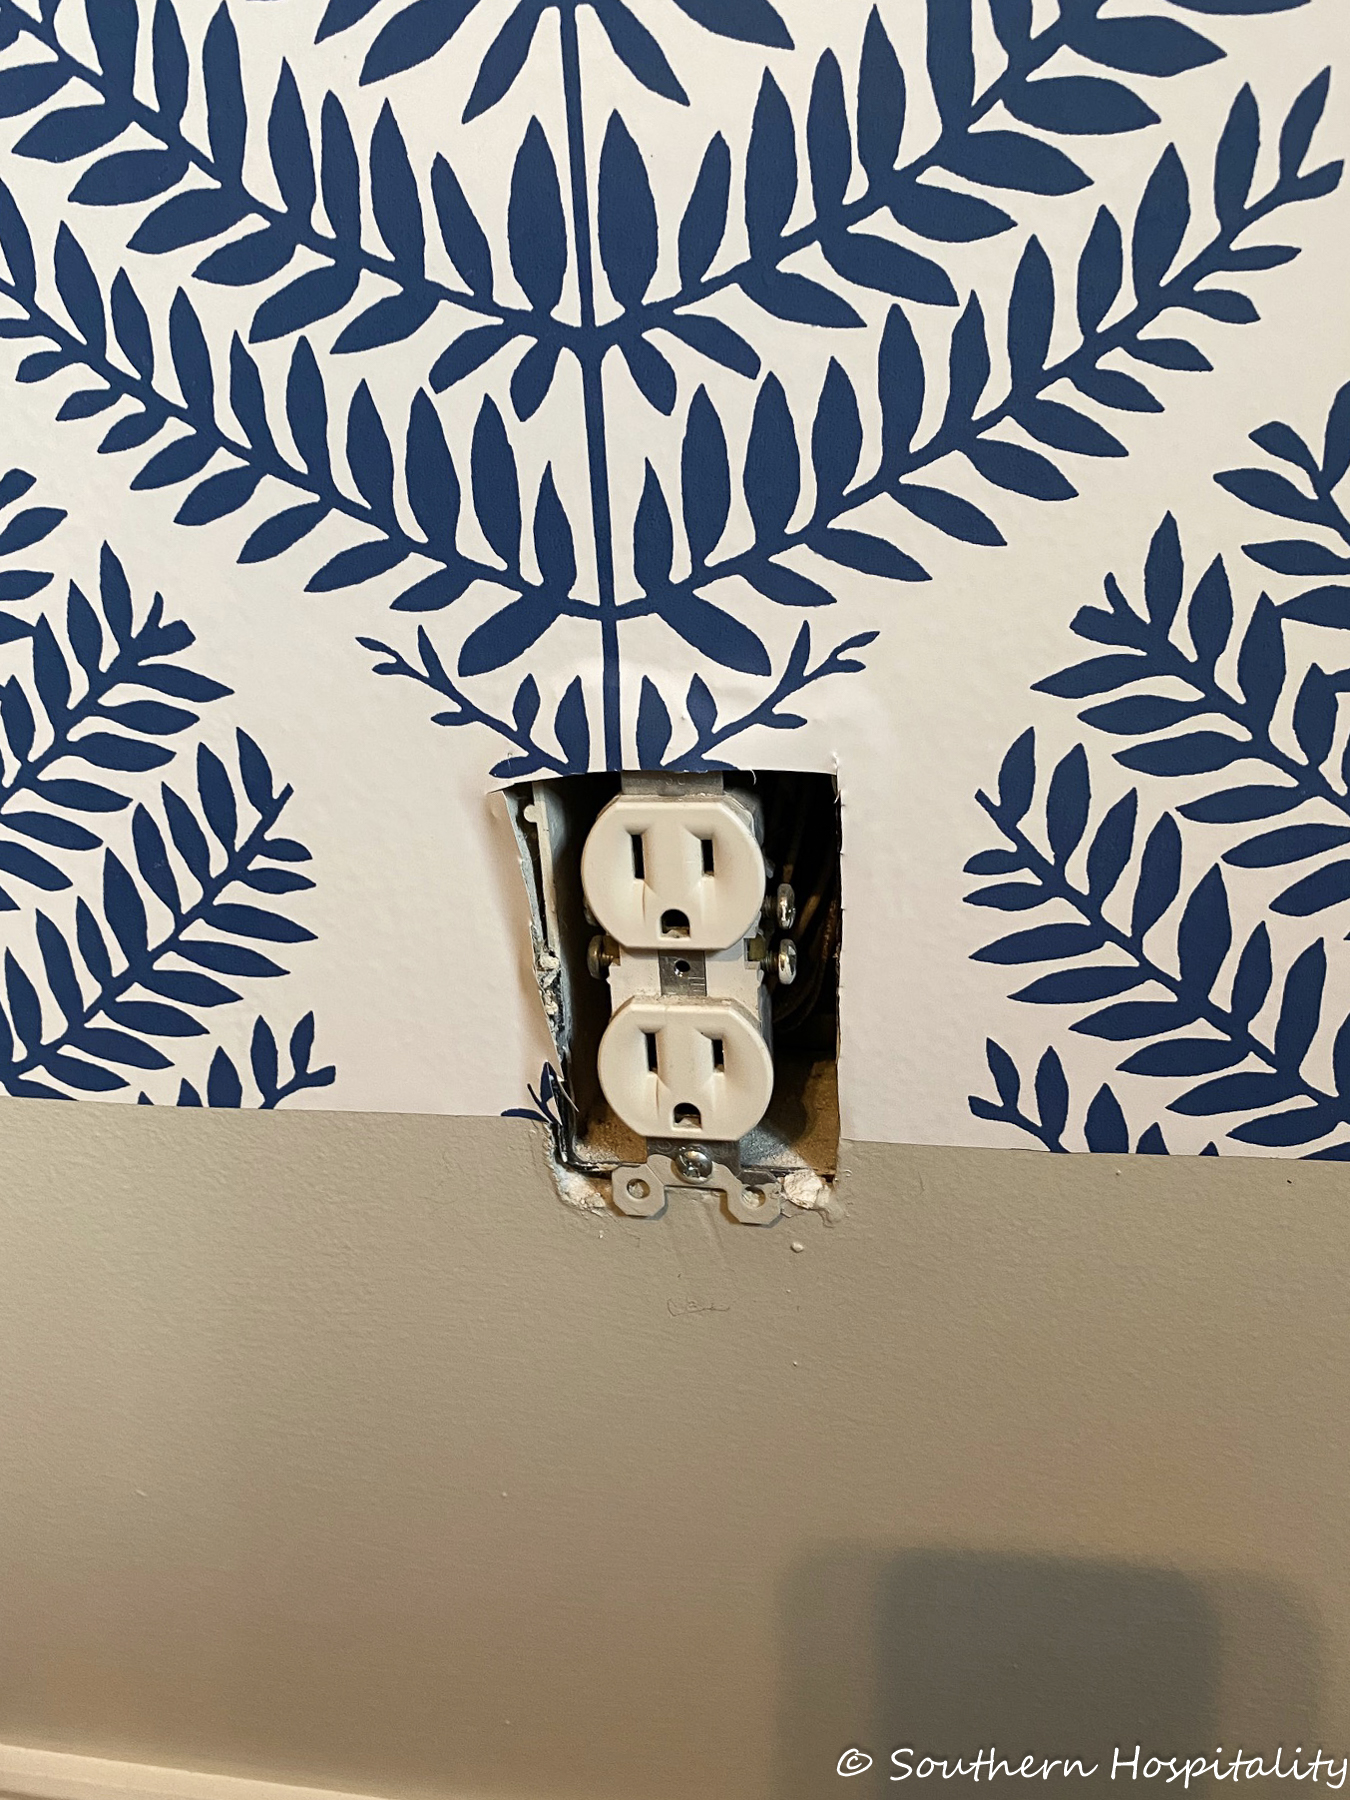
I began to see that I was going to run short of full length pieces when I was about 2/3’s done, so I used the 7′ pieces and then started cutting and fitting in the pieced part. I cut around the outlets as I went so it would be smooth and lay down behind the covers.
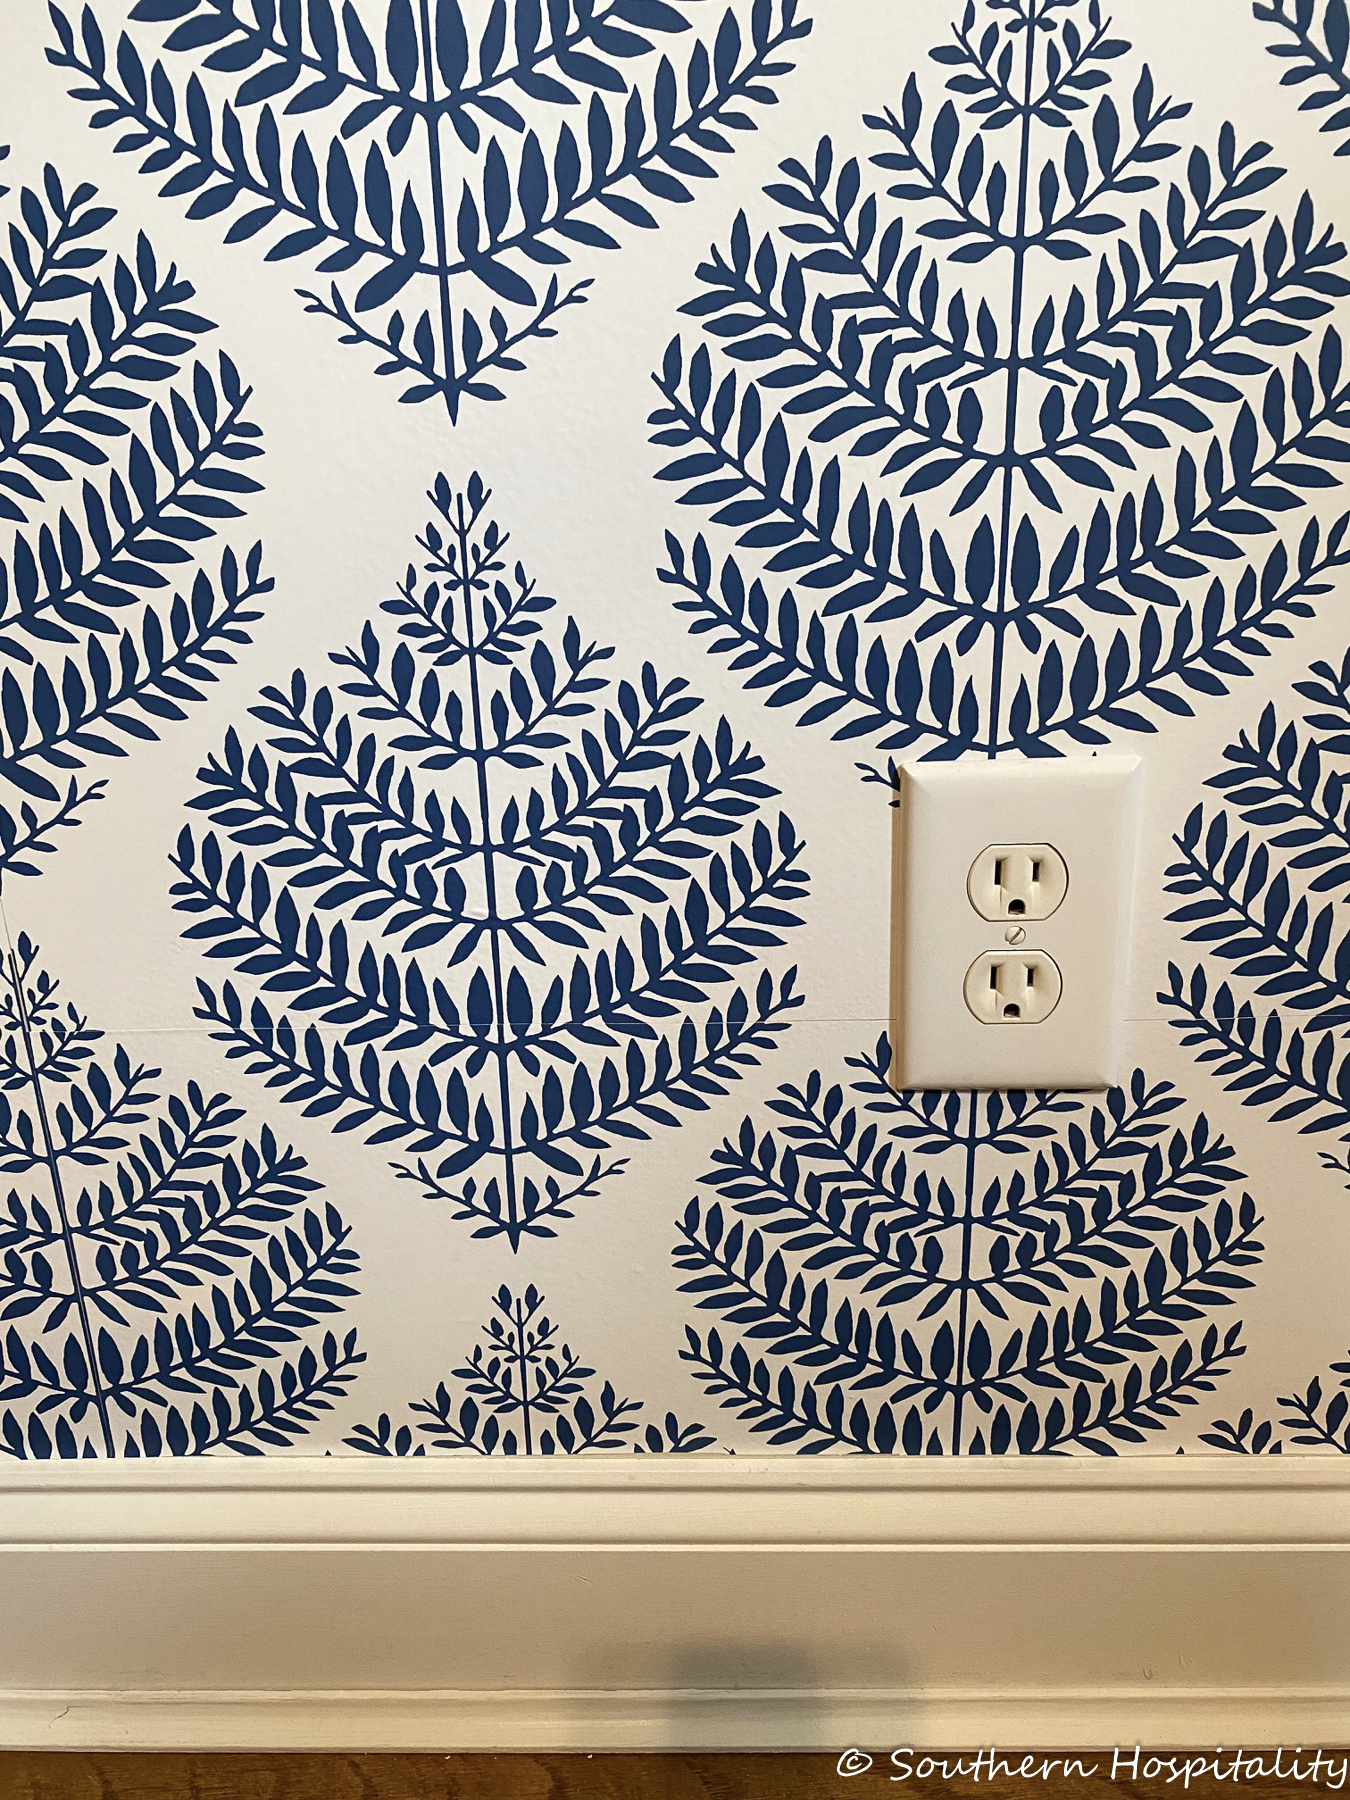
Here’s the pieced part in place. You can barely see if going through the outlet can you? If you zoom in you can probably see the line, but it’s very faint. Again, if I was doing this on a prominent wall, I would definitely get more paper and do it the correct way, but because I have furniture against this wall, it didn’t bother me a bit to piece it.
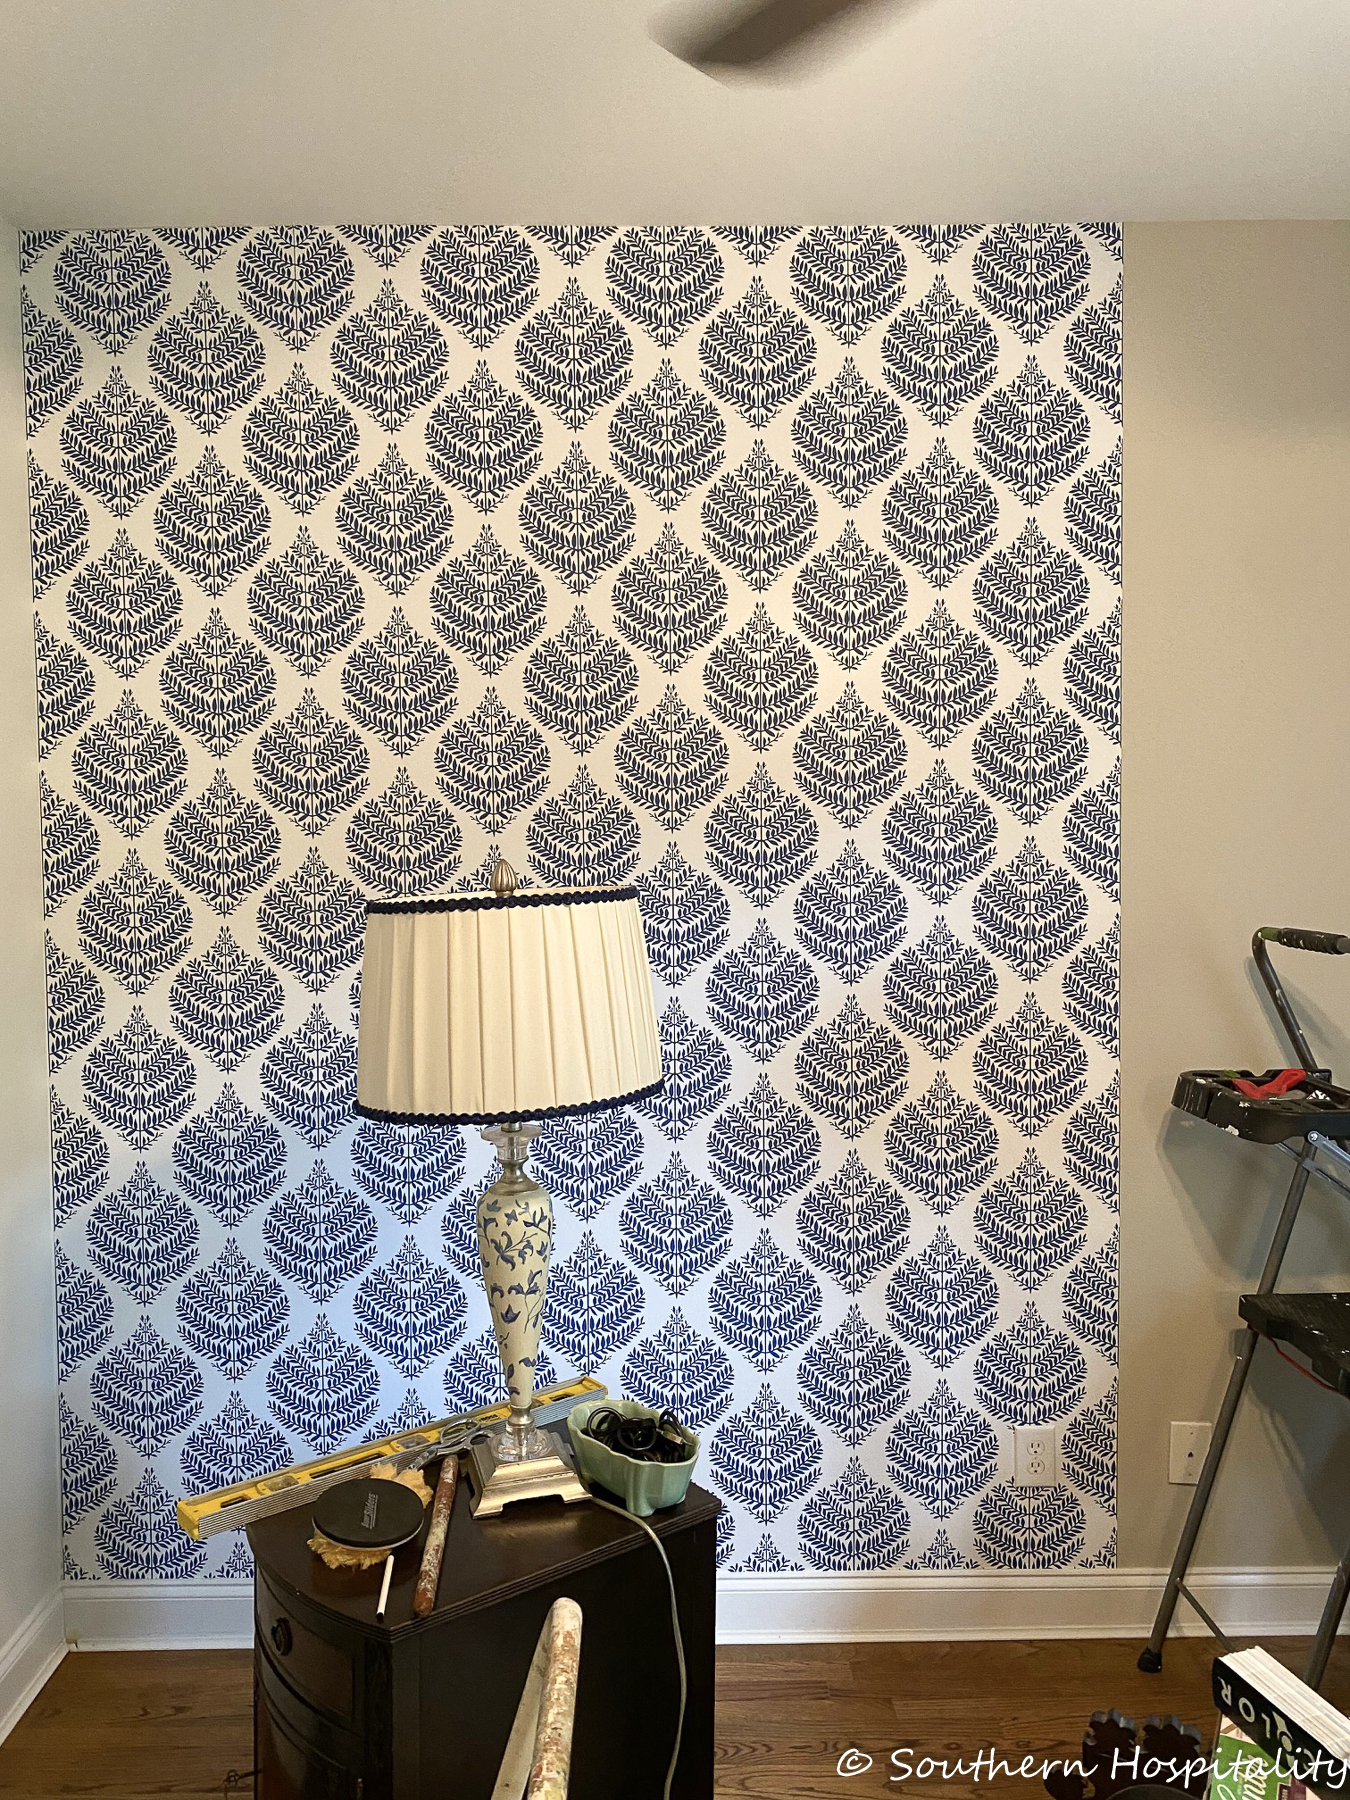
About 2/3 done now and I continued on with the last couple of strips, smoothing and cutting as I went.
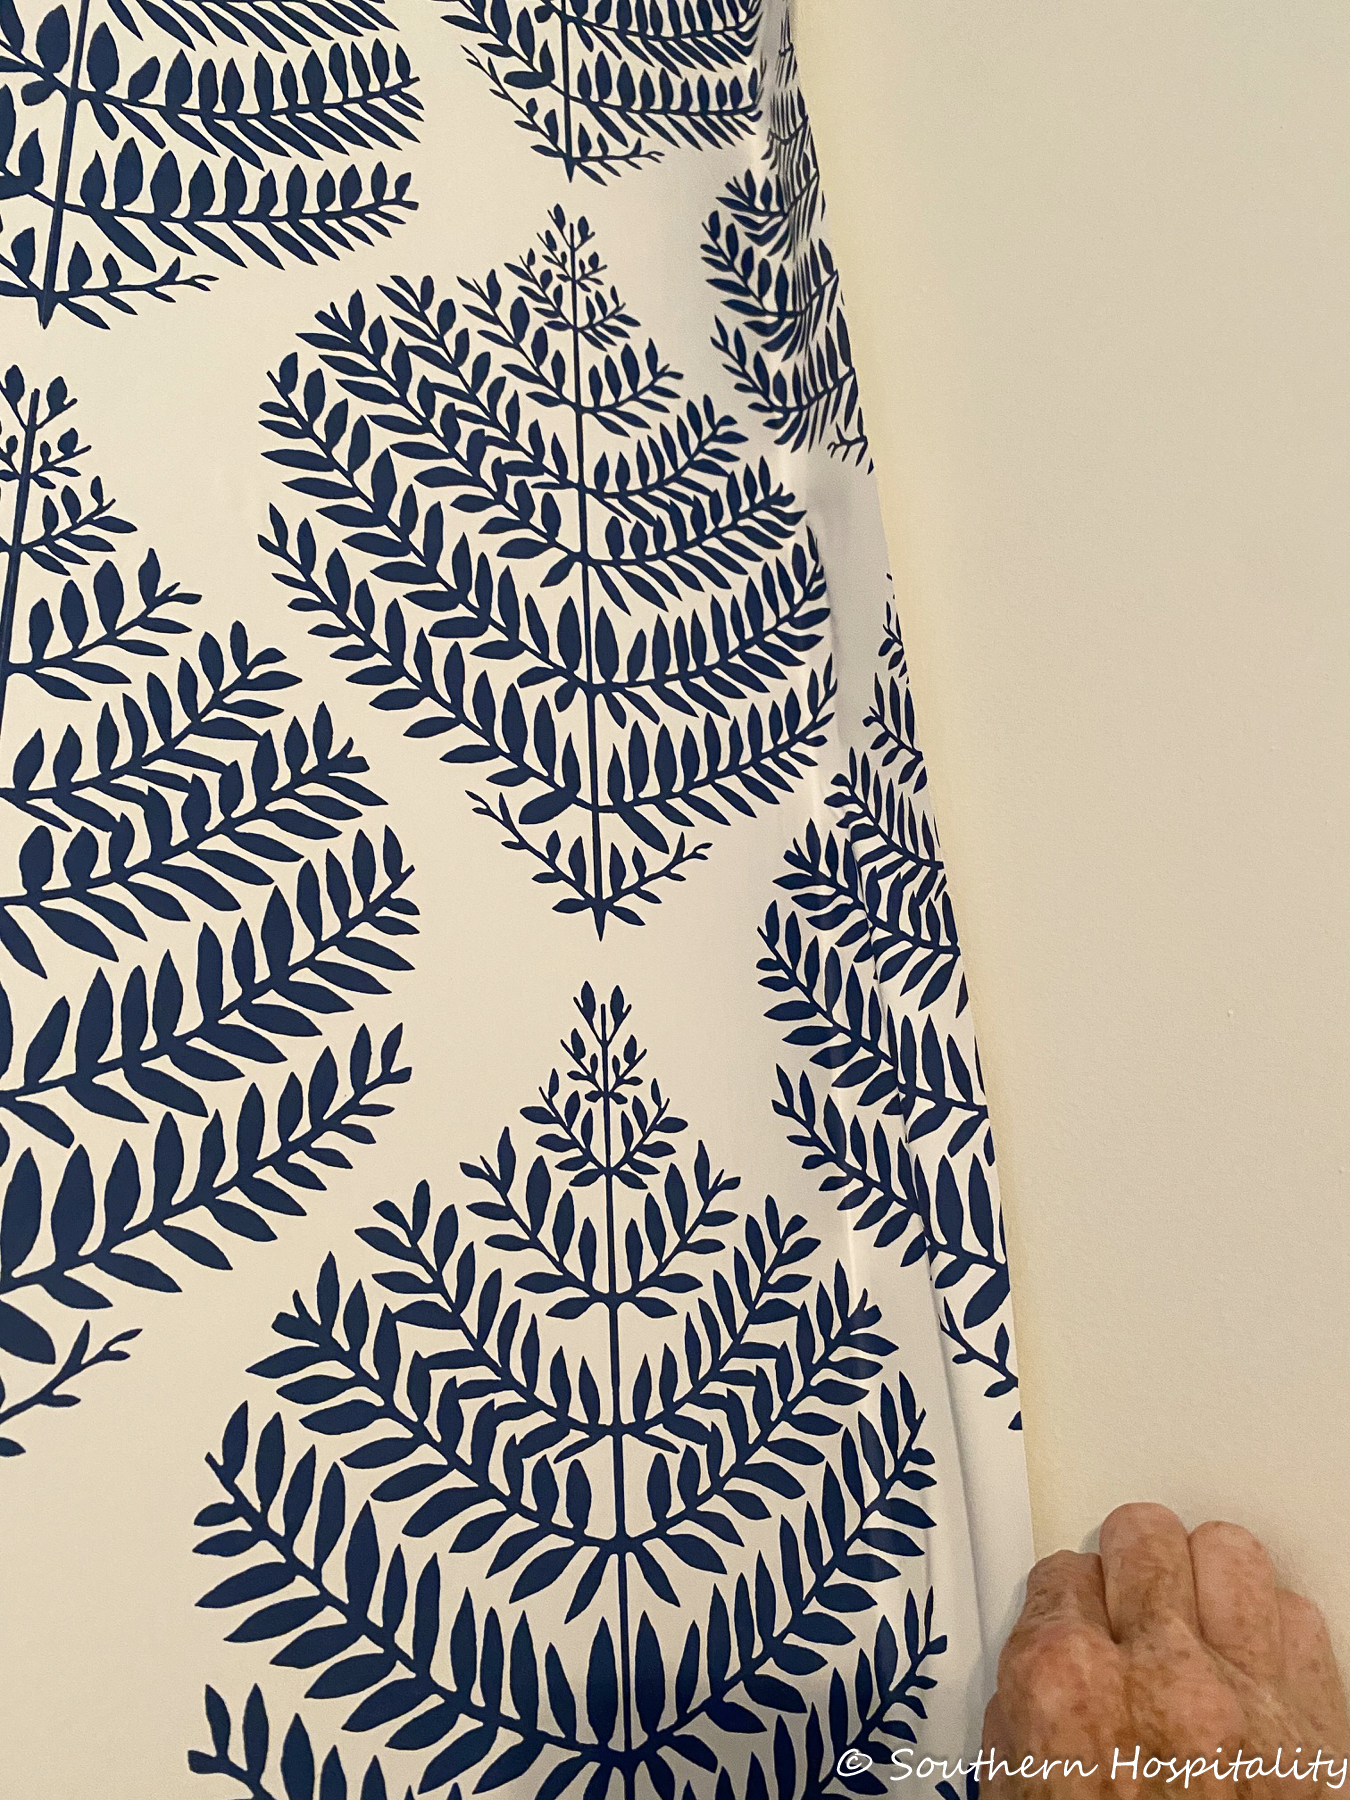
When I got to the other corner where it met the right side wall, I cut that piece down vertically so that I wouldn’t have as much paper to deal with as I pressed it into the corner and smoothed it out. Once I smoothed it properly and had it all lined up then I went back and used the putty knife to cut off the excess again.
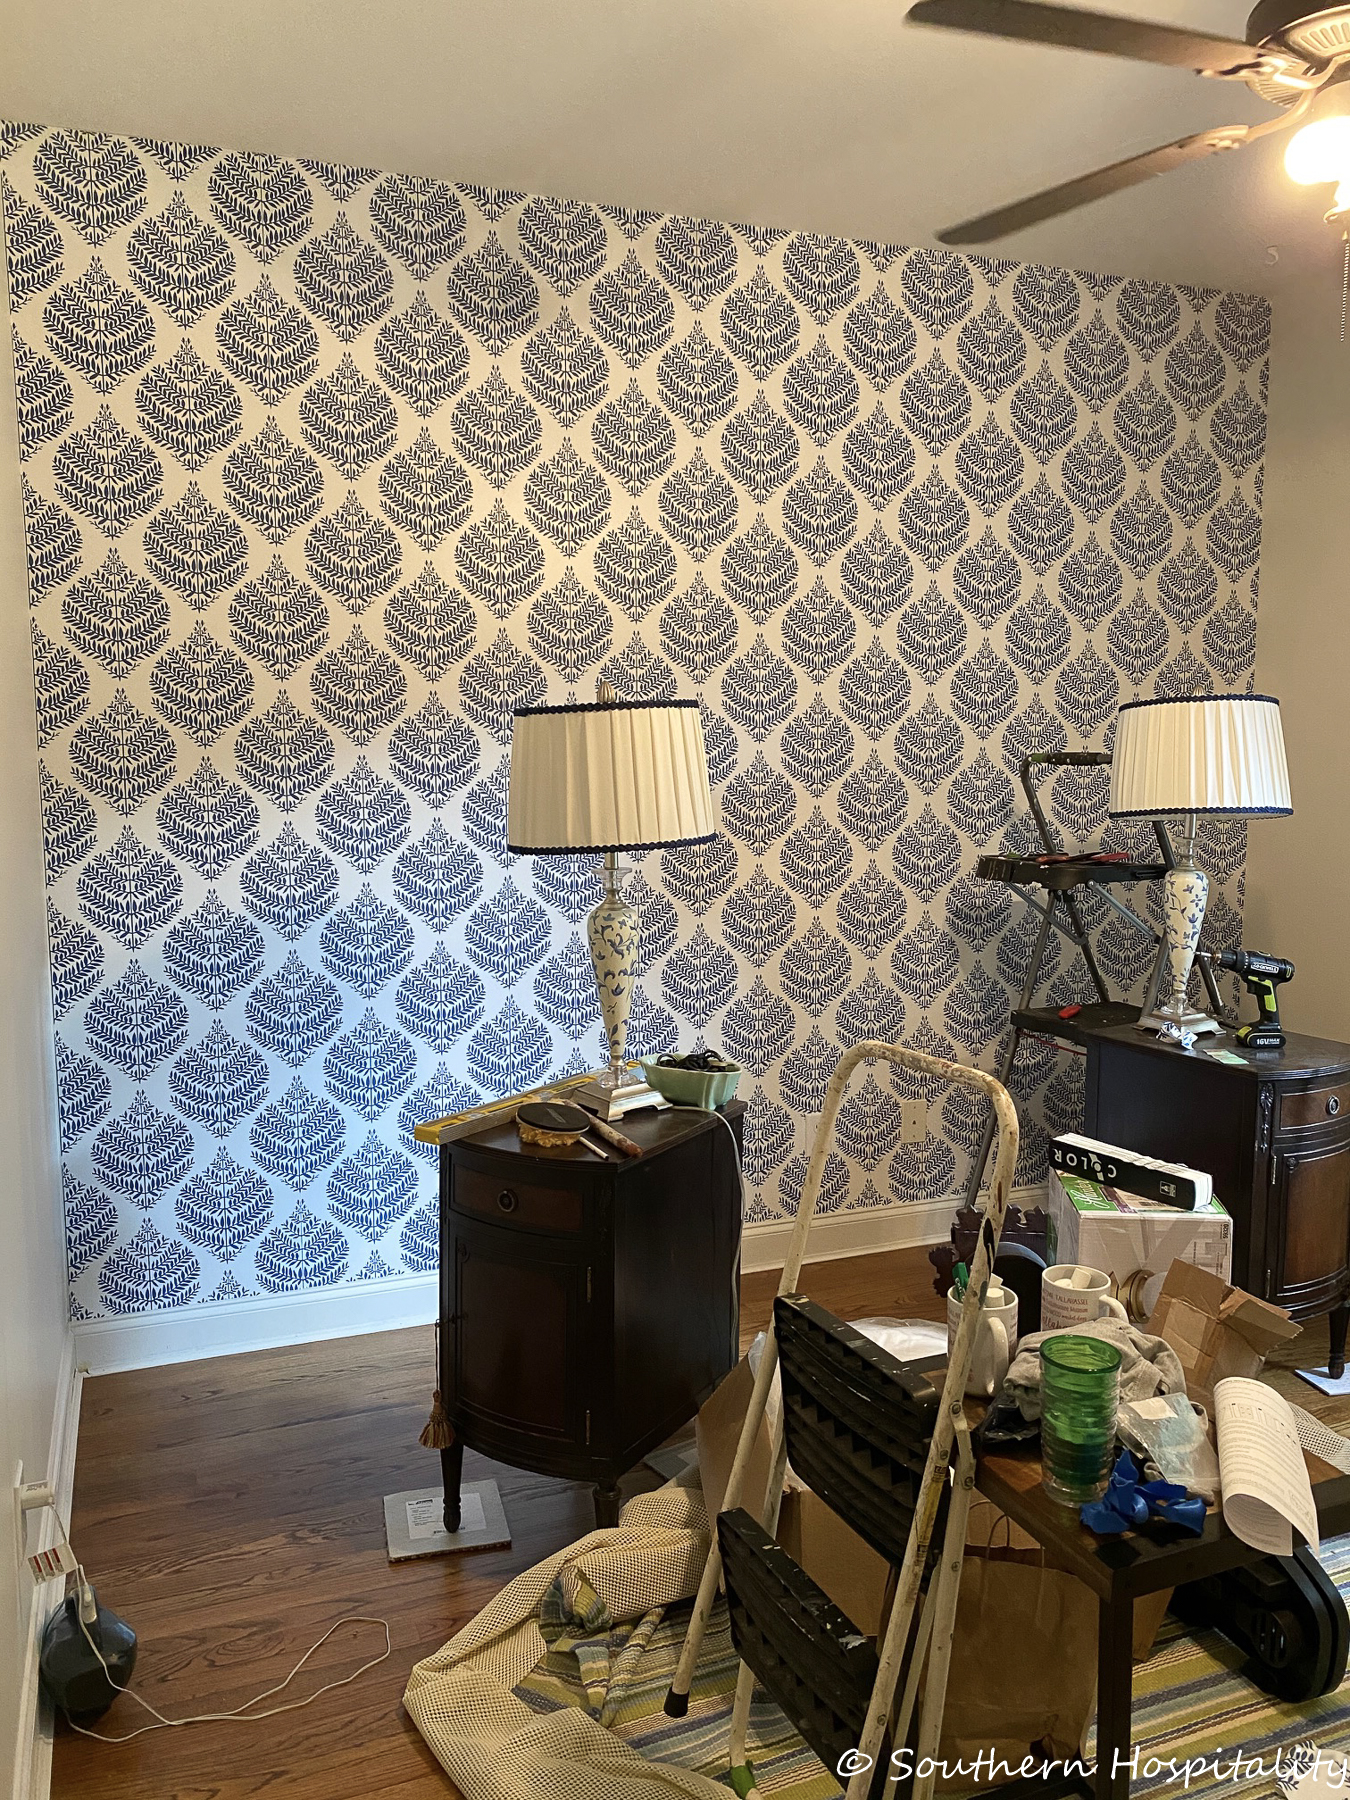
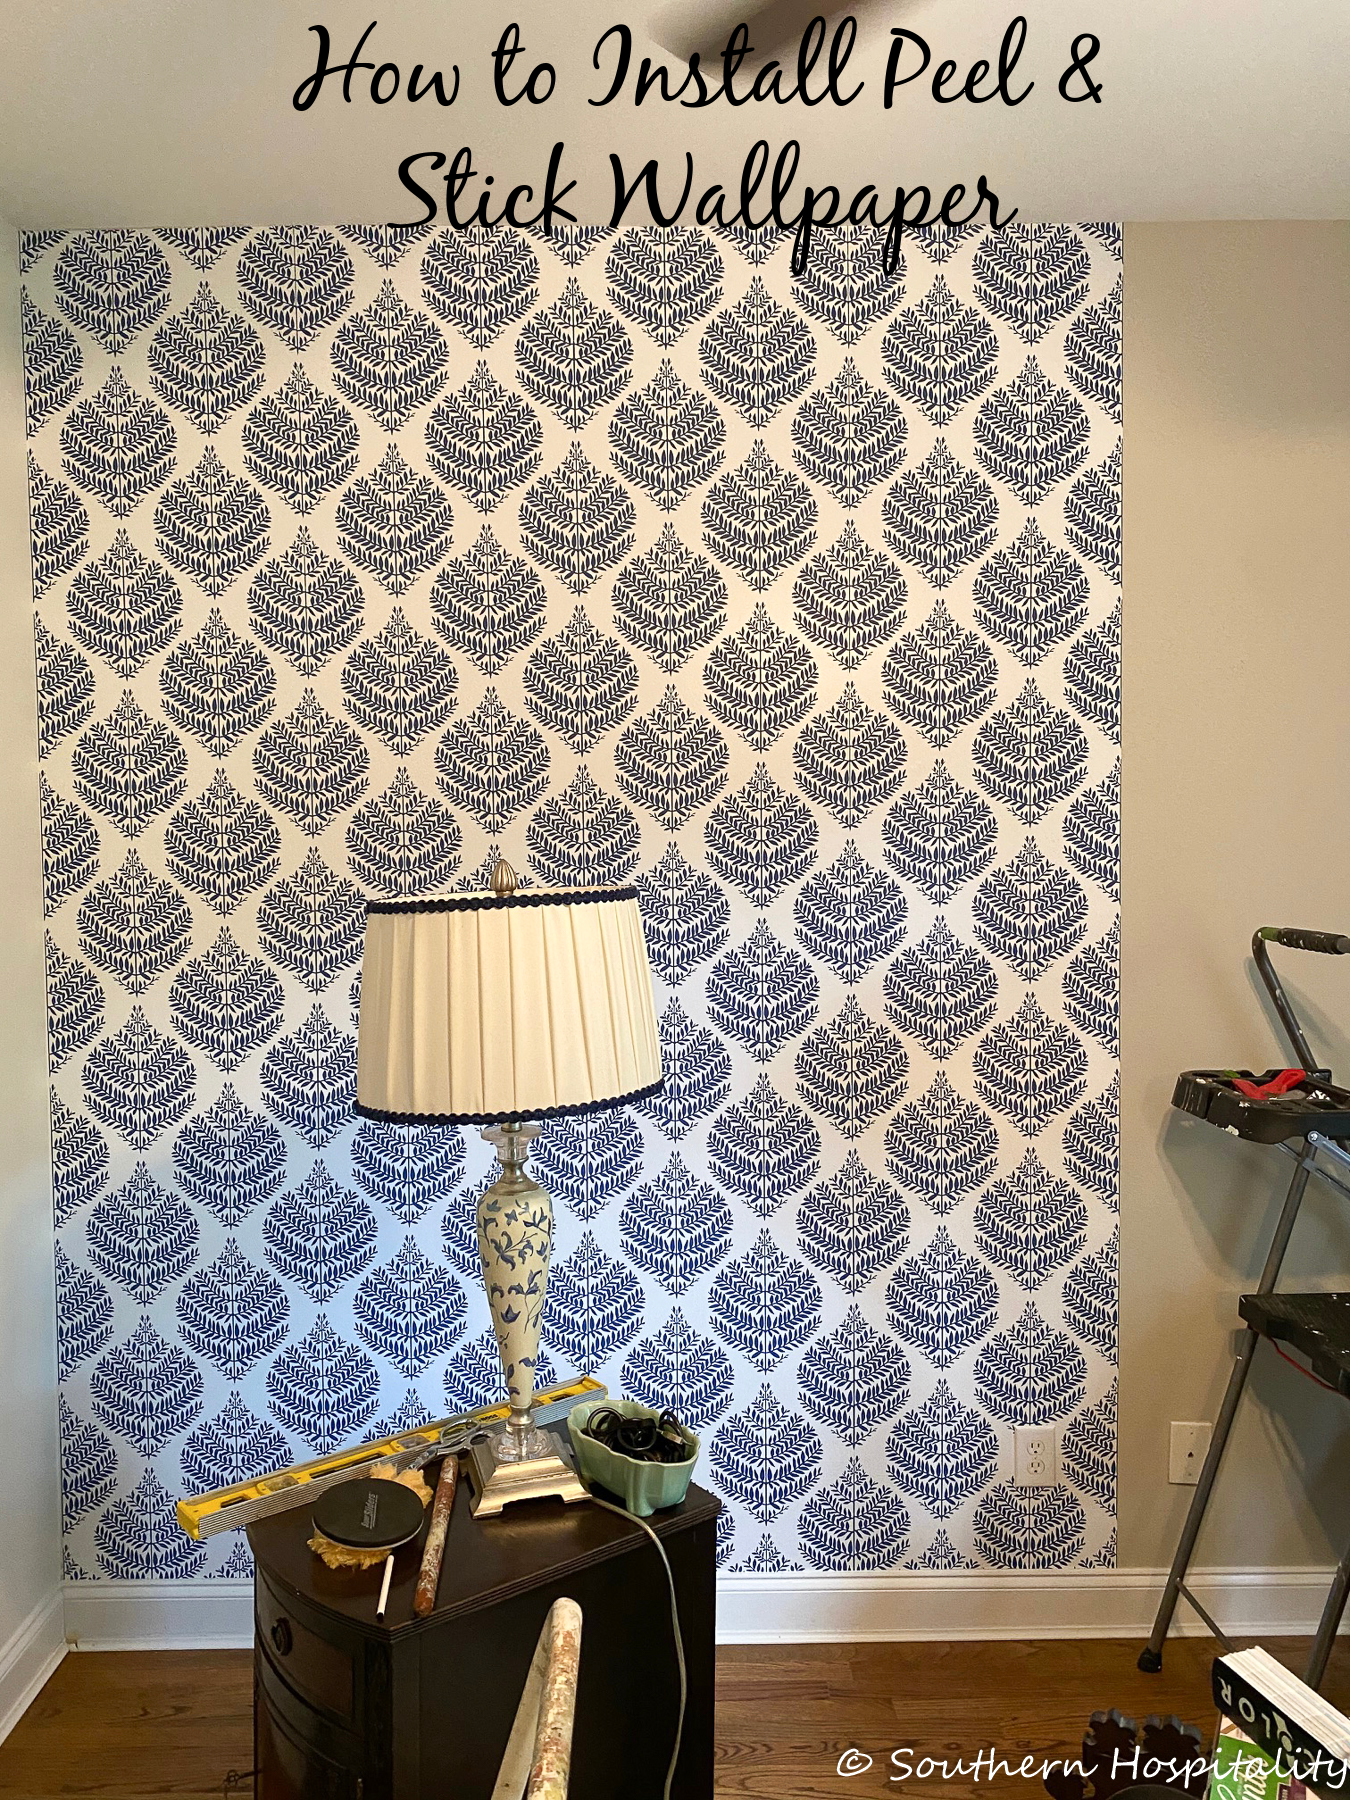
And there’s the finished wall. I think I had to piece about 3 of the strips at the bottom, but it all worked out and I still have several long strips I could do something else with if I find a project for it.
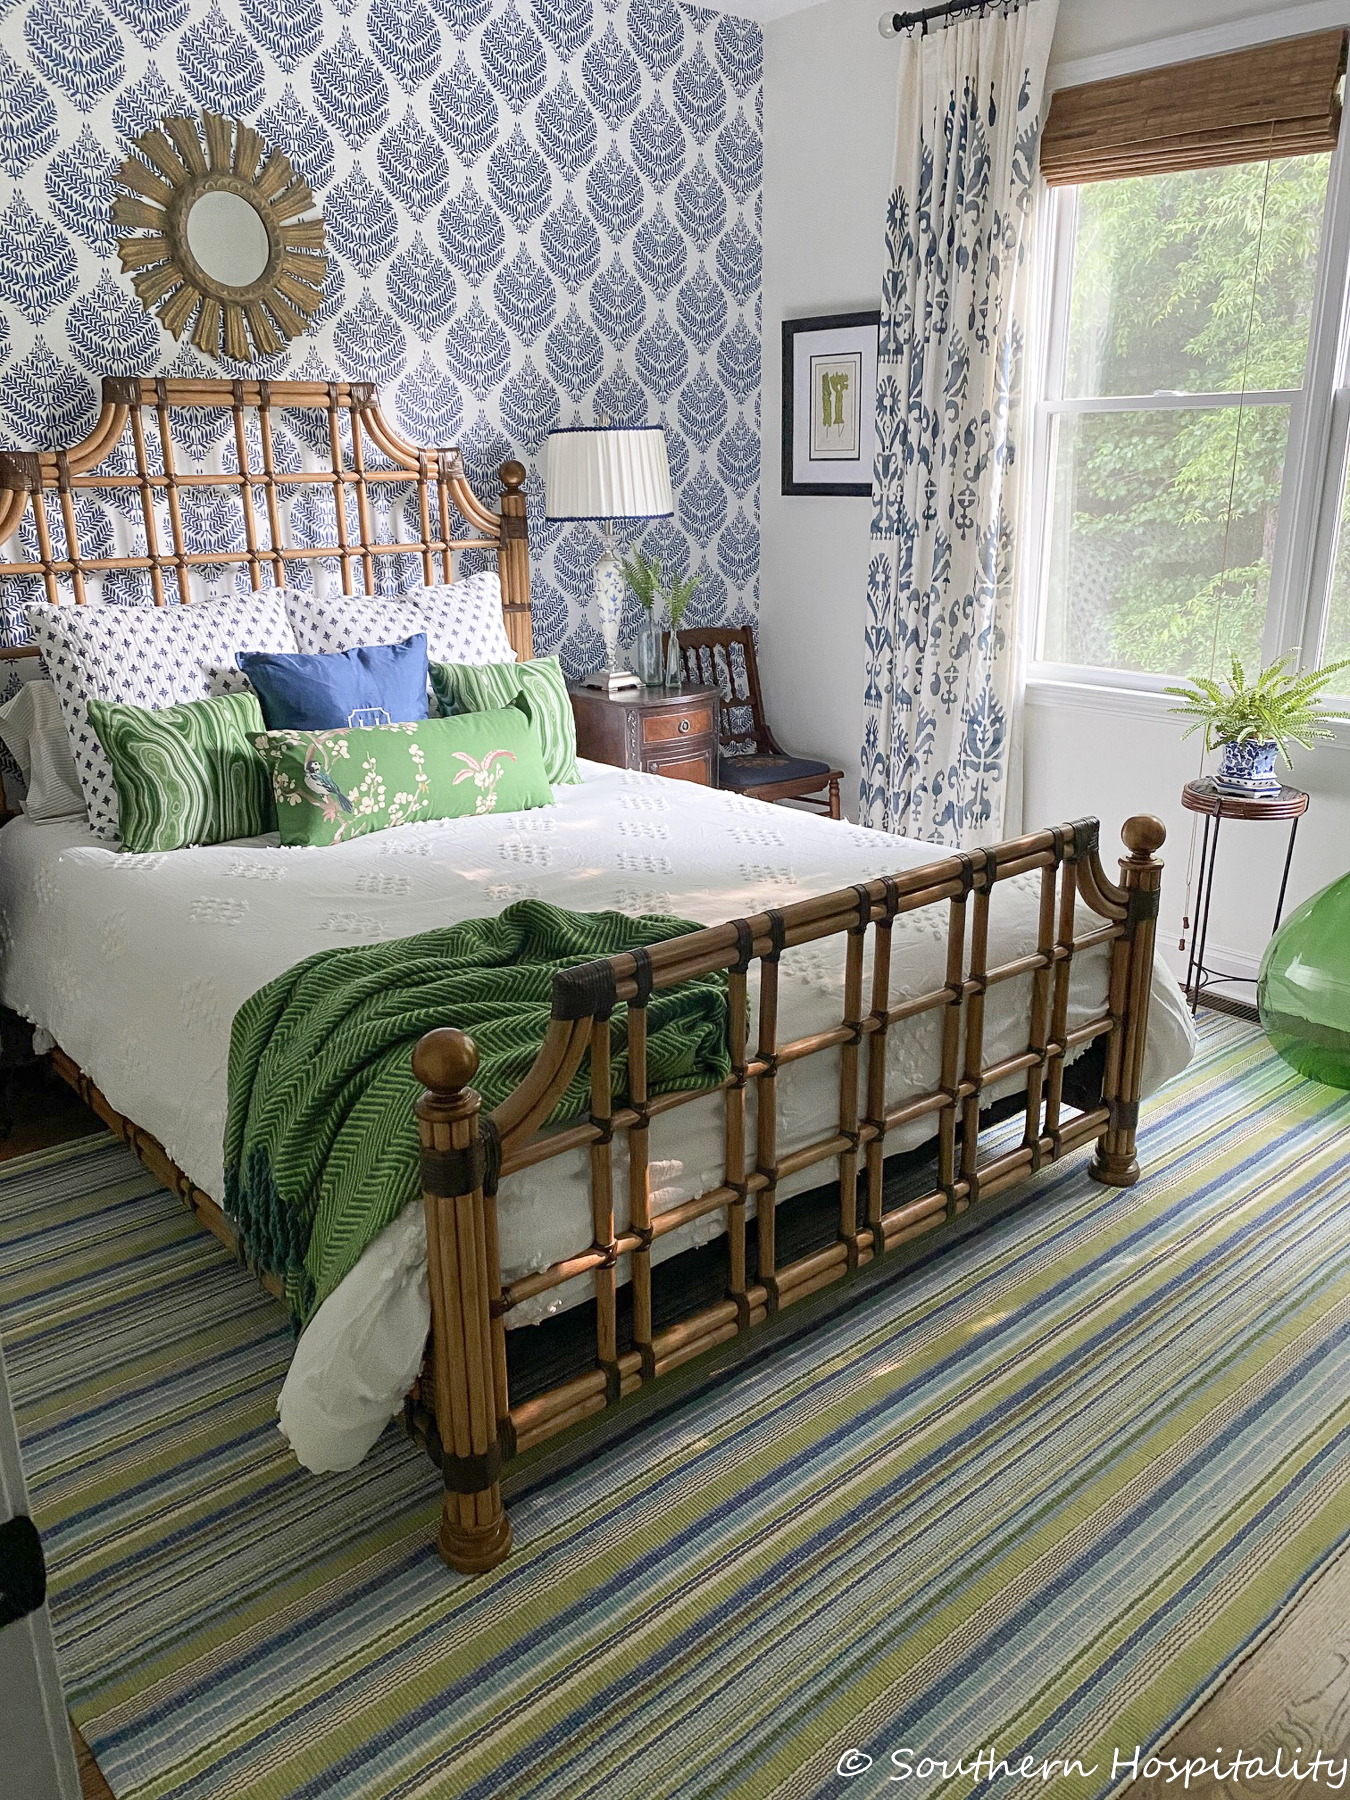
I could not be happier with how this project turned out. I knew the accent wall of wallpaper would make such a statement with the bed and I was right, it did!
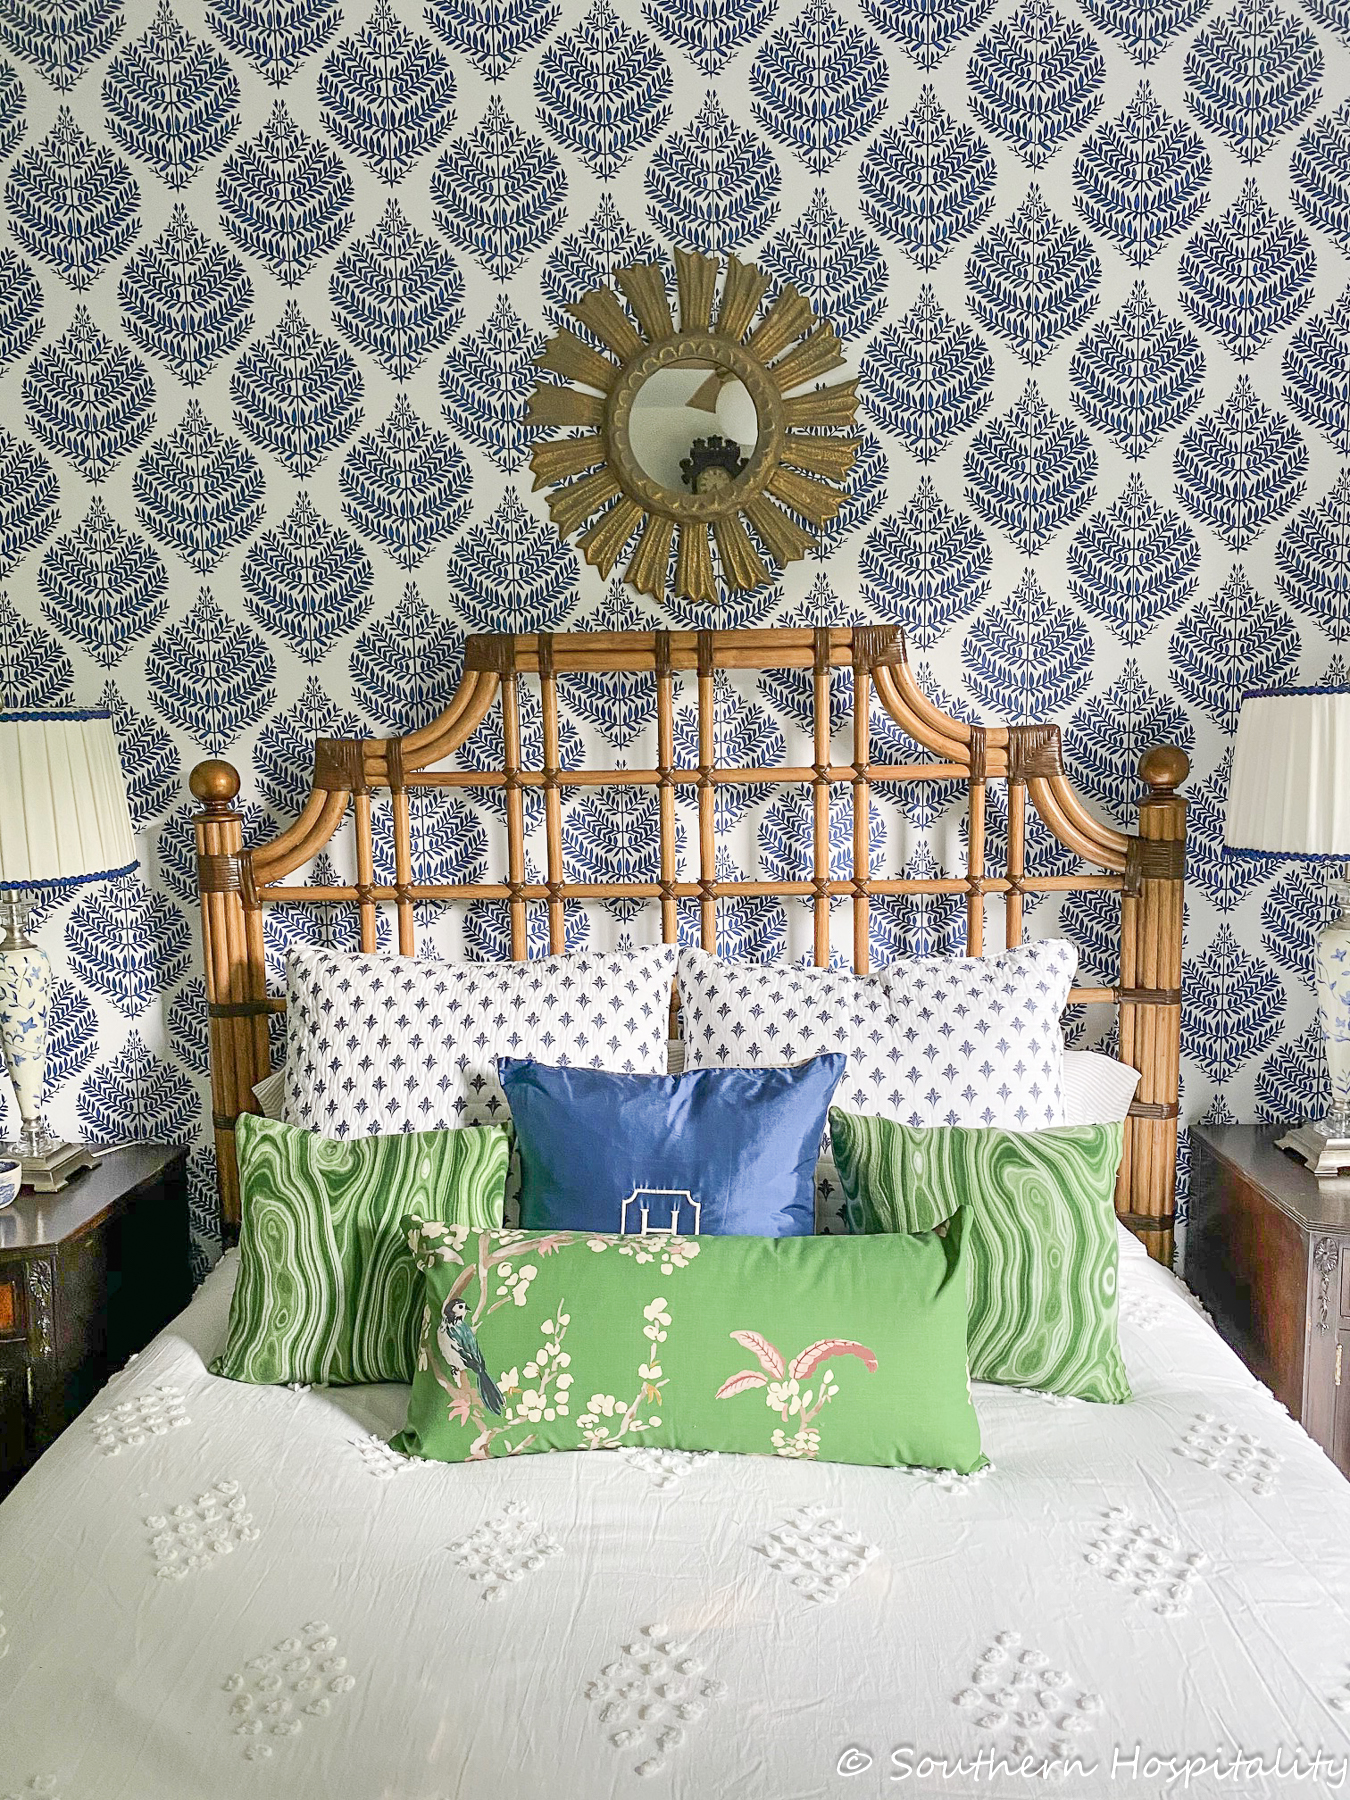
Now I’ve got the guest room of my dreams and I love it so much! Sometimes I just walk in there just to look at it. I’m so glad I went ahead and changed out the king bed for a queen, there’s so much more room in there now. If you haven’t seen the whole Guest Room reveal go over and take a look at all the details in the room.


The wallpaper is perfect for your guest room! Love it and how it all came together! When you cut the paper using the putty knife, did you actually cut with the putty knife or did you use it as an edge to cut against with an actual blade? (You can tell I’ve never wallpapered before but I want to do my laundry room!)
I used the knife, actually a box cutter to cut. It’s in the pictures.
Looks great! Is it supposed to peel off easily once you get tired of it and want to remove it?
Yes I’ve watched people pull it off and it doesn’t damage the wall at all.
For those bubbles, you can take a stick pin and stick it in those and they will flatten down and you can not see where you stuck the pin in either.
That’s a good tip too, someone told me that while I was working on it, but I didn’t have to do it.
Rhoda, This is one of my favorite rooms that you have ever shared! I love all the textiles and patterns together. It is cheerful without being too busy. Beautiful!
I love everything about this room!! Love the wall paper, the bed, the linens, the drapes—– well, Everything!!!! Your guests will want to stay forever in that beautiful room !!
Very pretty! Can you put peel and stick over existing (regular, old fashioned) wallpaper??
Hi Kate, I don’t see why you couldn’t as long as the old wallpaper is on the wall really good.
Rhoda, your Guest Bedroom is just beautiful! The wallpaper looks so pretty with everything you have in that room! I can understand why that room makes you smile whenever you go in there! Great job!
It looks so good!
Gorgeous room! The bed frame is fabulous and such beautiful colors and patterns!
Thank you for sharing these steps. I have been looking at the peel&stick as a possible kitchen wall change. And appreciated your answers to questions in the comments.
Well for me that would be a big wall to tackle, being the shorty that I am with a small wing span, but I’m looking at trying it on a backsplash since I won’t have time to tile before company comes. You’ve made it seem doable!
I tried peel and stick wallpaper once. Never again. When it was removed for prepping home for sale, the paper left a residue which was difficult to remove prior to painting. Albeit, your room looks lovely.
HI Josie, I hope that doesn’t happen in this case. That does sound messy to remove.
Hi Rhoda, I love the wall and how the whole room comes together. The pillows on the bed really caught my eye. Can you share any sources for them?
HI, Caroline, if you click over to the reveal post, I do mention the pillow sources for the long green pillow and the blue pillow is from Ballard Designs. The green malachite pillows are from Etsy a few years ago.
I love the pattern of this wallpaper. It’s gorgeous.
I so love how this room turned out. Just beautiful.
Thank you thank you thank you for this tutor on self stick wallpaper! I’m a chicken to do a major room so I’m starting with my small closet. I want to get a funky fun paper. I’ve been watching this room come fruition & it’s beautiful Doesn’t it just make your heart sing! Can you recommend a wallpaper?
HI, there are so many peel and stick companies online, so I’d suggest doing a search and find a pattern you love. Read the reviews too on them.