Having a hanging rack for drying clothes is one of those things that we all need in the laundry room. I hang up a lot of clothes once they are washed and some go in the dryer for a few minutes and then hang up damp to further dry, so having a convenient space to dry them is important to me (and probably to you too!). Space saving laundry room drying rods are great to have!
So, today I’m sharing how I made this little drying rod of mine from an old curtain rod and plant brackets.
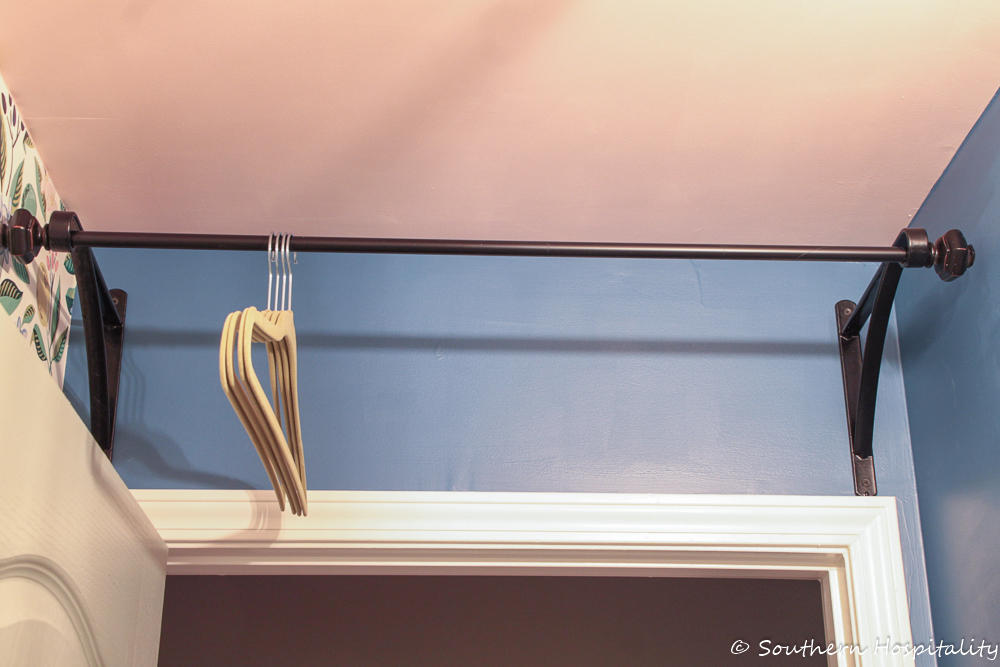
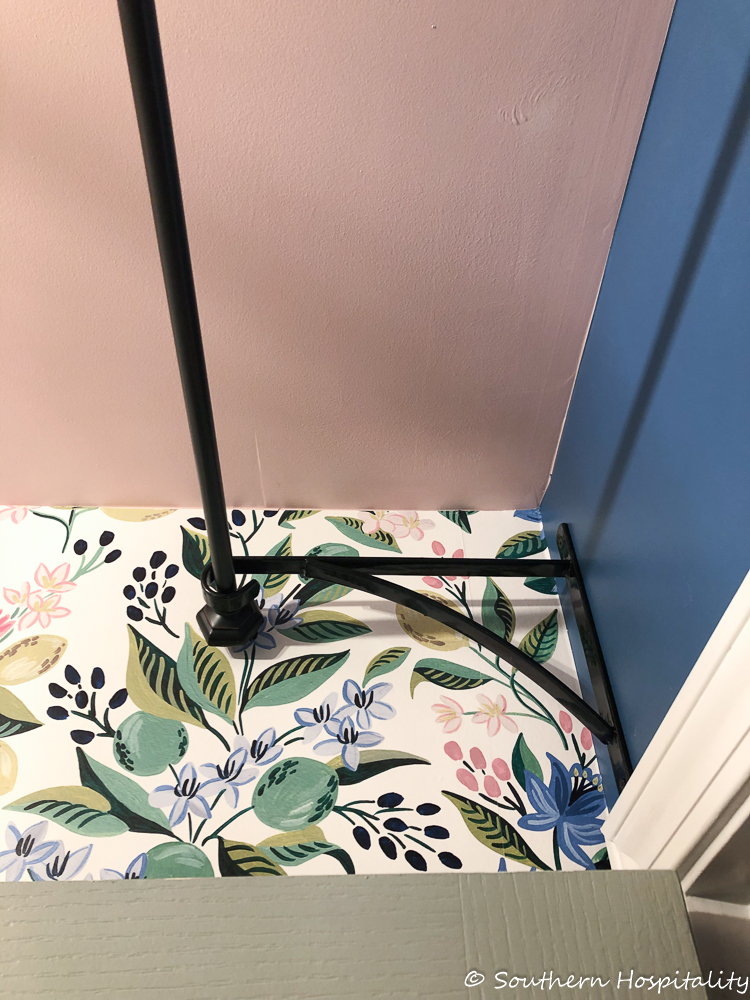
The plant brackets are fairly easy to find, although when I was looking last year for these I didn’t find a lot of them in the stores at the time. These stick out from the wall about 12″ which is definitely what you want for hanging clothes. They are sturdy and black and just get screwed into the wall (I found studs for mine, thank goodness!).
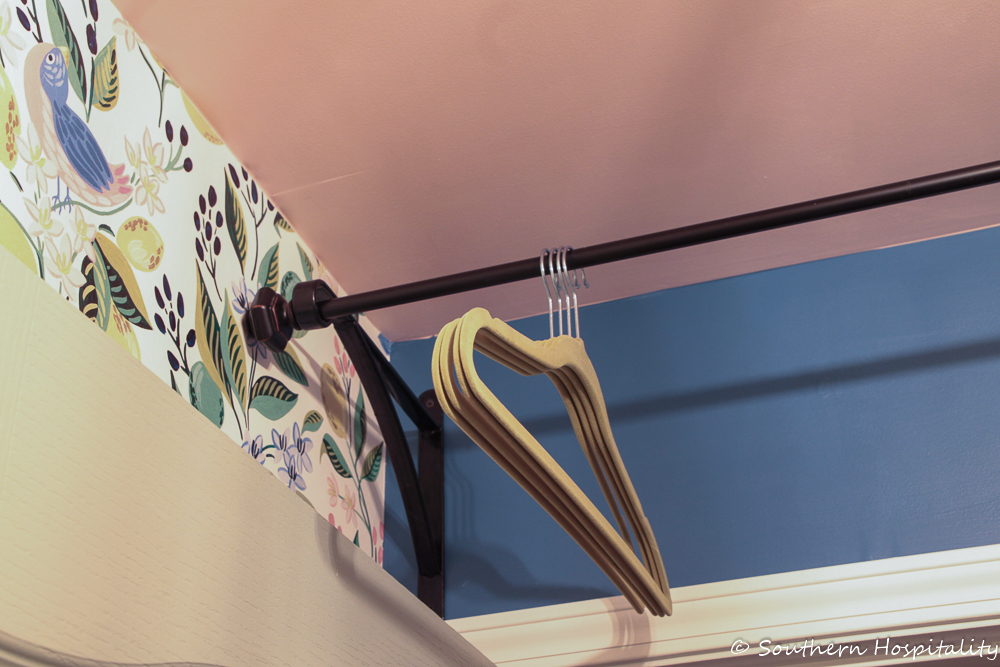
I knew I wanted to use this idea in my small laundry space, because it takes up so little room and I could put it out of the way. I’ve seen plenty of pull down drying racks or retractible drying lines, but those didn’t seem to be the best option for me.
Once I determined that the plant brackets were the way to go, I then found the best spot for them and above the door won out.
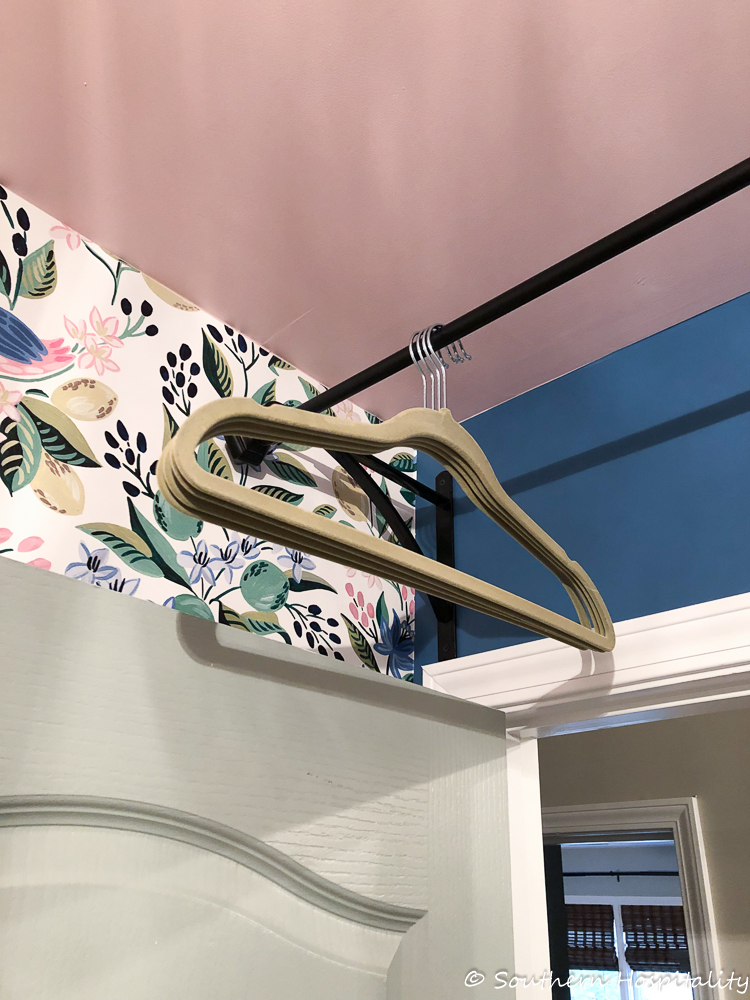
I spaced them as far apart as I could and still have room for the rod and finials to stick out on either side.
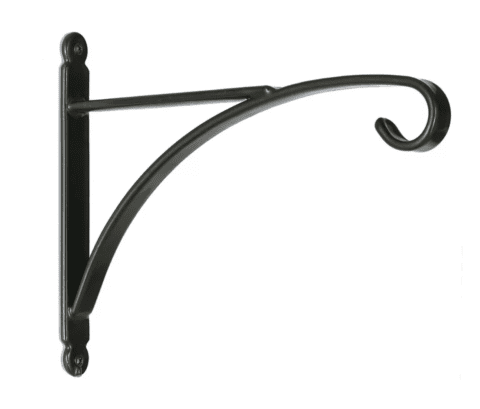
These are the brackets I got from Wayfair (affiliate link). I had looked locally and couldn’t find anything that was substantial enough that had the depth that these have, so I bought them online. You definitely want to have brackets that are open enough to put the rod through and they sit well on the bracket. These were perfect for what I wanted!
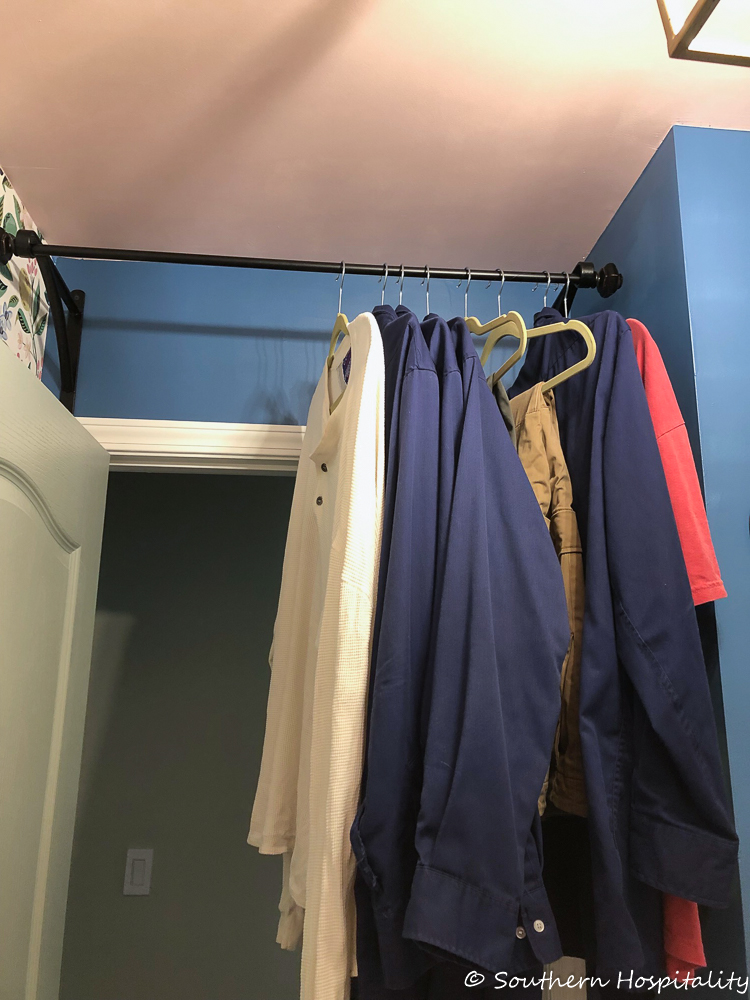
Next came the rod. I had an old metal rod I think from Ikea that I wasn’t using anymore. Any inexpensive metal curtain rod will work. This one was long and had the smaller rod that went inside the bigger one so it could be extended.
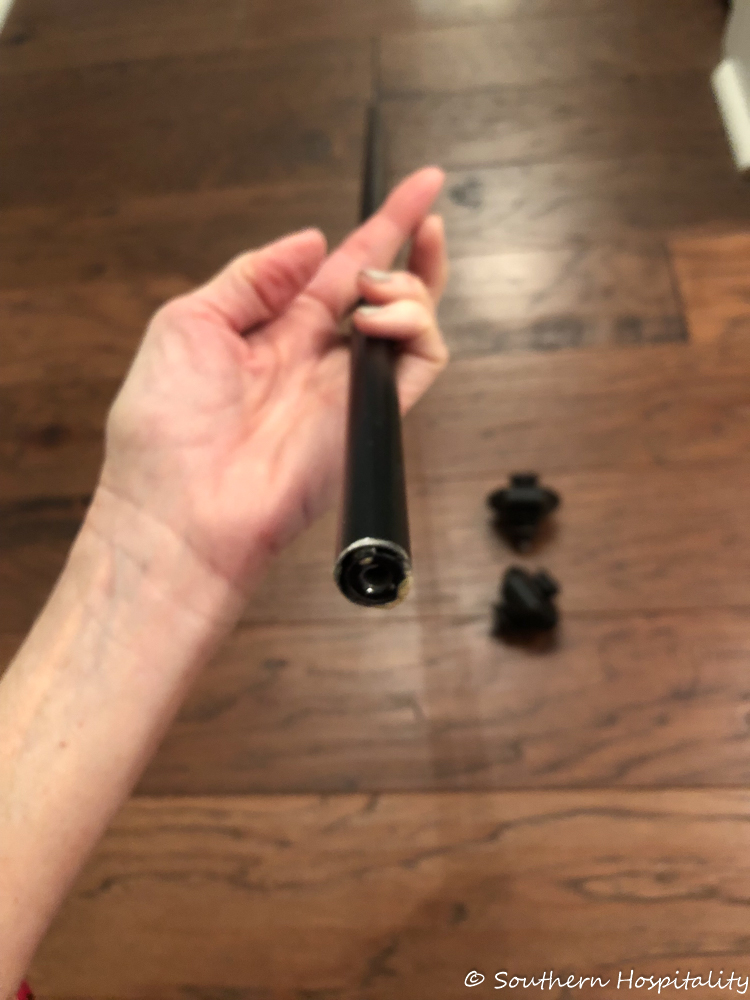
Since I didn’t even need the length of the longer one for my project, Mark cut it down to exactly fit the width of my brackets. I just measured and marked on the rod the width it needed to be to sit in the plant brackets and he cut it with a metal blade on his miter saw. Then I had him cut off the finial end of the smaller rod that I was discarding. I cut off about 4 inches of that rod so I could use the screw-in finial end for the other end of the rod I was using. One of them had the finial screw plate, but the other one didn’t. I then used Gorilla glue on that small piece and pushed it down in the bigger rod making it flush with the end of the rod that had been cut down.
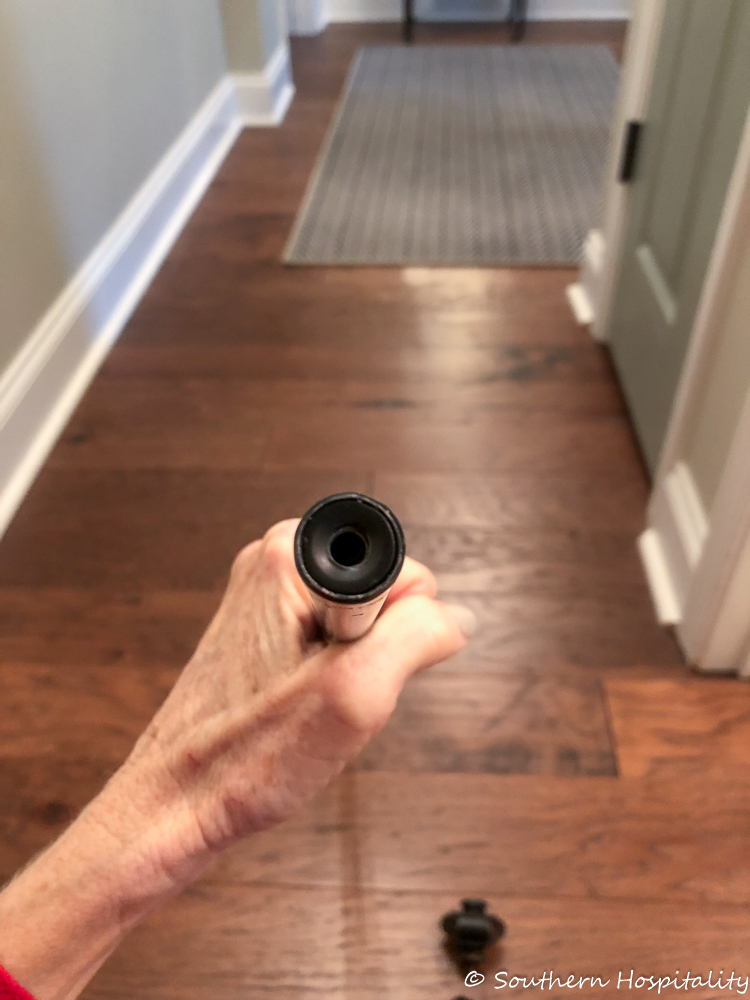
So then I had finial screw holes on either end of the rod and both my finials could be screwed into the rod. It worked perfectly for this project and really finished it off. You could just glue the other finial into the rod, but since I had that other discarded piece, I wanted both ends to have the screw holes for the finials.
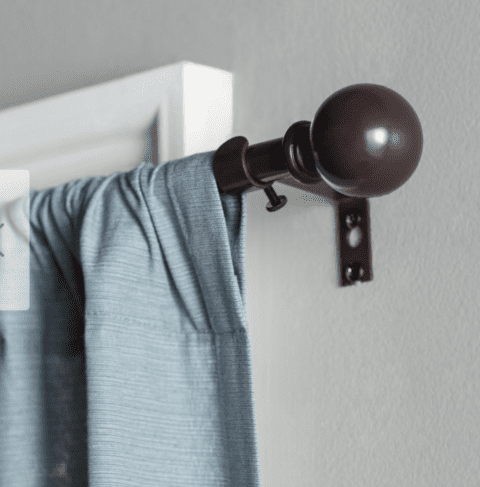
Here’s an inexpensive curtain rod from Wayfair (affiliate link) that would work too.
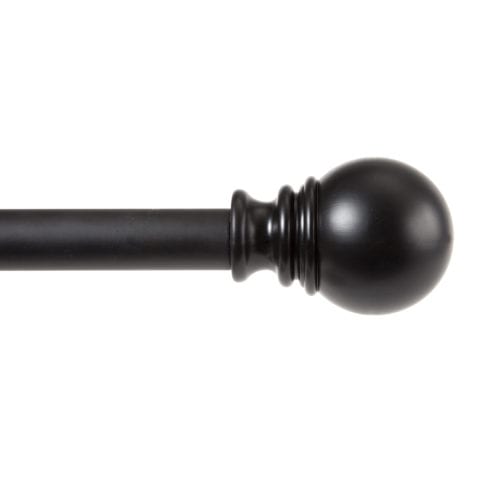
And one from Walmart (affiliate link)
That’s how I did it all and I thought that you all would like to hear the whole process in case you want to do this yourself. It’s such an easy and inexpensive way to create a drying rod in your laundry room and you can put it exactly where you want it in a small space!
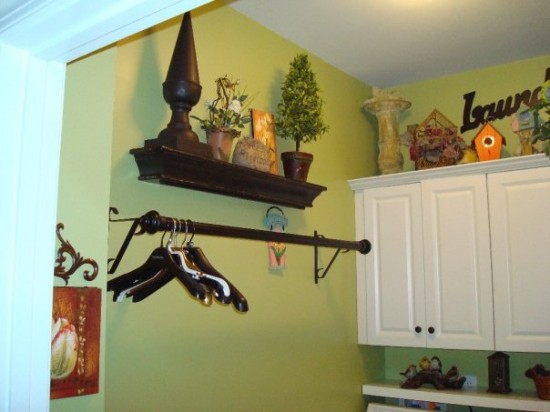
Here’s my sister’s laundry room with the rod on the wall. So this idea can work in several locations. I couldn’t find another good spot, so that’s why I added mine above the door. I can reach it on my tiptoes, so it’s not a problem.
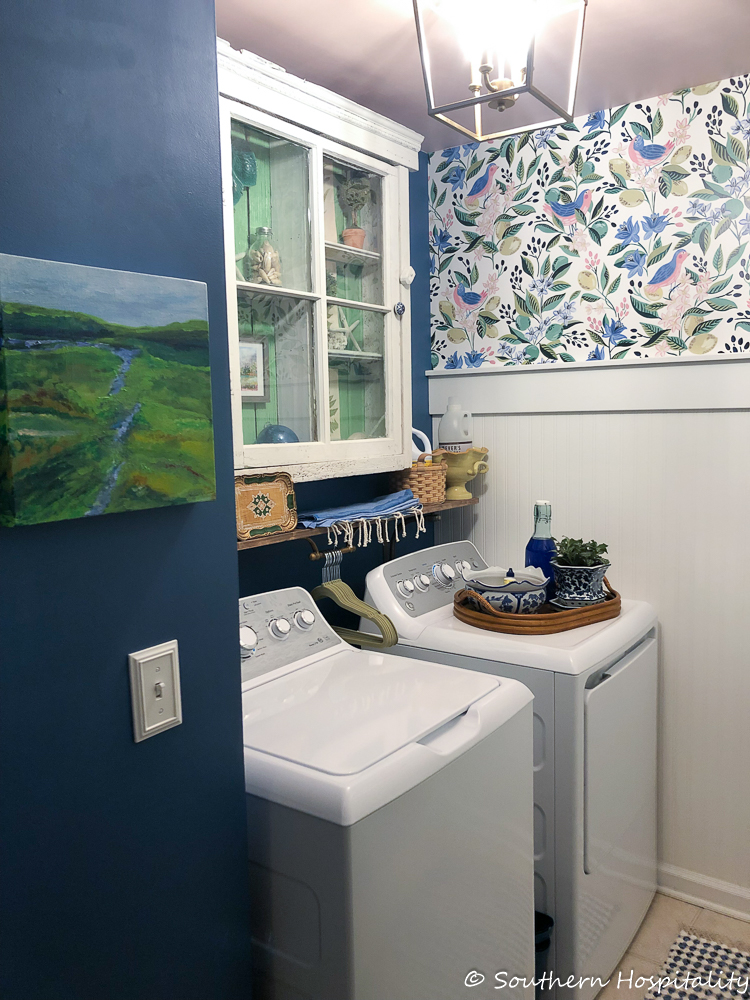
If you missed my laundry room renovation, go and check it out! It’s one of my favorite spaces I’ve ever done! I sure am enjoying doing laundry a lot better now.


How do you reach the rod above the door? I am too short to reach that far up without a step stool.
HI, Susan, it might not work if you’re short. I’m pretty tall, so I just have to raise up on my toes a little to reach it. This idea would work on the wall too, so you don’t have to put it above the door like I did. My sister has it on her wall in the laundry room.
That’s a good idea to use a curtain rod! Thanks for another great tip. My laundry “room” is basically a short hallway off the back hall and goes to the powder room. It was designed to be a laundry area when the house was built. There’s just enough space on one long wall for a washer and dryer plus a little extra for a waste basket or small floor cabinet. The space for the appliances is just deep enough to accommodate them. The space between the front of the appliances and the opposite wall is just wide enough to walk through and open the appliance doors. My husband hung cabinets on the wall above the appliances for soap, bleach and other storage. I needed a place to hang wet laundry but there didn’t seem to be any until I measured the space over the appliances. I was able to hang a fat wood dowel (sold as a clothes closet rod), using a rod socket set made specifically for closet rods, over the appliances in front of the cabinets. It was positioned far enough away from the cabinets so the cabinet doors open without hitting it and so no wet items hanging there will touch the cabinets. It’s low enough so my 5’ self can reach it if I stretch a little, but high enough so nothing touches the top of the appliances. Not as decorative as your curtain rod but it does the trick and I use it every time I do laundry. The rod and separate socket set came from one of the large national hardware/building supply stores, but I think most hardware stores carry them.
Hi, Patty, that’s a good one too for over the washer/dryer. I did that in my house in Birmingham using just what you said, the closet rod and pocket piece. I ran mine from the side of a small cabinet over to the wall. I didn’t have that much room in this little space so it made sense to put it over the door and it works for me since I’m tall.
That hanging rod is so clever, and it looks good, too! I love your laundry room. What kind of bulbs are in the fixture that make the room so bright? It looks like daylight in there, and makes your colors really brilliant and beautiful.
Hi, Jane! About those bulbs! When I was photographing I had regular chandelier bulbs in there and it was so dark still. These are LED Daylight bulbs, you can find them at the home stores. So look for those. These are 60 watts, 4 of them so it really has brightened up my laundry room.