The porch floor is done and I have officially moved my furniture out there as of Saturday. You will have to wait a bit to see it all, since I’m still spray painting things and getting it all accessorized, but I’m one happy girl! In the meantime, I’m sharing how I painted diamonds on the floor.
I have long been a fan of painting diamonds on the floor and when 2 of my friends did it on their screened porches ages ago, I knew that I wanted it on mine too. In fact, I painted years ago the floor of my tiny porch at my old house here in GA. That was my first screened porch and I’ve wanted one ever since. Now I have an even bigger one, not huge, but certainly adequate. My porch now is about 10 x 14 feet and plenty big enough for my needs.
I just love diamonds on the porch, it gives the feeling of spaciousness and whimsy and just makes a nice statement under rugs. So, I took the time and effort to add diamonds to my new porch and boy, am I in love all over again!
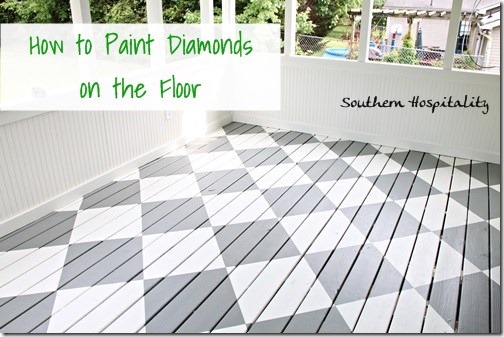
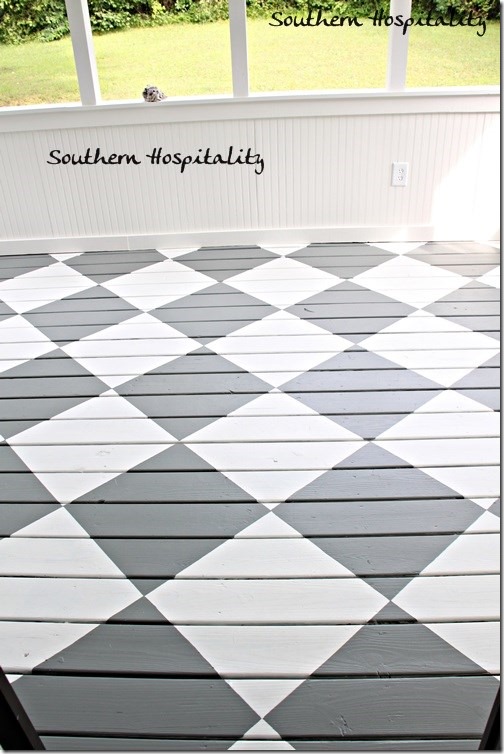
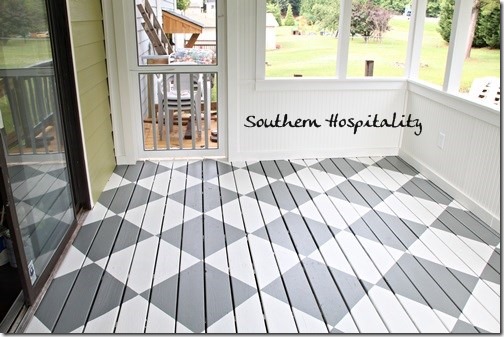
Here’s the finished product and I’m going to share how I did it! It’s really not hard and you don’t have to be a math genius, because I’m certainly not that. Math is not my strong suit, but with a little planning, you can get a great look with squares or diamonds or what ever you want to call them.
So, get ready and I’ll show you each step I took to paint my porch floor.
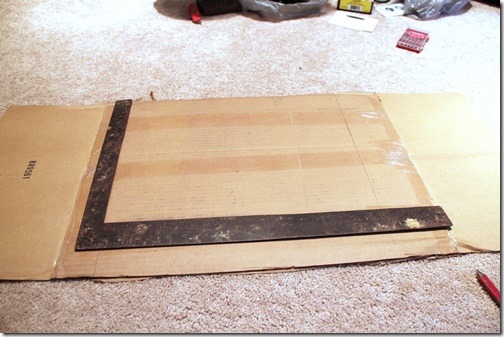
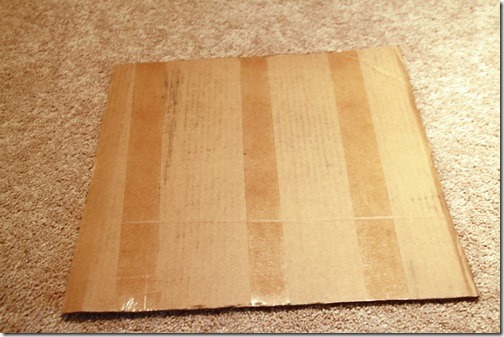
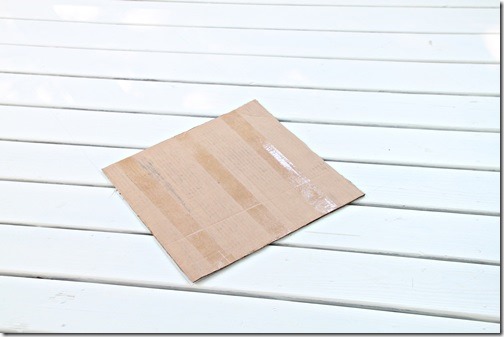
First, I took a cardboard box and cut it apart, making sure it was big enough. I wanted 18” squares, that’s a good size for my porch. I took my dad’s square and made sure I got it square for my template.
18” square cardboard template. It is not perfect around the edges, but you just want to draw a pencil line with this so it’s fine. You could also get an 18” square piece of tile, but that is a lot bulkier and heavy to work with. I’ve also seen it recommended to snap chalk lines and intersect them for your diamonds, but I decided the template was better for me. I did use a chalk line in my laundry room stripes project.
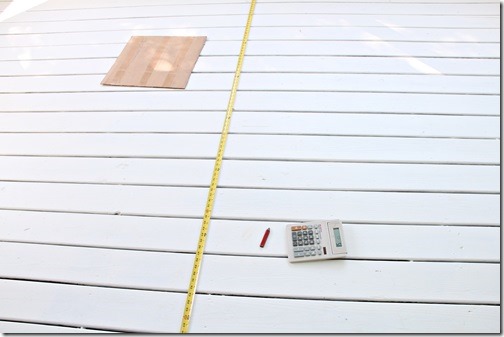
I found the center point of my porch floor and marked it with pencil.
Then I placed my template right on that mark with the mark in the center and turned the template on the diagonal. I love diagonal squares, it just gives more movement and looks better.
I began tracing the first square with pencil marks, then moved the template out and kept marking until I had one corner of the porch all covered with pencil lines. As long as you keep lining up your sides and keep the corners fairly straight, you can just keep moving the template out and marking all the pencil lines. That part comes together pretty fast. Starting in the middle also keeps your squares pretty even all around the edges of the room.
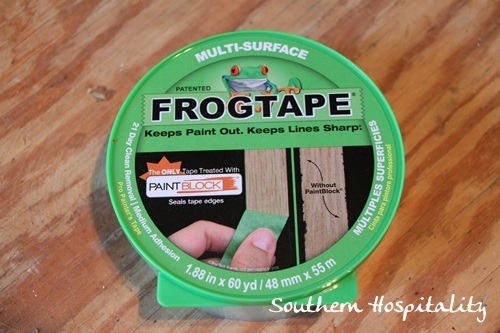
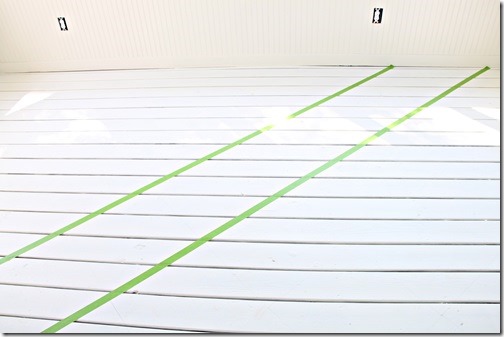
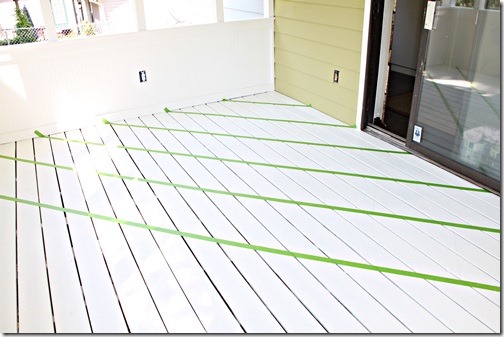
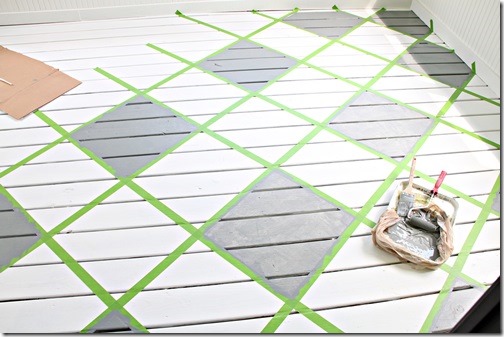
Then, I got my Frogtape and began taping off the long lines. This part gets a little tricky so stay with me.
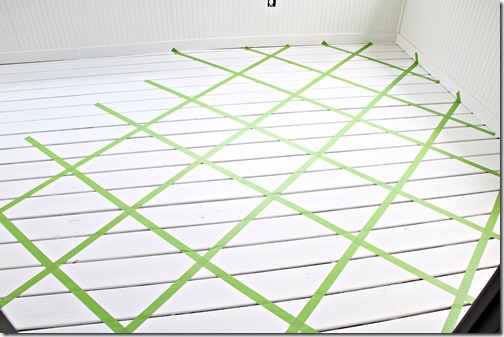
I taped off all the straight lines and then went back and started on the diagonal lines.
The tricky part is that you will cover some squares that you want to paint and you will have to move the tape to get to all the squares.
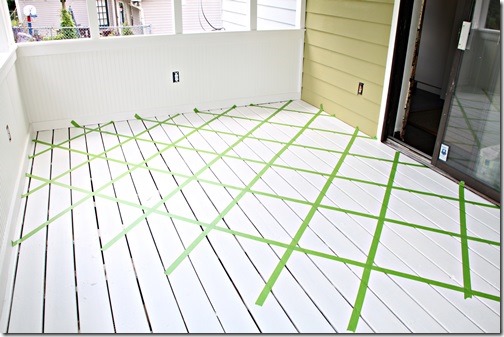
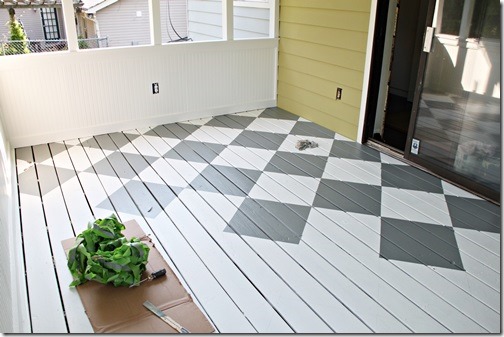
All taped off and ready to paint.
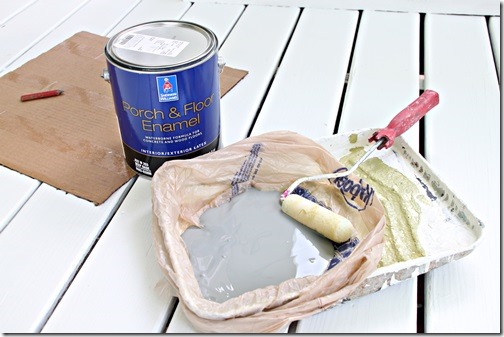
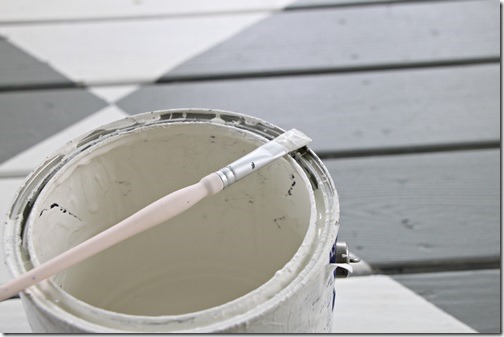
I used the same paint I used in my laundry room, Sherwin Williams Porch and Floor paint. This color is a nice gray called Cityscape. I had already done 2 coats of Sherwin Williams Alabaster on the floor earlier. One tip too is to try to paint down in the cracks if you are painting an old deck floor. It does take a little more time, but looks more finished. Mine isn’t perfect but it’s pretty well covered in the cracks too. I used a small foam roller and a small paint brush for this project.
I began by painting my middle square and working out from there, always mentally looking ahead and skipping white squares to the next gray square, every other square will be gray, working up and out. Now this is the tricky part. You always need to tape outside the pencil line of the square you are going to be painting and when you start taping like this, you are not going to be able to paint every square. I had to go back and fill in the edges of some squares that I had covered with tape. There’s no way to completely get around this part. You could do one row at a time and then move over and tape and paint the next row after the first one has dried, but I was trying to cover more area at one time (as usual, I try to take shortcuts!). So, I skipped around and painted as many squares as I could with the tape I put down, going back and painting 2 coats (the first coat dries fast). Once 2 coats were complete, I ripped up my tape, so that I could continue with the squares I had missed.
I would caution here to probably only do one row at a time with this method as it does make you go back and retape some squares to move things along faster. I did make it all work even if I did have to go back and tape the edges of some of my squares in order to paint them. Work in sections and get both coats painted before you rip up the tape. It starts to dry fast so you can keep working a row at a time until you get one section done.
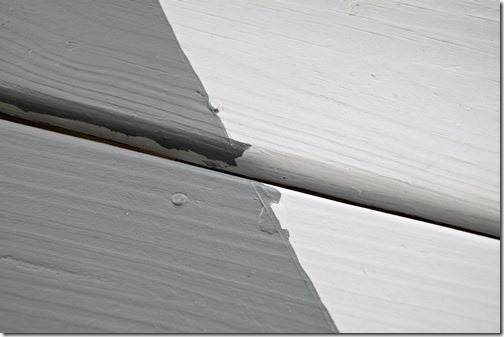
With an uneven floor like this, the boards are not completely flat and the cracks make it impossible to get the tape down completely flat and as great as Frogtape is, there is no way to avoid some bleeding and dripping in the cracks. But, the Frogtape certainly saves a lot of time! I would highly recommend taping, it’s a lot easier to tape first, roll with a small roller and then go back and touch up your squares.
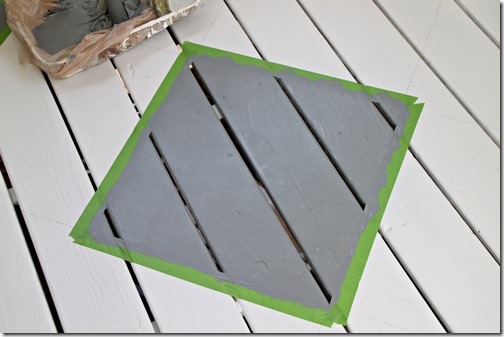
Here’s a square after the tape is removed.
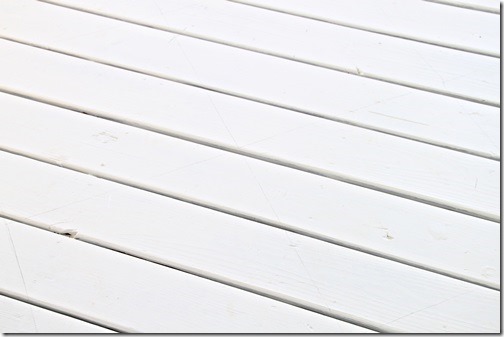
You can see bleeding especially on the curved parts of the boards. There is no way to avoid this part using a roller, which makes things go faster.
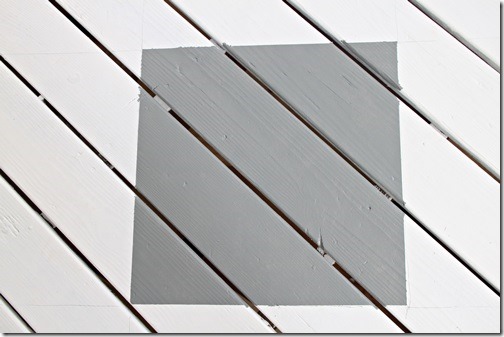
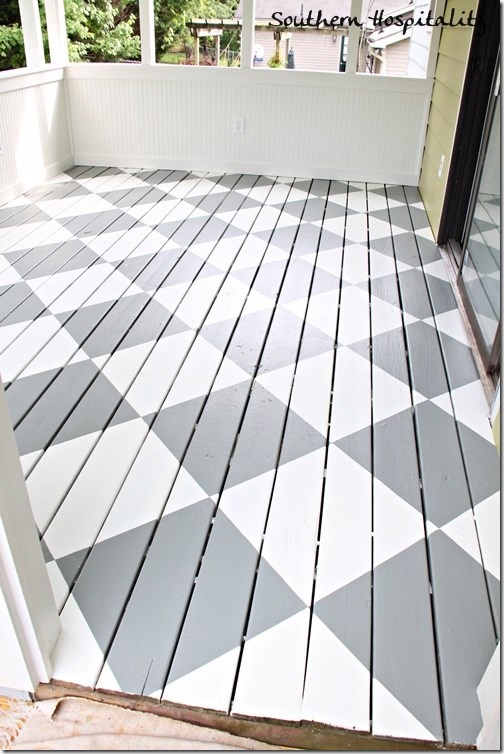
My first day of painting squares, I got this far, with 2 coats on each square.
At the end of day 2, I took a small craft brush with my white paint and went back and touched up any areas that were really standing out. Once you touch up with white, things look really good then. You can be as particular as you want at this point, touching up all over. When you stand back and look at the finish, it will look fantastic and no one will see all those little imperfections.
And here’s the finished product! I just absolutely love it. It was a few days work to get it all done, but well worth it. Touching up all the diamonds was one of the most time consuming part, but it really looks great now.
I’m so glad I took the time to do this project, it’s going to make a huge difference to the feel of the room.
And it’s a project that anyone can do! I promise, it’s not that hard at all. Just takes patience and time to finish. Taping and using the foam roller is a big time saver too, so definitely do that if you are going to tackle this project.
What do you think? Would this be something you would try yourself? It’s a great bang for your buck project!
I’ll share the finished porch as soon as I can. Still working on bits and pieces of it and I want to show it all done! I’m absolutely loving it so far, this is like having a whole new room on the house. We still have some finish trim to do on the stairs and outside the screens, but the screening is up and finished too. I was waiting for that to be done to move my furniture on the porch.

Disclosure: I’m a Brand Ambassador for Frogtape and am compensated to share my projects using FrogTape. All opinions and methods of using the product are all my own.


I absolutely plan to do this to my porch! I love it!
It looks fabulous! Can’t wait to see your porch all decorated!!!
Love a painted floor. Thanks for the great tutorial!
Big Hugs,
Susan and Bentley
Rhoda it looks amazing!! And thank you for the tips!!
Here’s a tip for painting diamond shapes (or any other shapes) on an uneven surface. First, paint the entire floor with the white base coat like Rhonda did here. Next, tape off the diamonds like Rhonda did. Next, using a small trim roller loaded with the original white base coat, paint over the tape on the inside edge where the grey diamonds will be. (By doing this, you are adding one more paper-thin layer of paint over the tape.) Next, paint the grey squares. When the squares are still somewhat tacky, pull off the tape. Viola! The paper-thin layer of white paint should have helped minimize any bleeding of the grey paint. I’ve tried this on orange peel walls and it works fairly well. The trick is to pull the tape off while the grey paint is still somewhat tacky. Good luck!
I get that- good idea! Thanks for sharing.
Wow – it’s not even my porch and I’m so excited! It looks great and I cannot wait to see the “reveal” – I know it’s going to be wonderful! Love a porch! Front or back!
Rhoda, I LOVE this and can’t wait to see it all decorated and furnished!
LOVE IT….what a fantastic job you did, inpatiently awaiting your staging/styling, yippie, Love & Blessings to you/yours..
WOW Rhoda! That is such a wonderful effect and well worth your time and patience!
I, too, am looking forward to seeing your porch all decorated- what fun the tweaking process is eh?
Love it!
Beautiful!
Fantastic!! Thinking about painting diamonds on my kitchen floor. Thanks for making it seem doable. 🙂
Love it…just stipped a wall in one of my bedrooms and I can appreciate the work! Looks awesome. Cant wait to see the finished project!
Rhoda,
Looks outstanding in there!
Blessings,
Linda
Fantastic job….I can’t wait to see the finished room!
Rhoda,
Love that floor! Looks great. You did an awesome job! I know you will get so much enjoyment out of your porch!
Judy
I love the floor! I’ve been following the progress of your screen porch with a great deal of anticipation. I plan to copy a lot of what you’ve done on my own back porch. We’re hoping to tear out our old porch & build a new one in the next year or so.
I do have a question I hope you have time to answer. Is there any screening under the flooring? If not, is there a problem with flies & mosquitoes coming up through the cracks between the boards?
We’ve decided an enclosed sunroom is beyond our budget & will just build a screened porch instead. I am very delicious to mosquitoes – if one happens to get inside our house it tortures me for days until I can find & kill it. :o( So I want a very tight screeened porch with no gaps for insects at all.
I am wondering about preventing bugs from coming underneath the floor also. Is there a trick for that? I recently moved into house with a old screen porch in place and it just has wood lattice around the base. It’s been fun to watch progress of your porch makeover. Your floor looks really great and is inspiring…my floor is still is picnic table red.
My husband put screening under the floor of our children’s fort – it was basically a screen house on stilts. And that worked well. He staple gunned the screening up then applied lathing strips to hold it all tight and to prevent any gaps. Works great and looks neat from underneath. We, too, have painted a previous porch with diamonds and are about to do it for this house. Love the look!
Alison, we built a screen porch over an existing deck last spring and added screen underneath. It’s worked great! No bugs at all…the only drawback is the screen catches a lot of stuff from sweeping the floor! I foresee changing that screen every couple of years! 🙂 xo
HI, Jen, I didn’t put any screening underneath, so we will see how it works. There are a few bigger gaps in the floor board, but I don’t think it will be a huge problem. I’ll be on the lookout for mosquitos!
I love, love, love this floor and if I ever get a screened porch I will certainly paint the floors this way! Great job Rhoda.
I love it! I can’t wait to see it all put together. Especially after that little sneak peek on instagram! I recently painted my deck in a checkerboard pattern myself, and I enjoy sitting out there so much more now.
It looks amazing. Can’t wait to see the final pictures.
OH!