{Giveaway is Closed}
Last year, I ordered a fun stencil from Royal Design Studios in the Large Moorish pattern, a delicious trellis style stencil. I had plans to use it in my old house, but that didn’t happen, so I brought it with me, waiting for the perfect opportunity to get it out and try it.
My sister’s new bedroom renovation was the perfect candidate for a stenciled wall makeover. I told her about the stencil and she got really excited when I told her what I wanted to do with it. So, we got together one afternoon to give it a try. Wall base color is Windsor Greige by Sherwin Williams.
It was such an easy project and we were finished in about 2 hours! You can’t beat that for high impact. Stencils are my new FAVE thing! We all remember stencils from about 25 years ago, when they were folksy and cutsie. No more, these are high impact decor accessories and you can virtually achieve any look you want for little money.
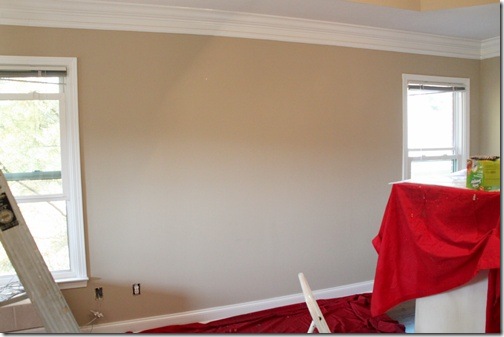
The Before wall. This is the headboard wall and perfect for a feature wall. Wall color is Sherwin Williams Windsor Greige, a pretty tan/gray color.
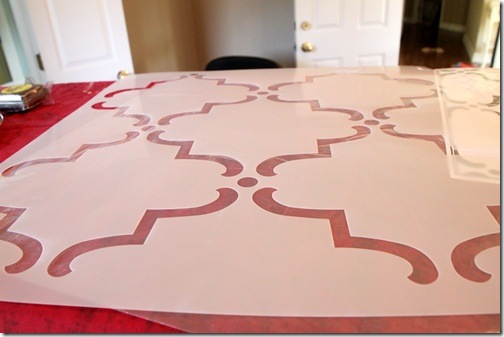
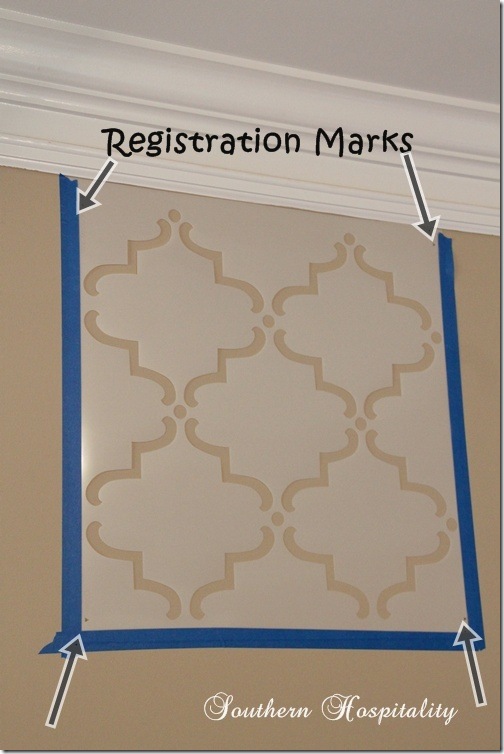
Here’s the stencil, Large Moorish Trellis.
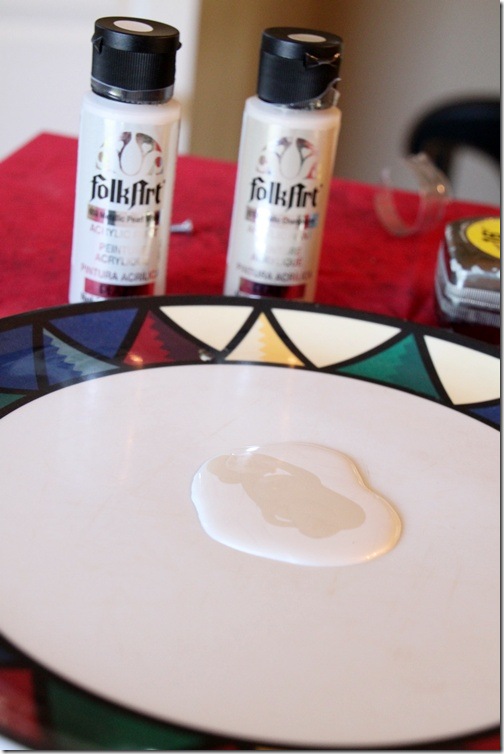
We mixed 2 paints together from Folk Art, Champagne and a creamy pearl, which I don’t have the name of at the moment, but a basic ivory. Both are pearl.
First Tip: Find the middle of your wall and start your stencil there. You will work out on either side and that ensures your stencil will come out even on both sides.
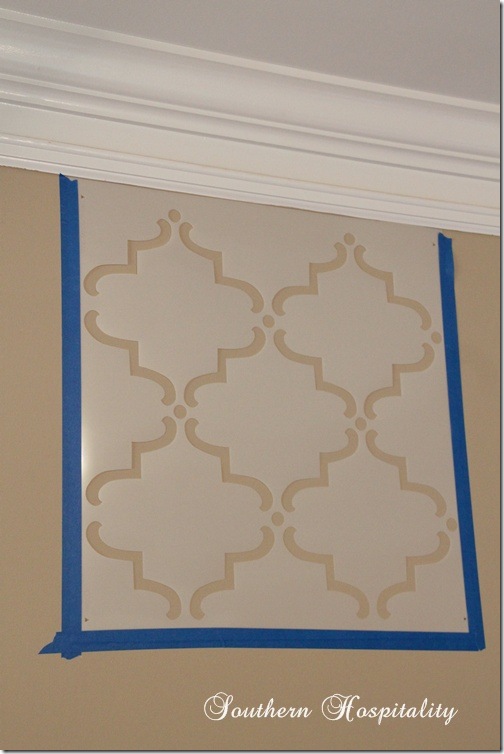
We decided not to use spray adhesive and just use blue tape to keep it in place and it worked just fine. Tape it in place and then press down as you are moving around the stencil, especially in the middle part and it will not bleed much at all. I’m sure spray adhesive will keep it in place better, but I really didn’t want to have to clean it all off after use, so I didn’t use it. It worked just fine without!
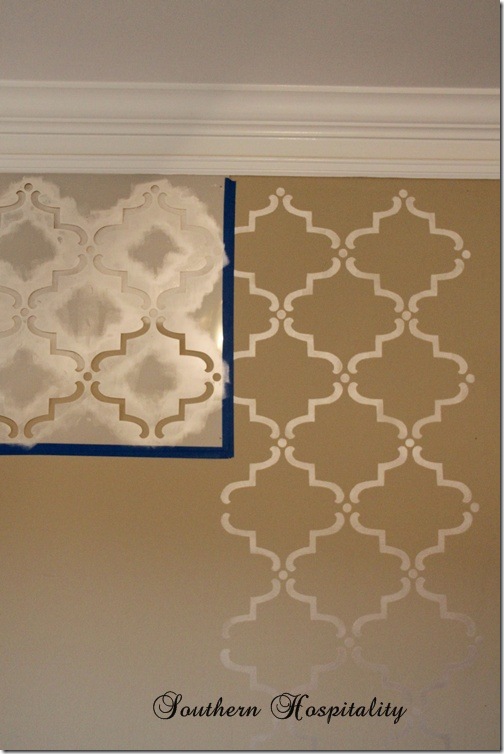
You will notice on all these large stencils, there are registration marks in each of the 4 corners. As long as you mark these as you go, you will stay on course and your stencil will stay lined up and in place. Every time you move the tape, you line up the mark you’ve just made with the next row and keep moving along. It’s easy, I promise!
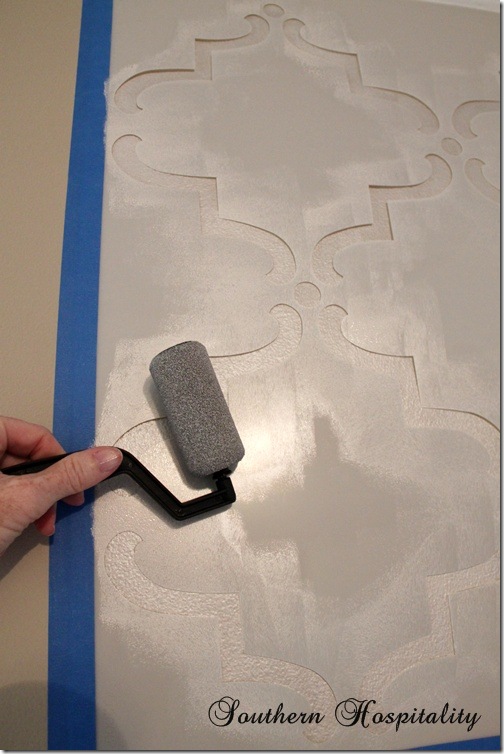
I highly suggest using a small foam roller for a stencil like this. It goes really fast and covers well. Don’t load up a lot of paint on the roller to avoid bleeding under the stencil. I didn’t have a lot of problem with it at all.
Here’s the first one done. I opted to move straight down from the first one and go all the way to the baseboard with it. You will have to press in close when it gets down to the baseboard and it will probably only take 1/2 the stencil, but another person pressing with you will keep it from moving too much.
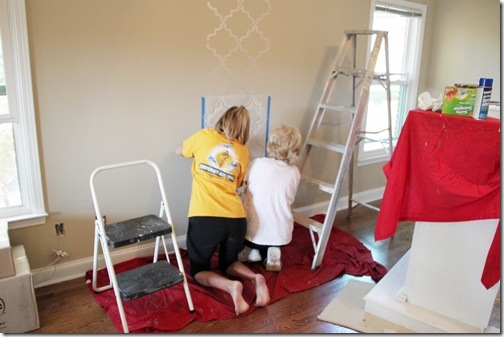
Here we are moving down the row to the bottom. By this time, the paint up top is dry to the touch, so you can then overlap with the tape with no problem. My BIL walked in at this point and picked up my camera and snapped this shot. In progress!
Then I moved over to the left and down, moving the stencil from one column to the next. Before you know it you have covered the whole wall with the stencil. You will run into the top of the crown and around windows where you can only use part of the stencil. It would work better to cut the stencil but you don’t want to do that, so having someone press on it as you roll will help around the windows and baseboard.
Just keep those registration marks lined up and it will work like a charm. Use pencil on that part, then go back and touch up the pencil with your base color.
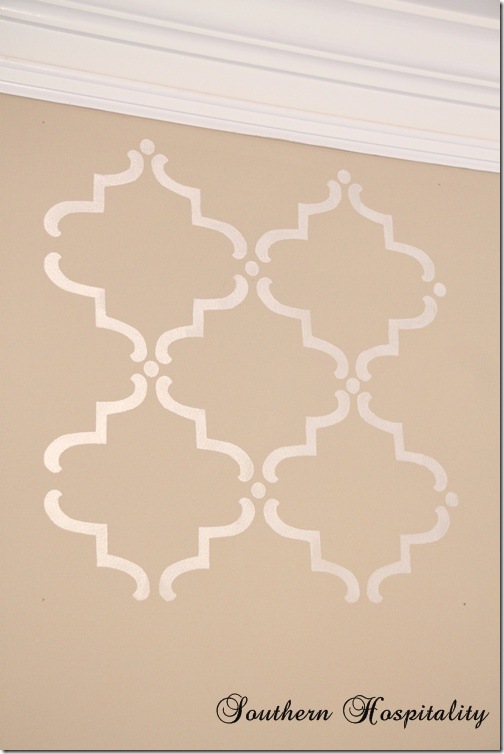
And here’s the finished wall! Isn’t it beautiful? The sun was streaming in and it was hard to get the glare off, but you can see how pretty it is.
I’m completely in love with stencils like this now! It gives the look of wallpaper without all the mess of application. This really did only take about 2 hours to complete. Not bad at all! If you are looking to do a feature wall, a small bathroom, or any spot that you’d like to highlight, a stencil might be just what you need to try.
I will definitely be using them again. So glad my sister had a redo that we could try this on. She is in love with her wall too!
We’ve been working on the room all weekend and I hope it will be finished in a couple of weeks. I think the last thing we are going to DIY is a fabric covered headboard. Her hubby will cut out some plywood for us and we will do the recovering. That is, unless she finds a good deal in a ready made headboard. We will see how that goes!
Here’s some great news! I told Royal Design I was highlighting one of their stencils and they would like to give a stencil to ONE of my readers!
How cool is that?!
Just go over to Royal Design Studios and take a look around at all the beautiful stencils. Come back here and let me know which one is YOUR fave and leave a comment.
That’s it! I’ll draw a winner in a few days. I can’t tell you how happy we are with the stenciled wall. Stencils are my new favorite decorating accessory!! Think of the possibilities with rugs, drapes, walls and more. Where do YOU want to stencil?!
Added this project to Traci’s Best Projects of October party!
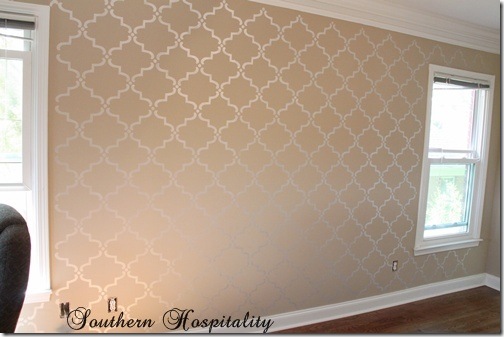


Beautiful! I did notice your sisters windows are very close to the side wall. I’m very curious how you addressed the curtains and rods/finials. I have the same window layout in my daughters room. Making curtains but scratching my head about the rods and fenials.
Hi, Sandy, do you mean how to fit in rods and finials in a tight space. I think you just have to try to get them in there as best you can like she did here. You have to measure and take into account how much space the finial will take up once in place.
I love the African Plumes Stencil.
Large moorish trellis stencil…love it for my bedroom.
You did a beautiful job. And I like the Nova stencil design.
I love soooo many of their stencils, but I would have to say ONE of my favorites is the Verona Furniture Tile. Thank you for sharing.
I love the simple one you hsed. From the company website it would be San barreling damasj
This is so cool. I’m always changing the color of my walls. This would be awesome. I like the Moroccan style the best. Thanks for sharing.
My favorite stencil is Aveline Floral Damask. It will look great in my bathroom.
hi there, interested with the stencil design but the royal design dont ship to my country. So can i buy yours?
Thanks, really appreciated it.
Beautiful! I want to do the same thing. How many bottles of that folk art paint did it take for you to stencil that entire wall? Trying to get an estimate on how much to buy. Thx!
HI, Sylvia, two bottles should be plenty, I think.
Some of them look very complex, making me wonder if I could pull it off. I like the medina trellis because it looks like it would be easier to align than some of the others.
Great tutorial. The tips are great pics too! After looking through the website, for my house I also like the stencil you bought and did best. I plan on a no shine finish – using the same color, but using a matte (flat) and a non-flat. I want a very slight pattern on the wall just enough to add interest.
Jan