{Giveaway is Closed}
Last year, I ordered a fun stencil from Royal Design Studios in the Large Moorish pattern, a delicious trellis style stencil. I had plans to use it in my old house, but that didn’t happen, so I brought it with me, waiting for the perfect opportunity to get it out and try it.
My sister’s new bedroom renovation was the perfect candidate for a stenciled wall makeover. I told her about the stencil and she got really excited when I told her what I wanted to do with it. So, we got together one afternoon to give it a try. Wall base color is Windsor Greige by Sherwin Williams.
It was such an easy project and we were finished in about 2 hours! You can’t beat that for high impact. Stencils are my new FAVE thing! We all remember stencils from about 25 years ago, when they were folksy and cutsie. No more, these are high impact decor accessories and you can virtually achieve any look you want for little money.
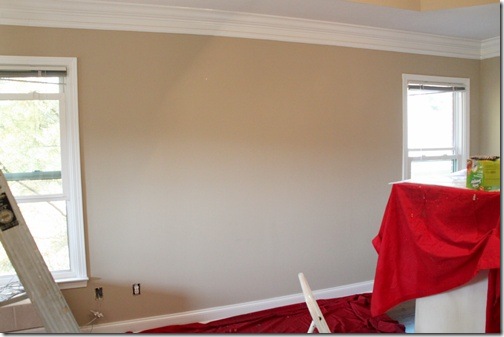
The Before wall. This is the headboard wall and perfect for a feature wall. Wall color is Sherwin Williams Windsor Greige, a pretty tan/gray color.
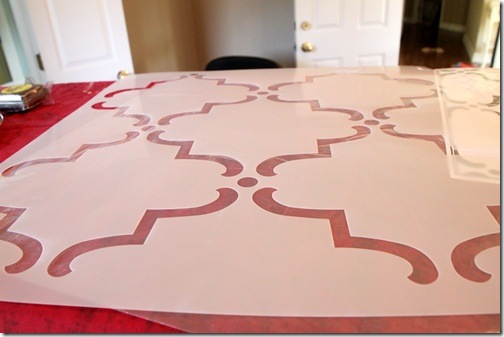
Here’s the stencil, Large Moorish Trellis.
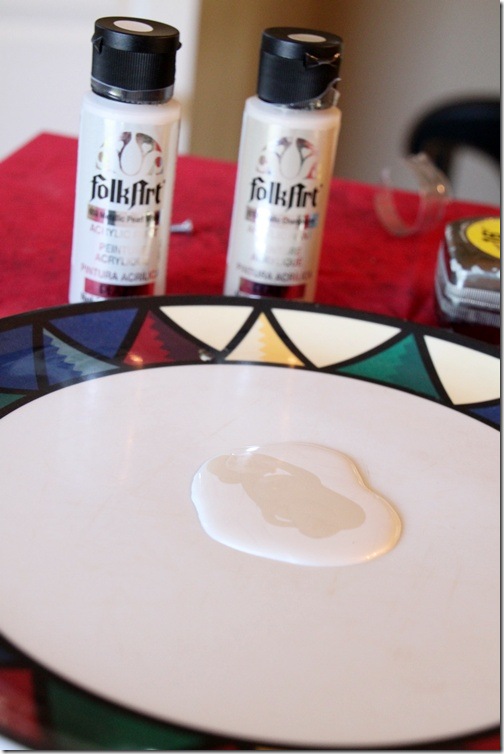
We mixed 2 paints together from Folk Art, Champagne and a creamy pearl, which I don’t have the name of at the moment, but a basic ivory. Both are pearl.
First Tip: Find the middle of your wall and start your stencil there. You will work out on either side and that ensures your stencil will come out even on both sides.
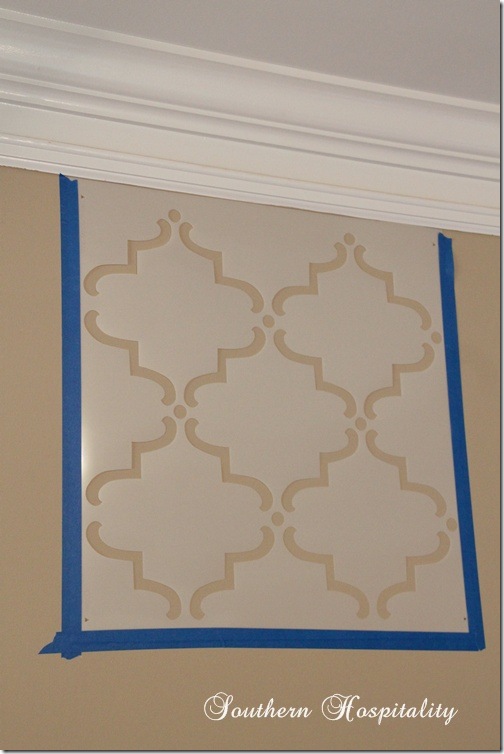
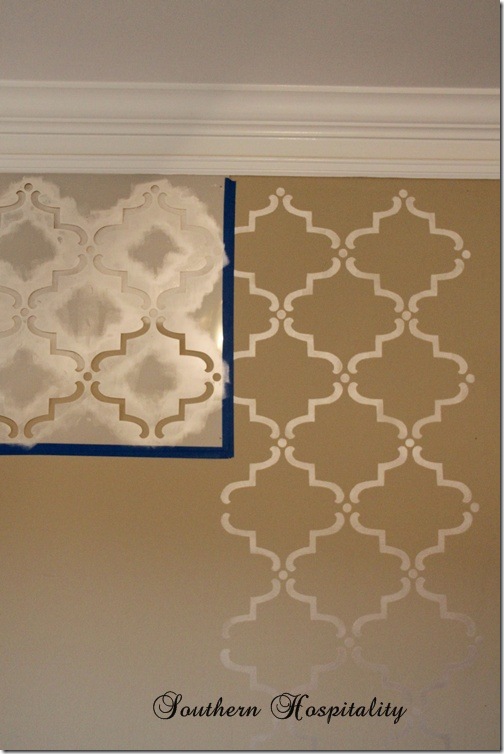
We decided not to use spray adhesive and just use blue tape to keep it in place and it worked just fine. Tape it in place and then press down as you are moving around the stencil, especially in the middle part and it will not bleed much at all. I’m sure spray adhesive will keep it in place better, but I really didn’t want to have to clean it all off after use, so I didn’t use it. It worked just fine without!
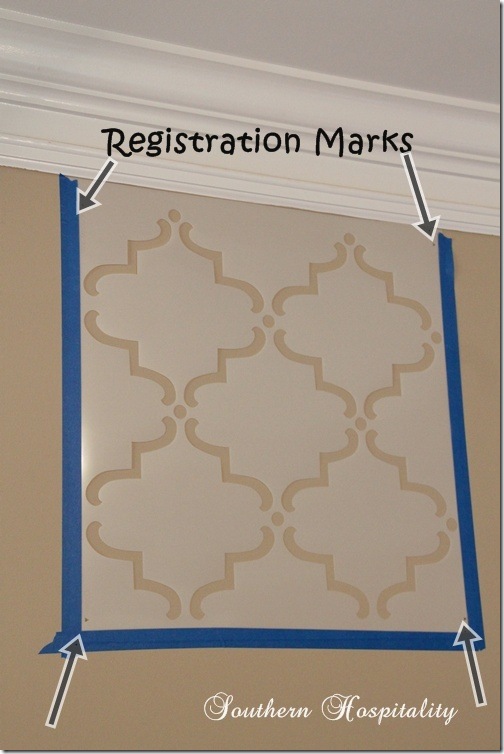
You will notice on all these large stencils, there are registration marks in each of the 4 corners. As long as you mark these as you go, you will stay on course and your stencil will stay lined up and in place. Every time you move the tape, you line up the mark you’ve just made with the next row and keep moving along. It’s easy, I promise!
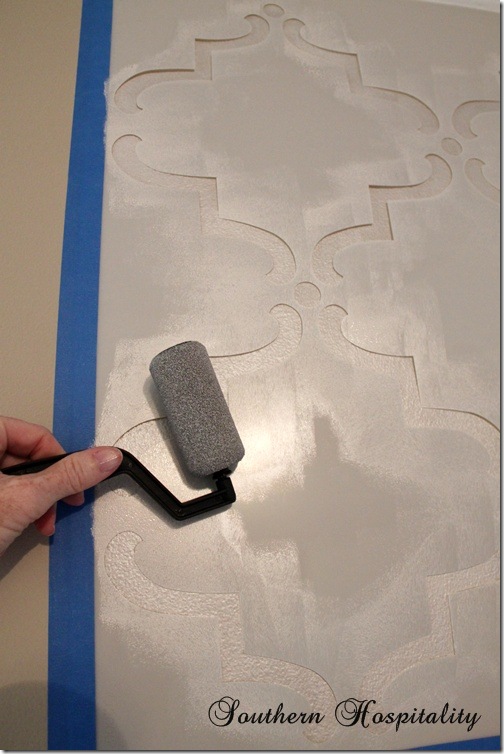
I highly suggest using a small foam roller for a stencil like this. It goes really fast and covers well. Don’t load up a lot of paint on the roller to avoid bleeding under the stencil. I didn’t have a lot of problem with it at all.
Here’s the first one done. I opted to move straight down from the first one and go all the way to the baseboard with it. You will have to press in close when it gets down to the baseboard and it will probably only take 1/2 the stencil, but another person pressing with you will keep it from moving too much.
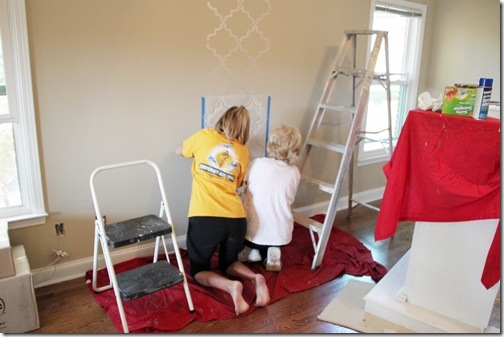
Here we are moving down the row to the bottom. By this time, the paint up top is dry to the touch, so you can then overlap with the tape with no problem. My BIL walked in at this point and picked up my camera and snapped this shot. In progress!
Then I moved over to the left and down, moving the stencil from one column to the next. Before you know it you have covered the whole wall with the stencil. You will run into the top of the crown and around windows where you can only use part of the stencil. It would work better to cut the stencil but you don’t want to do that, so having someone press on it as you roll will help around the windows and baseboard.
Just keep those registration marks lined up and it will work like a charm. Use pencil on that part, then go back and touch up the pencil with your base color.
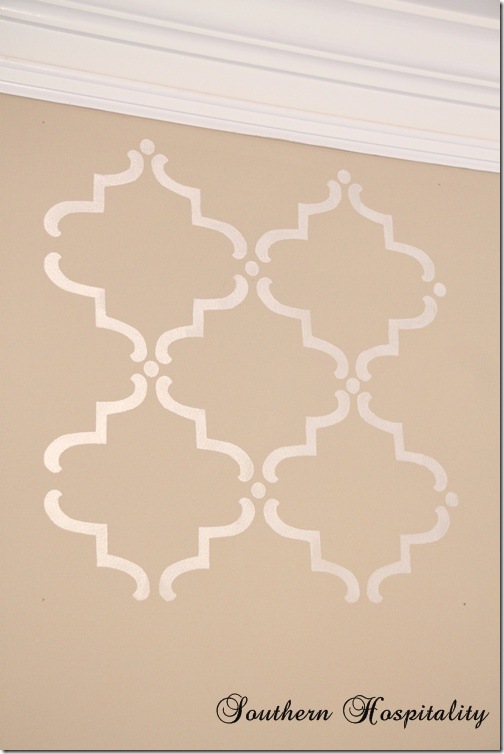
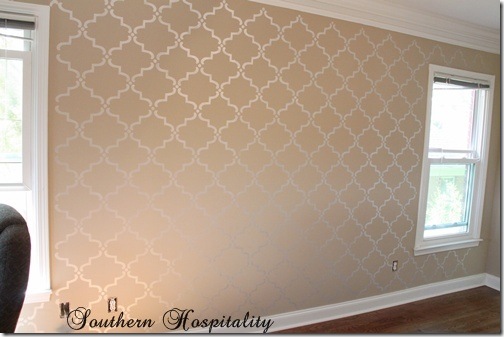
And here’s the finished wall! Isn’t it beautiful? The sun was streaming in and it was hard to get the glare off, but you can see how pretty it is.
I’m completely in love with stencils like this now! It gives the look of wallpaper without all the mess of application. This really did only take about 2 hours to complete. Not bad at all! If you are looking to do a feature wall, a small bathroom, or any spot that you’d like to highlight, a stencil might be just what you need to try.
I will definitely be using them again. So glad my sister had a redo that we could try this on. She is in love with her wall too!
We’ve been working on the room all weekend and I hope it will be finished in a couple of weeks. I think the last thing we are going to DIY is a fabric covered headboard. Her hubby will cut out some plywood for us and we will do the recovering. That is, unless she finds a good deal in a ready made headboard. We will see how that goes!
Here’s some great news! I told Royal Design I was highlighting one of their stencils and they would like to give a stencil to ONE of my readers!
How cool is that?!
Just go over to Royal Design Studios and take a look around at all the beautiful stencils. Come back here and let me know which one is YOUR fave and leave a comment.
That’s it! I’ll draw a winner in a few days. I can’t tell you how happy we are with the stenciled wall. Stencils are my new favorite decorating accessory!! Think of the possibilities with rugs, drapes, walls and more. Where do YOU want to stencil?!
Added this project to Traci’s Best Projects of October party!


The pattern you used (Large Moorish) is my favorite. I am painting my master and would love to do this behind my bed. Thanks.
Oh my gosh, that came out amazing! I love it. And two hours isn’t bad at all!
xo,
s
I LOVE the large ribbon damask! I am going to be redoing my daughters room very soon and that would be fabulous!
My favorite is Elegancia Allover – your sister’s wall came out beautiful!
I love love love the allover Morracan arches. So pretty!
I can’t believe how beautiful the room turned out using a stencil! I have wanted to try this for a long time. My friends paid designers to paint their rooms with stencils but I know I could do it myself too!I just love the large nova trellis!
I like the Antoinette wall stencil, Large. I plan to do my guest room walls. They are already painted a soft light blue. I have a multi – old mirror installation that would look even better over the Damask style stencil. I enjoy your blog. Keep the articles coming!
This is stunning. I like many, but the Vase & Pearls Allover Stencil is beautiful. Would be so romantic in my bedroom.
I love how your room turned out! I am going to be tackling a bedroom as well. I was curious why you used the Folk Art paints rather than standard paint? In your experience, does it turn out better? Is this the best way to get the iridescent look? I want to do it right the first time! Thanks for your help.
I’m curious how you handle corners and around window trim. I din’t see any comments about that. Are there instructions included in the strencils?
Hi, Alison, here’s what I wrote above in the post about the windows and corners. You just have to press it as flat as you can & that’s where another person comes in handy:
You will run into the top of the crown and around windows where you can only use part of the stencil. It would work better to cut the stencil but you don’t want to do that, so having someone press on it as you roll will help around the windows and baseboard.
I love the Large Moorish Trellis that you featured in your blog. I have had a photo in my Pinterest of that same stencil for some time and now that I am able to do some projects I am very excited. Maybe I’ll get lucky 🙂
It was hard to pick a favorite, so many that I liked! I would choose the Small Ribbon Damask stencil, for a bedroom wall,
So hard to choose, but since I have to..lol, I think I’d go with Acanthus trellis, no wait…the classic damask, no wait AGAIN, the large moorish trellis. Ok, pheewww, glad thats over and I finally decided on the ornimental furniture scroll set…omg I just can’t do it, I want them ALL! Lol. I’m actually starting on my office/guest room, as we speak. I’m using an eggshell in ‘ivory silk’ for the walls and the same color in high gloss for the stencil. I’ve used stencils on furniture but, mthis is my first time on walls. Wish me luck??? I’m new to your blog and I love it! 🙂
I love your sister’s bedroom. What size stencil did you use?
Thanks, Pat
HI, Pat, the link is in the post to the stencil, the Large Moorish from Royal Design.
How did you stencil underneath and on top of the window?
Hi, Christina, you just have to press the stencil as close as you can to any molding or top of doors or walls as you can. Some stencils come with smaller pieces of stencil to be able to get really close to the top and sides, but this one worked pretty well just pressing it in and getting it close.
Love the Atlas allover Morrocan. I think it would look great in a foyer.
That is so gorgeous and so classy! it is my favorite shape! Great job!
I love how your wall turned out! I love all the stencils, I can’t decide which would be my favorite, but since I love birds I think I will pick Sweet Tweets Lacy Birds!
I LOVE the Chez Sheik Moroccan Stencil! I used to live in Morocco, and it is still the home of my heart 🙂
This stencil is SO evocative of Morocco. I adore it!