Big news update!
My movers moved up the moving day to TODAY. So, I’ll be scurrying around like crazy getting at least my furniture and boxes moved in today. I’ll be spending the night in my new room tonight. 🙂 Can you believe the day has finally arrived? I can’t!
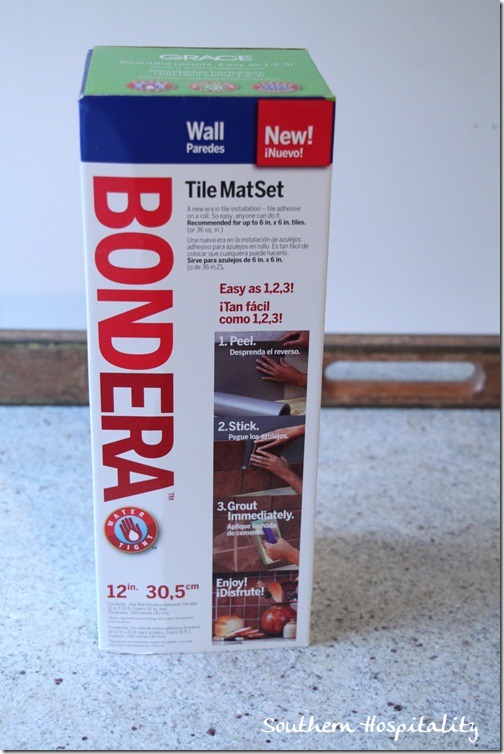
I’m back with a complete how-to on how we added the tile backsplash ourselves, using a new product that I had recently heard about, Bondera. I got a contact from Bondera and wrote to them, telling them about my upcoming tile project and asked them if they might send me enough of their product for my project. And they did! I was so happy to get this in and try in out. Bondera is a tilemat that is sticky on both sides.
I received 5 boxes, which covers 10 s.f. per box and we had just enough for this project. I was so excited to try it out and I’m happy to say, it worked out great. Thanks to Bondera for supplying this great product! It worked out very well and we really enjoyed using it. Much less mess than using thinset, although thinset is cheaper. Bondera is around $34 a roll, so not cheap. You have to weigh out mess vs. spending more money. I would definitely use it again.
Per Bondera’s website, this will NOT work on floor tile, so just be aware of that!
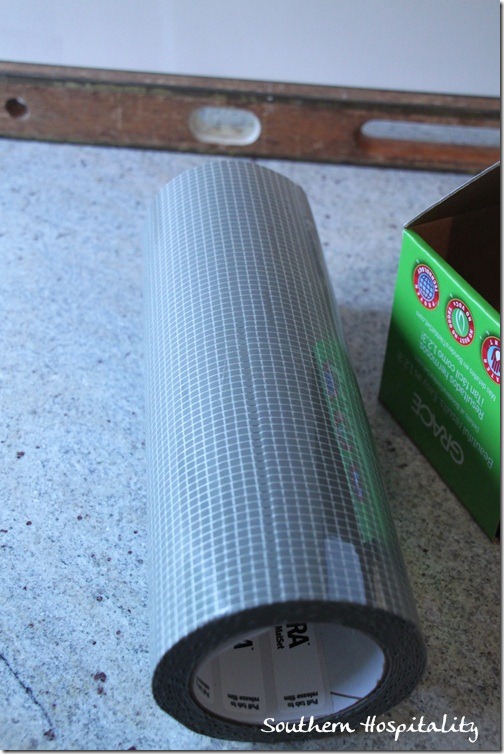
The roll looks like this out of the box. It’s thin, but flexible when working with it.
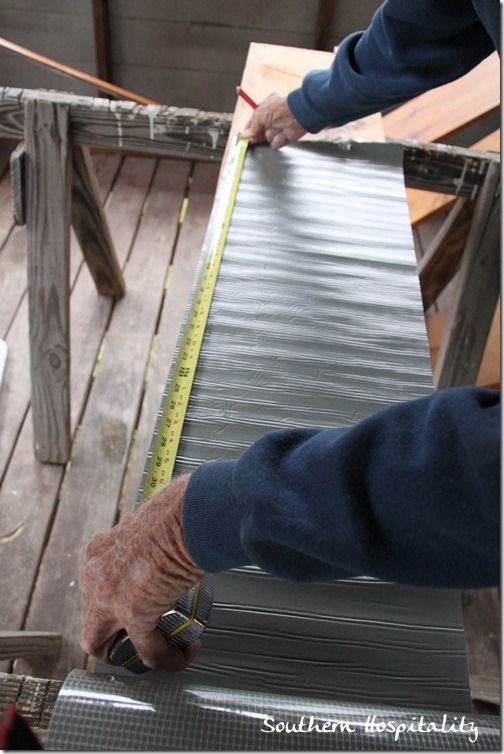
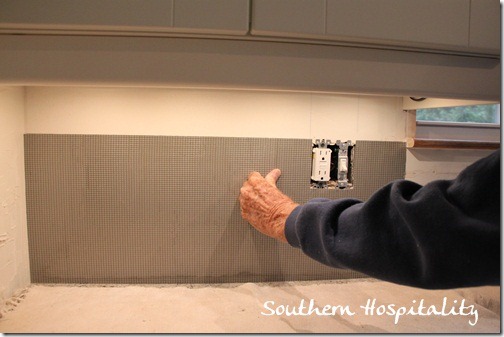
We measured our space under the counters and begin putting up the Bondera tilemat. The good thing is you can cut individual pieces to fill in if needed, like a puzzle.
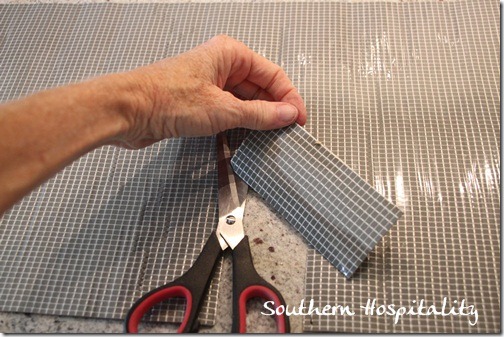
I used my scissors to cut the tilemat and that worked out great. The front side is all grids, so it’s easy to cut a straight line.
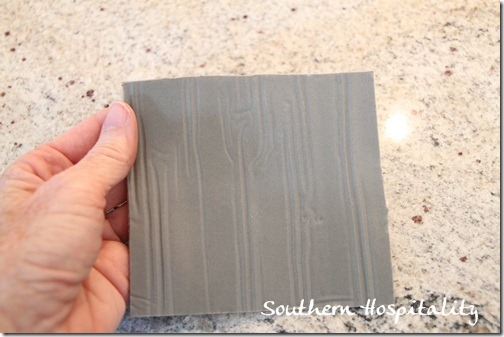
The backside has a clear film that pulls off for applying to the walls.
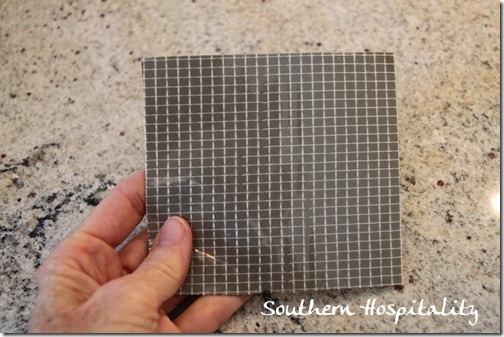
Grids again, front side.
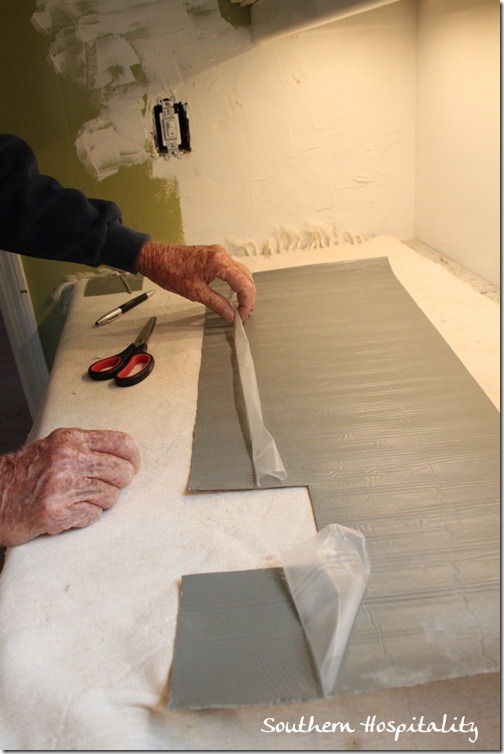
The directions said to pull down the film from the backside and place the piece on the wall, pressing the top into place and then pulling the film off to the bottom and that definitely worked well. This stuff is VERY sticky and will stick to your fingers, to itself and to the wall, so you do have to be a bit careful when handling it.
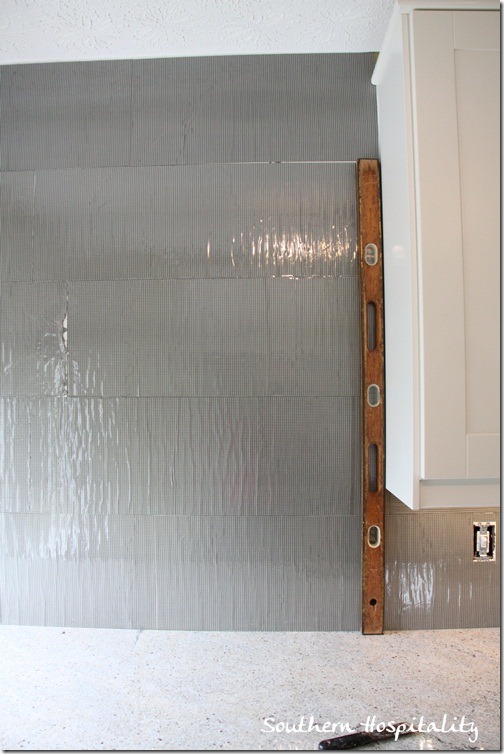
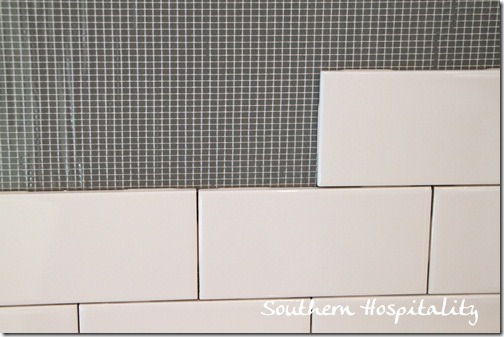
The tilemat sticks to the wall and the front film is still in place until you get ready to place the tiles on top. Then, the top film comes off. We cut and measured until all our space was filled with Bondera.
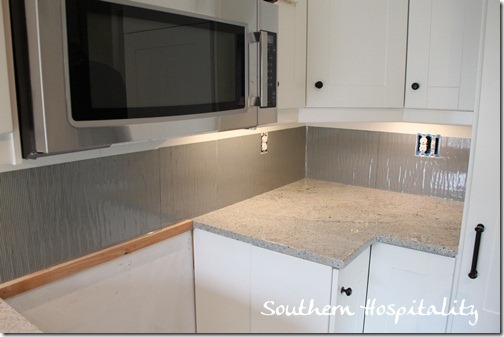
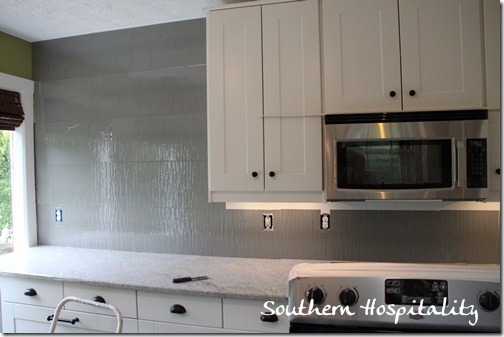
Like this.
And this.
And this. Bondera is all ready and in place.
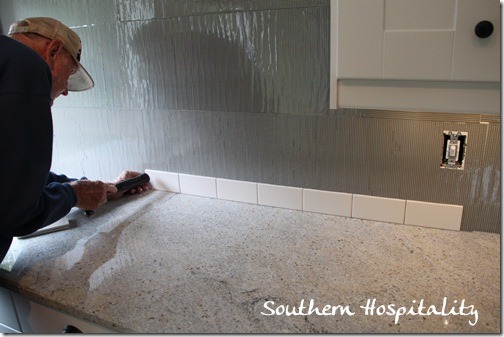
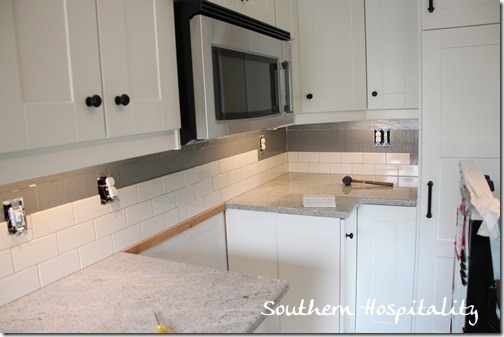
We started here in the middle of this countertop for our rows. Since the countertop is level already it’s not hard to keep your rows straight. The tiles have a built in spacer on the sides and we just placed them right next to each other, no need for spacers. I wanted a thin grout line anyway.
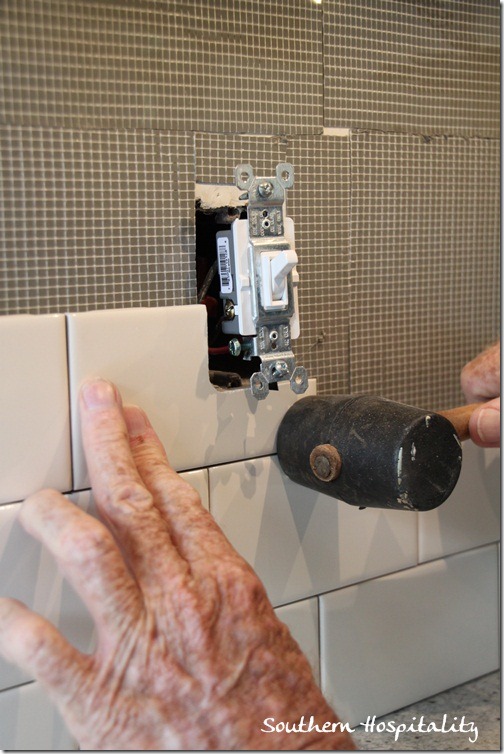
These tiles are 3×6” and so you need several 3” tiles cut and ready to go to add to the ends of rows, like this. It was dad’s smart idea to start next to this end cabinet and place the 3” tiles here on this wall for best visual. One you start placing the tiles, it goes really fast, except around the outlets and switches. That’s the part that took the longest, cutting around those.
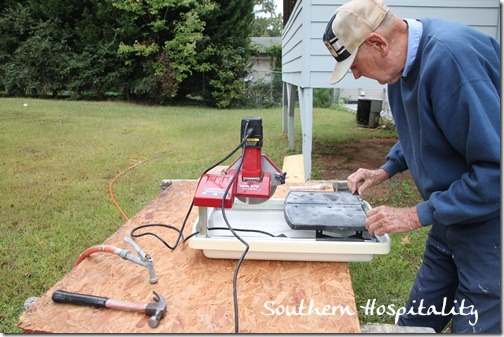
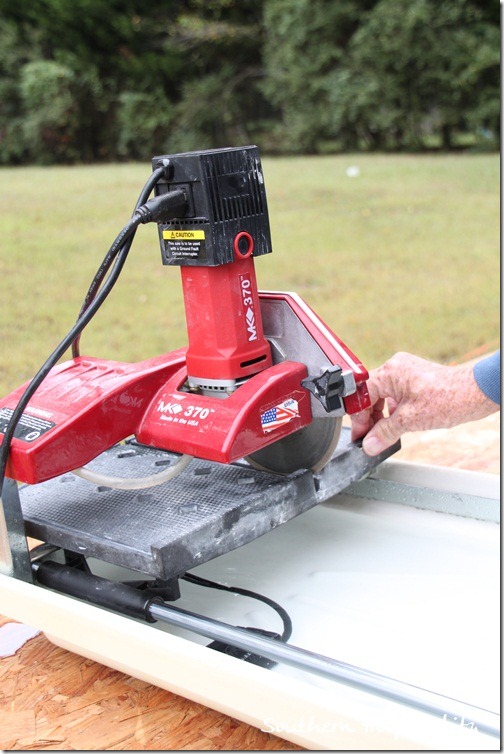
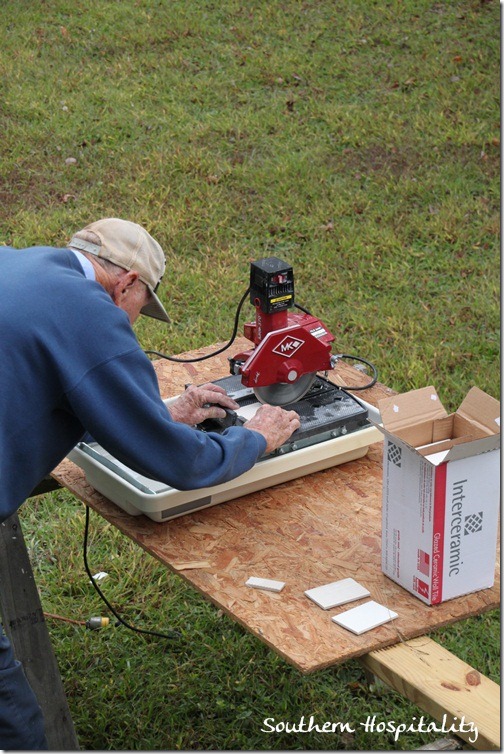
Dad has a wetsaw that he’s had for years, so we got it out and set up in the backyard. It will sling water, so we wanted a wide open space to work in and luckily we had a good day for it.
Getting the tile saw set up.
Dad cut most of the tiles and I set most of them. He measured and cut around the outlets and we placed them as we got to them.
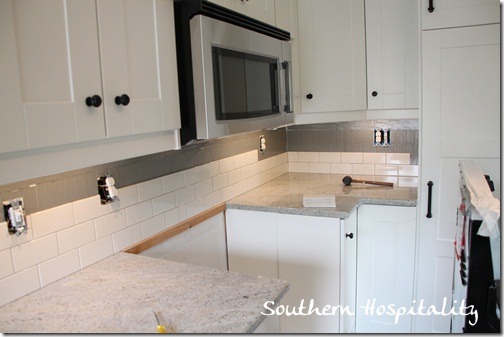
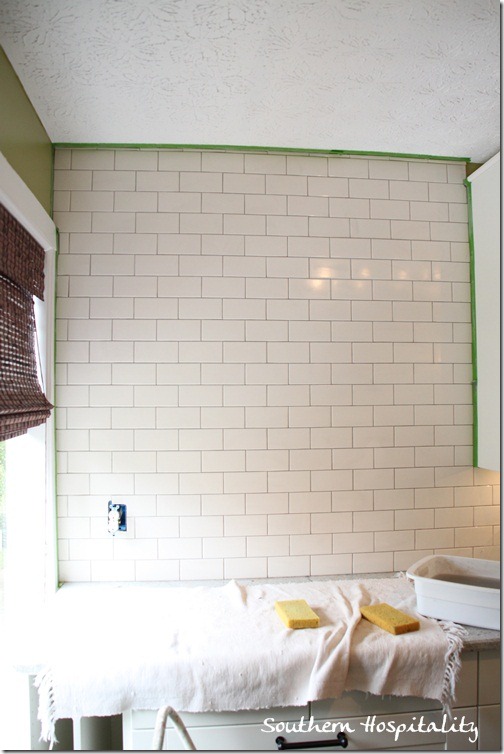
We started right here on this big wall and began going in both directions, placing tiles and moving as fast as we could.
Adding tiles, row by row. Then we got to the outlets and had to cut out around them.
We had several on that big wall and cut them as we got to them, filling in all the gaps and kept moving. The tiles stuck to the Bondera mat really, really well. No problem with them slipping at all.
Here are our 3” tiles cut and ready to go.
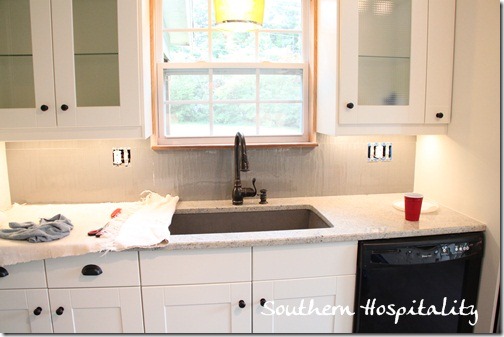
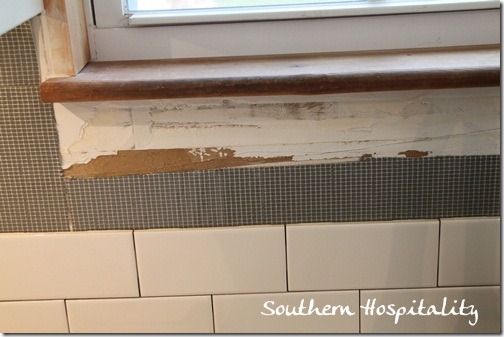
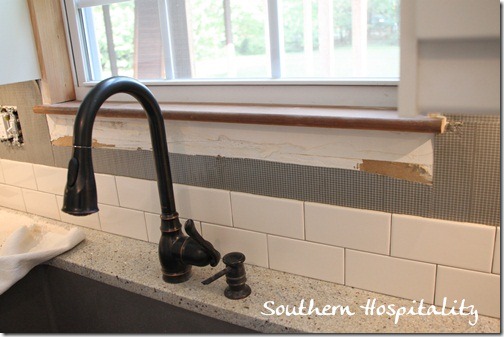
The only problem spot we had was under this window sill, where I had repaired the plaster and filled it in with sheetrock mud and tape. Apparently, it should have dried a lot longer because the Bondera didn’t adhere to this area. It peeled right off.
I was so bummed when we got to this and I realized that it wasn’t sticking, so I cut it off with a utility knife and left this top part open. I did go back and add more Bondera on here and after pulling off some of the plaster that wasn’t totally set the 2nd time, it seemed to be sticking for the most part.
Here’s the After shot, all grouted, so we did make it work and I may have had to get out the Liquid Nails for a couple of pieces. ![]() I’m sure a professional would shake his head, but we made it work and hopefully it will hold up just fine. That area will not get a lot of wear and tear, I don’t think. My sink is so deep that water will not even splash out of it.
I’m sure a professional would shake his head, but we made it work and hopefully it will hold up just fine. That area will not get a lot of wear and tear, I don’t think. My sink is so deep that water will not even splash out of it.
Back to the tiling process. It’s really not hard, just takes time and patience to make all those cuts around the outlets and fill in all the gaps. You will have to cut some small slivers of tiles at time on the ends of the row, but for the most part, we made those work out as well. I tried to disguise them as best I could and didn’t take a pic to show you, but we did have some small fill in pieces.
Tile going in, one row at a time. After we got all the tiles set up and all those gaps filled in, it was time to grout. YAY! I will tell you that I had visions of walking in the next day to grout and seeing fallen tiles everywhere, but happily that did NOT happen.
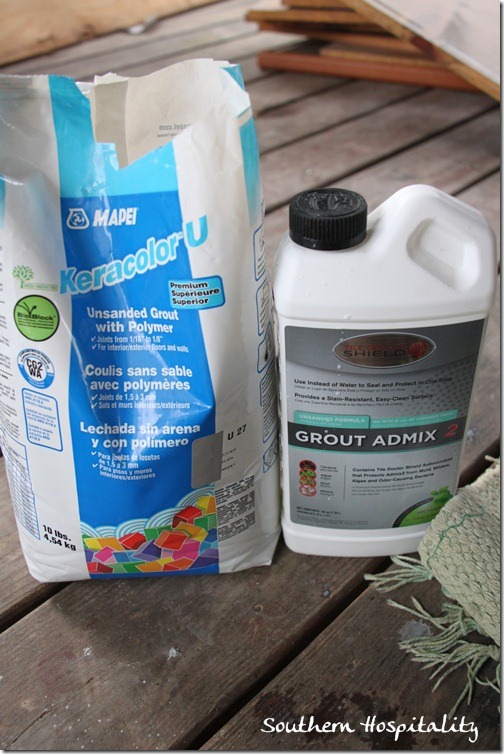
I got the grout bag from Lowes, Mapei Keracolor in Silver and the Grout Admix came from Floor and Décor. It’s a liquid that is mixed with the powder grout and seals the grout instantly, so that it doesn’t ever have to be sealed again. That sold me! The Grout Admix was $25 at Floor and Décor. The bag of grout is about $12. The Bondera directions said to grout within 8 hours, but we didn’t make it in 8 hours. We got all the tile set in one day and then came back the next morning and grouted. I’m not sure what the 8 hours thing is all about.
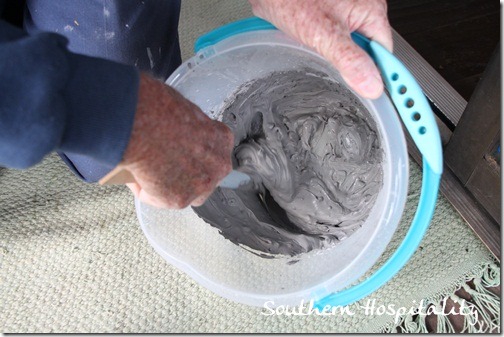
Grout all mixed and ready to go. The consistency is about like cake batter. Thick, but not too thick. I forgot to take a pic of the grout float I used to spread the grout, but it’s a square rubbery thing with a handle that spreads the grout around. I actually used my index finger a whole lot too, to get it into the crevices.
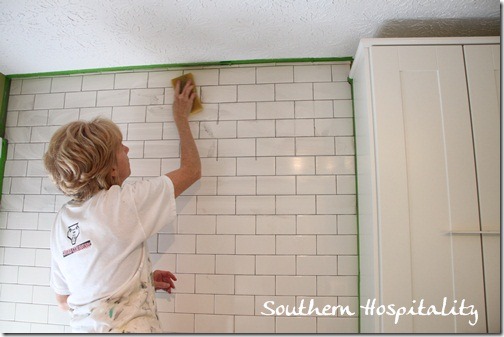
Get yourself a couple of pans of clean water and at least 2 sponges, because you will go through a lot of dirty water, grouting, wiping and rinsing out the sponges all along the way. I started at the top of this big wall and worked my way down.
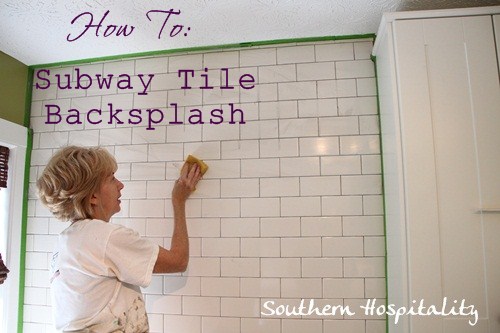
I didn’t get a lot of pics of this step and dad took this pic of me in action, but I did one section at a time and then wiped, rinsed, wiped some more until most of the grout was off the tiles. You don’t want to get too far ahead of yourself, because the grout does start drying pretty fast once it goes up. You have plenty of time to wipe, but it will begin to set up on the tile face. I wanted thin grout lines, so I made sure to wipe my sponge over each grout line, taking out any bulky build up of grout. Thin, thin, that’s what I wanted.
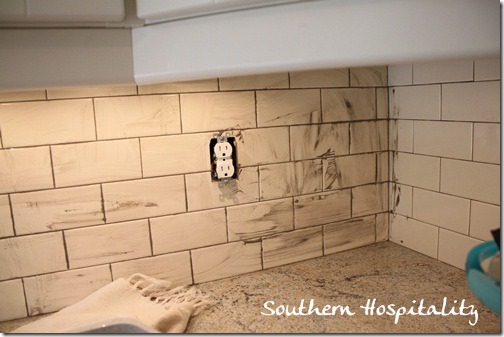
Here’s a progress pic of the grout on the tiles. Keep wiping until you get it all off and mostly clean. Then at the end of the process, I went back with a clean rag and wiped down all the tile one last time, until it was sparkling and shiny. And you end up using your fingers a LOT to get it into the crevices.
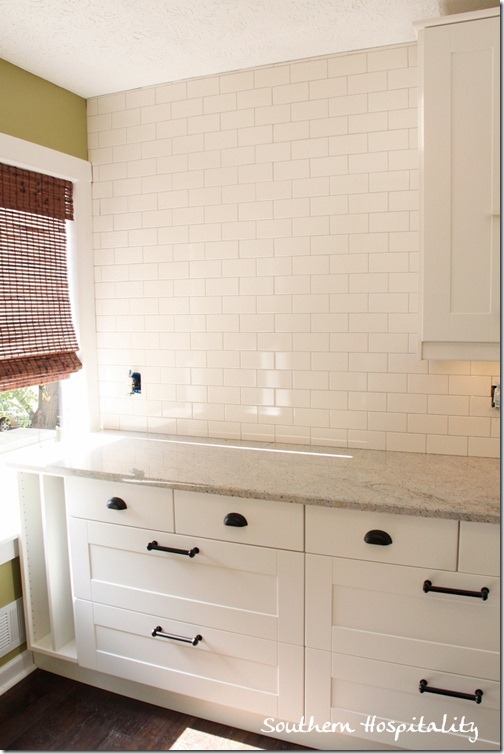
Here’s the after on the big wall. It will be getting 2 beautiful rustic shelves soon. Can’t wait to see those go up. We marked ahead of time where the studs are in this wall so we can get those brackets in studs.
Sink wall AFTER. Just a bit more tweaking in here and I’ll be done completely. I was so, so happy to get this tile project behind us. What a milestone!
You can see at the end of those rows on the right, a small sliver of tile that we had to put in there. I used a white caulk on those, so they wouldn’t stand out as much and need to go back and add a bit more white to them. Not bad at all.
So, would you attempt your own backsplash after this? It was a full 3 day project, but well worth it to me. Here’s what I spent on this project:
Subway tile from Floor and Décor (Interceramic, in Bone): $88
Grout: $12
Admix: $25
Bondera: No charge, but these cost around $34 a roll. That’s the only drawback, they are a bit pricey compared to buying a bag of thinset for tiling.
Total I spent: $125 with free labor and a wetsaw
Not bad at all! A lot of bang for the buck.
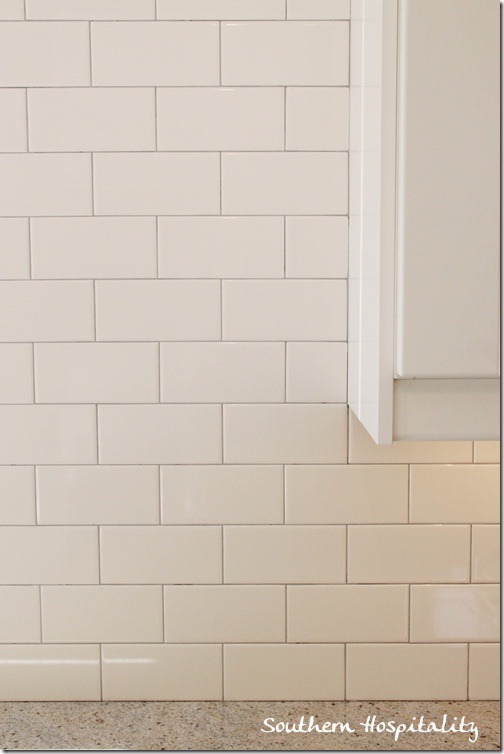
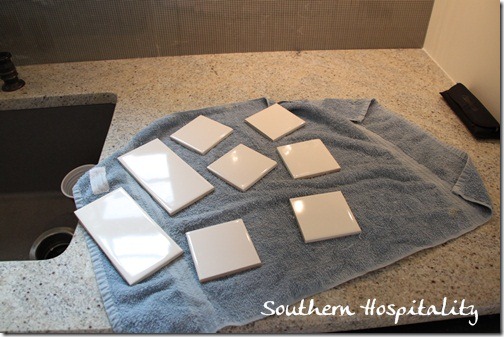
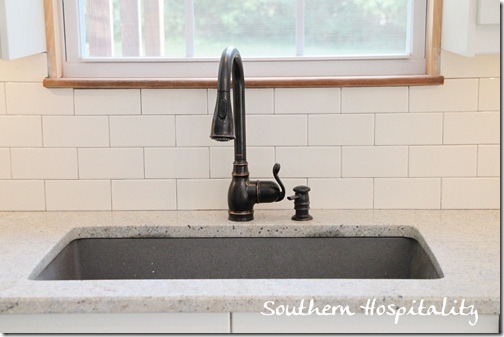
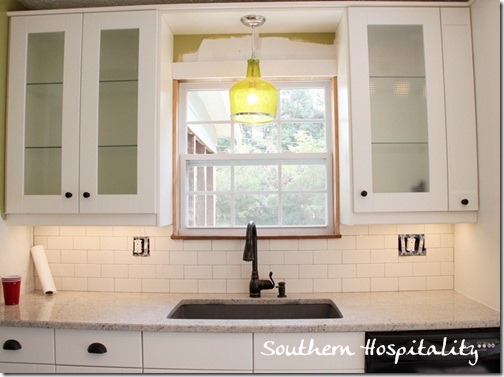
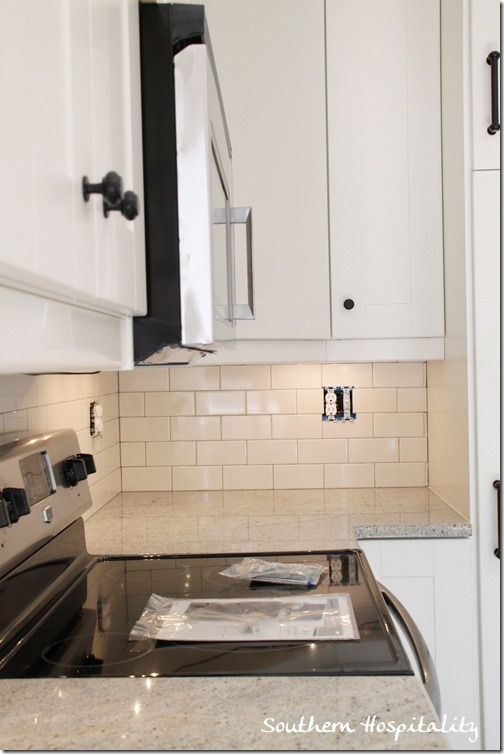


Hi- doing a kitchen reno myself and I love your kitchen! In some pictures your subway tile looks glossy and in others it looks matte. I would love to know which it is and also if you know the color, whether it’s a pure white or biscuit? Also, I love the look of the grey grout but I have cream marble countertops, any advice?
Thanks,
Caroline
HI, Carolina, my tile is glossy and it’s an off-white and goes with my slighty creamy cabinets really well. Bright white was TOO white. I think you could still do gray grout with your cream marble countertops, sounds like it would be pretty to me.
Hi rhoda, so beautiful! I have been on the hunt for an off white tile, creams have been too dark. I checked out floor and decor, do you remember color name? Thank you!
Just wondering how the Bondera is holding up 2 years later. Any tiles coming loose or having any other problems with it?
Hi, Renee, it’s holding up great, no problems at all!
I just love all the pics of your Daddy helping you…He is just too darn cute.
And..i love your site…you have done many projects on my list…thanks so much for the tips.
Tracy
I love your cabinet handles. Do you remember where they’re from ?
HI, Dina, yes all my cabinet pulls came from Ikea.
I just found this post in 2018. Sill holding up OK ?
Hi, Sherry, yes it’s still holding up and perfect!
Just found your post, did you tile under or around the microwave? Any issues with that area? It looks beautiful, we are about to tile and are using a very similar sticky mat! Thank you 🙂
We tiled around the microwave since it’s permanent. The sticky mat worked great for us!