Today’s post is all about updating what you have. How to update an old vanity DIY style with new drawers, doors, and paint. It was all about using what we already had and making it better and I’m so glad we went this route on our master bathroom vanity. As you can see, it made a world of difference in the final product and a vanity makeover is so cost effective. Replacement cabinet doors and drawers are an easy way to update an old vanity.
This post is in partnership and sponsored by Fast Cabinet Doors. They offer custom doors and drawers online and you can order the exact size and style you need and they will make them and ship them out to you, along with the hinges for installing the doors. We were a little nervous about doing this ourselves, but it turned out to be a pretty easy process. The hardest part is making sure the doors and drawers are all straight and level, but with some math skills you can do it!
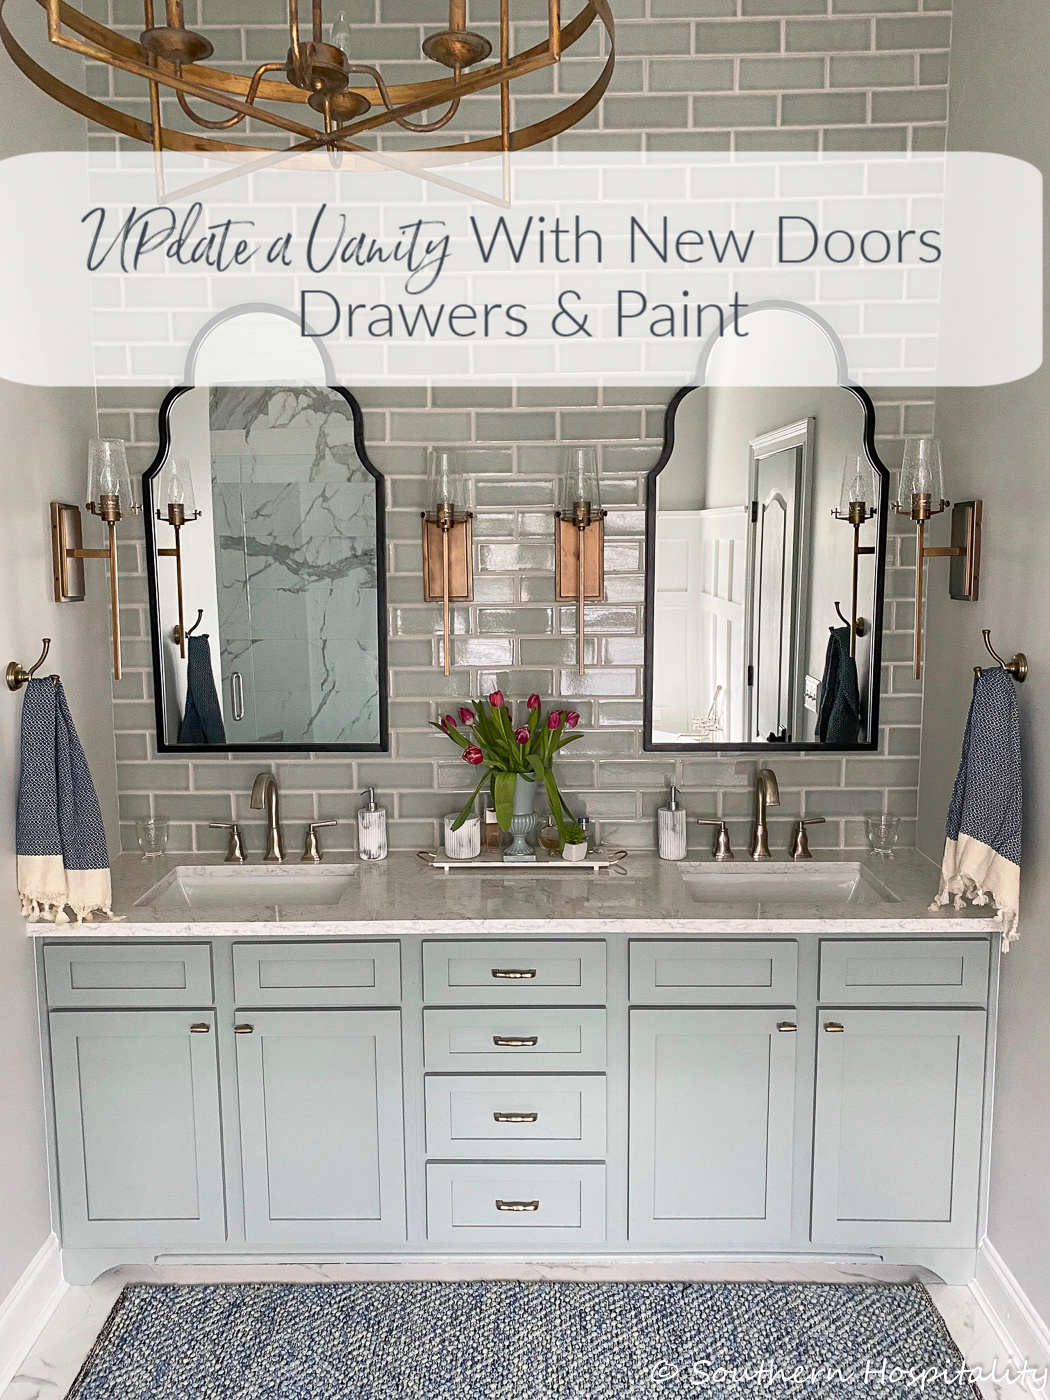
Here’s our vanity after the new Shaker style drawers and doors were installed, so I’m going to walk you through the process and how we did the update. I think it makes such a difference in our bathroom and we didn’t have to buy new cabinets.
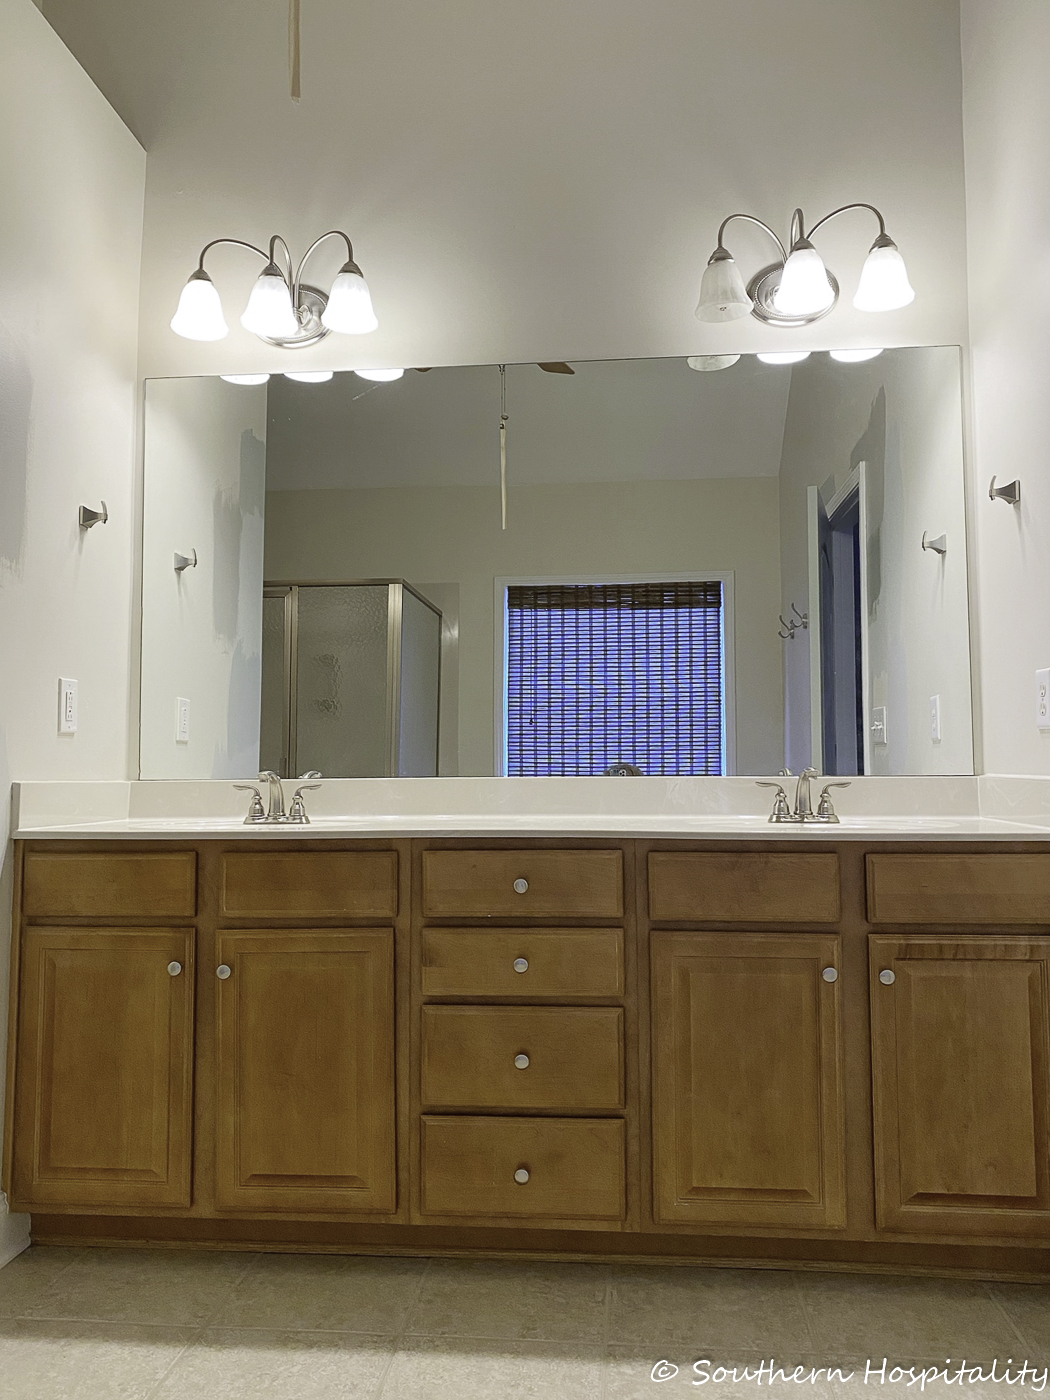
Our old vanity is 15 years old and it was still in good condition, it’s all wood but we wanted Shaker style doors and drawers so we went with paint grade wood doors from Fast Cabinet Doors. They have videos and helpful tips on installing these. In case you don’t know, drawers usually are screwed in from inside the drawer and the drawer fronts just screw off and are easily replaced. The new doors are similar in that the hinges just attach right on the door frame and as long as you line them up correctly they go back on easily.
New cabinet doors are much more cost effective than buying a new vanity.There are many door styles but we love Shaker the most.
BEFORE, the vanity.
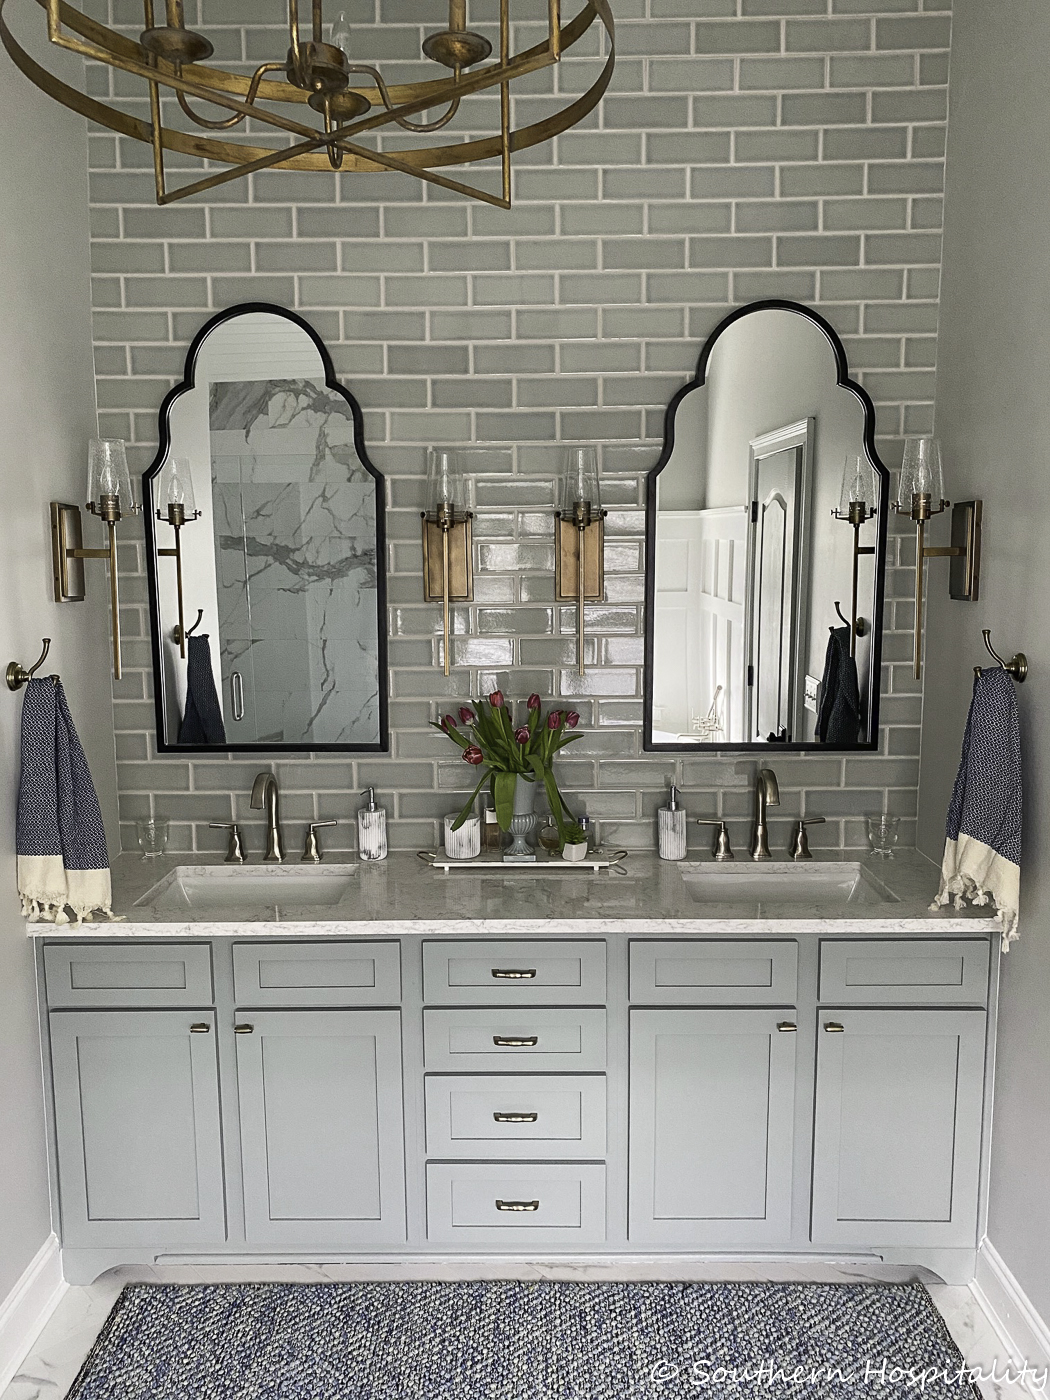
And AFTER, what a difference don’t you agree?! Of course getting new countertops, sinks and faucets made a big difference too.
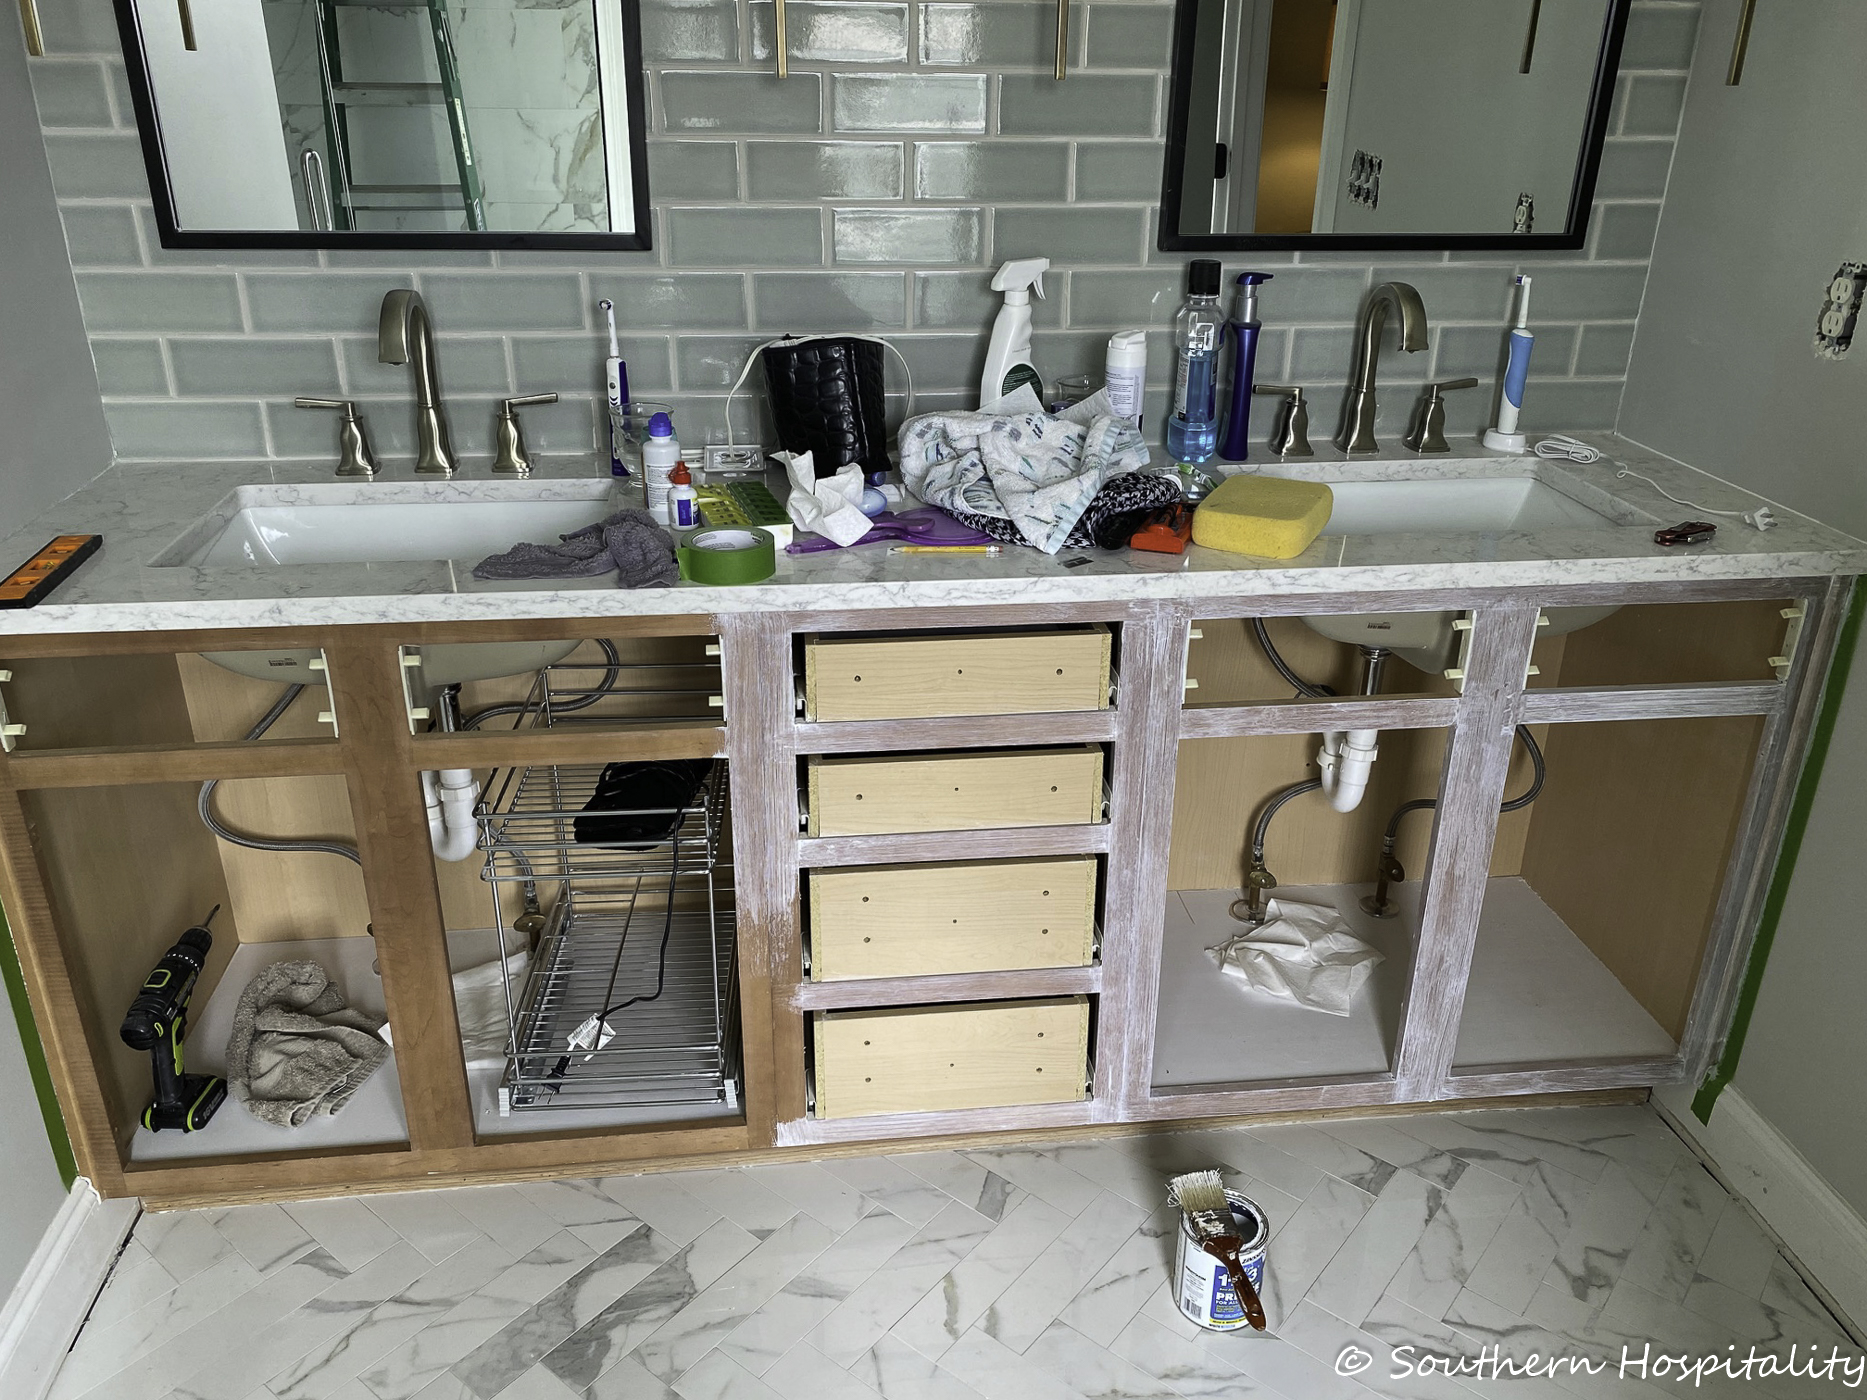
Here’s the vanity with the drawers and doors removed. Notice the fake drawer fronts have a plastic tab that holds the drawer fronts in place. I’ll show you the old drawers and how those pop in and out. Mark took off the old plastic pieces from the old drawers and attached them with a staple gun to the new drawer fronts. We’ll see that below. We had to drill new holes for the new drawer fronts because of the way the new ones went back on. I’ll try to explain as we go.
Step 1:
Take off old drawers and drawers. Prime the base cabinet. I opted to use a good cabinet paint from Sherwin Williams, the Emerald paint line and it went on really smooth.
Paint: Sherwin Williams Emerald paint in Acacia Haze.
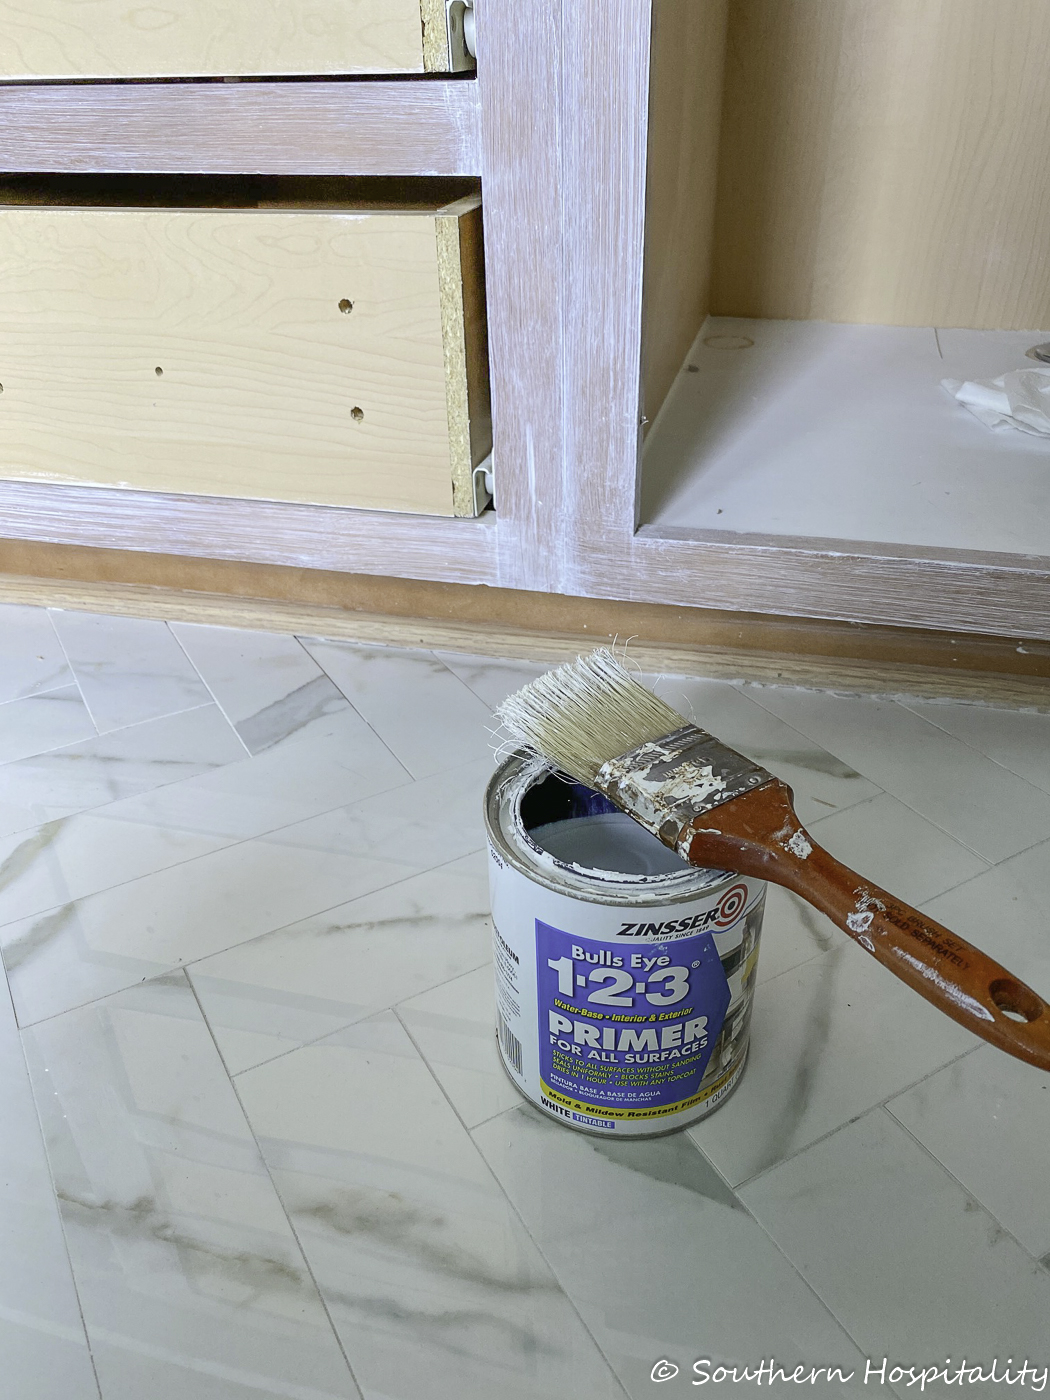
STEP 2:
Priming the cabinet.
STEP 3:
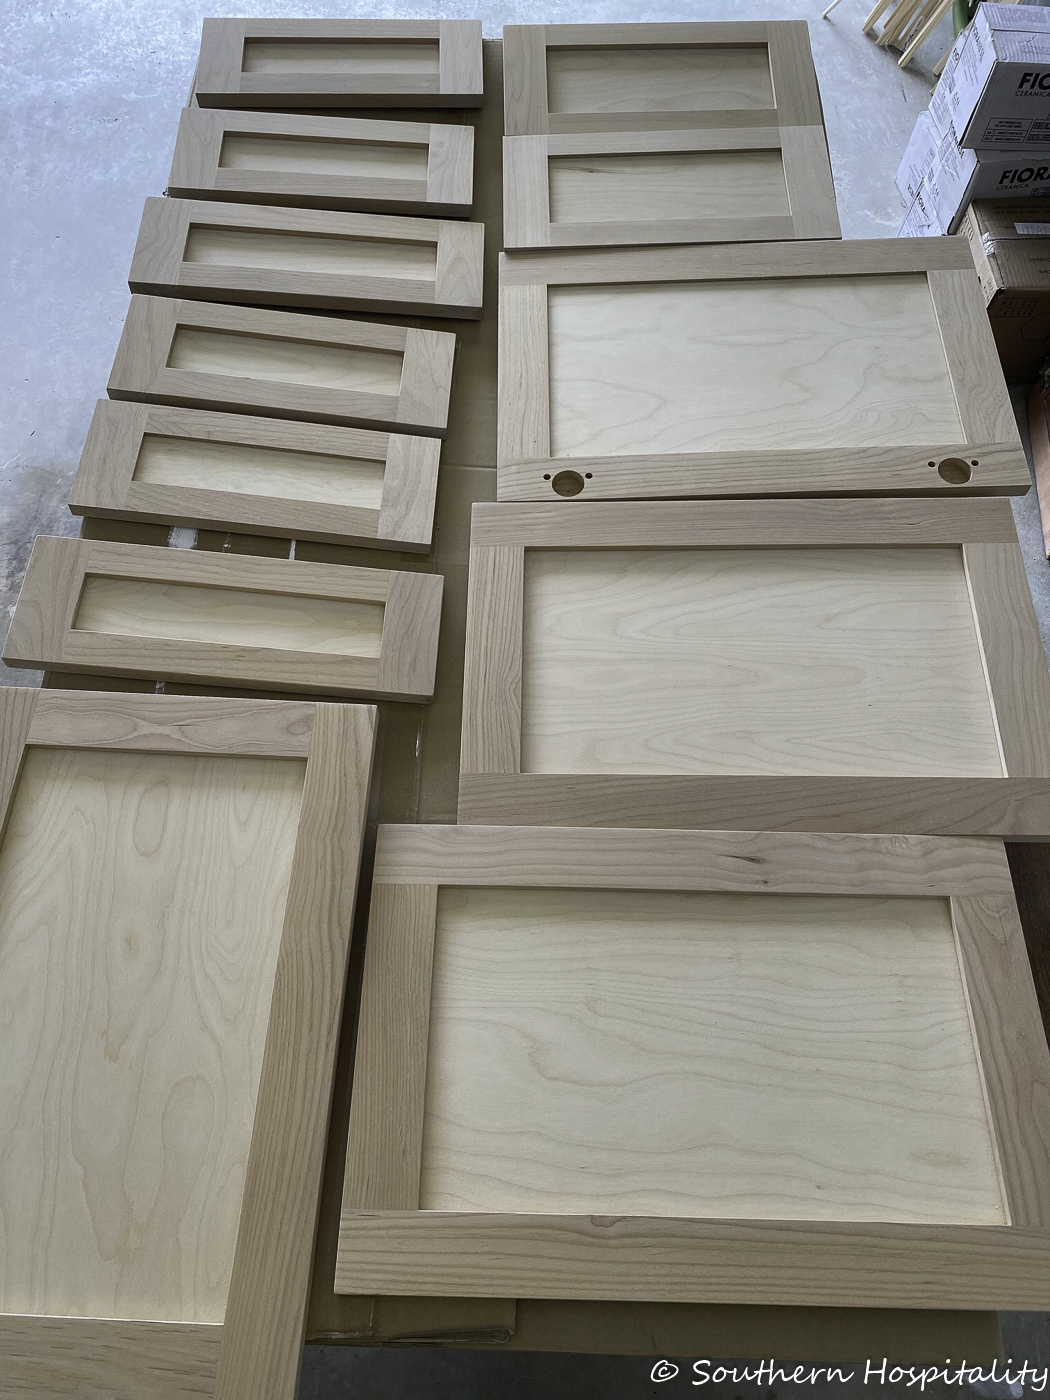
Prime doors and drawers.
Next I laid out all the drawers and doors and got them ready to prime as well. These are paint ready wood doors and drawers.
STEP 4:
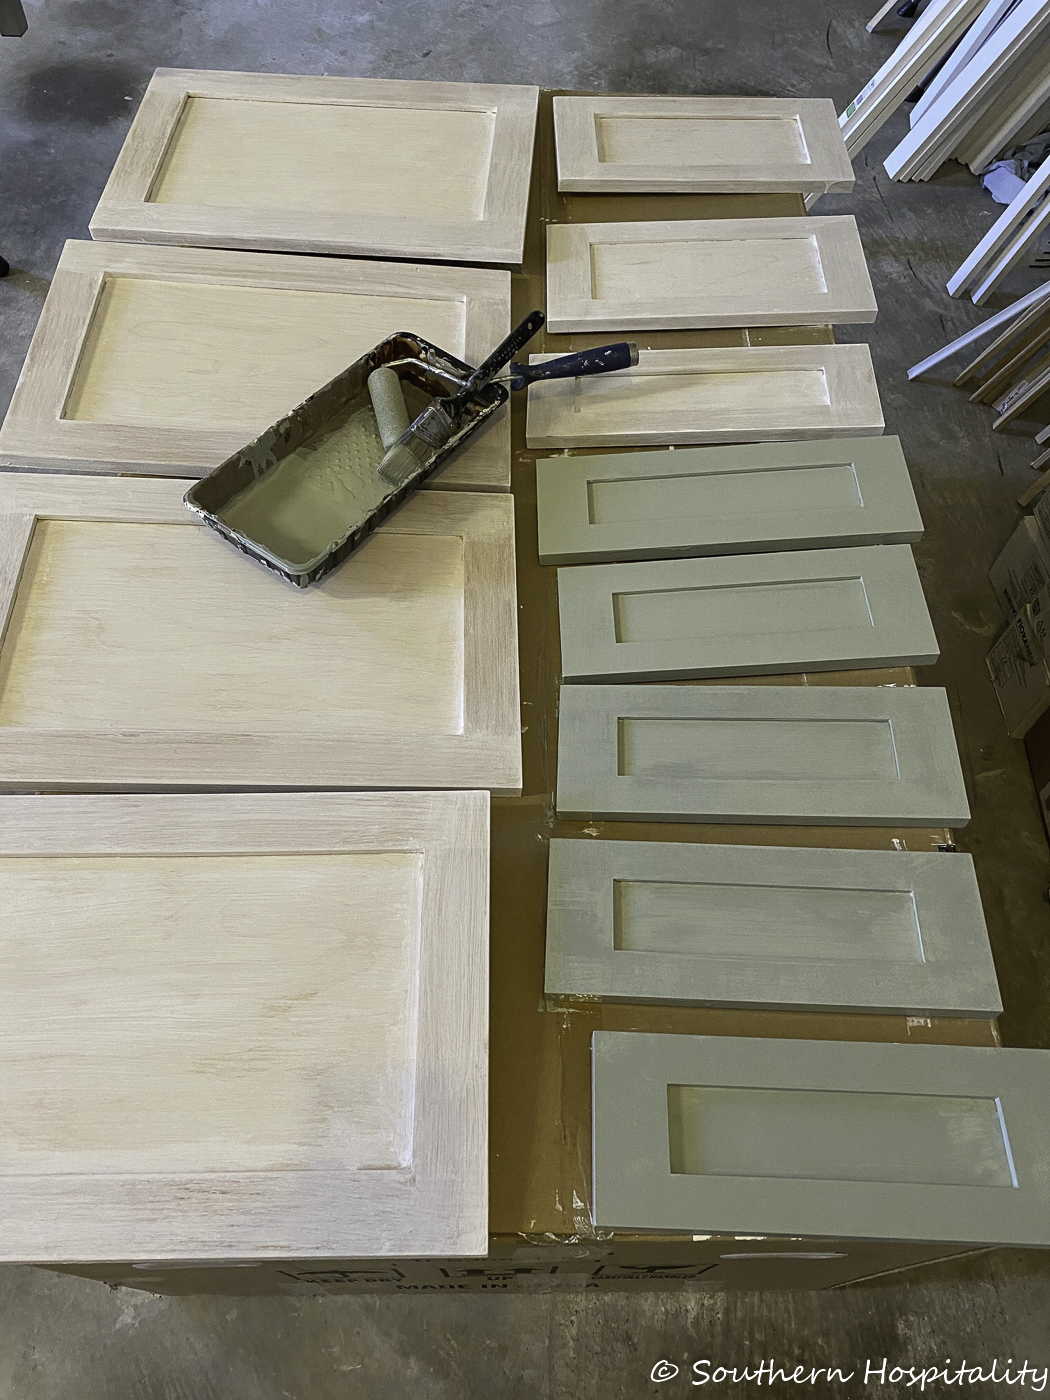
Paint 2 coats of paint. Buff with steel wool between coats.
Primed and ready for paint. I used a small foam roller and a brush to get the smoothest finish I could get without spraying. The Emerald line of paint is really good for cabinets as it levels well.
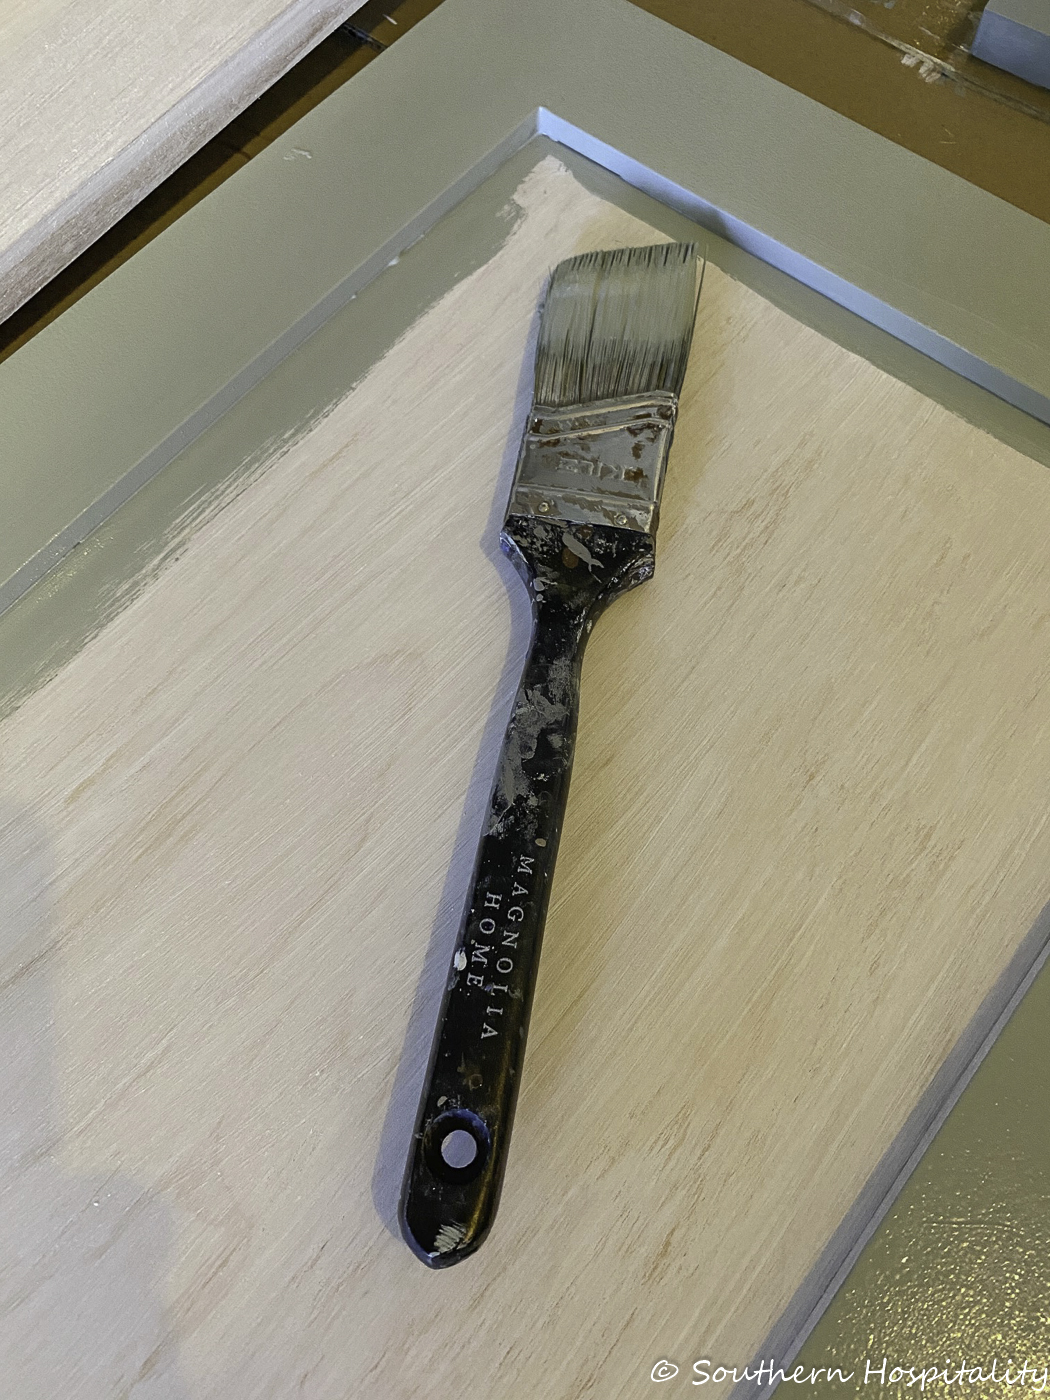
In process. After priming, I painted one coat of paint. In between coats I buffed them down with steel wool, I had heard that creates an even smoother finish and it did seem to help. It’s like sandpaper and buffs down any rough edges creating a smooth finish.
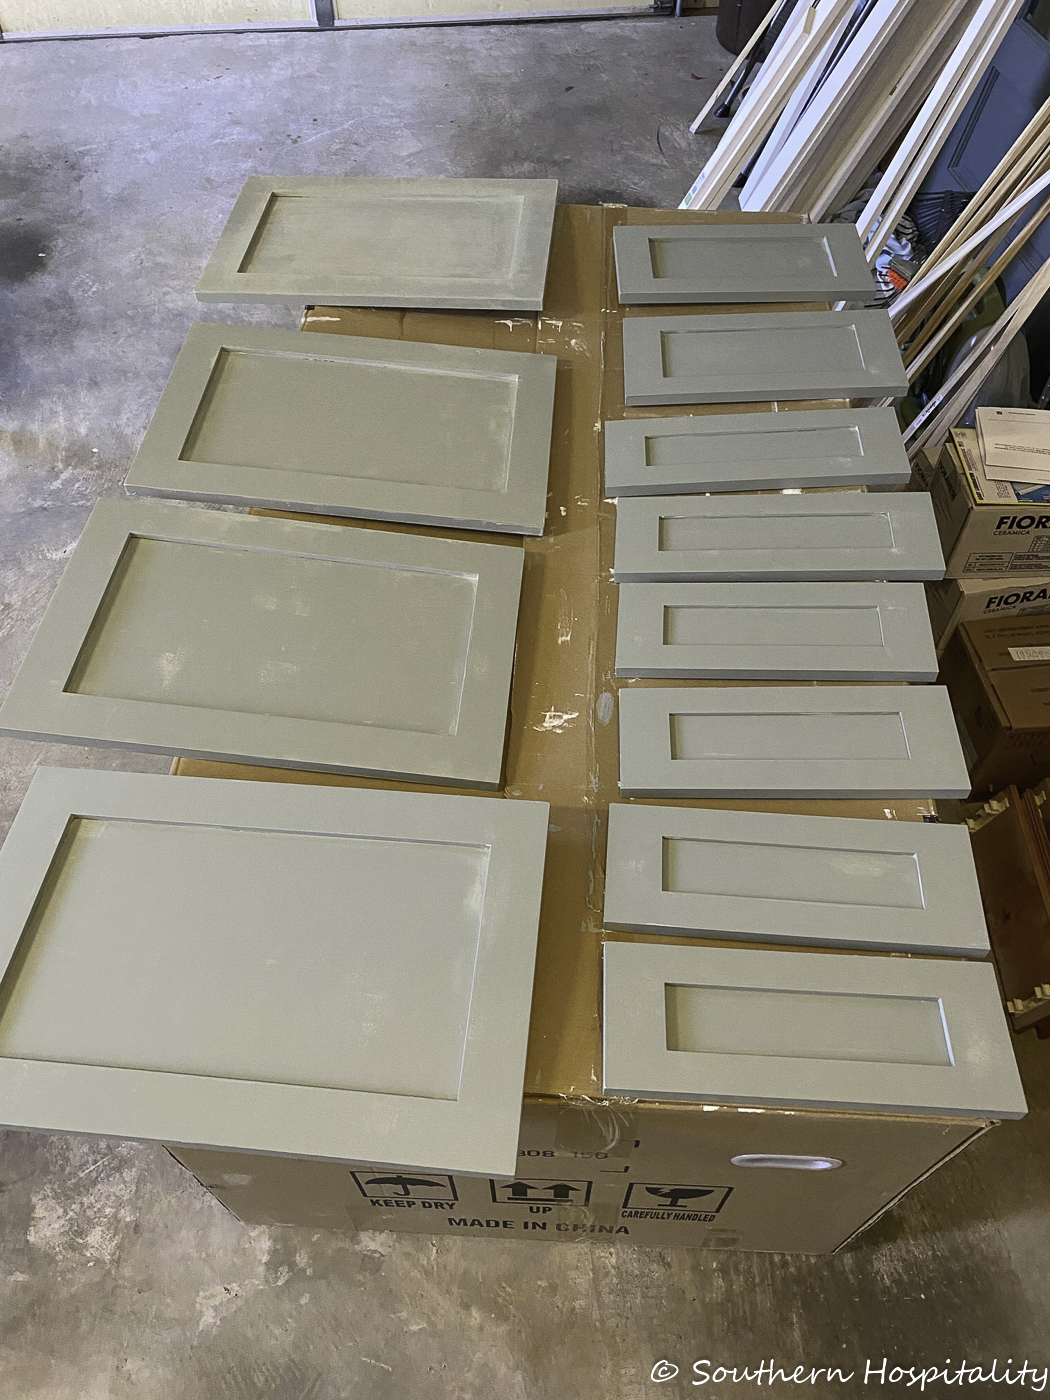
One coat down and then I buffed with the steel wool and added the second coat.
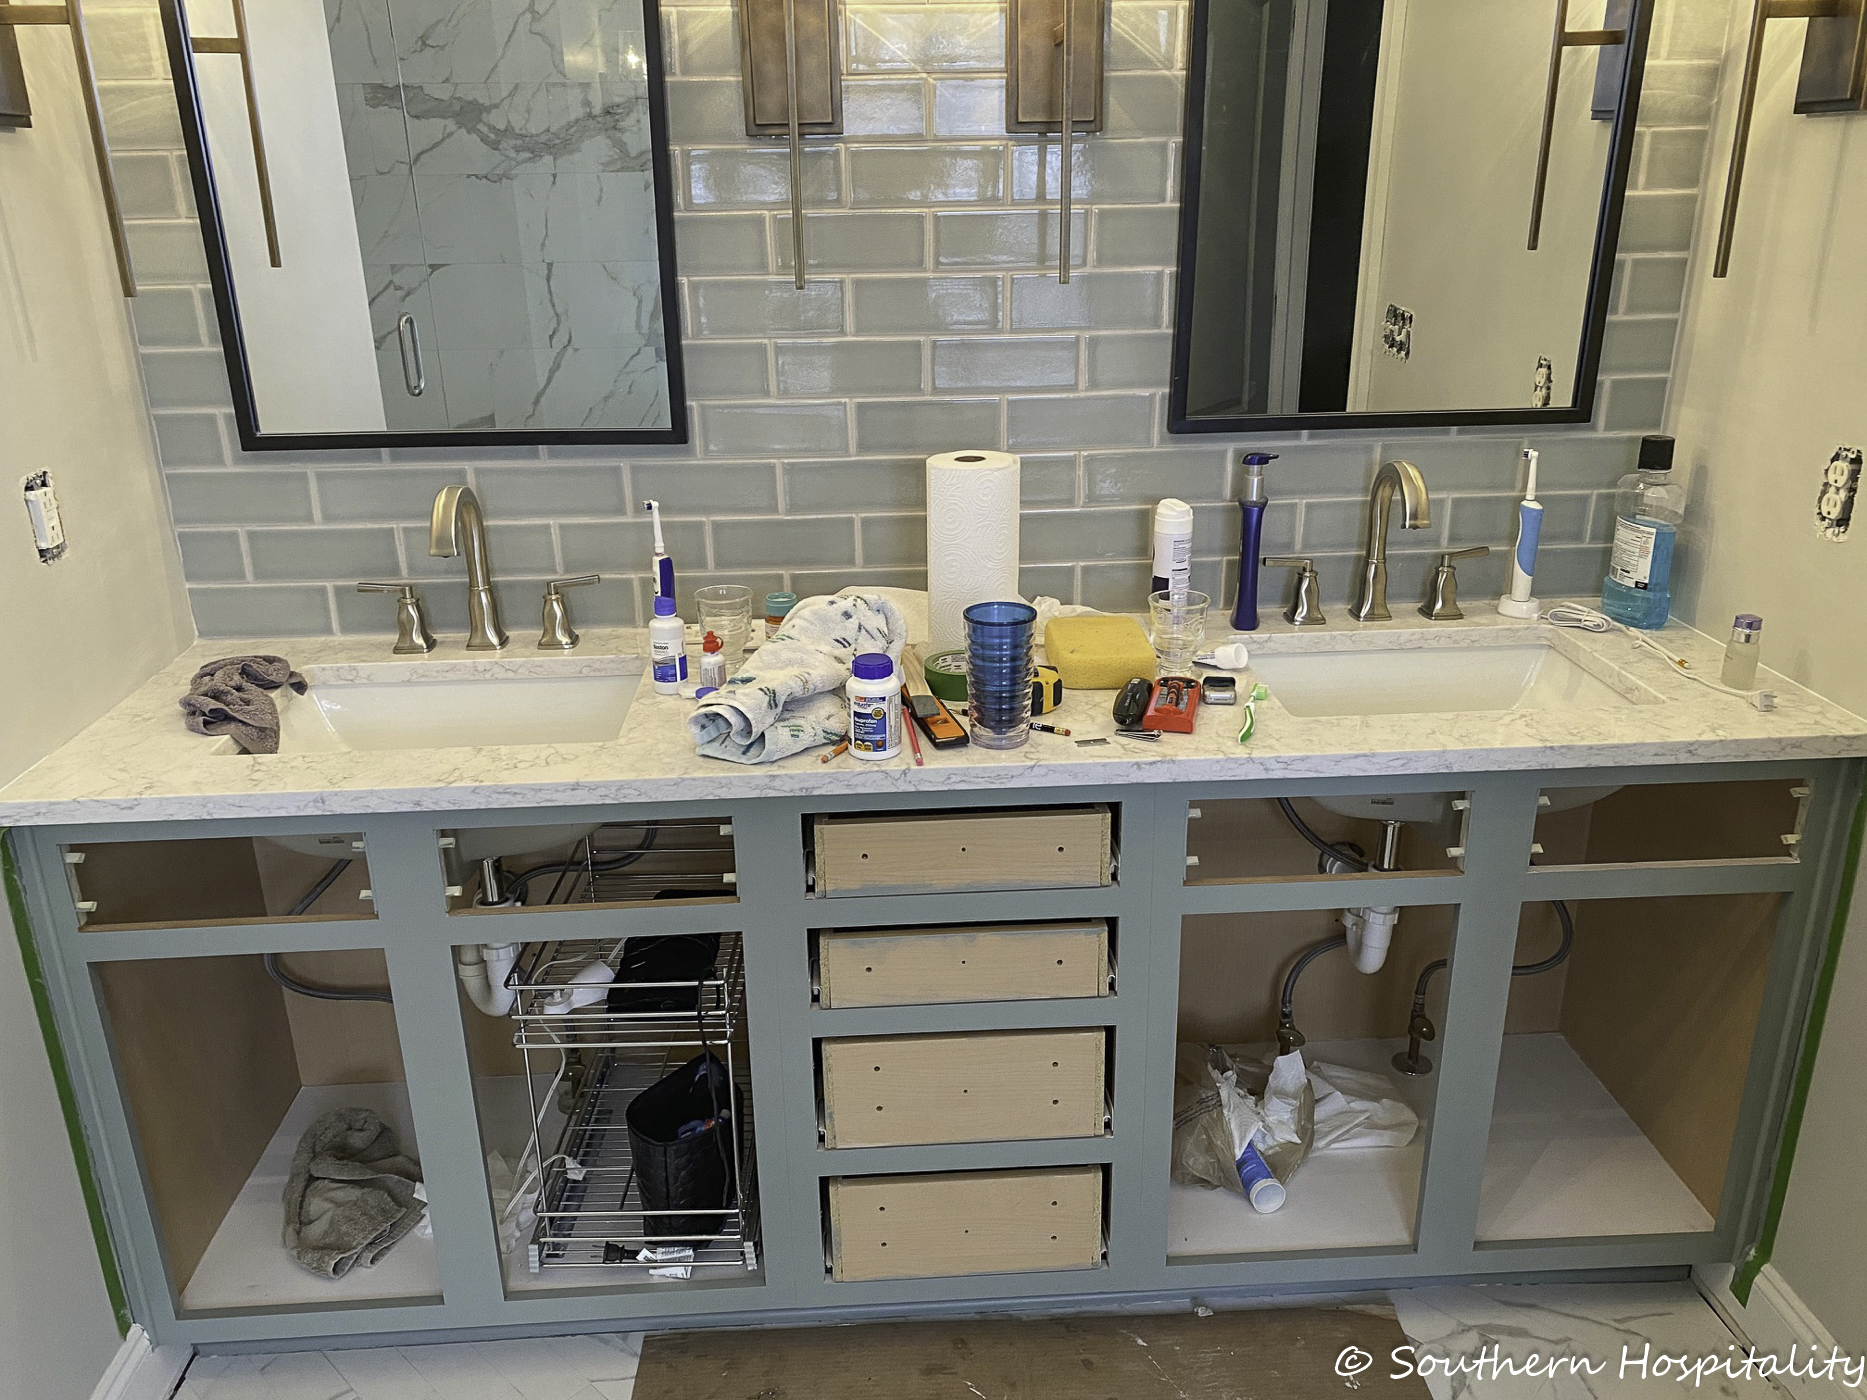
The vanity base with two coats of paint.
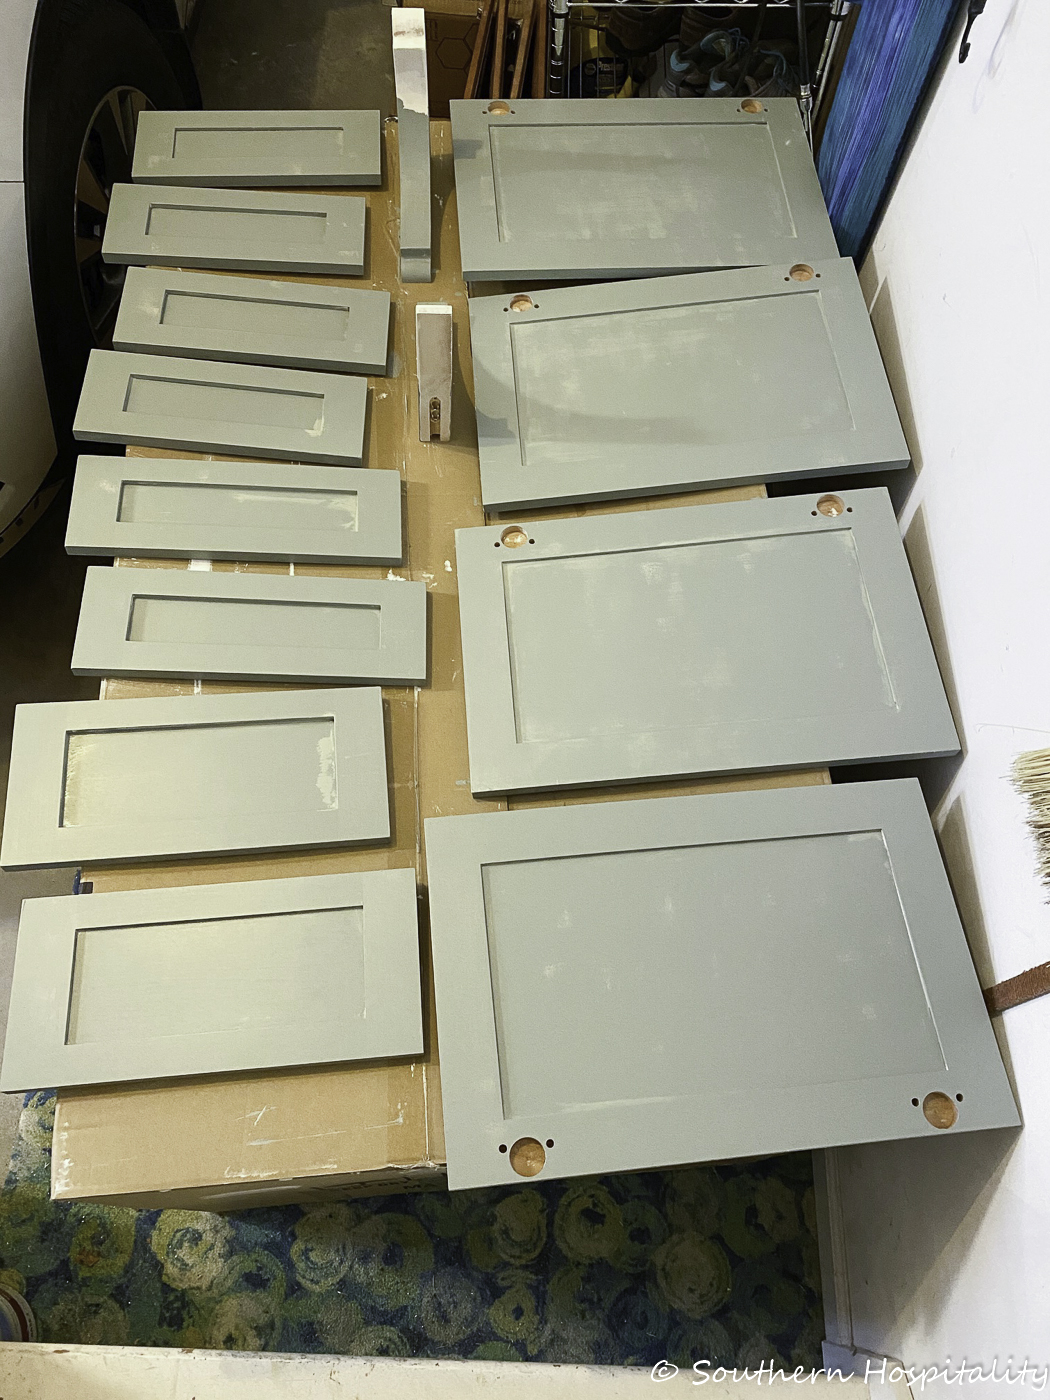
In progress, painting the doors and drawers. I would paint one side, let it dry and then flip over and paint the other side. Be careful of drips. This was the part I had to watch most and there are a few drips on drawer edges, but nothing really major. I would go back after painting to catch any drips that were happening.
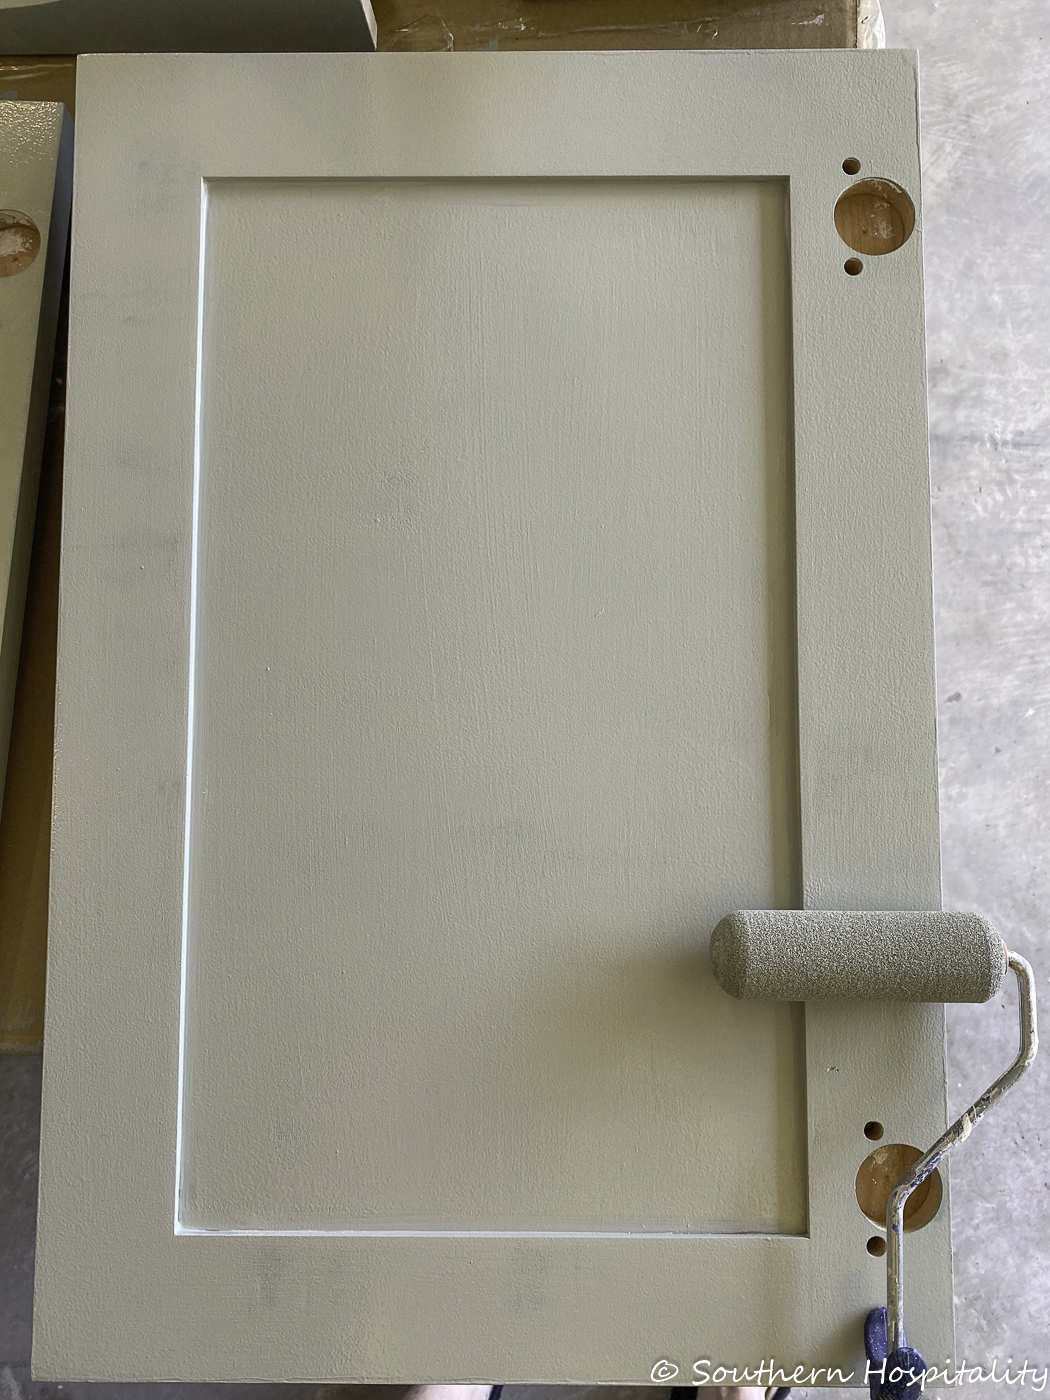
The foam roller did give a nice smooth finish to the door and drawer fronts. I used the smaller paint brush for the inside edges.
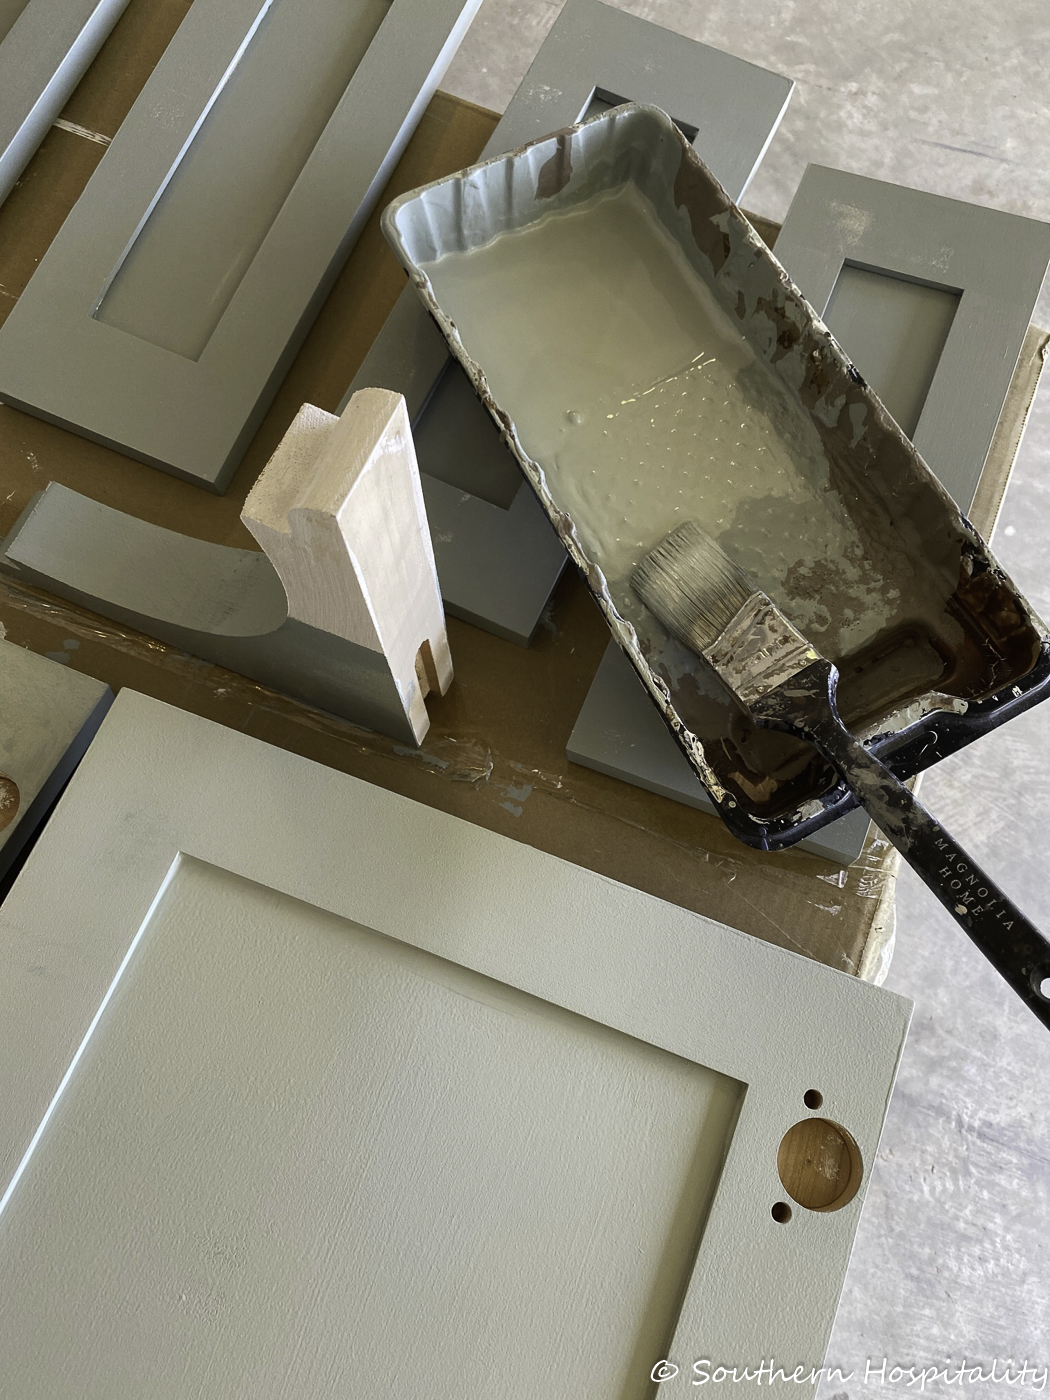
I also primed and painted the corbels we bought for the added feet on the vanity. You can see that here. I shared that I copied Sarah from Thrifty Decor Chick on adding feet and it worked perfectly. This is a corbel turned sideways and you just measure the distance from the bottom of your vanity to the floor, cutting one side down so it will fit sideways under the vanity on either side, creating “feet” for the vanity.
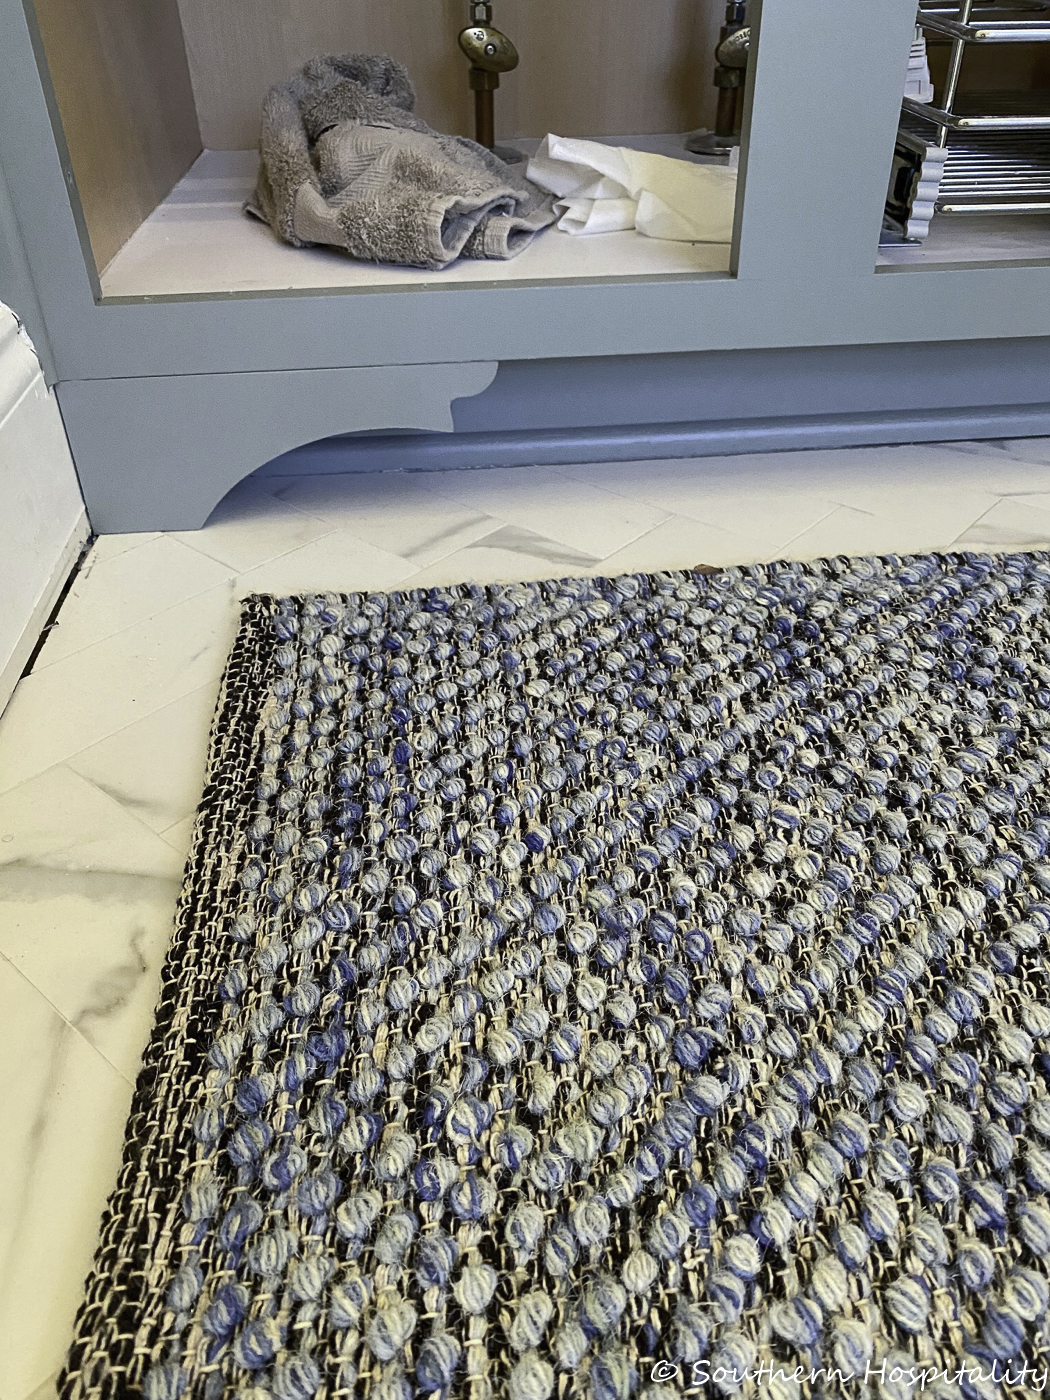
There’s the new feet in place. Sarah added a piece of wood behind hers to nail into, but we just placed ours flush with the vanity and Mark nailed straight down inside the lip of the cabinet into the feet to keep them in place and that worked great. This is such a great look to add to your cabinets to make them look more like furniture.
STEP 5:
Attach the doors and drawers
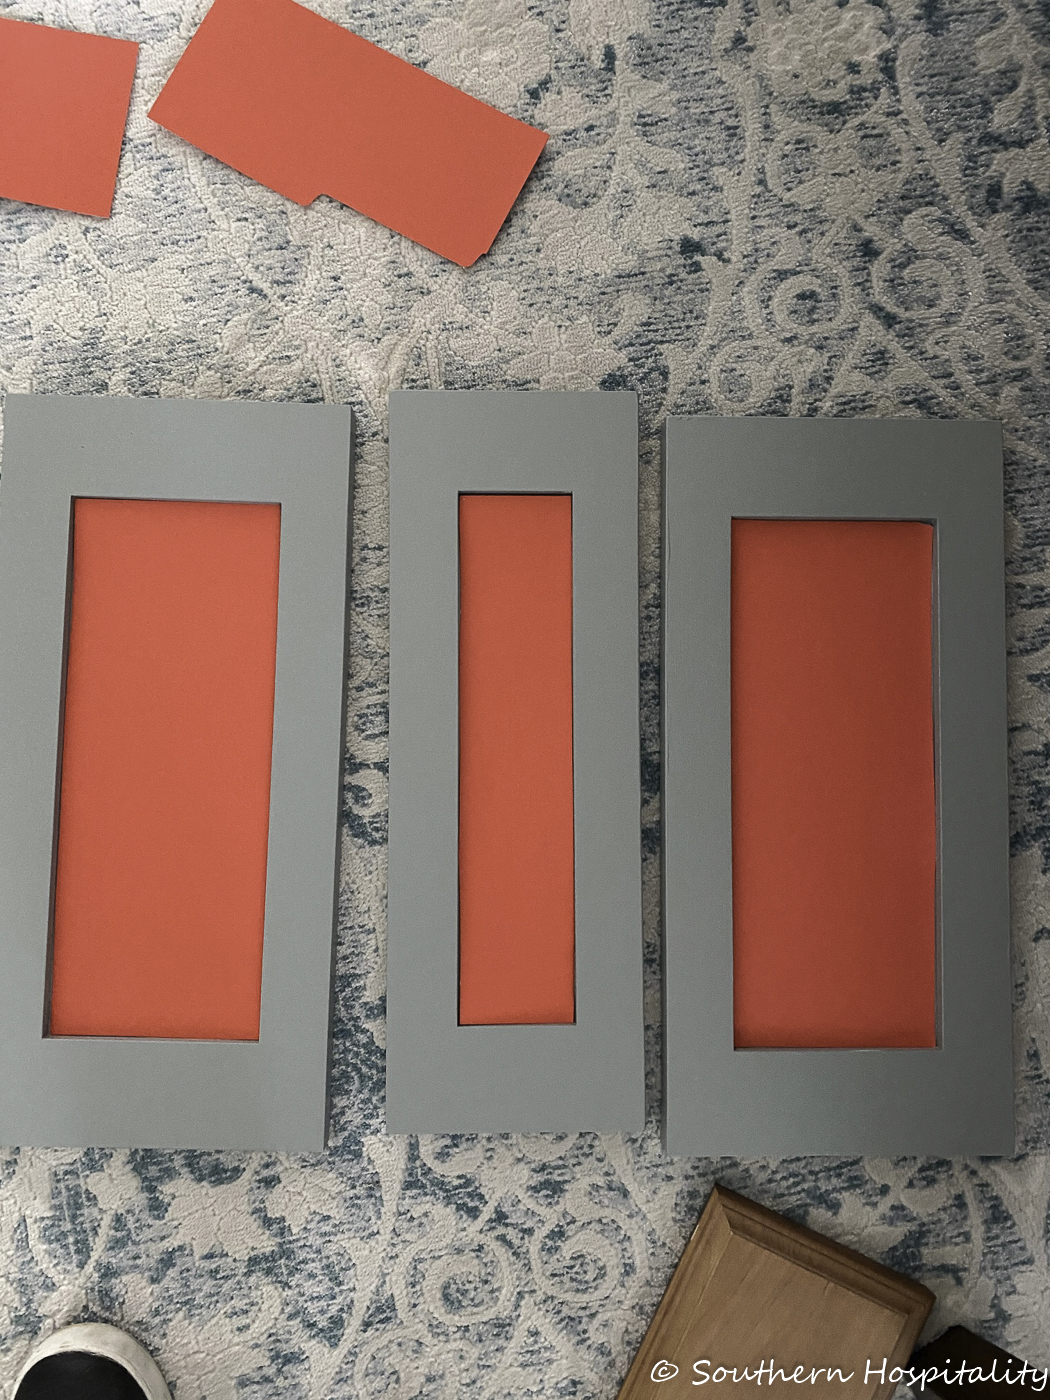
After all the drawers and doors were painted, it was time to mount them. This was the part we were dreading the most. This is the hardest part, since it requires precision and math skills, not my strong suit. Mark does much better with this than I do. We geared up for this process and got to it. I made templates for the drawer fronts using file folders cut to size. I then marked the middle and where the 3″ drawer pulls would sit.
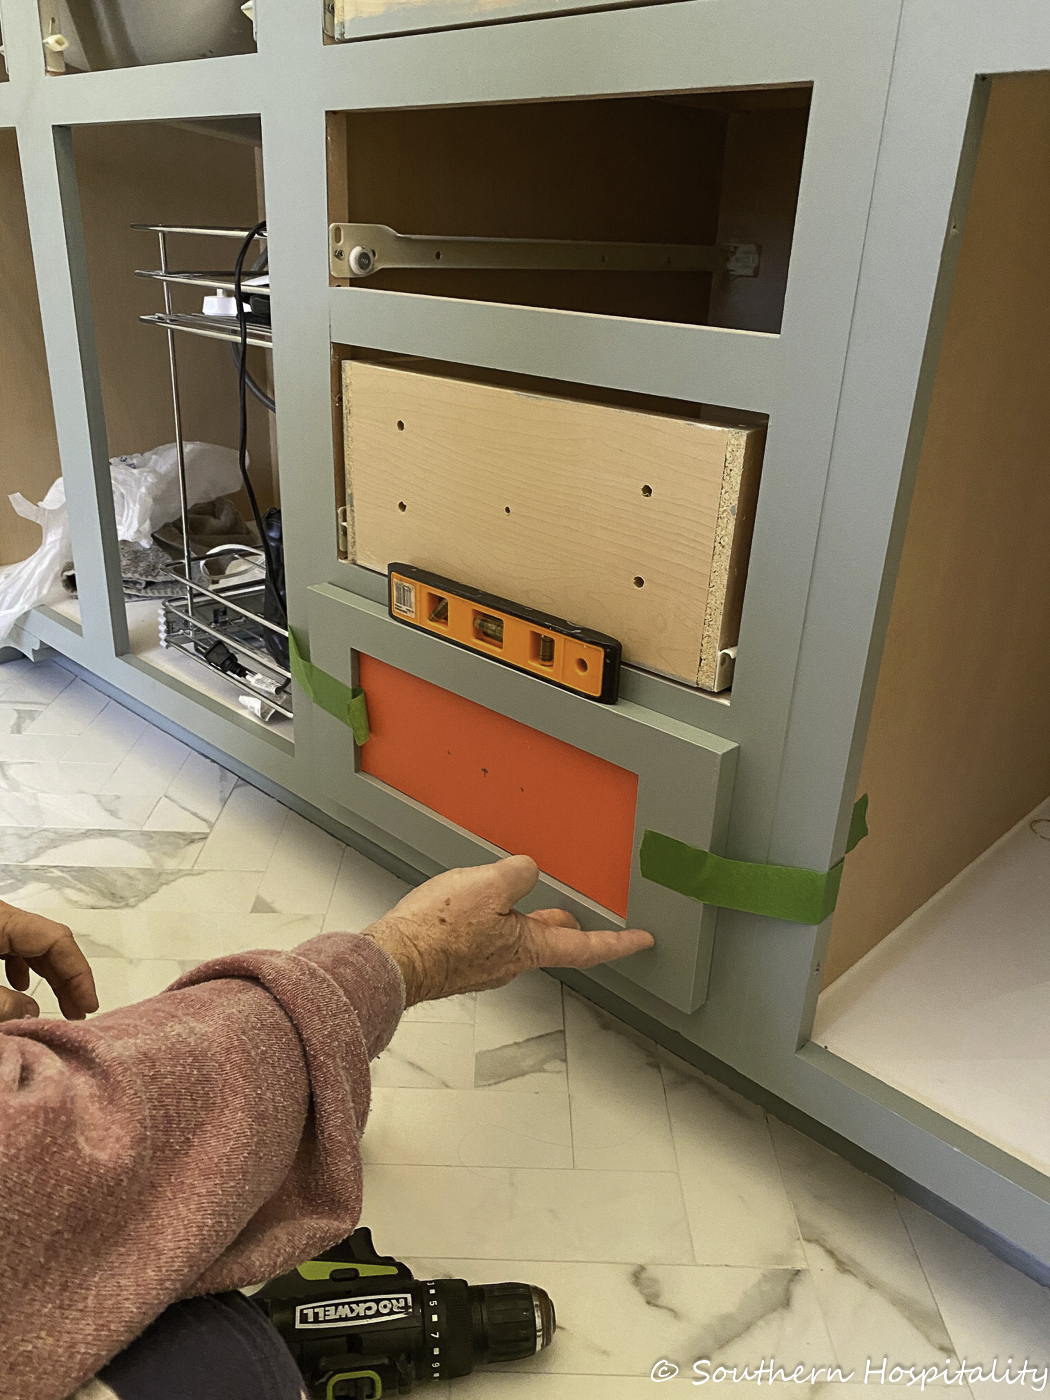
We pondered over the best way to make sure they lined up and I got out the Frog Tape to help keep them in place. Mark got his big clamps too to hold them steady while he drilled screws in from inside the drawer. We had to make sure we had screws that were long enough but not too long that they would come through the drawer. We also had to make sure that the screws would hit the thickest part of the drawer on the outside edge, so had to make new holes inside as far out on either side as possible. It was a little bit of a tight fit since the drawer fronts hang over the actual drawer and we had to hit the right mark on the drawers. I hope that makes sense!
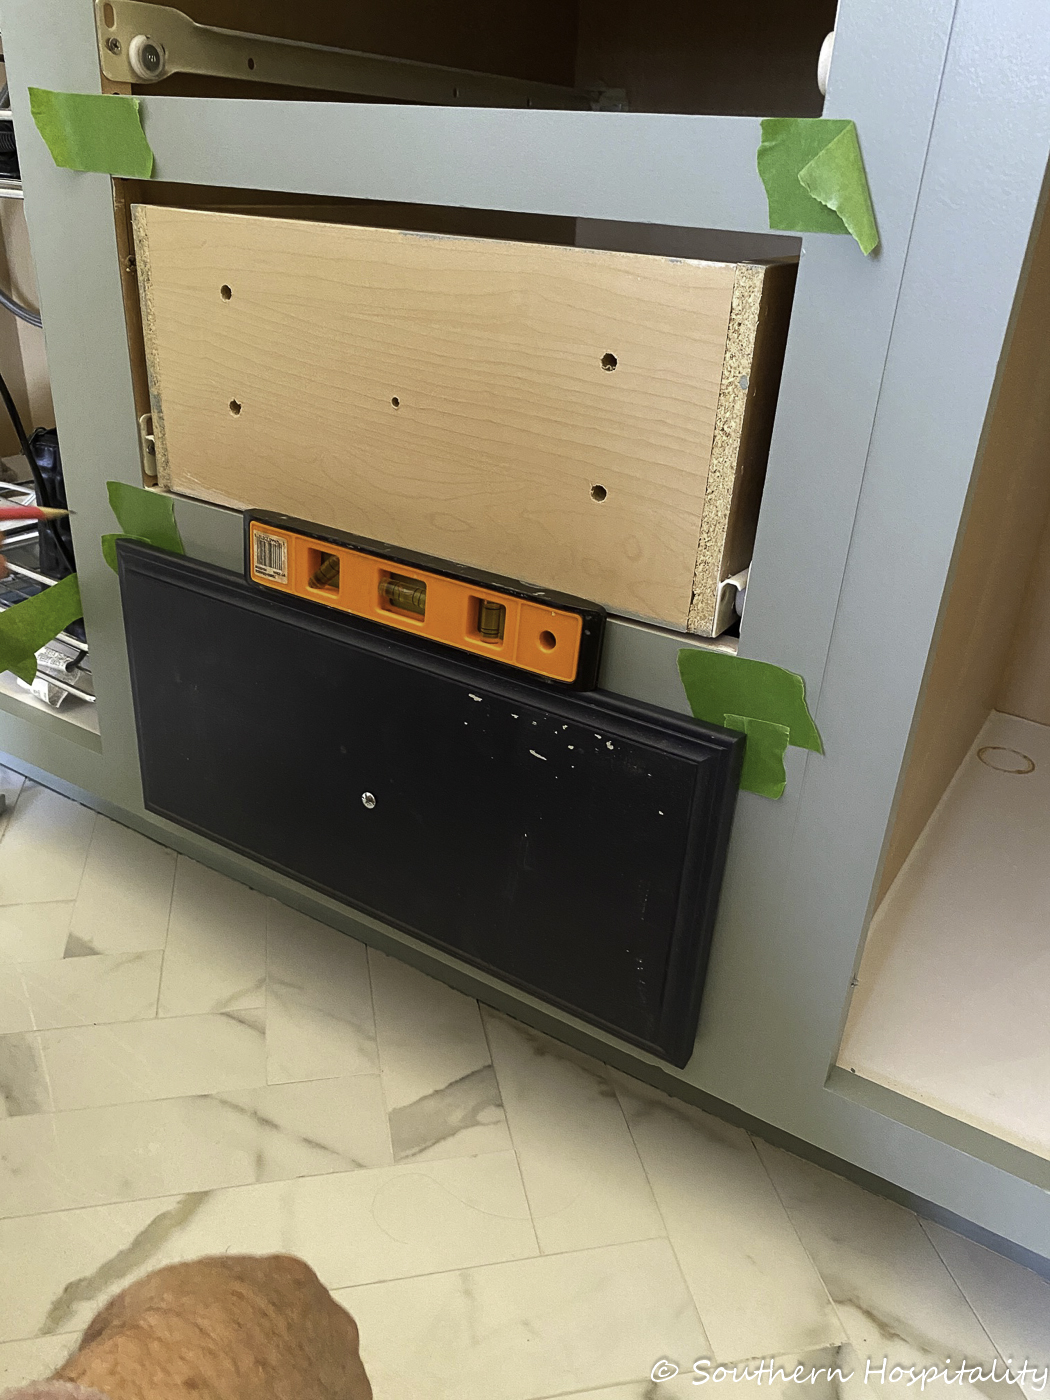
We finally decided to put the old drawer fronts back on loosely so we could mark the edges of the drawers with a pencil on tape and then we could accurately set the new drawers exactly where the old ones sat since they were spaced perfectly. This is the tedious part, getting all the drawers and doors lined up properly.
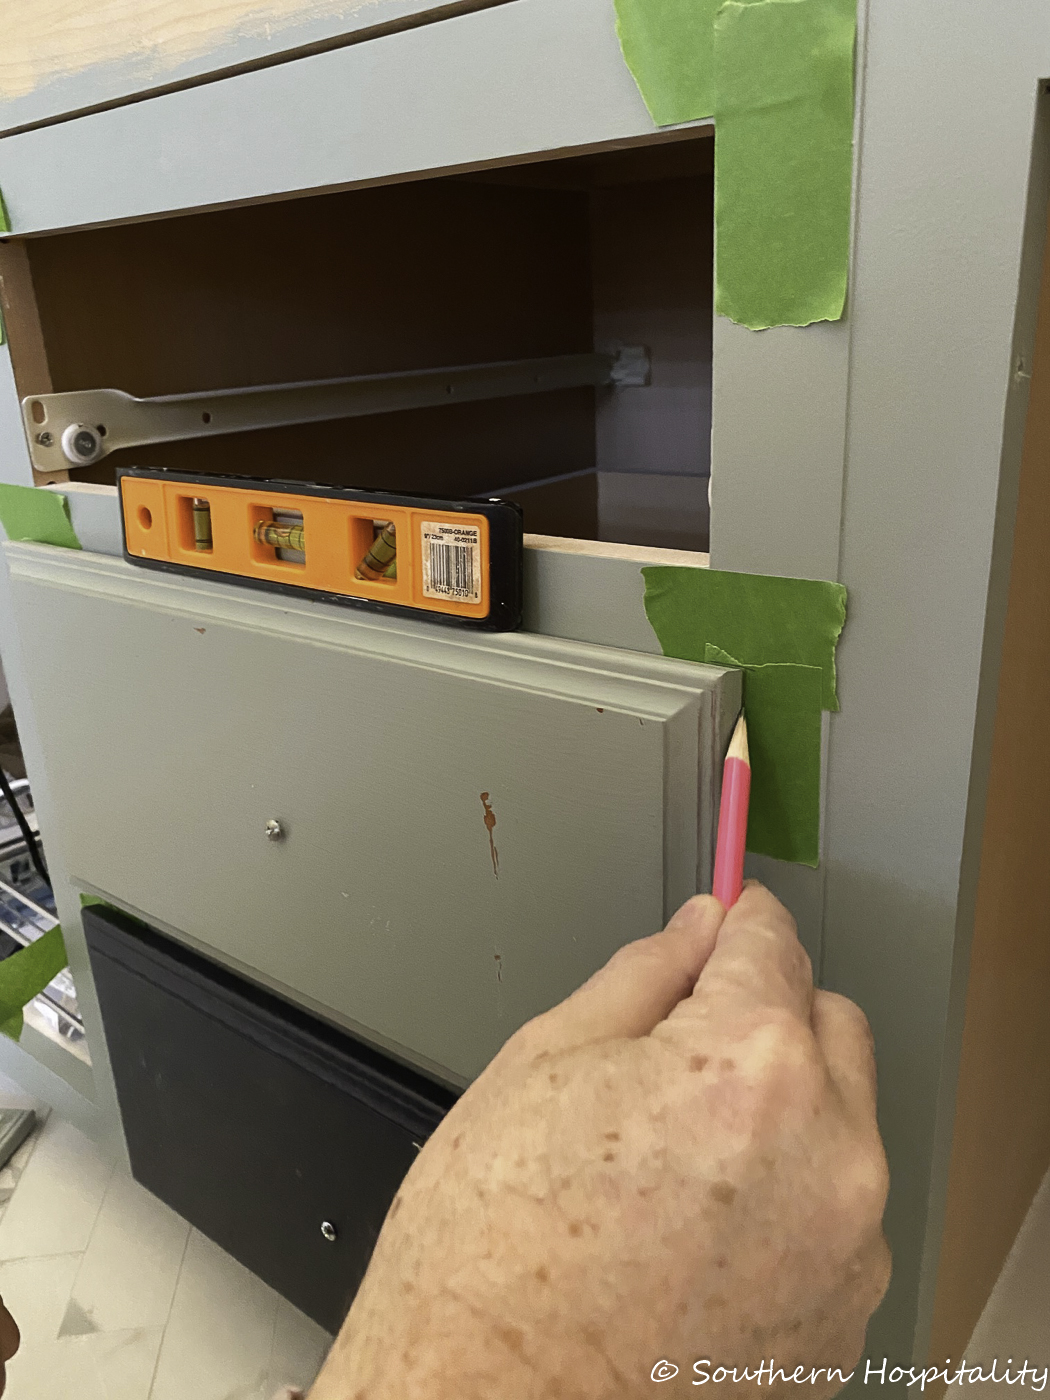
Mark took the little level making sure each one was level and then marked with a pencil on the tape. After marking all the old drawers we took them off and started at the bottom, working our way up with attaching the drawers.
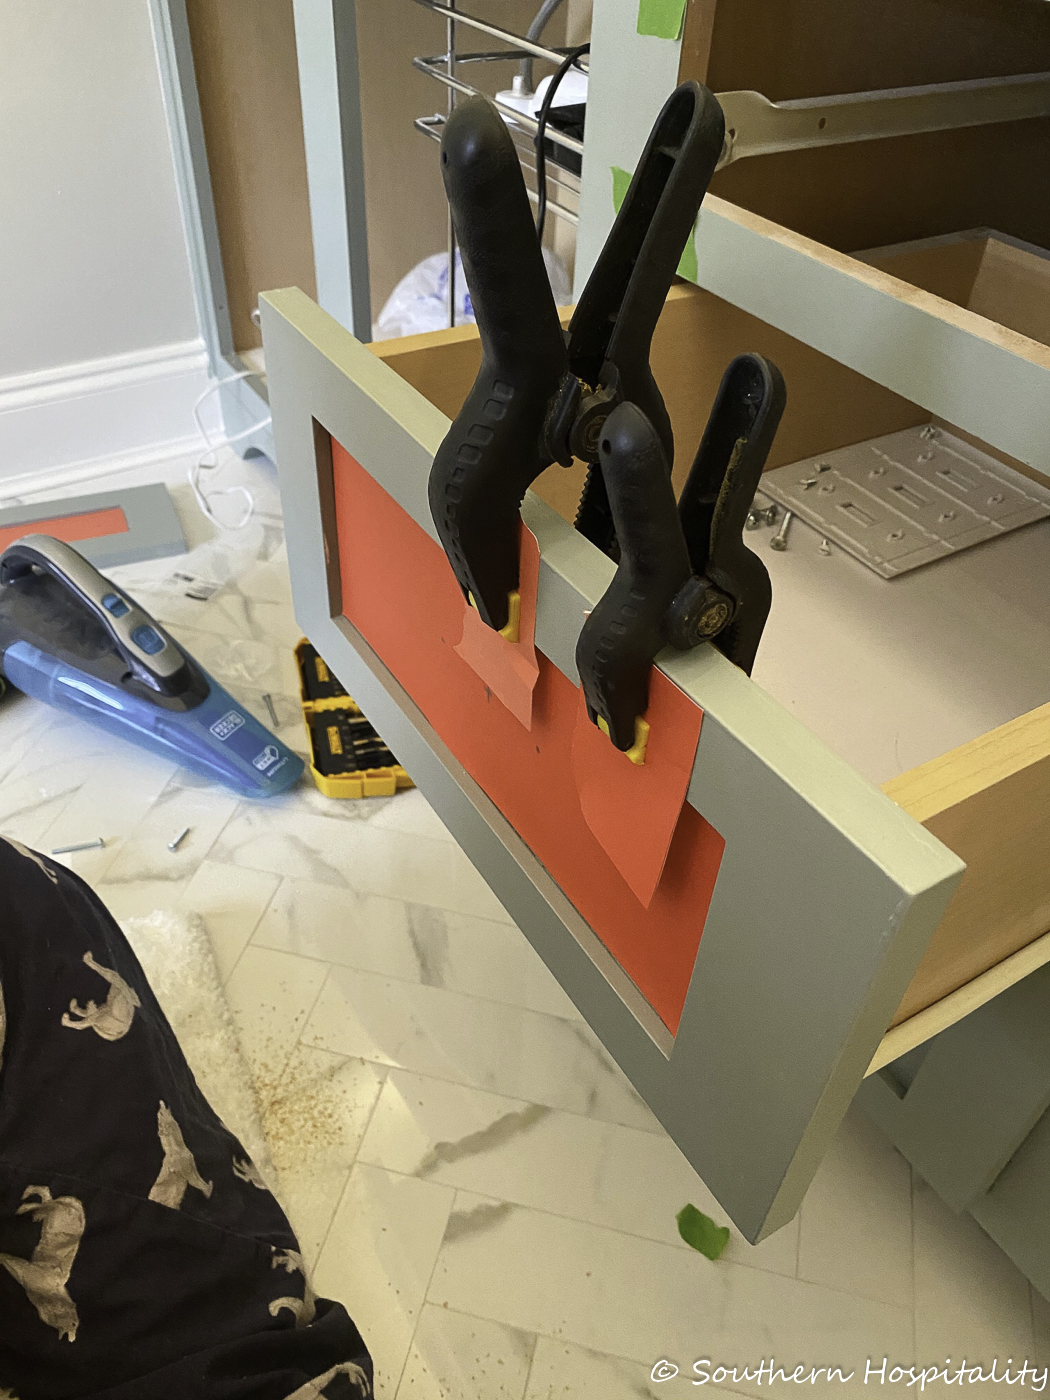
Taking care to set them properly against the green tape marks, then clamping the drawer in place, we carefully pulled out the drawers so they could be screwed into place. Yes, tedious and nerve racking to get this part right! I’m sure guys that do this all the time have short cuts and easy methods but it was not that easy for us. But with care and measuring it can be done. Ours are not all perfect, but visually they look good.
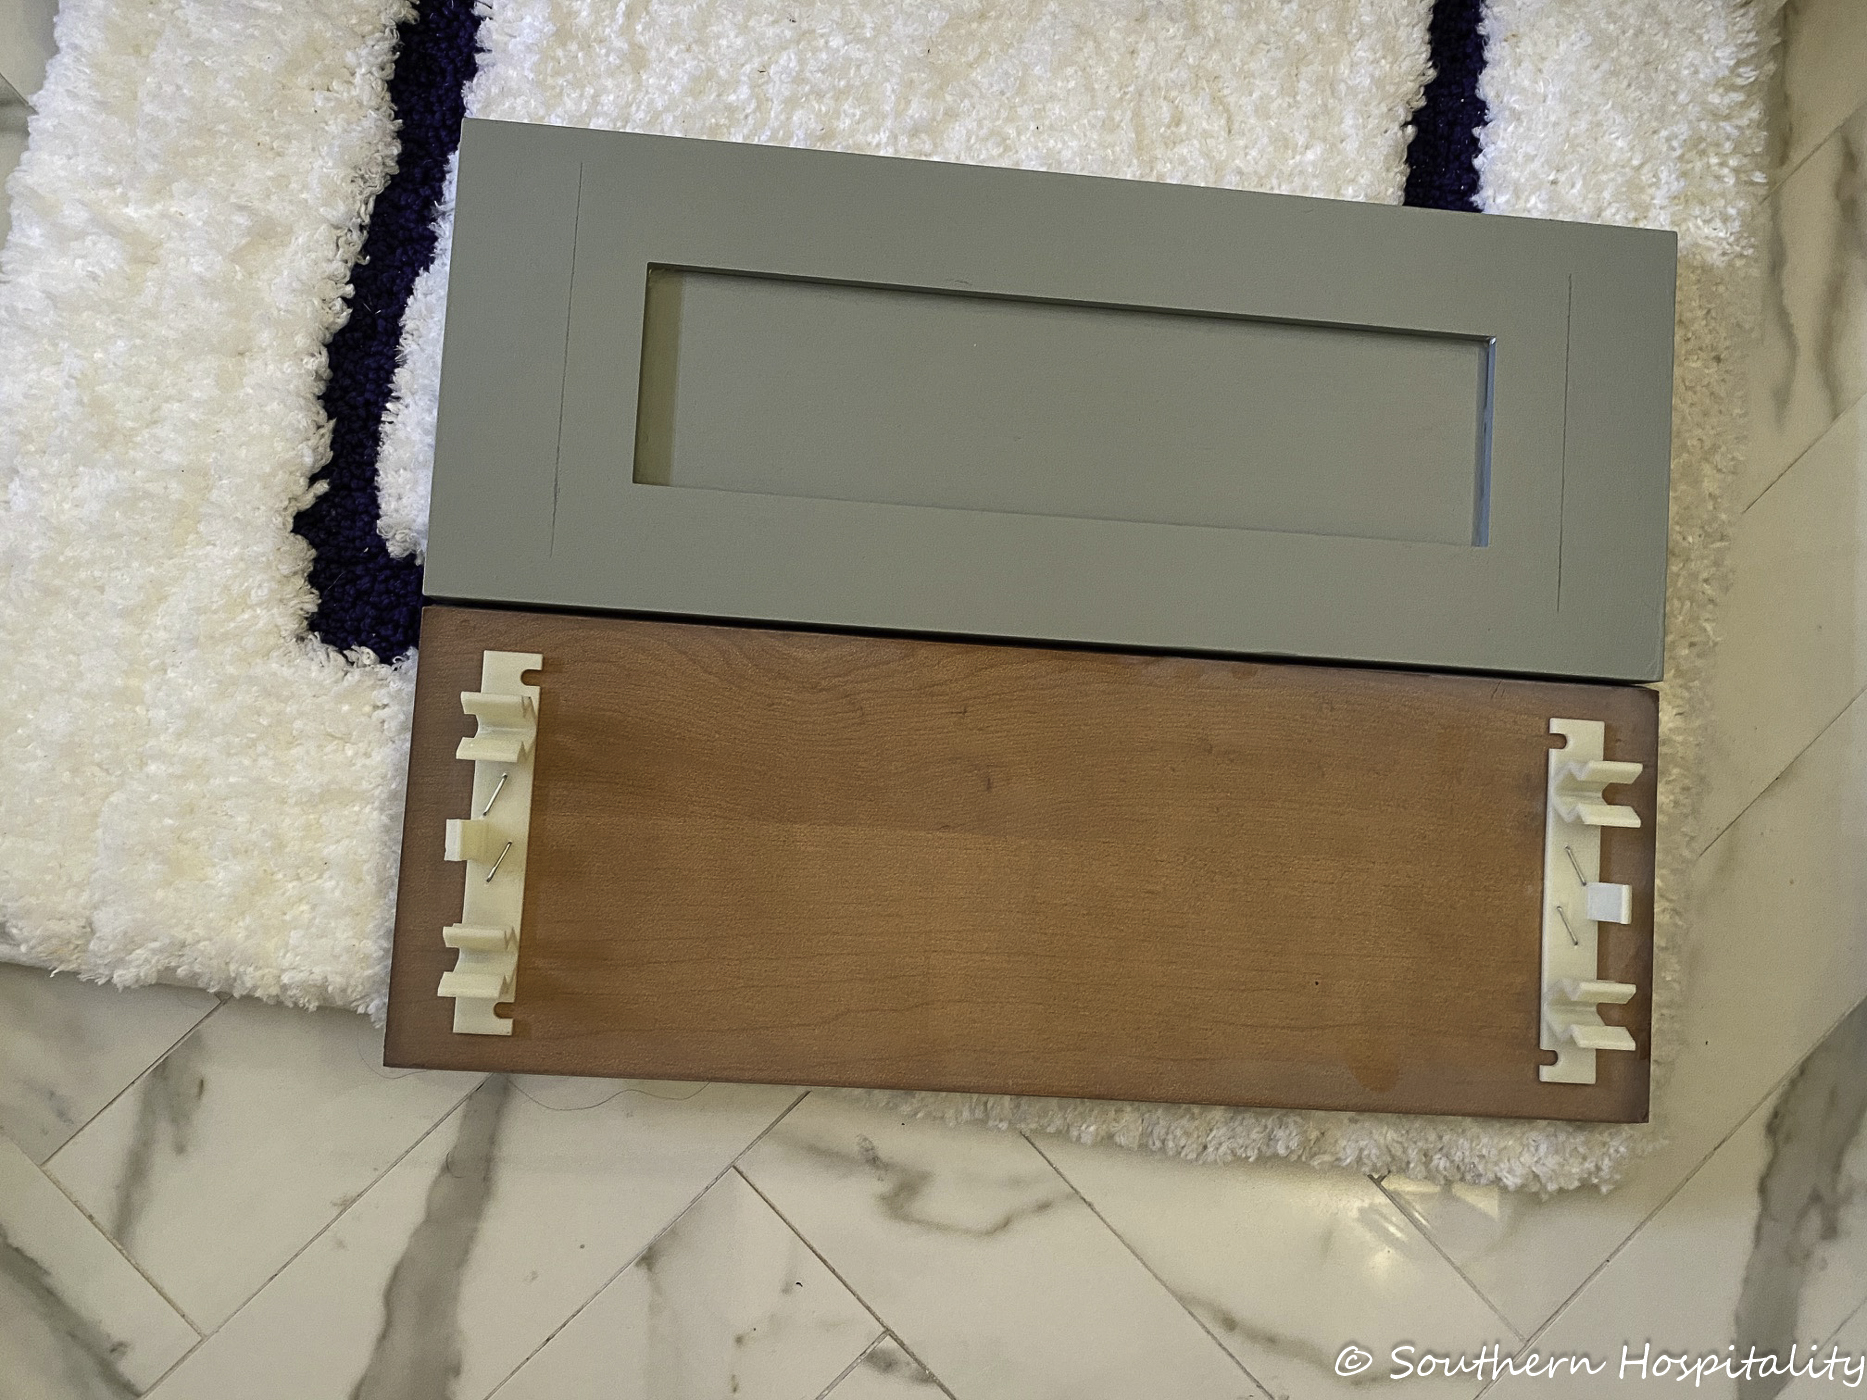
Next for the false front drawers, Mark took the old plastic pieces off the old drawers and attached them to the new ones with staples. We figured this was the best bet to just reuse what we had and it worked out fine. He just made sure the pieces were in the same position so they could be tapped into place.
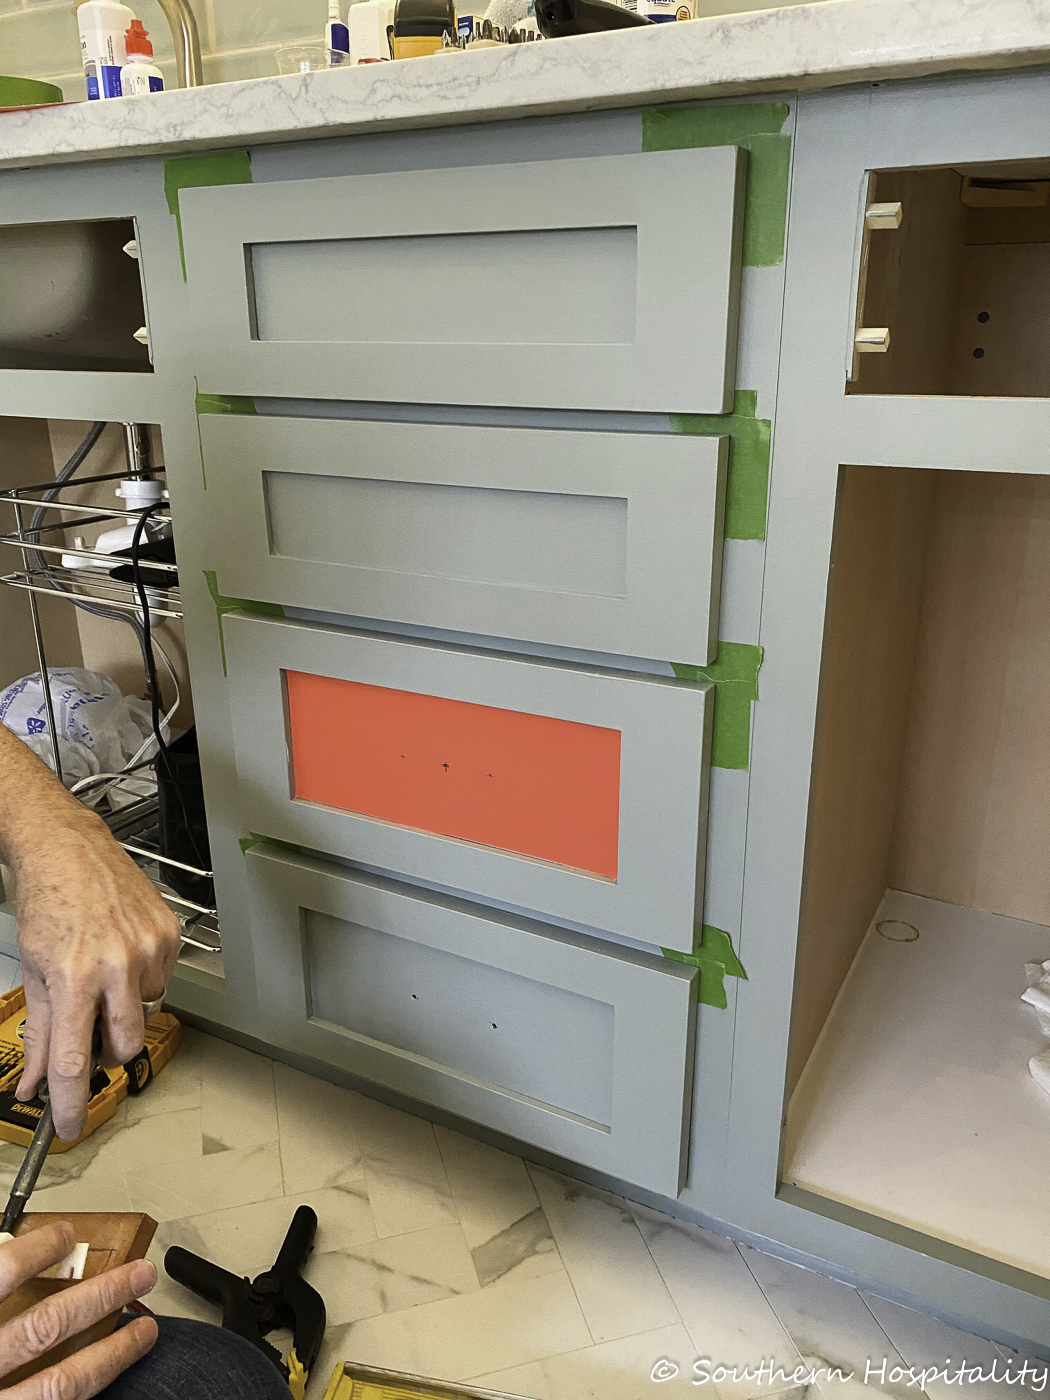
All drawer fronts on and ready for hardware. That’s another tedious process! It was so good to get to this point and to have them actually look good and straight.
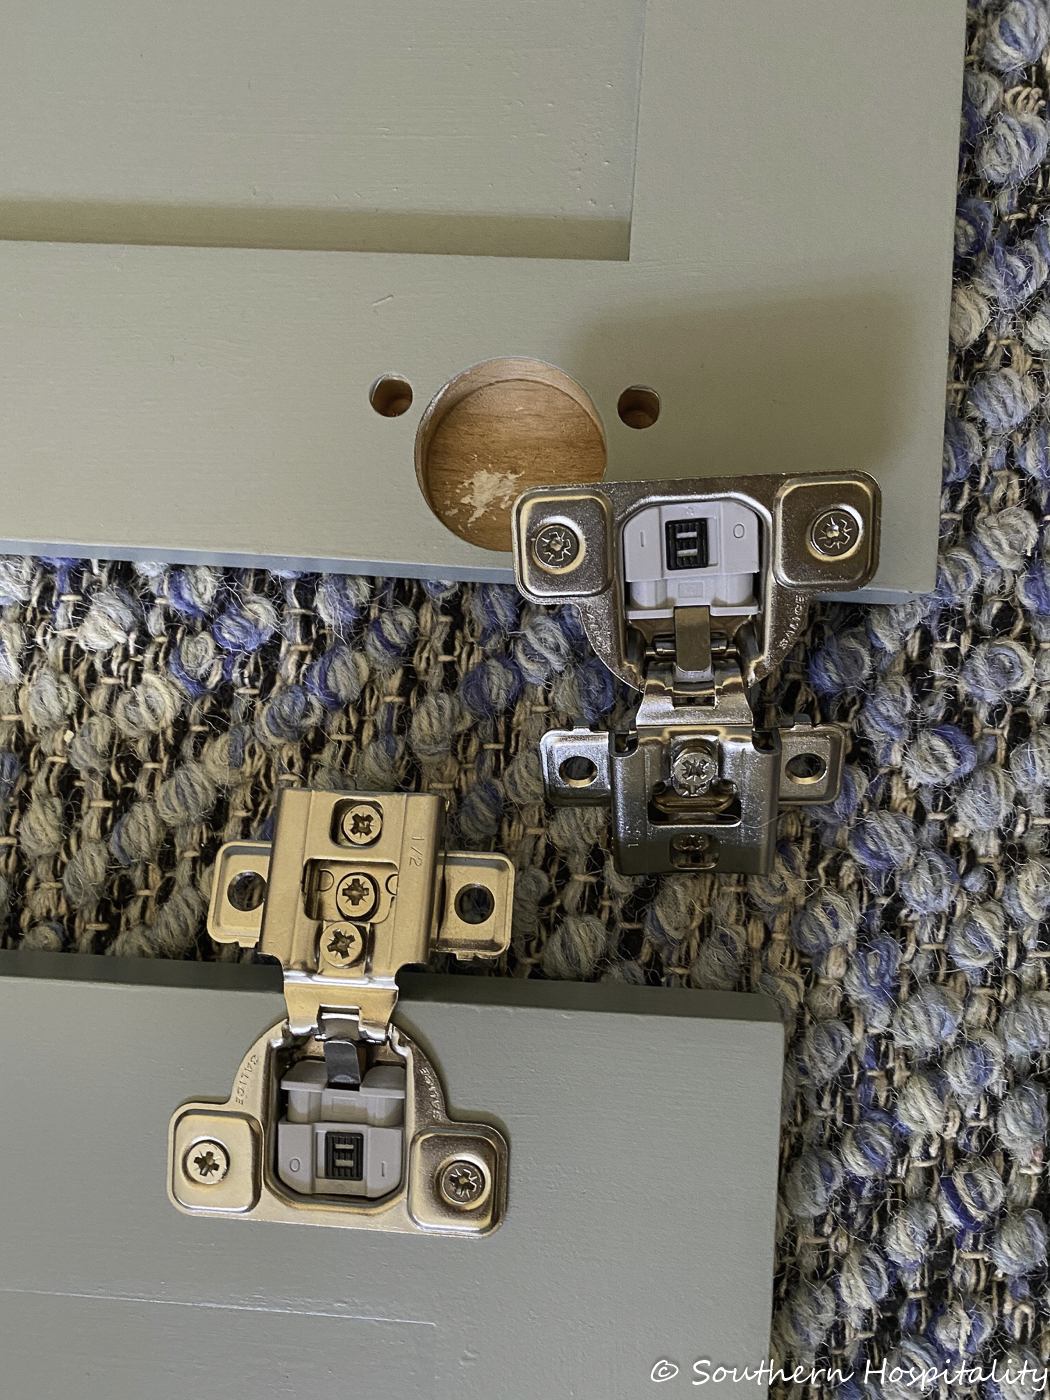
Now for attaching the doors, Fast Cabinet Doors sends the hinges with the doors so this is pretty easy. The new doors already have holes predrilled so you just tap the hinges into place, screw them in and get them ready to hang.
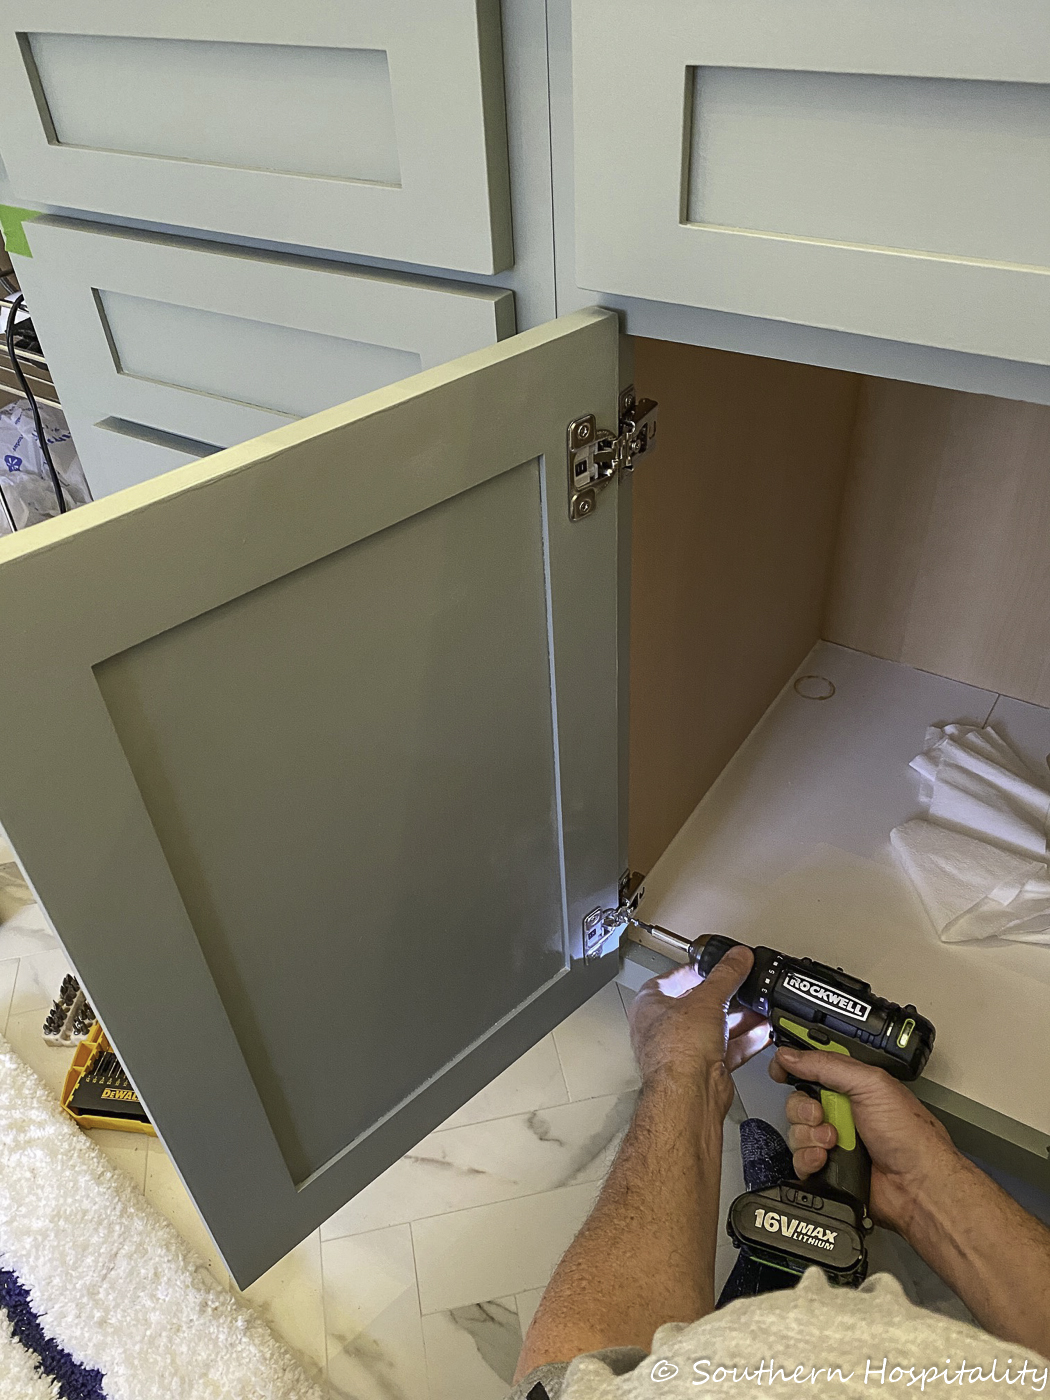
We used the same method with the doors and put green tape up and drew marks with pencils where the edge of the door should sit, making sure they all lined up across the cabinet and using a level to keep them straight. Then it’s just a matter of screwing them into place on the vanity lip. These are soft close hinges and they work great!
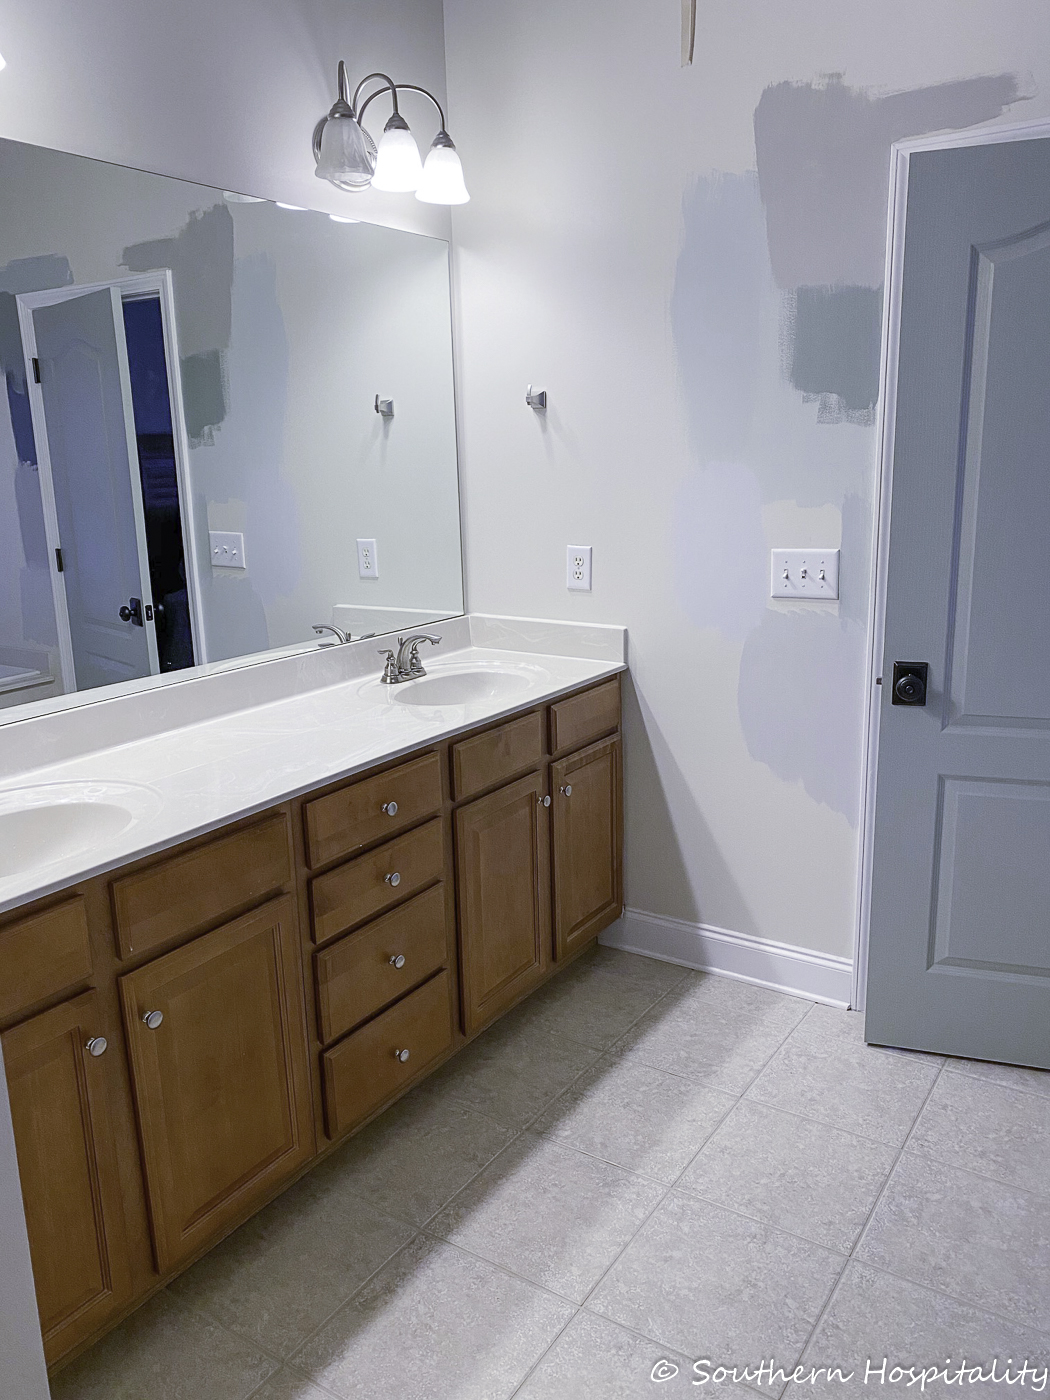
Here’s another look at the vanity before.
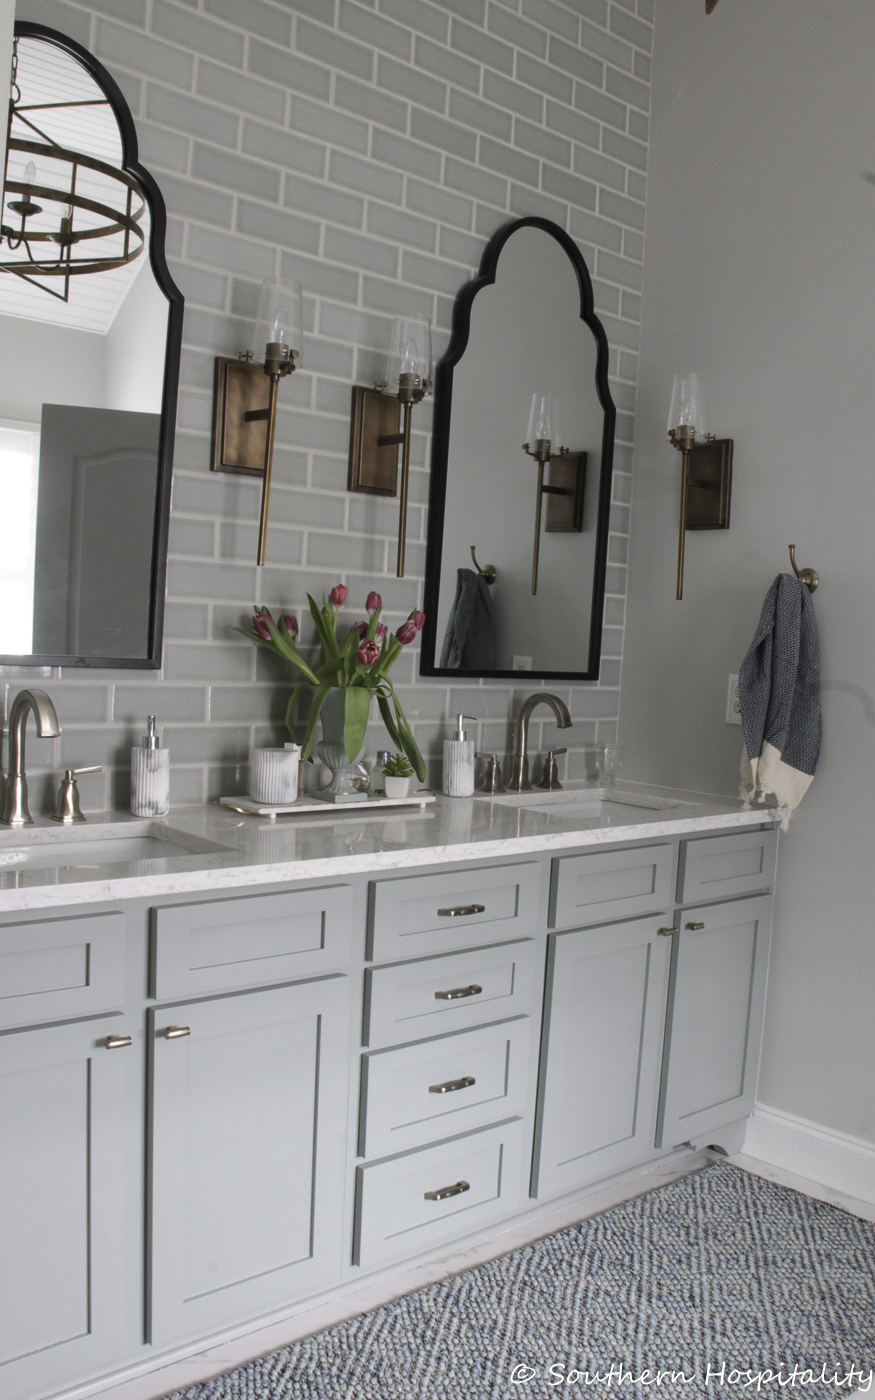
And AFTER! I’m so pleased with how this vanity turned out and it really gave us the look of a new piece without having to spend money for a custom look. I had gotten an estimate on one this size from a company and it was going to be at least $2500 for a new vanity, not including the top. So this was definitely a way to save the budget and use what we had.
We have no regrets about this decision at all and the new doors and drawer fronts were around $350 total. It was sponsored but that’s what it would have cost to replace these.
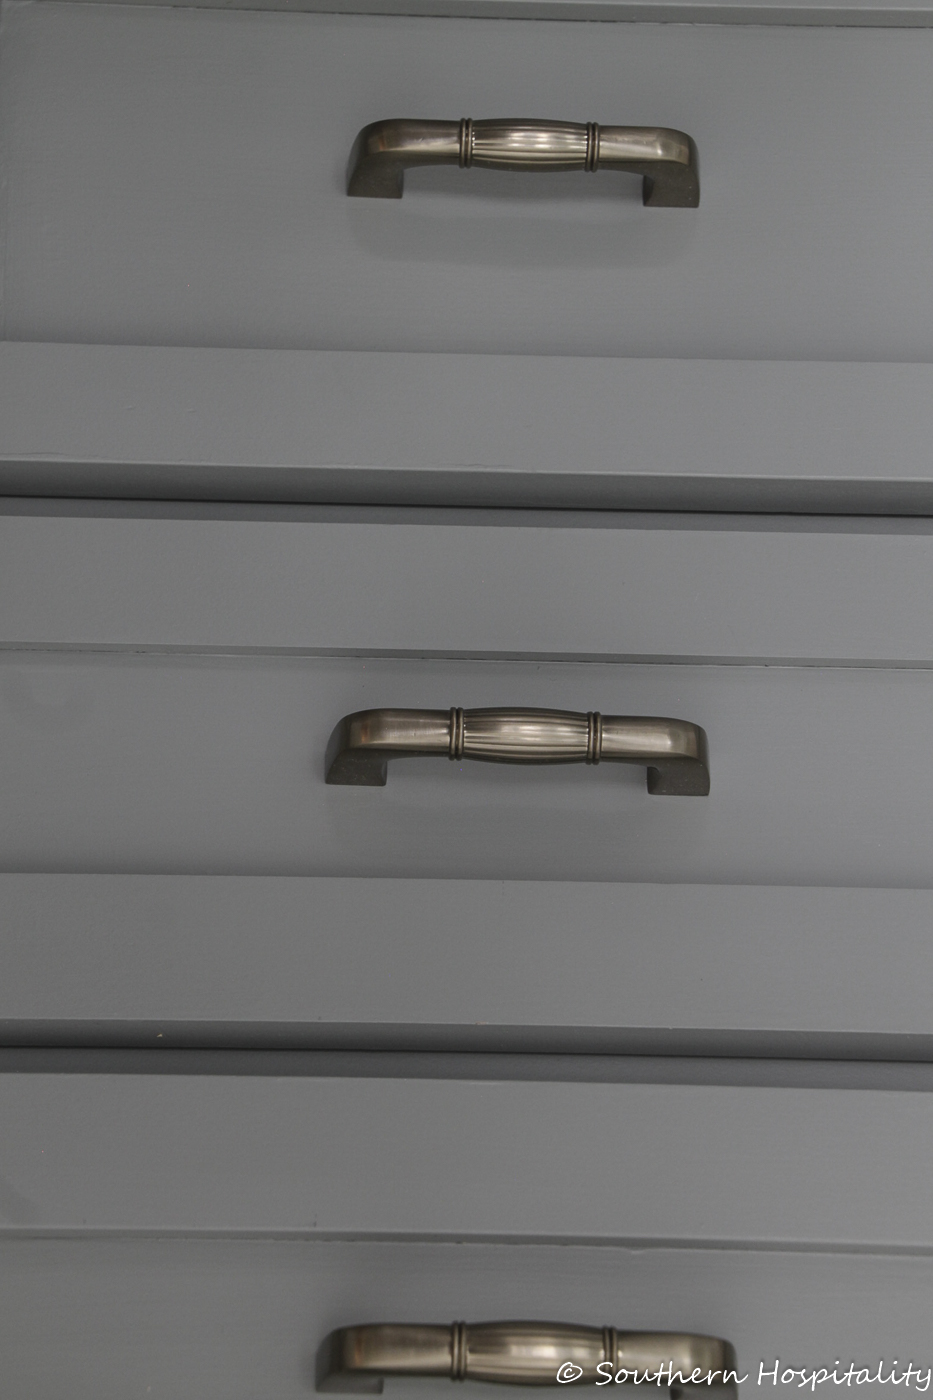
STEP 6:
Add new cabinet hardware.
Our new door hardware came from D Lawless Hardware and we were happy to have this sponsored as well. Their prices are excellent and you can find the fluted handle here and the fluted knobs here.
We used my template to mark the holes but this process is a little tedious too since you have to hit those screw holes on the back of the drawer pulls exactly for them to screw in properly. This took a little bit of time and trial and error to get it just right and they aren’t perfect either, but they look fine and work fine so we are happy. I think using a plastic template would be better for perfect accuracy for installing hardware. There’s an art to doing these things and if you don’t do it often, it takes much longer to do than it would take for an experienced pro to do it.
We were so happy when this process was done and we could step back and admire it. Mark was especially happy!
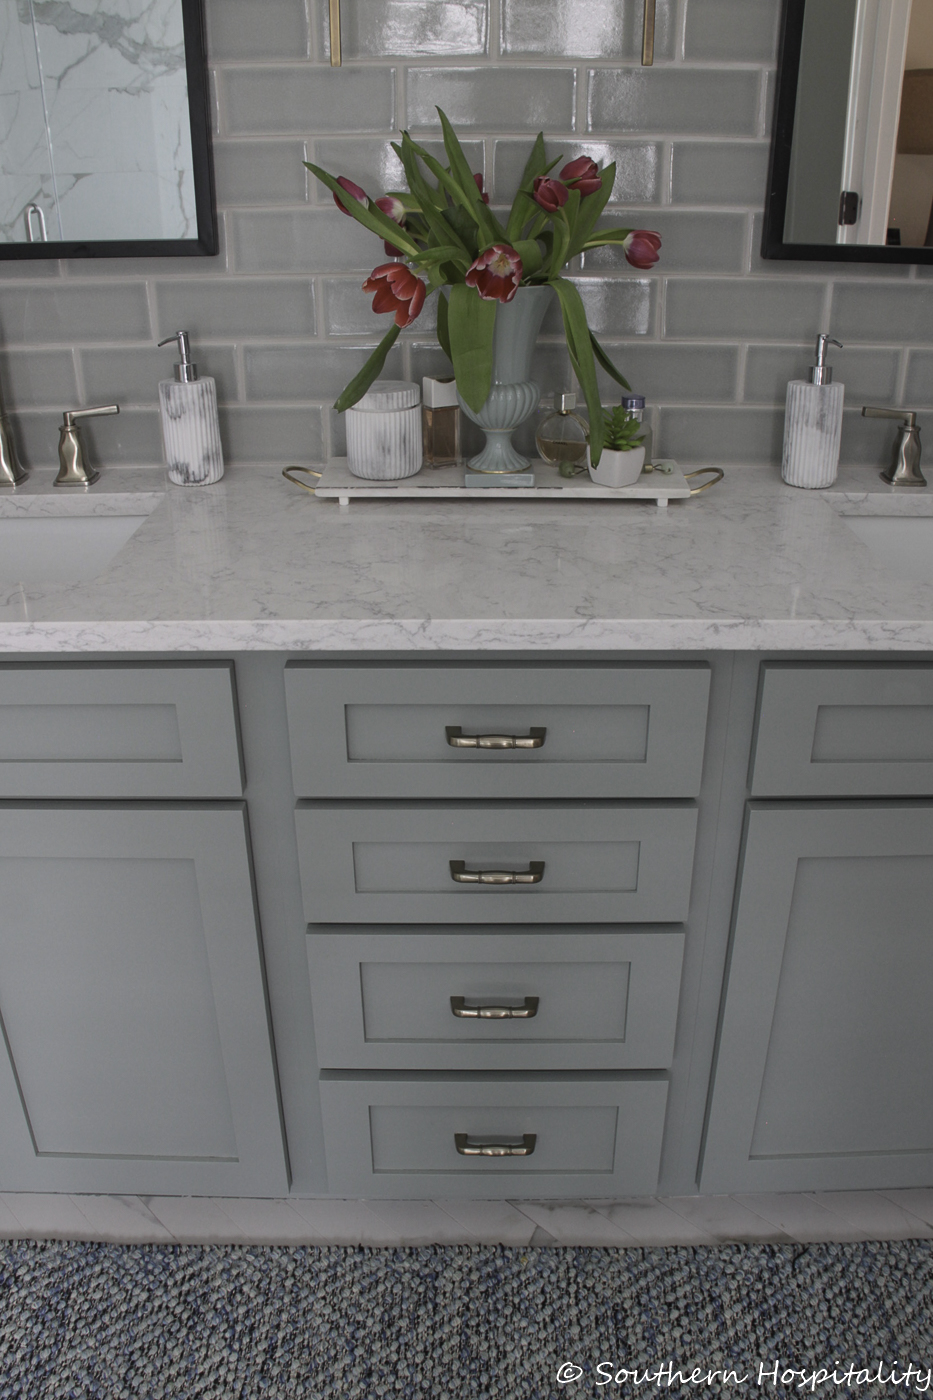
The finished product! We are so happy with how this all came out and I would highly recommend changing out doors and drawers if you’re going to keep an old vanity and paint it.
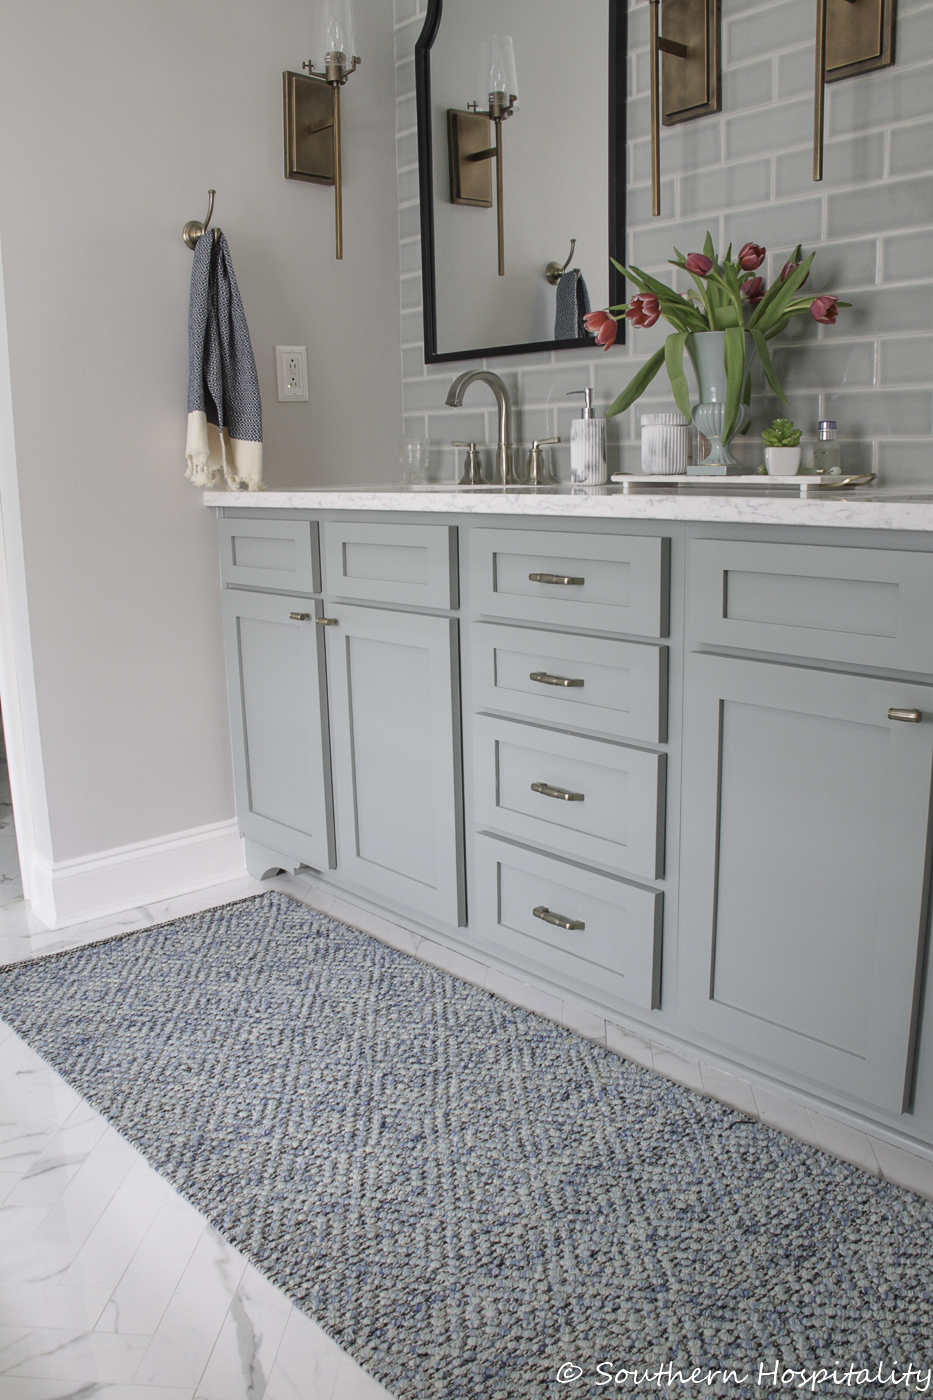
I think this totally updates our old vanity and gave it new life for another 15 to 20 years. It was all wood to begin with and we just couldn’t see tearing it out and starting over and I’m so glad we went this route.If you love your existing cabinet doors, by all means keep them and paint them. We were ready for a change.
Check out Fast Cabinet Doors if you’re in the market for new drawers and doors. I was so happy to work with them on this project and highly recommend them.
Wall Color: Gray Owl by Benjamin Moore.
Door Color: Oyster Bay by Sherwin Williams
Vanity Color: Acacia Haze by Sherwin Williams
To see the entire bathroom reveal, click the link for that post and click for the tub and faucet information.


I LOVE your new vanity and bathroom. What color did you paint the walls? I really like your idea of adding the corbels which updates your whole vanity so much. My vanity cabinets are similar to yours and they are solid wood, so I will definitely be looking at your cabinets more.
Hi, Colloni, thank you for stopping by! The walls are Gray Owl by Ben Moore.
Beautiful!
It looks amazing. I am afraid to paint on wood, I feel that it is so easy to do it wrong. You did a great job.
It’s really not that hard at all, with the right tools and paint.
You and husband created a great look for your bathroom! Did you say tedious??!! I’m afraid I would need to walk away from my husband while he figured the math part😂. Congratulations!! I also like how you ran the tile to the ceiling. Very pretty!
Thank you! Yes, it was nerve wracking to get those doors and drawers on straight but we finally got it done. That was a relief!
You both did an awesome job in all areas of this remodel. It was a lot of fun watching this come together. You made it seem almost too easy😉 for a remodel but at the same time you did show the realities of a remodel. And poor Mark having shingles during all of this🙃. I’ve said it a few times already but I will say it again…Beautiful room and Great job!
Thank you, Mary! It did end up being harder because of Mark’s shingles, but he rallied and we made it through to the end. THank goodness the contractor and his crew did the majority of the work, but our part took time too. We are so proud of it!
Love love love the colors you’ve chosen, Rhoda!!! I am glad you shared where to get new doors as our mbr vanity could use an update, too. I have been thinking about painting it and since I have lots of time with being off from work… 😉
Beautiful, and pinned several photos for you, <3
Barb 🙂
Thank you, Barbara, I’m so happy with how that vanity turned out. Great save! And I have another bathroom we will probably do the same.
Beautiful makeover but that little detail of the corbel on each side is the crowning touch.
Thank you, Michelle, that really is a nice touch for a furniture look, adding the feet.
You did such a beautiful job on your master bathroom. I have a quick question. Did you seal your marble tile floor in the shower?
Thanks
HI, Judy, thank you and yes, I did seal the marble tile. The tile place we got our marble from gave me a bottle that is a one time seal for marble and I added 2 coats of that. It sinks in and seals it.
I’m late to the party, but WOW. That looks fantastic! You and Mark did an outstanding job, Rhoda.
Thank you, Jane for stopping by. We sure love our new bathroom.
Hi, Nice job on the project. Where did you buy the backsplash? I’m assuming it’s peel and stick? I need the same thing for my master bath.
HI, Lindsay, it’s not peel and stick, but regular ceramic tile by Walker Zanger, here’s the whole post about the bathroom:https://southernhospitalityblog.com/the-new-traditional-master-bathroom-reveal/
What a gorgeous transformation. I didn’t realize you could just replace the drawers and doors. I love the colors you chose as well. Thank you for the inspiration.
Hi Rhoda! I wish that we could share our project pictures with you! I can’t thank you enough the entire detail post on about your master vanity makeover. It was my guide around the rather often what could feel overwhelming vanity project, it helped me really hone in on my plan. We bought our hardware via your link and have the same pulls as your above vanity and love them! Also bought other hardware we needed for our remodel and for the rest of the house! I mean why not right! Lol We incorporated the corbel idea! Wow, it brought it all together and made the entire vanity look custom and high end! Thank you so much again for taking the time to write this and sharing all your amazing tips! next project are pocket doors in our master closet, we plan attaching it via a pocket door to our laundry room! I already have saved your post about the pocket door project! thanks so much again! Cheers! Dori
HI, Dori, I’m so glad this was helpful for your project, thanks for letting me know!
Where did you get your mirrors?
Those are from Kirklands. Here’s the link. https://rstyle.me/+kidPE1z12Wq9jbqM8zY6sg
Wonderful job! It turned out gorgeous. I was hoping you would show and talk about the chandelier that I can see in a few photos. Any info you can share on it? Thanks
Hi, Gail, here’s the master bath reveal post with all the details and sources. https://southernhospitalityblog.com/the-new-traditional-master-bathroom-reveal/