One of my readers, Janet, had me do a consultation for her diningroom awhile back and she has just finished the transformation, so I wanted to share with you the fabulous makeover that was accomplished. Don’t you love BEFORE and AFTER photos? Me too!
I had a lot of fun with Janet’s room, it has great bones, but needed some tweaking to get it into shape and updated. First, let’s look at the BEFORE pics: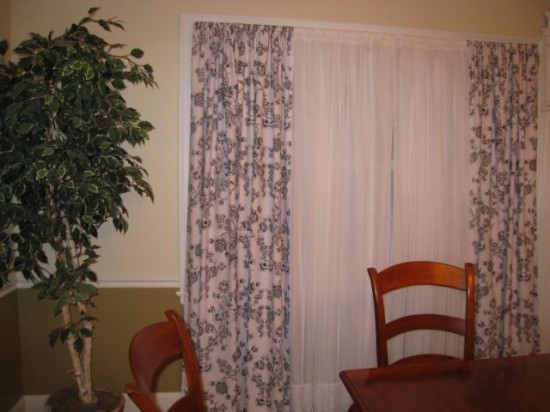
While these toile drapes were pretty, they weren’t doing anything for her windows. They are sitting right on top of the windows instead of framing them and accenting the windows. So, first thing I told her was to get some new drapes that go to the ceiling and come outside that window frame to “frame” the windows and allow them to shine. She will hopefully be able to use the toile drapes in another room.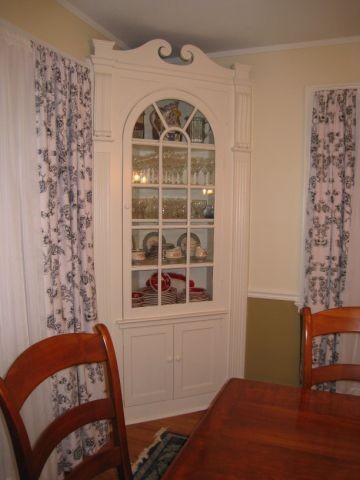
She’s got this GREAT built-in china cabinet (her house is older, great bones!), but the way the drapes are hanging, it totally looks lopsided having a space on one side, but not the other. So, we have to get that evened up with drapes and illusion. And get rid of the sheers. I’m not a fan of sheers. 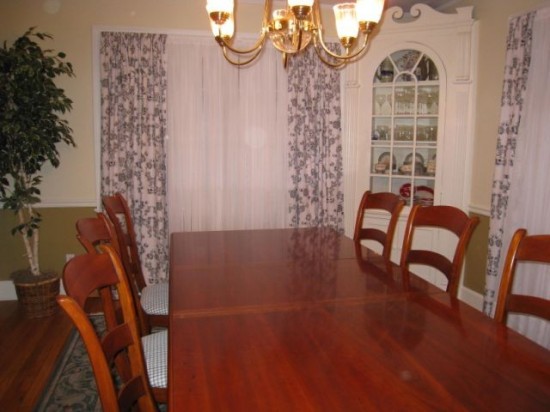
Also, I thought the bottom color on the walls was too “off” from the top color and was a little bottom heavy, so I advised her to paint that out the same as the trim color. Taking it a step further, would be to add some molding like I did OR some beadboard wallpaper would be fabulous too. I mentioned this to Janet too for a future project. 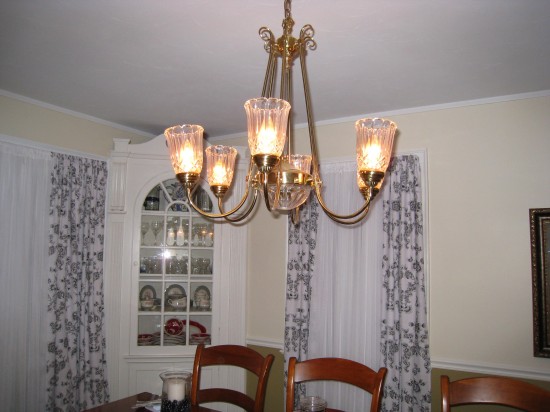
Adding a new chandelier will make a huge difference too. 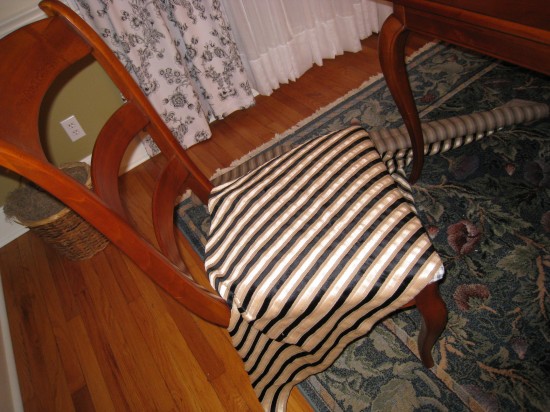
The old rug has to go too and Janet is recovering her chairs in a neutral fabric.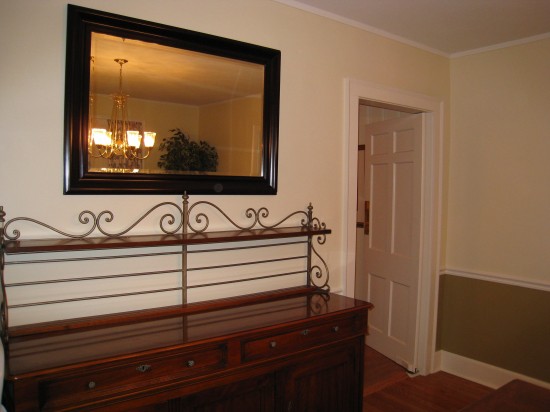
Her hutch and mirror are pretty, just need some accessories to finish it off.
Are you ready to see the AFTER pics?? It’s amazing what a few changes can do to a room! 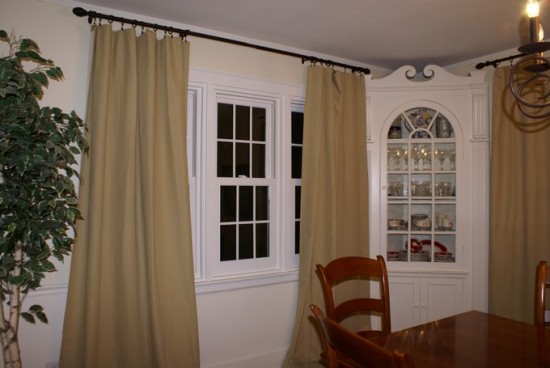
Ballard Designs drapes hung all the way to the ceiling look so much better. She had to bring the drapes into the window somewhat because of that built-in china cabinet, but these look SO much more updated and fresh now.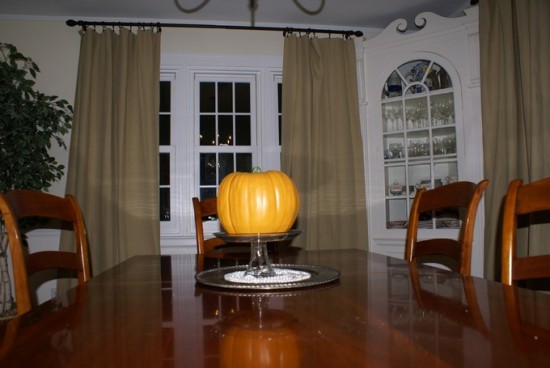
Looks like a whole new room.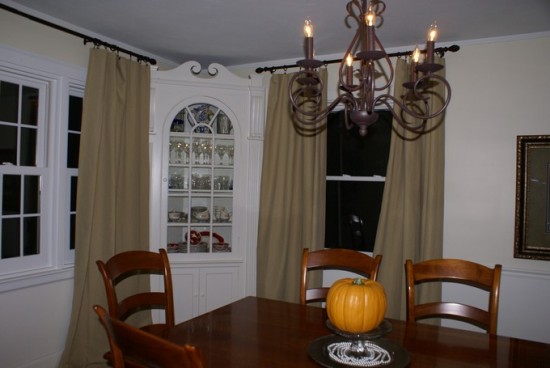
New chandy from Ballards also, makes a big statement in the room. Bye-bye brass! And no more gap on the right side of the built-in. The drapery panels balance out that wall now. Go back and look at the Before pic and you’ll see what I mean.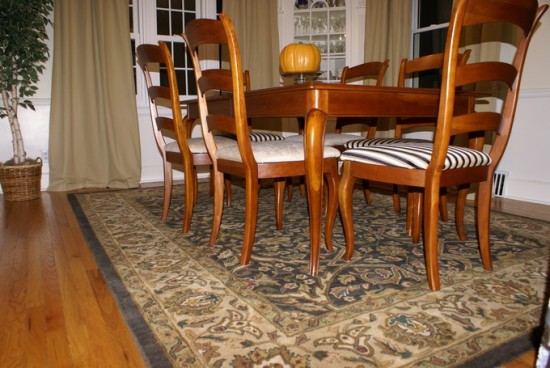
She decided to cover the host chairs in the striped fabric and the 4 other side chairs in a creamy neutral, which looks really good. A plush new rug in some yummy neutral colors from Overstock.com finishes off the room.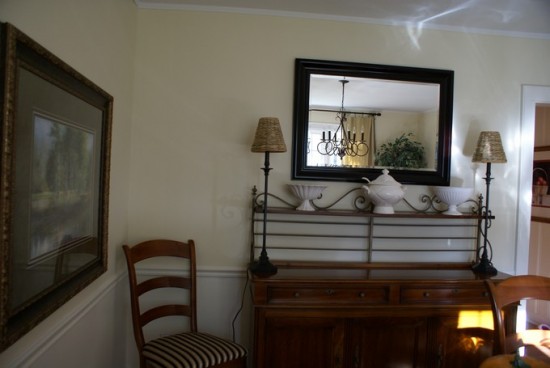
Along with a pair of buffet lamps from Ballards also, the sideboard is looking lively now. Janet said she shopped their sales and got some good deals.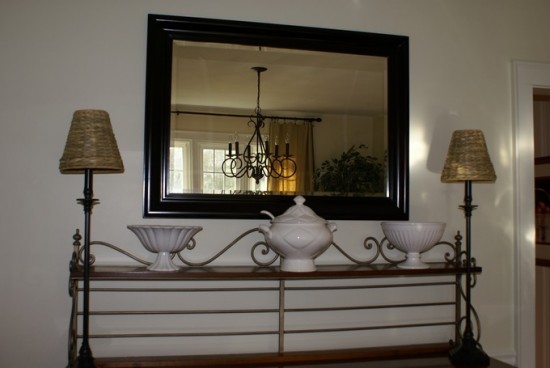
And I see that Janet is starting a collection of white too. The bug has bit!
Here’s what Janet said when she emailed me back the AFTER photos:
Thanks Rhoda – I think it turned out great too! The changes have really made me love that room! I’m so happy with how it turned out. My husband was quite dubious when I initially told him that I contacted you, but is certainly a believer now! So funny, now he’ll ask me . . . “did you check with Rhoda” on this or that when I buy something for one of the rooms.
That is all I needed to hear! Thank you, Janet, and I look forward to see the after photos in Janet’s livingroom, which I also helped her with.
If you’d like to get a consultation for one of your rooms too, click here to find out all the details.
Added to Sarah’s Before and After party today.


Oh, and Angela, I guess we could have just used 2 panels, but I think that would have felt visually lop-sided. I don’t mind them like this even though they are close to the china cabinet.
The drape color and getting rid of the sheers made the room. You’re amazing!
Hi Rhoda! I have that exact chandelier from Ballards, only with black bell shades recently added and I LOVE it…got it on sale a couple years ago. I think she’ll be very happy with it. The room looks amazing! Such a visually impacting return for such easy changes 🙂 Great work!