Along with the screened porch, I’ve been having some fun things happening in the laundry room. You aren’t going to believe some of the changes in there and I’ll be showing you all the space soon, but for now, let me tell you a bit about the new sink that just got installed in there.
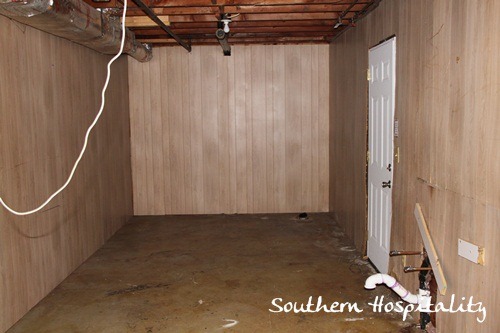
From day one, when I walked in this really terribly unfortunate, ugly space of a laundry room, I knew I could do something to it. Surely, I could improve this area and make it look SO much better than what I started with. And I’m happy to say, it is well on it’s way to being a dreamy laundry room, just like I knew it could be. It won’t ever be a plush space, because of that open industrial ceiling, but boy oh boy, has this laundry room come a LONG way baby. You can see the stubbed sink there to the right of the back door. That’s the area I’m working with.
And for those asking, painting the ceiling black was one of the first things I did in here. I hired my painter friend to come in with his industrial sprayer and he sprayed it all black.
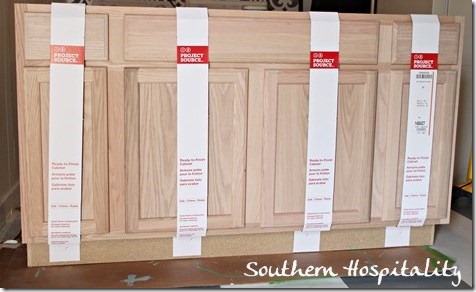
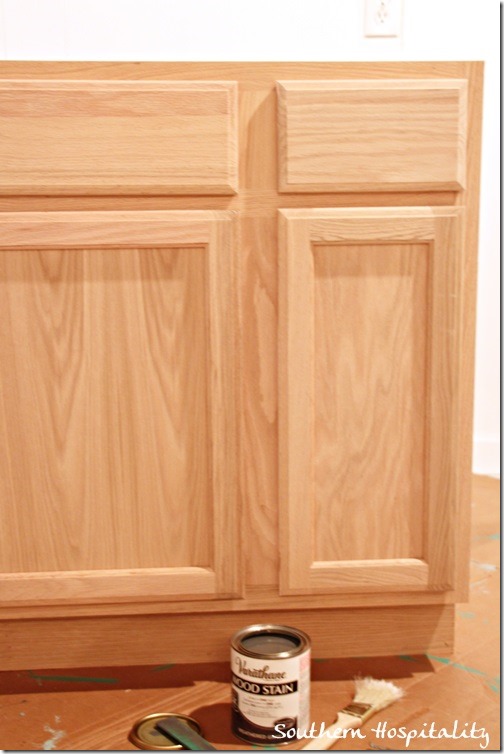
For one of our recent Lowes challenges, we got to fix up a storage space for indoor or out, and I couldn’t think of a better one than finally getting my sink cabinet installed in the laundry room. This will so come in handy down there for washing anything and for storing lots of things out of the way. I bought an unfinished oak sink base cabinet at Lowes and brought it home. Since my space is already stubbed for a sink, it wasn’t hard to get this done with the help of a plumber. We don’t do plumbing around here.
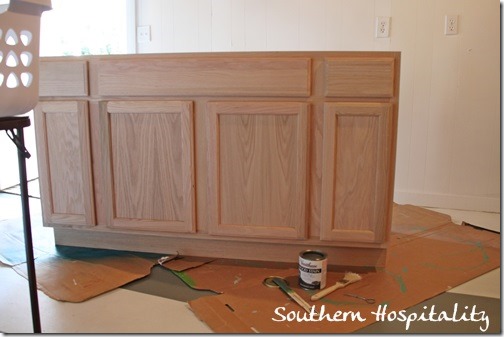
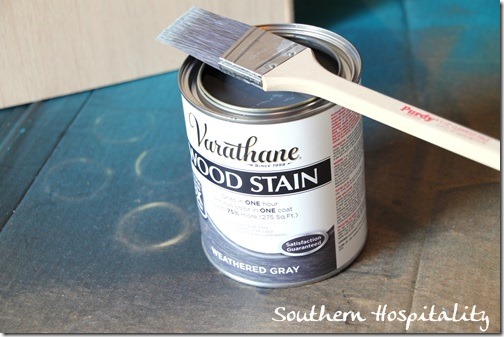
I got it ready to stain and decided to try out one of Rust-Oleum’s new stains, Weathered Oak. It’s now available in the Rust-Oleum brand in a water-base formula, but this one was oil based. It’s just the right hue for my cabinet project and I was so excited that I had tried it out at the Rust-Oleum event back in February. They sent me a quart for my project and I was ready to go.
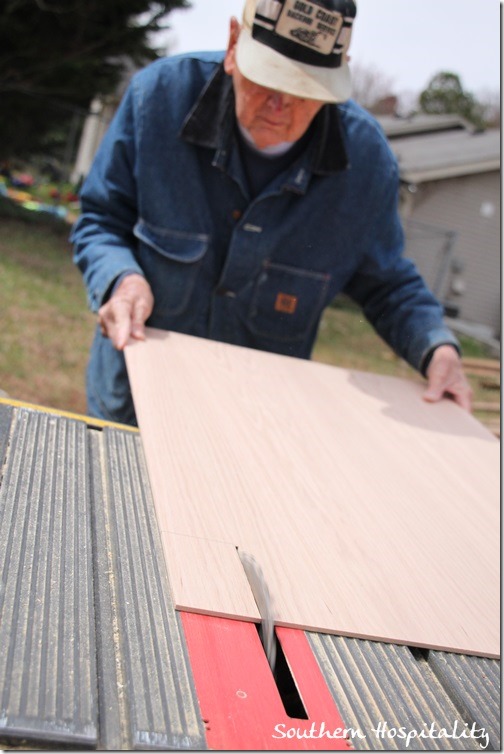
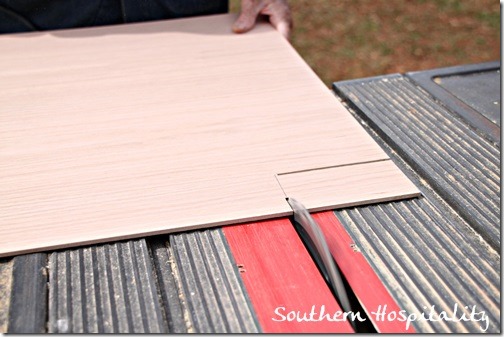
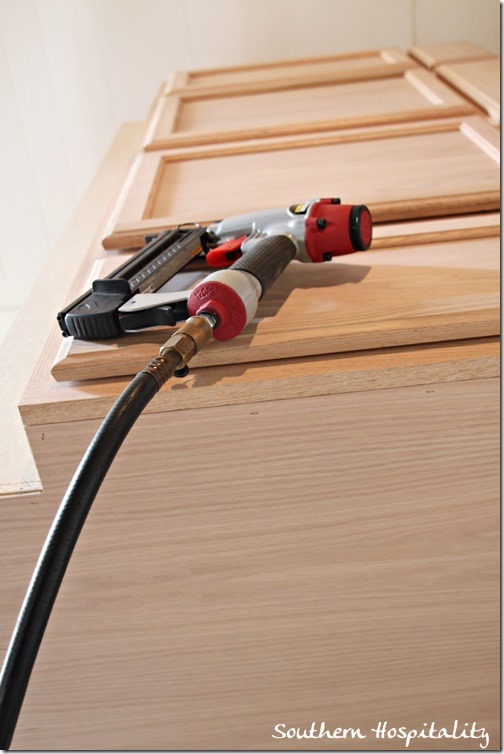
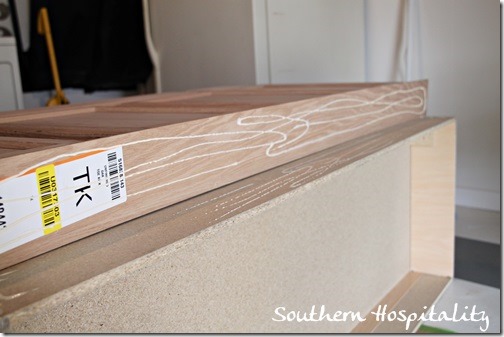
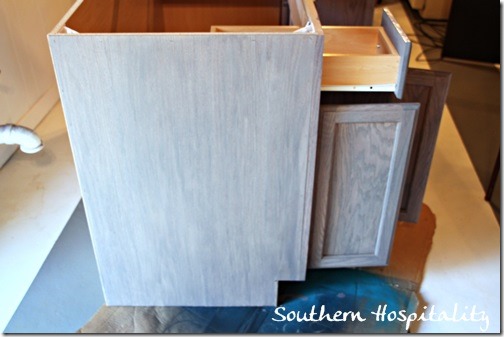
We did have to buy the end oak veneer pieces to adhere to the sides of the cabinet and also the toe kick oak piece too. Those pieces are sold separate. We measured and cut out the notches to exactly fit the sides of my cabinet and then I glued and nailed them on with my nailgun.
Notching out the bottom piece.
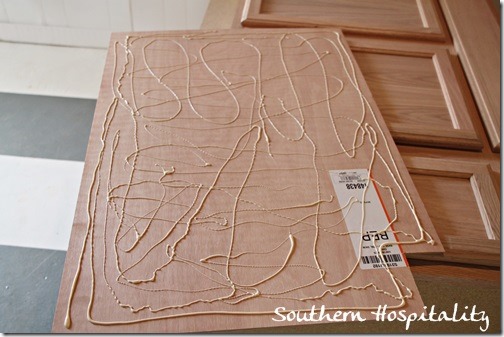
I glued it on with Elmers woodglue and that should keep it in place forever, along with a few nails that are mostly hidden.
After nailing and gluing, I let it dry overnight, waiting for stain.
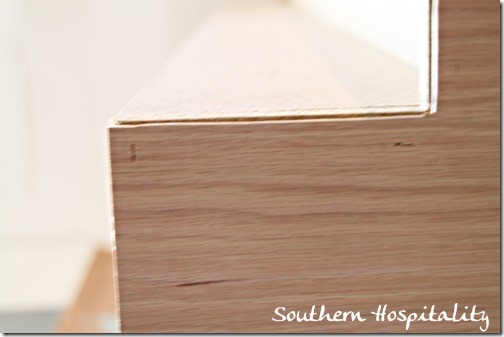
Here’s a close-up of the bottom of the cabinet after it was glued on.
Adding the kickplate oak veneer too with glue.
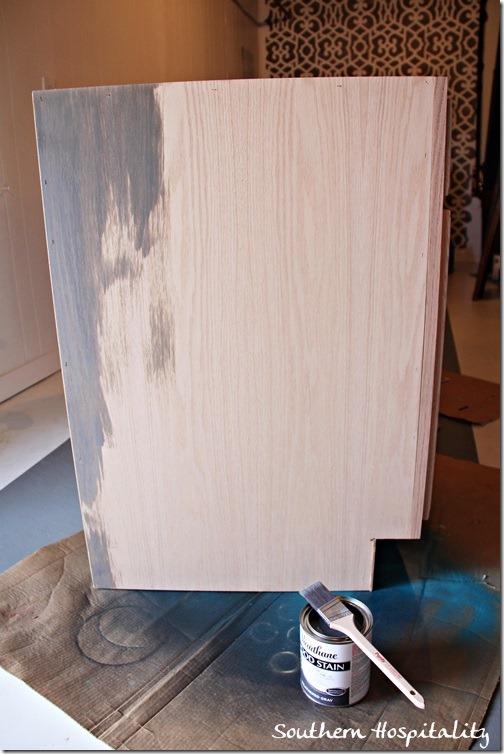
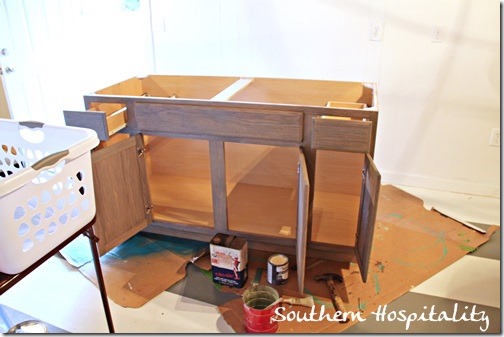
Now it’s all ready for staining. I decided to stain it gray to go with my striped gray and white floors in here and it’s a great complement to my stripes.
Again, this is now available in Rust-Oleum’s brand in a water base formula for easy cleanup.
I love the color of it.
After one coat.
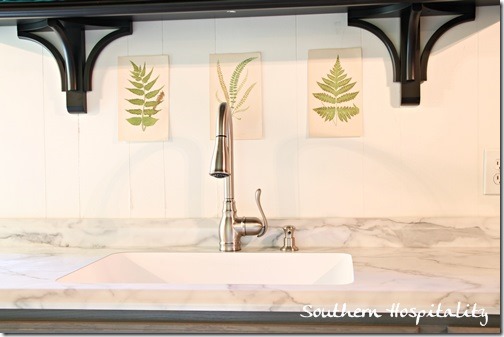
And two coats. I let it dry really well and then it was time to install. I also got a chance to work with a countertop and sink manufacturer and I’ll do a whole other post about that soon. I’m so blessed to be able to try out products and blog about them and I’m thrilled to pieces with my new sink and countertop.
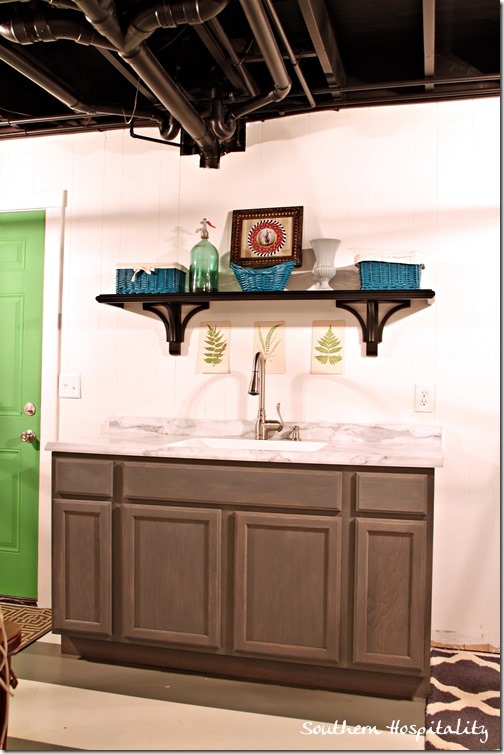
Are you ready for the after?! It’s pretty amazing, I have to say.
I’ll be sharing the entire laundry room very soon, but for now you get to see this part of the project. Thanks to being a brand ambassador with Lowes, I love getting to do projects using their products and this sink base cabinet was perfect for my laundry room. Again, I’ll tell you all about the beautiful Formica countertop in a separate post. That’s a whole other project that I was blessed to get for my house.
Here’s the post on painting stripes on the floor, in case you missed that one. I’ll show a whole room shot soon!
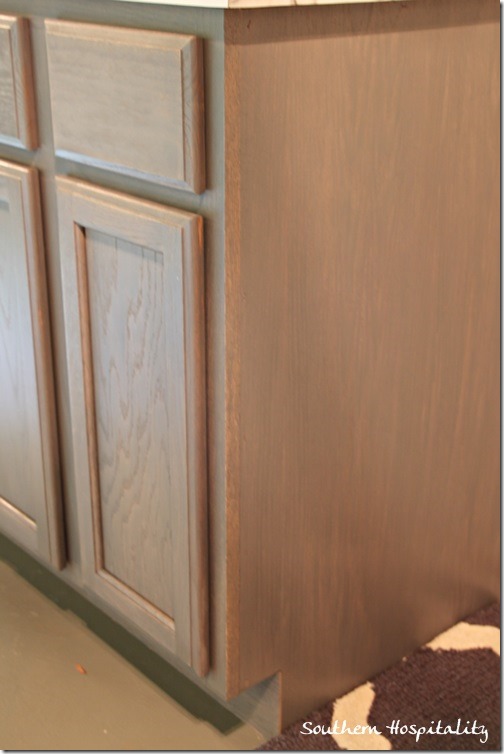
Closeup of the cabinet base with Weathered Gray stain.
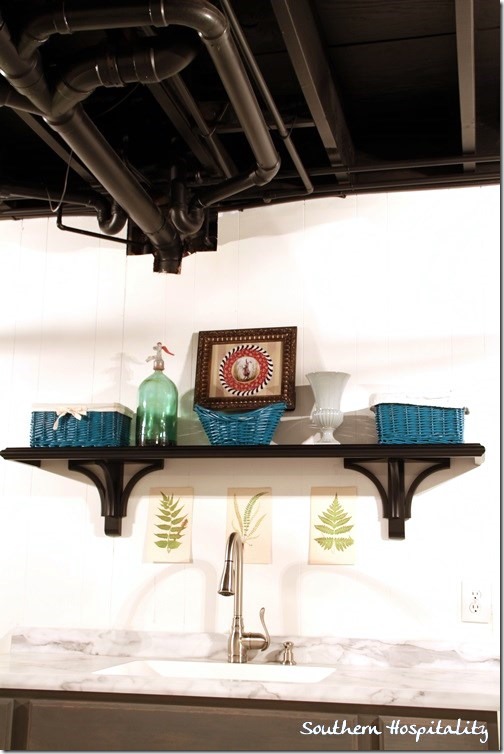
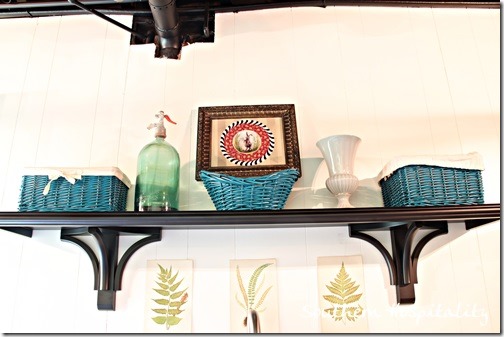
For now, enjoy the after shots! I sure do love it. This sink is going to be so nice down there in that room. Great for gardening, washing dogs, using it for laundry things, so many uses for a sink. That shelf came from Ballard Designs and I got it for only $10 in one of their major clearance sales.
Those botanicals are the ones that I got from Scott’s and they are taped up for now, but eventually I’ll get some frames for them.
I just love it all! I grabbed some baskets I already had and things I already had, so this may all be changing, but I wanted to take some pretty pics of my shelves.
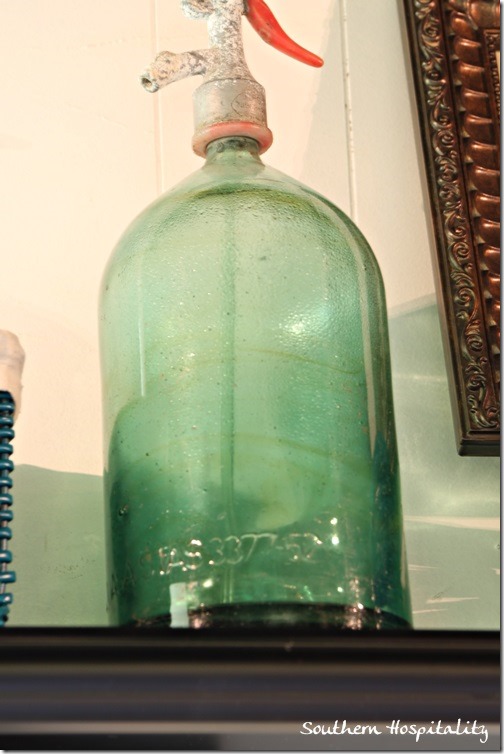
That seltzer bottle came from High Point from a fun antiques place up there. Got it for $18, a steal!
I am SO loving my new laundry room space. It’s so cheery and bright now, compared to the dungeon it was before. Amazing what a lot of paint and some creativity will do. Thanks to Lowes for helping out with this project, it’s been fun to get this area all fixed up. Stay tuned for the whole reveal on the rest of the space. It’s looking great!
Check out Lowes Creative Ideas Magazine app, visit Lowes on Facebook, and Lowes on Pinterest.
Are you on Instagram? I’m on there and having so much fun since I got my iphone last year! If you want to see what I’m doing in real time, follow me on Instagram. You can see Lowes on Instagram as well. It’s a fun little snapshot of what is going on every day.
Disclosure: As a Lowes Creative blogger, I am sent gift cards to spend on projects and blog about them.


Lookin’ good! The color looks great with your floor. Can’t wait for the final reveal!
Rhoda, this looks wonderful! Wow! I love the stain on the cabinet and the sink looks fantastic!
Rhoda-Your cabinet looks great. Love the stain. It’s also nice to have a sink with extra counter on each side.
Looks great and I love the stain on the cupboard…oh and great styling, you really know how to make something as ordinary as a laundry look great.
Lee 🙂
That stain is perfection, Rhoda! Love the new look for the laundry room… woo hoo!
xo Heidi
Wow!! I love that stain and brilliant to paint the ceiling black, it is like a disappearing act! Great job Rhoda!!
You are on your way!
xo Kathysue
What a “Happy” laundry room you will have. Love the gray stain on the cabinet. And absolutely love the bright green door. Can’t wait to see the entire room when you get it all done. You are doing a fantastic job with your house! This is a favorite blog to visit!
Your energy is inspiring. I’ve been following your renovations and I am so impressed. I’m afraid I’d lose interest half way through or I’d make such a mess of a job like that. We are about to close on a house that was built in 1999. There are several projects I have in mind for it, but I’m afraid I’m too intimidated to try them. I’ll keep reading your stories for inspiration. Wish me luck!