Back in Fall of 2010, I made a really pretty magnolia wreath out of dried magnolia leaves and loved this piece a lot. When I moved, it was so fragile so I sold it in my sales. I knew it wouldn’t survive the move. These magnolia leaves are sturdy, but will definitely break once they are dried and they make a magnificent wreath and are so easy to put together. If you have a magnolia tree, these are so easy to dry and use later. I love the beautiful sage green that the leaves turn into and the backsides of many magnolia leaves are a beautiful soft velvety brown, so rich in color this time of year.
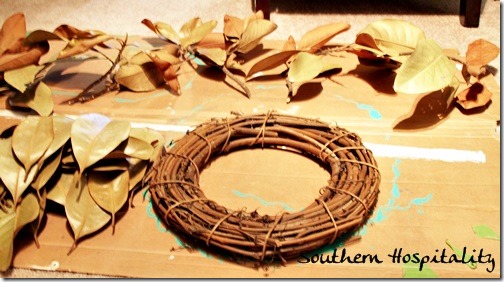
So, I had a grapevine wreath that Wayfair.com sent me to decorate with and this makes a wonderful base to a magnolia wreath. All you need is a hot glue gun, a collection of dried magnolia leaves and a little imagination. Be sure you work in a spot that’s well covered because glue will get everywhere.
I really wanted to do another one of these magnolia leaf wreaths and am glad I saved the leaves from last Christmas.
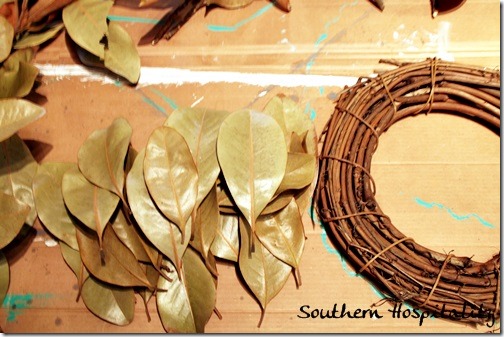
Here’s how to get started! Get yourself a grapevine wreath and a collection of magnolia leaves. You don’t have to do anything special to dry these, just leave them alone and they’ll dry on their own.
Snap them off one by one. They will get really brittle once dry.
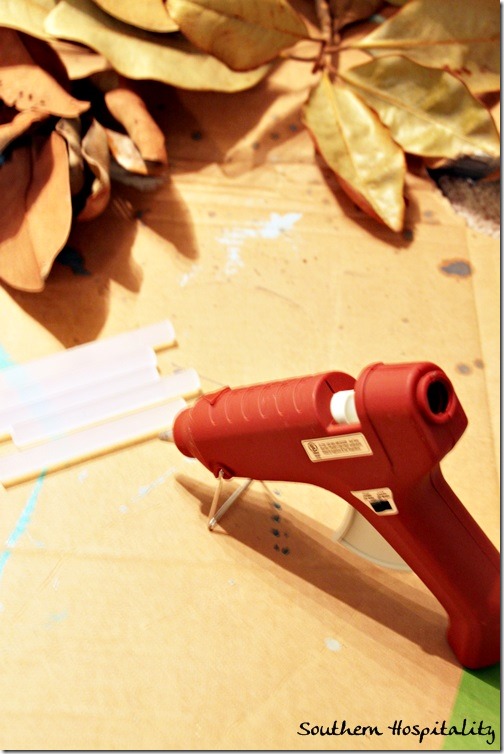
Set up your glue gun in a well covered space. I never seem to do crafts in a well lit area, so these pics aren’t great, but you can get the idea. I used a large piece of cardboard for this project.
Separate the green leaves and be sure to keep out the best brown sided leaves for alternating leaves on the wreath. I think most magnolias have brown on the backside, so check yours out and see.
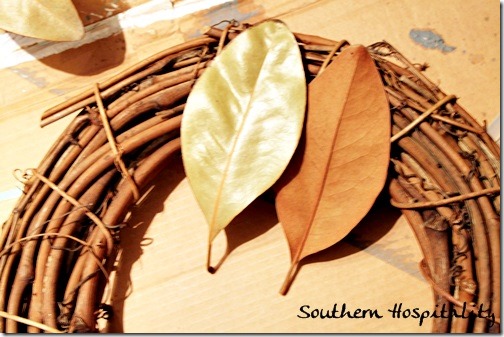
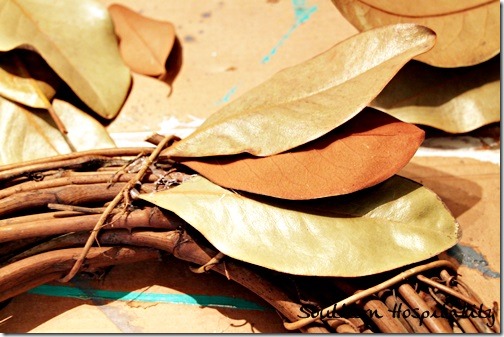
Simply start adding your magnolia leaves one at a time, alternating between green and brown. Let your eye determine what needs to go where. Fill in and have the leaves flow all in the same direction and then you’ll cover the wreath, overlapping and joining back to where you started.
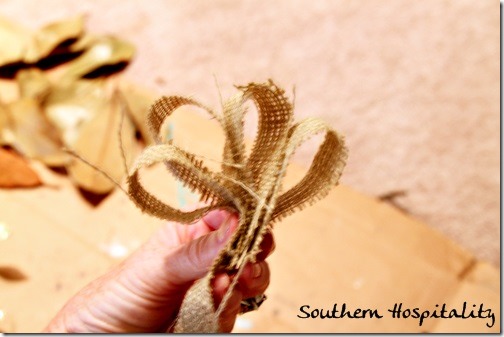
I cut a long piece of burlap for the bow.
And I used a large paperclip to wrap it and then stuck the paperclip into the grapevine which held it fine. I just looped 4 loops for my bow.
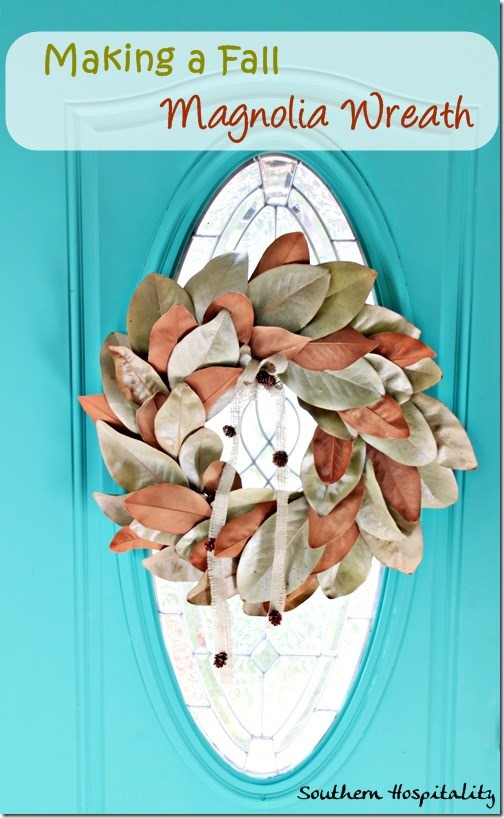
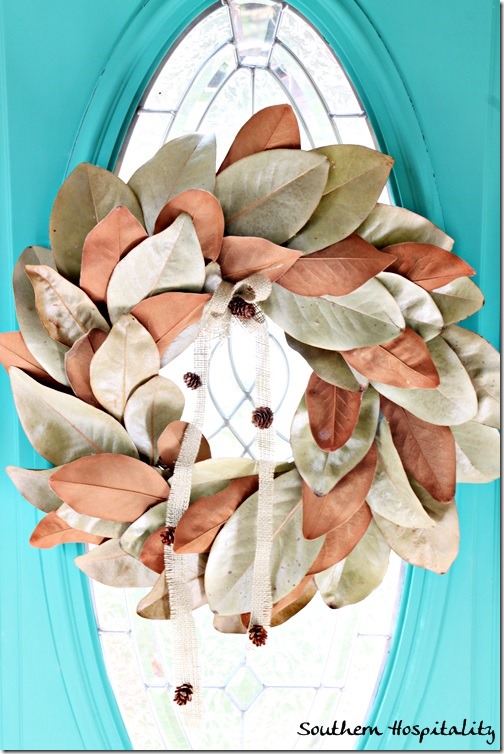
And here it is, all pretty on my front door! I just love how simple and elegant these type wreaths are. Alternating the green and brown leaves really gives it some nice dimension. Now, I’ll be able to store my wreath and hopefully it will stay nice for a few years. Those little pinecones, I picked up when I was in Washington state a few years ago, but you might be able to find them at the craft stores too. They are teeny tiny pinecones and I just hot glued them on the burlap.
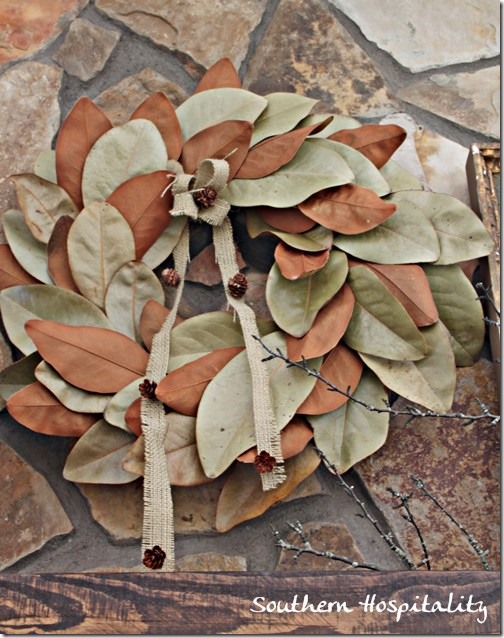
I tried it on my fireplace too, but it really blends in with the stone too much. I just love magnolia leaf wreaths, don’t you? Hope you’ll try this one out for yourself.
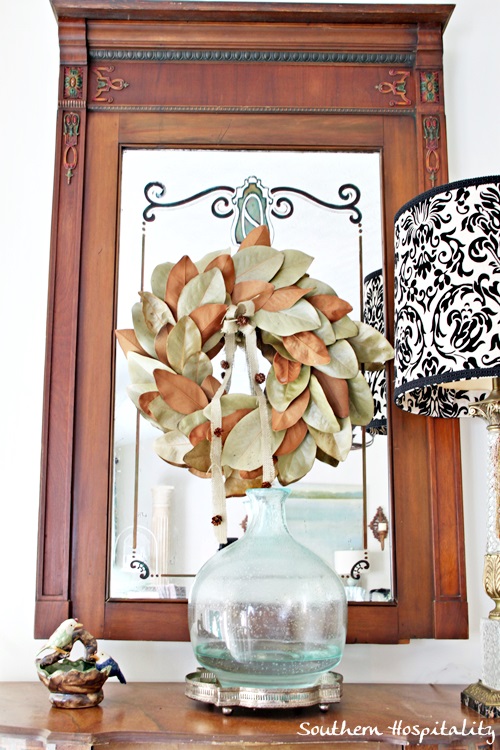
It finally landed on the mirror in my foyer. I used a clear suction cup wreath hanger to hold it up there and I love it!
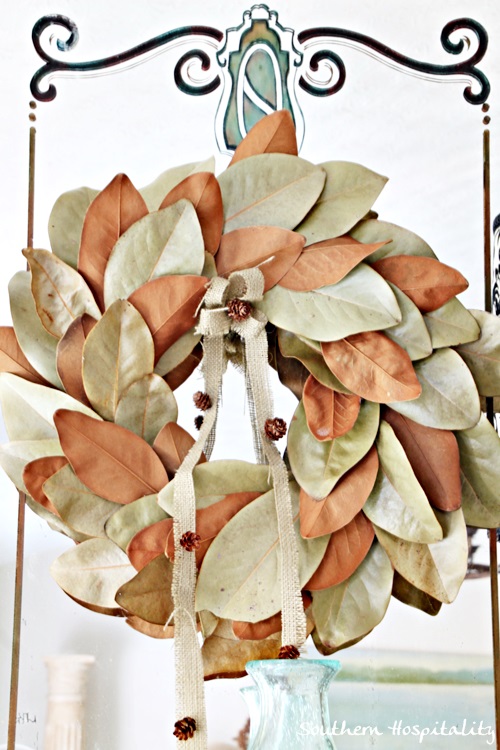
Adds so much texture with a subtle nod to Fall this time of year.

Today, I’ll be hosting the link party for Fall front door décor, so if you have something to share, please join us!!
And if you missed any of the other linky parties from my friends above, please go and visit Sarah, Layla, and Kate for LOTS of Fall inspiration at the link-ups on their blogs!
Happy Fall Y’all!



[…] SOUTHERN HOSPITALITY […]