Hey there! I’m back today sharing the finale of Mark’s parents backsplash. We are thrilled we were able to get it done last weekend, so that’s one more thing to check off the projects list for the summer. We were happy to get a backsplash installed for her and it really helped to be working with a couple of sponsors who helped make this happen.
We couldn’t have done it without the sponsor help of ACP tiles and also Ryobi tools, they gave us the tile wet saw that helped make this project possible. You have to have the right tools to get a job done and the Ryobi wet tile saw was great!
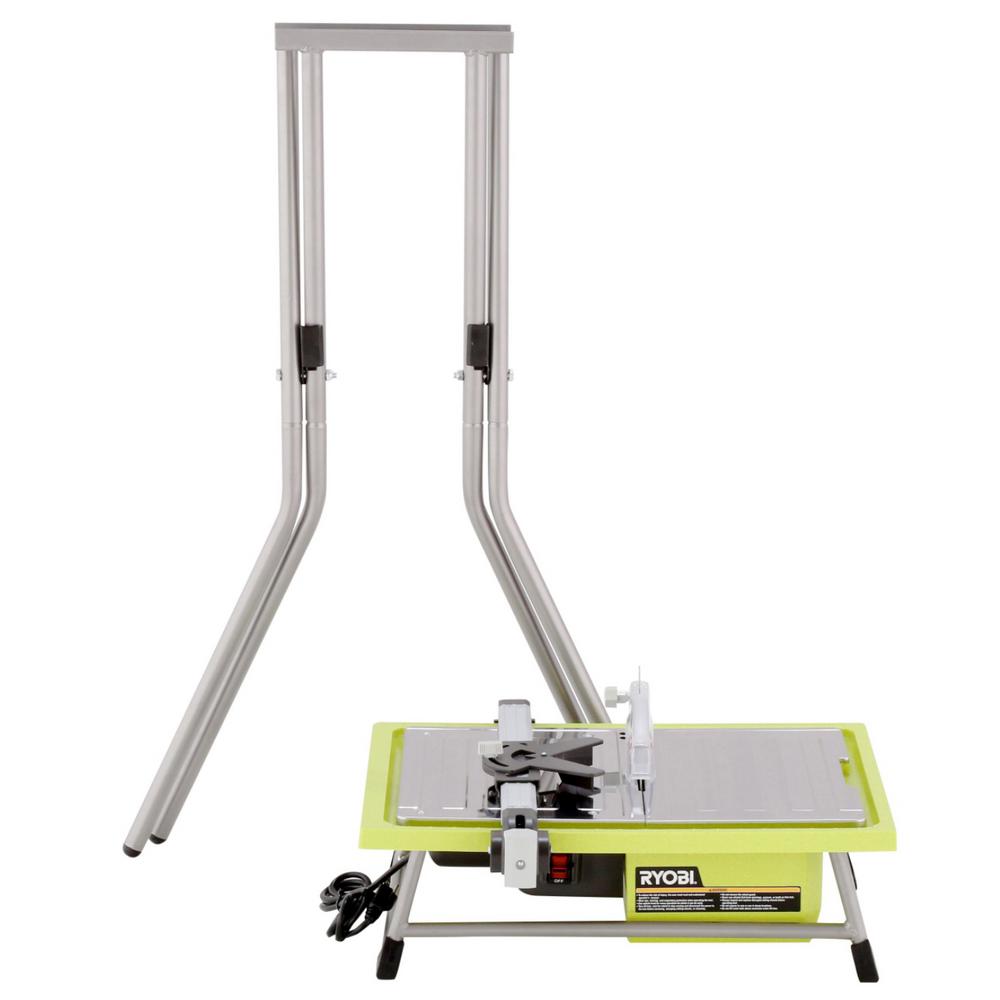
This is the tile saw we got, the Ryobi 7″ 4.8 amp tile saw (affiliate link) with stand. It’s nice and compact and easy to put together.
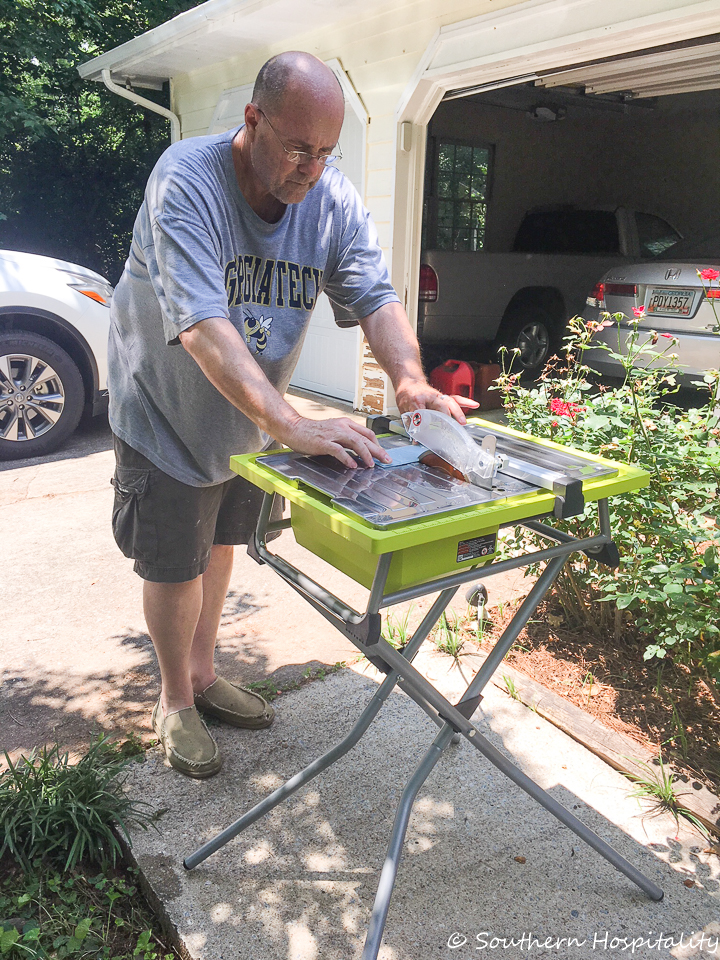
This was Mark’s first time using a tile wet saw, but he’s a pro now. We will definitely be doing our own tile projects, at least some of them, in our house now. They are not hard to use and make a tile job like this go much faster. We were really afraid it would take us 2 more weekends to get this done, but were pleasantly surprised that we knocked it out in one afternoon last Saturday. He got a special blade for cutting glass tiles and that’s a must too.
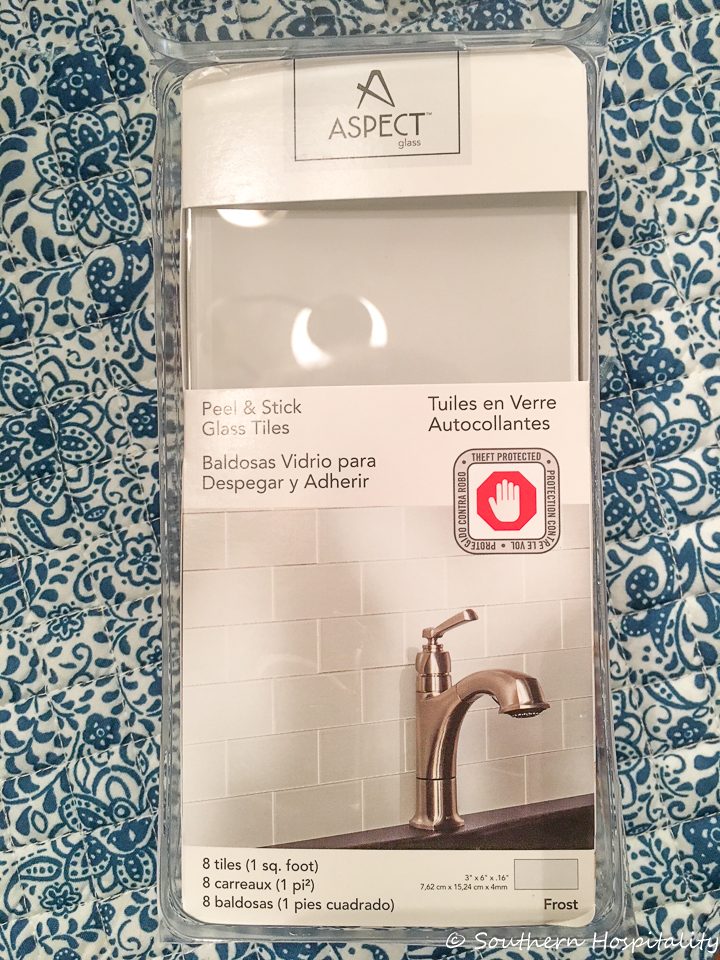
As far as the glass peel and stick tiles we used, you can buy directly from their online ACP Store if you want to check it out for yourself and they have other peel and stick options too.
I shared Part One of this project last week, so check it out if you missed it! The first day went slowly, but I’m happy to say the final day, we flew much faster on this project.
Here’s where we left off after we finished this wall above the stove.
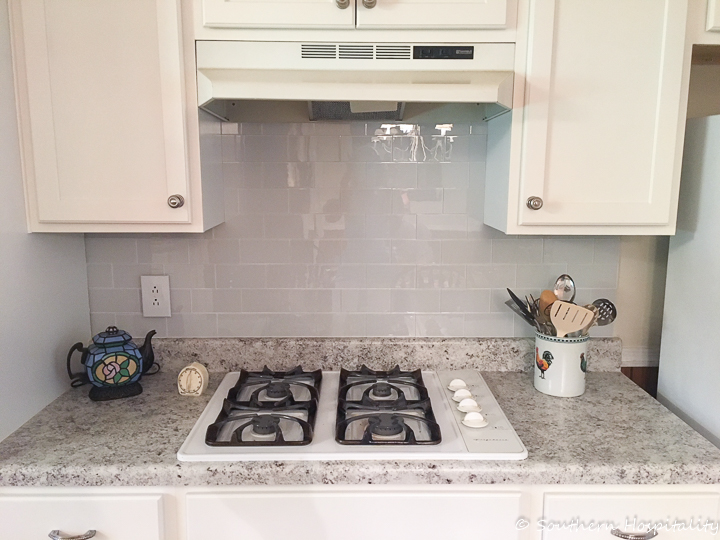
We were happy with the way this side turned out and then it was time for the rest of the kitchen.
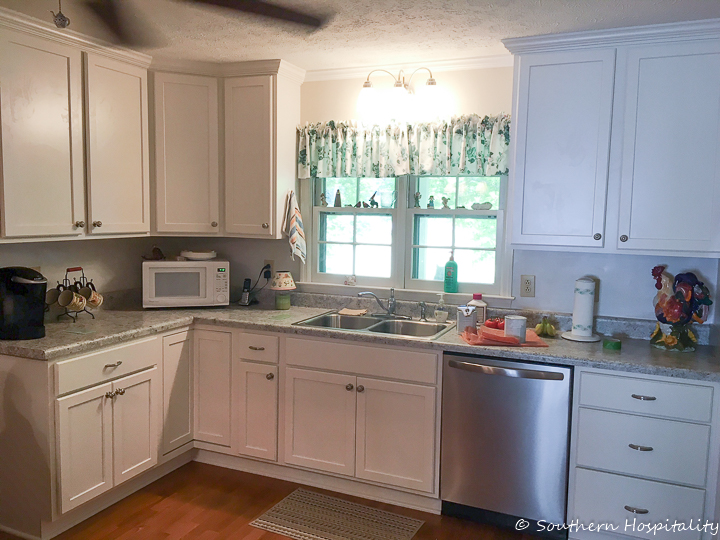
This was where we started on the second day and we began on the far left and moved around the room.
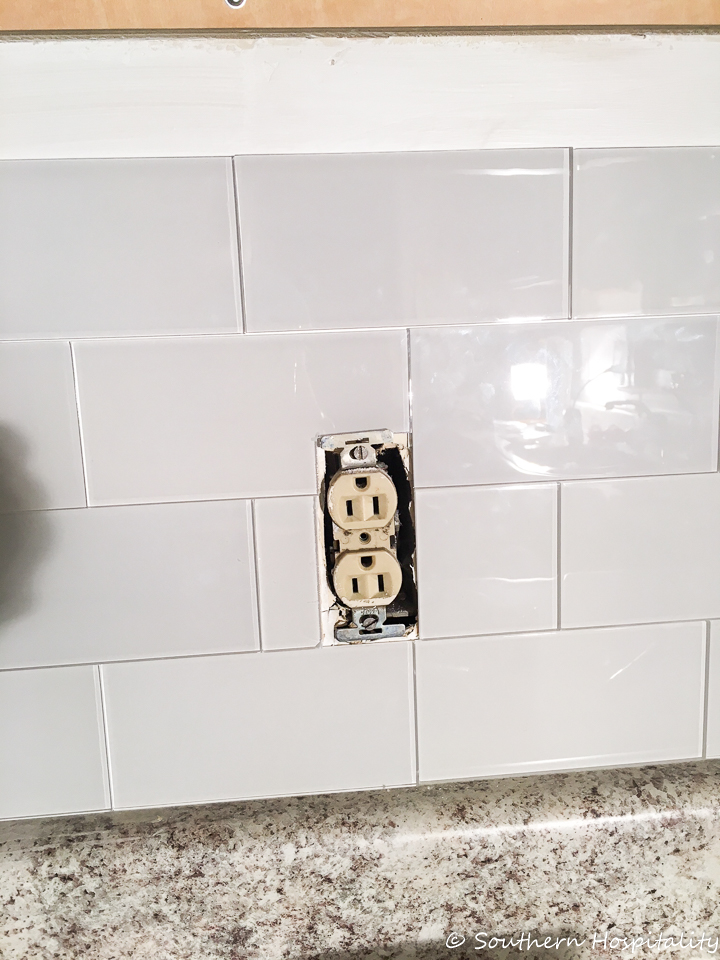
Peel and Stick Tile Backsplash
The walls to begin with were just dry wall and we did prime them first, as advised by the peel and stick tile company. We wanted to be sure they stuck really well and believe me, they did! I got started on on the first row, peeling and sticking as I went.
This part goes really fast, just take off the backing, making sure to get the tiles in the exact spot you want them before you stick them down. They stick so fast, so that’s a caution for you if you try this project! Also, you have to be sure the tops line up and are flush as possible as you move along. If you don’t, the row above will be a little off. I did pretty well on this part, it’s not perfect but as perfect as we could make it.
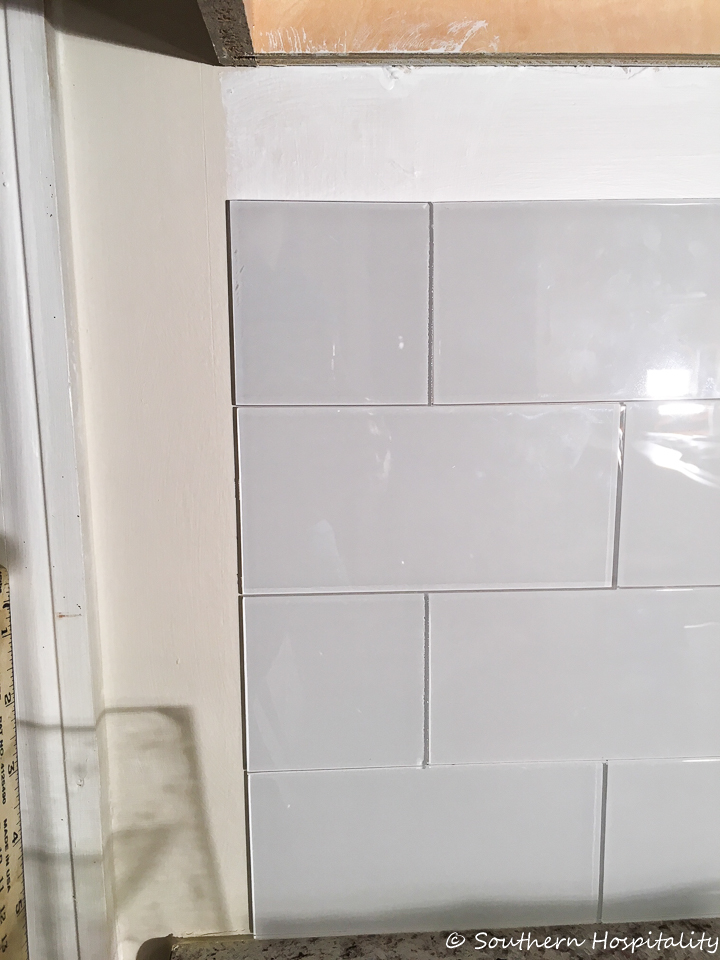
We decided to line up the tiles by the door right under the cabinet. We could have taken it all the way to the wall, but thought the cabinet edge was a good starting point.
You can see we did a standard brick pattern, so you have to make sure you start with a small piece on every other row. We measured and cut the tiles in 1/2 for this, 3″ each, since the tiles are 6″ long. As long as you stagger things properly and take into account the outlets, things go smoothly. I tried to keep this line level and straight along the side of the cabinet. I just realized looking at the website that they make trim pieces to go with this, so we should have ordered those too to trim out the sides. We may need to go back and do that on a couple of areas.
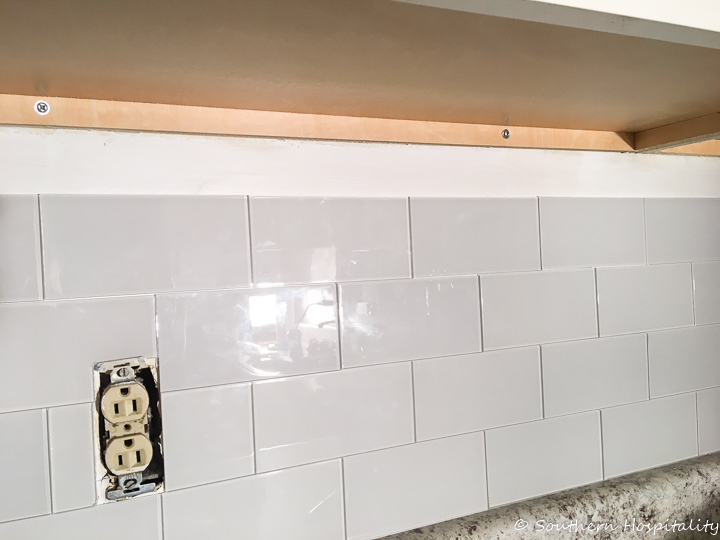
Working around the outlets is a little challenging. Mark did all the cuts for this and I placed most of the tiles. When working the outlets and light switches, we took into account where the next piece of tile should fall before we cut the sections, as you can see in the above pic. Then the next one lines up properly.
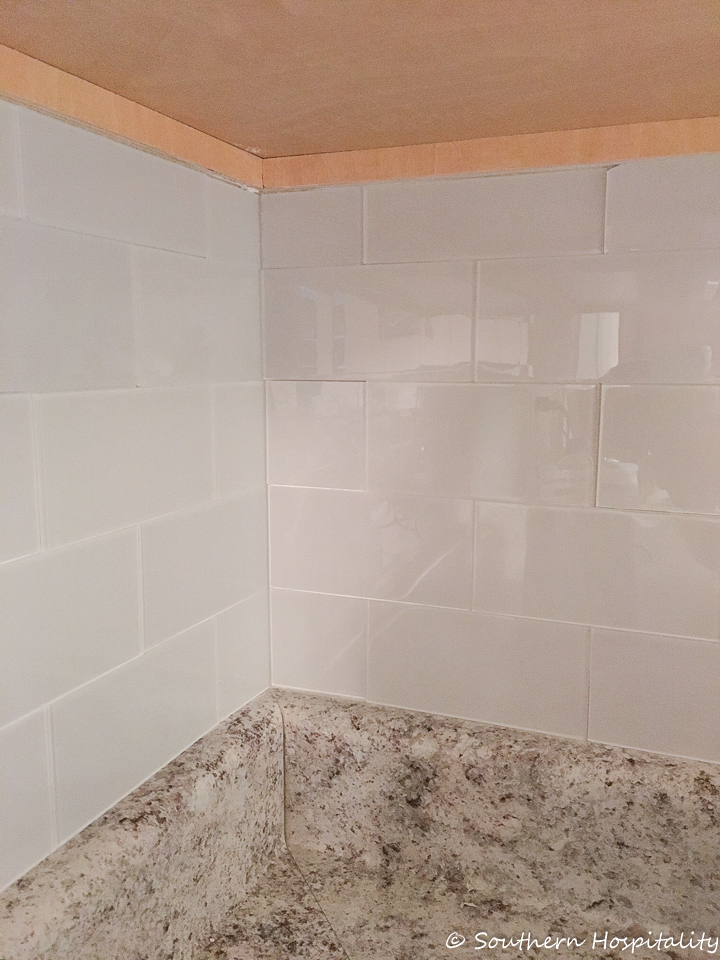
Here’s that corner all finished. We cut all the top row last once everything else was done, as this part was the most time consuming. Each one was about 2″ depth and since things are not completely level around the perimeter, we had to cut each one separately to get the tightest fit closer to the cabinets. Again, not perfect, but as good as we could make it. We just ran the left side butted into the wall and then started the right side butted into the glass tiles in the corner.
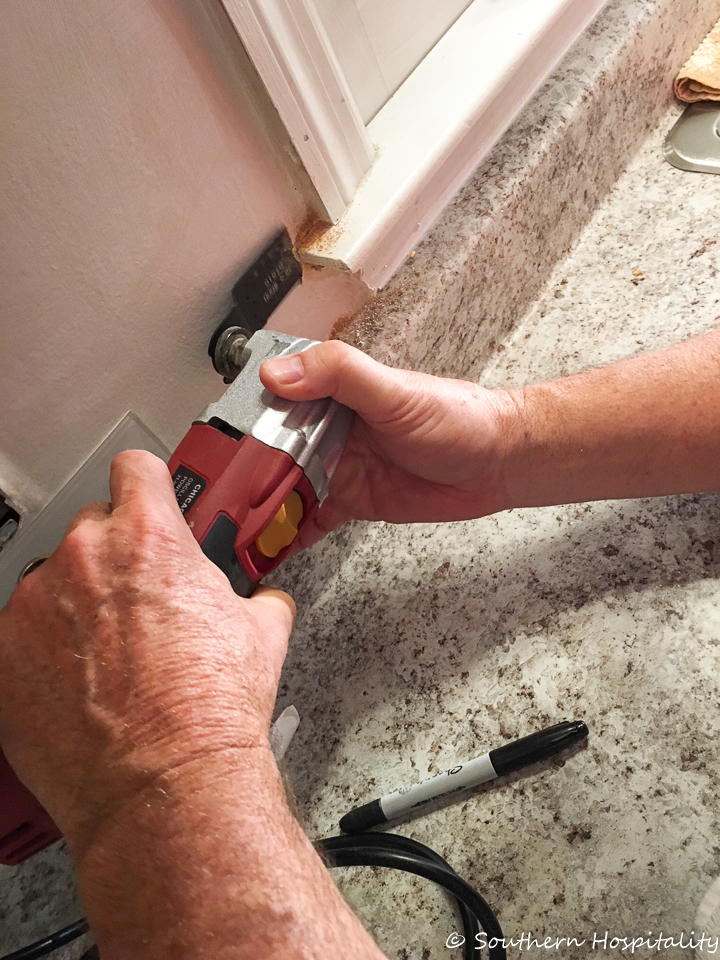
When we turned the corner and got to the windowsill, Mark took a multi-tool and cut into the wood trim so that the tile would slide behind the wood.
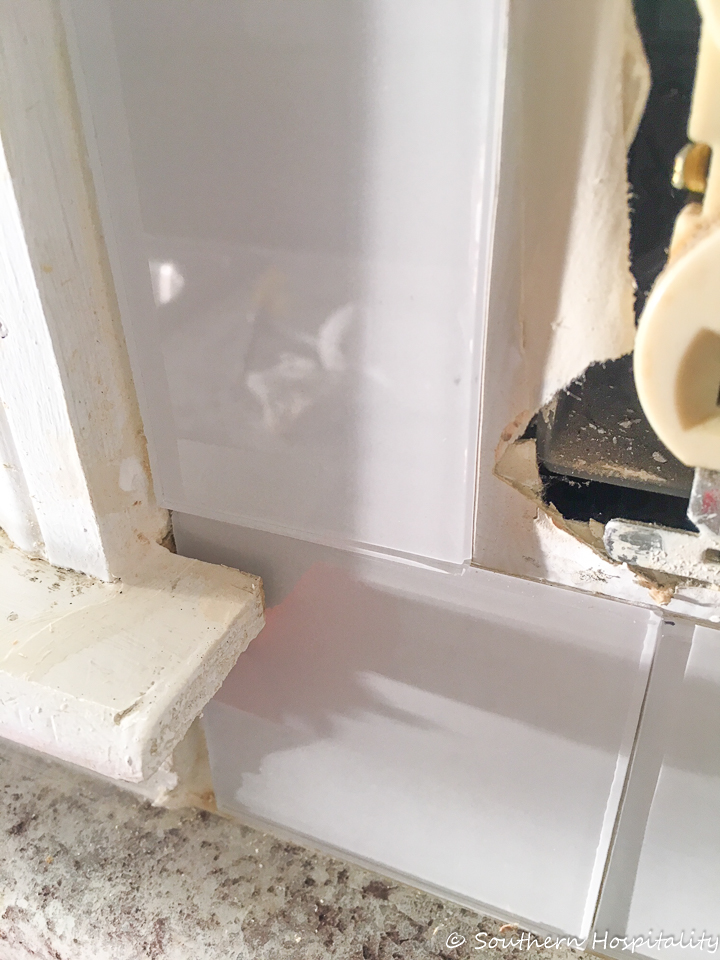
Like this one on the right side of the window.
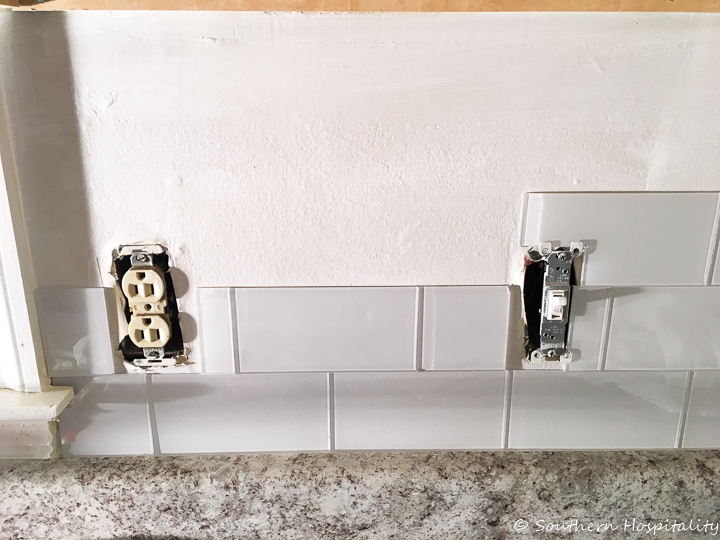
Here’s that side from a different angle and you can see how we cut around the light switch and outlet, adding partial pieces of tile. The outlet covers cover up the rest of it.
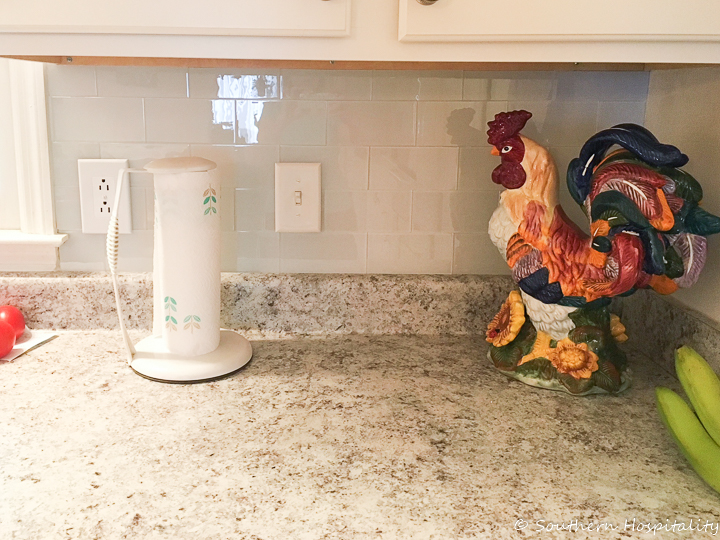
And here is that same wall with the covers back on and everything back in place. The tile is so pretty, it’s white and called Frost, but when the lights are off in natural light it has a little gray tint to it. Looks really nice with her countertops!
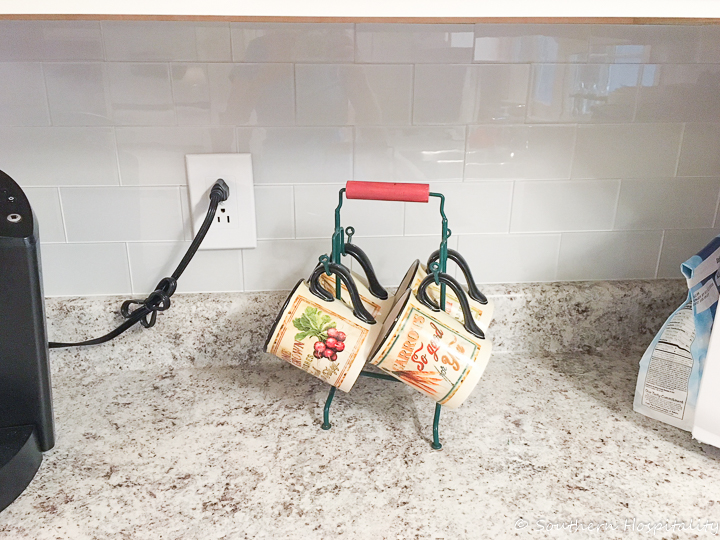
And here is each section complete with Nanny’s things moved back in place. It looks so clean and fresh now. I took a paper towel and Windex and got all the fingerprints off so it’s nice and shiny now. Glass tile is really reflective.
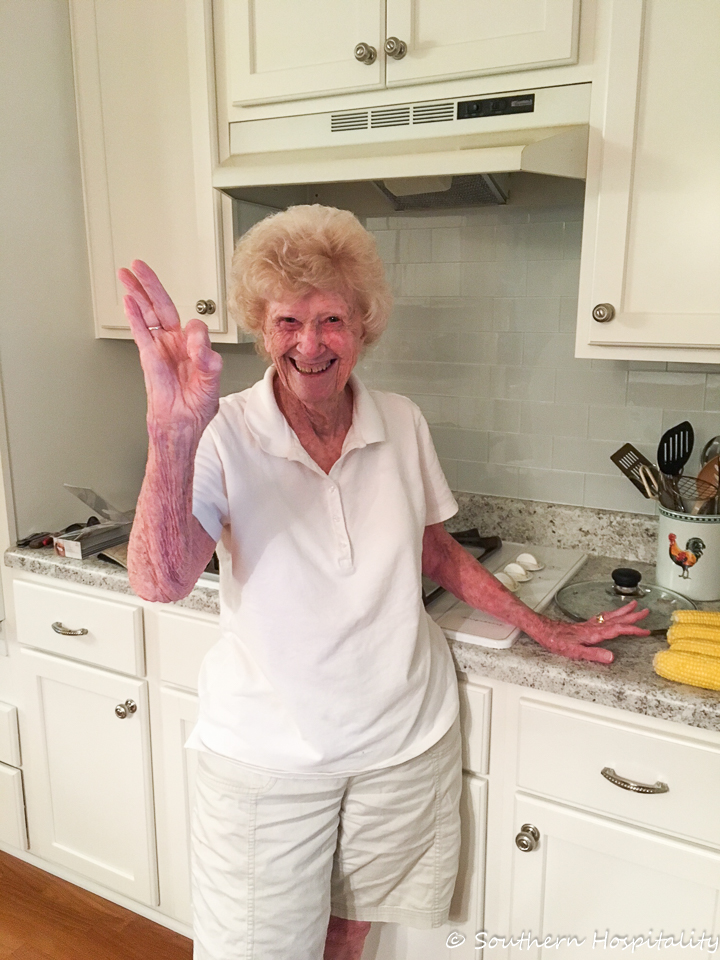
Nanny gave me the A-OK sign after we finished it all. She was really happy to see this done and so were we! I have a great mother-in-law and couldn’t ask for better.
Mark’s dad cooked beef ribs on the grill for us after we finished and we had corn on the cob as you can see on the counter. It was a great way to end the day. We were tired and hungry!
So glad to get this one finished so we can move on to more projects. I love when I’m able to help out our parents with a project like this. Blogging has lots of perks and this was one of them.
A big thanks to Ryobi and ACP tiles for working with me on this project! This project was sponsored by Ryobi and ACP tiles and I received the products to use in this project.


This project turned out so beautifully Rhoda, if that were my kitchen I’d have a big smile on my face every time I looked at that backsplash! It’s so good of you and Mark to do this for his parents and I’m certain his Mom will especially love how easy it is to keep clean. I looked at the options on the ACP web site when you shared the beginning of this project and they have some lovely colors but I like what you used best. If I ever get tired of the beadboard wallpaper I bought through you years ago I think this is what I’d choose as well, I love the no grout lines part!
Thank you, she was really happy and I’m glad we were able to get her a backsplash.
Rhoda, just wanted to thank you for referring me to Glabor Upholstery. They reupholstered two French Provincial chairs and an ottoman for me. They did an excellent job and less expensively than two other quotes I got. Highly recommend them! Also, I chose the same fabric from Fabric and Fringe that you used on your sofa. I’m so pleased with the results. I enjoy your blog so much and always learn something valuable. Love your family too!
Hi, Kathy, I’m so glad you tried them too! I have recommended several friends and they all have loved the results. Definitely where I will go all the time. And that Crypton fabric, don’t you love it?? It’s such a great fabric.
What a blessing and I love how appreciative your parents and Mark’s parents are about your help. I am sure those are projects that they would never tackle….and your partnership with these vendors really help all of us who are looking for new things to do in our homes. Thanks for sharing!
Yes, they are appreciative and it’s rewarding to be able to help them get things like this. Blogging has some great perks!
Wow, it turned out great. We did a small area in our kitchen that didn’t have tile, and it was our first time using a wet saw. It really is easy! I may try these peel and stick in our laundry room. Mortar and grout are not the easiest to work with.
Hey, Lauren, they were pretty easy, but we had to get used to working with them. The glass tends to chip easily and the sticky back, wow does it stick fast. But the no grout is nice!
This is beautiful and such a great job. I would love to know about the little cup rack that your Mother in law has on her counter–so so cute and I could use one just like that in a space I have designated “my coffee center” on my counter top.
THank you Brenda, I’m sure she’s had that cup rack for a long time. She has lots of things in her kitchen and collections she’s had for years.
Another notch on your skills belt!! Lovely–and such a treat for your mother-in-law! You and Mark are both super blessed in the parents’ department!
Thank you, Eleanor, we sure are, so unusual that both of us would still have both our parents at our age. Most of my friends have lost at least one of theirs.
Very nice job and so brave of you to do this having never done it before! We have a glass and stone back splash in our kitchen that we had professionally installed because I didn’t feel confident to do it myself. The only reservation I would have in using this product is that it looked as if a corner of one of the tiles was chipped. We too had some tiles chip but the grout covered that up.
HI, Karen, yes there is a tiny corner chipped up near the cabinet, but it’s mostly hidden and people won’t really see it unless they are bending over looking up there. From a distance everything looks good. That’s one of the hazards of glass tile, they do chip easily. We only had a few pieces of tile left after the job was done.
the tiles look great in Nancy’s kitchen!
Thanks, Laura!
How nice of you and Mark to be able to do this tile backsplash for his parents! What a lovely job! I’m sure they will really enjoy what you’ve done to help them. Blessings!
Thank you, Mary-Ann, we were glad to do it for them!
Beautiful — y’all did such a great job! Love the sweet smile of approval!