The ugly Wall.
That’s been my nemesis in this house ever since I bought it. That ugly block retaining wall at the end of my driveway has been an eyesore since day one. We tackled the inside of the house and then I started on the outside, by adding the new front porch, stone retaining wall, and landscaping. Wow, did that all make a difference. But, that wall was still mocking me, saying….make me pretty too!
It’s not a great looking wall and never will be, but I did not want to start over and tear it down. It’s definitely leaning towards the driveway and over time has shifted. It’s nowhere near straight, but again I want to save it and not start over if I can help it. Some of you mentioned adding faux stone to the wall to make it prettier and yes, that is a great idea, but I don’t want to add any extra weight on it, since it’s leaning already. In my mind, making it look better is a good solution for now. I don’t want to overspend on this house and need to do what I can to spruce up without spending a bundle.
I talked to Rustoleum a couple of years ago about a new product they have out called Restore and they sent me a gift card to buy it with, so I’m just getting to this project now. Last major project on the outside of my house.
Project Sprucing Up the Wall
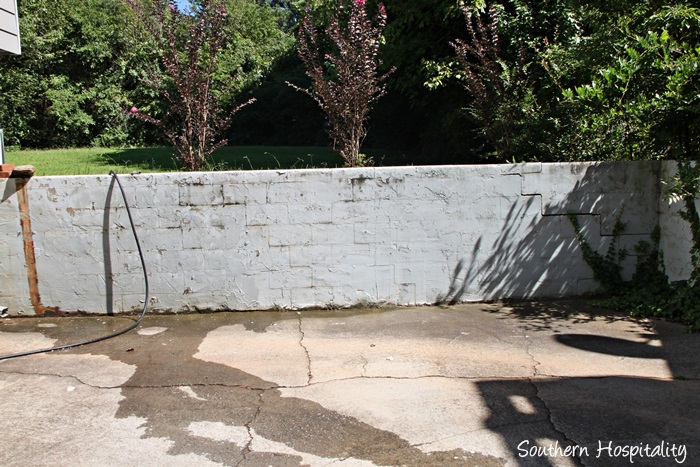
First, I began by pressure washing the wall. It was peeling and flaky and mildewed in places. Most of the chipped paint and mildew came off with the pressure washing.
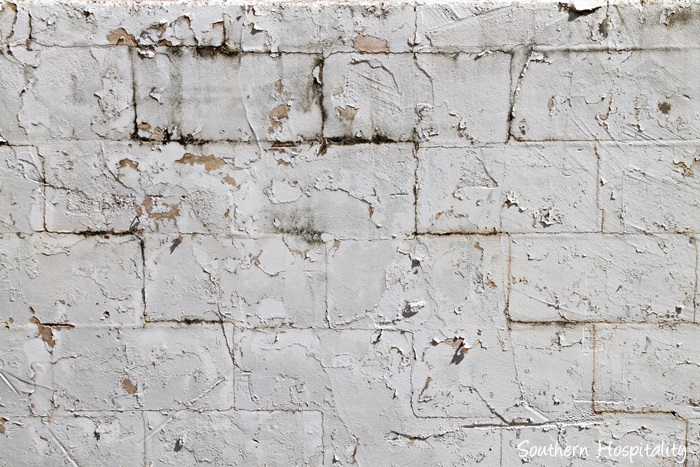
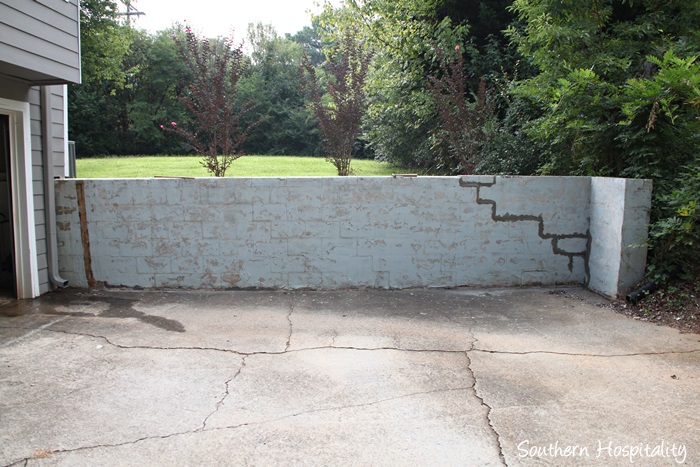
Close up of the Before wall. Not a pretty sight.
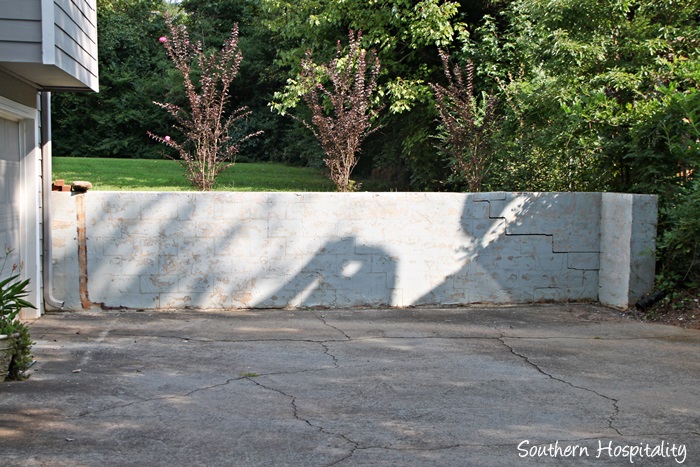
After pressure washing it was at least better with the flaky paint gone and the mildew too. With the shifting of the wall, a large crack developed on the right side.

My handyman dad and I decided to patch the cracks with ready mix concrete and go from there. We did a little more scraping on the wall after the pressure washing to get the last bit of flakes off.
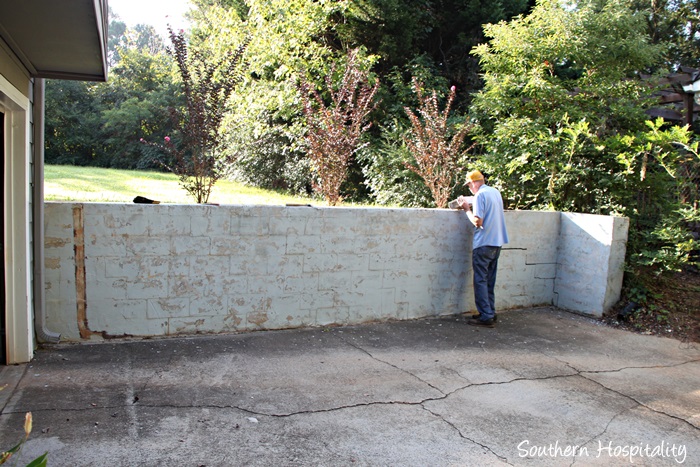
Then, we mixed up the concrete mix for patching. It won’t be a perfect thing, but it will be better than it is now.
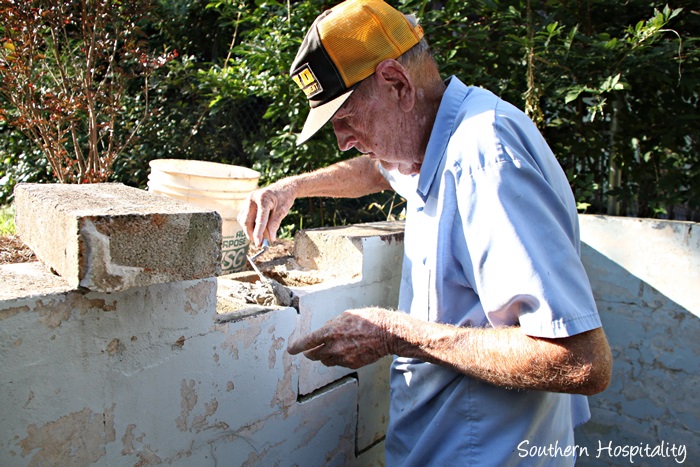
Dad filled in all the cracks at the top and anchored the block back in place. It has shifted so that it’s not level along the top anymore, but I’m just going to live with that.
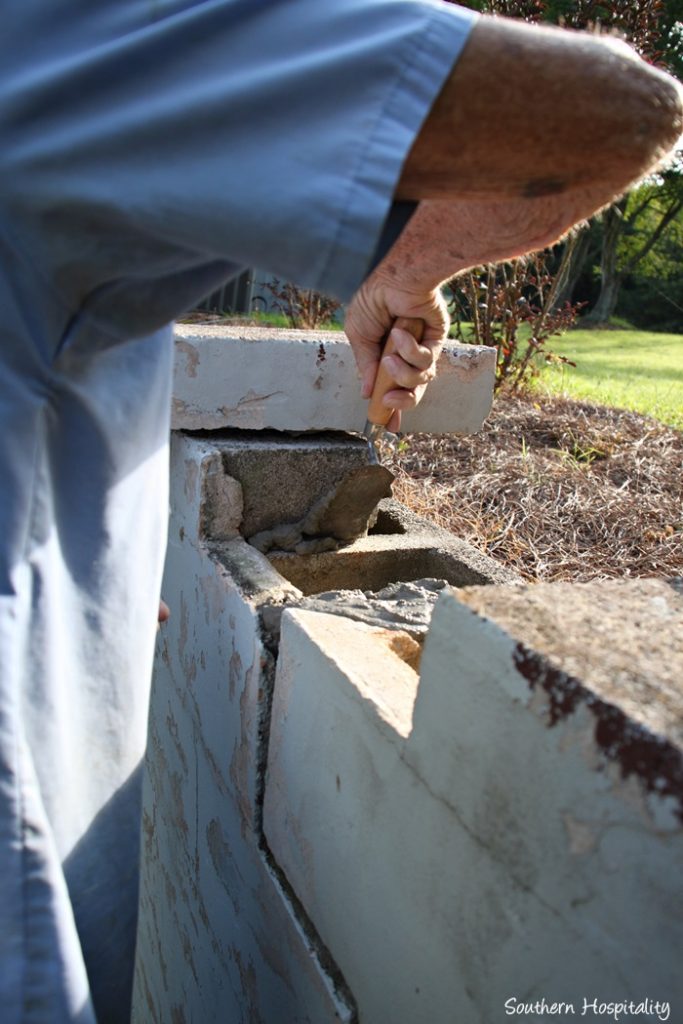
Little by little we added concrete in the cracks and filled them all up.
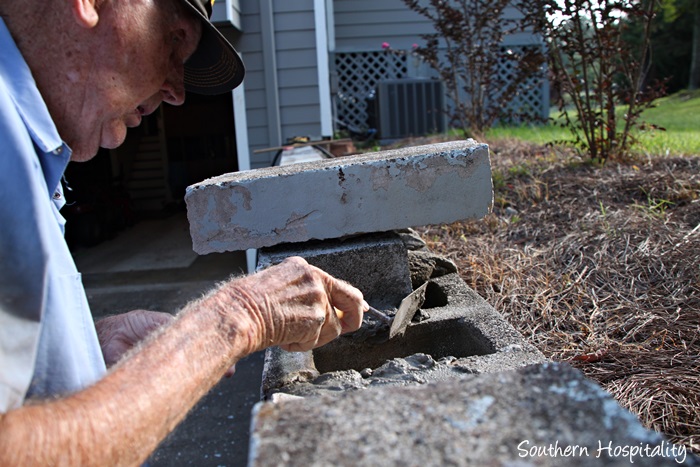
Dad has done this before.
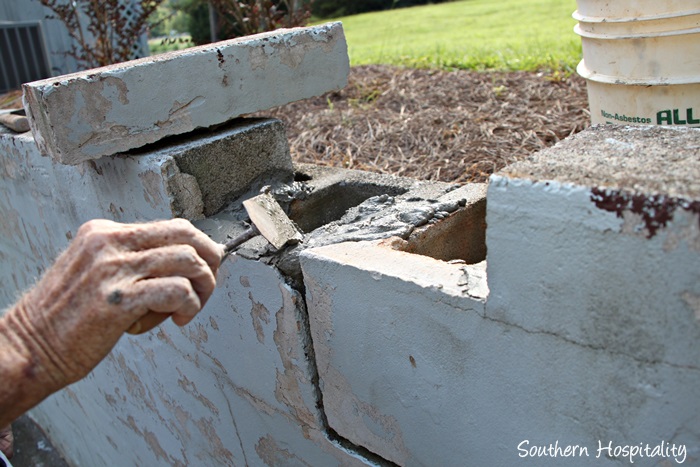

Filling those cracks to seal them up.
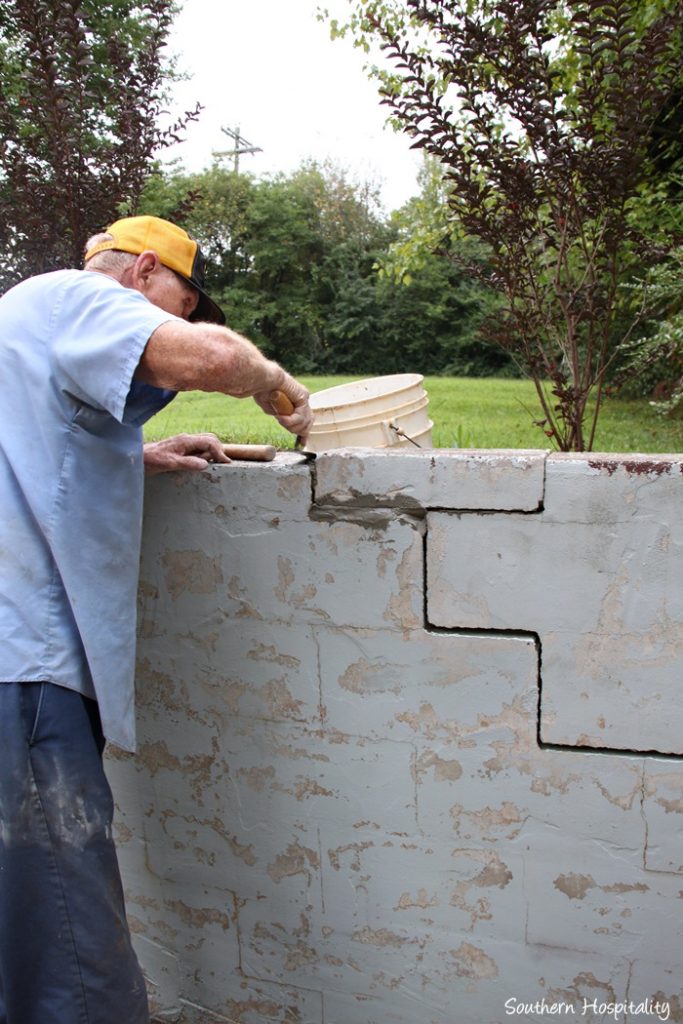
Setting that top block back into place as best we can.
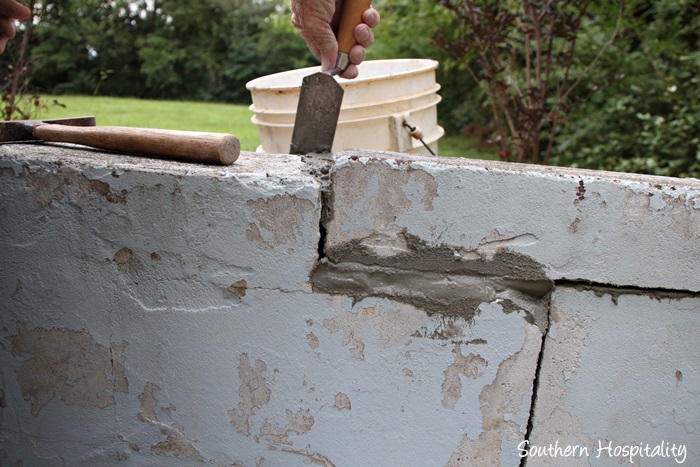
We moved down the crack, filling each one and smoothing it out.
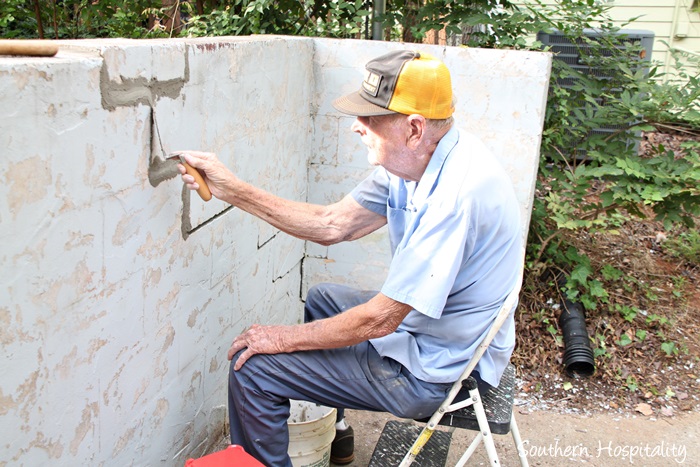
Dad sat in a chair and kept going. I got down in that far right corner and began filling from the bottom up.
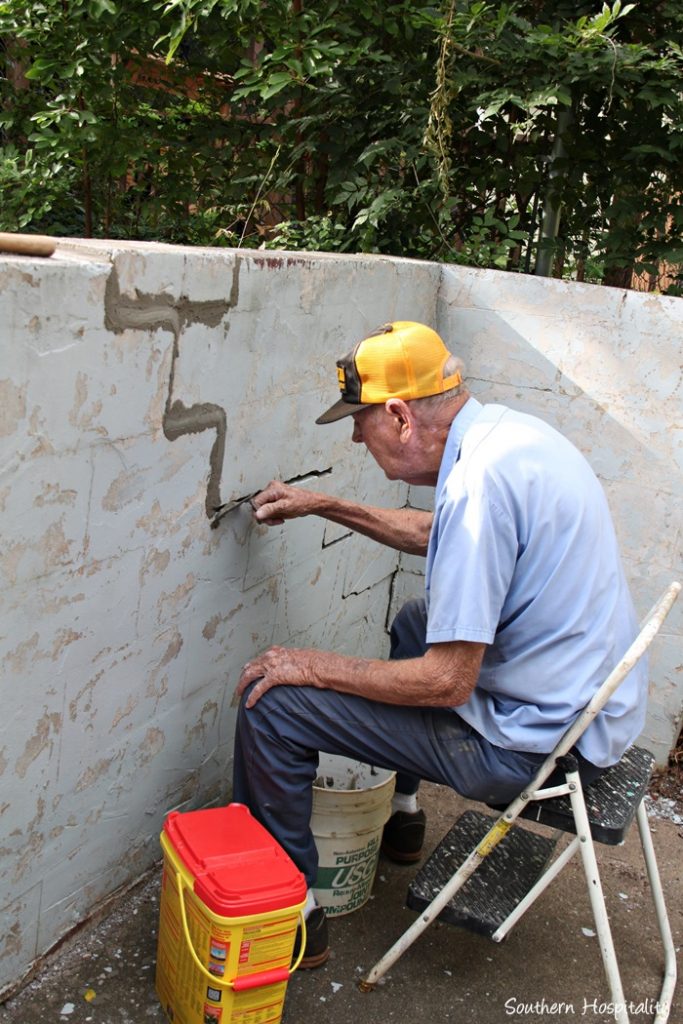
And then we met in the middle.
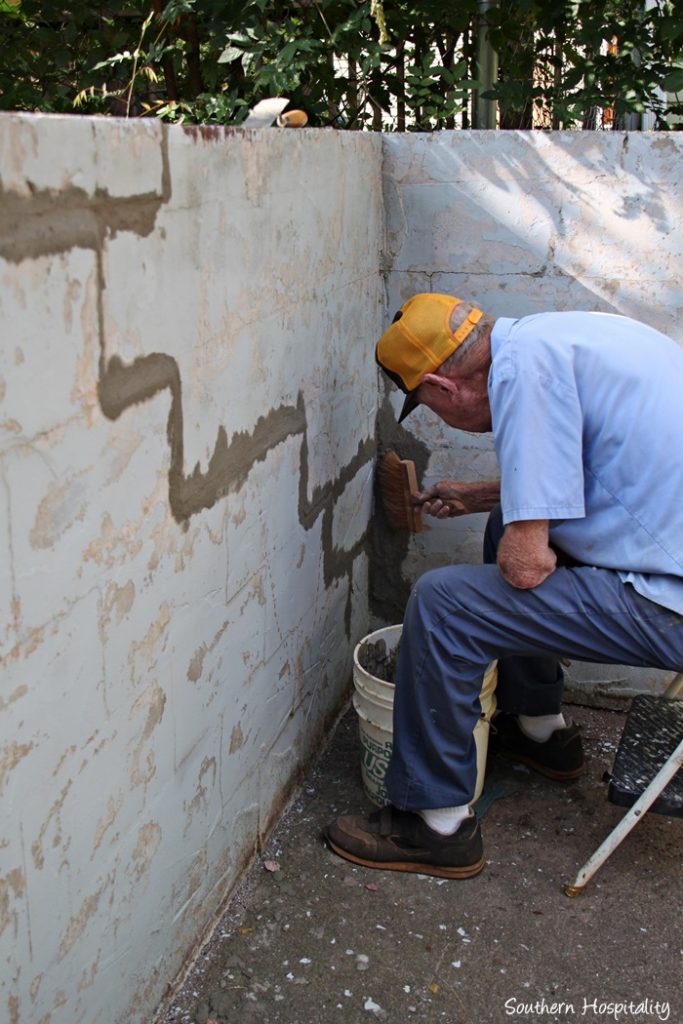
Dad then took a big brush he had and smoothed out the concrete patch. We let it dry really well for a week and I left for the beach. We would paint it when I returned, last week.
It’s still wet in this photo, but once it dried, it was pretty smooth and ready to paint.
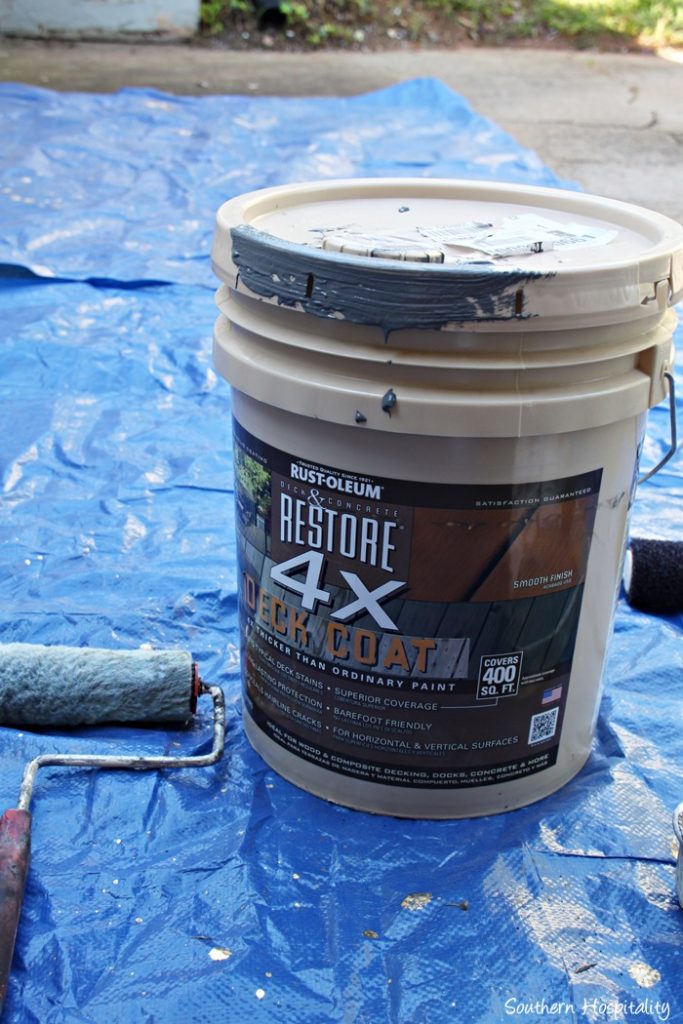
I bought a 5 gallon bucket of Rustoleum Restore for Concrete and Decks. This one is 4 times thicker than regular paint. They also have a 2x and 10x paint in Restore. I decided that 4 was good for this wall.
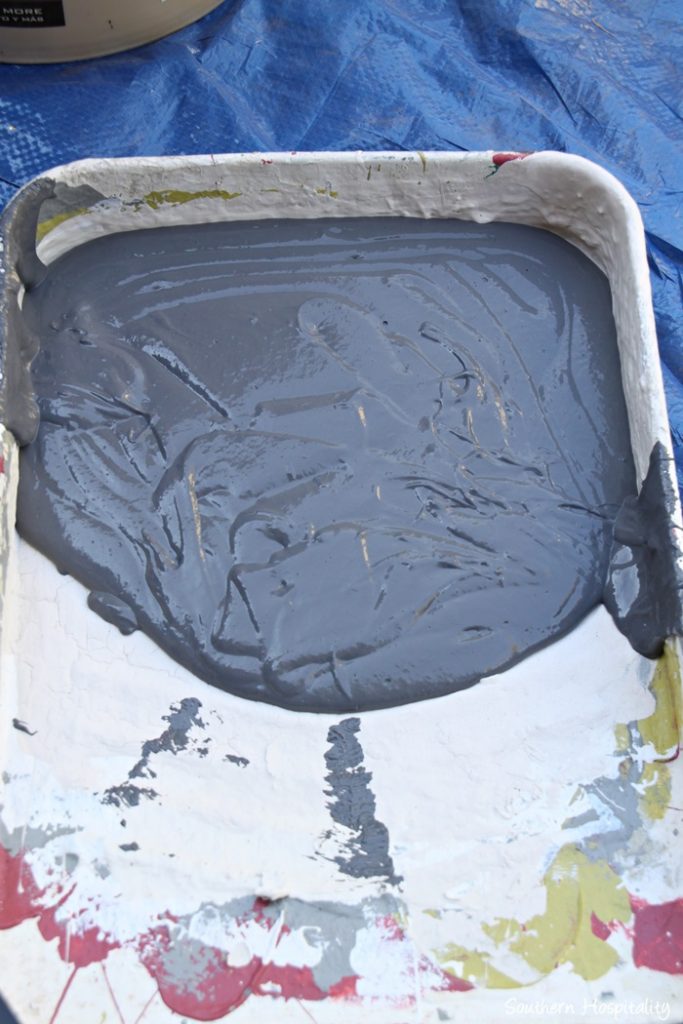
The texture is sort of like pudding, very thick, so it fills in the cracks really well. I also bought a special roller that was textured plastic type material to roll on the paint and it worked really well. The roller was sold along side the paint. I decided to go darker than my house color and chose Carbon. They can mix up either gallons or this 5 gallon paint bucket. I ended up buying way too much and could have bought 2 or 3 gallons and been fine. I may go back and do another coat later, since I do have plenty of paint and another coat won’t hurt.
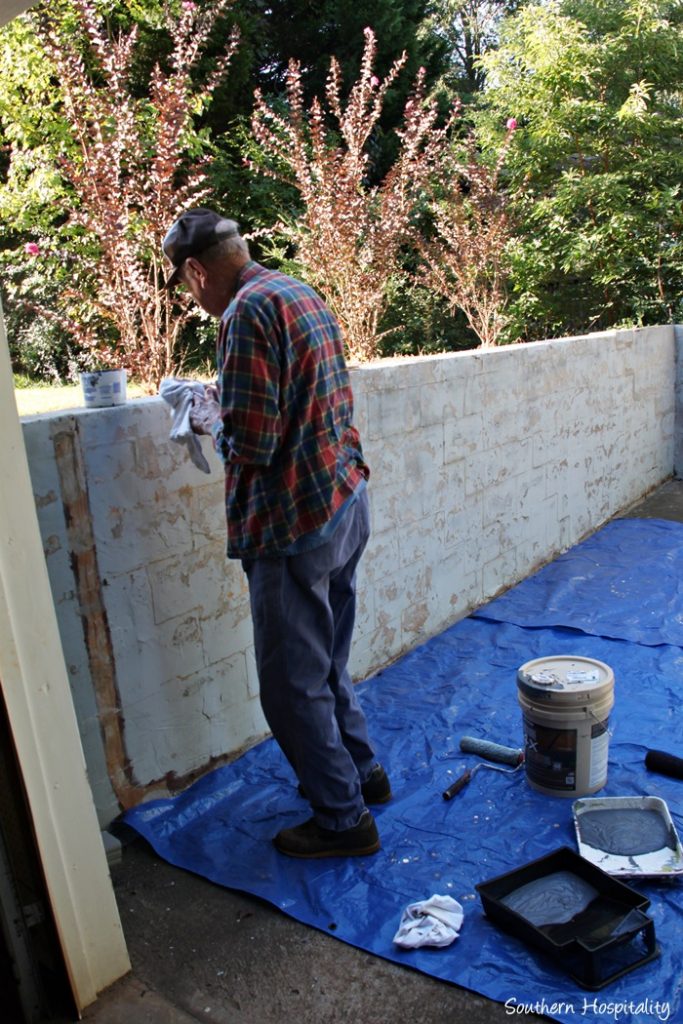
My friend, Beth, was still in town and we all 3 worked on the project. She wanted to help, so I gave her some paint clothes.
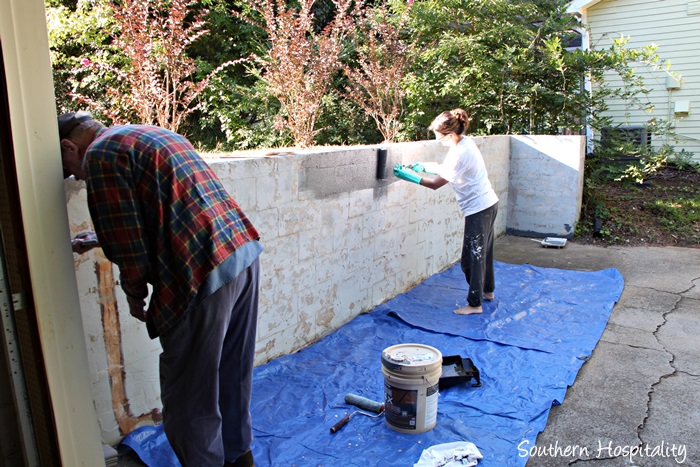
Dad started cutting in with a brush by the garage, Beth started rolling, and I cut in on the far right corner of the wall.
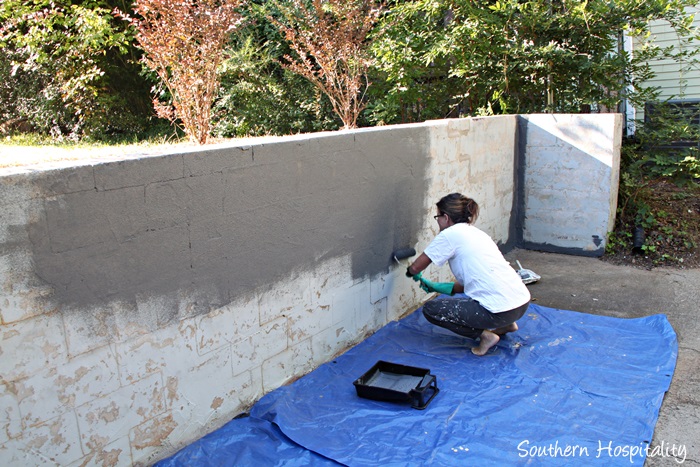
Rolling on the thick paint made a difference and this paint covers well. With concrete blocks and cracks, we did have to work the brushes too to get the paint into all the crevices and cracks. The roller was textured and made sort of a stucco effect when rolled.
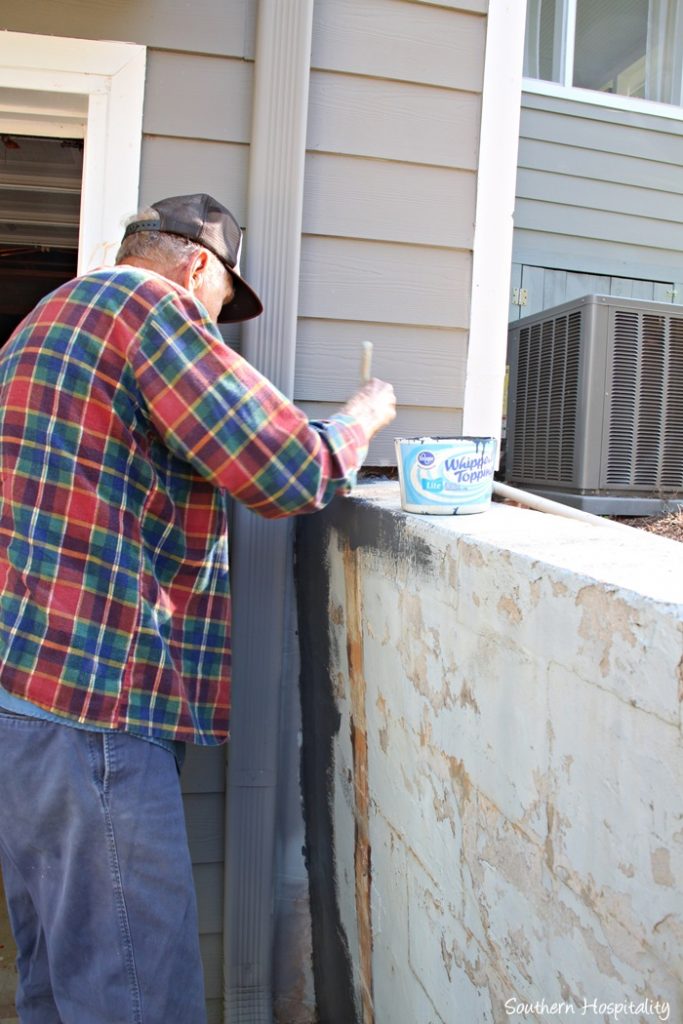
Dad cutting in.
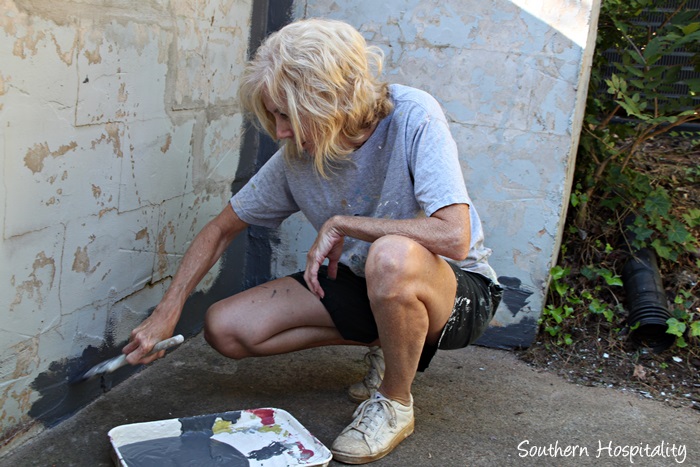
Me cutting in along the bottom of the wall and in the corner. I like this dark gray.
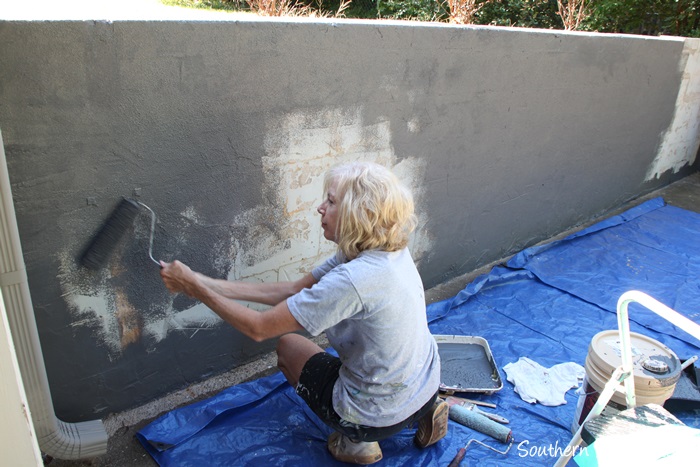
I took over the roller and kept going. One of us would take a paint brush and go back and dab paint into all the crevices and then use the roller over it to get rid of the brush marks and give it all a uniform stucco look from the roller.
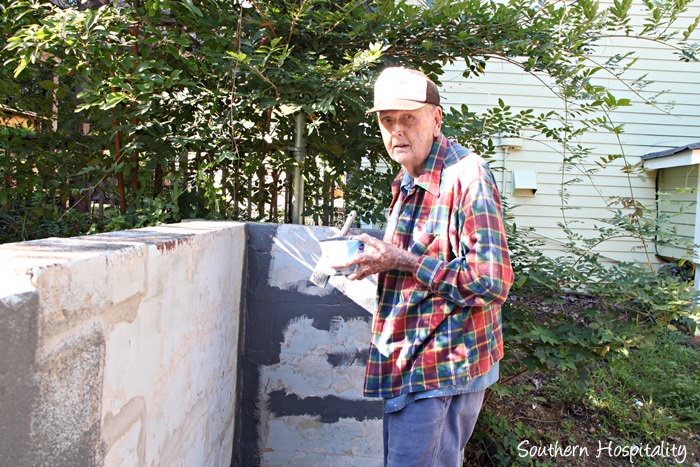
Dad working away. It only took us about 1 and 1/2 hours to get it all done.
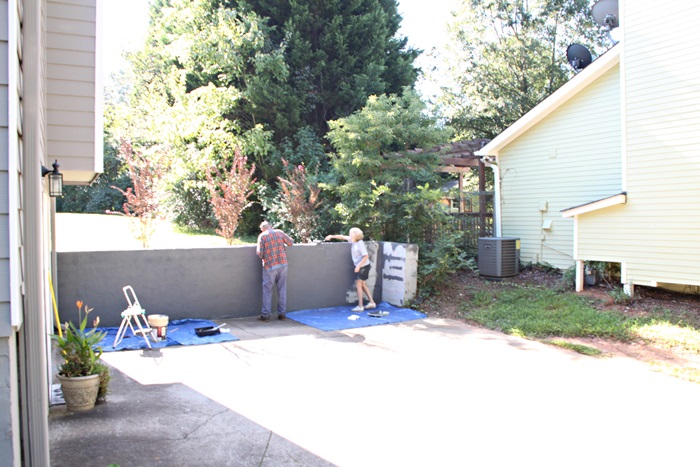
Dad and I rolling and painting, getting to the finish line.
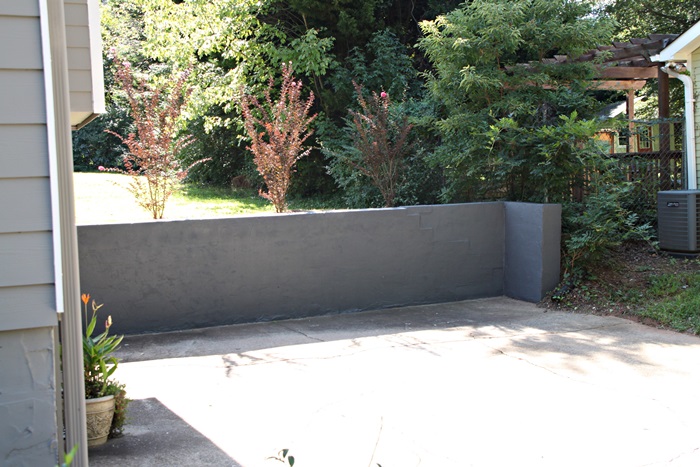
And here is it all done. It’s still not a beautiful wall, but much better than before and I don’t have to hide it anymore.
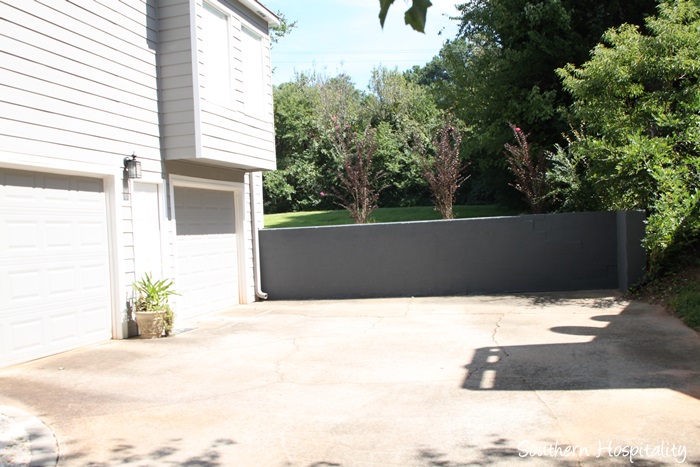
Now at least it’s presentable and looks SO much better.
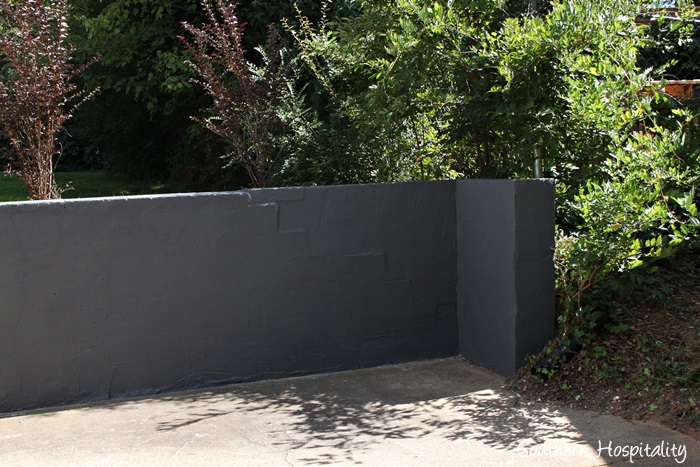
You can see where we patched the cracks and it’s not perfect, but much, much better. I can live with this. It may end up cracking again, but if it does I’ll deal with it then. When we landscaped the front yard, they added a French drain behind the wall to try to drain some of the water that collects in this area and the black pipe comes around the wall on the right, so I’m hoping this helps protect the wall from further deterioration.
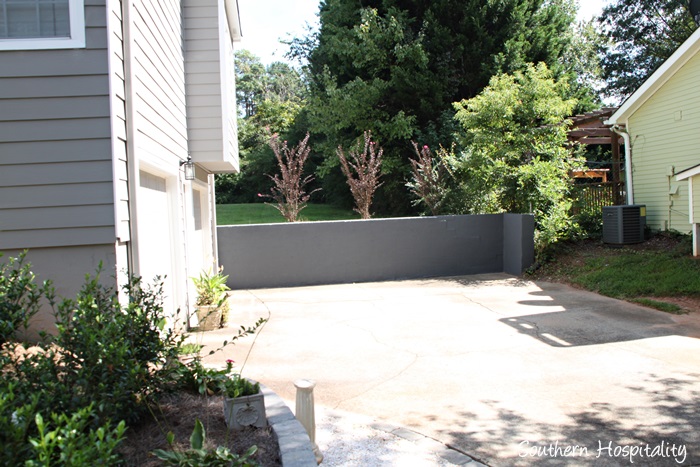
And my next plan will be to plant some pretty evergreen vines, like vinca over the top of the wall. I know that is a good one, but if you have other ideas, I’m all ears. I think some vines cascading over the wall will make it look so much better too and it will blend in more with the backyard. There is already ivy coming over from the neighbor’s yard that I have to combat, so I don’t want to do ivy since it is so invasive.
Overall, I loved the Rustoleum product and it worked great for my purpose. It’s made for exterior concrete projects and goes on nice and thick, so I would definitely recommend it. I’ll see how it holds up to moisture and weather in the future, but for now, I’m thrilled with how much better THE WALL looks now! Now it’s not so much an eyesore.
Note: Thanks to Rustoleum for sponsoring this project, I think it’s a wonderful product to work with.


Looks good! I just love your house!!
I would buy some sort of decorative iron work for it and put a few concrete screws in it and decorate it up!!! 🙂 The painting of it really helped, but wouldn’t stop there.
I agree with some decorative ironwork, especially if it has spots for plants. I understand the desire for ease of care, but a few well placed wall pots of color would look great.
I also like the trailing rosemary idea.
Looks great, Rhoda! Maybe a tree or some tall plants in rolling pots that you could move around might work to disguise the crack even further. It looks much better now though anyway & you are the only one that probably notices. But I do understand totally……..I am very much the same way!
Wow what a difference!! It looks great now and really does blend in better.
Oh, yeah — much better!!
It looks great! Creeping Jenny is a good trailing plant…
The wall looks awesome! Your dad is a gem. Check out creeping fig for your wall. It might work also. Keep up the good work.
I have to smile as I see your dad helping you with your house projects. This weekend my husband was laying pavers with our son in law. My husband learned how to a lot of things from his grandfather. My daughter and I were discussing it is a generational thing as when her husband was a teeneager he was playing golf on we kends and my husband was mowing lawns. I think after sitting in an office all day my husband thrives on projects he can tackle . Here is a link for some plants. http://www.countryliving.com/outdoor/gardening/fast-growing-vines
It looks great! I have used that product on my front porch, and it is a little trickier than paint to use but definitely worth the effort. I think vinca or even passion flower, trumpet vine, or Caroline jasmine if it will grow in your area would look great and further hide the wall.
I would stick to trailer that don’t have adhere with suckers. Trumper vine will take over and easily seed. A native passion flower would be wonderful and delicious to boot! I forget you can grow the jasmines year round probably so you might check them out. Truly a mix of a few things with various bloom periods might look godd as well. Also look into hardy kiwi; you need a mail and female, but it a wonderful vine.
I really need to read my posts before hitting “reply”. Please excuse the hilarious misspellings.
Teresa, You are not alone! It is hard to type on the IPad and /or phone as quickly and accurately as a standard keyboard. I think people understand!
No Trumpet Vine. My neighbor had it and it came over the fence and took over part of the yard. I had to kill it (along with the grass unfortunately) with Round-up.
Great DIY project. Thanks for sharing. It looks great!
Wow, so much better than before, good job. I echo Laurie: if jasmine will grow there, use some of that. Rosemary is trained over walls in the Mediterranean, that might work too.
Wow, it made a huge difference. I love it.
So glad to see your dad still going strong. I always show my 69 year old hubby his projects for inspiration.
You read my mind – I have been wondering what I am going to do to spruce up the retaining wall around my pool. Your post couldn’t have come at a better time! Thanks for the inspiration!! 🙂
Please don’t use Trumpet Vine. It is pretty but so invasive. We planted some years ago and it still pops up in different areas of our yard. I would go with the vinca major since it is easy to
pull up and trails beautifully. The creeping fig would be nice too but I think it would stick to
your wall and create dark patches. The vinca would just hang over and trail. I think the wall looks great now and I wouldn’t worry too much over it.
The wall looks so much better! It’s amazing at the transformation that paint can make, no matter the project!
Your wall looks great, in fact the entire house inside and out looks great. I would be very careful about planting a vine near the wall, especially ivy. Ivy roots will embed themselves into any little cracks they can find and in time destroy trees and walls making them weak, easy to fall. I know this because we make the mistake of planting ivy around a tree. The vine took over and finally killed the tree.
Wow….what a difference! The wall looks great and I love how your Daddy is there working with you. My Daddy was like that too. Like yours, he knew how to do a little bit of everything.
What a wonderful dad and friend to help you with your project! It looks so much better. I planted a tiny pot of vinca and it went crazy here in Clemson, SC…like kudzu! It has taken over my flowerbeds and is almost impossible to pull out. My only recourse is Roundup which will also kill my daylilies. What about Confederate jasmine? It grows fairly quickly, stays green, and is smothered with creamy white flowers in spring and early summer. That is the vine you see growing everywhere in my hometown of Charleston. A wise gardening friend told me this about vines … First it sleeps, then it creeps, then it leaps! That was true with the Comfederate jasmine (not to be confused with Carolina jessamine).
Hey, Roxanne, yes I know all about Confederate jasmine and that is so true. I had it at my very first house in GA and that thing grew like crazy and took over my whole deck. It’s a beautiful vine, not sure it would be good here, but I have it in mind for my privacy screen in the backyard.
So glad you went dark gray. We have had great luck with vinca and I am in hotter zone 10/11. They are self-seeding and I’m really pleased with them.