A new and improved bathroom will not completely change your life, but it sure makes it feel prettier! It’s been a long time since I’ve had a complete room makeover reveal in my house, but today is a treat for me and I hope for you too!
The day has finally come that I can share the reveal of my teeny tiny master bath. It’s been 4 years coming and I’m so happy to get this one done. I wasn’t sure when I renovated my house if I would ever spend the money and renovate this tiny space, but I’m so glad I did even if it’s almost 4 years after moving in here.
I feel like I’m on vacation and taking a shower in someone else’s bathroom! It’s so nice to have this space prettified and feeling so spacious and clean (well, as spacious as a small bath can feel!). Getting rid of the old fiberglass tub was the best thing I could have done and the vanity was original and worth nothing as well. Adding the floor to ceiling tiled shower and glass shower doors really does make the room feel larger. Goodbye forever to this 70’s bathroom! She looks a lot more elegant and classic now and I know I’m going to enjoy this bathroom for the long haul.
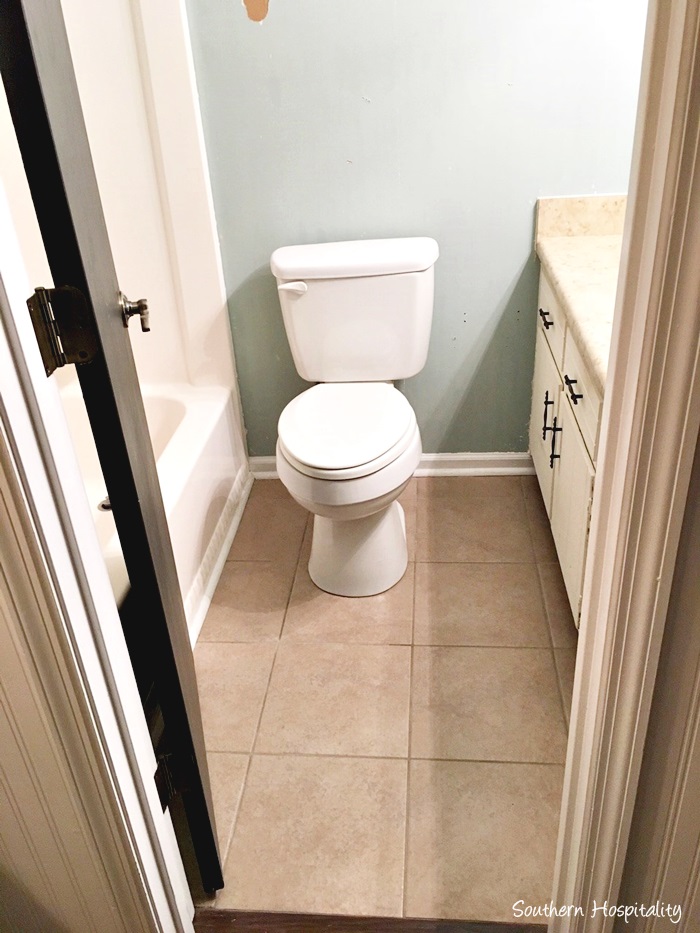
Just a reminder of what it looked like before. Plain beige tile floor. Serviceable, but not very exciting.
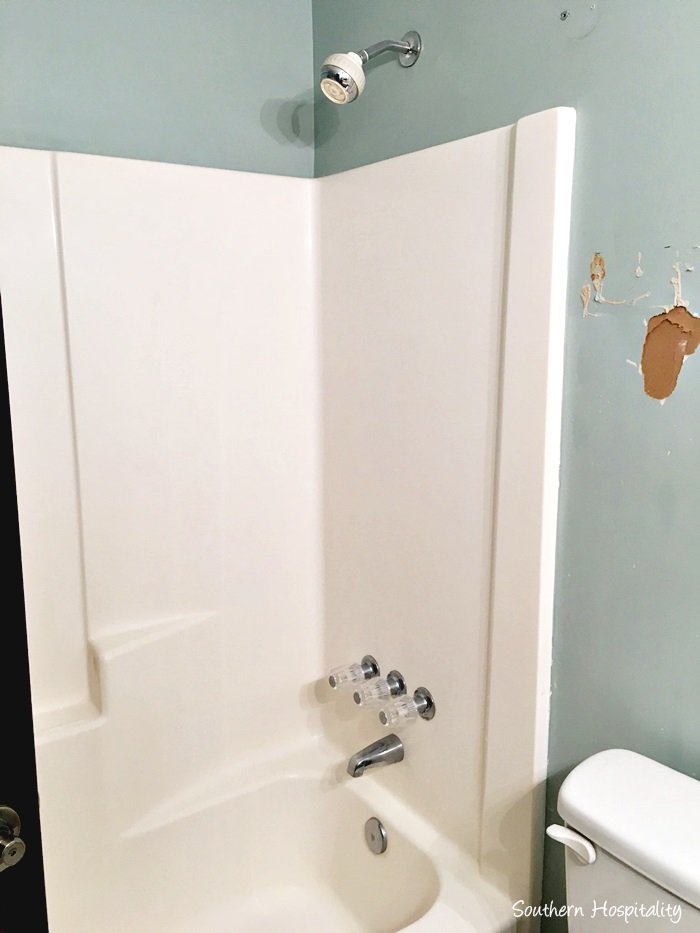
A one piece fiberglass tub that has been used in countless homes over the decades. Not attractive either but they work just fine.
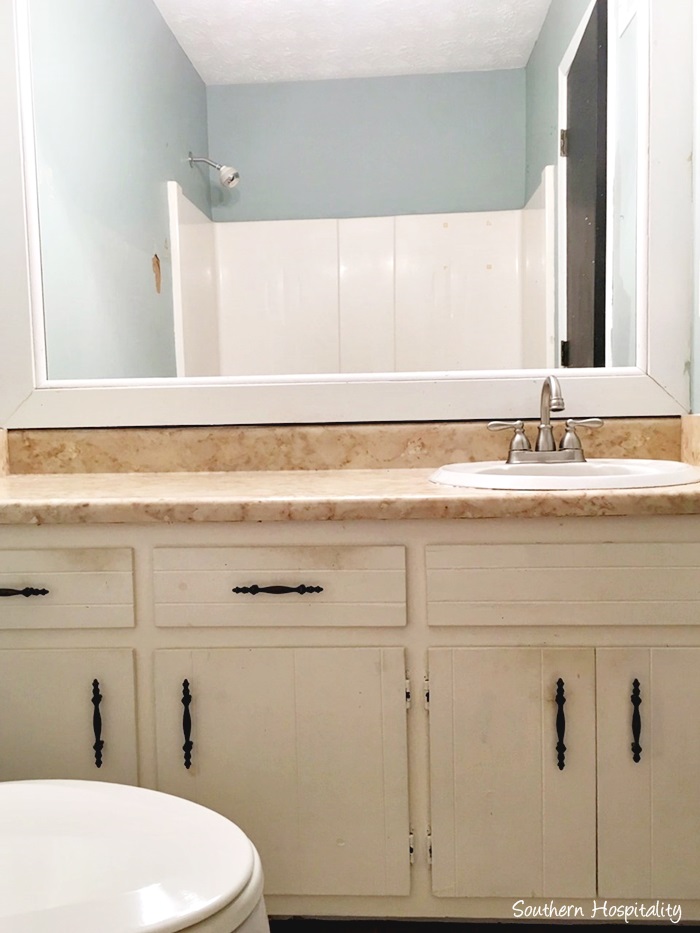
The old original pine vanity that I painted was in need of another paint job and the large mirror that took up the whole wall was clunky and overpowering.
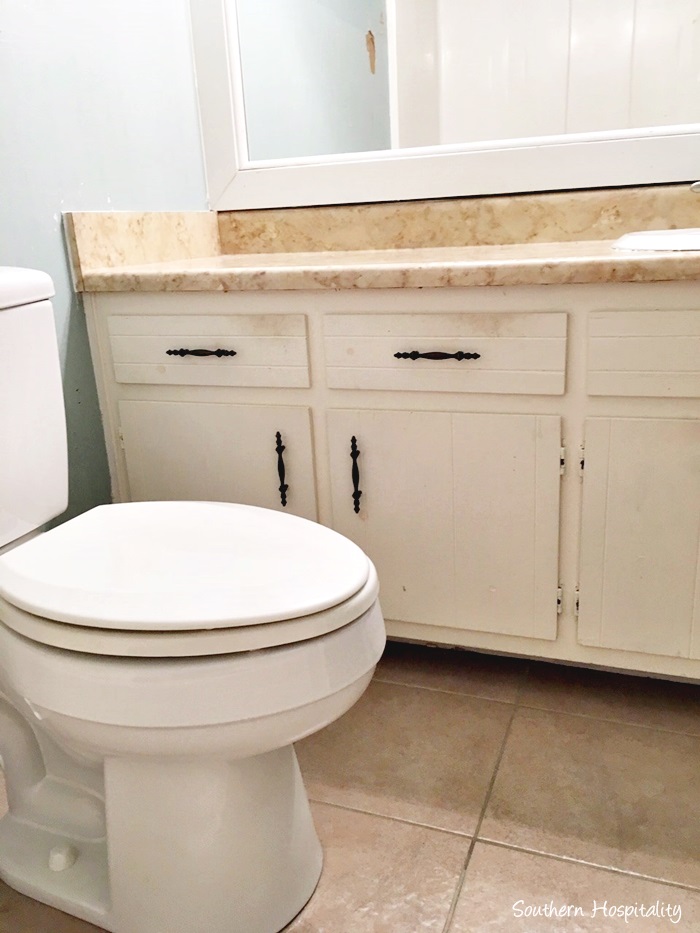
I had lots of things stored under here, so it was a good chance to really clean out my bathroom and only keep what I needed. I had replaced the toilet when I moved in here, so it’s the only new thing that was in this room.
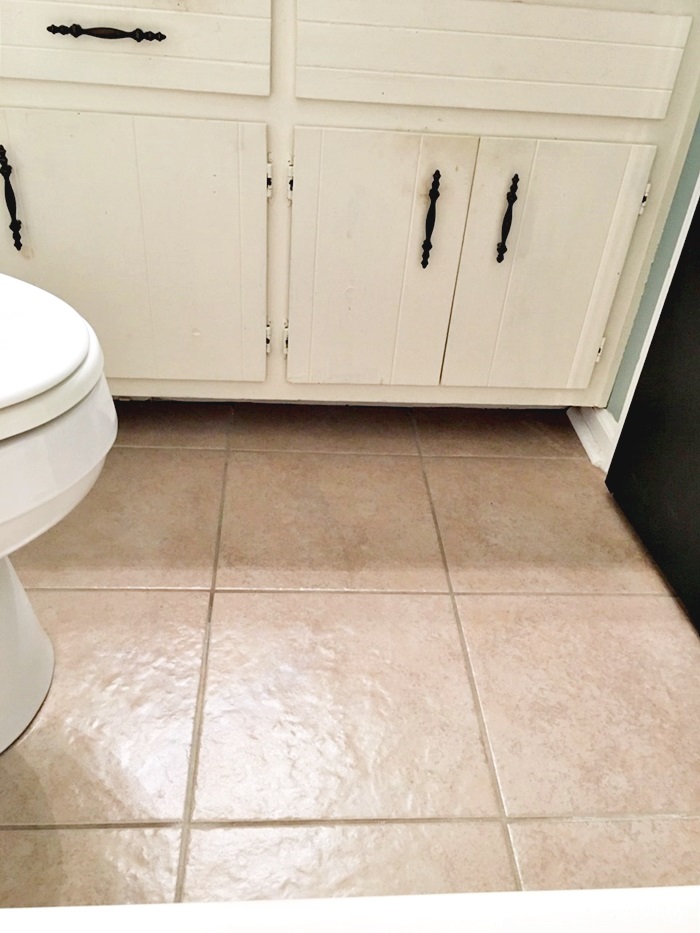
I won’t miss this floor either! I’m so excited to share the new look, it really came together exactly as I had planned it in my head. I love when that happens!
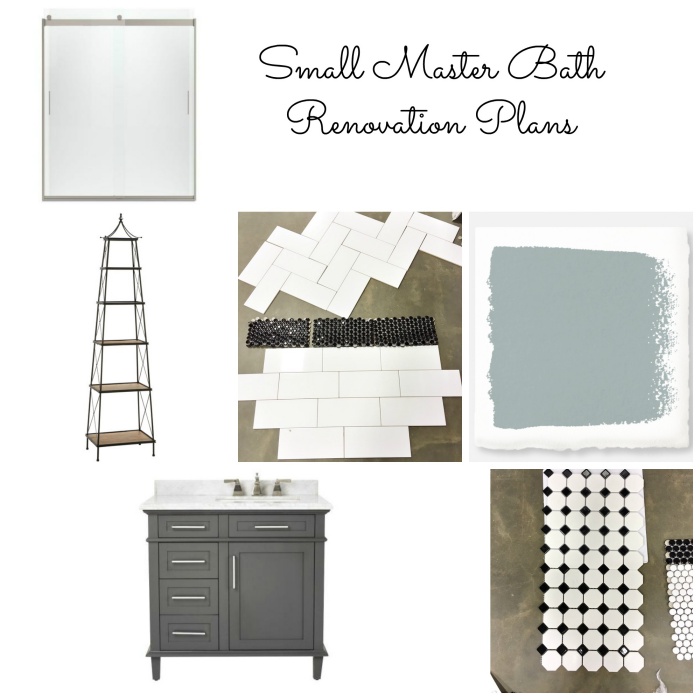
It’s so fun to take a mood board and bring it to life…and I’m always relieved when my final project doesn’t suck and looks like what I envisioned in my head. I’m happy to say this one exceeds expectations!
Here’s my real life bathroom now!
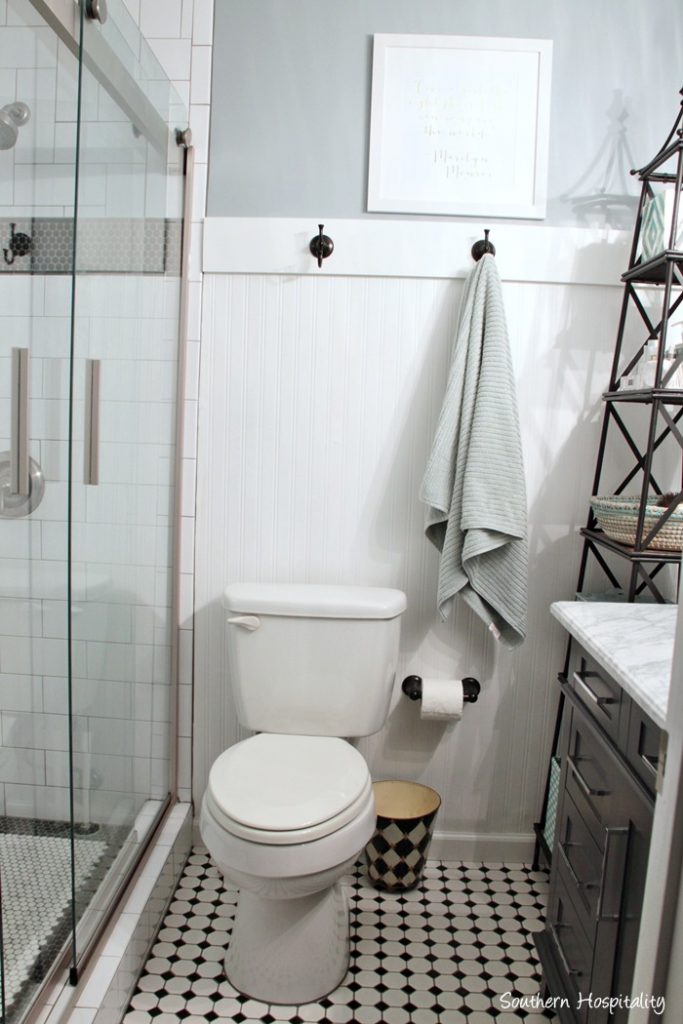
Tada!! Quite the difference, isn’t it?? I really am completely in love with it. I shared the in progress shots of the bathroom and my tile guy did a fantastic job. I’ll be sharing his name at the bottom of the post, including a cost breakdown for this small space.
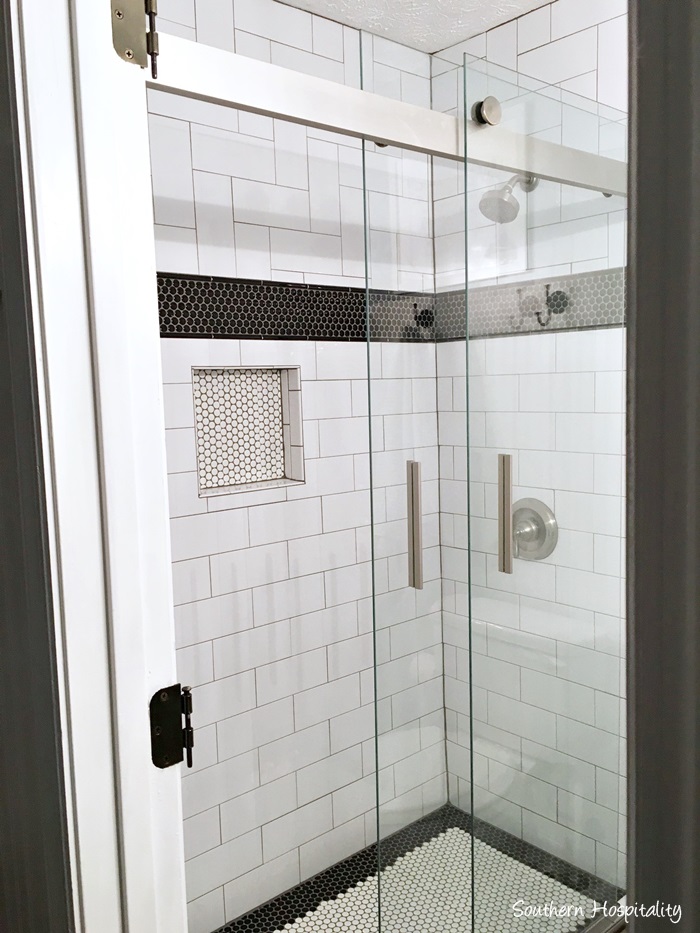
It truly is hard to capture this bathroom because it’s so small and getting my big camera in here to take pics is quite the challenge. I managed to take pics with my big camera and my cell phone and I think these do an accurate job of showing it off. You can see I took the door off for the renovation and I kept it off to take these pics. I’ll be putting it back on, but it swings toward the glass doors and would have totally gotten in the way of my camera.
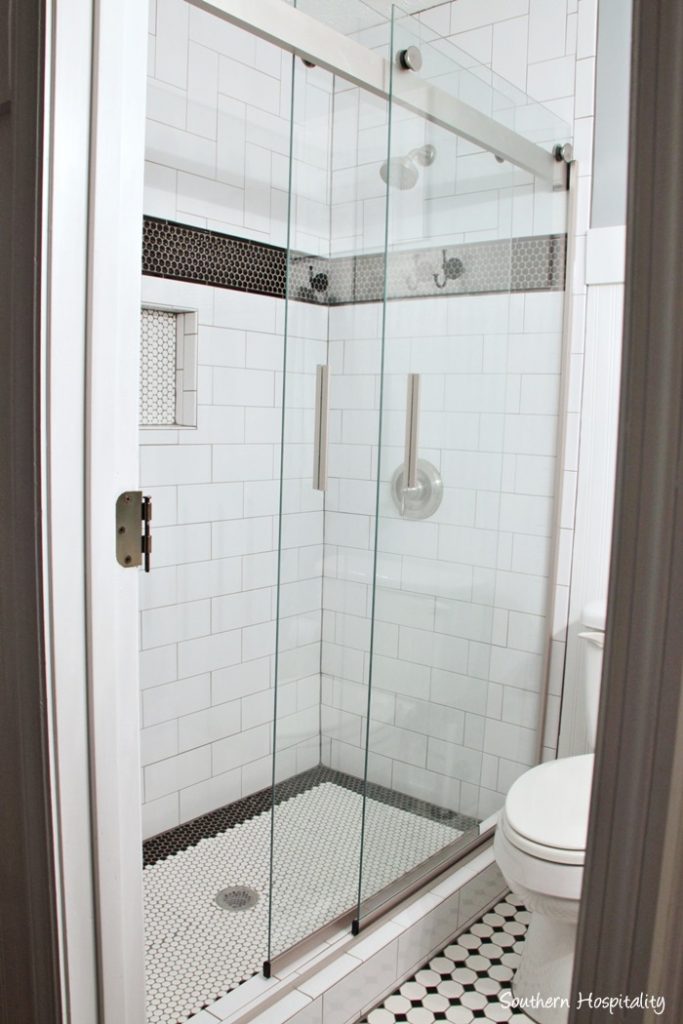
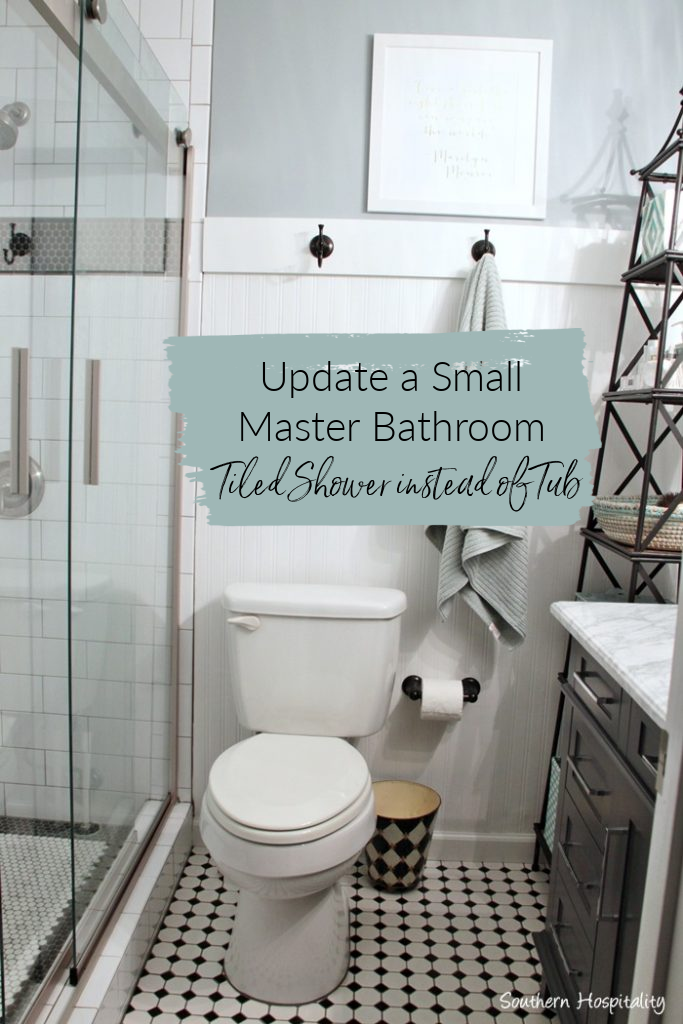
Adding clear glass shower doors really elevates the bathroom and makes it feel so spacious with the floor to ceiling tile work. I used 4 x 10″ subway tile from Floor & Decor and black and white penny tile for the shower accent. An octagon black and white tile is on the floor and all tile came from Floor & Decor. A big shout out to them for helping me with this bathroom.
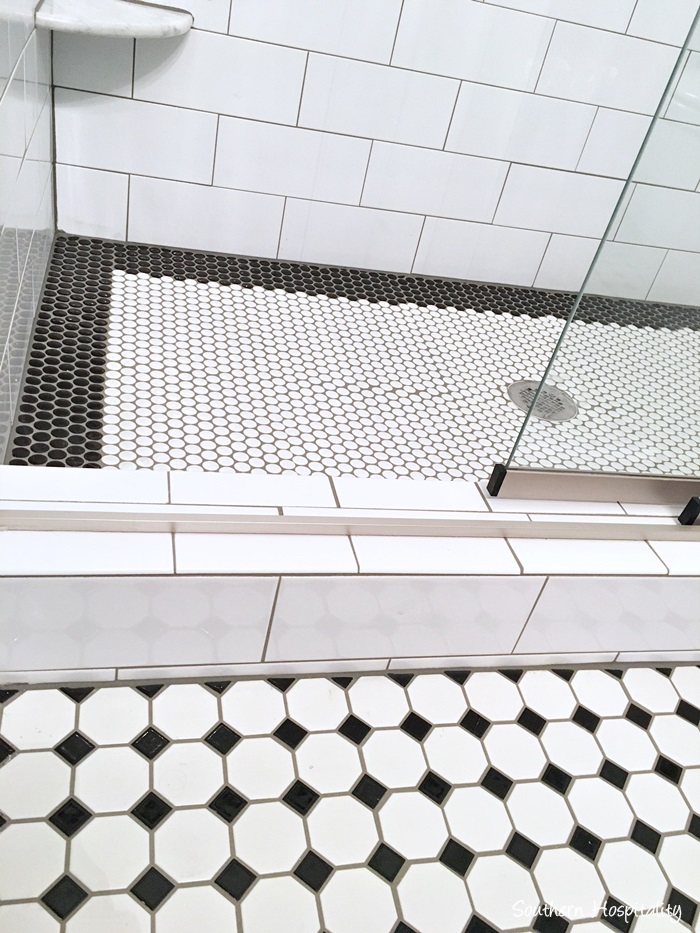
I love all the tile together and it feels so clean and fresh. I used a medium to dark gray grout, called Delorean Gray and I love how it looks. It’s not too light or too dark, but blends it all together.
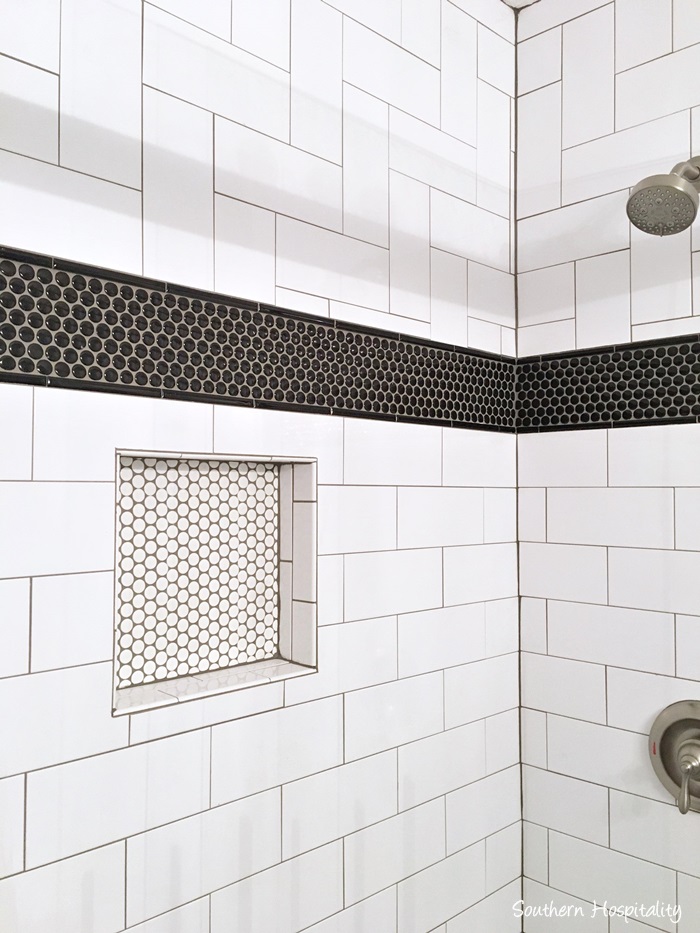
The penny tiled niche is nice to have and most bathrooms have those these days.
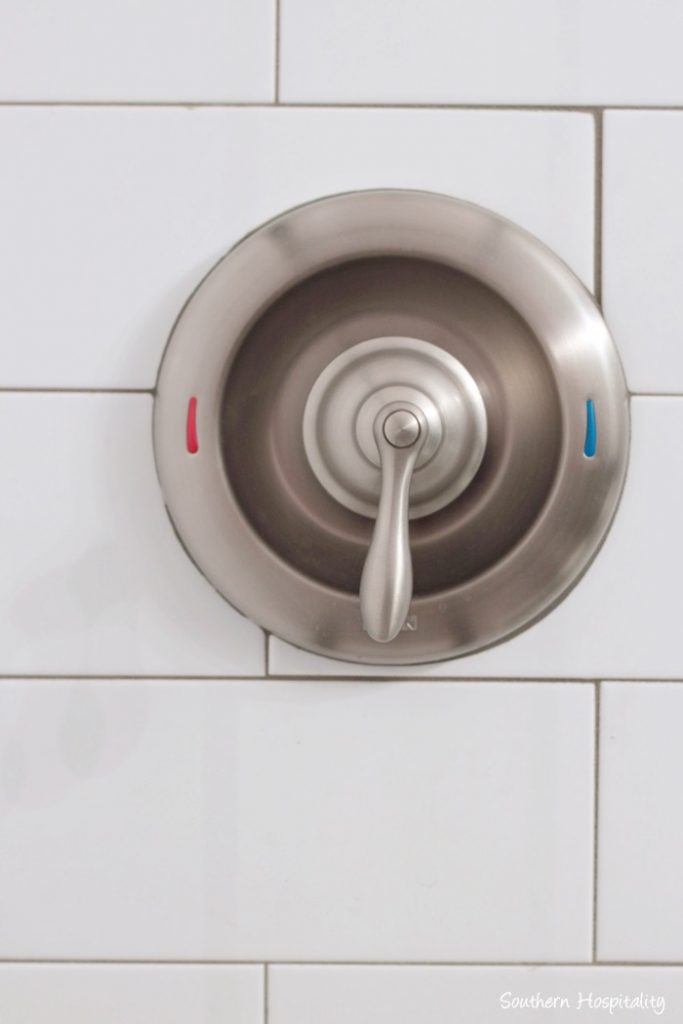
I got a new shower set from Moen, this is the Caldwell in Brushed Nickel. I’ve worked with Moen before and they actually sent me a new shower faucet set, but unfortunately when we opened the box, realized that the set didn’t have the shower valve, it was just a trim kit, so I ended up going to Lowes and buying a new one.
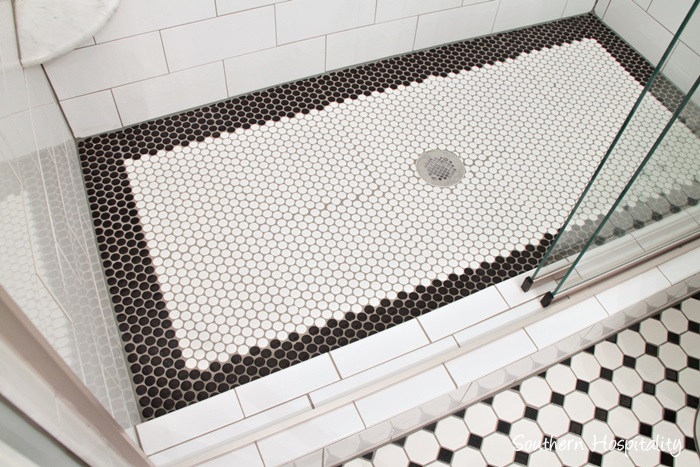
The shower floor feels so nice underfoot with the penny tile and water drains out perfectly with the drain moved to the middle. The shower floor dries up in no time after I shower.
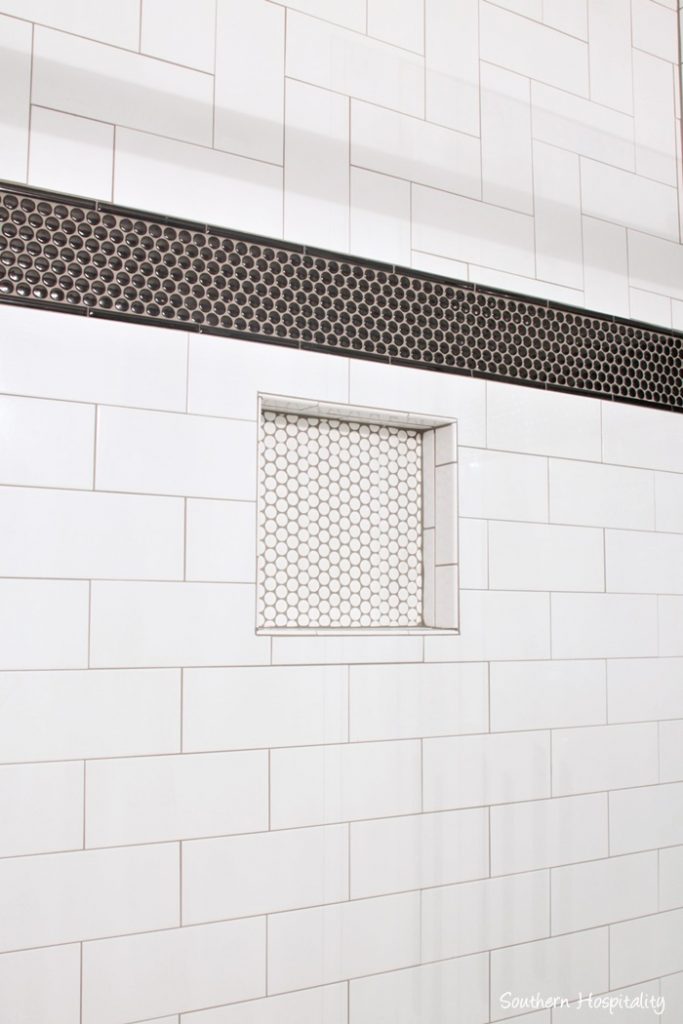
My tile contractor suggested I go with a straight herringbone above the black border, so I took his advice and did that and I’m completely happy with the looks of it.
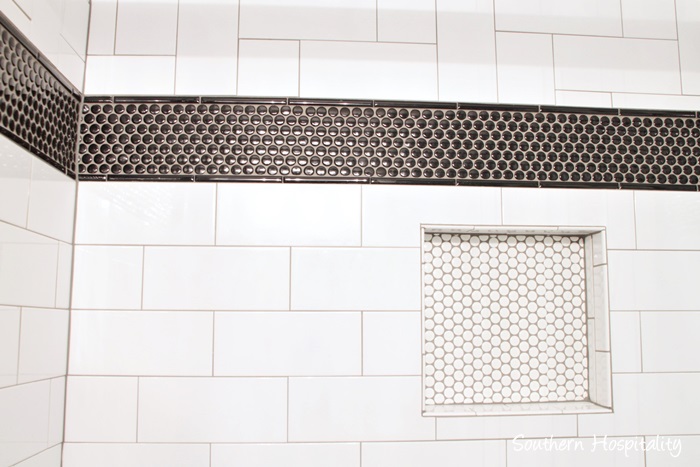
The black penny tile border with black pencil tile adds a nice contrast, I think.
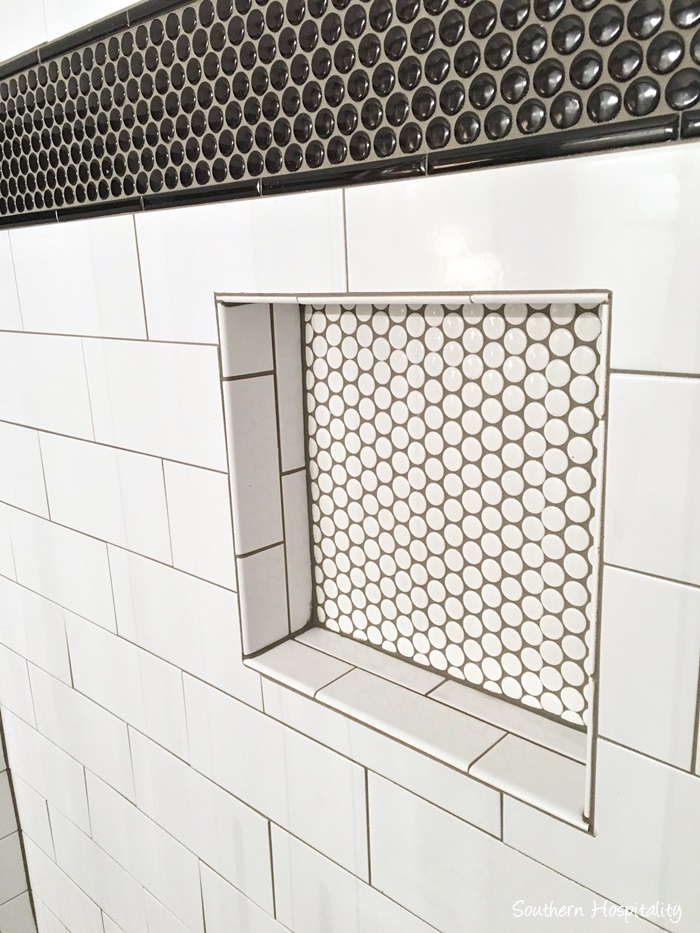
I took a bunch of pictures so you could all see the details, so I hope you enjoy.
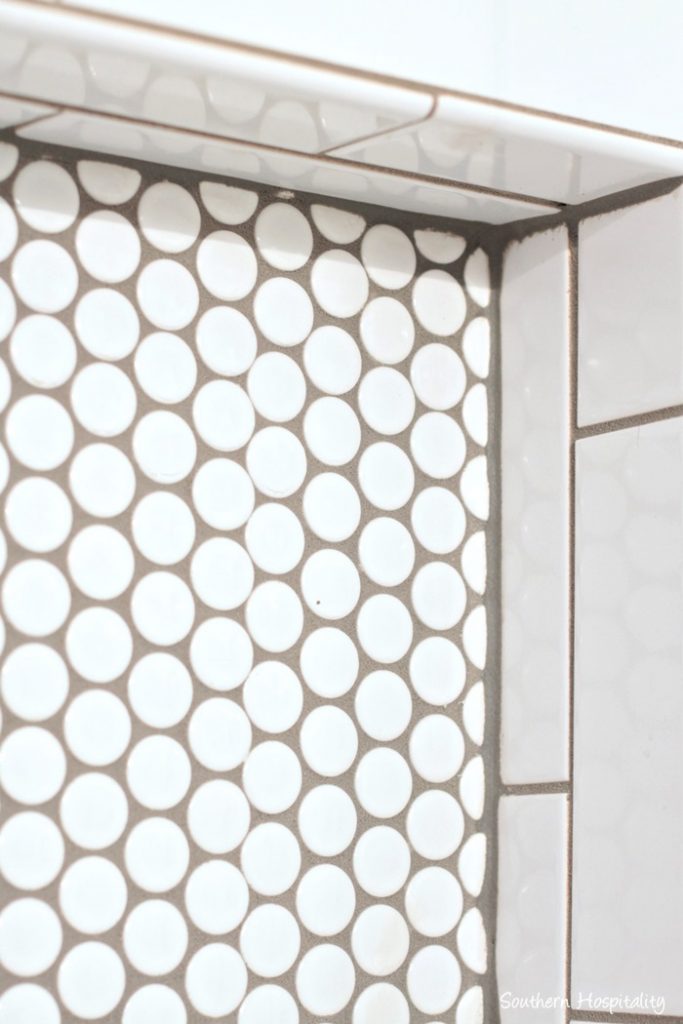
I love this little niche! Those circles make me smile.
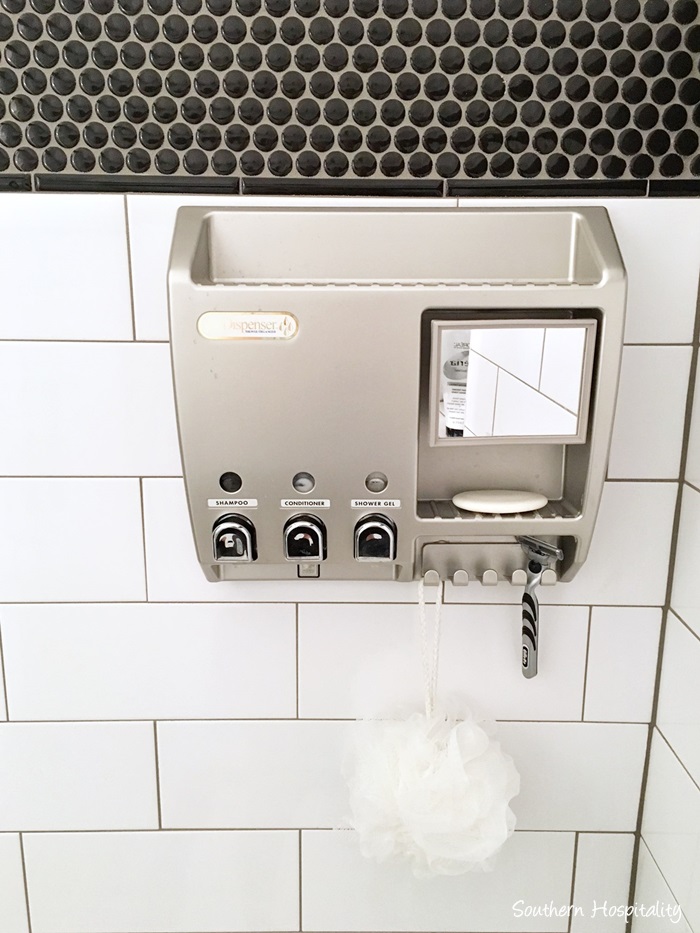
I love this cute Dispenser 3 that I’ve been using for years. I’ve had these in my bathrooms for several years when I discovered them and they really are great for organizing those bottles. Shampoo, conditioner and shower gel is what I put in mine.
Dispenser 3 from Amazon (affiliate link)
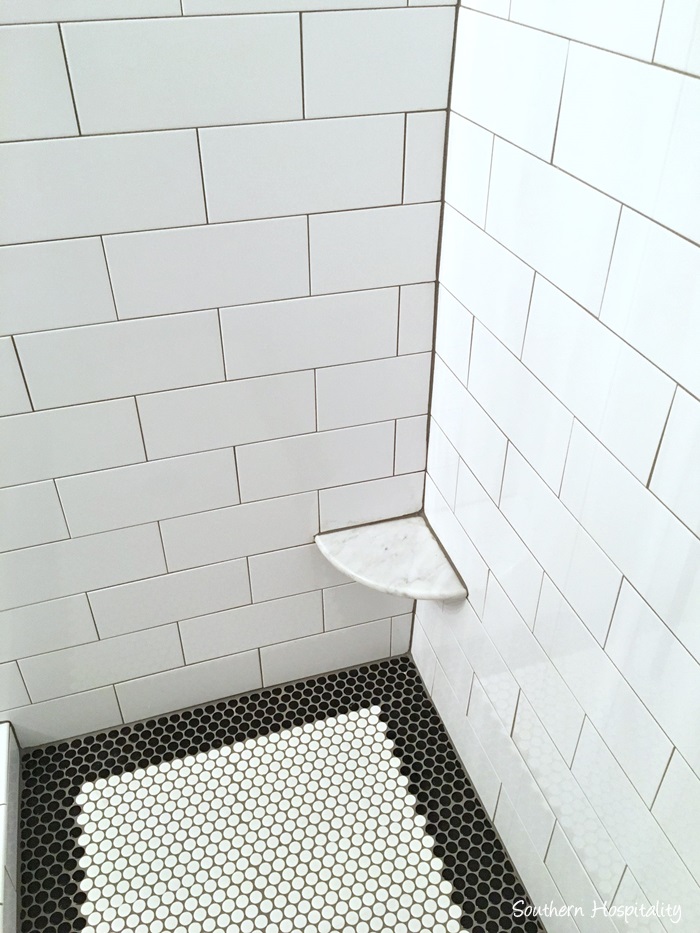
I added a curved marble piece about 1 foot off the floor for a leg shaving prop and it works out great. We decided I didn’t have room for a bench in here and that was fine with me.
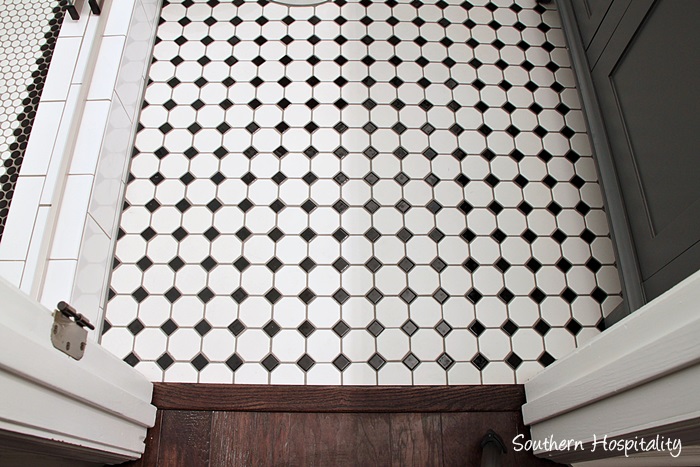
The tile and wood floor transition looks very nice coming in the door. I bought a new wood transition piece from Floor and Decor that goes better with a tile installation and lays almost flat.
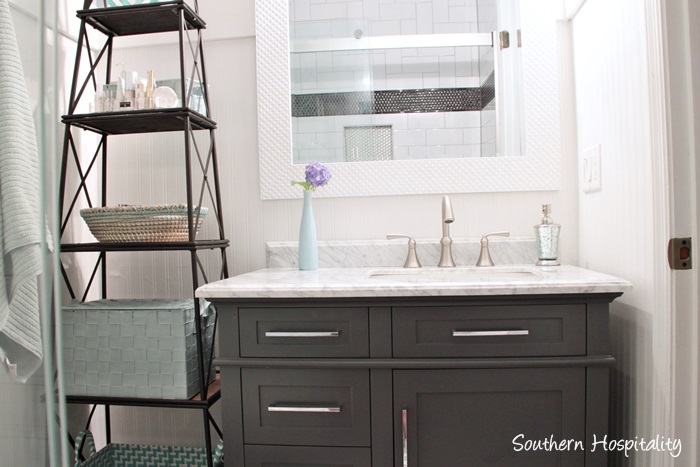
Now, for the vanity! I looked online and did a lot of research on vanities. It took me awhile to decide on color, but when I saw this charcoal gray vanity from Home Decorators, I was sold. I ordered this online and had it shipped to my house. It has a beautiful gray and white marble top with a white enamel undermount sink. Only the tile was sponsored in this project, everything else I purchased. I did have some gift cards from Homegoods left over (since I’m a Homegoods ambassador) and I used those to partially buy some of the baskets you see on the storage piece.
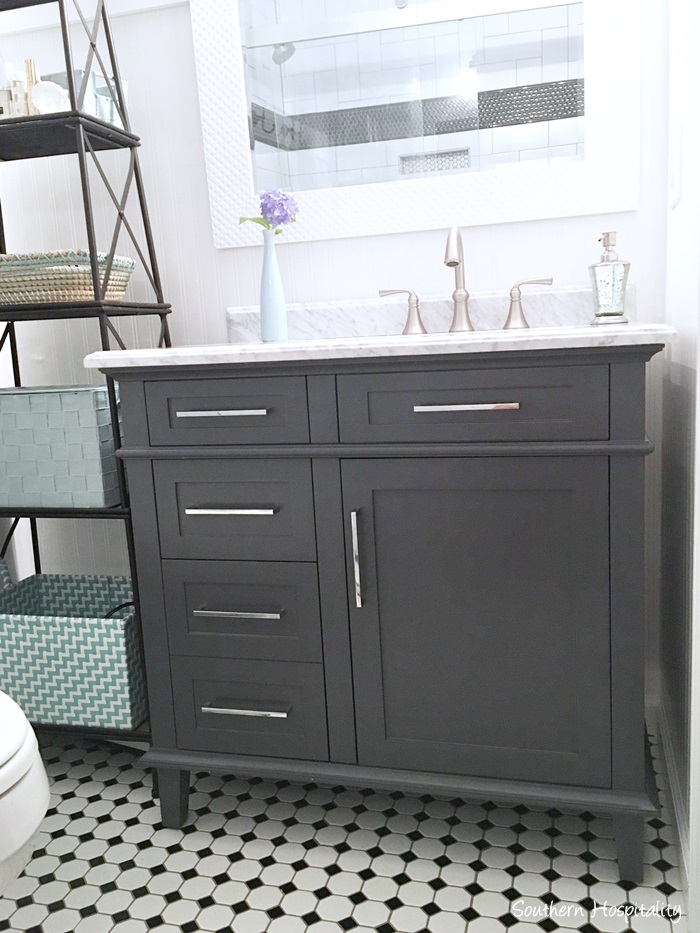
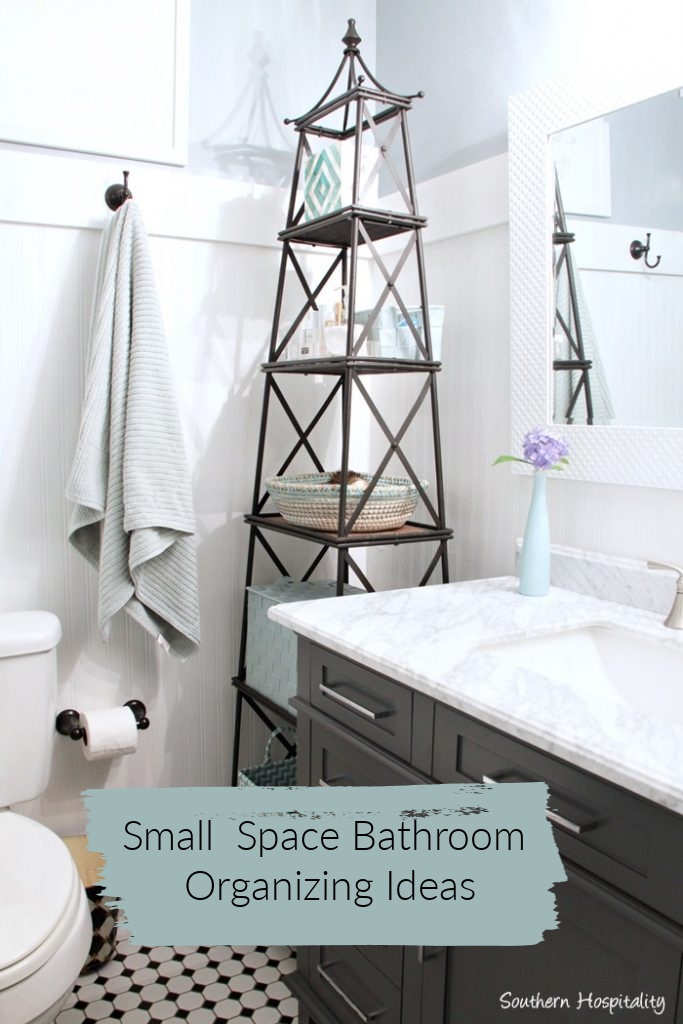
You can see the sink is on the right and that’s where my plumbing is located, so having drawers on the left was the best set up for my bathroom. This is a 36″ vanity. I knew that I wanted that size and that would leave me enough room for a small tower for storage baskets. I had about 20″ to play with on that side. You should have seen me and my roommate lifting this tower up and over the toilet and vanity, trying not to wreck anything. Crisis averted and I got it in place!
I love this vanity very much and it has soft close drawers and I think is very good quality for the money. I ordered the white glove shipment to my house which was $30 extra and totally worth it. Two guys brought it up my front stairs, up my stairs to the upper level and unboxed it and left it in my office until my project started. There were no issues and no damage and I was happy I paid extra for that, to have reassurance of a solid piece.
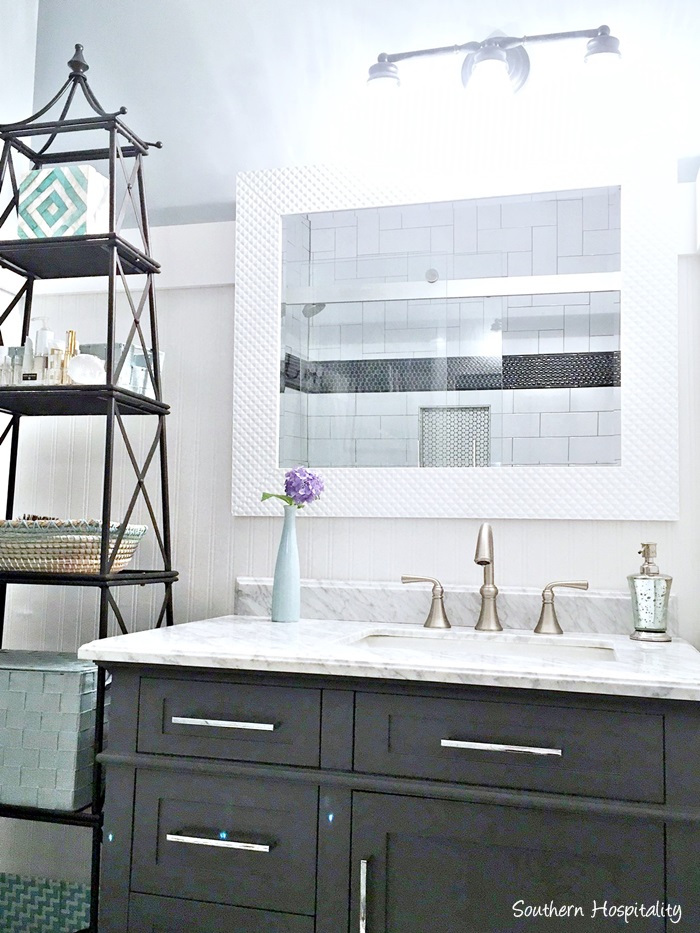
You’ll also notice that I did a mix of metals in here. Brushed nickel for the faucets, the drawer pulls came in chrome, and my light fixture and hooks/TP holder are all in oil rubbed bronze. I don’t mind a mix of metals and the black ties in with the tile and the corner etagere . It’s hard to get a shot of my light fixture but it’s one I bought when I first moved in here. It’s black with seeded glass globes.
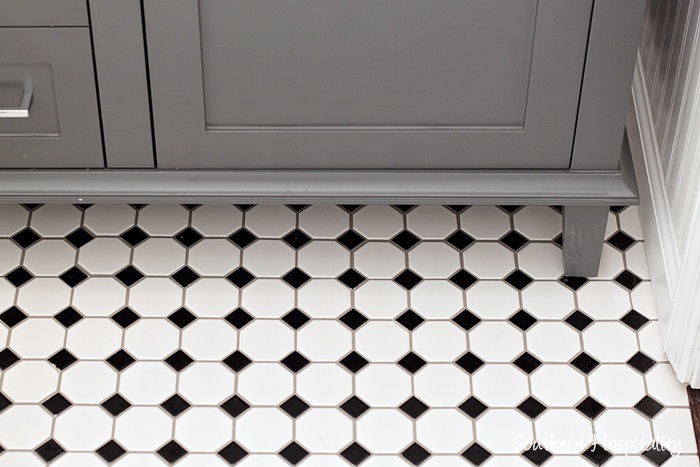
It’s a free standing vanity and like a piece of furniture.
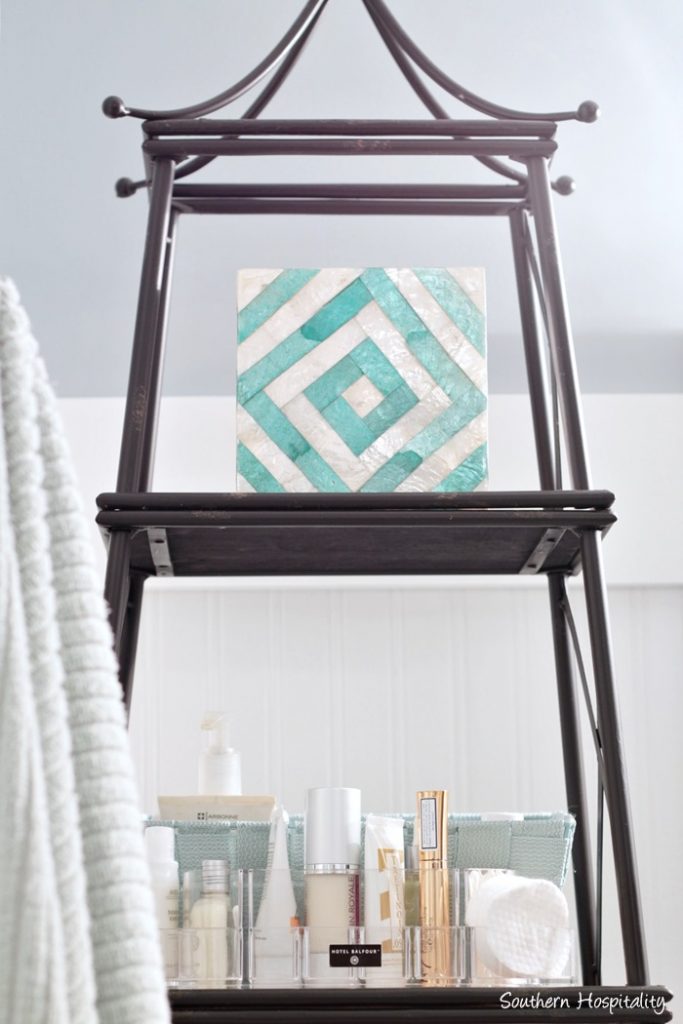
The corner tower is from Joss and Main and I ordered it a couple months ago, since I had some credit left in my Joss and Main account to help pay for it. It’s not super high quality, but works for what I need. I’ll link to everything at the bottom in case you are interested.
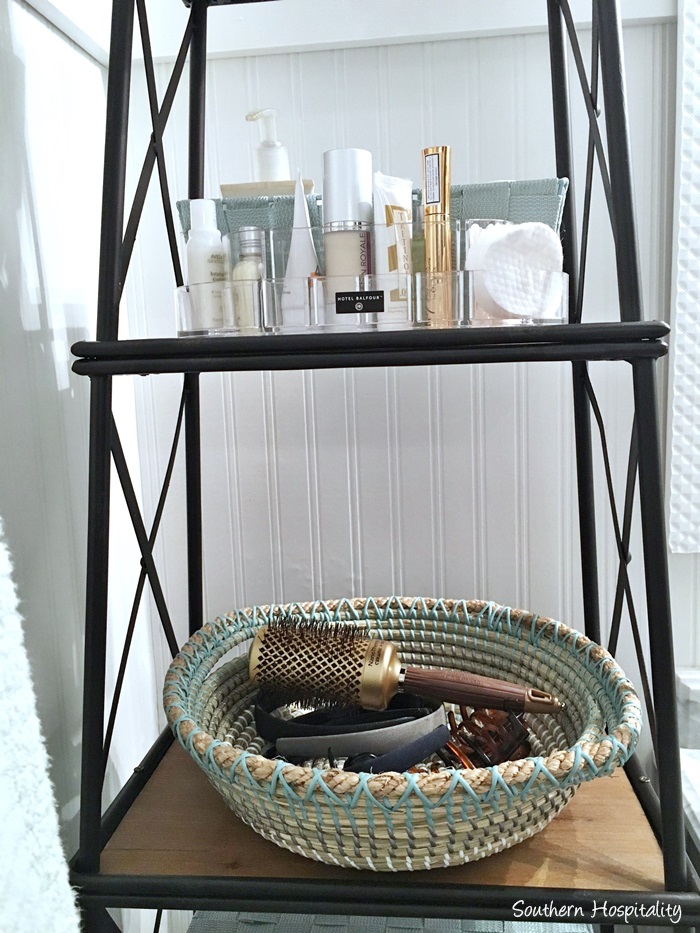
All the storage baskets and bins came from Homegoods. They have a great selection of baskets, bins, and boxes and I took measurements with me to the store and found all of these in my Kennesaw store. I love them all together! The top blue and white box has a lid and I can store something in there. The 2nd clear one is a nice caddy for skin care and a pretty aqua bin behind holds my everyday essentials. That cute aqua and natural basket was perfect for my brushes and hair clips.
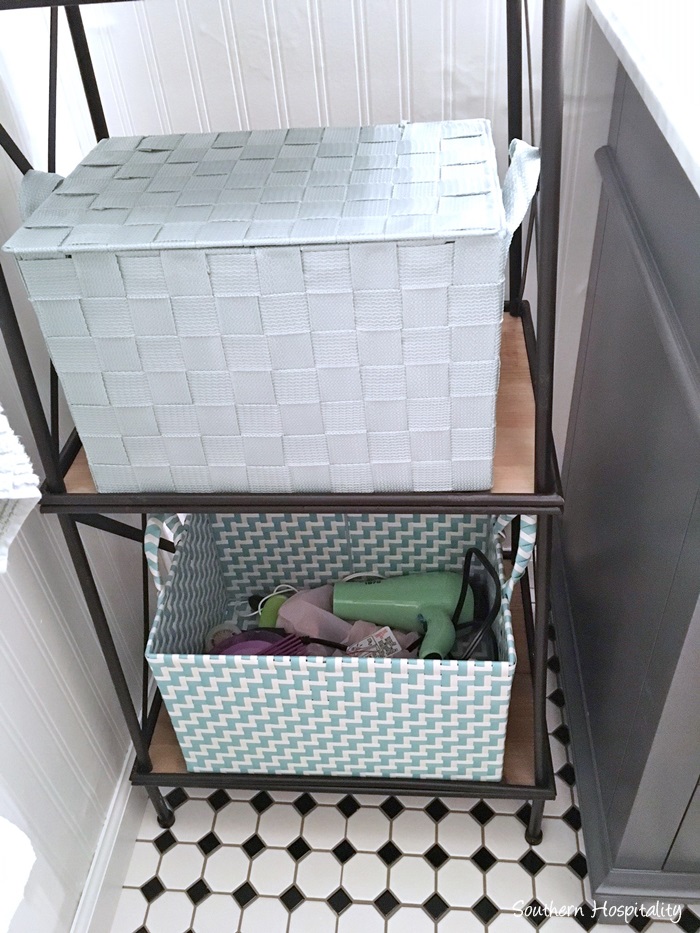
The bottom two bins are bigger and hold more. The closed lid holds all my vitamins and supplement containers and I like they are out of sight. I can add a couple rolls of toilet tissue in here as well. Hair dryers, flat irons, a pink shower cap, and more go in the bottom basket for easy access.
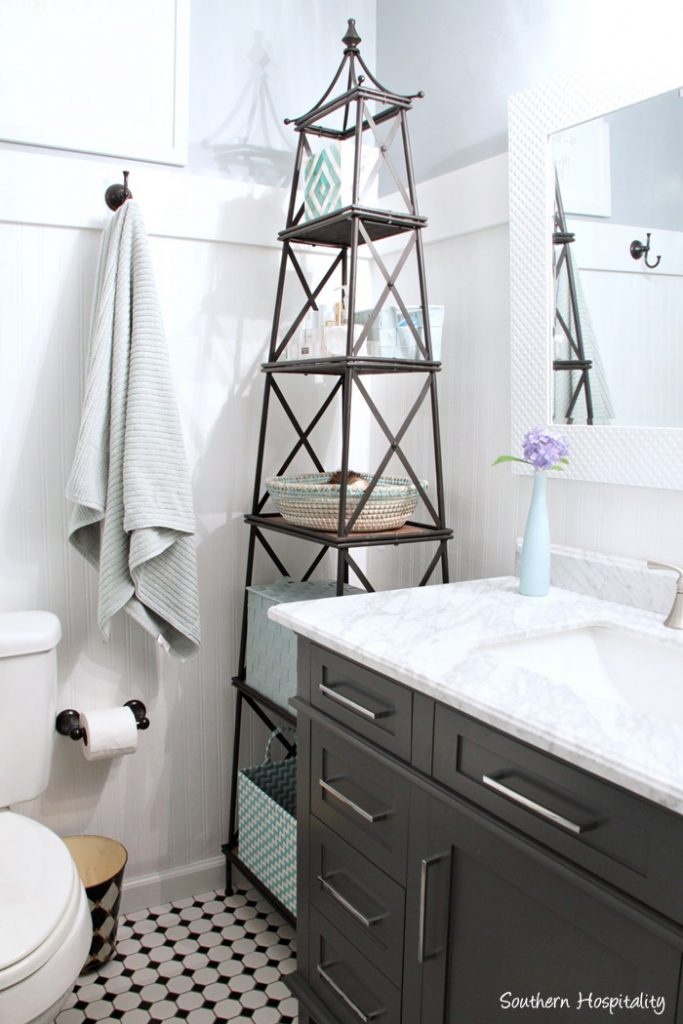
The tower was a really good solution for extra storage and it’s pretty too. This came in a box and I put it together.
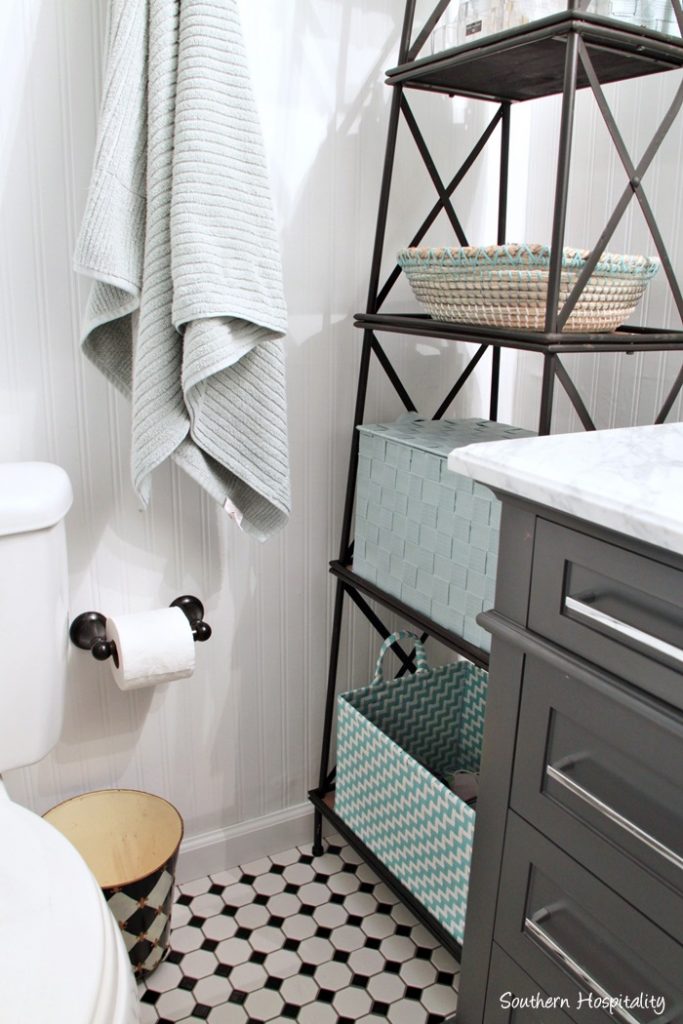
For a small bathroom, I have managed to get enough storage for my needs. I organized those drawers in the vanity with plastic organizers and it all worked out great. I don’t have any left over space, but it’s adequate for my supplies.
I’ve had that checkered trash can for a few years now.
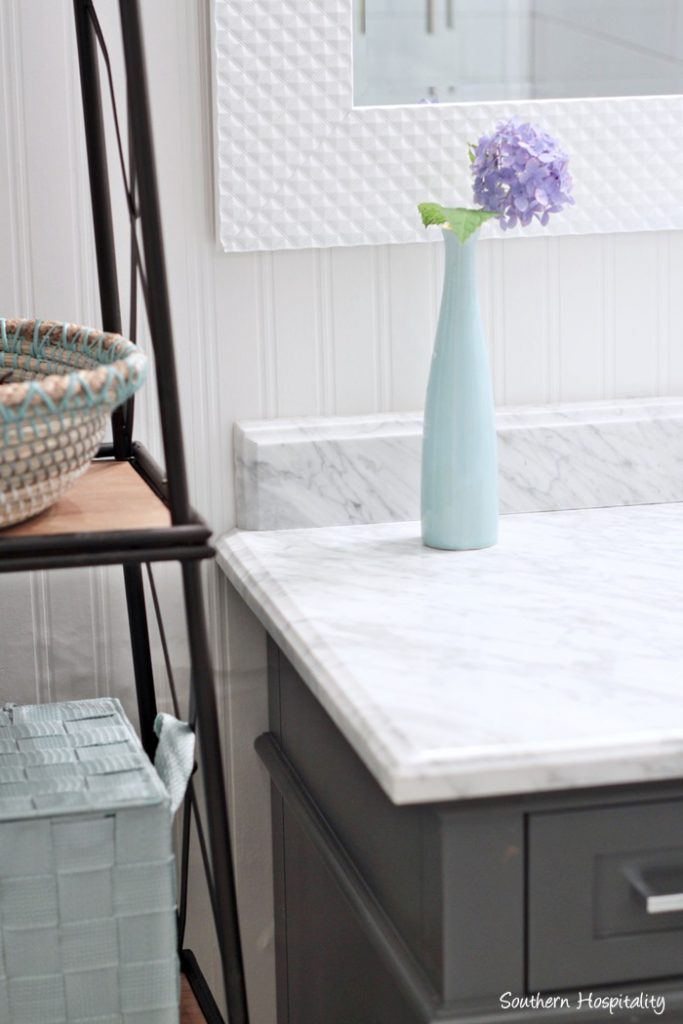
Did you notice the beadboard wallpaper in here? I added that during the renovation too and wrapped it around the room. I have shared tutorials on how easy this paper is to work with before, but I can share another one again if you all are interested. It’s such an easy and inexpensive way to update an area with architectural interest. Here’s the Graham Brown beadboard wallpaper (affiliate link) if you want to check it out. I always have a button link on my sidebar to the shop too.
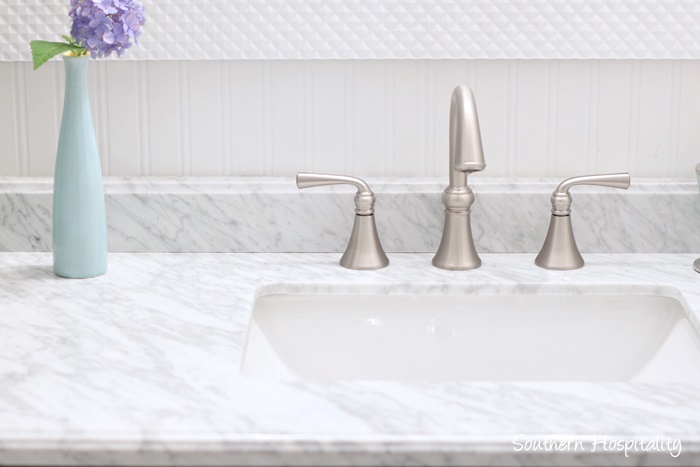
The countertop is a beautiful white/gray marble and it’s so pretty. I found this white mirror at Homegoods and love how it looks in here, all white and fresh with a little diamond pattern.
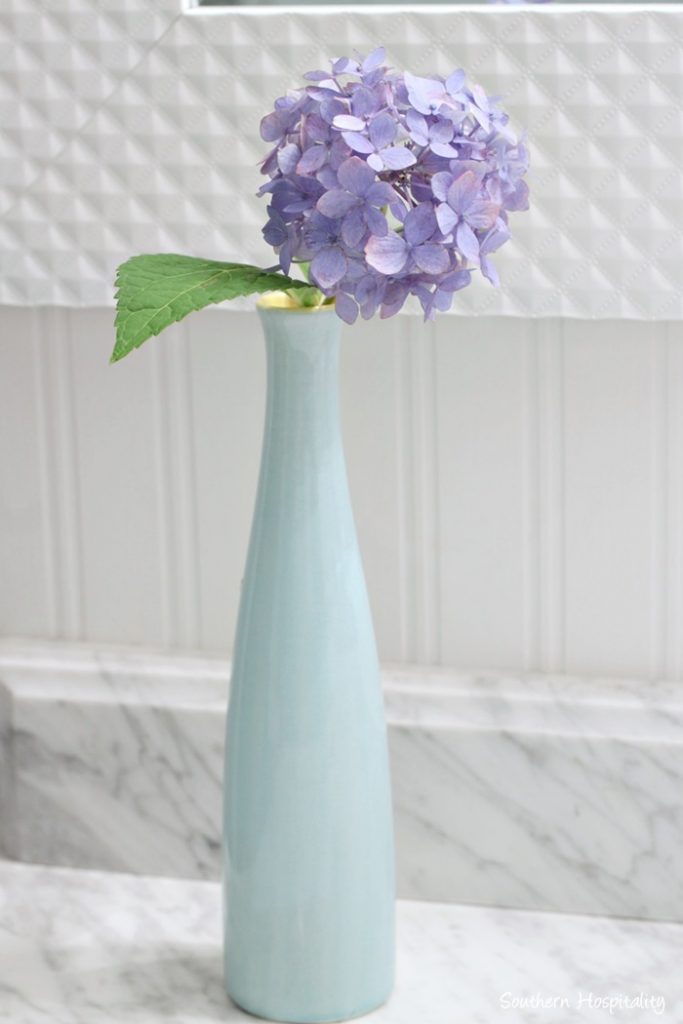
I couldn’t resist adding a pretty hydrangea bloom from my front garden in a colorful aqua vase.
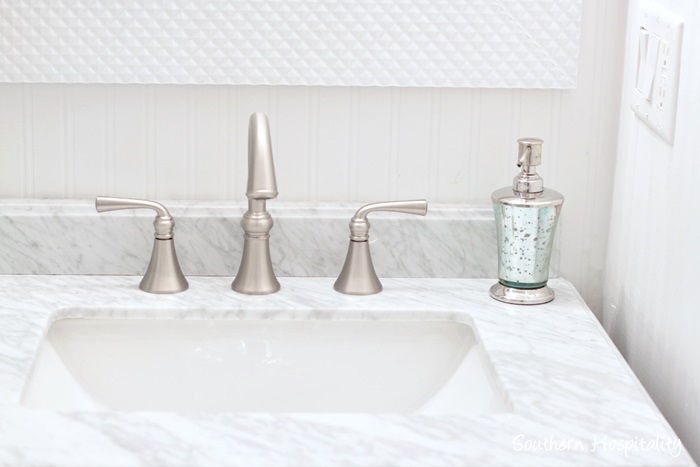
Brushed nickel faucet from Moen Wetherly.
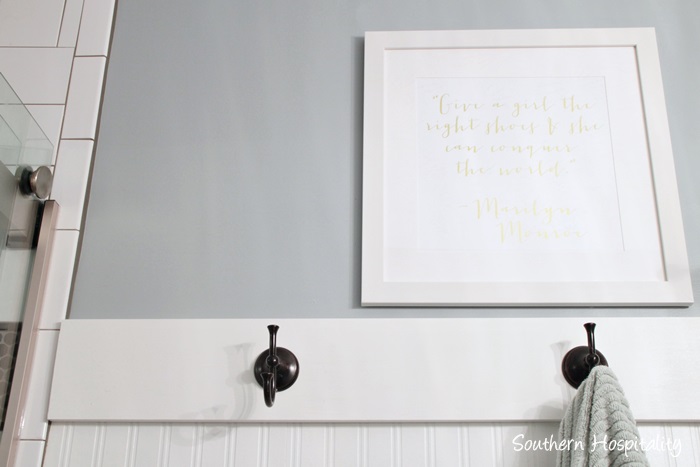
Above the toilet is a new print I found at Homegoods too. Isn’t it cute? Oh, by the way, I nailed up those 1×6 boards all by myself, painted and caulked them all, as well as the beadboard wallpaper.
This is a good look at the paint color too. Joanna Gaines’ Magnolia Homes new paint collection sent me a gallon of Rainy Days to try out and I love it in here. It’s a paint and primer in one and the color was perfect for my bath. The paint goes on nice and smooth!
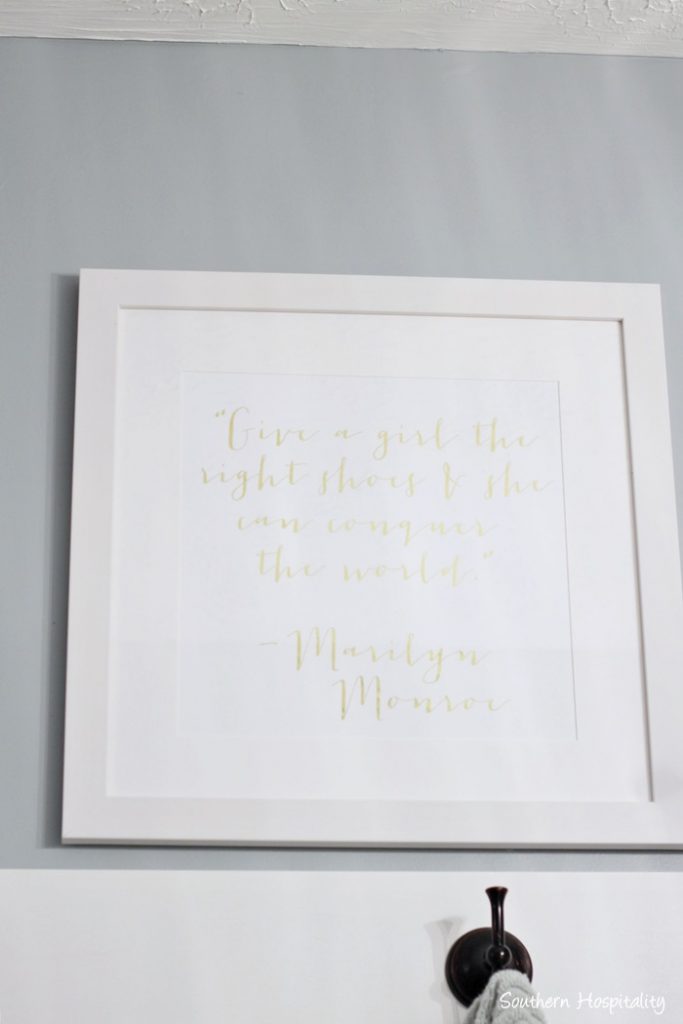
Here’s a closer look at the sign….
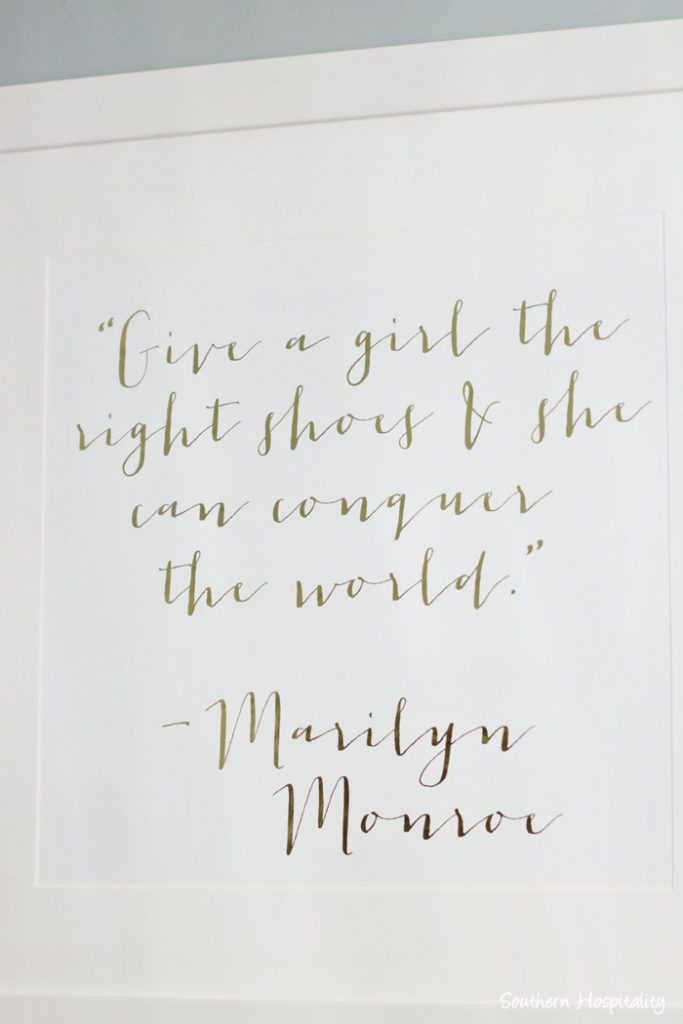
“Give a girl the right shoes and she can conquer the world”, by Marilyn Monroe. I spotted this cute thing and since I’m sort of a shoe-aholic, thought it would be a fun addition to my newly improved bathroom.
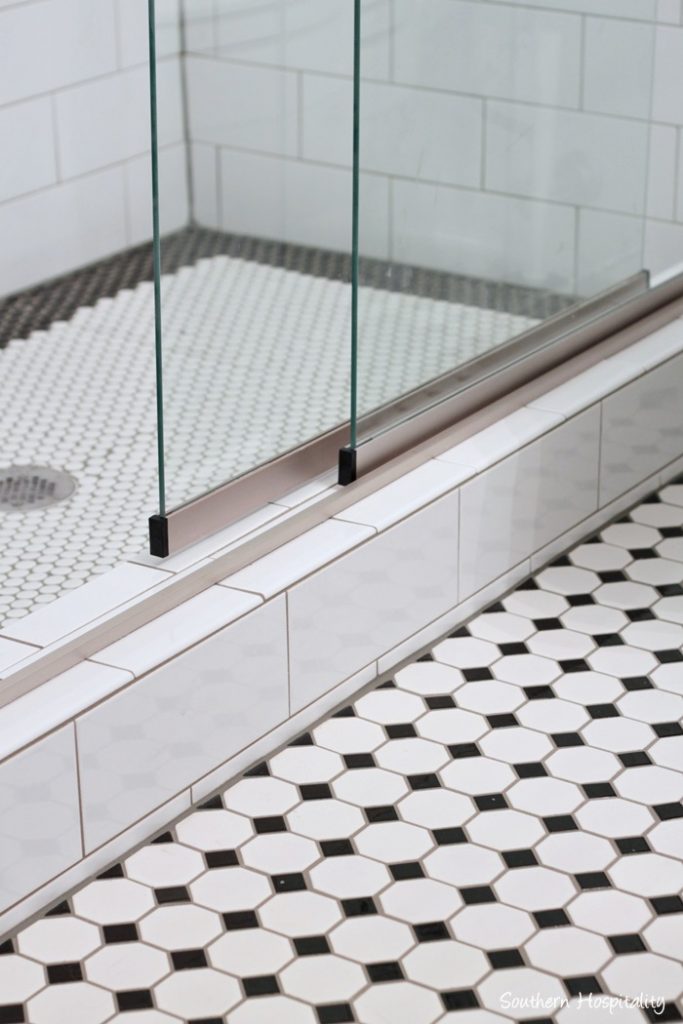
A closer look at the floor and shower curb.
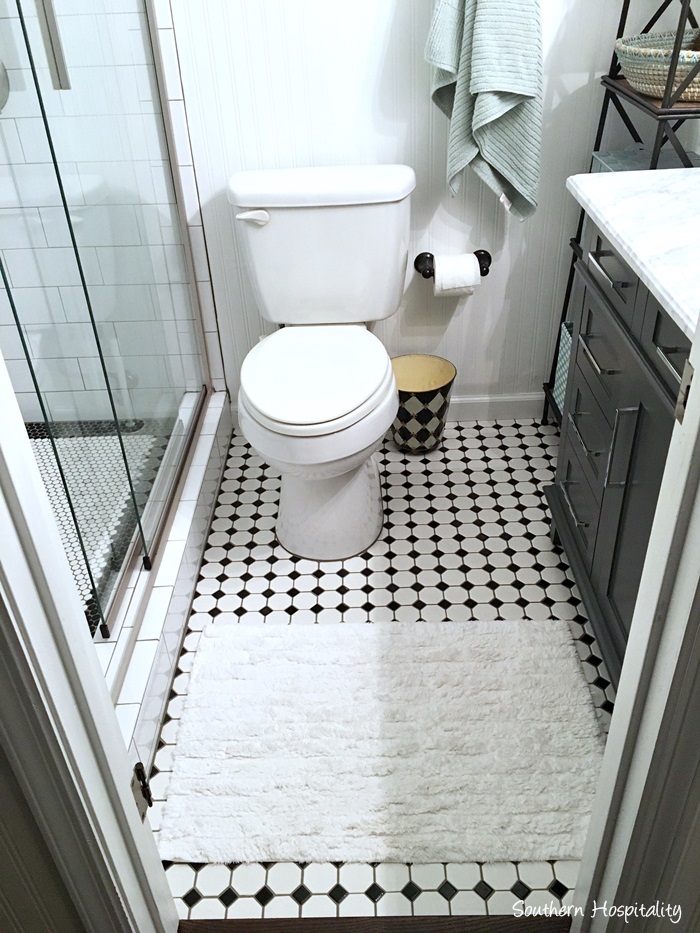
And the addition of a simple cotton bath mat.
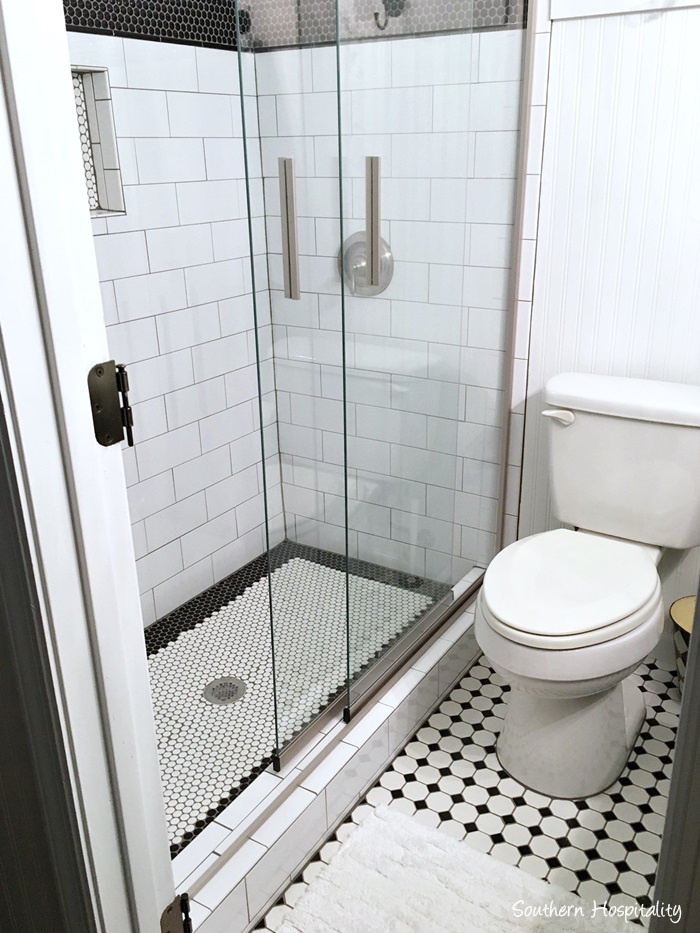
I am totally in love with this bathroom and it’s amazing what new and improved surroundings can do for your mood. Know what I mean? It’s a completely different bathroom and I feel that every morning when I go in there or take a shower. It’s just a totally different experience now! Bathrooms all function the same, but they sure can take on a different feel just from an update.
A little note about the shower doors. They are from Kohler and I ordered them online. I love the look of them and they are semi-frameless without being too expensive. I had them here at my house all ready for the installation. My contractor and his guy spent a few hours putting them up, but they were not sliding correctly and needed to be raised a bit so they wouldn’t drag, so that created some anxiety for a few days. My contractor worked on them again, but still didn’t get it right. I know things like this can be very hard since you sometimes have to be somewhat of an engineer to follow those written/drawn directions and put things together, so I’m not blaming him, it is what it is. The directions were intimidating to me too. I called Kohler and told them the situation and they were very accommodating and sent someone out to tweak my sliding doors. Mark (my sweet handy guy) worked on them too before Kohler got here and he improved them greatly and they do slide very well now. Kohler came out to make sure they are working properly so that I don’t have problems down the road. I give them an A+ for their service!
So that’s the new master bathroom! I’m so happy with how it turned out and it’s great to have this project behind me now. I’ll share the breakdown of how much this project cost, since I know you all love to hear that too. I feel like it was totally worth it to spend the money on this one and it will enhance my house for years to come.
Here’s the cost breakdown:
All Tile and tile supplies (thinset, grout, grout spray) – Floor & Decor – $830
Here’s the large subway tile I used: Floor & Decor
Kohler Levity Shower doors, – $379
Home Decorators Collection Sonoma Vanity (affiliate link) – $899
Corner shelf – Joss & Main Urbano Etagere $214
Baskets and Bins, Mirror & Print from Homegoods – $110
Shower Faucet – Moen Caldwell – $154
Vanity Faucet – Moen Wetherly – $159
Paint from Magnolia Homes paint collection (Rainy Days) – Free
As promised, I’m sharing my tile contractor’s name. I highly recommend him and I was totally happy with the renovation process and his tiling. His name is Luis Reyes (Phone: 404-569-8845) and I got the recommendation from another blog friend here in Atlanta for whom he had 2 done bathroom renovations.
Labor for tile work, including the demo, installing vanity, shower plumbing and vanity plumbing, moving light fixture over, installing shower door – $3,400
Grand Total: $6,145
I had no idea what it would cost me to do this bathroom, but I think it was money well spent for the outcome! Even though most of this project was out of pocket and not sponsored, I’m very happy with the value it will add to my house in the long run. I don’t go into debt for projects, but always save my money and pay cash.
Thanks y’all for getting excited with me on completing one more project in this house. I really am at the end of the road in doing much more to my current house, but it feels very good almost 4 years later to be enjoying and living in my cute cottage home!
Tile and tile supplies for this project sponsored by Floor & Decor.


YAY for you, Rhoda! It looks fabulous. You had made the other space look nice, and I’m glad it was serviceable for you for four years, but this new space looks like RHODA’S PLACE! So glad for you.
Thanks for the cost breakdown–I think that’s very helpful for folks. It can be a little intimidating to see a space re-done by a blogger and think that every single thing must have been sponsored. Yours shows that a makeover like this really is doable!
Thank you so much, Richella! I appreciate it, I’m so happy with my new bathroom.
Looks amazing Rhoda! So very happy for you!! It’s perfect in every way. 🙂
Thank you, Buffie! I love it too!
Hi Rhoda,
I may have missed this but can you please tell me the subway tile measurements in your shower? Thinking we might like this size better than the 3 x 6. Yours looks larger. We’re buying the tile this week. Thank you so much and really enjoy your blog.
HI, Pam, sure here’s the link to the 4×10″ tile I used from Floor & Decor. I love the larger one!
https://www.flooranddecor.com/tile-decoratives/bright-white-ice-ceramic-wall-tile-100112689.html#prefn1=shape&prefv1=Rectangular&sz=12&start=24
Hi Rhoda,
I may have missed this but can you please tell me the subway tile measurements in your shower? Thinking we might like this size better than the 3 x 6. Yours looks larger. We’re buying the tile this week. Thank you so much and really enjoy your blog.
Thanks so much for the information. What a coincidence as we have samples from Floor and Decor Nashville. I think we are going with the 4 x 10. Our bath is about 5 x 8 with tub only. Is there any rule for using the larger tile? Thank you.
HI, Pam, I don’t know if there are any rules or not, but I figured less grout lines in a shower, the better it would be. I like the look visually in the shower space of larger tile.
I like less grout lines myself as hate to clean them. Thanks so much for your answer and time!
I love, love, love your bathroom.
I so wished I had come across your project before I started on my hall / guest bath redo as that bath I’m working on looks to be the same size as yours, just different configuration. However, I didn’t start out planning to totally redo my bathroom. It was supposed to just be the replacement of a badly leaking / and always running toilet and the project snowballed from there. You know one of those, as long as I’m doing this, I might as well go ahead and replace the flooring, and as long as I’m replacing the flooring I might as well go ahead and replace the vanity, etc.
I had picked out and had even purchased floor tile that is was similar to yours for my bathroom project, but since the bathroom I’m remodeling is primarily used by my 88 soon to be 89 year old mother, who has been staying with me for the past 2 years, I became concerned that water, tile, and a cane would not be a good mix. I ended up keeping the pattern but doing it in a sheet vinyl. And the tub to shower conversion ended up being an acrylic shower instead of tile (Bath Fitters). I agree, in that just converting the tub to a shower, has already made a big difference in the space.
Since I still have to do my own bath (master bath) and hope to be able to get to it either in 2018 or 2019, I’ll definitely be using your bathroom as one of my inspiration pics when the time comes.
What are the dimensions of the bathroom? We are remodeling our small A-frame cabin (www.valleyviewaframe.blogspot.com) and I’m playing around with the layout of our bathroom to see if we can rearrange to fit an under counter washer/dryer. Would love to hear your advice on our small bathroom floor plan.
HI, Kathy, this was a small footprint, I think the actual floor space (tiled) was about 5×5′. The shower of course added on about 3 feet, I think, but it is a very small bathroom.
Just think what it would have cost had the tile not been free. I am shocked they put such a tiny bathroom off a master bedroom. For some reason I thought you had sliding barn doors going from the bedroom to bath but the photo shows a hinged door. Your remodel turned out great. Like the sliding glass doors and new vanity. Nice change!
Nanci, this is my previous house that my dad and I fixed up. It was built in 1979 when bathrooms were smaller.