Since I shared my sister’s first guestroom makeover and also the 2nd guestroom/nursery combo, I wanted to show you how we made over the furniture.
Before those makeovers could happen, we worked a couple of days getting all the furniture painted for both of these spaces and that’s a job right there. We used Annie Sloan chalk paint and also ended up spray painting the baby bed after we realized how ridiculously long it was going to take us to paint all those spindles on that bed. Spray paint was the fastest way to get it done, even if it did take about 9 cans of paint. Worth it!
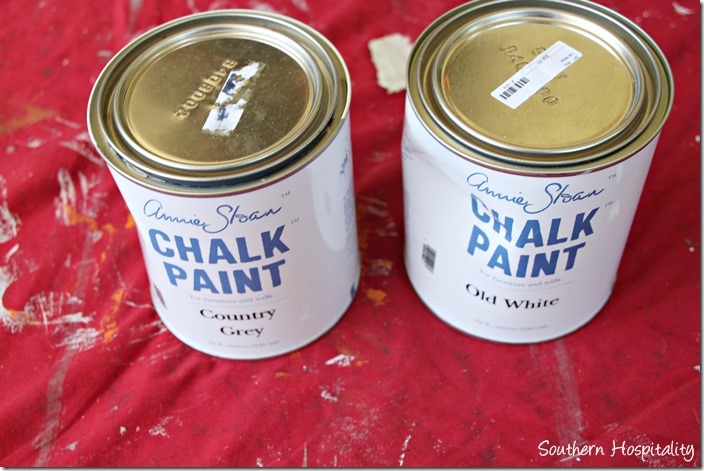
We used Country Grey and Old White. Country Grey is not named very well, in my opinion. It is not grey…at all! But a very nice light-ish khaki shade. Just so you know!
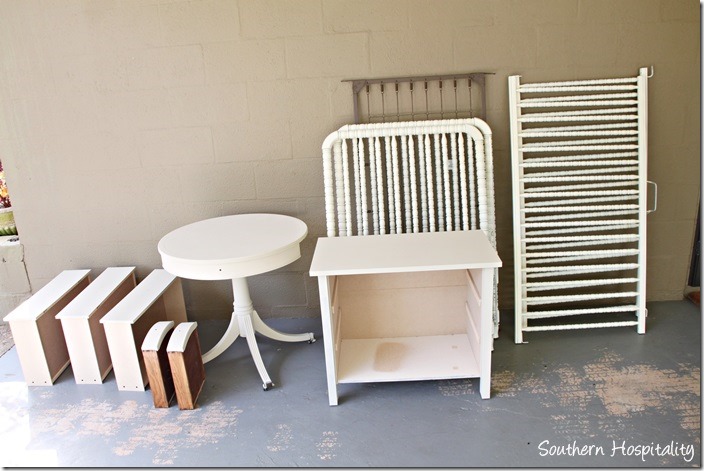
So, here’s our day of furniture painting…all finished. This took us about 6 hours at least to get all of this done one sunny afternoon at my parents house. We decided to meet over there and my sister brought this all over in her truck and we all hung out together, painting. And eating lunch. My parents loved it.
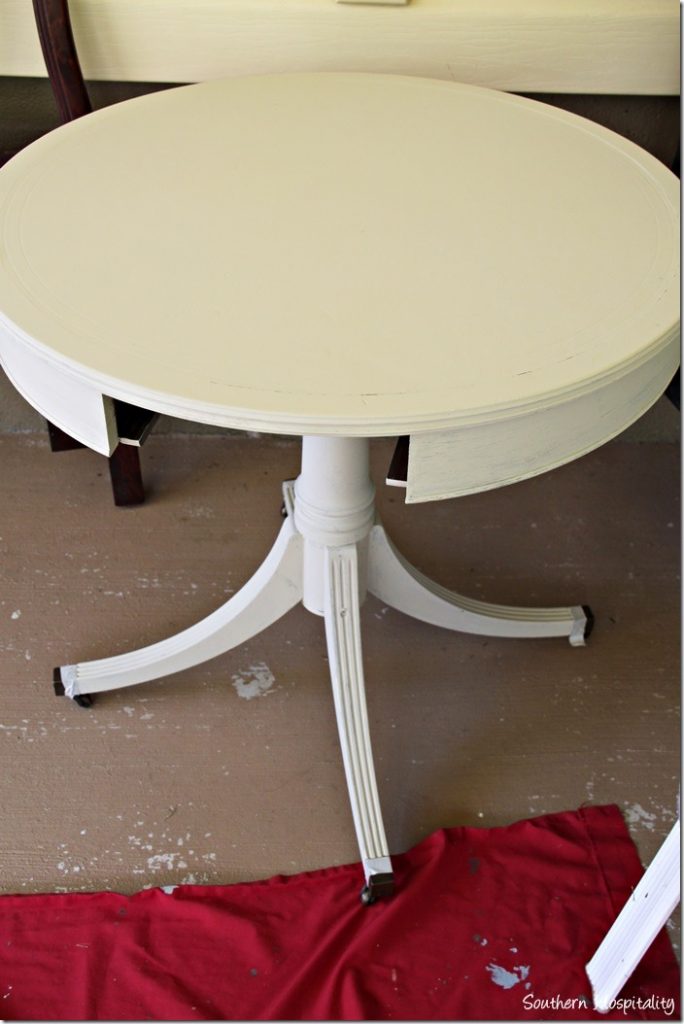
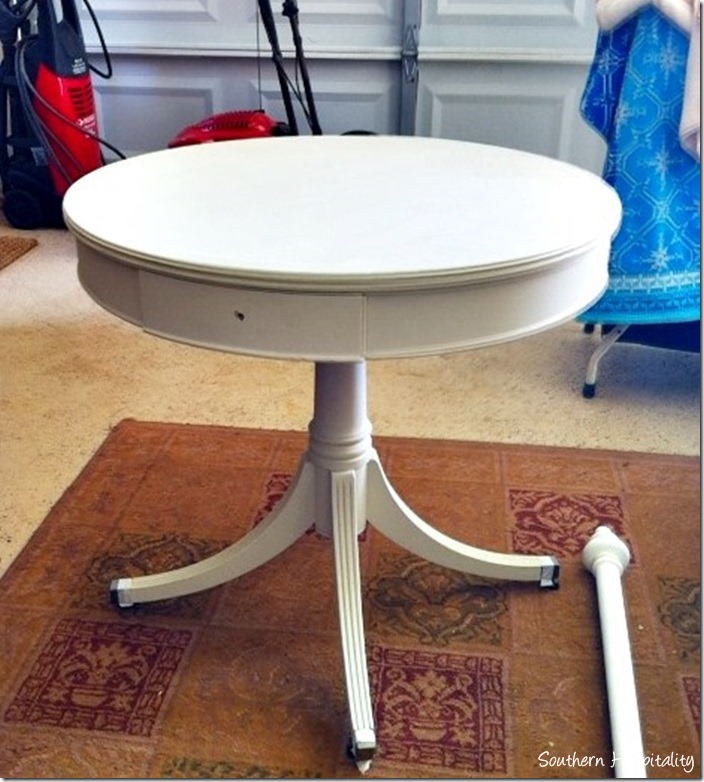
This is my old drum table, that you already saw in the room, but it was a brown wood with leather top when we started painting it. It was an antique store find of mine many years ago and I wasn’t using it right now, so passed it onto my sister. It was the perfect candidate to paint.
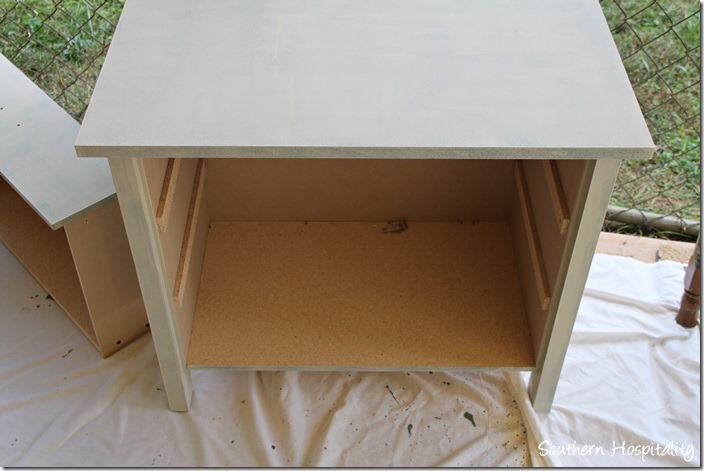
And this is the other side table you saw in my sister’s guestroom, a cheap Target table that she found on Craigslist.
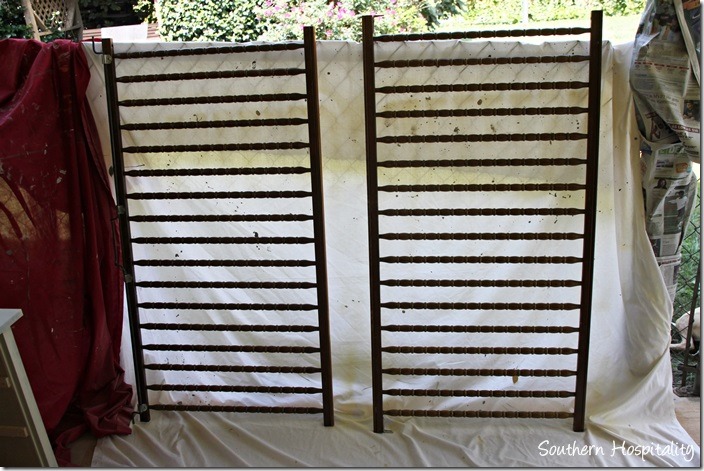
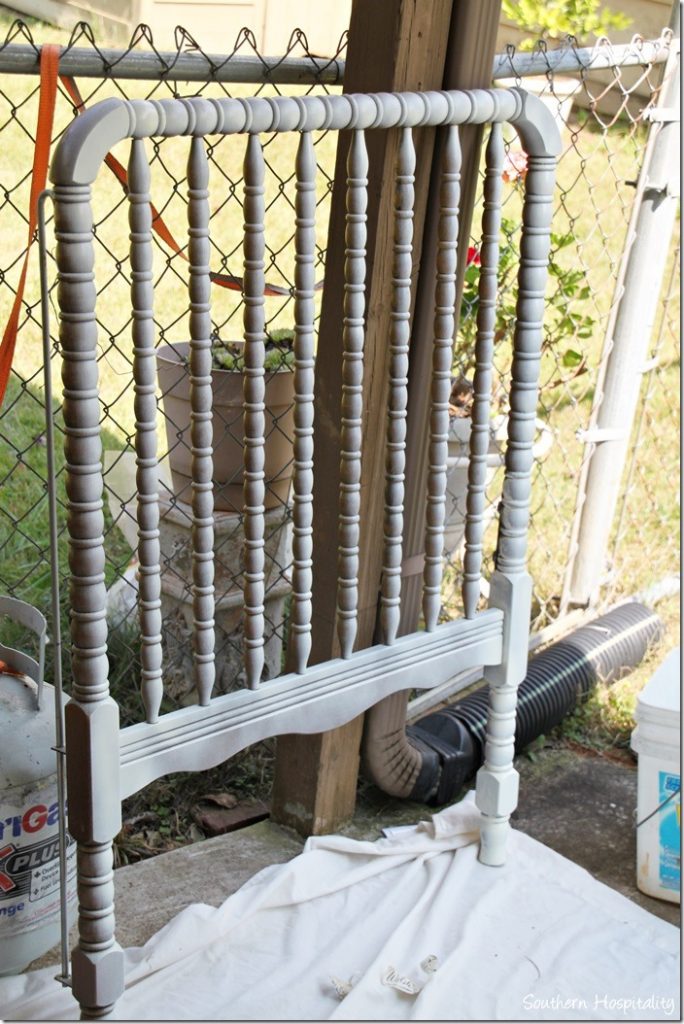
The baby bed that Renee used when Lauren was a baby, is going in the nursery at my sister’s house, so we decided to lighten it up by painting it white. We were going to paint it with Old White, but a few swipes of the paintbrush and we realized we would be working on that bed all day, so we went to the hardware store and bought about 9 cans of Satin creamy white spray paint and got it done. Not a fun process, but it worked. Any Satin white spray paint would work for this project.
And a few coats later, this was still in process, but we were about done with it.
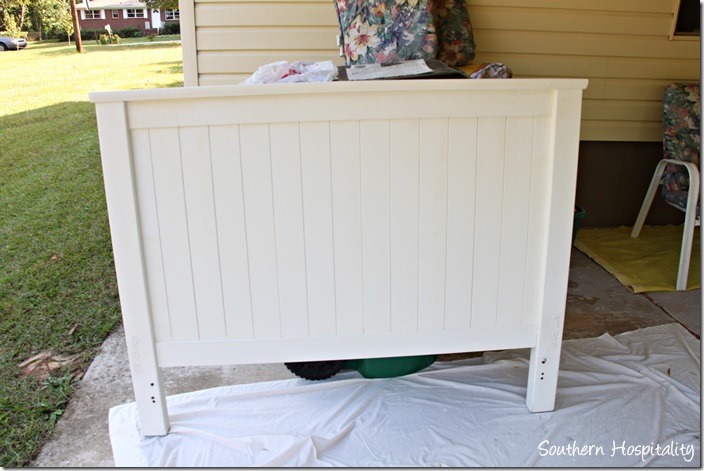
She also found this headboard on Craigslist for about $40 and we gave it a fresh coat of Annie Sloan Old White. This is the one in the nursery/guestroom.
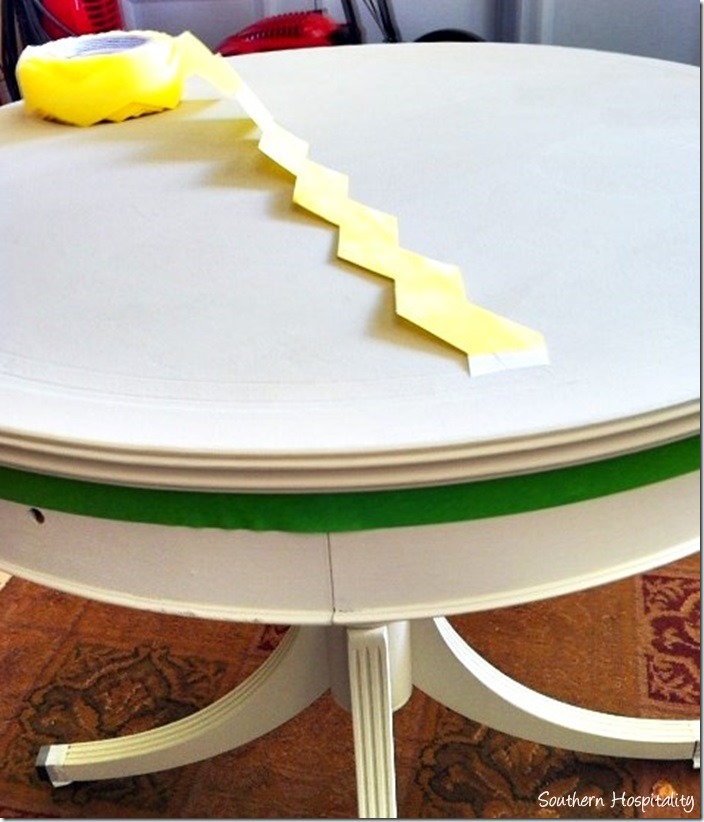
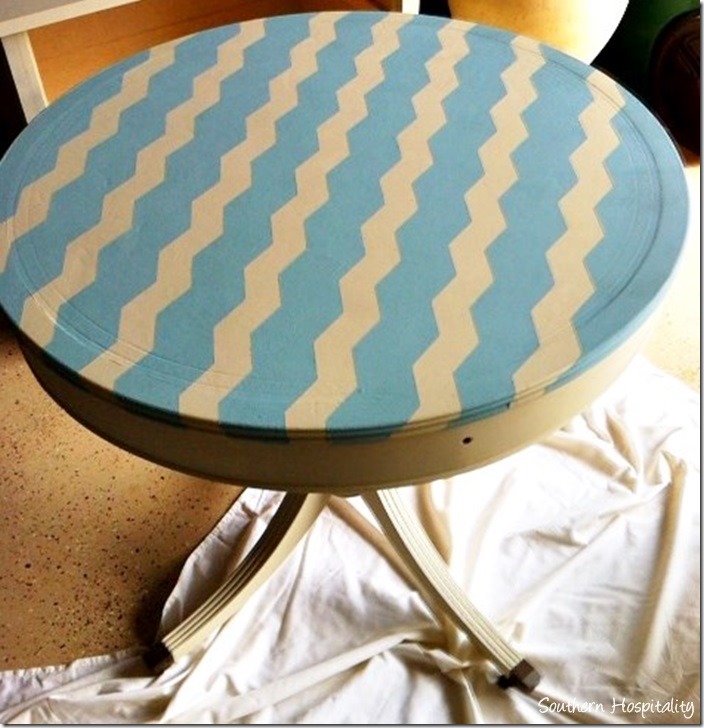
After she took it all back to her house, a few days later I went over there and we finished up the painting on these 2 side tables that you already saw in place in Guestroom #1. We wanted to add some details and using FrogTape® Shape Tape™ was a great idea. This table is painted Annie Sloan Country Grey. See, not grey at all, right?
Excuse these bad pics, but all I had was my iphone that day to document the paint process. It’s a light khaki shade even though it looks more like Old White in these pics.
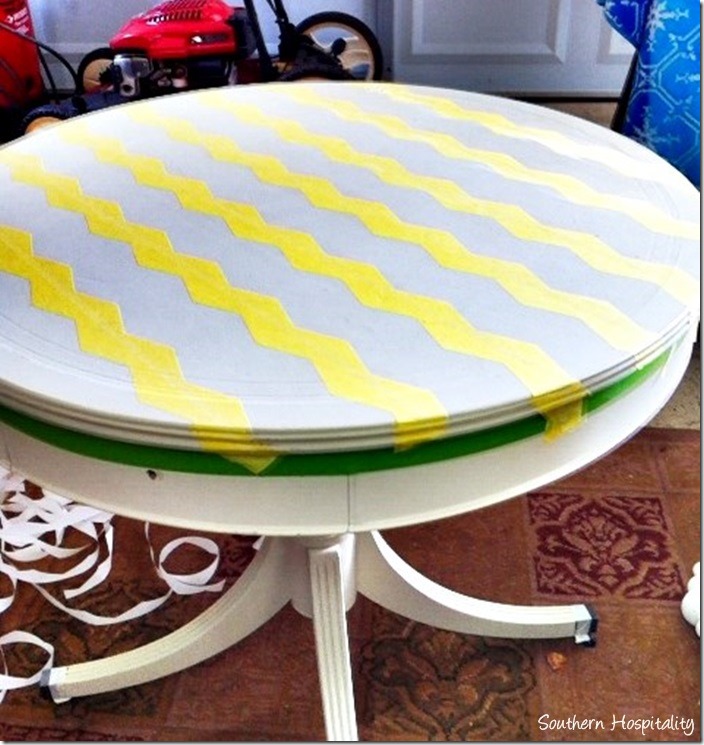
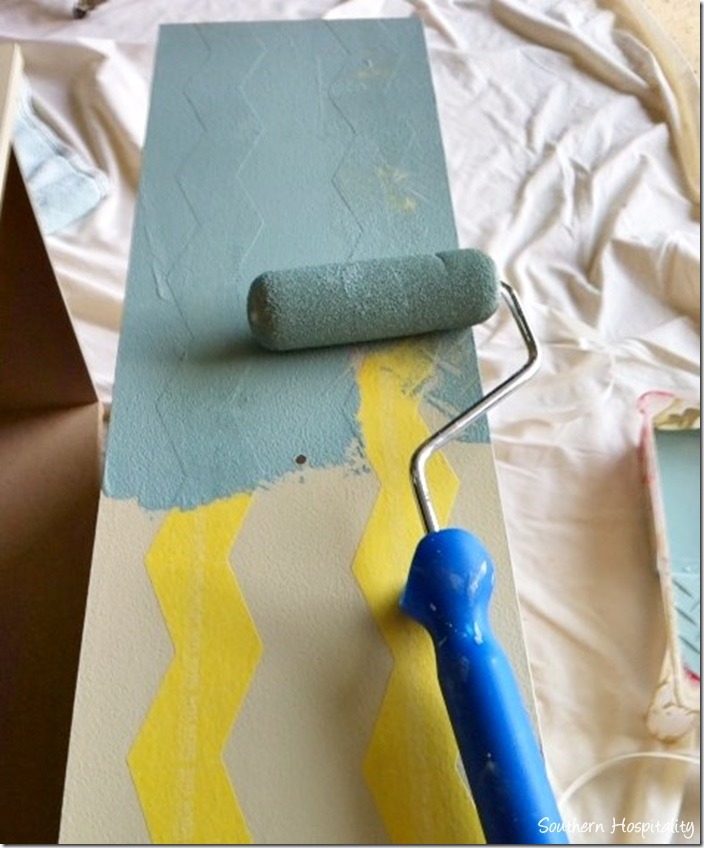
We measured and started in them middle and added the FrogTape® Shape Tape™ stripes all the way across the table trying to keep it even as we went. 7 stripes total. FrogTape® is treated with PaintBlock® Techology, that seals the edges of the tape preventing paint bleed. Works like a charm!
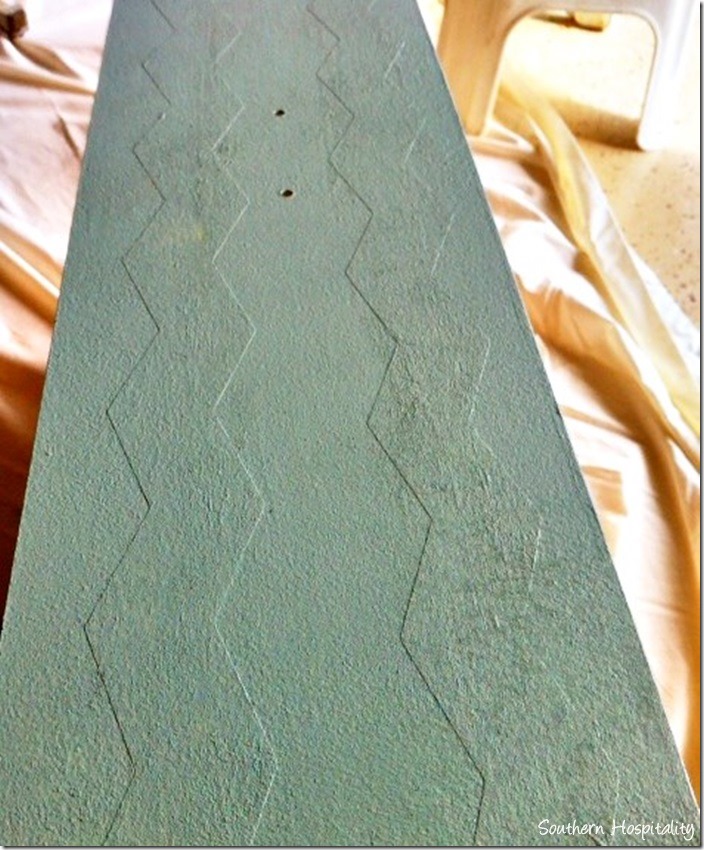
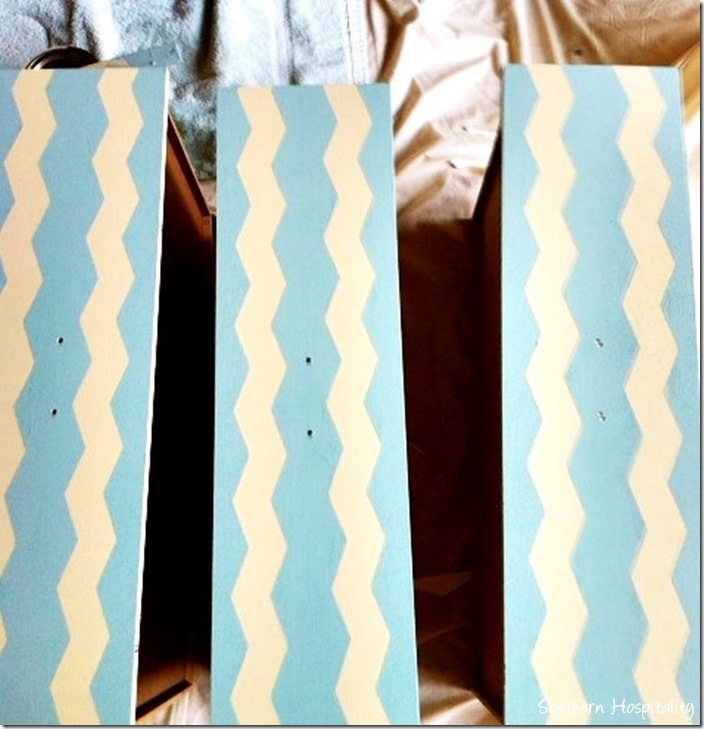
We did the same thing to the 3 drawers in the nightstand and added 2 stripes per drawer. Once it was all in place, the painting part is really fast. Roll it on with a foam roller, 2 coats if needed. This is Annie Sloan Duck Egg Blue.
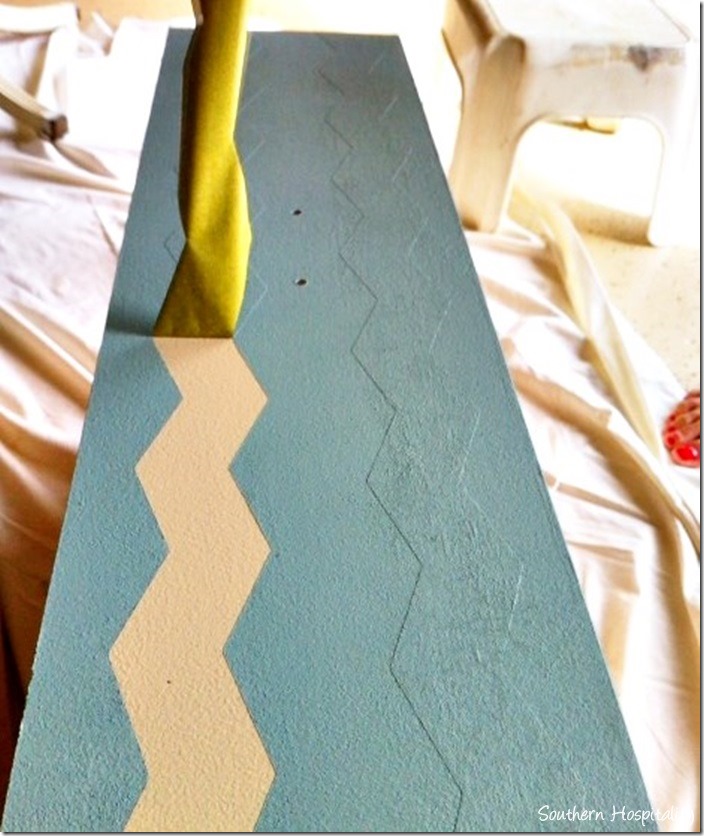
As soon as you are finished and satisfied with the coverage, go ahead and rip off the tape immediately after you are done painting.
It comes off neat and clean, leaving a pretty chevron design behind.
Again, terrible pics, but you get the idea.
The drum table looks great and that was a fast project. We added the hardware back on and I also sanded down the edges and waxed the top and sides of the drum table. Waxing protects the top and gives it a nice luster. Did the same thing to the top of the Target side table too.
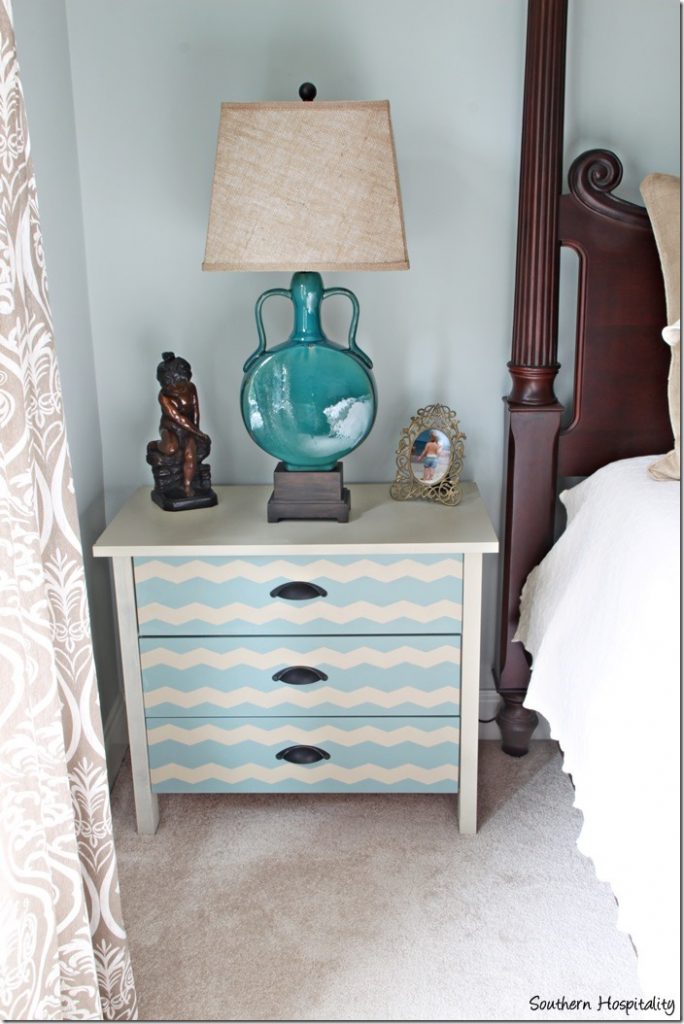
Here’s another look at the Target table which used to be black. Looks great now!
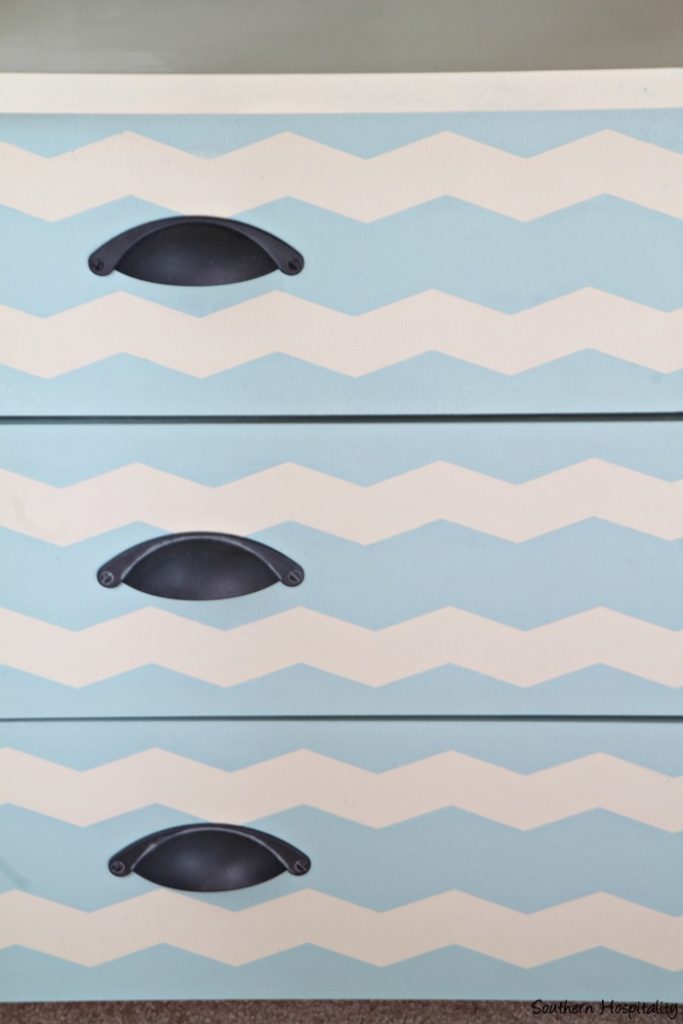
Close up of the chevron stripes.
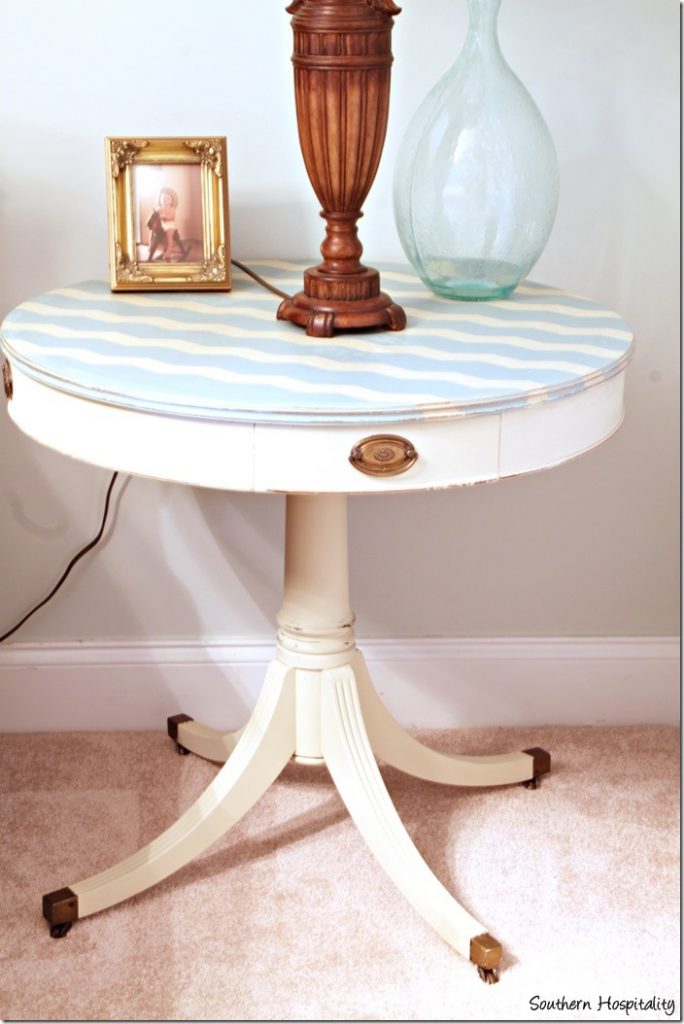
And the drum table has a new lease on life as well. I love how this turned out.
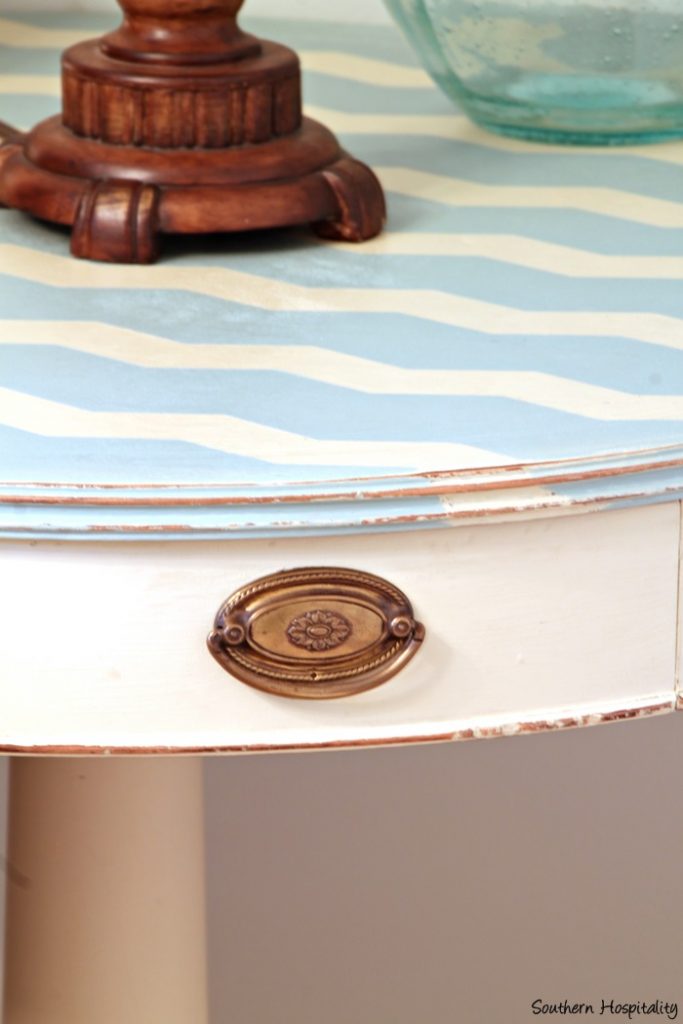
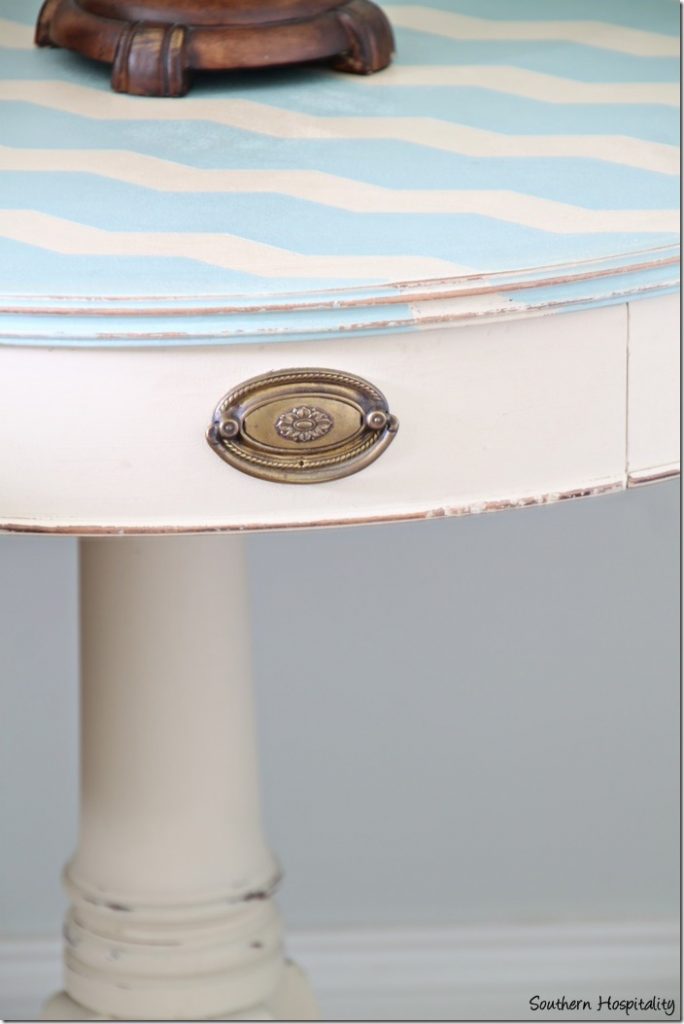
Sanding the edges and then waxing the top and apron of this piece makes it look beautiful. To wax, you just rub on a bit of wax, rubbing it into the wood, then immediately within a minute or so, take it back off. It will leave enough on the surface to buff down to a shine.
Have you tried the FrogTape® Shape Tape™ yet? FrogTape® comes up with some great things and Shape Tape™ makes it easy to try some fun painting projects that otherwise would be really time consuming. This tape is very easy to work with. You can find it at Home Depot or Lowes or either online.
Disclosure: I received compensation for completing this project for Frogtape®. All opinions, projects, and ideas are based on my own experience.

The winner has been announced for the LaZBoy design giveaway! Her name is Leigh!


I have to find something to use the chevron tape on, it’s really neat looking. Love how the drum table came out.
Sounds like a fun day all you hanging out at your parents and painting. No pictures of your Mom’s delicious food that she served? I enjoy her recipes.
Love how the pieces turned out. I have not tried the FrogTape Shape Tape but I think I should 😉
Everything looks great! Once you got the duck egg chevron stripes painted you could see the khaki color better. I love the drum table and side table! I agree some of the names for ASCP are a little off. Chateau Grey isn’t grey at all.
Well, it’s B.A.U……beautiful, as usual!
Just amazing!
I just love the way you incorporate projects into family time. The furniture is beautiful and I am so glad I follow your blog.
Just bought my first Annie Slone Chalk paint and starting my vanity project this week. I enjoyed the post to get me motivated to start on my project. Thanks for sharing.
Also sending blessings to you and your family for Thanksgiving.
The drum table looks awesome. I recently bought Chevron Frog Tape after one of your previous posts. I love it but I was a little taken aback by the price because I was planning on using it on a small project. However, I have a bunch left for other projects down the road. I just love it!
I’m not sure if you realize that those old cribs have been deemed unsafe and you can’t even sell one in a consignment shop anymore. I did use that type of crib with the sliding up and down side, for my own children many years ago but they aren’t allowed to be on the market.
HI, Nancy, yes we realize that and she will take precautions to make sure the sides can’t go down on their own. I know she used that crib for her daughter, but they have been taken off the market.
Hello. Everything is looking so fabulous as usual when you have your hand in it! Question on the ASCP. I’ve used it a few times, but not for distressing as my hubby isn’t fond of that look (all about compromise!) I haven’t had good luck, with the coverage and end up doing about four coats which doesn’t the feedback I’ve read. Do you think it’s mainly because most people use it for distressing and therefore do not need the full coverage?
I meant to say “which doesn’t MATCH the feedback I’ve read.”
HI, Lisa, you might be right about that theory. I know with Old White, it does take a good 2 coats to cover furniture that is dark. I’ve been very satisfied with 2 coats on everything I’ve done so far, so I haven’t ever had to do 4 coats. I don’t always distress mine either and had good luck on both vanities doing 2 coats and no distressing. But I do think folks aren’t as particular about getting it heavy since they go back and sand some off.
Thank you for getting back to me so promptly! I have old white and a blue whose name escapes me right now. I know it’s been at least three coats with both and sometimes four. Ah well. I’ve loved the convenience with not having to go down to bare wood, but then get frustrated with needing so many coats. I guess with anything, there are both advantages and disadvantages. Anyway, I wish you and yours a very blessed Thanksgiving!
What fabulous makeovers, I love the idea of the chevron design, I must see if they have this tape in New Zealand, I have only read about Frog tape on US bloggers pages but will check it out as I am really getting into painting furniture. I have almost finished my first project with Annie Sloans paint which is totally new to our shores. I wasn’t going to sand back as I used the dark wax to distress but now think I might do this after seeing your project.
One thing I wanted to ask, I have the ‘old white’ and Paris Grey. I found when I put wax over it darkened so I used a mix of old white and Paris grey to get a soft sort of blue grey. On the top of the chest I want to use the white but I found that my white seems to look very creamy, yet in your photos it looks quite white. I also found when I added the clear wax over the top and some dark wax it almost looks yellowy. I am wondering if I should have got white instead of old white.
Thank you for a great post.
Lee
HI, Lee, I really like Old White, it is a creamy white once it’s applied, but you’re probably right in that the wax can darken it a bit. Esp. using the dark wax, that adds a lot of darkness to things and I only use that very sparingly. It really can dirty up your project if you’re not careful. I just don’t love heavy distressing anymore with lots of dark wax. I think you’re fine with Old White, it’s a great color.
My name is Leigh……I think I won the Lazy Boy Makeover……what do I do?
HI, Leigh, sorry it’s another Leigh that won, with a different email address.
That’s fabulous! With the headboard and side tables, I’d lay a coat of DrawIt clear on top for the ideas that spark at midnight or the note you need to jot down while you’re on the phone. It’s actually quite handy.
Really like finding cool old furniture at garage sales and local swap sites. It’s amazing what a little TLC and some new paint can do for a seemingly-ugly old piece. Have you done much updated “distressing”? I’m really into that right now. I was visiting a relative in Kansas City and made it to their antique sales in the West Bottoms on First Friday–seriously if you have never been you have to check it out! I came back ready to distress every piece of furniture I could get my hands on. If the old color is a good base, I just lightly sand it, paint over it with a new, fun color, and then take steel wool to the edges and centers. I haven’t had the chance to try whitewashing before applying color. My method seems to be working pretty well, but do you know of any others? Or have you tried whitewashing first? Thanks!