This post is sponsored by Schlage.
Hey, friends!
I’ve been talking about painting our doors and updating the door hardware, so wanted to share more about that. Many of you were interested in painting your doors too, so I wanted to share the process of how I’m painting our doors and changing out the hardware at the same time. I was very fortunate to partner with Schlage on this project, a brand that I think is the pinnacle of door hardware and we’re changing out all our door hardware throughout the house, including the front door, which will be done later.
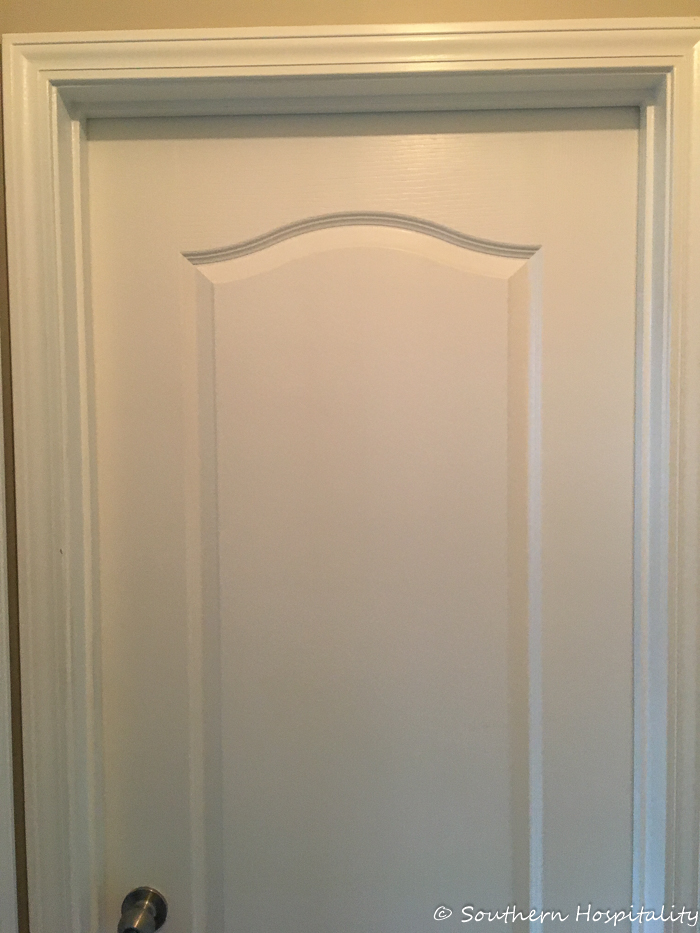
I took a couple of before shots of the doors, so you can see how dramatic they look now. This is going into the guest room.
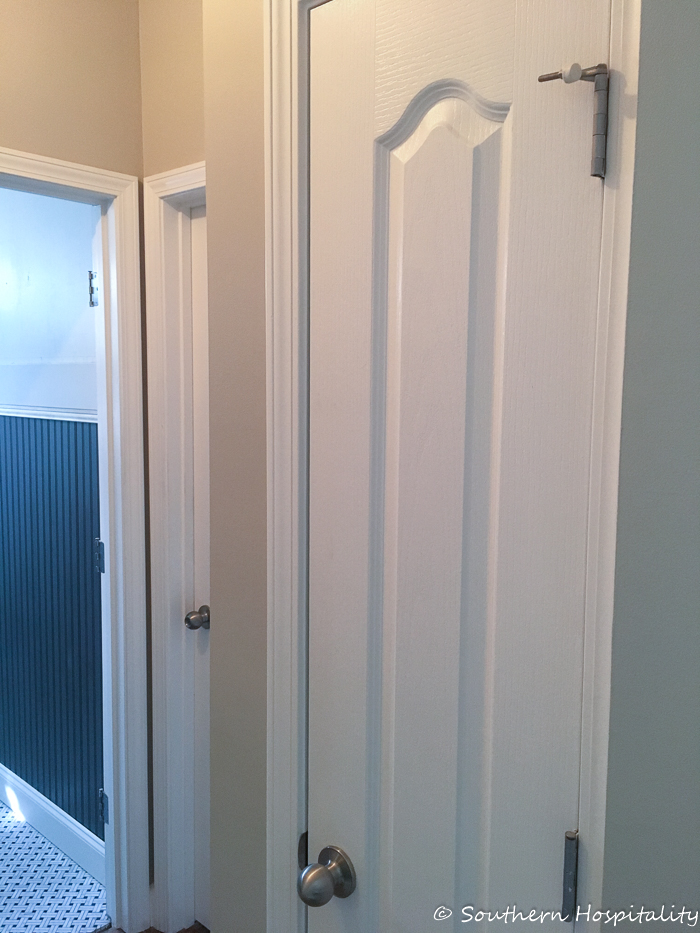
And this is the closet in the little alcove leading to the guest room and guest bath, so there are 3 doors in this area.
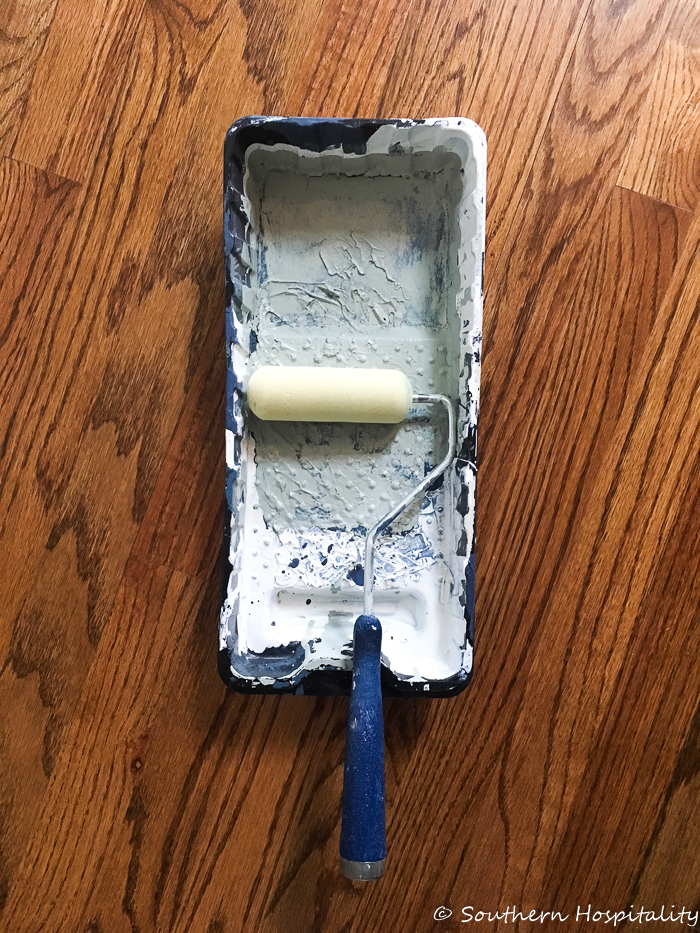
I use a small foam roller for painting doors and this works perfectly for a smooth and even finish. I did 2 coats of Satin finish and I used Pro Classic paint from Sherwin Williams, which is a good finish for trim and doors.
The color is Oyster Bay by Sherwin Williams.
Some asked if I primed the doors and no, I didn’t prime. These doors were already painted and there’s no need to prime again. Plus these type doors already come preprimed from the factory, so they are fine for painting over. If you have any oil based paint on your doors, that’s when you have to prime if you are planning to use latex/water-based over that. You can’t put latex paint over oil-based, but not many people use oil based paints anymore. The latex paints now are so hard and durable, there’s no need to use oil for much anymore.
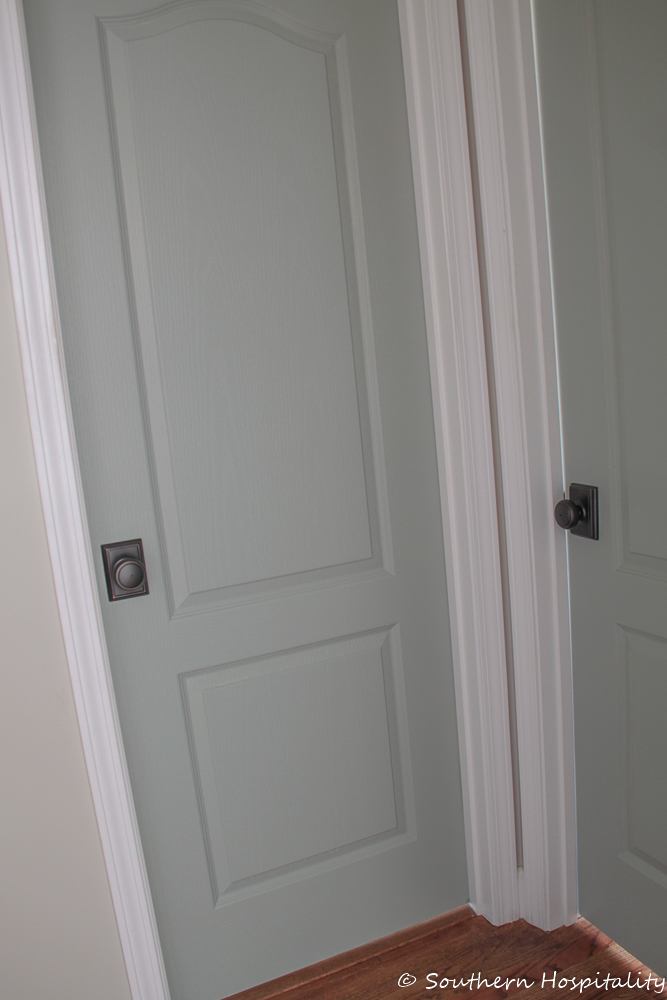
For now, I’ll share how I painted the doors. I took off all the doorknobs and hardware (except the hinges) and painted two coats on both sides of the doors. After it was dry I installed the new hardware. Then I changed out the hinges to aged bronze as well. I think if you’re changing out doorknobs, you need to change the hinges too to make them all cohesive.
Speaking of changing out the hinges, when I did this project in my old house, I realized somewhere along the line (someone told me or I read it somewhere) that you can just change one hinge at a time to change out all 3 hinges on a door. Just start with one and move on down the line and you’re done! No need to take that door off the hinges at all! That was a head-slapping moment! So easy!
This is the guest bathroom on the left and the guest room on the right.
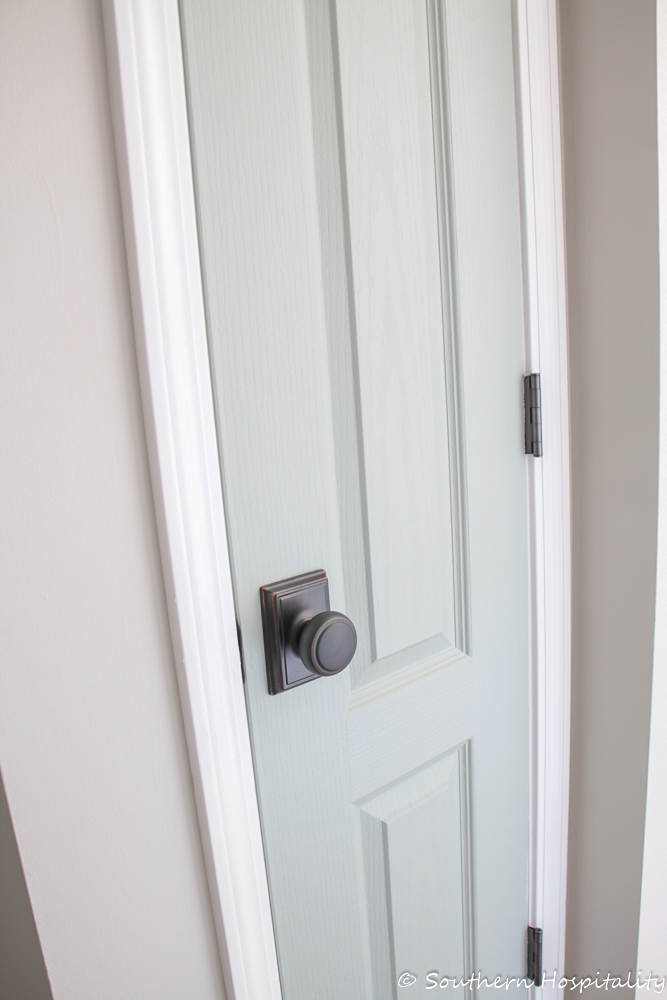
The small closet in that hallway is done.
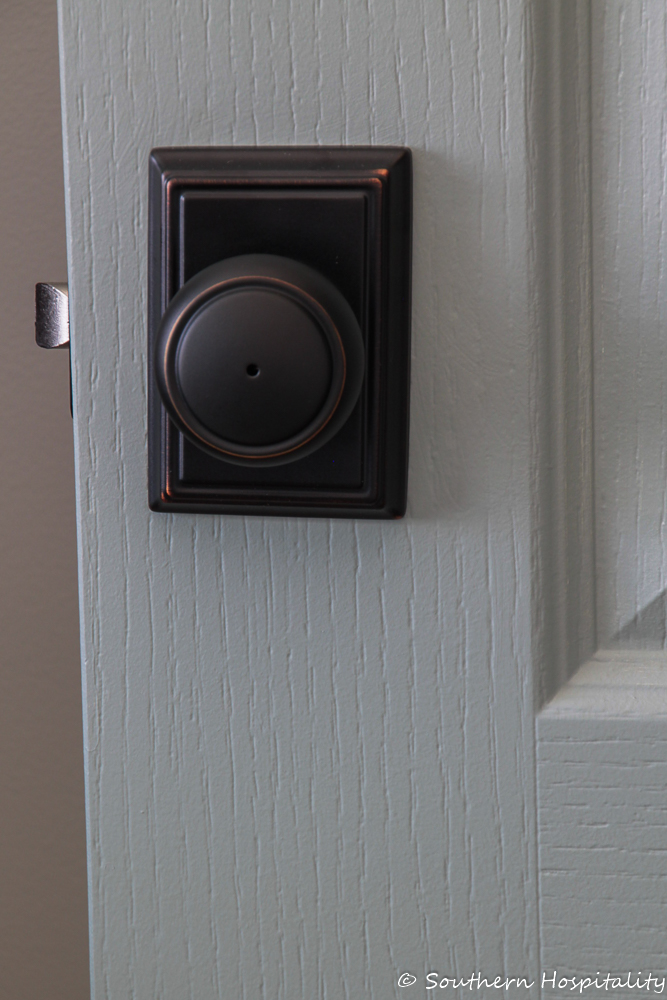
Here’s a closer look at the hardware. We chose the Andover Knob with Addison trim from Schlage for all our interior doors. We loved the classic lines and the rectangle backplate adds such a great look to the doors. New doorknobs and hardware is like adding jewelry to your home, it really elevates everything.
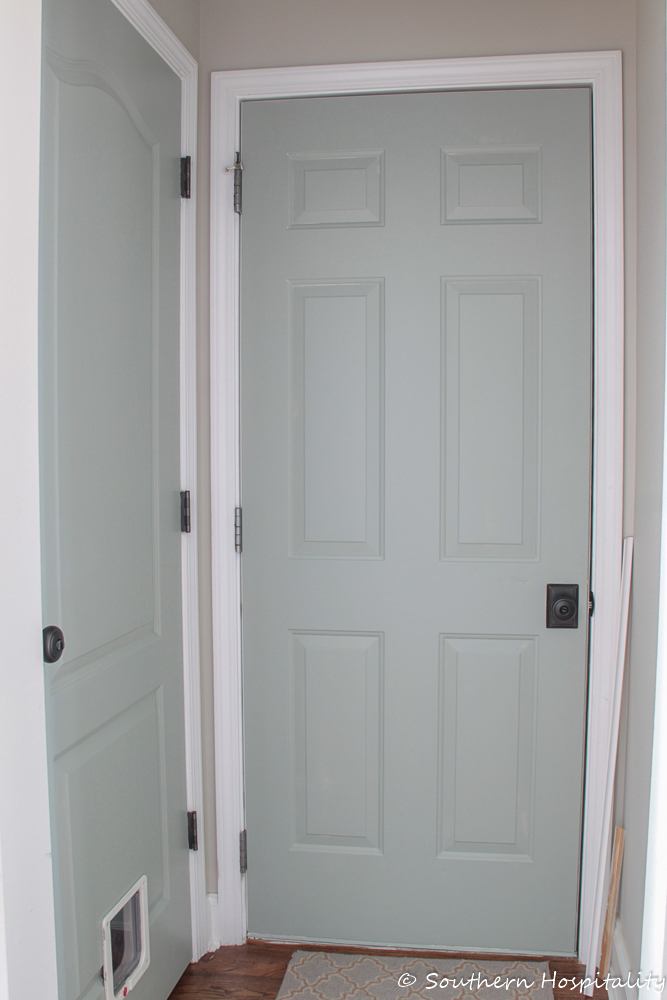
This is the small entry coming in from our garage and that exterior door is a metal door, but I painted it the same way and painted the outside too, coming in from the garage. The foam roller makes it so easy to cover and get a smooth finish. I used a small paint brush for the edges where the insets are to make sure that stayed smooth, but the foam roller does most of it alone. I put a piece of cardboard under the doors and used the foam roller to roll along the bottom edge to easily paint the very bottom of the door. Just try to catch any drips on the first coat so you don’t have unsightly drips anywhere.
I’m waiting on a different type hinge for these exterior doors to come in and then I’ll change those out too. I discovered that exterior doors have 4 screws instead of 3 and area a little different size.
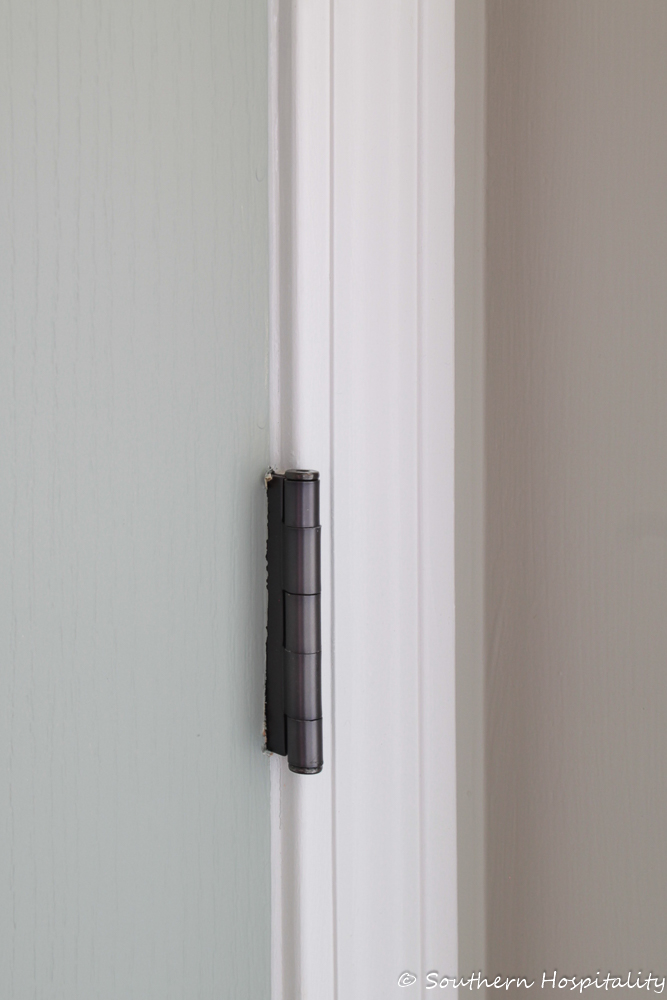
The aged bronze finish on the hinges make the doors really stand out and be noticed.
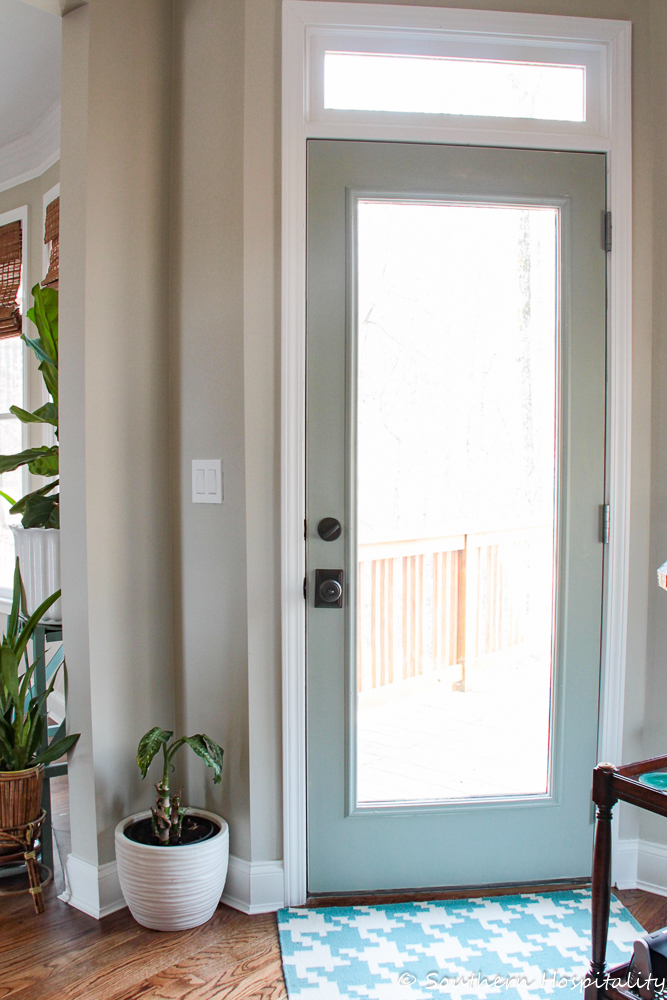
And here’s the back door going out to the deck with the new hardware and deadbolt installed. Again, I’ll change out these exterior door hinges when they come in.
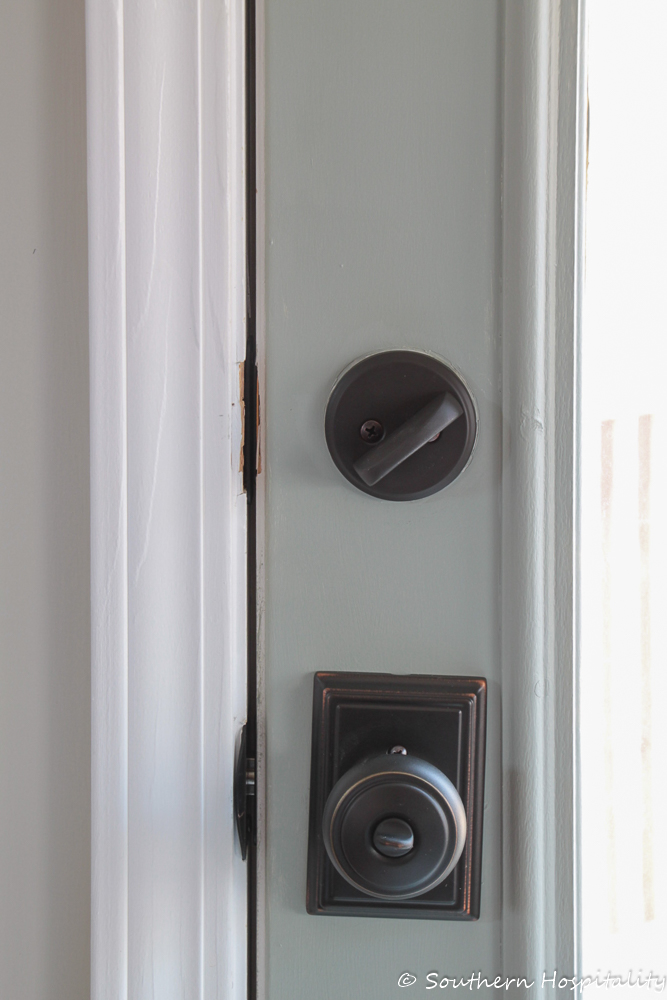
Deadbolt and new doorknobs. I noticed after I took this pic that the backplate was a little crooked, but I fixed it. These are easy to install once you get the hang of them. I did them all, with a little help from Mark on how to get the knobs off. It’s in the directions, but did I read those? No, but he figured it out.
To install the doorknobs, you have to take off the knob part and that’s where the screws go in. There’s a little pin included in the box that you can use to pop the doorknob off, then once it’s screwed in place, the doorknob pops back on.
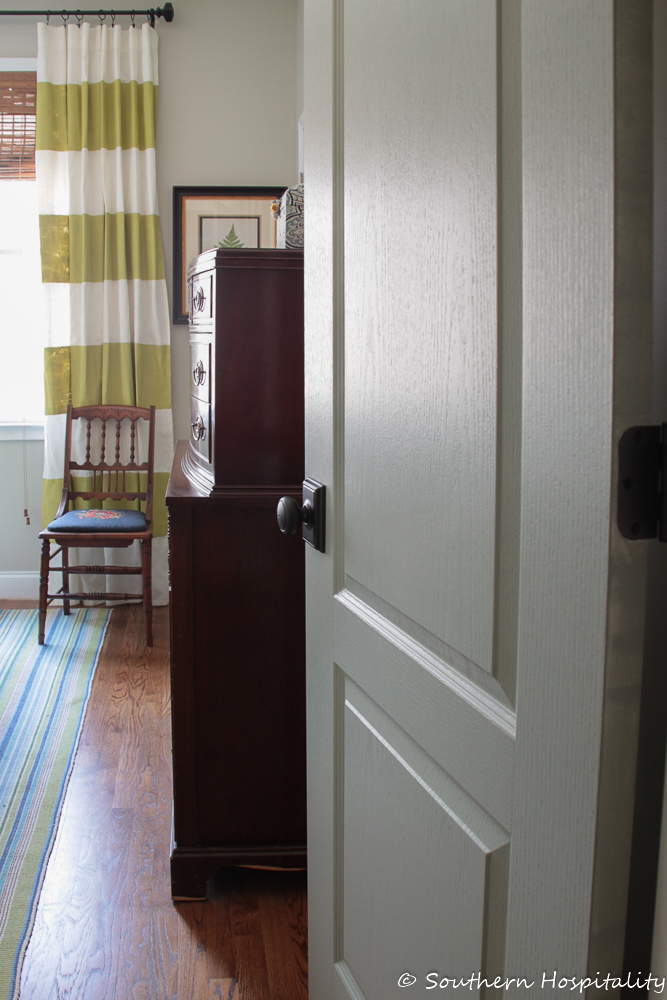
And here’s a peek into the guest room, which I’ll be sharing soon. I got the drapes hung and this space cleaned up again. We just love this color and how well it flows throughout the house with all of our furnishings. We could have gone with other colors, including gray or taupe, but this soft gray/green/blue shade of Oyster Bay is so soothing and calming and a perfect backdrop to our house.
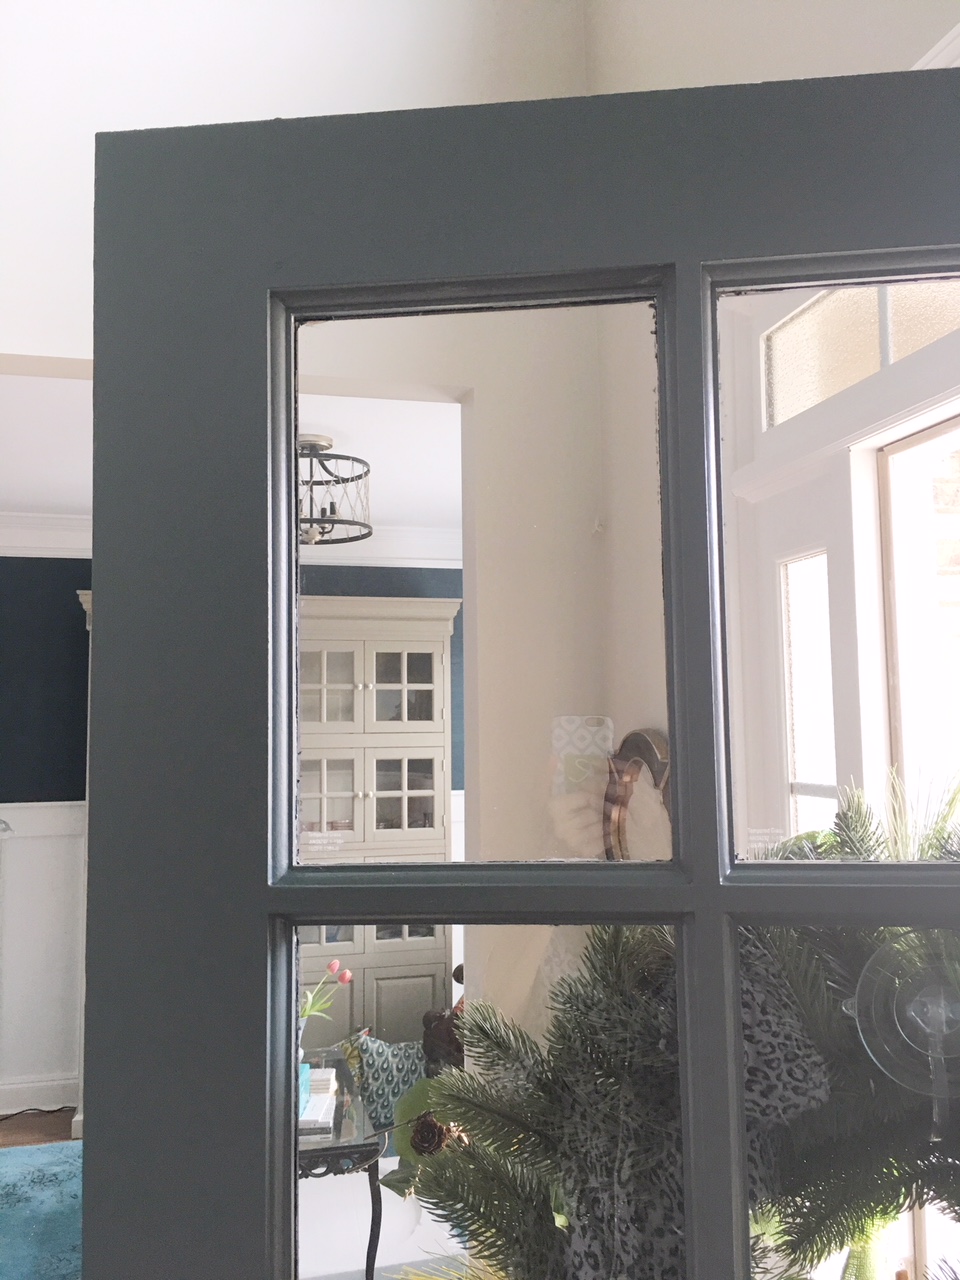
Mark painted the inside of our front door Benjamin Moore Knoxville Gray which is the same color as on our kitchen bar. It’s a great color and much deeper than Oyster Bay, but I love both of them together. It makes the front door really pop. The outside of our front door is black, but we will leave that since it flows with the black shutters. It’s fun to add a different color inside, since you see the back of your front door all the time. We still have to get the front door handleset installed, but will do that soon. For now all the doors on the lower level are painted and the hardware is done. I’ll be moving upstairs next, so stay tuned for more!
Thanks for stopping by! Feel free to ask any questions if you have them. I’m so grateful to be able to partner with Schlage on this project. Painting the doors would have been a great update to our home, but adding this beautiful hardware is the icing on our home decor and adds such a gorgeous look to our classic home.


Thanks Rhoda for the tutorial. We’re getting ready to tackle a door project as well. I took notes as I was reading. Very helpful! 🙂
Hi, Lisa, so glad you enjoyed this one!
Handsome I’m impressed by your work 😀
Rhoda, This is so helpful! I’m just about to start a painted door project, and this was so good to read~ and I love the colors you chose. Beautiful!
Hi, Rita Joy, I’m so glad you found it helpful. I got several questions on the painted doors post, so I thought this would all be good to share.
Niiiice hardware. The look of the dark back plate puts me in mind of doorknobs and locks from the older homes that had the skeleton keyhole – back when the mechanism was installed onto the door itself. Our first rental house (built in the 1930’s) had this type hardware on all the doors. So charming. As pretty as the older homes are – they had zero conveniences. Said house had ONE locking door – the front door – with that skeleton key. Those were the days.
YOUR home is quickly becoming one of my blog favorites. 🙂
Thank you, Becky, that makes me so happy to hear! We are trying our best to make this newish home classic and timeless and we are thrilled with this hardware.
Hi Rhoda,love this post. I’m planning to have my bedroom hall painted and love the knobs with the back plates. I have six doors that are in great shape,solid wood with six panels. I also have two louvered door for linen and coats. These are not bi-folds but regular doors. Would you replaces these to match the other six or just paint? It a long narrow hall with a lot of doors and hubby thinks they break up the sameness. I would love you thoughts.thanks for all your help.
HI, Sue, I would just keep your louvered doors and paint them all to match. That will be charming.
They look fabulous Rhoda, you have such great taste! Thanks for the great how-to, I wish I’d had the knowledge about replacing the hinges one at a time five yrs ago when we changed out all the door hardware in our other home, taking the doors down was a giant pain! I’m sure you just saved some of your readers from that same waste of time and energy!
Thank you so much! Yep, not taking down those doors is a real good tip. Someone passed it on to me before I did my previous house.
Can you give us
More details on how to change the hinges one at a time without removing the door. Thanks in advance. Your home is really beautiful. So happy for you both.
HI, Bonnie, just start at the top hinge, take that one off, add the new hinge, then move on down the door to the middle and lower ones, changing one at a time. Your door won’t fall off with only one hinge out.
Hi Rhoda, A few years ago I removed all my brass door knobs and hinges to change to oil rubbed bronze. Instead of purchasing new hinges, I removed them and spray painted all hinges with matching spray paint. It took a while to make the changes, but saved me a bit as I have 30 plus doors.
Hi, Jean, yes that’s a great tip! I have spray painted hardware before too and it works great. As you said, it takes time, but can be done.
Hi Rhoda, I was thinking about painting my interior doors a different color as you have. Was undecided but this sure help me make the decision to do it!! Thanks.
HI, Grace, I’m so glad this was helpful. I just love the contrast of painted doors.
I love it! Your posts are so informative and your renovations are beautiful! Thank you for sharing and teaching us how you and Mark continue to make your home yours.
Thank you, Kathy, I’m so glad you find it helpful as we share our progress.
Maybe I missed it, but what color did you paint those interior doors? I love them all, by the way, especially the front door color.
HI, Jan, I had shared the door color last week in the post I did about painting doors, but just updated and added it here too. Thanks!
Thank you for sharing! I have been contemplating painting several of my doors but it seems like such a pain.
HI, Elizabeth, it’s really not so bad once you get going. I stored my roller and paintbrush in plastic wrap and left it in the fridge overnight so I wasn’t constantly rinsing out brushes. That helps too!
Hi Rhoda,
Congratulations on your new marriage and your new home. About your front door hardware, are you going to use a key system or an electronic code system? I’m about to replace my front door hardware (already have the bronze on other doors)and not sure which entry system to use. We already have an alarm system in the house, but I recently locked myself out :). I would love to see your front door hardware inside and out when you get it installed. Thanks for any info you can give me. Love, love your blog!
Hi, Lolly, thank you so much! We are using a regular front door handleset in bronze. I will definitely share it when I get it installed. I did put in a Schlage keypad front door hardware on my previous house and it is very handy, but I really think I like a regular key better for looks. The keypad shows and looks high tech but for our house now, we just want a regular pretty handleset. Sometimes we like low tech better than high tech!
Thanks, Rhoda. Totally agree about low tech/high tech.
Fyi on exterior doors we were advised to use 3to 4 inch screws. Safer…harder to shoulder.
So my black interior doors are not instyle anymore…….? What’s your option? Love how the house is coming along. Blessings to your family.!
HI, Joyce, black interior doors are great too! I had them in my old house, but this house seemed to call for lighter doors. But I still love the drama of black doors too.
Rhoda…You used a foam roller for painting the doors…Did you have any problems, with tiny bubbles appearing, after painting?…I have had the problem a number of times and I’m hoping to find the cause!
Hi, Sharon, I didn’t have that problem, but did you clean your doors before you painted? That could cause it to happen if there is dust on the doors. That’s all I can think of.
Hi Sharon, we just finished up painting our living, dining and family room walls in the Oyster Bay and a couple of walls in SW Alabaster White. We are just about ready to paint our doors and switch out to new bronze hardware. We will be keeping the white we have though. Love your look. Lori
Love the look of the old style hardware! Nice paint choices too.
Hi your doors look great. I really want to do the same thing except paint . I will preface I’m somewhat handy but my husband is not at all so my question is how hard is it to change doors with locks. Should I first try a closet door to see how it goes?? I really don’t want to hire someone since I have like 17 doors to change.
Thank you. If there are any tools you think I should buy before beginning let me know .
I also read about the hinge tip….brilliant!
HI, Karen, changing out the doors and locks is very easy. I did it all myself so you can do it too! Just unscrew the old one and place the new one in and screw it back in. I promise it’s easy!
Hi there!
Thanks so much for your door post!!! We are about to start updating our home and I’m quite overwhelmed as EVERYTHING needs to be done. Your home is so beautiful! Curious, do you have a place where you’ve listed your paint colors by room?
Hi, Donna, thanks so much. The new door hardware really makes a difference. I’m about to do a post about our paint colors, but here’s the main one we use, Gatherings by Magnolia Home. Feel free to ask about any others. The doors are all Oyster Bay by Sherwin Williams.
https://southernhospitalityblog.com/main-paint-color-magnolia-home-gatherings/