After seeing many bloggers around blogland doing their own moldings and trim, I’ve really been inspired to try it myself. There are three in particular who I’ve been following around, checking out their projects of wainscoting and beadboard, as they beautify their homes with moldings. So, I figured if they can do it, I can too! With only a trusty mitre box right now, that will have to suffice for cutting those angles, but it works, so that’s what I will do. You can bet if I find a power mitre saw at a yardsale this year, I’ll be bringing it home. Go and take a look at Layla’s projects, as well as Just Beachy, and Thrifty Decor Chick. All these girls know how to beef up their homes with molding. And what a difference it makes!
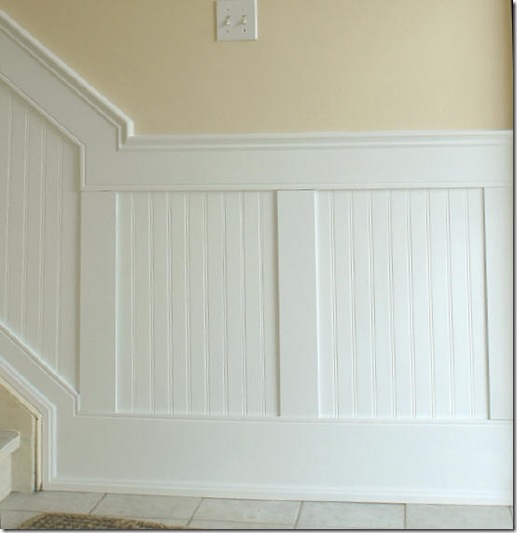
Just Beachy shared her favorite online source for wainscoting at Elite Trimworks. This pic came from their website. Don’t you just love, love this?!
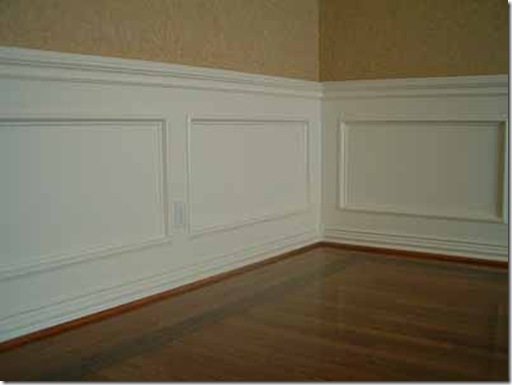
I found this at another source, but can’t remember where. This is what I’m doing in my dining room, since I thought picture frame molding would be the simplest to start with.
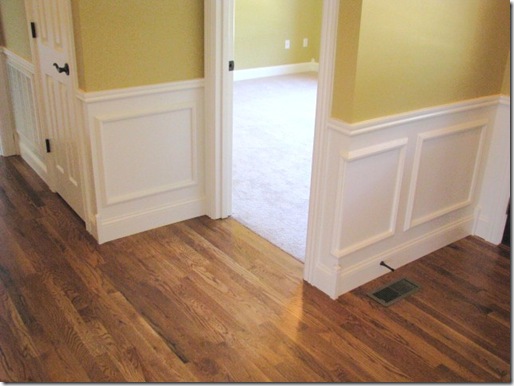
Another online example. What a difference moldings can make. I have a feeling I’ll be doing more of this around my house. I’ve been walking around the house to see where else I can squeeze in some moldings, namely a little beadboard. I think the master bathroom might be a good spot.
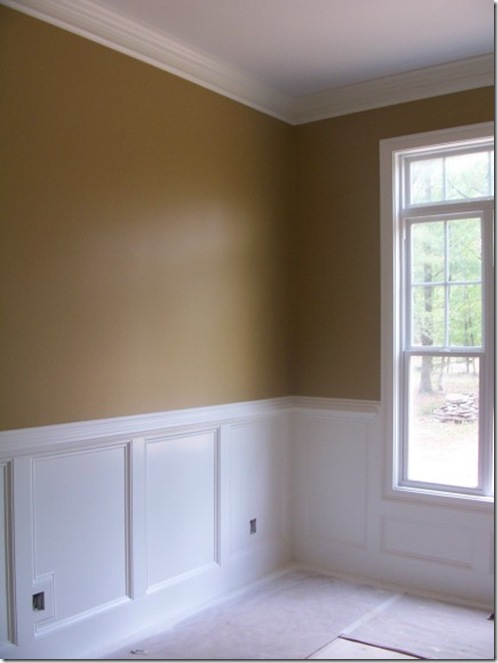
Another example of paneled molding. I love this too.
So, here’s my humble start with picture frame molding. I started out using nails, but found out that it works better to just glue it up, so I’ll use Liquid Nails for that. Measuring is the hardest part. Just be sure to keep it level all the way around. I’m cutting one set of molding and then I’ll use it for a template for the rest, so they will all be the same. I drew out my squares ahead of time with a pencil, so I could make sure they were all the same. Takes a little bit of math, but I didn’t even have to ask my hubby for help (the math genius!). I measured down from the chair rail 4 1/2” and did the same from the bottom molding. And I am using 5” in between my squares on the large wall. Once I get all the molding cut (which hubby is helping me with), it should go fast from there. Then paint the molding and the walls and I’ll be done.
Here’s a sneak peek of the wall color I’m using. And I didn’t even have to buy the paint. Grandma had bought 2 gallons of paint from Lowes several months ago for her little house (remember the paint fiasco and me taking her back to Lowes to tweak it?) and we ended up letting the painter pick a neutral color for her house, so this paint was left over. And it works great for the neutral I wanted in here! YAY, don’t have to buy more.
Of course, you’ll all see it very soon!
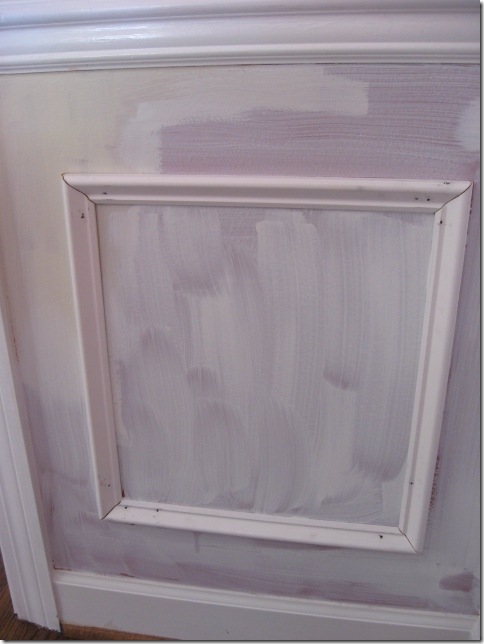
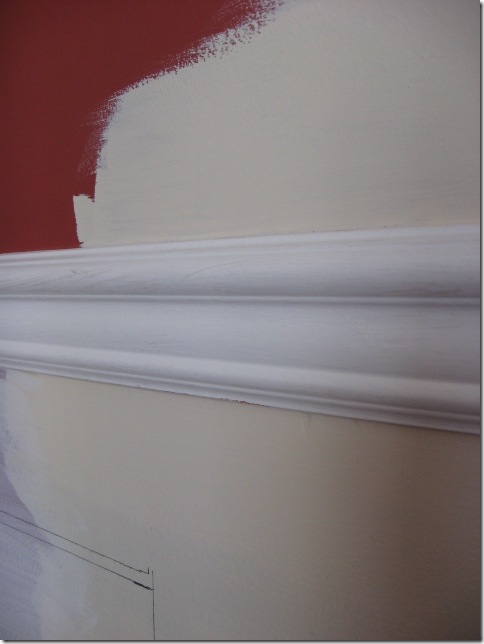


Well that looks fantastic , you did a great job , and thank you for the nod , once you caulk all the corners and sink all the nails and fill them and paint ,wow I assure you it will look like a pro did it , I knew you would have NO trouble with it.
A big well done from me
I can’t wait to see how things turn out.
Rhoda you are on a roll! I am dying to do a tall farmhouse molding in the dining room with a deep orange paint color on top. I will check out that trim site for sure. And…I get to do all of the projects around my house too, my husband is there for moral support! Can’t wait to see it finished.
~Misti
Oh my gosh! Just what I’ve been wanting to do. Just had asked my future bro. in law the other day HOW to miter! He does this or has done this for a living so I asked him to show me how to do it. I have tried it in the past and my corners just WOULD NOT MATCH UP!
🙁 So I asked him would he show me how and he said yes. I already have the beadboard just about all through out our house. I have just about gotten it all painted now. It was the color of our stain in the house, a pecan. Anyway just a few minutes ago I got in our master bedroom taking down the ceiling fan blades and cover for the ceiling fan and taking off the vents up in the ceiling. I am going to start painting in there just as soon as I possible can. Hoping to get at it tomorrow after I get back from town! I am wayyyyy past ready to get that beachy bedroom finished that I have been TRYING to work on for months now. So I’ll be painting once more as well. lol
LOVE what you are doing again!!!! I just LOVE the fact that you and I are so much alike when it comes to tackling things we really want. Remind me one day to tell you about the goldfish pond I dug myself! lol 😉 I even have it on a website to!
Again way to go there lady!!!!!
Rhoda, I’m really impressed…the math part would be the killer for me. It’s going to look fantastic and I can’t wait to see the final result. You rock!!
(I love that first pic too!)
I’m cracking up because we did the paneled moulding in our last house. My brother in law helped out and is an engineer. Did you know there is some earth shattering universal equation to figure equal distance and porportion of the size of the paneling and spacing between walls? Oh my word, the man spent the first 45 minutes calculating before he cut anything… the result? A PERFECTLY proportional and evenly spaced pannel project that I cried to leave!
Love the post Rhoda!
Pretty Organizer
I can’t wait to see how it turns out! I’m trying to learn how to do more things on my own so I don’t have to rely/wait for hubby. I agree that woodwork makes all the difference in a home.
Sheryl
You are so brave to do this on your own! You will love the outcome for sure. I love your bunny dish collection from your previous post. And your sweetie’s Valentine dinner sounds absolutely delicious! How romantic! Those are the best meals to share aren’t they!
yay for Grandma coming thru – and awesome paint color! can’t wait to see the results!
Impressive! It’s looking great already. I can’t wait to see the finished project!
Well just when I thought I was amazed by what you do, you amaze me again. You go girl. Get that up on the wall and show off your stuff.
Till next time,
Ciao
Hi Rhoda 🙂
You know how to use a mitre saw?! I’m very impressed! I plan on doing this in my dining room, but with Rich’s help so that I don’t cut anything off (LOL). I just love the way it looks 🙂
Oh and I hope you weren’t upset by what I wrote. I wasn’t really aiming at anyone, especially not you! I was just voicing how all the rules seemed to be overtaking Blogland and I’m just doing this for fun. I hope you understand.
(((hugs)))
rue
Rhoda, this is fantastic! You are doing a GREAT job! See, it’s not that bad, right? Just a lot of patience…This is going to look wonderful! Thanks so much for mentioning me!
I’m so glad you posted this! I’m considering doing wainscotting on my kitchen wall between my upper and lower cabinets (the backsplash).
Opps, I posted before I was finished commenting. I’m thinking of adding a painting to the framed areas. I can’t wait to see how yours turns out!
Hi Rhoda
at last I can comment on your blog, I don’t know what is happening with my internet but it seems to crash with blogger!
anyway love the molding I’m off to look at those links, not sure if I have the talent to take that on
love the paint colour too
Sarah
Rhoda I so want to do this in our dining room so I anxiously await every detail you share with us. You have such a gorgeous home and you are such a creative woman that makes us all want to give it a try. Thank you for so much inspiration. I’ve really been enjoying your blog. RJ
How exciting ~ I can’t wait to see the finished room. I so badly want to do this in our dinning room.
Thanks for sharing,
Jo
Can’t wait to see your finished project. I am quite sure it will be gorgeous! Just like everything else you do.
I absolutely love wainscoting!