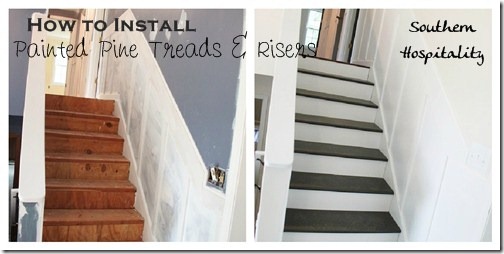
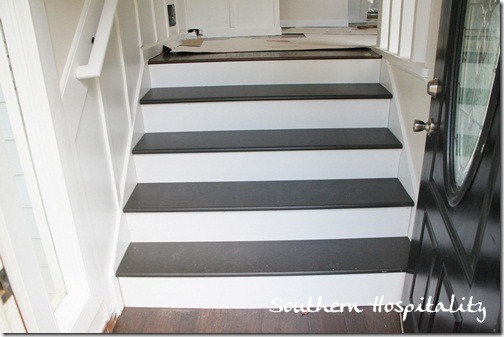
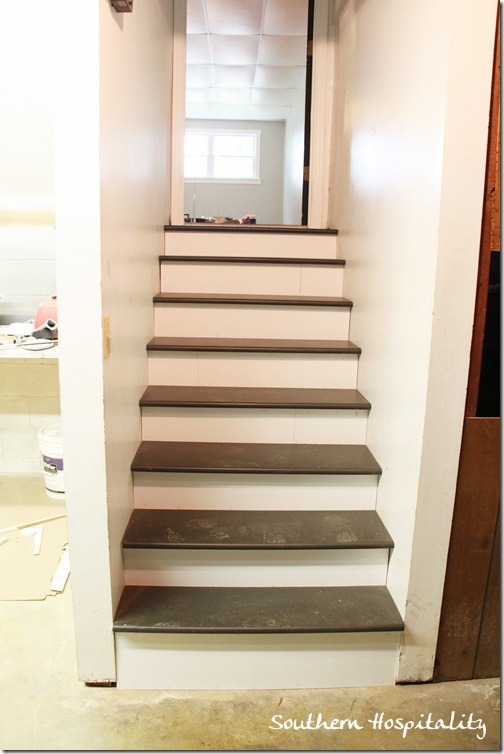
I can hardly believe this day has come and we are completely finished with the task of putting in the new stair treads, but I’m happy to say, it’s DONE! And wow, what a difference that somewhat little thing makes in the big scheme of this house renovation. I’ve been staring at those ugly stairs for almost 5 months now and after ripping up the ugly carpet, this is one of the highlight weeks for sure.
Look, look at them now! You will not recognize the stairs now. I’m going to do my best to teach you all how we did this. It’s a high impact, low cost project that really completes my house.

How to add new stair treads
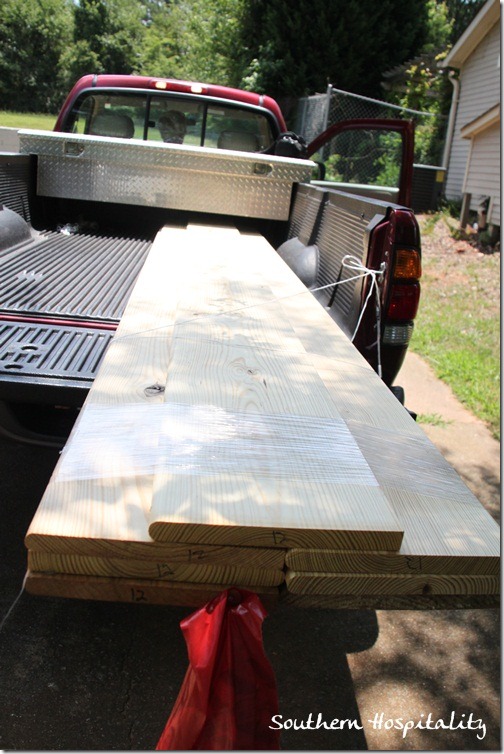
We went up to Blue Ridge, GA to a lumber place up there, Appalachian Supply and picked up 12’ long, 1” thick pine stair treads. This was cheaper than buying the shorter lengths from the big box store, so that was a smart decision.
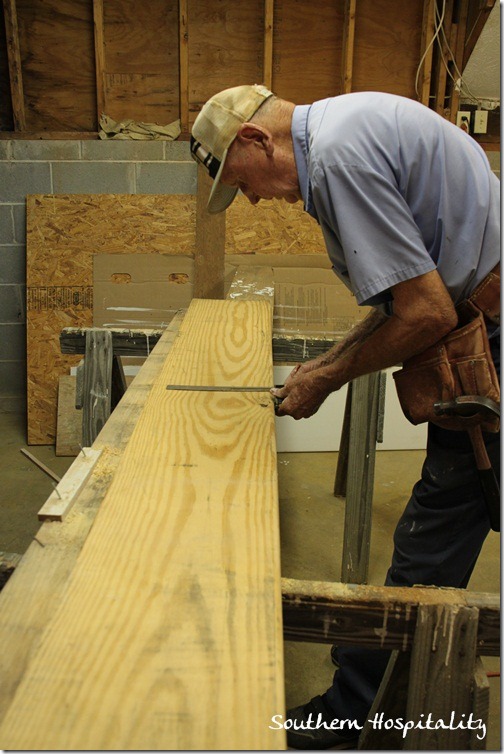
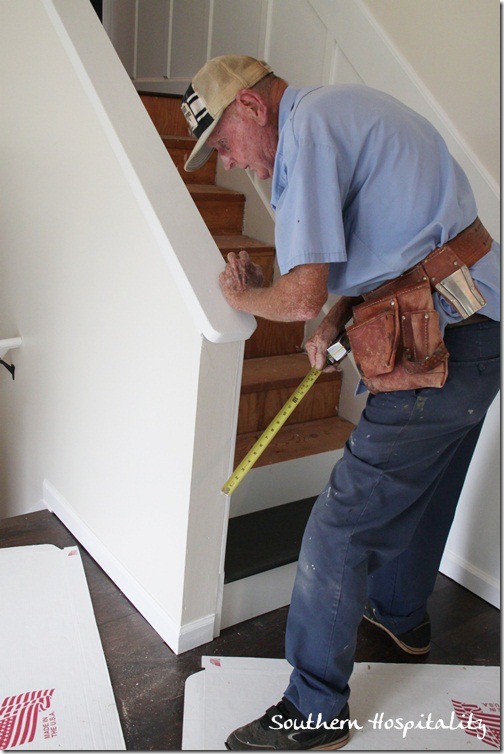
My #1 carpenter dad measured and we cut them all to fit each individual step on my 4 stairways in this split level house. I can’t believe I have so many stairs, but I hope it gives me exercise and doesn’t kill me in a few years. We’ll see. Coming in the foyer, there are 4 stairs up to the living room, dining room, kitchen level. Up from there to the 3 bedrooms are 7 more stairs. Then, going down to the den are 6 stairs and from the den down to the garage are 8 stairs. Wow, that makes me tired just thinking about climbing them all. So, you can see that covering these ugly stairs was one of the main things on my mind when I bought this house.
After doing the stairs project in my old house in Birmingham, I knew that these should be easy to deal with and my dad and I immediately thought of covering them with painted pine stairs. I knew it would look good and be cost effective. I couldn’t afford to get stained oak hardwood stairs put in, it would have cost a lot more $$.
So, we cut and fit each individual stair tread on all 4 stairways in the house. Once we got going, it really didn’t take that long.
One tip I have for you is to number EVERY STAIR on the back and label it for which area it goes in. I used words that I could remember for each one of mine so that once the painting started, I would still be able to know where every stair goes. That worked like a charm! I had 4 areas to keep up with.
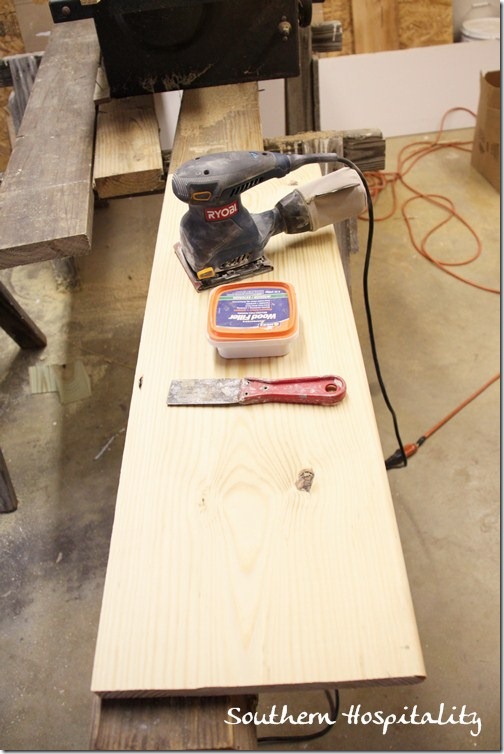
I did add some wood putty to a few knots on the stairs and then gave them all a nice sanding with my electric sander. We chose the best side of the lumber to use and didn’t have a lot of knots to deal with.
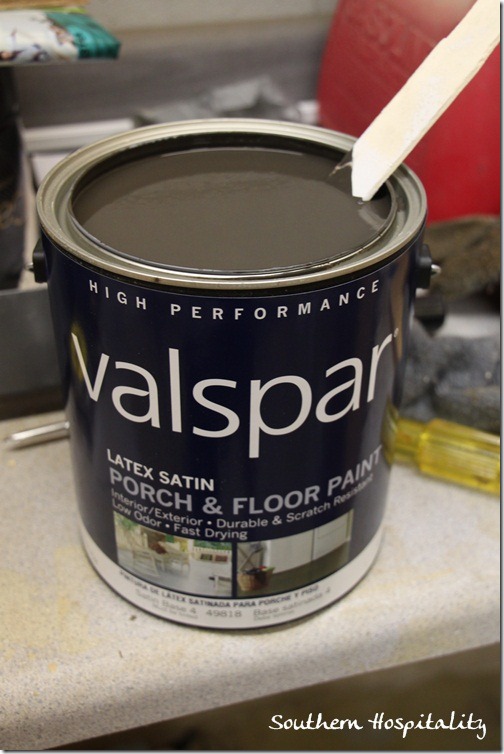
I bought Valspar Porch and Floor paint in Satin, color is Fired Earth, the same color I used on all my interior doors.
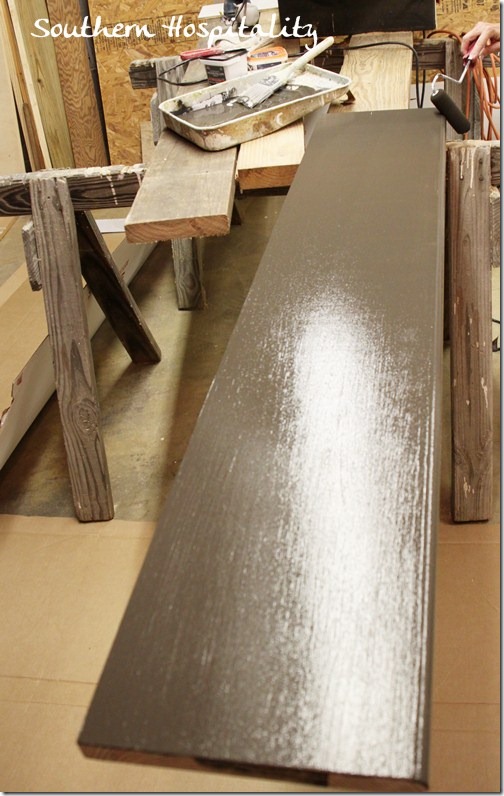
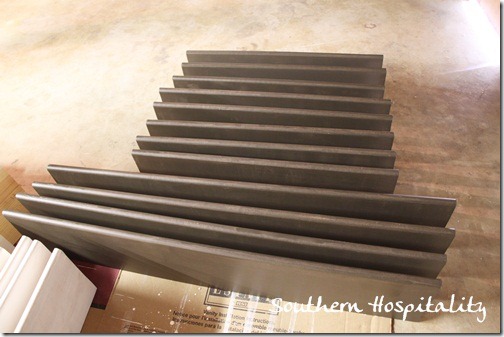
Each stair tread was painted with 3 coats of the paint and they were all set aside to dry well.
They actually got to dry for several weeks before we got to the installation process, which is good. I will have to go back and caulk and touch them up, but I’m so glad I painted them before they were installed.
I did a couple of dry test runs with the stairs so I could visualize what they would look like. I’m in love already!
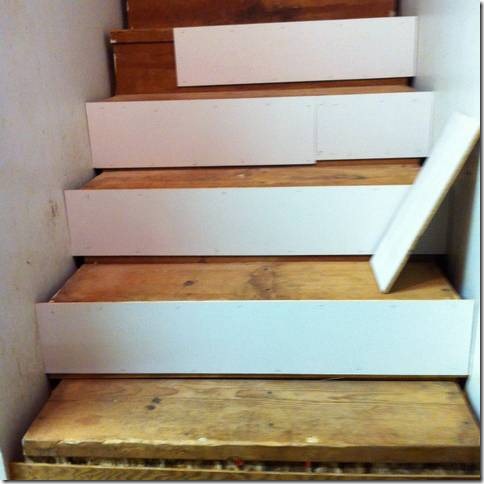
I bought two 4×8’ sheets of smooth 1/4” hardwood plywood, which I new would be nice and smooth for risers. It wasn’t necessary to have really thick risers, since we were going over the old wood. I just wanted to cover up the ugly.
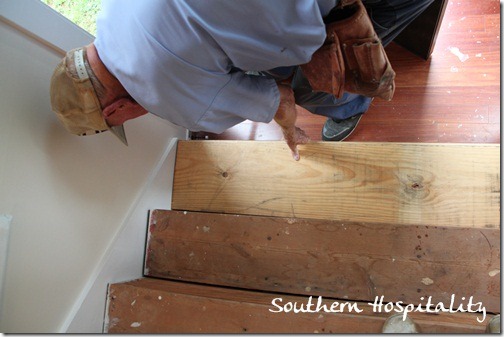
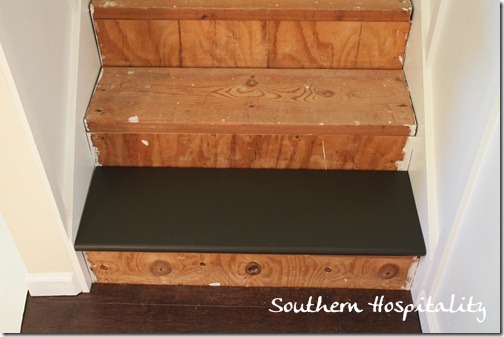
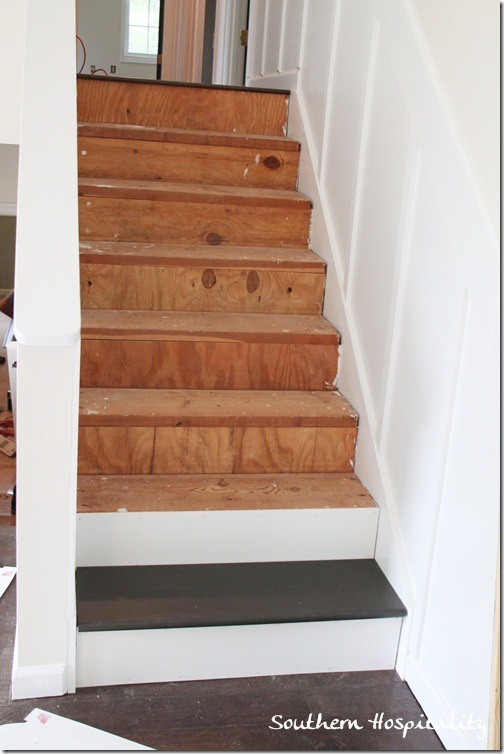
Now, keep in mind, the method we are using is probably not the way a professional would do it. I was told that to do it the right way, we would need to tear out the old stair treads and build them up to be the exact same level that they were in their before state. I knew that would be a lot more work and my dad certainly didn’t want to do it like that, so I tried them out first by putting the stairs in place right over the old existing stairs and walked up and down to see how they felt. The only ones that are affected are the bottom stair and the top. The bottom stair is 1” higher off the floor and the top stair is 1” shorter up to floor level when going up. The other stairs are the same distance apart like the originals. After walking on them and getting a feel for the new stairs, I didn’t think it would be uncomfortable at all. I didn’t notice a big difference at all when I was trying them out, so I feel sure that anyone coming in my house won’t have a problem with them being 1” higher than original on that very first step.
Just wanted to tell you that part in case you have a code to deal with in your state (I’m not sure if we do or not, but oh well). My stairs are perfectly comfortable for me.
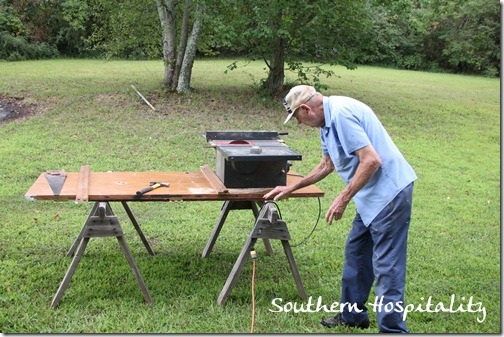
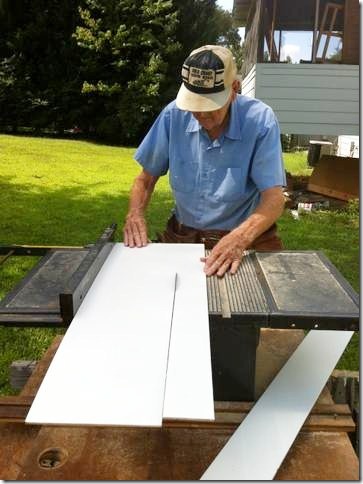
We got the table saw set up for ripping those sheets of hardwood plywood for our risers.
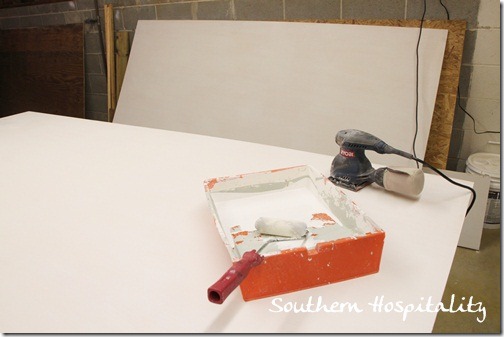
Here’s one of them all painted and ready to cut. Dad measured each and every riser too for a tight fit so that each of them would be as accurate as possible.
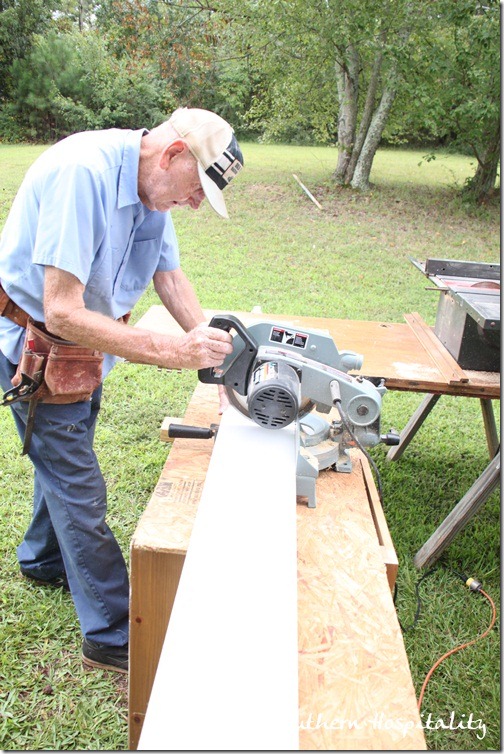
We ripped long strips from the plywood and then cut them down with the miter saw to fit each step riser.
The miter saw really came in handy and the job went pretty fast.
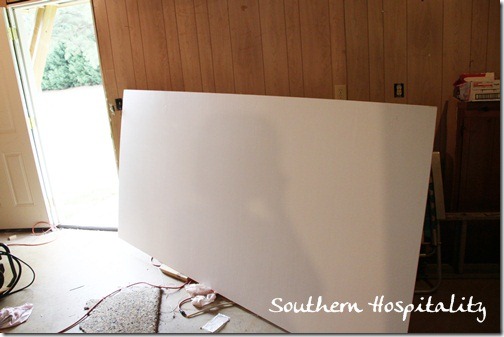
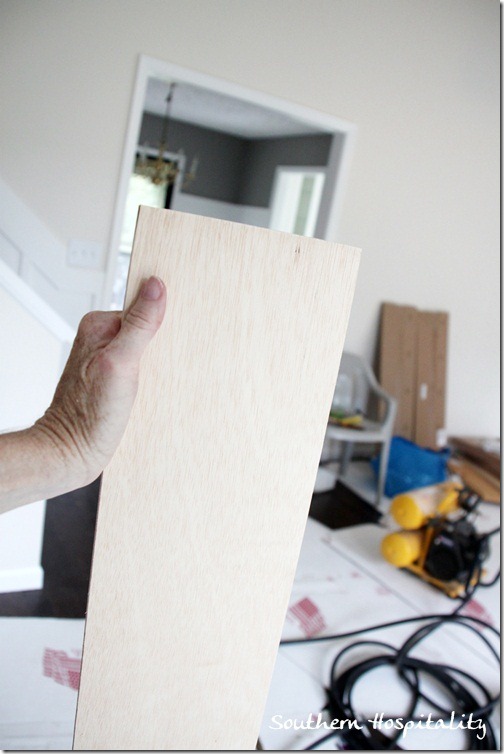
Here’s my smooth hardwood plywood that I got for risers. It’s much smoother than regular plywood and cost for 2 sheets was $40.
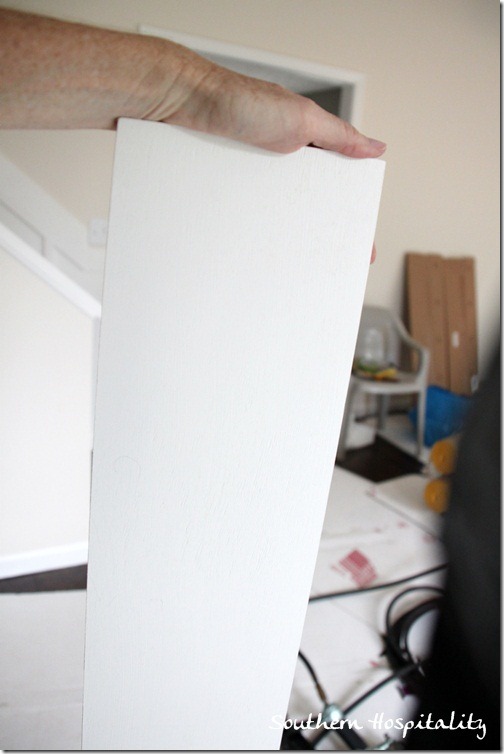
Other side all painted and ready to go.
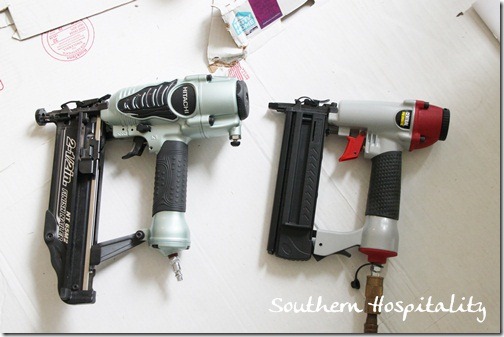
These babies are priceless! We absolutely could not have done this job without them. If you are attempting a job like this one, I’d highly recommend getting a nail gun. I bought a smaller brad nailer to use for the risers, since using 2 or 2 1/2” nails would have been overkill on those 1/4” pieces. This small brad nailer (from Harbor Freight) was a well-spent $18 and I can use this for many other projects too.
The large bad-boy Hitachi nail gun is the one I got from Lowes earlier in our project and we used it for all the board and batten. We used 2 1/2” nails for the stair treads. Pa-pow!! Those nail guns were so fast and made this job a breeze to do. I helped with cutting the strips for our risers and nailed in all the nails.
My Dad has made the comment a few times (after having a bit of a fit over me wanting to buy a nail gun early on)….”I’m sure glad I talked you into getting that nail gun.” 🙂 Oh, that man!
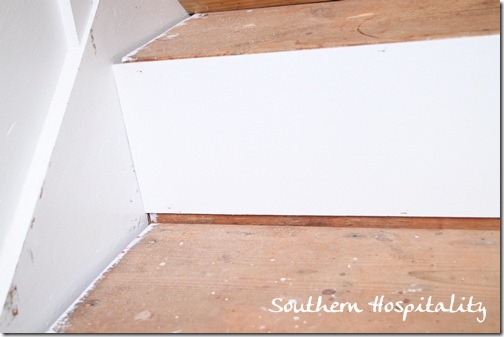
We fit the risers flush with the top of the stairs and when the stairs went in, it was nice and snug for the most part. Keep in mind in dealing with older construction, nothing is square and things can be off a bit. So that’s why cutting each one individually is important for a snug fit. We still had a few cracks which will get filled with caulk and wood putty.
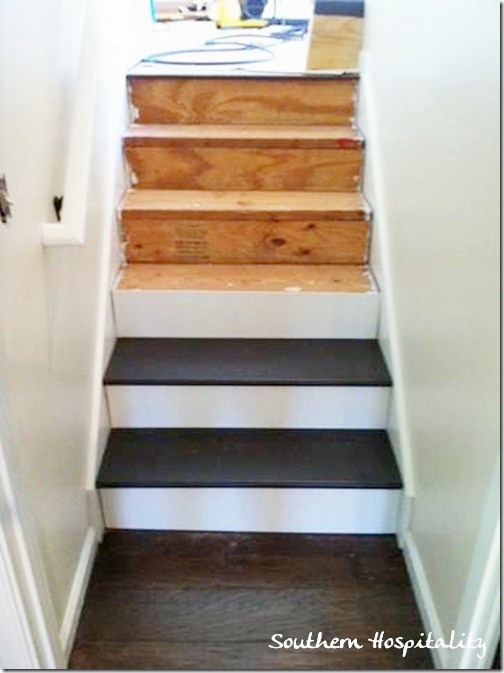
You can see I only painted under the front of the stairs on the backside. We worked step by step adding the risers first and then adding the stair treads on top. I used the smaller nail gun, then switched it out for the larger one when the stairs went in. That part wasn’t bad, just pulled the compressor hose off and switched them. This job would be SO hard without a nail gun, I can tell you that!
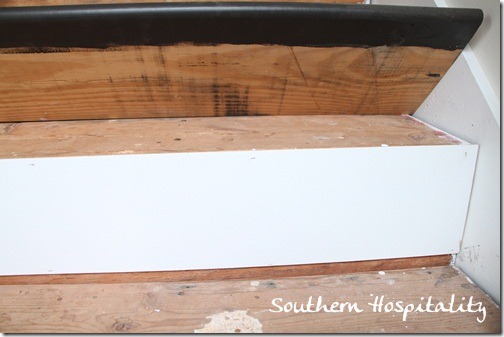
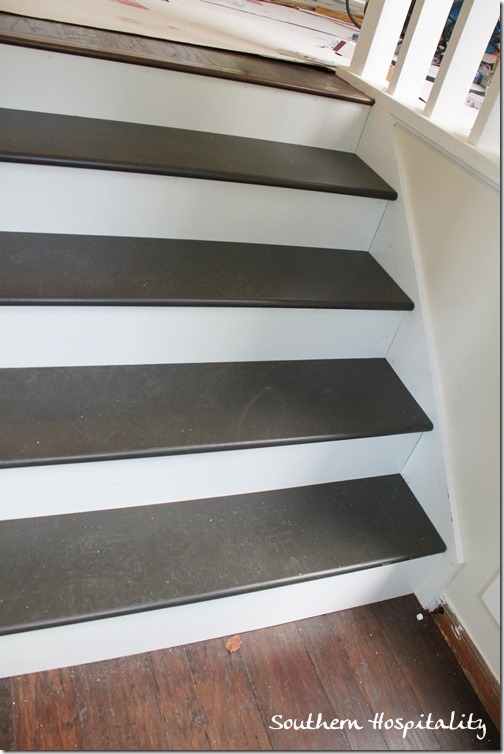
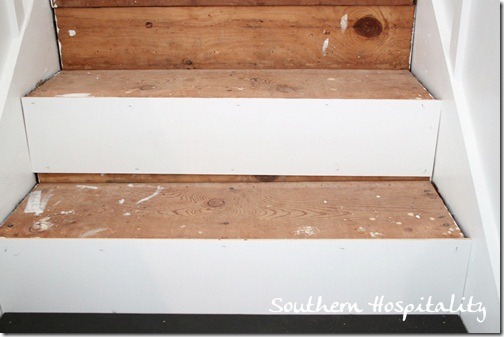
Here you can see how thin the risers are, only 1/4”, but they do the job of covering the ugly, which was my main goal.
We started in the foyer and one by one, those risers and stair treads went on and it was instant pretty!
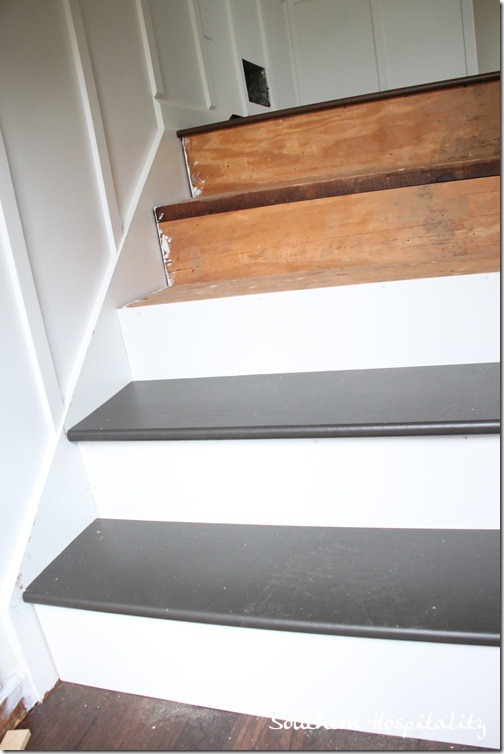
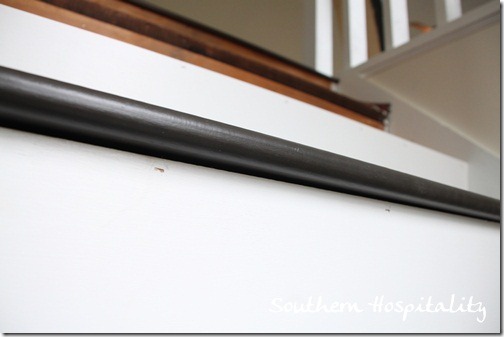
Just a note on the stair treads: We did have to rip them on the table saw down about an inch or so on the flat side, so that they wouldn’t stick out too far when installed, so you have to keep that in mind when they are put in place. I wanted them to hang over about an inch and that is how we finished them.
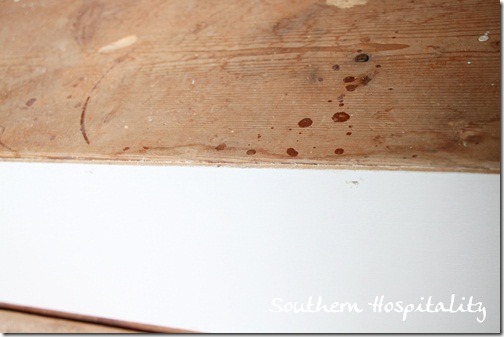
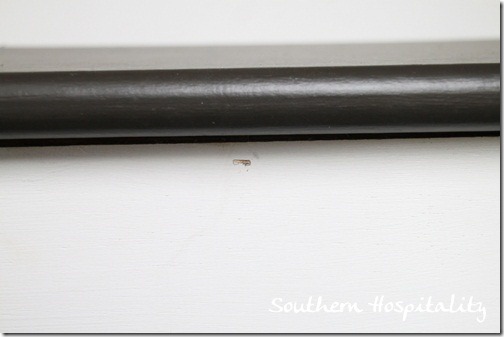
You can see the small holes the brad nailer leaves and all I’ll have to do is fill these with caulk and touch up with paint.
Not a big hole at all.
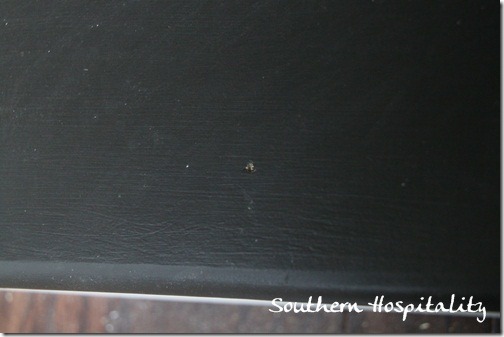
The stair treads won’t have much to touch up either, those nails are countersunk and all I’ll have to do is add a little caulk to those and touch up with paint.
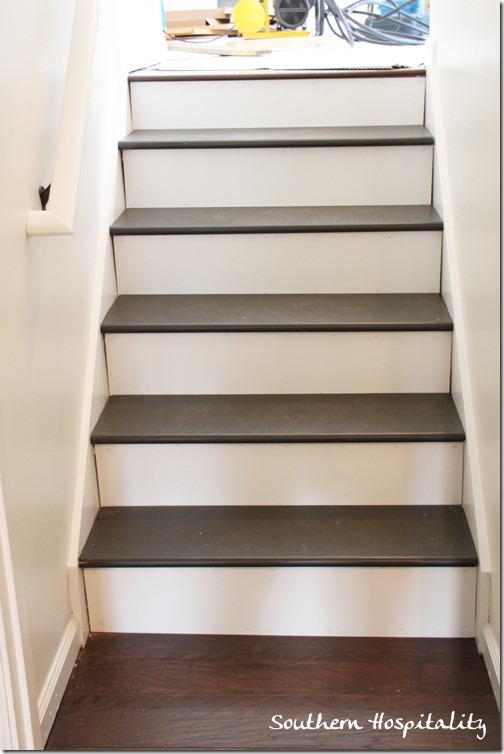
You can see here how nice and finished it looks already and the caulking seams will not be that bad at all.
I know that these dark stairs will be a pain to keep clean, so my plan to get a runner is still on.
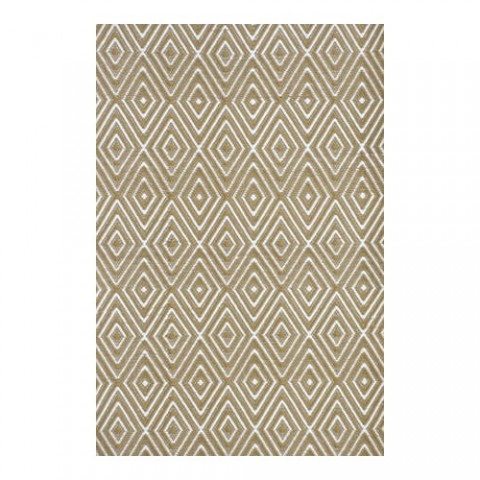
Here’s the one I will most likely get, a Dash and Albert indoor/outdoor rug in this pretty diamond pattern. That will soften them and help with the dust. I could not be more thrilled with how they came out. Just like I envisioned in my head!
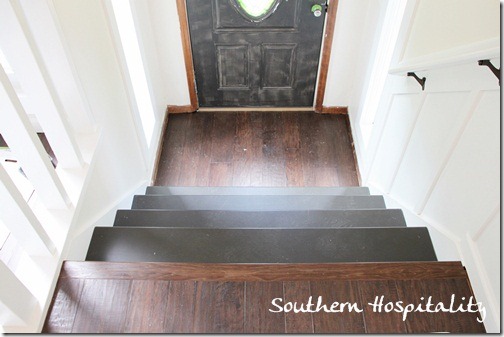
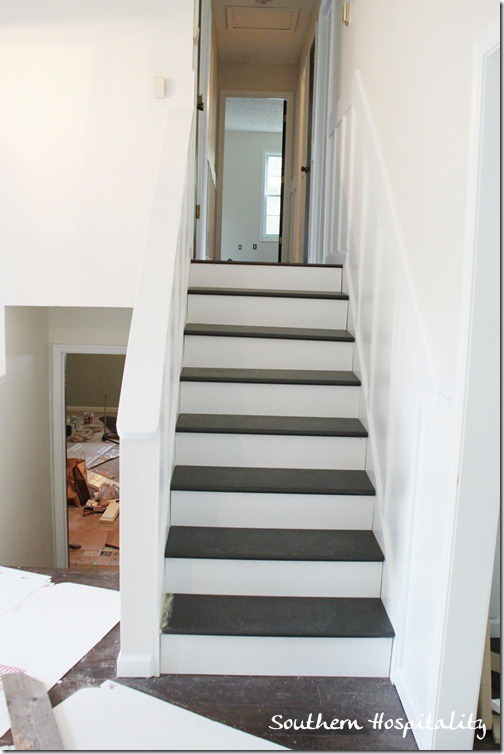
Looking down from living room. And yes, that trim around the doorway still has to be primed and painted. We still have a little work to do on that door area and then I can finish off the painting. So many details!
We then moved on to the upstairs (going to the bedrooms) stairway. Same method, step by step.
We’ll finish off all the baseboards with quarter round painted white and that will be the final touch.
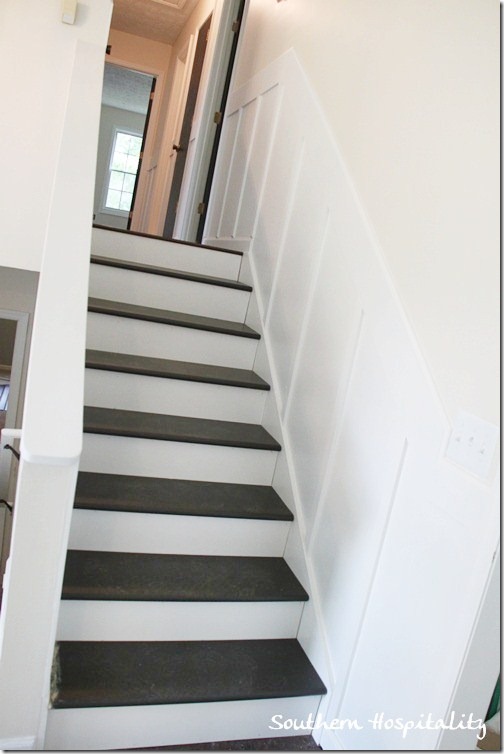
The risers didn’t have to be a perfect fit, once the 1” stairs went into place, it was a great look. Again, covering the ugly was my goal!
And here they are, no more ugly! Can I get a big ole’ whoooohooo on that one!?
What a difference the stairs and board and batten make in this house now.
Looking down from upstairs hallway.
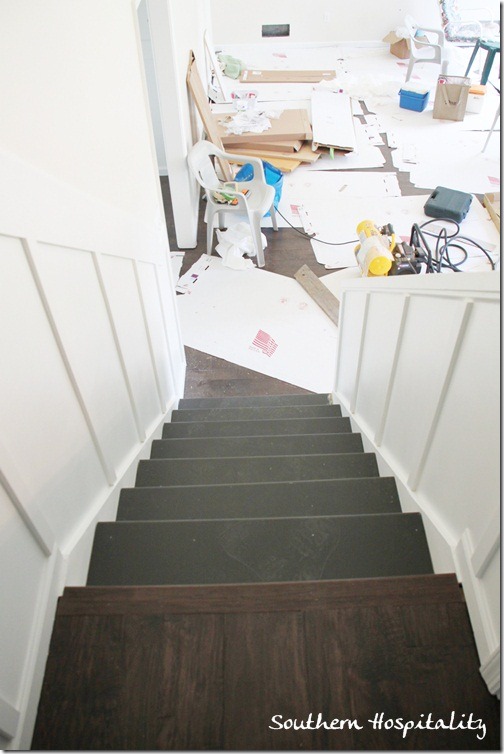
Next we tackled the stairs going down to the den from the living room. Same method, one stair at a time. I nailed in the nails and Dad took charge of the measuring and cutting.
These stairs are so pretty now, I can hardly believe they are done! Once I caulk all those seams, they will really look fantastic. And I just thought I was finished with the caulk gun!
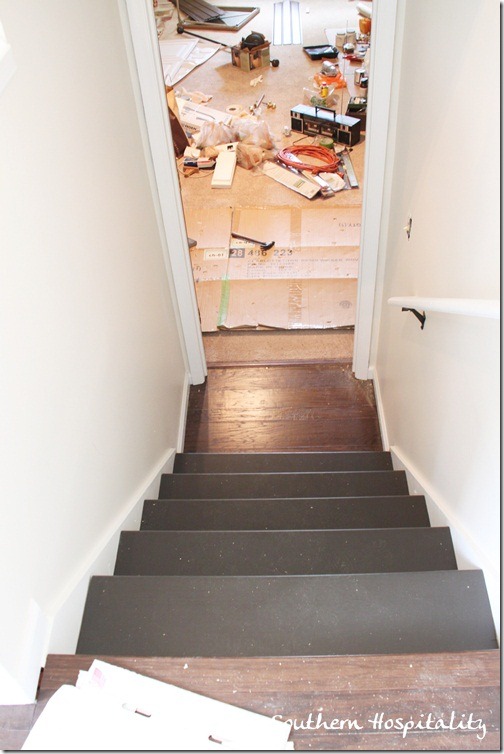
Looking down to the den from the living room. You can see this is where all our crap has ended up, the den. I’ve got a dumpster coming this week and hope to get all the trash in there and outta here soon!
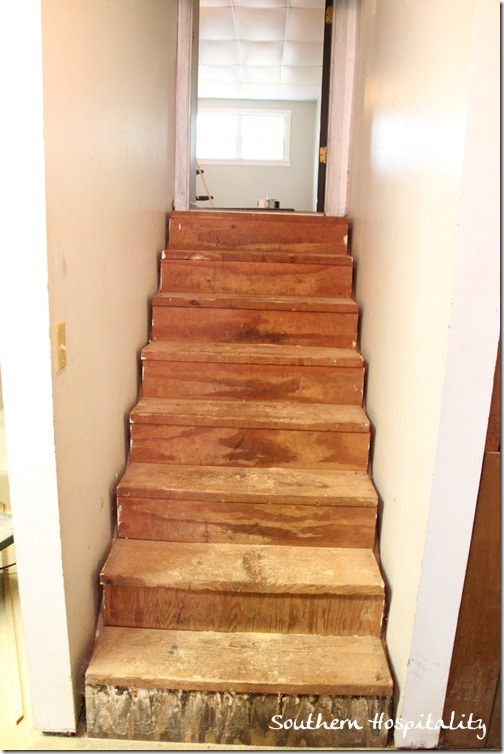
The last stairway to tackle was the garage. This one is really ugly, so why not cover it up too? No need to stop with the other 3, when this one could use a facelift too.
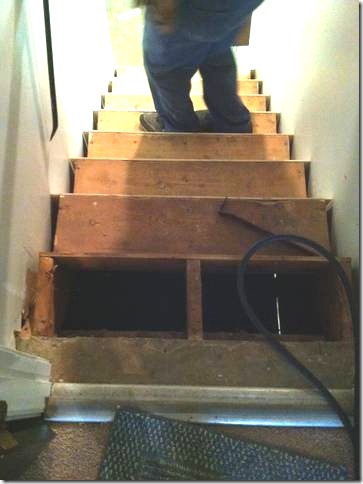
Since the top stair was flush with the concrete at the top of the stairs, we did take out the top step.
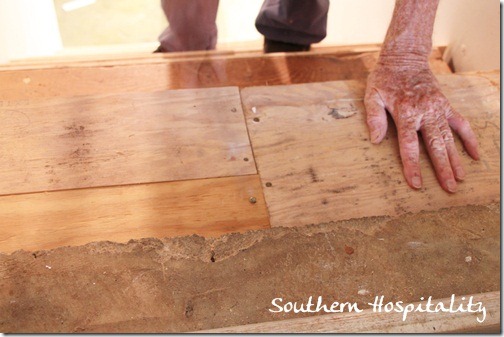
Dad added about 3/8” plywood underneath so the new stair would then fit in there and would be flush with the top piece of concrete. I’ll paint out that concrete with my brown porch paint too.
We were running low on the riser material, so went ahead and pieced those together on several risers. Once I caulk and touch up the paint, it will be fine. Besides, I’m not nearly as picky in the garage. We got all the risers on first and then went back and nailed in the stairs.
And here they are looking SO much prettier!
I hope this explains how we did the new stairs and risers. If you have any questions that I didn’t cover, I’ll be glad to answer.
Again, this is not the way a professional would do it, but it works for me. I’m so happy to have some pretty stairs and once I get my runner on (the upper stairs, not the garage), they will all look so great. This was a cost effective way to get stairs. If I had bought oak hardwood stairs, they would have cost a bundle. This was a perfect solution for my house and I’m thrilled with them.
Here’s the cost breakdown on what I spent for all the stairs:
Seven 12’ pine stair treads – $160
Two sheets 4×8 smooth hardwood plywood (1/4”) – $40
1 Gallon porch and floor paint – $35
Small brad nailer – $18
Since I already had the big nail gun, I won’t count that on this project.
For just over $250, I’d say this is one big bang for the buck, wouldn’t you??
Do you have stairs that need an overhaul? Is this project something you would consider doing? You just might tear off the old carpet on your stairs and already have pine risers underneath, many people do.
Go ahead, go peek and see what’s under your carpeted stairs!
{P.S. I’m still trying to figure out my truncated feed situation to add a pic and text to my feeds. No luck getting it right yet, so it’s still on full feed right now. }
Linking up to Beth’s Tutorials and Tips Link Party!


FANTASTIC!! i want to tackle the stairs in my house but i’m not brave enough yet. your house is looking wonderful!
Hi Rhoda. I was follower before the cha nge in Blogger and somehow I didn’t sign up to receive your posts via email. I realized that I was not seeing your posts but I kept forgetting to fix it. It might have been for the best, I lost my dad last Oct. and I don’t think I could have read about how your dad is helping you on this fabulous journey you are on.
But the timing was right this week and after signing up for your feed I read all of your posts on the new house and a bunch of others as well.
I love your new house and I have enjoyed every moment of reading your progress and how your wonderful parents are helping you. I learned a lot of what I know about home renovations and gardening from my dad but the only time we ever worked together on a project was just a few months before his death and it was a special time together. It is great to read about how you are working with your dad, I got a big kick out of the mail box post.
I can hardly wait to see your bedroom wall treatment, the kitchen hardware and the rustic shelves. It is good to hear that all of the companies you are working with have helped with items for your new home.
I am looking forward to your future posts now that I will not miss anymore.
Thanks for sharing,
Traci
Oh my lord, do I need your father to come and visit our house! haha What a beautiful job you two have done! We also removed the carpet from our split entry staircase and were left with building grade plywood stairs – not a good thing. Not having the expertise, tools, or your DAD, we opted for an inferior method to yours, but it still ended up looking a LOT better than the hideous threadbare carpet that had been on the stairs! Here’s a link to my 2009 post if you’d like to see it… Again, yours is FANTASTIC!!!
http://anenchantedcottage.blogspot.com/search?q=stairs+split
Donna @ An Enchanted Cottage
Rhoda,
I love a project that you can stand back from and go “WOW”! “Look what I did and look at how great that looks”. For sure this is something you can do. These stairs look amazing. Great job.
I love your dad! He is just wonderful. Your stairs are look amazing, I can’t wait to see your finished house.
Rhoda, this is absolutely the best tutorial I have seen to date on how to put new treads and risers in on stairs. Ripping up our yucky carpeted stairs and replacing them with treads and risers is at the top of the list for us. Great idea to paint them all first, and let them cure! I can’t believe your dad can help you with all this. That is priceless! Does he work for hire for girls in California?
One other question, why did you need the miter saw? I am somewhat o.k. with power tools, but this one I am confused about. I am so inspired to do this soon and pinning this!
HI, Karen, thanks glad you like the tutorial. I tried to make it as thorough as possible. Look at the pics above. We ripped the 4×8′ sheet of smooth plywood down in strips. Then used the miter saw to cut each piece to fit each step. That’s a necessary step to get your risers to fit on each step.
Hi Rhoda,
I just finished reading your entire story~can honestly say I’ve never spent so much time on one persons blog before! You are an amazing, strong and talented woman. You obviously come by that honestly, your parents are gems!! Your house is not only going to be beautiful, it’s going to be extremely special because of the time, effort, and skill you and your parents have devoted to it! Can’t wait for the next update!
One quick question for you…is there a caulking that can be painted over? I’m just assuming you are painting over it and the only stuff I’ve used you can’t do that with. Thank you 🙂
Hi, Cynthia, thanks for stopping by, so glad you enjoyed my story, it’s been quite the journey.
Yes, most caulk IS paintable, so read the label. I usually use DAP caulk in my caulk gun and it’s definitely paintable. I use white for doors, trim, baseboards, all purpose caulk.
Hi Rhoda,
Your stairs look awesome. I’m embarking on the same stair journey (with help from my Dad), and I was wondering if any glue was used to adhere the treads. I would rather use nails due to being sensitive to adhesive off gassing, but I was told the treads would move, and wouldn’t be secure with nails only. Do you find that the treads are less secure with nails only? Again, your stairs look lovely.
Hi, Terry, I only used nails from my nail gun on my stairs and I can say they are holding up fine. No movement at all and they don’t squeak either! I put at least 6-8 nails in each step.
Looks great. I am starting my own transformation and was wondering if anyone else was using 1/4″ plywood for risers. Glad to see it looks great.
Hello
Congratulations your stairs look wonderful.
I am in the process of pretty much doing a cover up job on my stairs and I did wonder if you had to trim the nose flush with the previous riser to get a better fit.
I apologize if I missed this in your instructions.
Alvira
Hi, Alvira, We put the risers on first and then added the stair tread. We did have to cut some off the backs of the stair treads so that they wouldn’t hang over too much. Is this what you’re asking. Depending on how square your existing stairs are, you will have small gaps at the back and sides of your stairs, so you have to fill in with caulk, but I still think they look great.
Nice job, they look great and thanks for posting the instructions.
Wondering how you got all the stairs to stand upright during the drying process. What is holding them upright?
Elise, the back side of the stair treads are flat, so they are stacked that way. Only the front side is rounded.
Thank you so much for the step-by-step instructions. I am tackling the basement steps at our house and our son’s house this week and this is extremely helpful. We live in Ellijay so I will be headed to Appalchian Supply to get the bullnose for the treads!
HI, Jodie, you may need to order them to get the longer lengths, so ask them about that. I had to place a special order.
Thank you so much for this post! I moved from a 1921 bungalow that I loved to a 1971 faux tudor, and I’ve been slowly updating it so that it feels like home. I ripped the carpet off the stairs, because I just couldn’t look at it anymore, and had plans to paint, but I couldn’t figure out how to make them look appropriate. This is perfect! And, I can swing this job by myself. Your dad is adorable, by the way.
I was wondering how your stairs were holding up? specifically the white 1/4″ hardwood plywood kickboards?
I have EXACTLY the same set of stairs – rough lumber which is sturdy – and I’m turning them into a thing of beauty!
I’d like the WHITE kickboards to contrast with the stained oak wood treads, but I’m afraid the white kickboards are going to be a constant cleaning item.
Would you have done anything differently???
HI, Sara, everything is holding is very well and no, I wouldn’t do anything differently a year later. They still look great!
WOW! I am so glad I foudn your blog! I have ugly stairs that need covering up too! Thanks so so much for being so thorough and having so many pictures!
If anyone plans to follow this blog to redo their stairs, read the IRC(international residential code). It states that the height of any step cannot be any greater than 3/8″ difference from one step to another. The only way to do this correctly is to remove the original stair tread, if it was done right the first time. Problem is that you get accustomed to lifting or lowering your feet the same distance as you move up or down the stairs. when you get to that top or bottom step and it is an inch different, fall hazard is likely especially with elderly. looks beautiful though.
I have pine treads, though they have been painted and nailed in wrong places (they are noisy) and repainted. Considering changing them, but wonering if I should try sanding them down and refinishing them first, what do you think?
IF you already have pine, then yes you could try to keep them and sand them down. You might not be able to fix all the nails, but you could sand repaint, and add a runner if you like.
We just re-did our stairs – I wish I had come across this first. Ours turned out great, but lacks a certain charm :). I love the two color approach