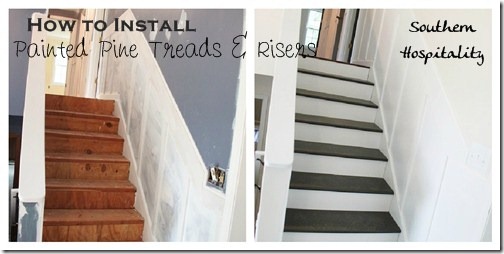
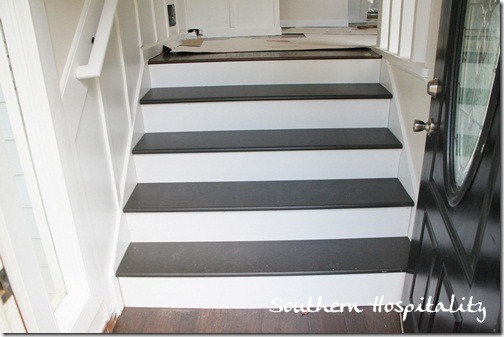
I can hardly believe this day has come and we are completely finished with the task of putting in the new stair treads, but I’m happy to say, it’s DONE! And wow, what a difference that somewhat little thing makes in the big scheme of this house renovation. I’ve been staring at those ugly stairs for almost 5 months now and after ripping up the ugly carpet, this is one of the highlight weeks for sure.
Look, look at them now! You will not recognize the stairs now. I’m going to do my best to teach you all how we did this. It’s a high impact, low cost project that really completes my house.

How to add new stair treads
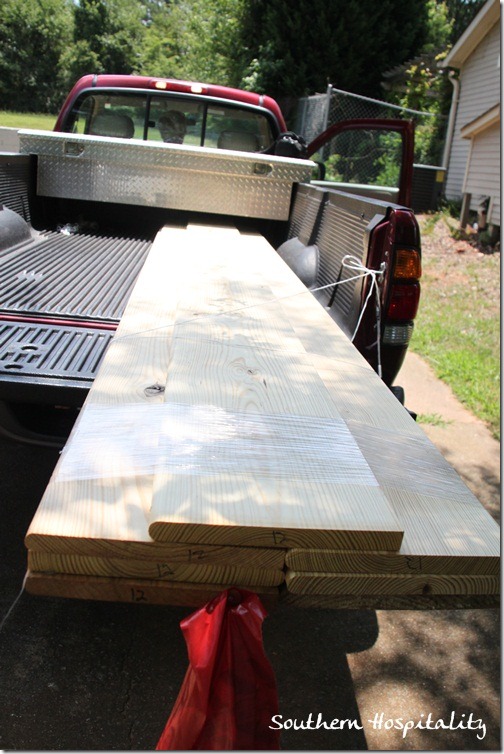
We went up to Blue Ridge, GA to a lumber place up there, Appalachian Supply and picked up 12’ long, 1” thick pine stair treads. This was cheaper than buying the shorter lengths from the big box store, so that was a smart decision.
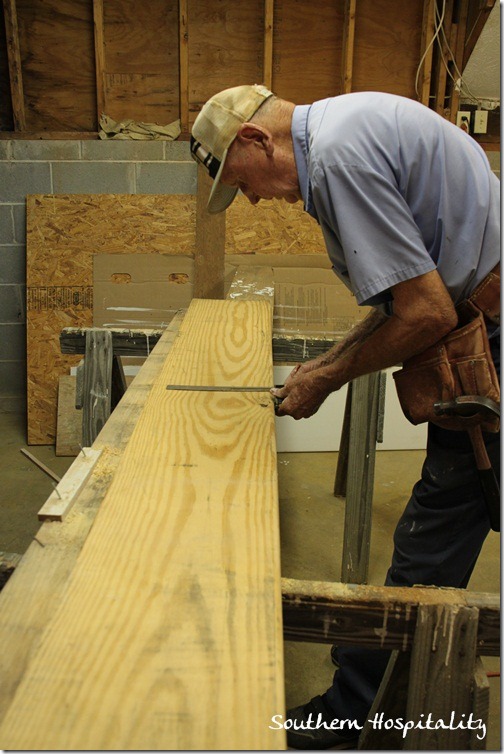
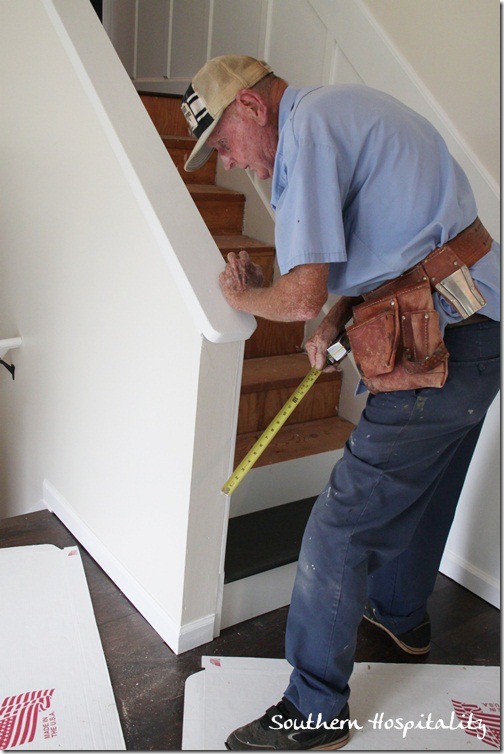
My #1 carpenter dad measured and we cut them all to fit each individual step on my 4 stairways in this split level house. I can’t believe I have so many stairs, but I hope it gives me exercise and doesn’t kill me in a few years. We’ll see. Coming in the foyer, there are 4 stairs up to the living room, dining room, kitchen level. Up from there to the 3 bedrooms are 7 more stairs. Then, going down to the den are 6 stairs and from the den down to the garage are 8 stairs. Wow, that makes me tired just thinking about climbing them all. So, you can see that covering these ugly stairs was one of the main things on my mind when I bought this house.
After doing the stairs project in my old house in Birmingham, I knew that these should be easy to deal with and my dad and I immediately thought of covering them with painted pine stairs. I knew it would look good and be cost effective. I couldn’t afford to get stained oak hardwood stairs put in, it would have cost a lot more $$.
So, we cut and fit each individual stair tread on all 4 stairways in the house. Once we got going, it really didn’t take that long.
One tip I have for you is to number EVERY STAIR on the back and label it for which area it goes in. I used words that I could remember for each one of mine so that once the painting started, I would still be able to know where every stair goes. That worked like a charm! I had 4 areas to keep up with.
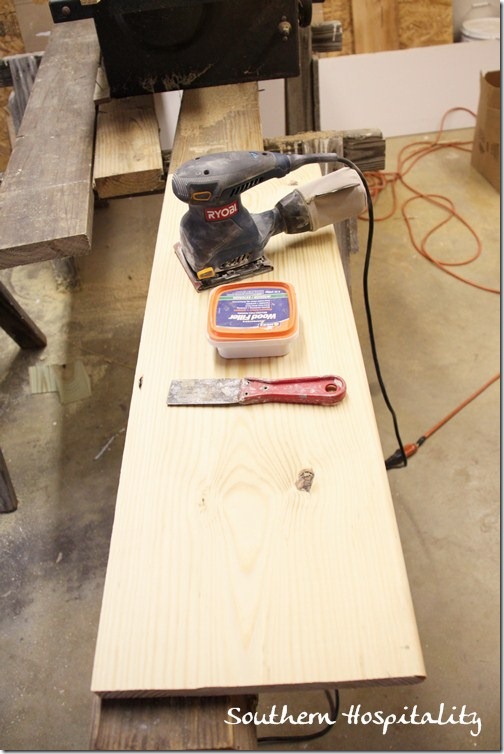
I did add some wood putty to a few knots on the stairs and then gave them all a nice sanding with my electric sander. We chose the best side of the lumber to use and didn’t have a lot of knots to deal with.
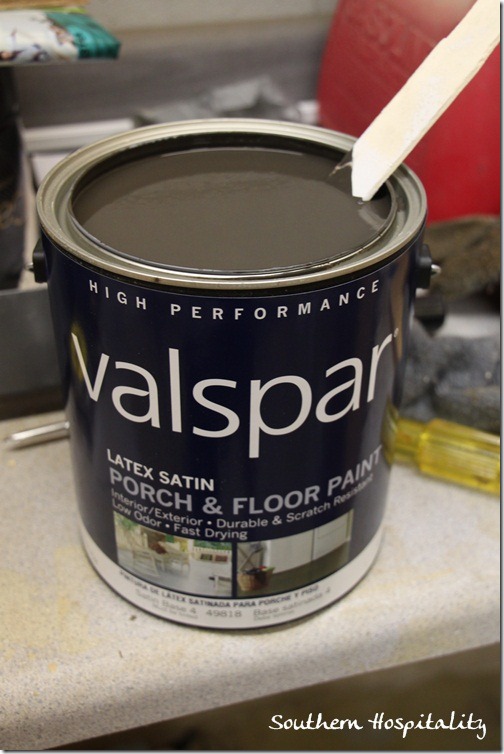
I bought Valspar Porch and Floor paint in Satin, color is Fired Earth, the same color I used on all my interior doors.
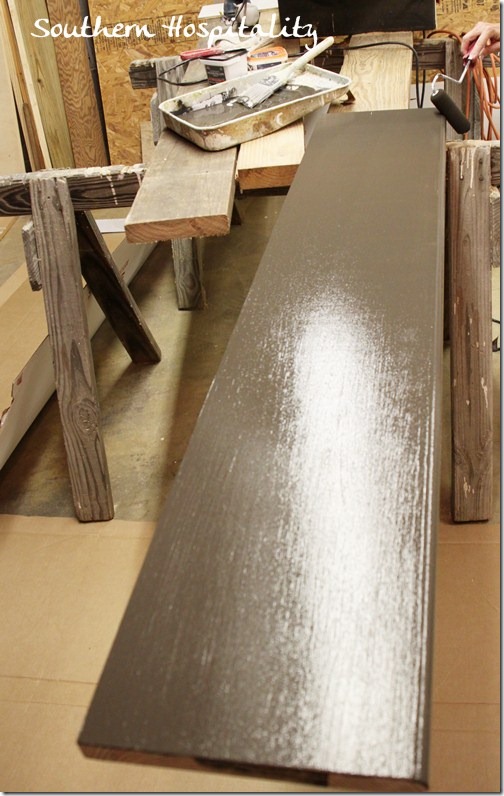
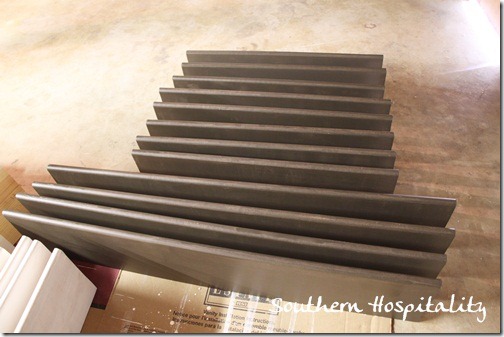
Each stair tread was painted with 3 coats of the paint and they were all set aside to dry well.
They actually got to dry for several weeks before we got to the installation process, which is good. I will have to go back and caulk and touch them up, but I’m so glad I painted them before they were installed.
I did a couple of dry test runs with the stairs so I could visualize what they would look like. I’m in love already!
I bought two 4×8’ sheets of smooth 1/4” hardwood plywood, which I new would be nice and smooth for risers. It wasn’t necessary to have really thick risers, since we were going over the old wood. I just wanted to cover up the ugly.
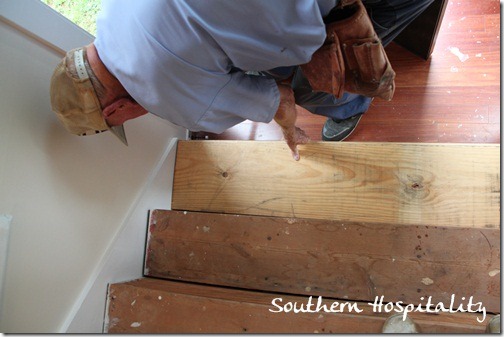
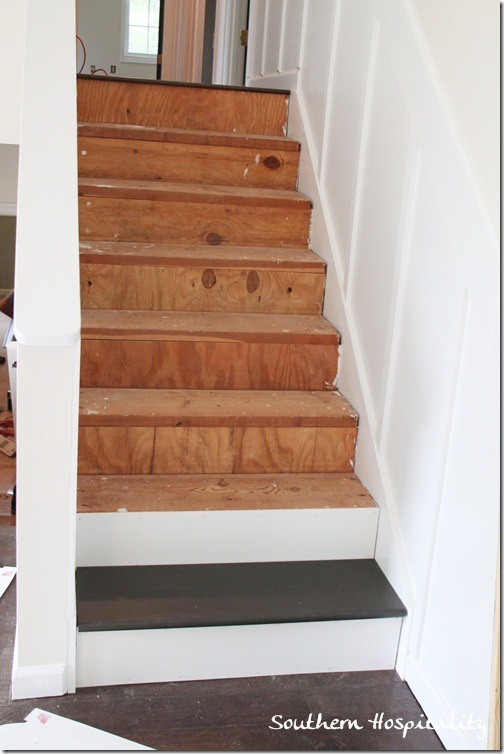
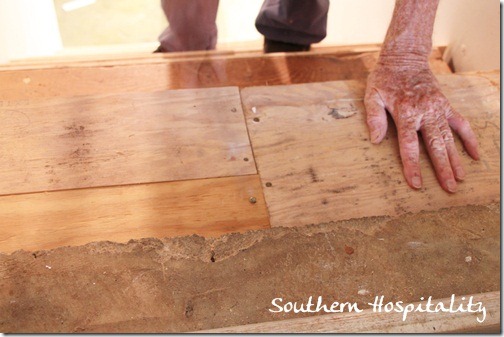
Now, keep in mind, the method we are using is probably not the way a professional would do it. I was told that to do it the right way, we would need to tear out the old stair treads and build them up to be the exact same level that they were in their before state. I knew that would be a lot more work and my dad certainly didn’t want to do it like that, so I tried them out first by putting the stairs in place right over the old existing stairs and walked up and down to see how they felt. The only ones that are affected are the bottom stair and the top. The bottom stair is 1” higher off the floor and the top stair is 1” shorter up to floor level when going up. The other stairs are the same distance apart like the originals. After walking on them and getting a feel for the new stairs, I didn’t think it would be uncomfortable at all. I didn’t notice a big difference at all when I was trying them out, so I feel sure that anyone coming in my house won’t have a problem with them being 1” higher than original on that very first step.
Just wanted to tell you that part in case you have a code to deal with in your state (I’m not sure if we do or not, but oh well). My stairs are perfectly comfortable for me.
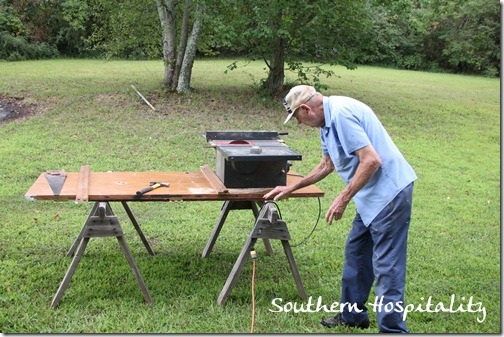
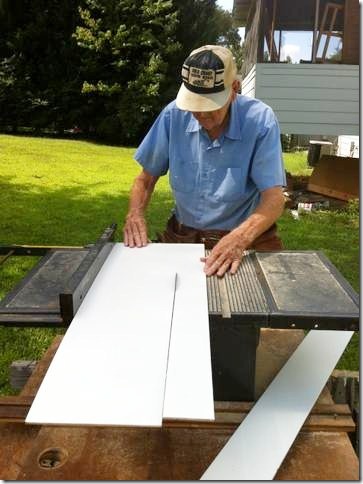
We got the table saw set up for ripping those sheets of hardwood plywood for our risers.
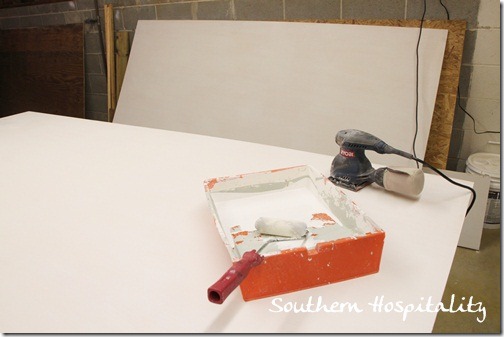
Here’s one of them all painted and ready to cut. Dad measured each and every riser too for a tight fit so that each of them would be as accurate as possible.
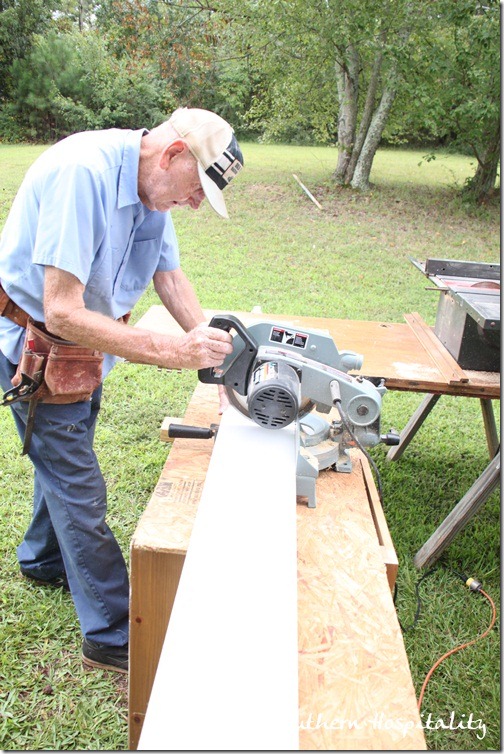
We ripped long strips from the plywood and then cut them down with the miter saw to fit each step riser.
The miter saw really came in handy and the job went pretty fast.
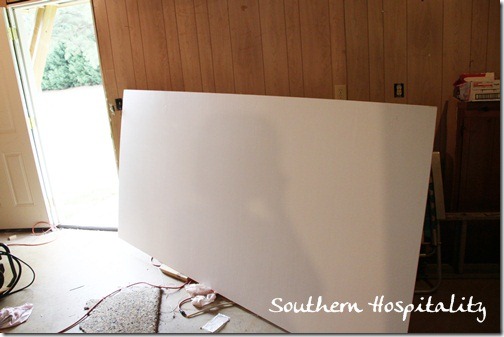
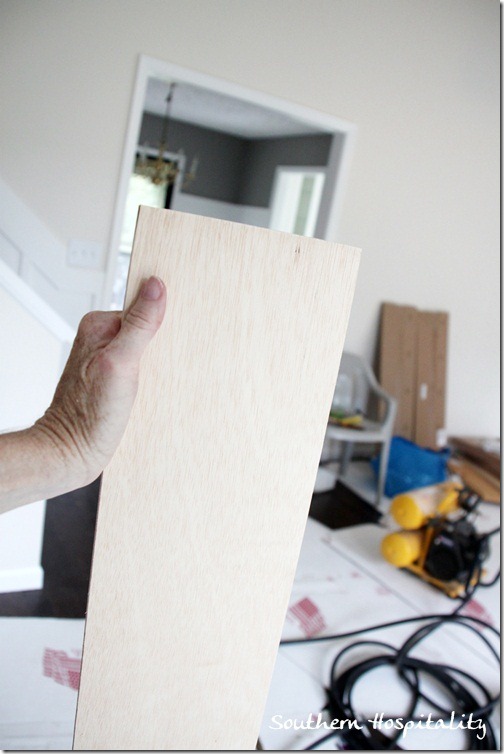
Here’s my smooth hardwood plywood that I got for risers. It’s much smoother than regular plywood and cost for 2 sheets was $40.
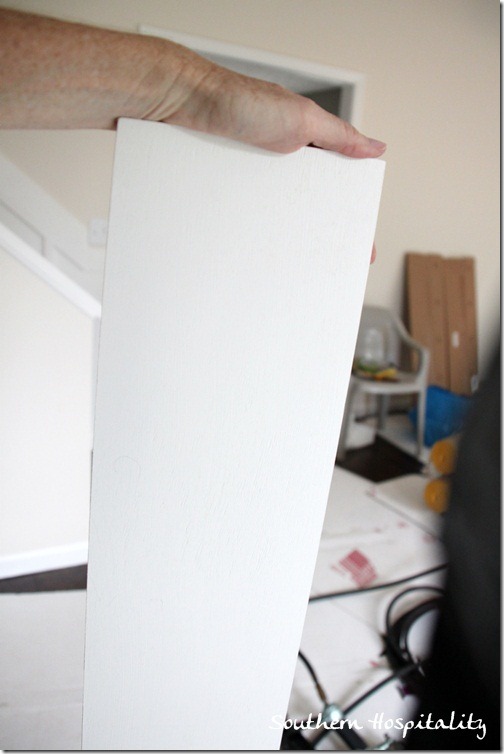
Other side all painted and ready to go.
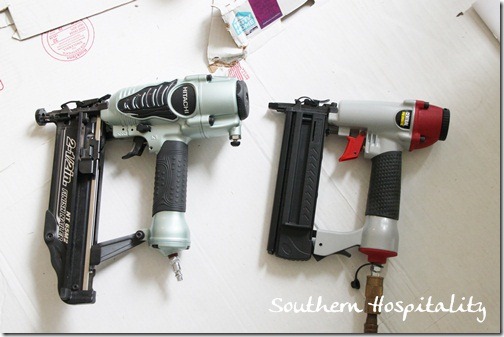
These babies are priceless! We absolutely could not have done this job without them. If you are attempting a job like this one, I’d highly recommend getting a nail gun. I bought a smaller brad nailer to use for the risers, since using 2 or 2 1/2” nails would have been overkill on those 1/4” pieces. This small brad nailer (from Harbor Freight) was a well-spent $18 and I can use this for many other projects too.
The large bad-boy Hitachi nail gun is the one I got from Lowes earlier in our project and we used it for all the board and batten. We used 2 1/2” nails for the stair treads. Pa-pow!! Those nail guns were so fast and made this job a breeze to do. I helped with cutting the strips for our risers and nailed in all the nails.
My Dad has made the comment a few times (after having a bit of a fit over me wanting to buy a nail gun early on)….”I’m sure glad I talked you into getting that nail gun.” 🙂 Oh, that man!
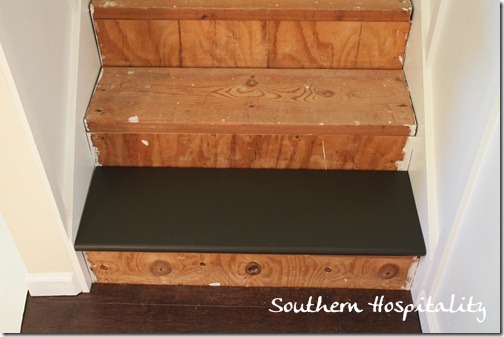
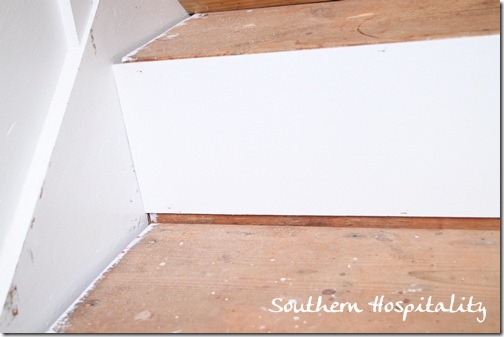
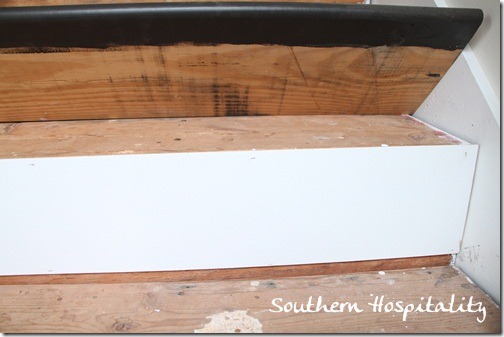
We fit the risers flush with the top of the stairs and when the stairs went in, it was nice and snug for the most part. Keep in mind in dealing with older construction, nothing is square and things can be off a bit. So that’s why cutting each one individually is important for a snug fit. We still had a few cracks which will get filled with caulk and wood putty.
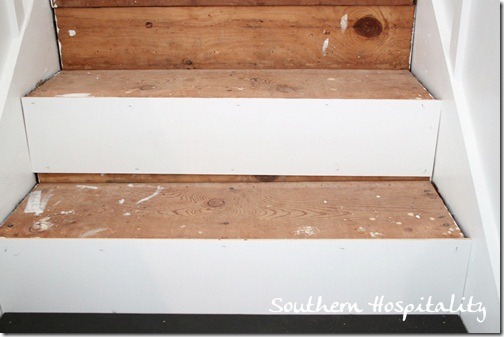
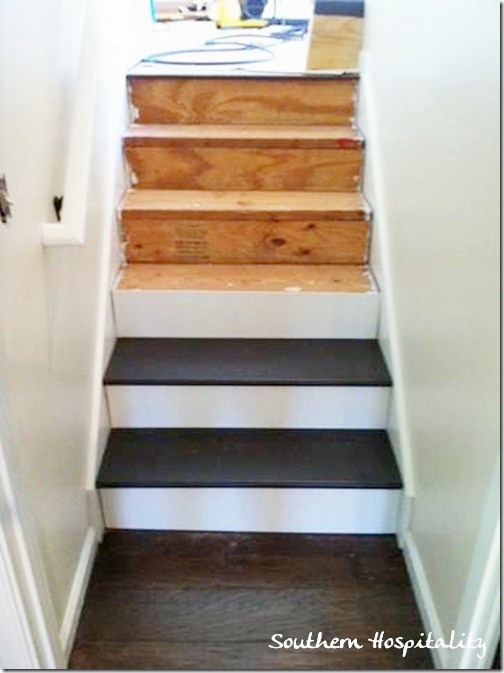
You can see I only painted under the front of the stairs on the backside. We worked step by step adding the risers first and then adding the stair treads on top. I used the smaller nail gun, then switched it out for the larger one when the stairs went in. That part wasn’t bad, just pulled the compressor hose off and switched them. This job would be SO hard without a nail gun, I can tell you that!
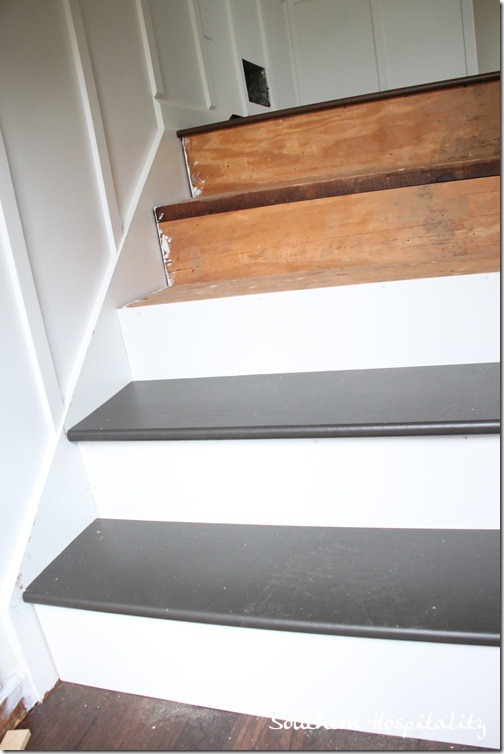
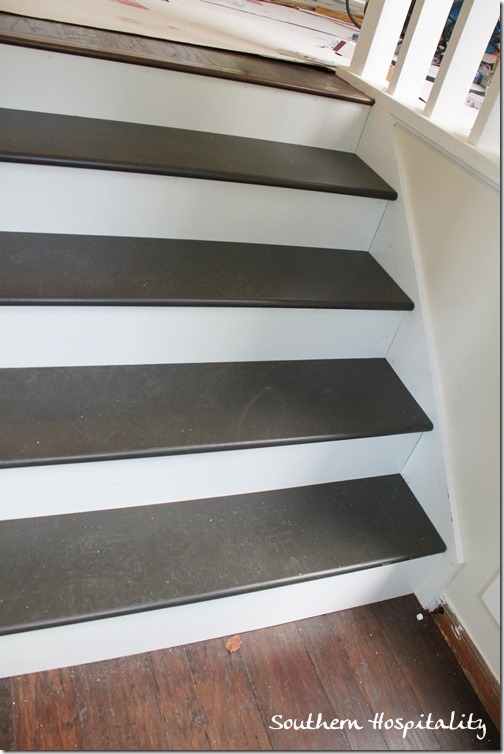
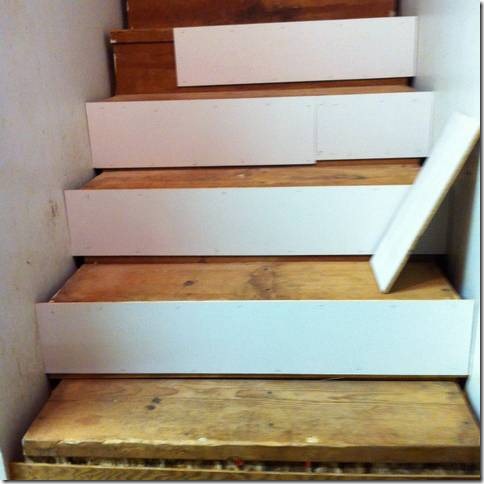
Here you can see how thin the risers are, only 1/4”, but they do the job of covering the ugly, which was my main goal.
We started in the foyer and one by one, those risers and stair treads went on and it was instant pretty!
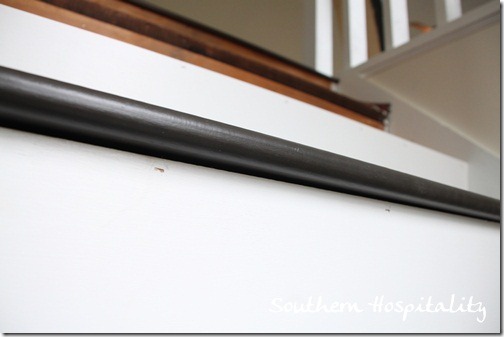
Just a note on the stair treads: We did have to rip them on the table saw down about an inch or so on the flat side, so that they wouldn’t stick out too far when installed, so you have to keep that in mind when they are put in place. I wanted them to hang over about an inch and that is how we finished them.
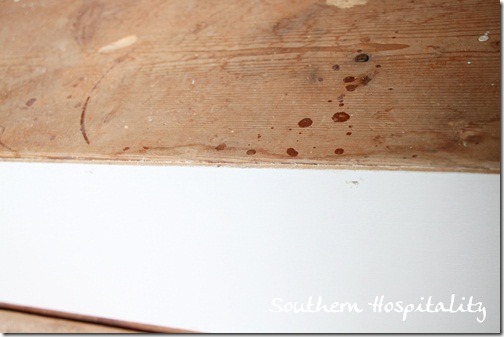
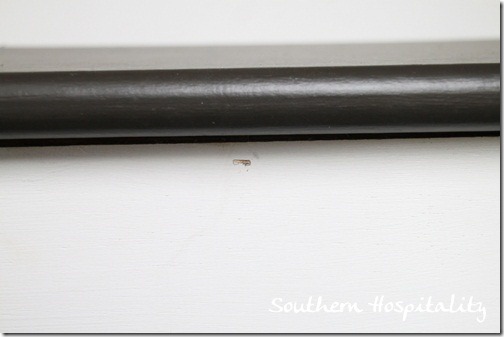
You can see the small holes the brad nailer leaves and all I’ll have to do is fill these with caulk and touch up with paint.
Not a big hole at all.
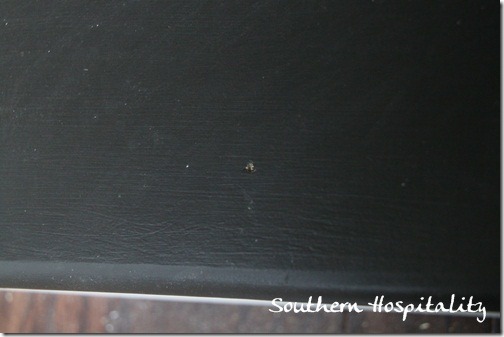
The stair treads won’t have much to touch up either, those nails are countersunk and all I’ll have to do is add a little caulk to those and touch up with paint.
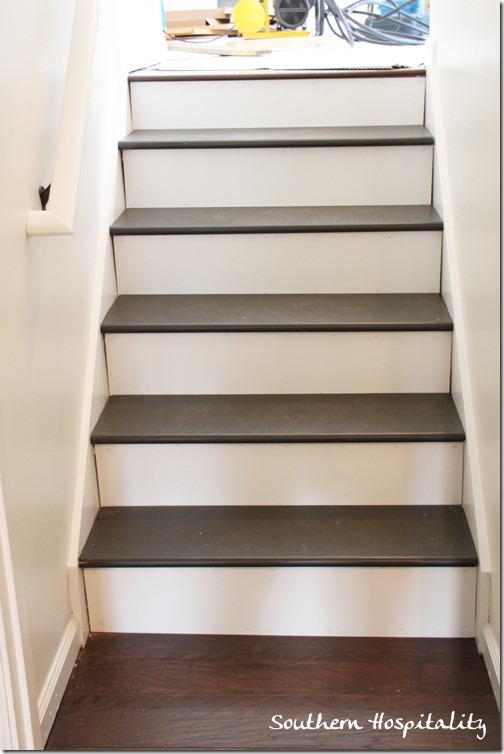
You can see here how nice and finished it looks already and the caulking seams will not be that bad at all.
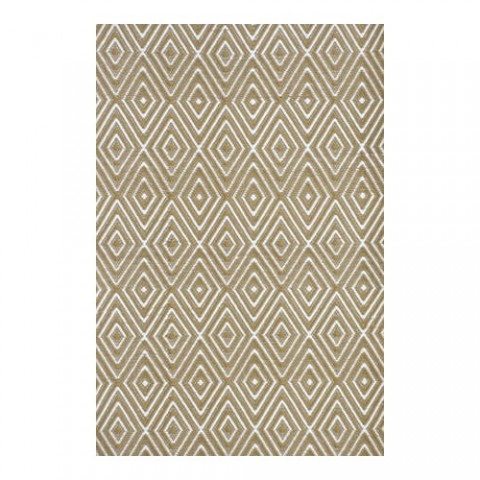
I know that these dark stairs will be a pain to keep clean, so my plan to get a runner is still on.
Here’s the one I will most likely get, a Dash and Albert indoor/outdoor rug in this pretty diamond pattern. That will soften them and help with the dust. I could not be more thrilled with how they came out. Just like I envisioned in my head!
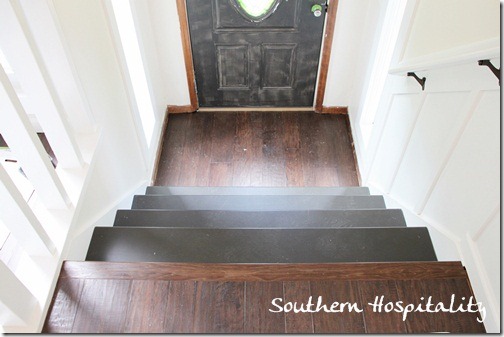
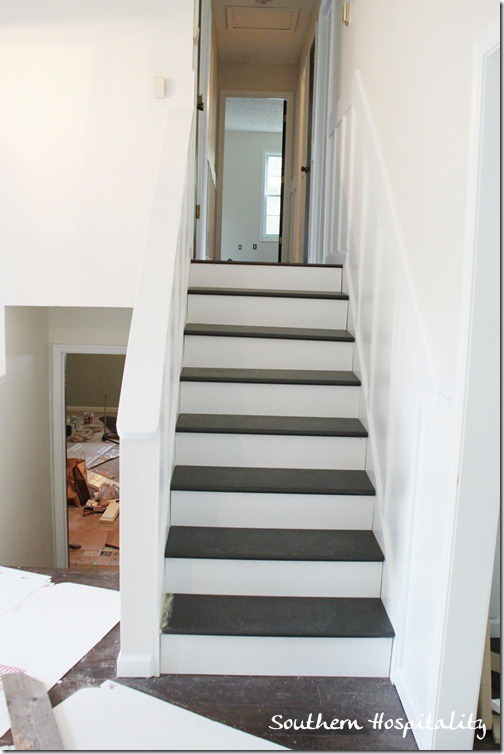
Looking down from living room. And yes, that trim around the doorway still has to be primed and painted. We still have a little work to do on that door area and then I can finish off the painting. So many details!
We then moved on to the upstairs (going to the bedrooms) stairway. Same method, step by step.
We’ll finish off all the baseboards with quarter round painted white and that will be the final touch.
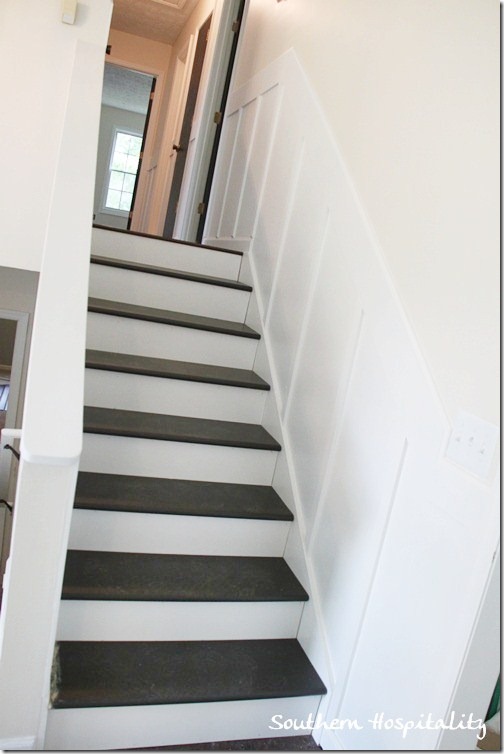
The risers didn’t have to be a perfect fit, once the 1” stairs went into place, it was a great look. Again, covering the ugly was my goal!
And here they are, no more ugly! Can I get a big ole’ whoooohooo on that one!?
What a difference the stairs and board and batten make in this house now.
Looking down from upstairs hallway.
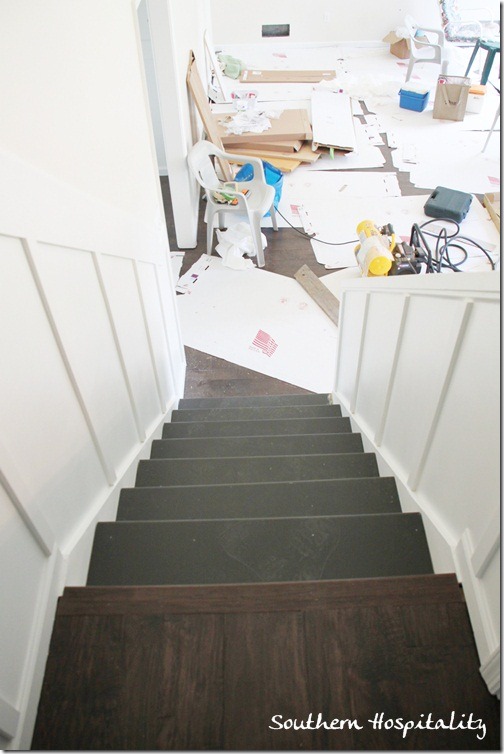
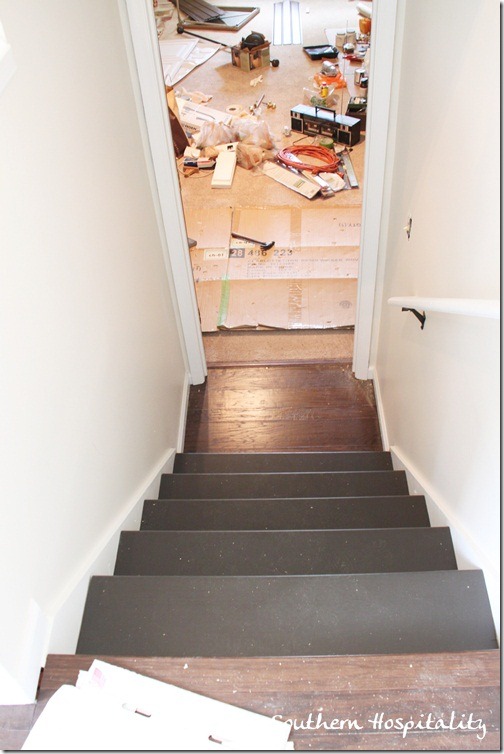
Next we tackled the stairs going down to the den from the living room. Same method, one stair at a time. I nailed in the nails and Dad took charge of the measuring and cutting.
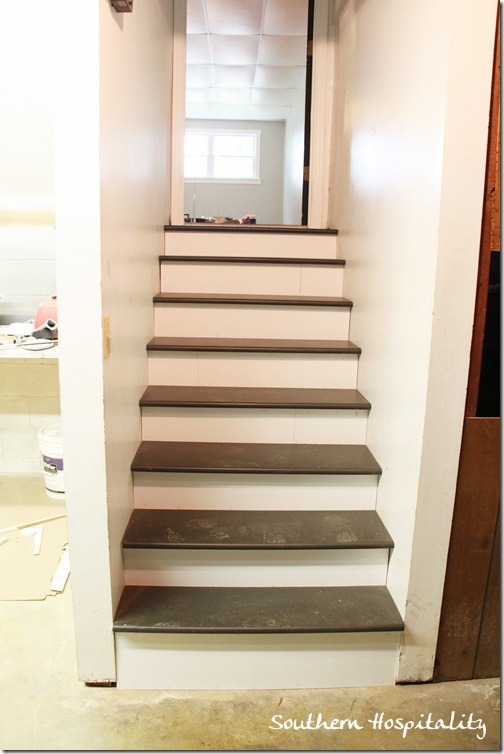
These stairs are so pretty now, I can hardly believe they are done! Once I caulk all those seams, they will really look fantastic. And I just thought I was finished with the caulk gun!
Looking down to the den from the living room. You can see this is where all our crap has ended up, the den. I’ve got a dumpster coming this week and hope to get all the trash in there and outta here soon!
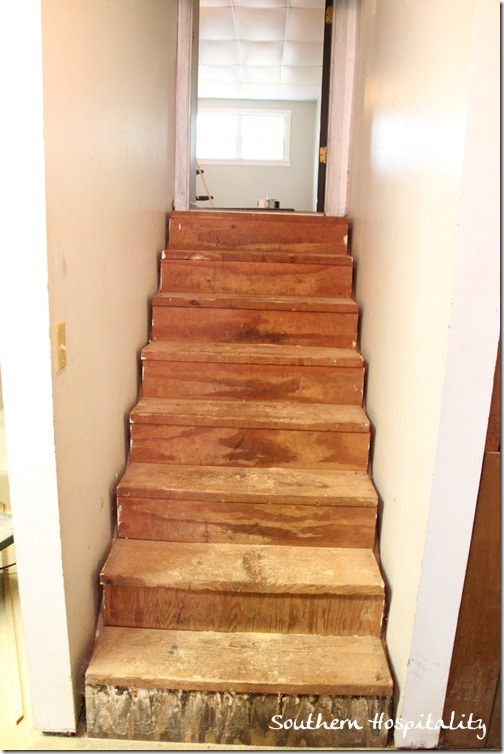
The last stairway to tackle was the garage. This one is really ugly, so why not cover it up too? No need to stop with the other 3, when this one could use a facelift too.
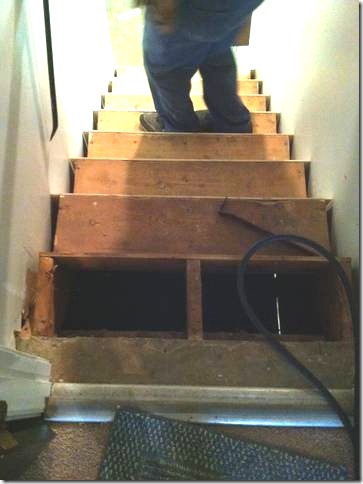
Since the top stair was flush with the concrete at the top of the stairs, we did take out the top step.
Dad added about 3/8” plywood underneath so the new stair would then fit in there and would be flush with the top piece of concrete. I’ll paint out that concrete with my brown porch paint too.
We were running low on the riser material, so went ahead and pieced those together on several risers. Once I caulk and touch up the paint, it will be fine. Besides, I’m not nearly as picky in the garage. We got all the risers on first and then went back and nailed in the stairs.
And here they are looking SO much prettier!
I hope this explains how we did the new stairs and risers. If you have any questions that I didn’t cover, I’ll be glad to answer.
Again, this is not the way a professional would do it, but it works for me. I’m so happy to have some pretty stairs and once I get my runner on (the upper stairs, not the garage), they will all look so great. This was a cost effective way to get stairs. If I had bought oak hardwood stairs, they would have cost a bundle. This was a perfect solution for my house and I’m thrilled with them.
Here’s the cost breakdown on what I spent for all the stairs:
Seven 12’ pine stair treads – $160
Two sheets 4×8 smooth hardwood plywood (1/4”) – $40
1 Gallon porch and floor paint – $35
Small brad nailer – $18
Since I already had the big nail gun, I won’t count that on this project.
For just over $250, I’d say this is one big bang for the buck, wouldn’t you??
Do you have stairs that need an overhaul? Is this project something you would consider doing? You just might tear off the old carpet on your stairs and already have pine risers underneath, many people do.
Go ahead, go peek and see what’s under your carpeted stairs!
{P.S. I’m still trying to figure out my truncated feed situation to add a pic and text to my feeds. No luck getting it right yet, so it’s still on full feed right now. }
Linking up to Beth’s Tutorials and Tips Link Party!


Just a thought, why would you not glue the risers to avoid having to patch up the nail holes?
Laura, that would have probably worked too, but I don’t mind a few nail holes with the nail gun.
question, isn’t the height of each step supposed to be the same as per building codes? so essentially the very last setp is going to be a different height at the top, wouldn’t that cause a tripping issue?
HI, Kali, you are right in that it does throw off the steps a bit. I don’t know what building code is and I really didn’t worry about it as we updated these stairs. It may be a problem in the future, I don’t know, but it hasn’t caused a tripping issue at all for me or anyone who comes in my house. It’s very comfortable stepping up and down, even though the top and bottom steps are “off” just a bit. It’s really not a problem at all.
What color is the white paint on the walls? I love the combo with the stair color?
Hi, Michelle, that white on the walls is Moderate White.
How have the pine stair treads held up? I’m curious about doing this in my own house, but worried about scratches and dents with a softer wood like pine over time. Thanks!
HI, Mackenzie, with the runner down the middle of the stairs, they have held up very well. I haven’t had to touch up the paint in years but the runner definitely helps. I would suggest doing that too.
Do you remember the name of the place you bought the long boards from? We’re in Suwanee, GA and would gladly make that drive to save some $$. Love the look of your finished project! It’s exactly what I’m going for. Curious- did you put handrails on your board and batten? I have portion of stairwell that definitely needs handrail but I want the board and batten.
Hi, Jenny, yes I mentioned it in the post. Appalachian Supply in Blue Ridge, GA, check them out. And yes, I did put handrails coming up my stairs from the front door. Here’s a post and you can see a peek of the handrails coming up the stairs from the front door. https://southernhospitalityblog.com/house-renovation-week-12-paint-that-paneling-people/