It’s amazing, this blogworld. Just put the word out that you’re having problems with a product and the right folks show up to help. Denise and Rhonda are two chalk paint stockists, with Color Me French, here in the Atlanta area and they got the word that my sis and I had some wax problems with her table and chairs. I got an email from Denise volunteering to come over and save the day. I had first met these ladies down at Scott Antiques market, where they have a booth set up to sell Annie Sloan chalk paint.
How cool is that? and how sweet are Denise and Rhonda to come over and repaint the top of our orange table?
We got the first-hand scoop on the proper way to apply this cool wax and now we are experts. Not really, but I think I’ve got it now. Somehow in looking online at the how-to’s of chalk paint and wax, I missed the most important part:
Once you apply the wax with the round brush, then go back and rub it in and off the surface of the paint with a soft t-shirt rag. The wax needs to be wiped into the paint and then you let it dry. Then you go back and buff with a soft t-shirt fabric. That’s the secret that I somehow missed. Apparently, putting on the wax is the most challenging part of using chalk paint. But, it’s easy once you know this step.
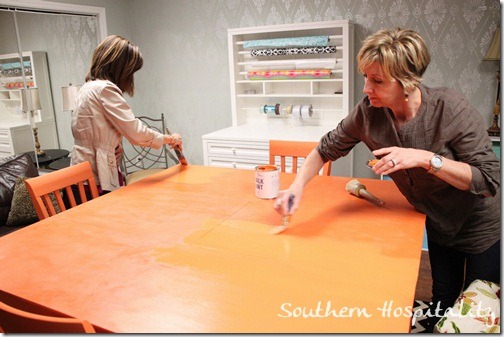
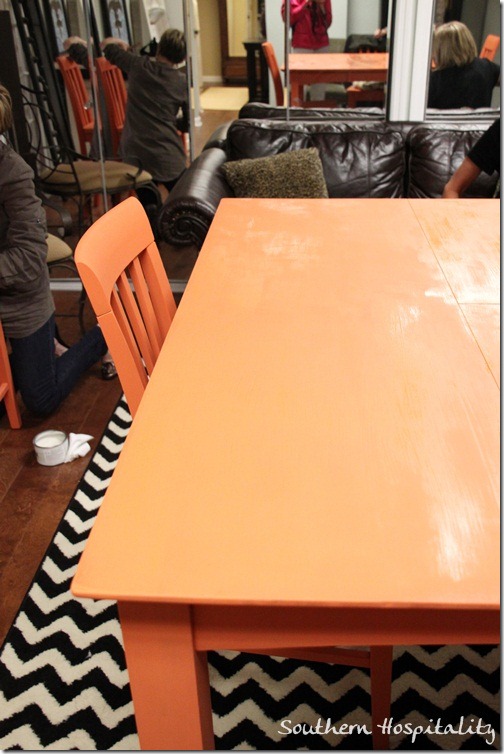
Denise and Rhonda stopped by with a fresh can of Barcelona Orange and applied it to the top of the table, right over the wax that we had already applied, that was by now completely dry.
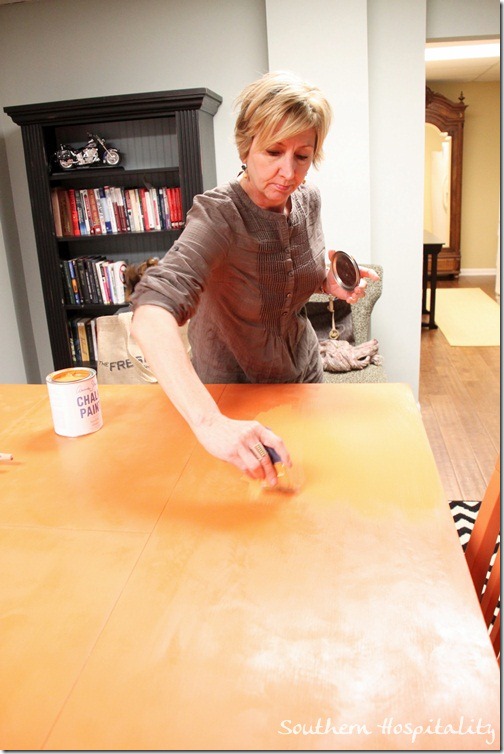
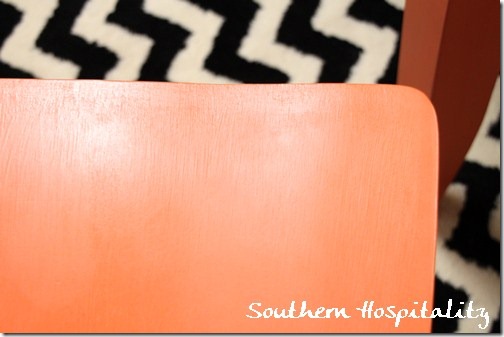
You can see the difference in the fresh paint going over the old wax. After it is dry we will then go back with wax again and this time rub it in and off the paint.
Completely covering the old wax surface.
Back to orange paint again.
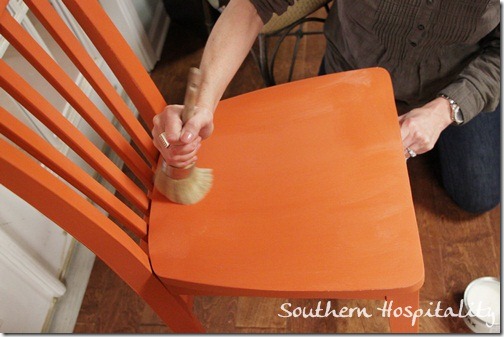
Denise then demonstrated how to add wax to the painted chairs. She brushed on the wax with the round brush, jabbing it into the surface and covering the whole seat.
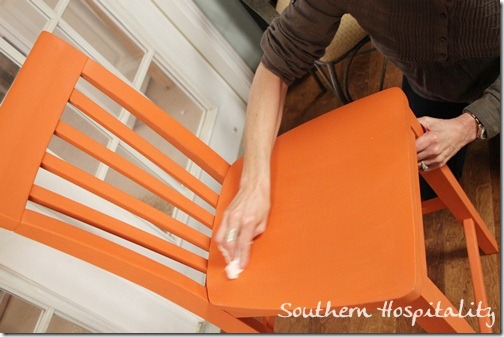
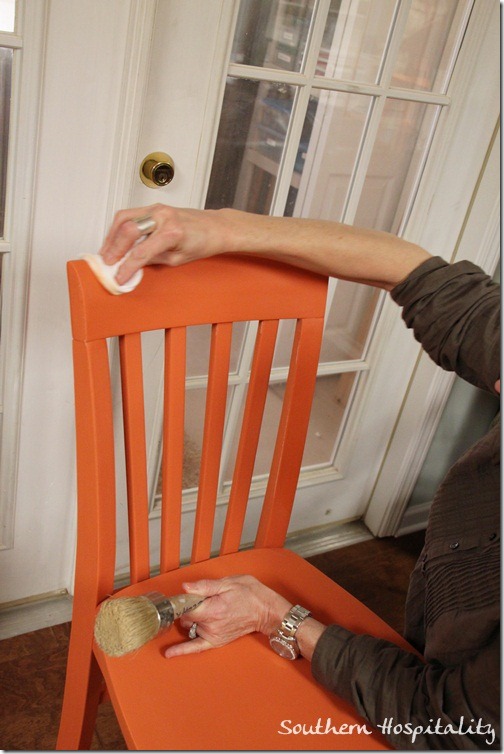
Then, she immediately went back and smoothed in the wax into the paint, removing excess as well.
She did that all over the chair, brushing the slats, legs and back. Again, immediately going back with the t-shirt and rubbing the wax in and off the paint.
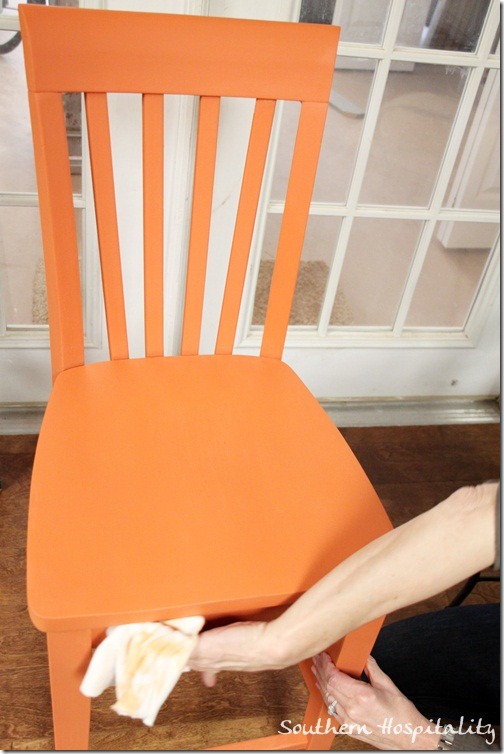
It will not leave a hazy finish when you do it like this. Then it will be time to buff down the wax.
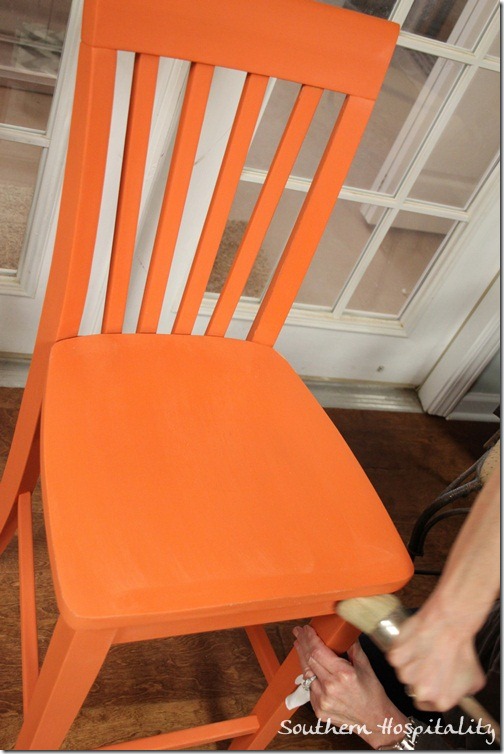
Cover all the painted surface with wax, rub it in and off, then let dry over night and go back and buff to a slight sheen.
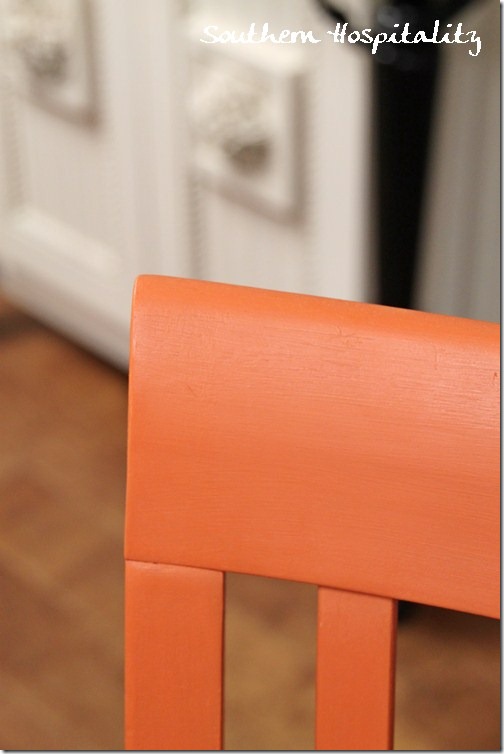
Here is the wax after buffing with a soft T-shirt. That’s it! The correct way to apply wax. Wasn’t that easy, after all?
Amazing what the right method will do. Now you know. Do not leave your wax on the surface, it must be wiped into and off the paint, leaving a smooth wax surface to dry. Nothing hazy about it then.
I am sure I’ll have lots more projects with Annie Sloan Chalk Paint. It’s fun to work with and creates a beautiful finish!
Don’t forget the BIG Annie Sloan workshop on March 29th, here in Atlanta and you can meet Annie in person! In case you’d like to sign up, go here for all the info! Don’t miss the giveaway below too.
I’m joining my friend, Kate for her Spring Fling Craft party. This is sorta crafty with paint! Don’t miss the fun, be sure and stop by over there and you’ll see tons of fun and inspiring spring projects to get you in the mood for the season. I’ll be up on Tuesday with Spring Door decor and Sarah’s party is next Thursday, with more paint projects.



Rhoda, somehow I missed that step too and now have to repaint the top of the table. Luckily, it’s a really small table. This was an excellent post! Do you know what happens if you paint something with ASP and don’t use wax? Love the color you used on your table! I have a cool black trestle table with ladder back farmhouse chairs with linen cushions. I have a cool sewing table that also serves as a buffet that’s currently ugly country blue (the kind they used in the 80’s) Wondering how orange would look? Do you think it would too much like halloween? This set is in my finished basement.
HI, Sandy, if you don’t wax, it just feels like flat paint with a chalky feel. But, you don’t have to wax. I’ve done a few pieces without waxing. The dark wax does give it a more distressed feel when you sand too. I don’t know about the orange chairs, it depends on what you have going with it.
Why when we wax painted chairs (Annie Sloan chalk paint) with the Annie Sloan wax the wax comes off and takes the paint with it.We apply 3 coats of wax leaving 24 hrs drying time between coats.Every company i’ve spoken to regarding wax say it’s not suitable for sitting on as your body heat will melt the wax.Why is Annie Sloan wax different.We are now getting products returned using this method.Please help
Sorry, but you’ll need to talk to the Annie Sloan people about that. I have only used the products a few times and am not an expert. You could contact an Annie Sloan stockist and ask them.
Thank you for this post. I finished a couple of pieces after taking a class here in Denver. I forgot the buffing and used cheese cloth instead of t-shirt. It made a difference and looks okay but not the way I wanted. I will try buffing and see if I can re-wax correctly. I love this paint. Thanks for the help! Christy
Wow, I just read this, two years after the fact, and this is exactly what I needed to see! I don’t think that I have applied the wax correctly – I’ve only done a few small projects. This was informative and a great post! Kelly from Colorado
Hi,
If you want to put two coats of wax on a piece of furniture, do you wait for the first think coat to dry, then buff….then put on the second coat of wax & buff?
Or do you put the second coat of wax over the dried first coat of wax? Thanks so much!
Hi, Kate, I’m not sure about that. I think one coat of wax should really be enough & I don’t see people doing 2 coats. Once it’s buffed out, you really shouldn’t need more.
To much work ….you can use diffrent paint…get a satin finish look . No wax ..no buffin…plus over time wax does not hold up and protect furniture.
Thank you for your post! I had a similar problem, so I will repaint and then wax again! I am using the Barcelona Orange with olive over the top. Guess that means I have to redo my whole process. Paint 2 colors and then wax.
I just did the same thing to a Christmas project! I came back after the 24 hours and was horrified! The directions on the bottle do not specify to do it this way. What a shame. I am not sure how to redo or fix my project (as I do not want to repaint it, it took quite a while the first time). I am thinking of trying to warm the wax with a hair dryer and then buffing it.
HI, Beth, it definitely is a little tricky to get that wax on there just right. I have started using a matte poly on top of my chalk paint finishes and I like that so much better.
I have applied and wiped the wax in/off my kitchen cabinet frames. Do I buff the first wax coat of wax before applying subsequent coats or apply the 2nd coat and then finish with buffing after the 2nd coat only?
Mahalo,
HI, Barbara, I am not an expert on the wax, so I would suggest visiting Miss Mustard Seed or Annie Sloan website for more instructions on how to add wax to furniture.
Hi all,
Please help. I have just painted a chest of drawers in Annie Sloan paint. Then I applied DARK WAX on top. It has stained my piece no matter how hard I rub. How can I rectify this or is my piece ruined.
I’m devastated. What can I do /
Hi, Mary, so sorry, but I’m not an expert on the paint and wax. I think you might have to paint over it and start over if it’s too dark, but Google it and see what you can find.
I am currently working on a night stand using Rust-o-leum chalk paint. The piece was in poor shape so I sanded it smooth, washed if off and allowed to dry. I applied a coat of primer. I then applied two coats of chalk paint. I wanted a antique look so I applied an antique glaze, and when rubbing it off the paint came with it. I started over by sanding it completely down, painting it again and used Annie Sloan clear wax, then the glaze. Same thing happened. What am I doing wrong?
HI, Suzie, I’m not an expert on Annie Sloan chalk paint, so you should go to her website and look for answers there. Good luck!