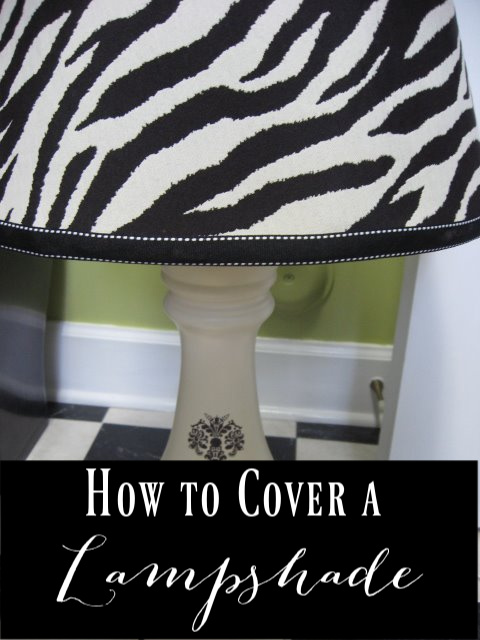
How to cover a lampshade with a simple method and using a glue gun. Cut fabric, fold and glue and before you know it, you’ll have a new lampshade

How to Cover A Lampshade
So, I’ve done a lampshade covering tutorial before, but thought I’d throw it in here again, with my newest project underway. You’ve seen the yardsale lamps I found for the guestroom redo & I spied some fabric that I really wanted to use on these lamps, so that meant recovering my own. That also meant I sure didn’t want to pay much for lampshades that I was just going to recover. So, back to the junk store that I told you about last year..where I found 2 of these beauties for $1 each…just right for this budget. You can see they were in sad shape, but the price was right. The fabric on there was literally falling apart, so I went ahead and ripped it off.
And ended up with just the metal frame. Now, I’ve never covered a lamp with just the metal frame before, but I figured I’d wing it. Since my new fabric needed something to stick to, I pulled out some old white lining fabric I had laying around.
And pieced it together, hot gluing it at the top and bottom of the framing, overlapping it as I went around. I pulled it as tight as I could to get a taut framework for my new fabric.
I snipped off the extra fabric and turned it just under the top and bottom of the frame, pulling and gluing, pulling and gluing (man, does that hot glue hurt!).
It looked like this when I was finished. Nothing pretty about it, but it’s not going to stay like this.


you and i are alot alike. i never measure anything. and it comes out right somehow. I like your ideas. Thanks V
I absolutely love your blog and web site, you have done such and awesome job, and you inspire me alot, i have a whole basement of used furnature that i have bought here and there, when I read your blog you give me such great ideas , and just wanted to say thank you!
Happy creating and blogging
Deb Smith
Thanks so much for sharing this project! I have had an old standing lamp in my living room for years. You can’t buy products like the one I have. For years, I’ve covered it with a large fashionable scarf. The lining is dry-rotted. Your tutorial is the first I’ve seen where you replace the lining. Now, I can do this!