I gave you a sneak peek a few weeks ago of my sister’s basement craft room that we are working on. She has this great space down there and after they got floating engineered hardwood floors installed, as part of the “great flood” of 2011, she was excited to do something with the space. She decided on a craft room. Never mind, that she is not that crafty. She does enjoy parties and having a place to store wrapping paper and supplies.
Besides a pretty craft room is a huge perk! Wall color: Sherwin Williams Comfort Gray
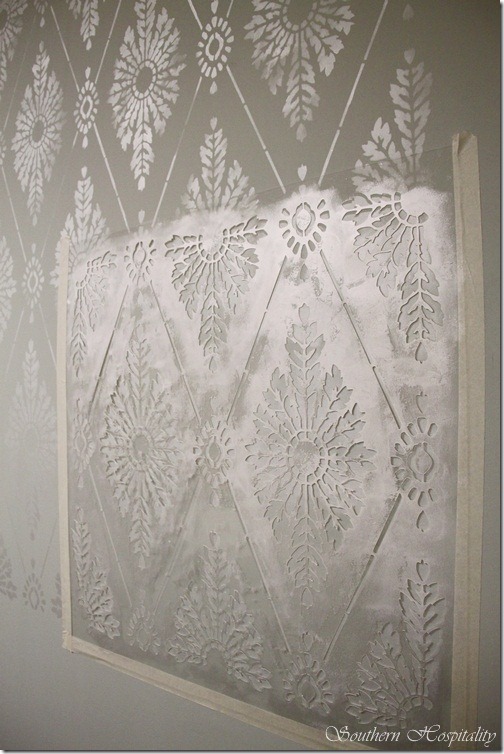
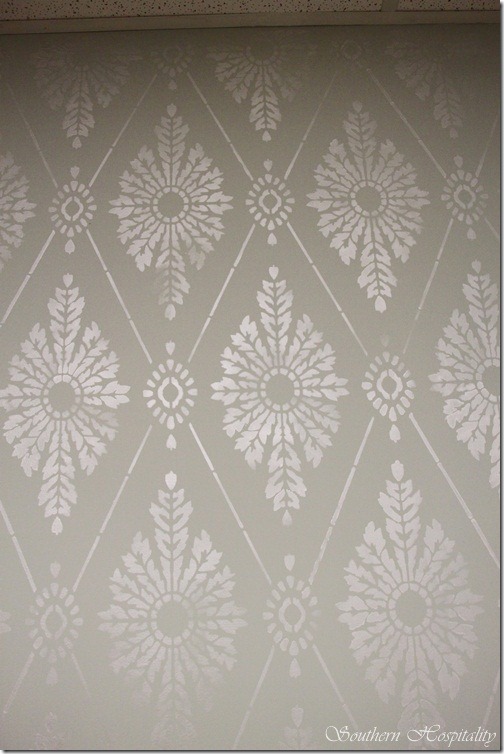
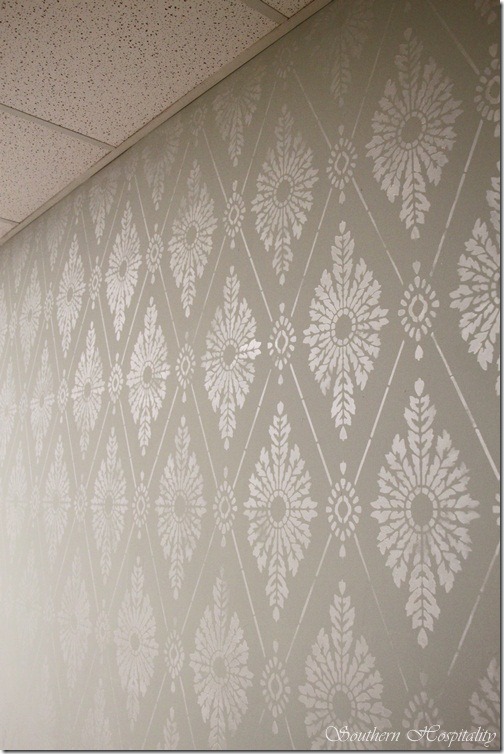
It’s really hard to show a stencil project and do it justice, but I’ll try to describe this one. This stencil is by Cutting Edge stencils, one of my sponsors. They make very fine stencils too and I enjoyed this one. I love the feathery feel of it, along with the diamonds.
The one difference in this stencil and the one we used in my sister’s bedroom is the first one had registration marks and this one does not. I do prefer registration marks. This one overlaps, meaning, you add the paint where needed after taping up on the wall, then remove the stencil, move down the wall or over to the right or left and overlap part of the stencil that has already been painted. So, it just takes a bit longer to line everything up this way. There are more points that have to be lined up before you begin painting again.
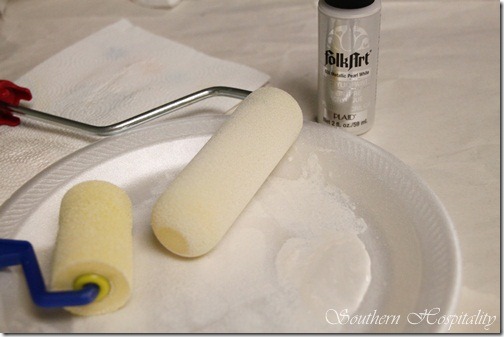
We used a pretty Folkart pearlized paint in Ivory and small foam rollers.
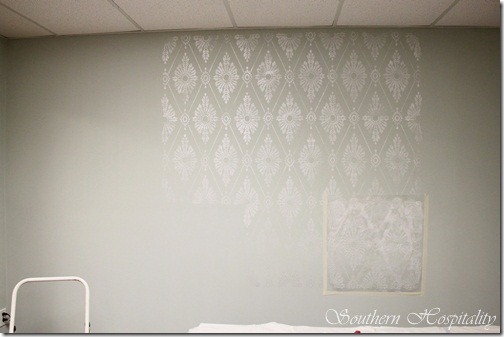
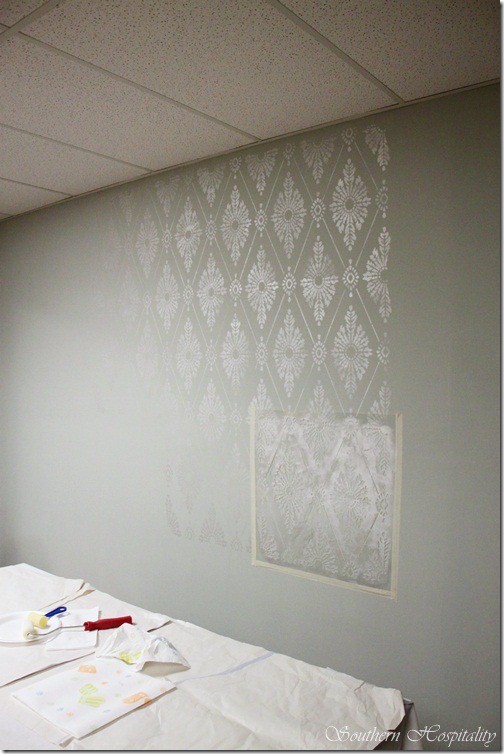
Because there was more stencil to cover with this pattern, it took us a little longer on this one. Probably around 4 hours total, still not that bad. We started in the middle top of the wall and moved to the side, then back down below the first one. The paint dries fast, so you don’t have to worry too much about the overlap part, but to be safe, we alternated back and forth, left to right, and down.
It actually goes pretty fast once you get started.
Isn’t this a pretty pattern. Diamond Damask at Cutting Edge.
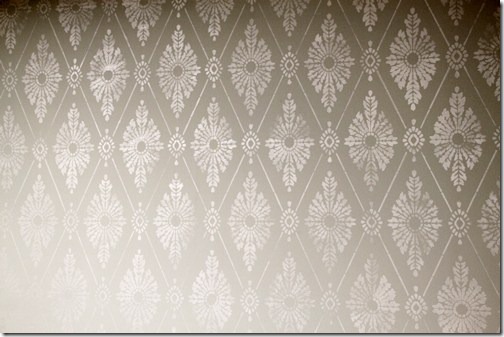
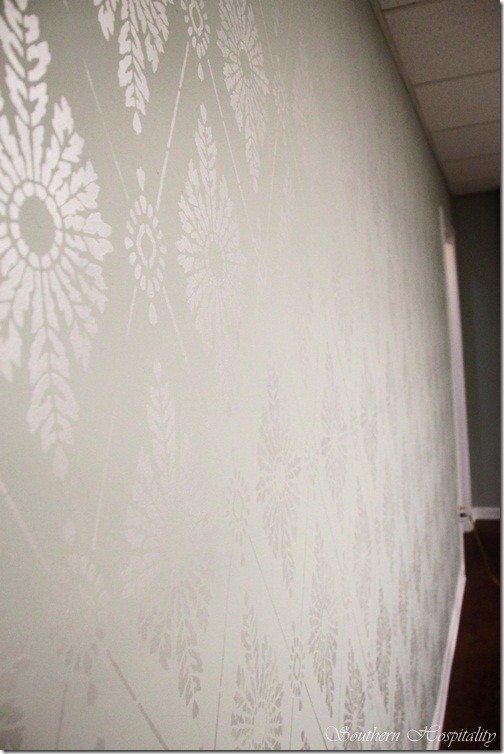
All finished! We had to tape the stencil close to the ceiling and on the baseboards to cover the entire wall, but we made it all work. The good thing with stencils is, you can make some mistakes and they really don’t show up. We learned how to work it and make it work as we went along. There’s a leveler that comes with the stencil too to help keep everything level. We didn’t use it, but it might help.
Overall, we really loved the stencil and I especially loved the pattern.
Stencils give almost a hand-painted look to a wall and I just love that. Again, I’m ga-ga over stencils these days and would love to do more. My friend, Debbie, wants to do a dramatic one in her powder room, so that is on the list too.
Come back tomorrow and I’ll show you the room in progress. My sister got a few pieces of furniture in there, including Craigslist finds, Martha Stewart furniture and some fun organizing ideas. I’ve got a great giveaway tomorrow too, so don’t miss it! We have a few more things to add in here, but it’s coming along.
Are you loving stencils yet? These large ones are so fun to work with and are the perfect way to accent one wall. I really like just doing one wall with them or in a small powder room, I would do the whole space. So much better than the commitment of wallpaper!
Are you going to use a stencil anytime soon? Have I convinced you yet?
Joining Traci’s Best Projects of January link party!


Rhoda, how many bottles of the Folkart paint did you use? I have the large moorish trellis stencil coming but I’m not sure how to figure out how many bottles of folkart paint I might need. How many did you use for your sisters bedroom? Her wall looks about the same size as mine.
HI, Mary, I’d get at least 3 to be safe.
Thanks, Rhoda. I love that I can always count on you to answer right away and give us so much detail. You’re the Best!!!