When I was in Birmingham, I worked with a designer who showed me the neatest trick and easy method for hanging pictures on the wall and it’s really a foolproof way that I wanted to share with you.
I have mentioned it along the way, but wanted to do a full post showing how handy this trick can be when you are trying to get something up on the wall by yourself.
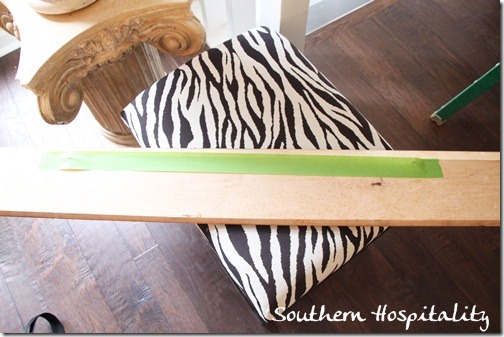
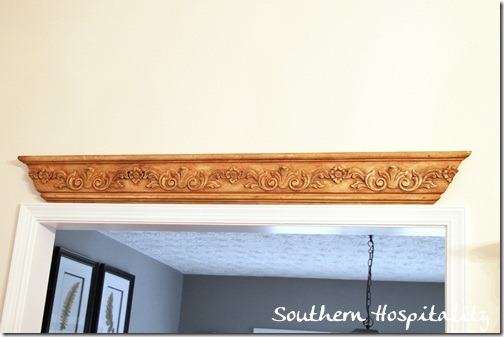
This is a piece of molding that I’m going to hang above my dining room doorway. It’s a chunky piece of crown molding that I added 2 hooks on the back and it isn’t heavy, so doesn’t require anything but 2 small nails to hold it in place.
So, here’s the easy method.
- Take a piece of FrogTape (my tape of choice) and stretch it between the hooks on the back of whatever you are hanging. This works with anything that requires 2 hooks.
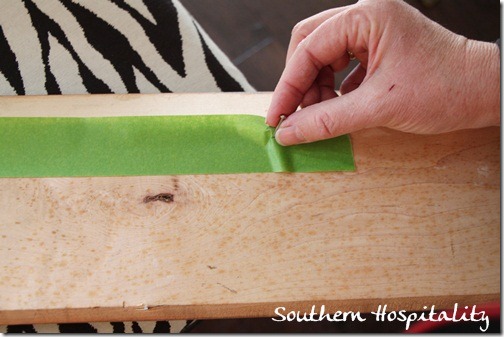
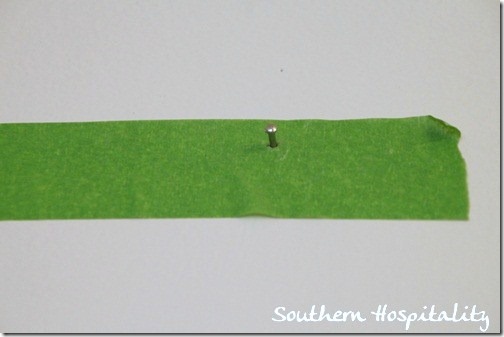
2. Press your nail into the tape at the spot where the nail and hook will meet on the wall. Pierce the tape and make a hole in the tape.
3. Hold the item up on the wall where you want it and then carefully take the tape off and try to get it in the same spot that you want the final piece to hang. This might require 2 people if the item is heavy or you are up high on the wall. But, most of the time I can do this by myself.
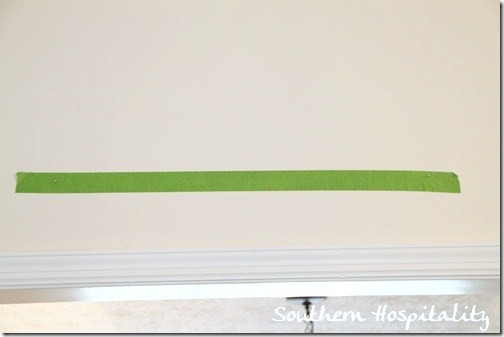
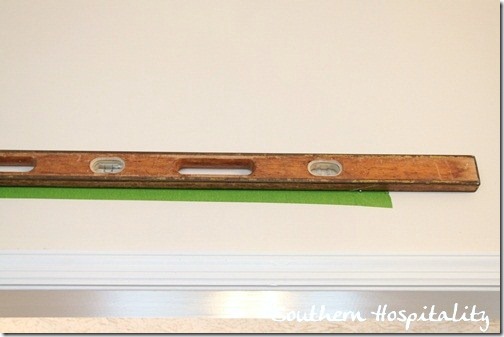
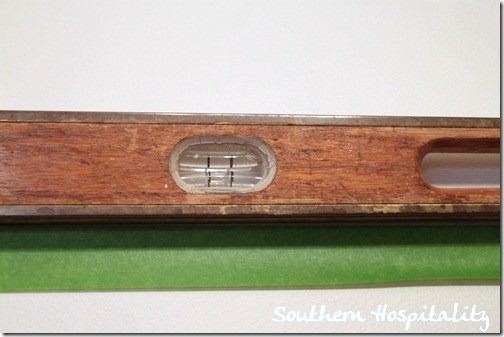
4. Once you get the tape up, then you want to level it. Your nail holes are already made, so this is where you can shift the tape back and forth on the wall to get it centered and leveled.
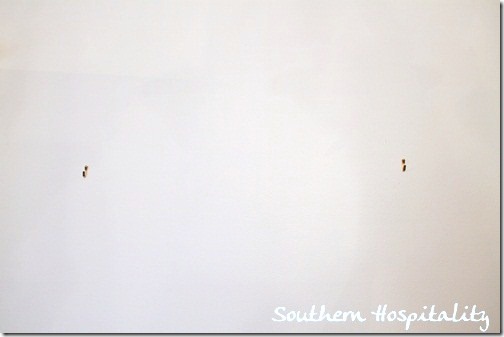
5. Once it is level and centered where you want it, tap in your nail in the holes that are premade in the tape.
6. Then hang up your item, it should fit perfectly on the nails you’ve put into the wall. Voila!
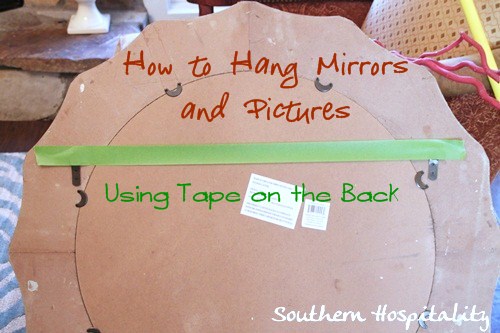
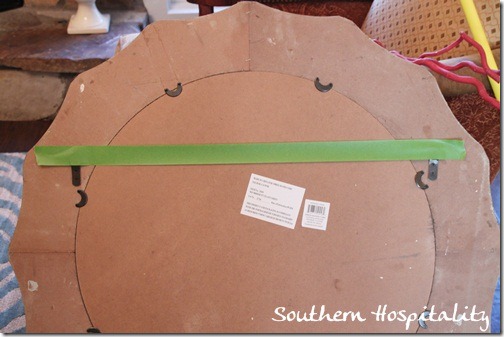
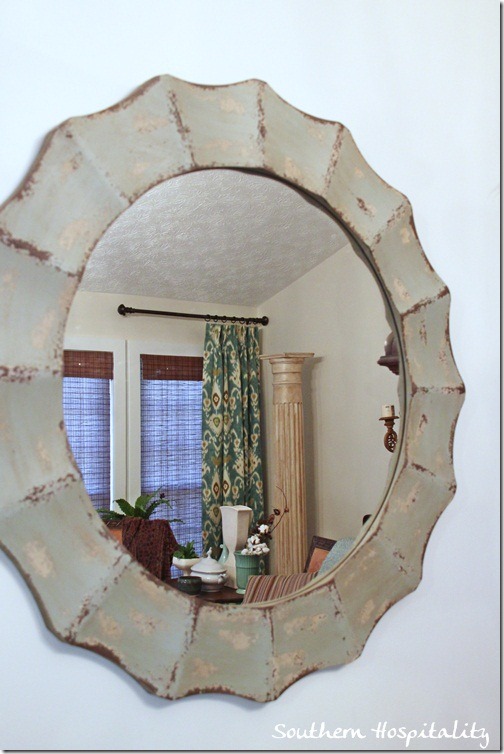
This works on larger items too, like this mirror. Stretch out the tape. Mark the spot where the holder will hang on the hook or nail.
Level your tape.
Tap in the hooks.
Hang your mirror! This is a fool proof method that I use ALL the time and all you need is some FrogTape (or tape of your choice). Gets the job done quick and easy. Since I learned this method, it’s what I always do when I’m hanging 2 nails or hooks.
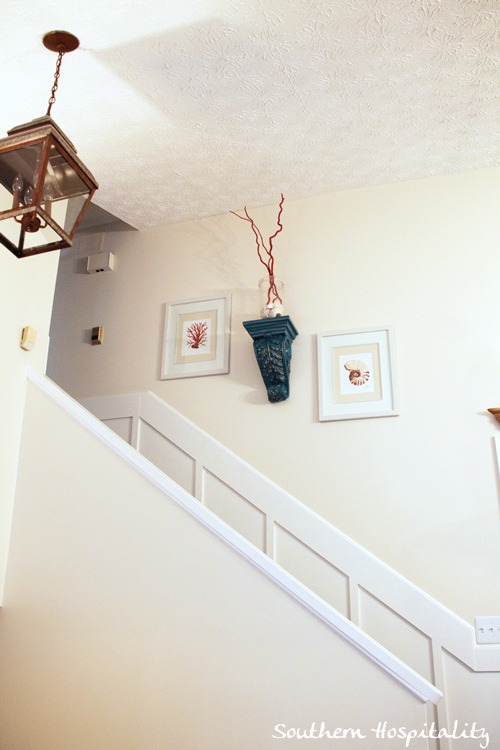
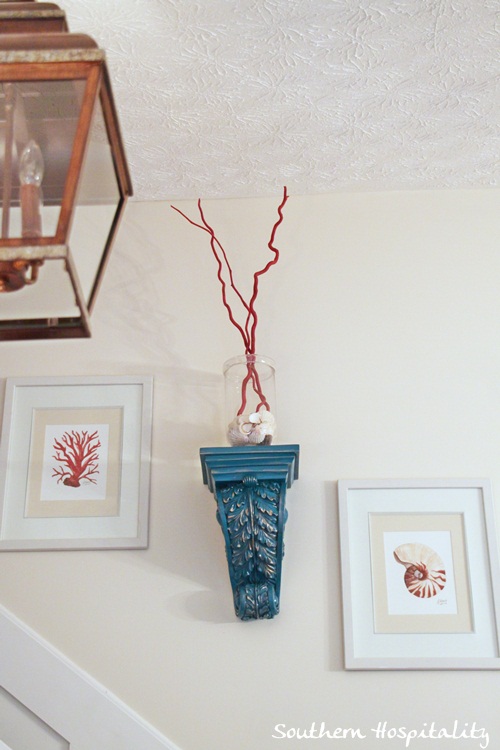
Here are a few more things I’ve hung recently, coming up the main stairs. This house is coming alive!
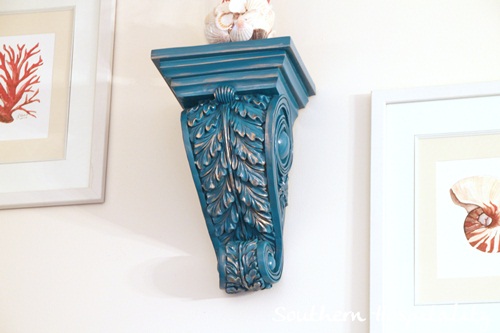
I painted my old gold sconce with Rustoleum’s Lagoon spray paint and added the gold highlights with Rub N Buff.
Love the pop of color and how the framed seashell prints accent this wall. The red things in the vase are just painted coral red sticks.
Have you tried this one before? It’s a great method for hanging prints and mirrors.
Note: I’m a Frogtape brand ambassador and am compensated to share how I use FrogTape products. This is a sponsored post.


Genius idea! I can’t wait to try it. I hung six pictures yesterday and this would have come in so handy.
BRILLIANT! going to give this a try for sure- thanks 🙂
Oh wow! oh wow, oh wow!!!!
I am doing my happy dance! Finally I feel brave enough to dress up my bare walls. I have been putting it off thinking I will make a mess of it.
Now I am feeling confident … I can do this!
Big, big thanks:)
Thanks so much for sharing this Rhoda. It seems everything has two hooks on the back these days and it can be ver frustrating trying to hang them straight. I will be using your suggestion the next time I have to contend with this problem.
This is genius! I have a heavy mirror that I need to hang. Since my husband can’t lift anything heavier than a milk carton right now due to surgery, this will get the mirror off the floor and onto the wall. Thanks!
I am so excited! I can eyeball a picture like nobody’s business but if there are two hooks/holes-ugh! OFTEN the hooks themselves are not level or even etc. Using a measuring tape for me seems to make it worse..?
THIS really solves that problem. I had a small shelf that gave me fits! It took so much work to get it up I have been afraid to move it. Now, I feel like my options just opened up!
Great idea and I want that level!!! oh, and your mirror, too. They are absolutely beautiful!
Ha! I know, Anne, that level is my dad’s. Totally OLD and so cool.
Thanks for that fabulous idea! Your house looks marvellous, you are an amazing decorator. Hugs, cindy
Thank you!!!!! How is it that I have never heard this brilliant idea before…one of the greatest tips ever! Rhoda, I’m a fairly new follower and I absolutely live your blog! Your new home is just beautiful and I am so happy for you!
OMG – how easy is that!?! And here I am measuring from side to side and top to bottom. Thanks for sharing this great time saving tip!!
Super Tip!!!!!!!!! Thank you!
Wow that is an awesome tip! really could of used that last week when I made 2 extra sets of holes in the wall hanging a pic! LOL Thanks for sharing! Traci
I pinned this recently from Pinterest and have used it a few times in our new place and it really is a lifesaver! Btw, I have the exact same shelf!
Brilliant. Simply brilliant!
Wonderful!!! I never like the 2 hooked items for fear it would hang crooked. Thank you
I really love a good idea/tip and…this one made my day! Awesome!! Thanks for sharing. Best tips and tutorials ever Rhoda! Love your blog and look forward everyday to what the next great post will be! This is one tip that will be used over and over again! Genius +++
Oh what a wonderful tutorial….I’m glad to learn this. Also would like to know how to hang plates, mirrors that don’t come with hooks or loops already attached.
This is a tip I’ve been using for years. I used to manage a furniture & accessory store and we were always having to rehang art. Made it so much easier!
I love the way you tied in colors in that vignette on the stair wall, but the length of the sticks looks awkwardly long. The proportion just seems off to me.
Thanks friend! That is a wonderful tip, can’t wait to pass it on via facebook and your blog!
hugs, p
Brilliant. I’m moving in March and will have many, many things to hang. What a great suggestion.
I am just in awe of how much you (and your incredible father) have done to the house and how much you’ve made it your home.