When I was in Birmingham, I worked with a designer who showed me the neatest trick and easy method for hanging pictures on the wall and it’s really a foolproof way that I wanted to share with you.
I have mentioned it along the way, but wanted to do a full post showing how handy this trick can be when you are trying to get something up on the wall by yourself.
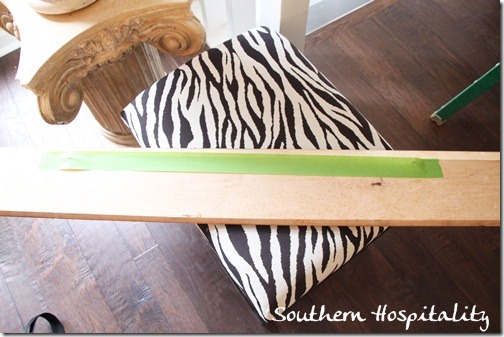
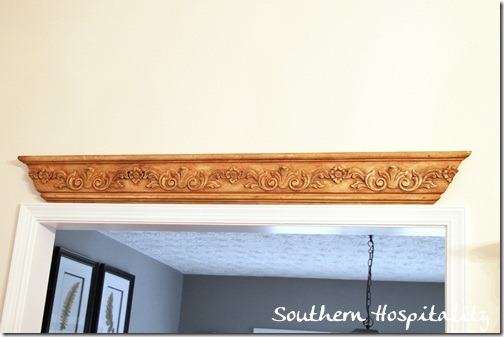
This is a piece of molding that I’m going to hang above my dining room doorway. It’s a chunky piece of crown molding that I added 2 hooks on the back and it isn’t heavy, so doesn’t require anything but 2 small nails to hold it in place.
So, here’s the easy method.
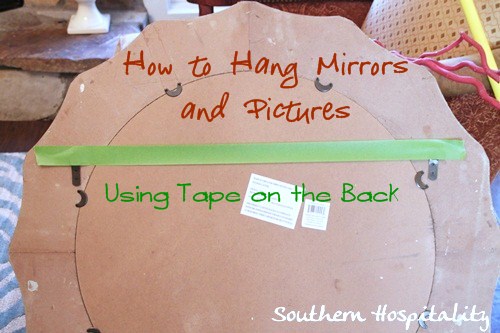
- Take a piece of FrogTape (my tape of choice) and stretch it between the hooks on the back of whatever you are hanging. This works with anything that requires 2 hooks.
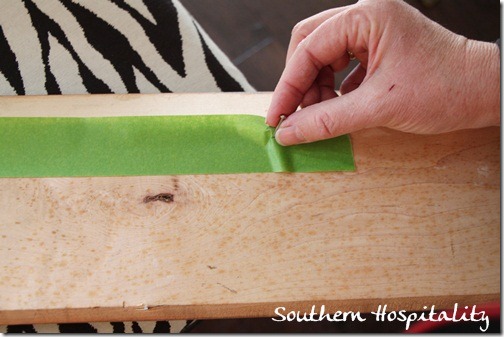
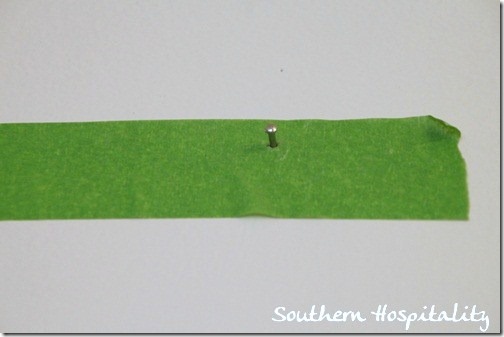
2. Press your nail into the tape at the spot where the nail and hook will meet on the wall. Pierce the tape and make a hole in the tape.
3. Hold the item up on the wall where you want it and then carefully take the tape off and try to get it in the same spot that you want the final piece to hang. This might require 2 people if the item is heavy or you are up high on the wall. But, most of the time I can do this by myself.
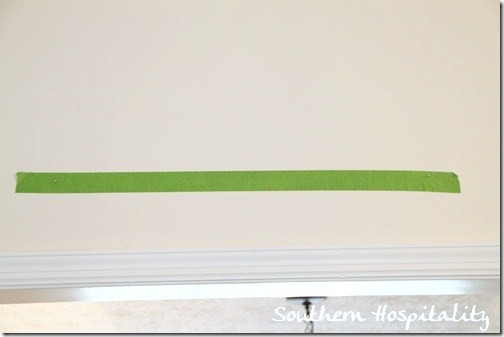
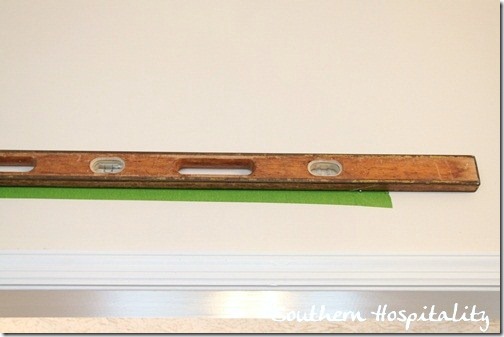
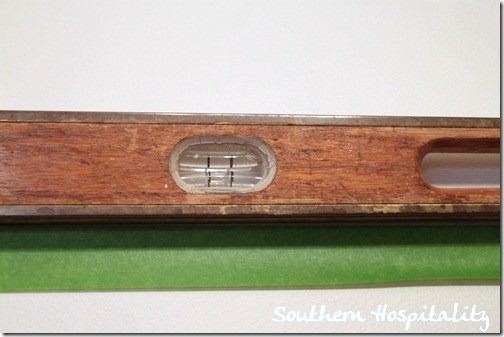
4. Once you get the tape up, then you want to level it. Your nail holes are already made, so this is where you can shift the tape back and forth on the wall to get it centered and leveled.
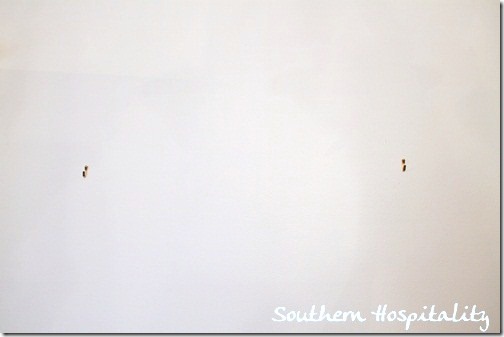
5. Once it is level and centered where you want it, tap in your nail in the holes that are premade in the tape.
6. Then hang up your item, it should fit perfectly on the nails you’ve put into the wall. Voila!
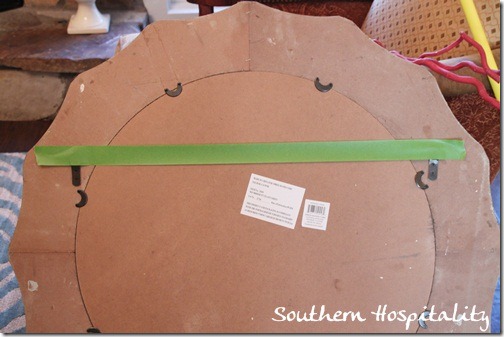
This works on larger items too, like this mirror. Stretch out the tape. Mark the spot where the holder will hang on the hook or nail.
Level your tape.
Tap in the hooks.
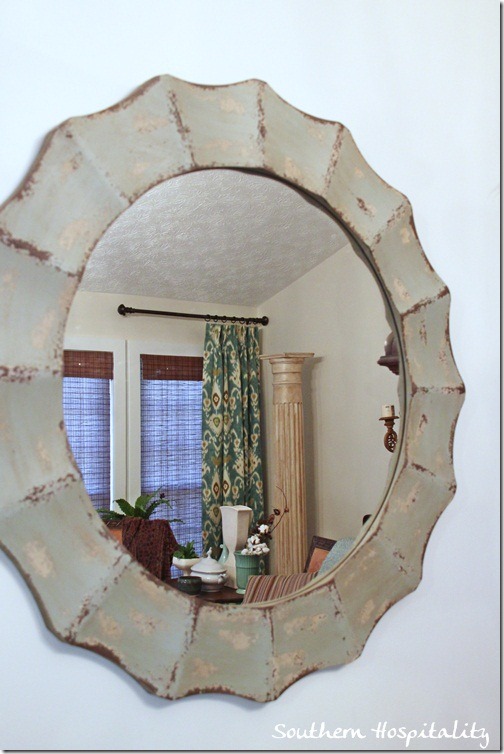
Hang your mirror! This is a fool proof method that I use ALL the time and all you need is some FrogTape (or tape of your choice). Gets the job done quick and easy. Since I learned this method, it’s what I always do when I’m hanging 2 nails or hooks.
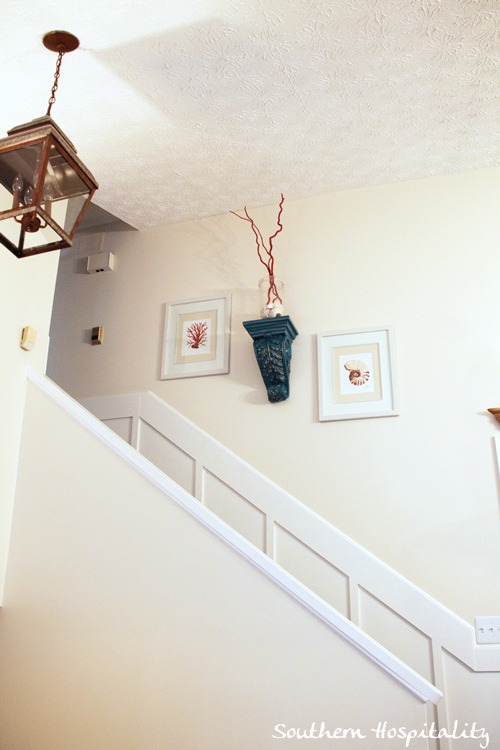
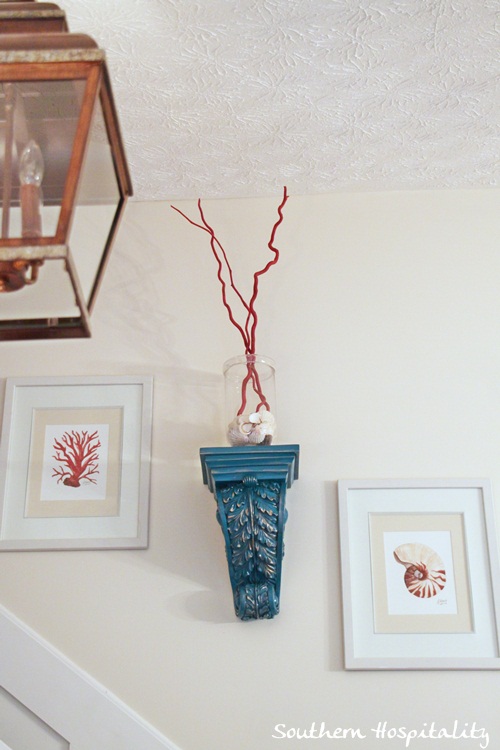
Here are a few more things I’ve hung recently, coming up the main stairs. This house is coming alive!
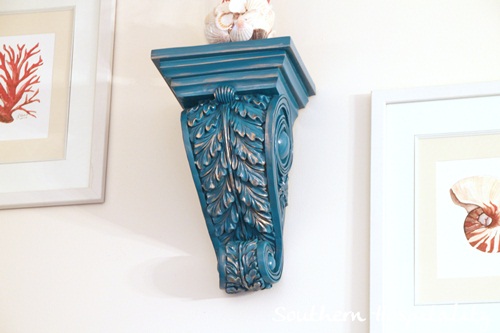
I painted my old gold sconce with Rustoleum’s Lagoon spray paint and added the gold highlights with Rub N Buff.
Love the pop of color and how the framed seashell prints accent this wall. The red things in the vase are just painted coral red sticks.
Have you tried this one before? It’s a great method for hanging prints and mirrors.
Note: I’m a Frogtape brand ambassador and am compensated to share how I use FrogTape products. This is a sponsored post.


Great idea!
Brilliant method! Now my pictures can be hung and the house will look complete. Thank you.
I have to get me some of that Frog Tape! Thanks for the neat tip on hanging stuff. My only problem is I’m running out of wall space to hang. LOL !
Great idea! And so simple I wonder why I didn’t think of this before. Thanks so much for sharing, I’ll be pinning this!
Debbie 🙂
I use this method, too, and it is genius!! I love it. No more bajillion holes in the wall when I try to hang something.
Thanks! I’ve seen lots of tips before…but I think this is the best! Thanks for sharing! ~Tammy
I have used this method for quite some time and it always works, especially for more than one hook on something.
Great idea, I am re-hanging a huge mirror at my mothers house which she had placed too low over the fireplace. I will definitely use this technique. I have almost finished re-decorating and styling it to put on the market next month. It will be a sad time but also a time to move on. I have labored for 6 months over it and never had to do half of what you did to your place. Just a freshen up with new paint colour. I think I just don’t want to let go of the memories.
This is THE best tip I’ve heard in ages!!! I’ve always had so much trouble getting things with two hangers on the back straight. They are always just a little off. What an easy and amazing time and wall saver!!! I got a wall sconce recently and their template wasn’t right. This hint would have save me a lot of grief and wall patching.
Great tip Rhoda!!!….love your mirror!!
Brilliant and so simple! Why didn’t I think of that! My husband will be doing a happy dance!
I have used a light shade of nail polish on the brackets on the back of a shelf, lightly push against wall and you have the spots for the nails marked. It wiped off easily too since it was only on long enough for me to tap the nails in.
Wow…..I cannot wait to try this! Thanks for sharing. I love your blog 🙂
Wow! You always amaze me with your knowledge and creativity! Thanks for that trick… I just moved and hanging pics, mirrors, etc is my least fav part of moving but NO MORE! You’re a genius! Thanks for sharing!
I’m embarrassed to admit this… but I don’t get it. And I’m the only one who doesn’t get it! I have never used Frog Tape, so maybe that’s the problem. Is it sticky on both sides? Isn’t the sticky side of the tape against the picture and the smooth side against the wall? How do you get this tape to come off the back of the picture and stick to the wall? I would LOVE to figure this out, because hanging items with two holes on the back is a nightmare! Please somebody take pity on me and explain how this tape will stick to the wall.
Hey, Sandy, no problem! The FrogTape is just thick tape so works well for this and no, it’s not sticky on both sides. You do have to manually pull the tape off the back of your piece and then eyeball where the final hooks will hang on your wall, by holding the piece up to your wall. But since the holes are already marked on the tape, then you can move it around and around on the wall until you get it placed just so and centered and leveled. That’s the beauty of this method.
Oh geez… DUH! For some reason, when I was reading that last night, I just didn’t get it. Now it makes perfect sense. I want you to know how much I appreciate your articles. I am currently working on the bathroom in our vacation home, and I am using all of your techniques – from framing the mirror to painting the cabinets. You make this look like it’s possible to undertake. So thank you!
This is assuming that the hangers are level with the top of the frame. If they are, this is a fast and easy way to get it right the first time.
THANK YOU!!!! Yes I’m shouting. I have 3 things that I need to hang and all require 2 nails or screws. I am known in my family for hanging things up crookedly. Now I am going to get these up and they will be straight. Have a great day. I love your blog and have enjoyed following along on your home redo.
thank you for this GREAT post!
Great tip for hanging art and things in the wall. You don’t know how many times I’ve put a million holes to find the level. Thanks again.