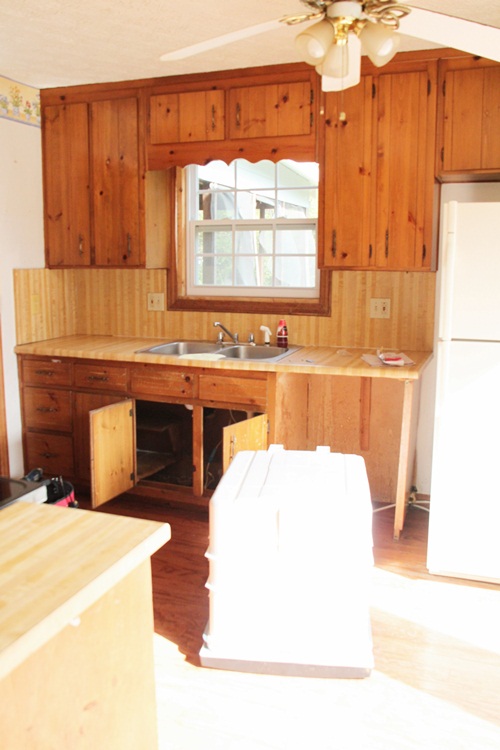
I’ve never been too shy about talking about how much I spent for things, so as promised, I figured I’d do a breakdown post of the kitchen costs. Would you like to hear that? I know most people love hearing how much things cost (I do!). I want to see if things are affordable or how much something costs in other parts of the country. I’ve heard so many stories about people spending $30 to $50K on a kitchen renovation and I know a high-end house would be so much more than my humble fixer-upper, but my kitchen came in really well-priced, so I’m sharing the details. I’ll list them all at the end. Ya’ll like details, right?! Me too! So, let’s take another look at the kitchen BEFORE and you can really appreciate the breakdown of costs on the new one. I should have taken more of those, but only took a few at the beginning before we tore it all out. 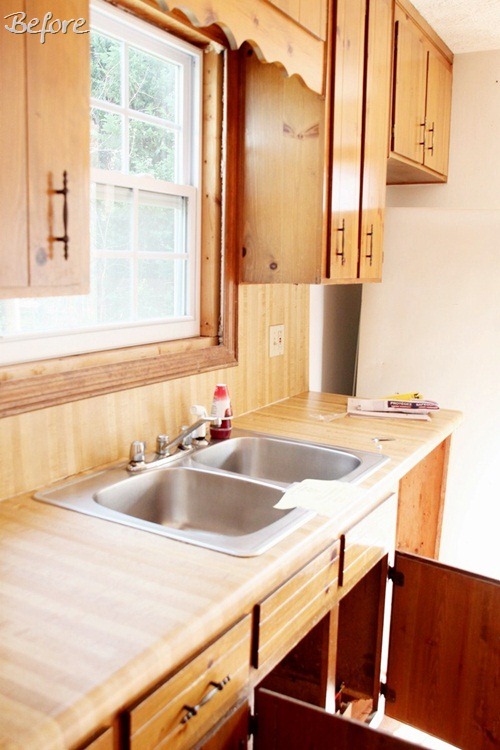
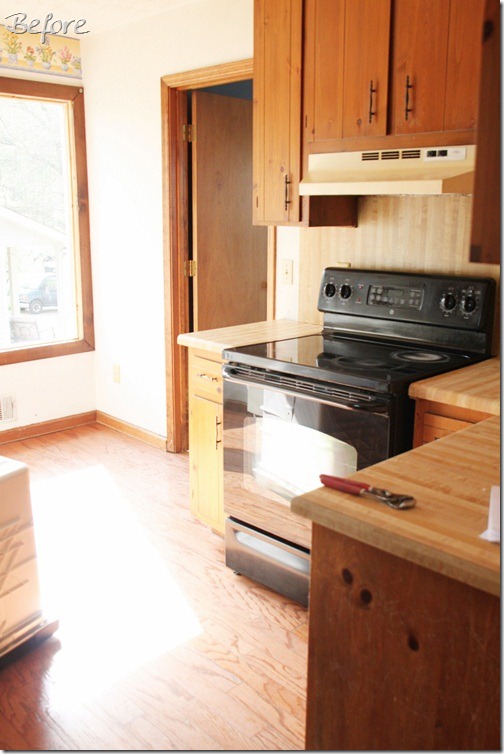
Take note of the door we took out that went to the living room. NO regrets on taking that out either. This is where my big bank of base cabinets sit now and my pretty rustic shelves.
This one definitely needed plenty of work and I’m happy that we replaced everything. No regrets about that!
Now, again for the AFTERS!! 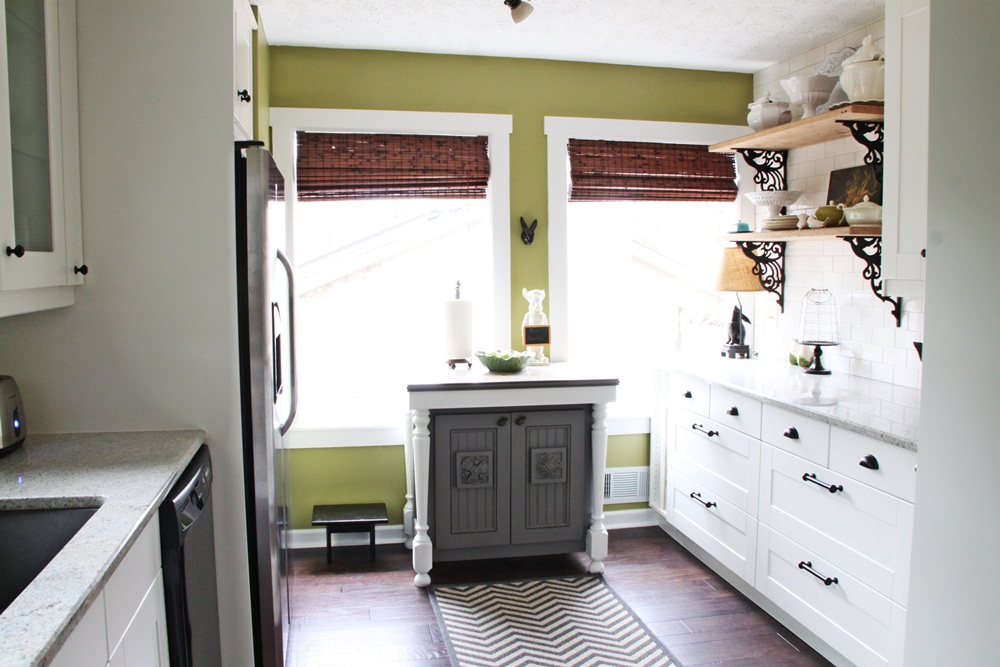 We’ve had some really dreary weather lately, but I opened up the blinds and took some more shots with no lights so you can see even more detail. This is not a huge kitchen at 7’ wide by 13 1/2’ long, but it’s very functional and the layout has proven to be super efficient. In other words, I love my kitchen! Paint color is Fennel by Pratt & Lambert, but I had it mixed at Sherwin Williams, they have the formula too. Kitchen bamboo blinds are from Payless Decor (I’m an ambassador for them) and are Java Vintage, lined with privacy shades. I love them!
The island fits nicely in front of the windows and is handy for taking things in and out of the fridge. Chevron runner is from Ballard Designs and it’s an indoor outdoor, perfect for a kitchen. 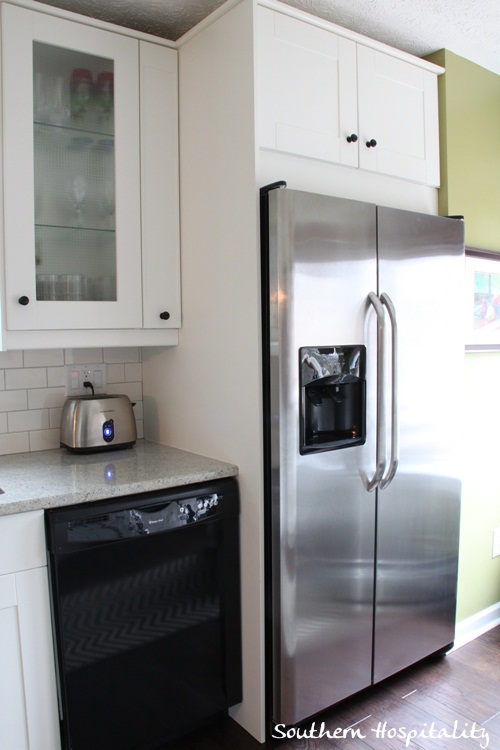
Fridge side with built in cabinet around the refrigerator. So glad I opted to pay a little more and get that done too.
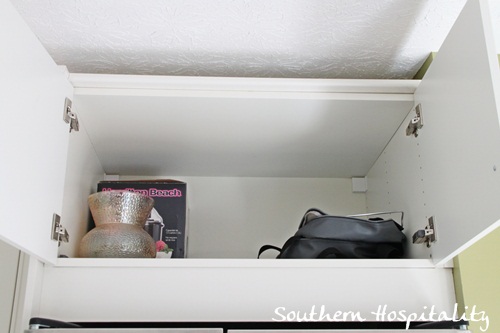
The over the fridge cabinet has plenty of room for storing things I don’t use all that often, but are still easy to get to. 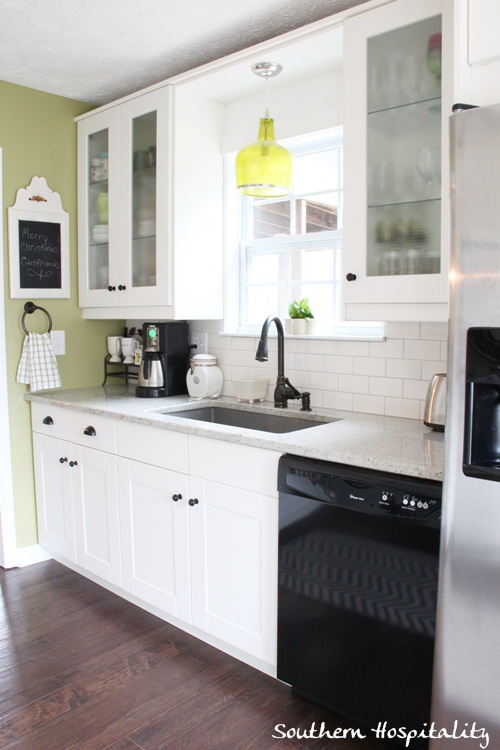
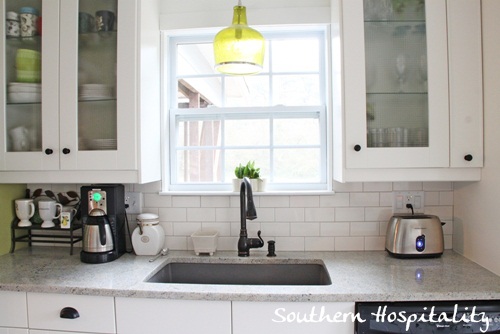
Sink base and dishwasher side. I’ve got plenty of room in the glassfront cabinets for my glasses on the right and my every day dishes on the left. I’ve had questions as to why I didn’t take the cabinets all the way to the ceiling. Simple answer is that Ikea cabinets are not made to go all the way to the ceiling. They recommend placing them at least 4 to 5 inches below the ceiling line. Now, it can be done and regular crown molding can be added to make them all built in, but that adds more cost to the project. When I hired my installer I didn’t ask him to do that or figure in the cost, but he said it would add more cost and time to the job. I just decided to do it with the small crown running around the top and for this kitchen, I’m totally fine with it. Cutting crown molding right can be a tedious job, with walls and ceilings that are not level (as I’m sure is the case in this older house). If I wanted, I could probably go back and add that later, but really I’m very happy with the way it looks. 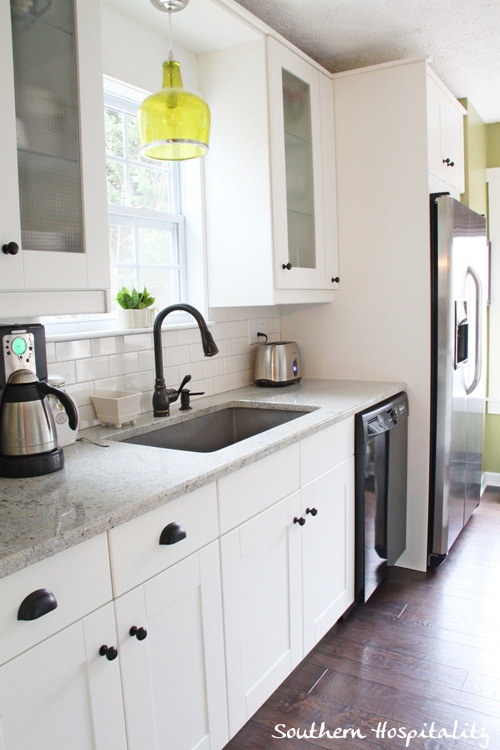
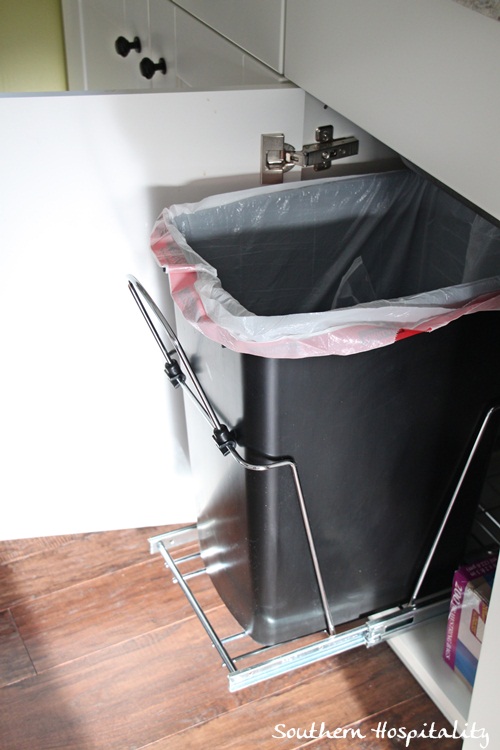
It really is a nice kitchen to cook in. I bought a pull-out caddy garbage can at Lowes and love that. I’ve had these for years and can’t live without one now.
Sink and window. Love my Ballard Designs green glass pendant over the sink. 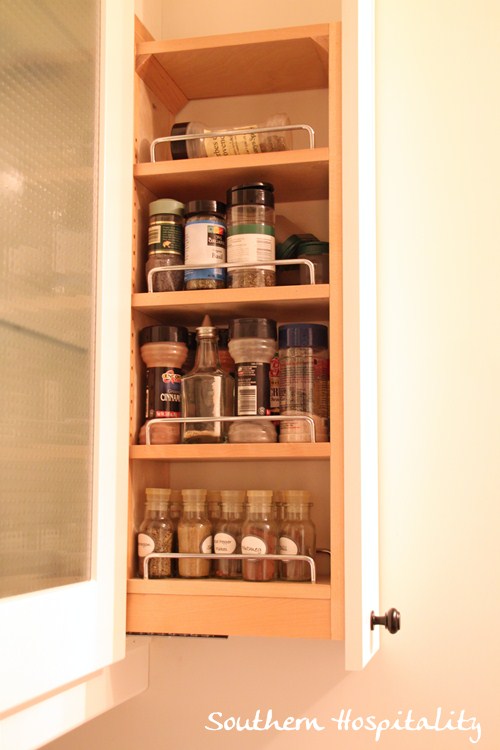
Almost forgot the little spice cabinet. It was ordered online and my installer fit a small door front onto it and I added a knob. It was the perfect 6″ filler for this space and I’m really glad I got it. 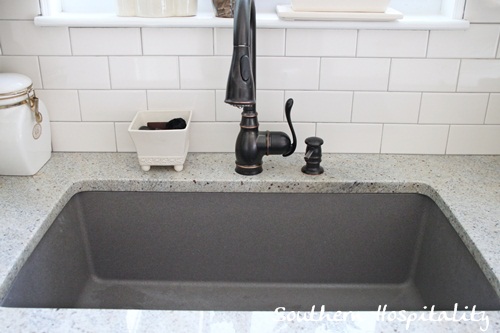
Sink is a Blanco Silgranit Super Single in Metallic Gray. I ordered it from Blanco to Go. 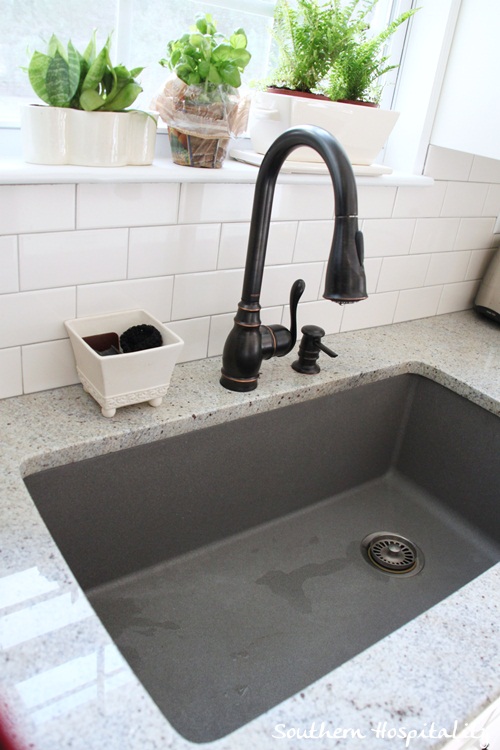
I love this deep single bowl sink. It can handle the biggest platter, pan or pot. My faucet is Moen Annabelle in oil rubbed bronze and it was given to me by Moen.
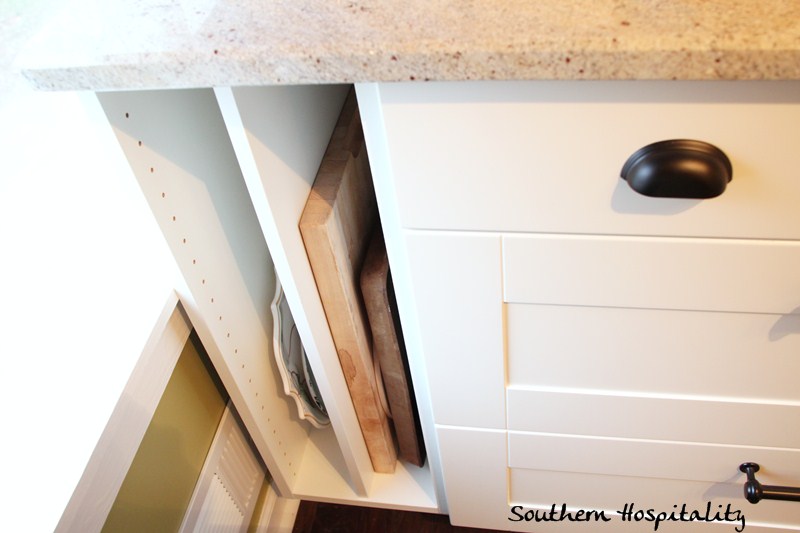
The right side with the bank of lower cabinets. One of the things I had my installer do was build in this little 12” open cabinet at the end of my base cabinets. Otherwise, that would have just been wasted space. I opted to take the cabinet all the way to the window sill edge and I think it looks fine. It certainly doesn’t block light from coming in these 2 huge windows and my blind tucks in behind it just fine. Having a dedicated space just for platters and cutting boards is great! These big pieces take up so much space otherwise. I think I’m going to take a cue from others I’ve seen who have Ikea pieces and fill in those little holes with caulk. That would make them disappear even more.
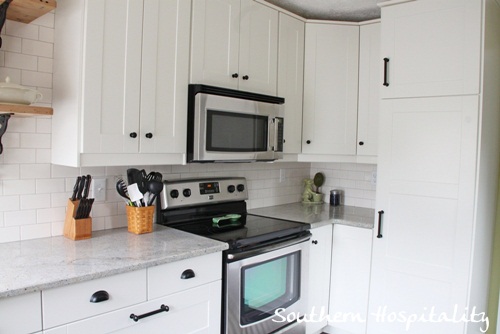
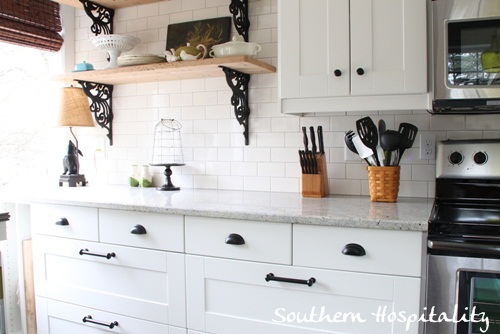
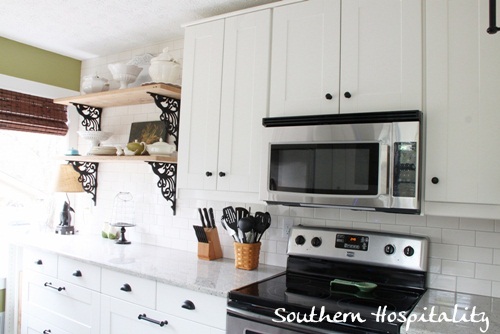
This side of the kitchen has plenty of countertop space for prepping and cooking. 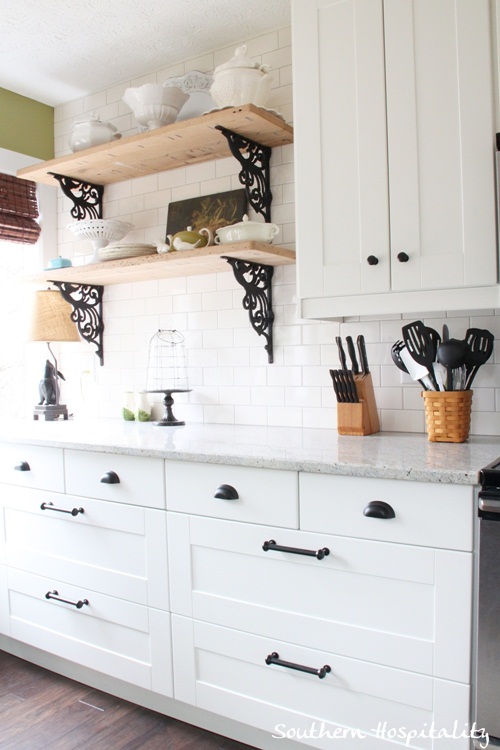
Those rustic shelves from Southern Accents (Cullman, AL) are another fave of mine. So glad I saved them for this project and they just make my kitchen. Those lower cabinet drawers are something else. That feature is definitely one of my favorite things about an Ikea kitchen. The drawers glide like buttah! And the soft close? Get out. Love that feature too. 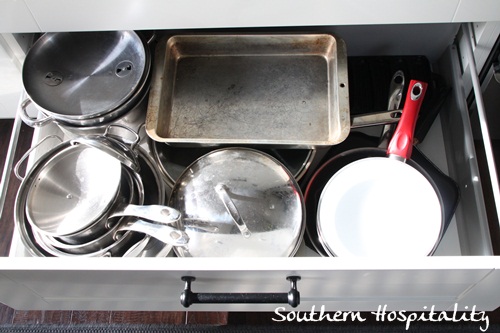
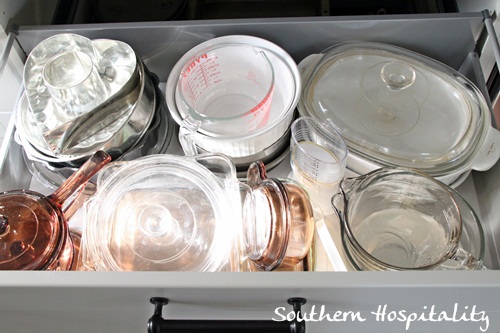
OK, here’s a good look at those big drawers. There are two in each cabinet and they pull all the way out. I have all my pots and pans in this one.
And the one above holds all my glass bakeware and measuring cups. 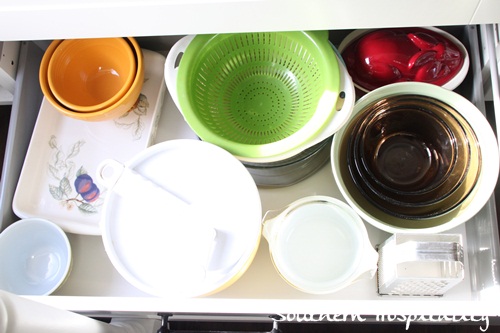
To the left, more plastic storage pieces, colanders, baking pieces. 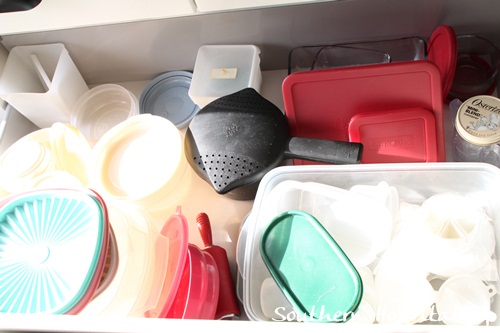
And my plastic and glass storage piece drawer. I have room for it all. 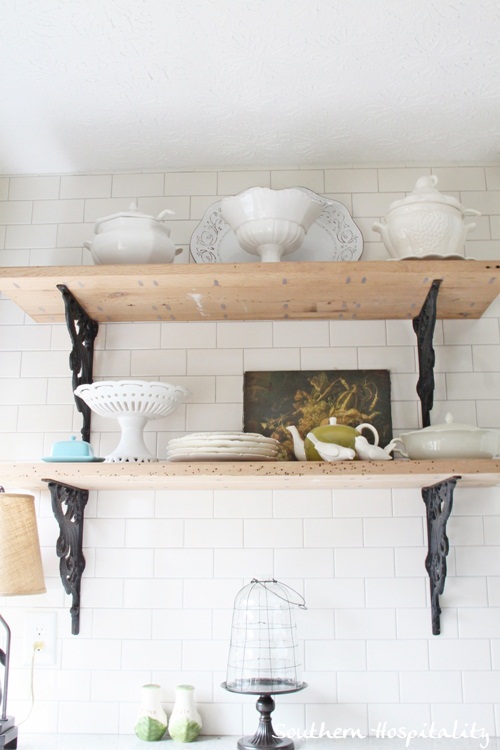
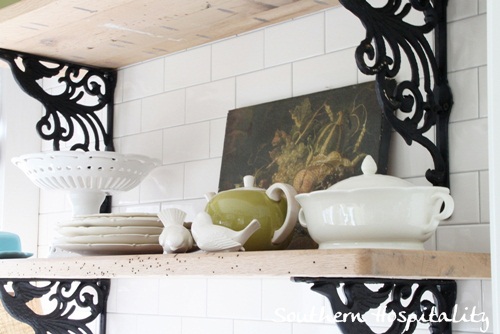
My shelves are fun to change up, but for now I like them simple with a few pretty pieces on top. These shelves are 4′ wide and 12″ deep. Since I got the question about the spacing on the shelves, I’ll answer this: My ceilings are 8′ tall. The top shelf is 17″ from the ceiling and the bottom shelf is 17″ below that. The bottom shelf is 23″ from the countertop and the brackets are spaced 3′ apart (shelves on top are 4′). This was all done by eyeballing the shelves as they were put up by my BIL, Bruce and I’m very happy with how they are placed on the wall. Here’s the post showing him putting them up. The iron brackets are also from Southern Accents and they were screwed in with long screws into studs, so they are very secure.
I added one of my vintage paintings to the back of this shelf and love the extra texture and color. 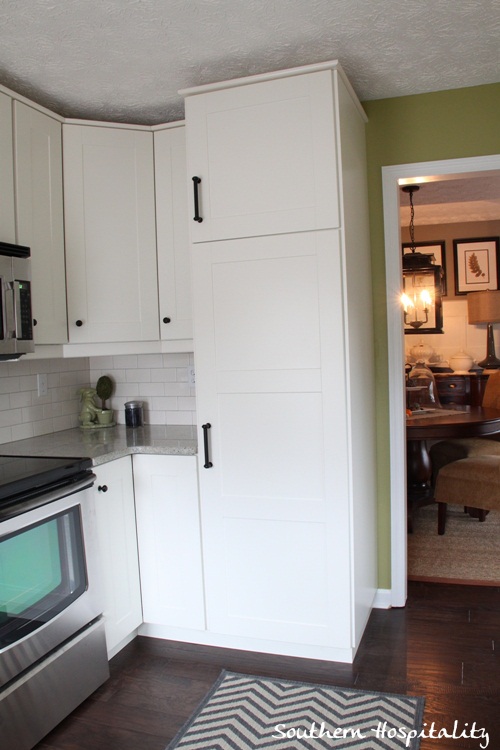
The big pantry sits right inside the door and I’m so glad I had room for it too. 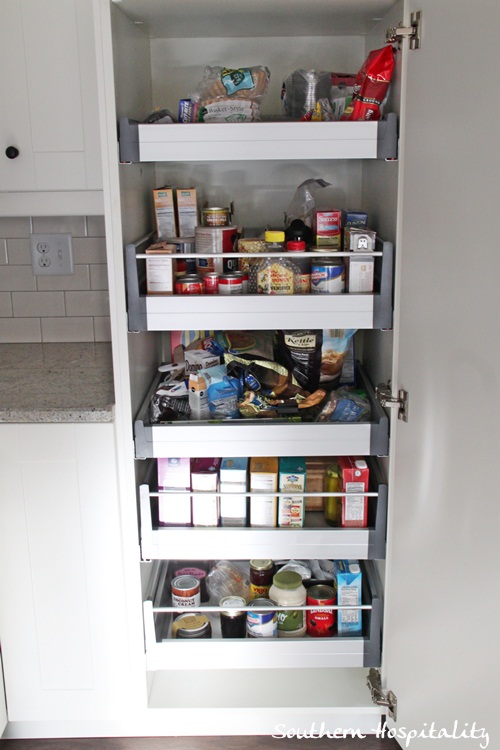
These 5 pull out shelves hold so many things.
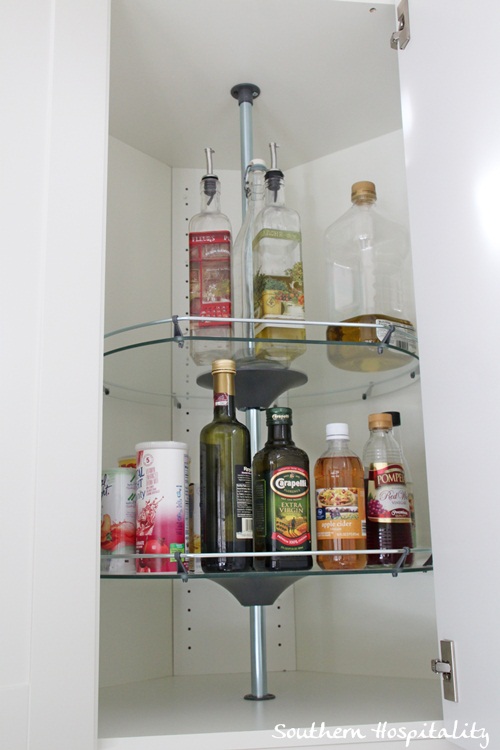
 I haven’t even filled up all my cabinets yet. The lazy Susan on the bottom corner cabinet hardly has anything in there. Nice to have room to spare!
The top has a few bottles of oil and vinegar handy but it’s nowhere near full either. 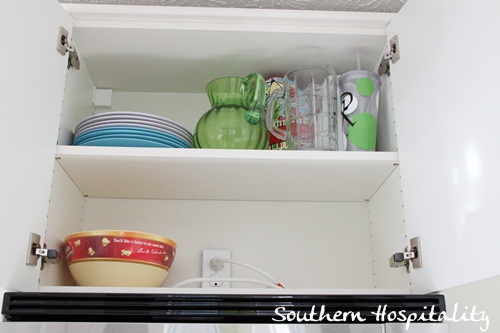
The over the microwave cabinet is extra deep and can hold some out of the way pieces that I don’t need all the time. 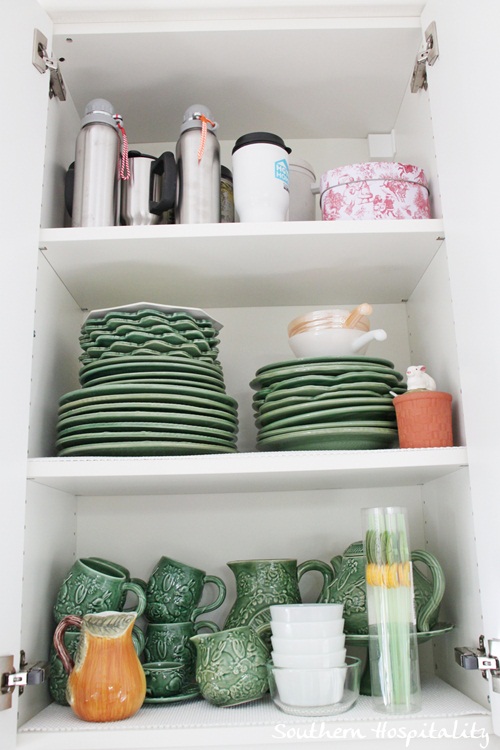
And, the cabinet to the left of the microwave holds all my pretty green bunny dishes for now. To go cups up top. That’s a complete tour of this Ikea kitchen and I really couldn’t be happier with it. I would recommend an Ikea kitchen to anyone looking to have a pretty kitchen on a budget. It has all the bells and whistles I need.
Ikea Kitchen Breakdown:
Ikea Adel cabinets cost, including hardware (with their 20% sale price) 14 upper and lower cabinets, plus pantry: $4,133
Spice Cabinet pullout from here: $75
Labor to Install cabinets: $1,075 (included installing microwave, extra open cabinet for platters/cookie sheets, bridge over sink, building out the cabinet over the fridge). My installer was Victor Marti, at 678-983-5550, here in Atlanta area. I would highly recommend him.
Ikea Microwave: $200
Maytag Range: $657
Refrigerator: $810 (bought with a $750 giftcard from Lowes) Big blessing!
Dishwasher: Installed by the bank when I bought the house.
Sink: Blanco Silgranit Super Single in Metallic Gray. I ordered it from Blanco to Go, but they seem to be out of business now. But, if you’re looking at Blanco sinks, check the internet for pricing as it changes all the time. Here’s a link to Amazon with pricing. I paid $359.
Pendant Light: $56 (from Ballard Designs outlet)
Kashmir White Granite: $1,300 (Purchased from Legacy Granite in Alpharetta, GA: when I bought it was $32/s.f.) Faucet: Moen Annabelle oil rubbed bronze (given to me by Moen) Another big blessing!
Subway Tile: $125 including tile and grout (Bondera tilemat was sent to me for free). Tile is from Floor and Decor, Interceramic, in Bone. You can see all the tile and grout info on this post, Subway Tile and Backsplash.
Total Cost of Kitchen: $8,790
Not including flooring in this price, since the whole house was done with the same flooring. This is just kitchen cabinets, fixtures and appliances. The cost of the rustic shelves was $125 from Southern Accents, but I had already bought those 2 years ago, so I’m not going to add them to the kitchen cost, even though I used them in there.
That’s really not bad at all for a full kitchen of this size, don’t you think? I know most average small kitchens can’t be done for less than $10K, so I feel really good about what I spent on this one and very thankful for the help I got from sponsors too. I’m so grateful that I had the cash to pay for it as we went along, what a blessing that was. Just thought you’d like to know how much a kitchen like this costs. It’s more than I thought I’d pay originally, but overall very decent for a pretty kitchen that I’m totally happy with. Hiring the installation added some cost to the kitchen, but I’m SO happy I did that too. I can’t imagine how tedious and hard it would have been for me and my dad to try to tackle that alone. Sometimes you just have to know when to hire the professionals! I’d love to hear your experience with kitchen remodels. Have you remodeled a kitchen? How did costs compare with mine?


I LOVE the gray cabinets! We’re thinking about doing gray for our next remodel also. This looks great! We just did a remodel with Grimslov off white cabinets and I love it. You can read about it here: http://www.realtyhousewife.com/525/ikea-kitchen-planning-design/
I just joined your blog and am so enjoying it. I have Kashmir white granite in my kitchen too, and love it. My walls are light blue and love seeing the green you out with them. My friend Jan Arrants Matthews told me about your blog.
Hey, Jan, thank you for stopping by. And small world, you probably know that Jan and I went to high school.
Wow! This really gives me kitchen envy! From the wall color with the white cabinets and white with black open shelving, it looks so good. Can’t believe this transformation! Really like it when bloggers add the costs, gives me a much better insight into what I could expect once I start renovating. If been doing quite some research and these types of blogs have really helped me.
Hi Rhonda
Your kitchen remodel looks great. I’m getting ready to remodel my kitchen and have fallen in love with your sink. I found one similar from Blanco. How is yours holding up, chips ect… ? I’m used to stainless but I want something bold and different.
Thank you
Holly
HI, Holly, I love that sink so much and it’s in my old house, but still doing great. I still own the home and got married and we bought a new house last year. I plan to get rid of my stainless sink in this house & get the same sink, I love it that much. It holds up fantastic, not a scratch on it 5 years later.
Did you do all the measurements and designing yourself??? I Love it! Great job. I’m doing my kitchen next month and may take some suggestions from you.
HI, Michael, I used the Ikea online design tool to draw out my space. My neighbor had also used Ikea cabinets and gave me pointers on how to choose and put things together. You can pull up your design at the Ikea store so there are people to help after you draw out your kitchen design. It sort of tells you exactly what will fit in your space and all the things that go with it. Be prepared to go back a few times to get everything you need once the install begins. It takes patience, but well worth it for a pretty kitchen. My kitchen still looks great 6 years later.
This is absolutly incredible!!
I am moving to St. Petersburg and am looking into buying an older home and doing some kitchen and bathroom renovations.
Do you have any recommendations on who to use?
Thanks!
Sam
Hi, Sam, sorry I don’t know anyone in St. Petersburg.
What a beautiful kitchen! Did you use the Ikea installation service, or did you find someone to do that yourself?
I had my own installer and I shared his information in this post.
What flooring did you use in your kitchen ? I couldn’t find it in your blog.
Thanks😊
Hi, Janice, all the wood floors in my house are from Shaw Floors. The one I used has been discontinued, an engineered wood plank.
Hi Rhoda!
First of all, this turned out beautifully!
Could you tell me if your installer also did the assembly? Or did you put everything together, and then he came in and installed?
I’m going to be doing a complete kitchen renovation, and I’m trying to cut costs everywhere I can to keep it pretty close to the price range yours was at. So I’m curious what all your contractor did. 🙂
Thank you!
HI, Maddie, I did that kitchen a few years ago with my dad’s help. We put the cabinets together before the installer came so I tried to have everything ready for him. I did end up going back to Ikea a couple of times to get everything needed. It’s hard to make sure you have all the little parts and pieces but I’m really happy with how it all came out.
Hi- where did the small white sponge holder dish come from!? Thanks!
HI, it was a yardsale find.