We are well into November now and the Holidays are just around the corner. Mark and I have been plugging away at the house and are making lots of progress. For the longest time, the living room has looked like this and it seemed that it was going to look like this for awhile, but after taking a break, Mark got busy and finished this space, just in time for Thanksgiving and Christmas and now it’s so much prettier to look at when we walk in the door or come down the stairs.
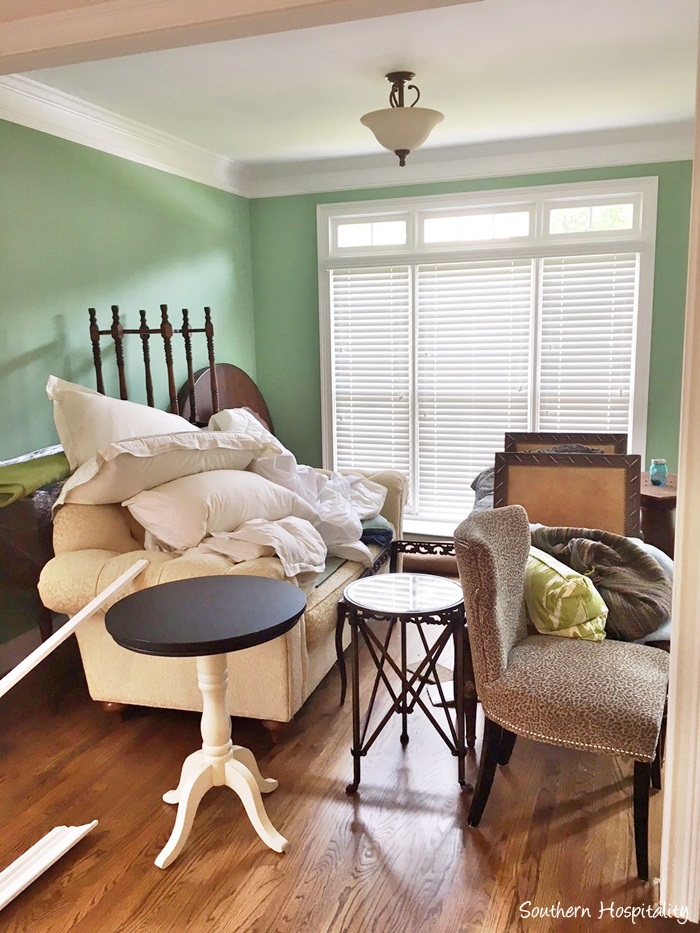
That green paint was getting to me! And this is what we looked at for about 2 months, while Mark worked on the dining room and his man cave. He has weekends to get things done, so this one took a little longer as we worked through other projects to get to this one. But, we really wanted to get it done before the Holidays came, since this wasn’t what we wanted the house to portray as soon as someone walked in the door!
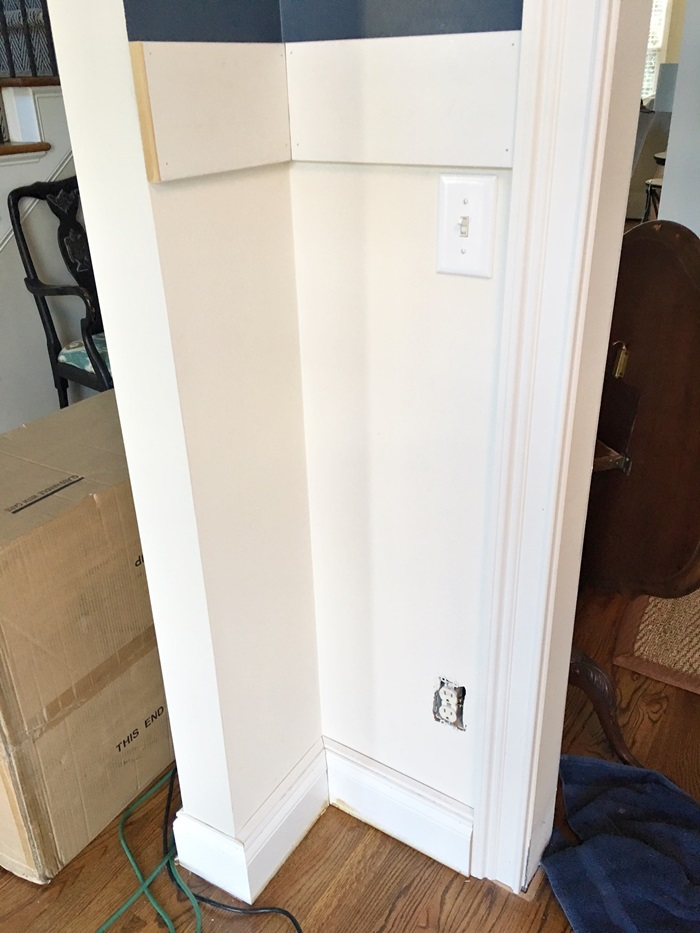
So, he finally got to working on it and came up with a plan to add battens to the existing baseboards, while still using them. I think it was a genius plan and it turned out really great so I’ll try to explain it with these pictures. He started with the top board and ran that all around the room when we decided on where we wanted the top of the board to sit in the room. All of the boards he used are primed MDF.
I had the grasscloth wallpaper installed on that one big wall and would have actually had enough to do the rest of the room, but after the big grasscloth dilemma we went through, I just didn’t want to deal with more grasscloth issues again, so I color matched the wallpaper and painted the rest of the room with navy paint.
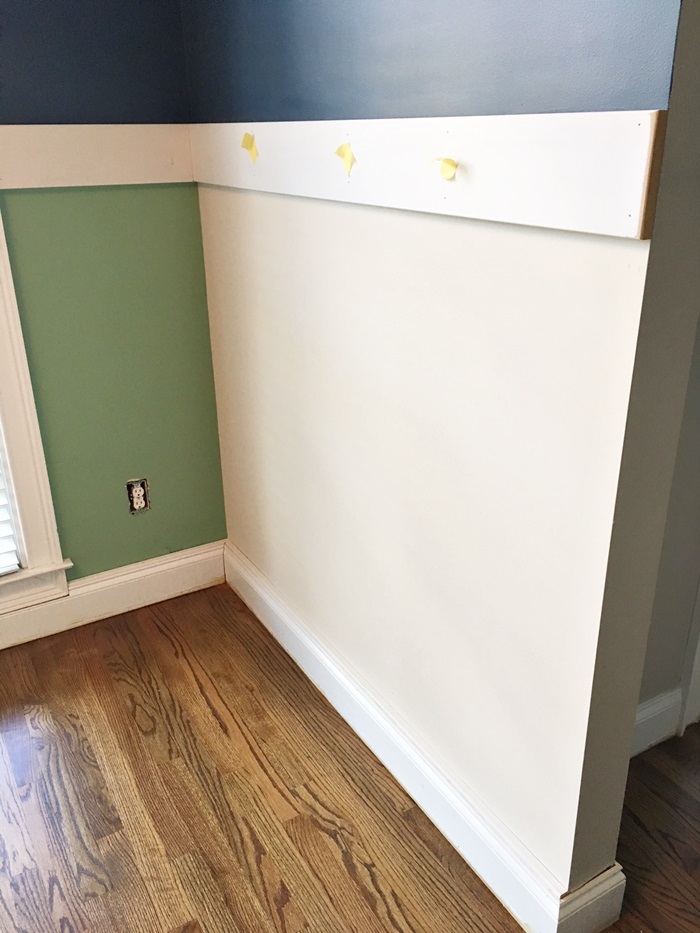
He started with the top board and then he ripped off all the old baseboard and kept it aside to be used later. He used MDF for all of this project and got 5″ MDF boards to place down for the original baseboard to cover. I’ll explain more of that as I get to the pics, but he likes things to look substantial and like they were meant to be there, so didn’t want the battens to hang over the existing baseboards. To make them look chunky, he added that extra flat MDF board behind the exisiting baseboard. It will make sense when I show it closer.
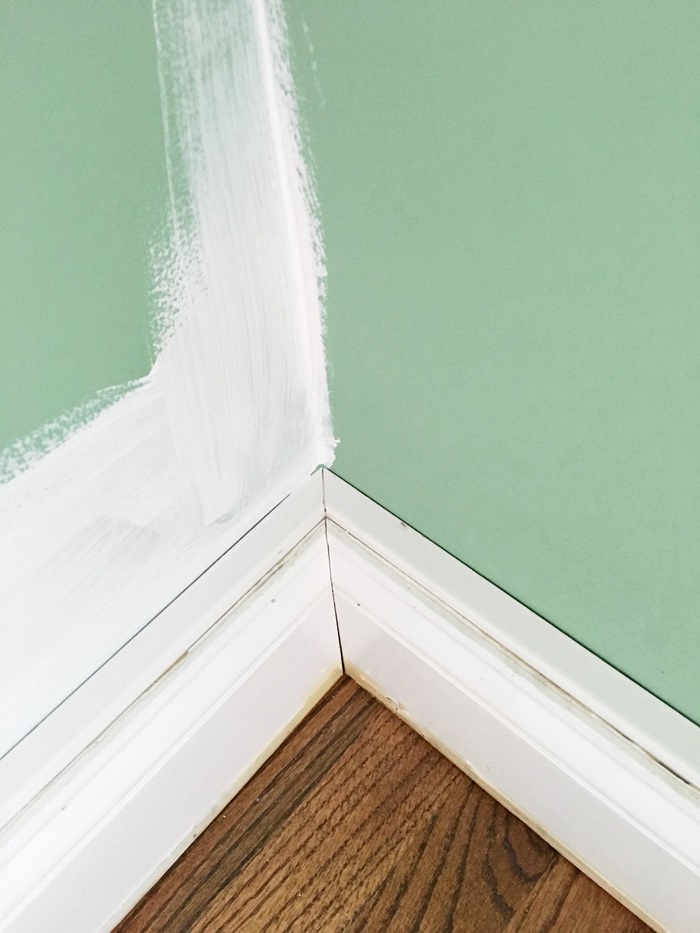
You can see this corner pic, the MDF board is behind and then the original baseboard fits on top and after caulking and painting, these look really chunky and the batten will sit right on top of the MDF board in the back. The original baseboard would haven been way too skinny for the batten to sit on, if that makes sense.

I went ahead and painted a coat of our white trim paint on the wall, since this will mimic wainscot. You just use trim paint, in our case white semi-gloss to give it all a wainscot look when finished.
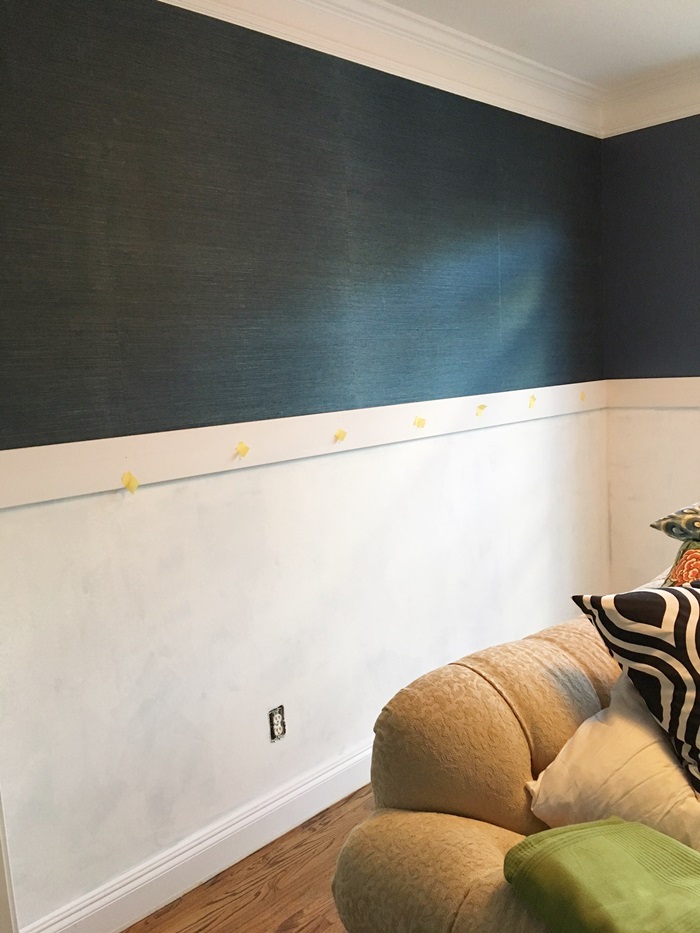
All painted with one coat of paint. Mark had already installed the baseboards at this point and it was ready for the battens to be added, then caulked and final painting.
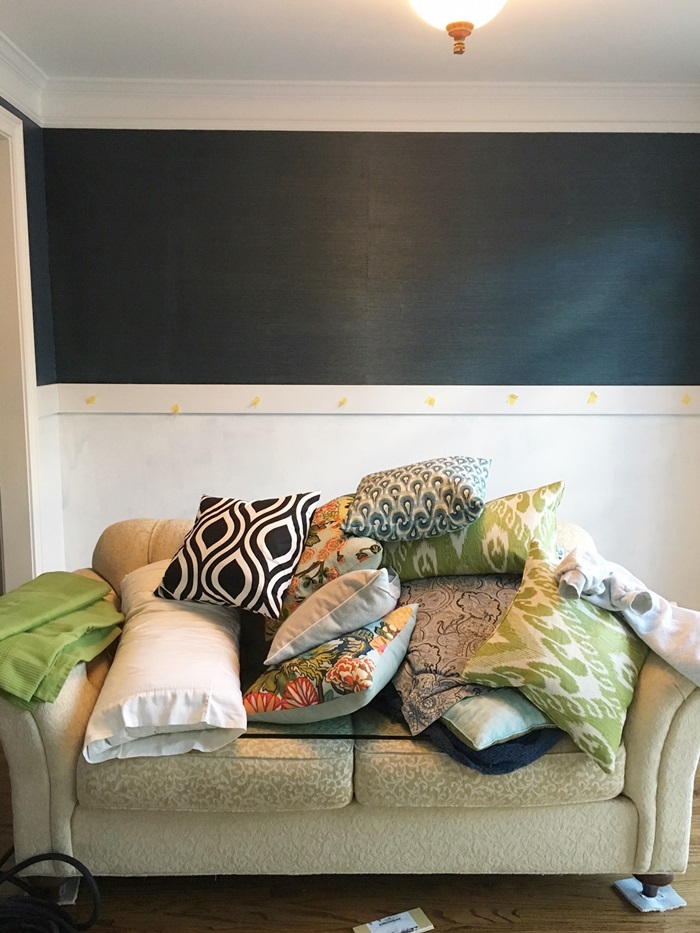
Ready for the battens.
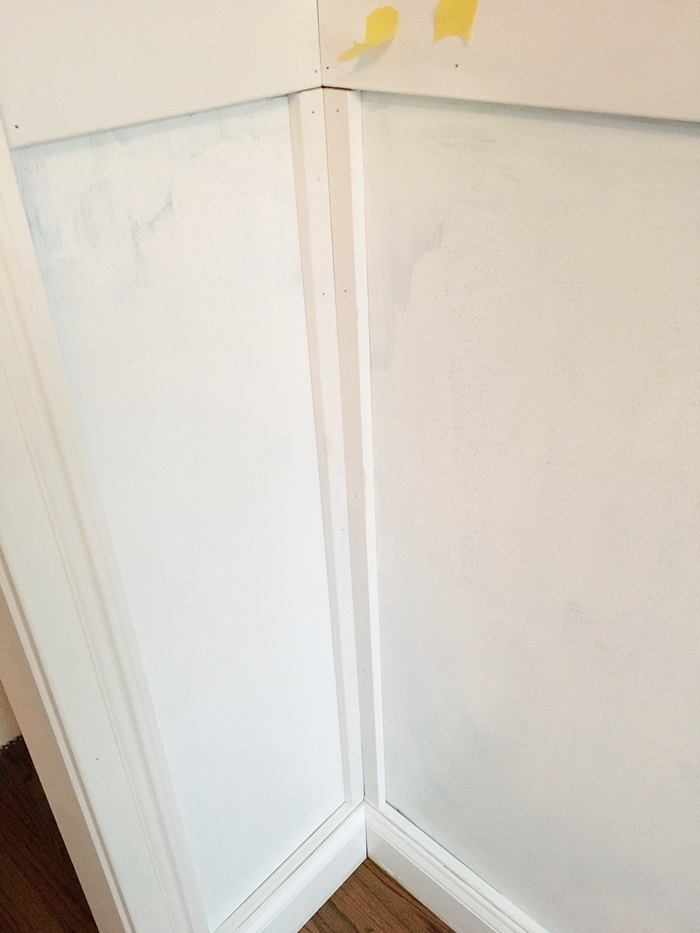
Projects like this require measuring and getting things as precise as possible and Mark is a stickler for this. When doing board and batten, it’s not always possible to get things exactly spaced apart, especially in corners. He chose to split the battens and miter the corners of them to add in each corner, which I think looks really good. In the corners though, there was not room for a full batten, so some corners the battens are spaced further apart than the ones on the walls are. That’s just the nature of these types of treatments.
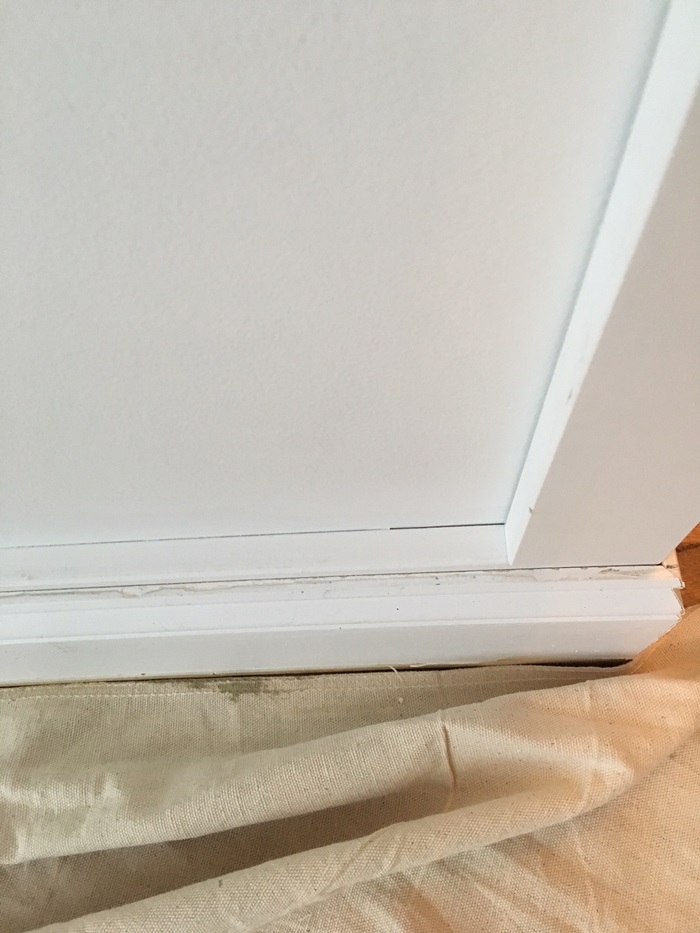
Here you can see a batten installed right next to the living room doorway and how it sits on top of the MDF piece on the back. He mitered all that baseboard trim around each corner, getting it matched and fitted really well. He does a great job on projects like this and I’m so proud of him!
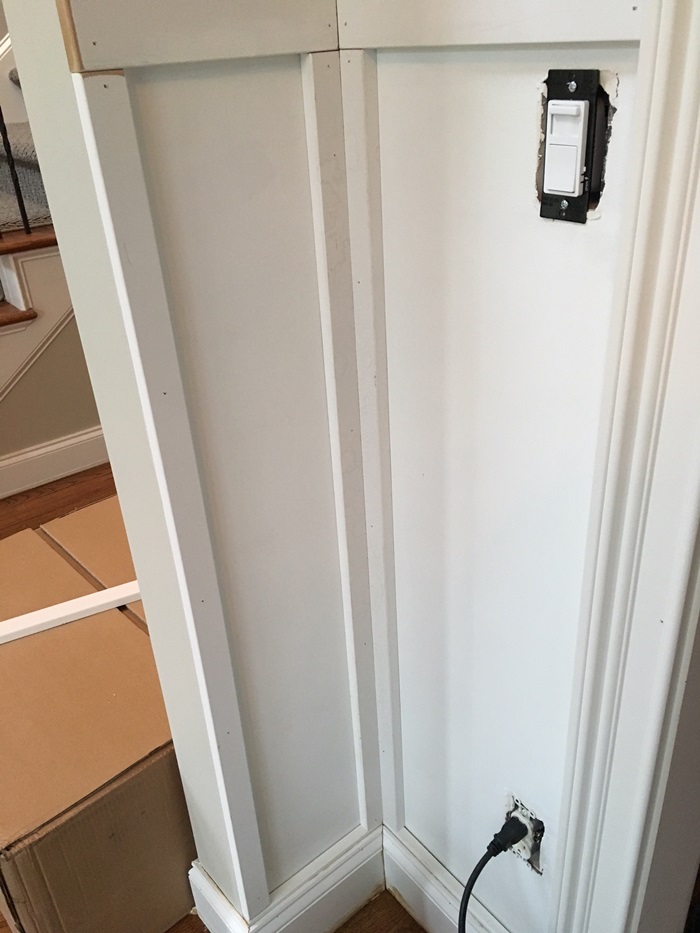
Things change as we moved along and that small batten there to the left was taken off and a larger full size one was put in place. Those are the kinds of things you just have to eyeball as you go along and see what looks good to your eye. We both agreed that a larger one would look better in that little corner.
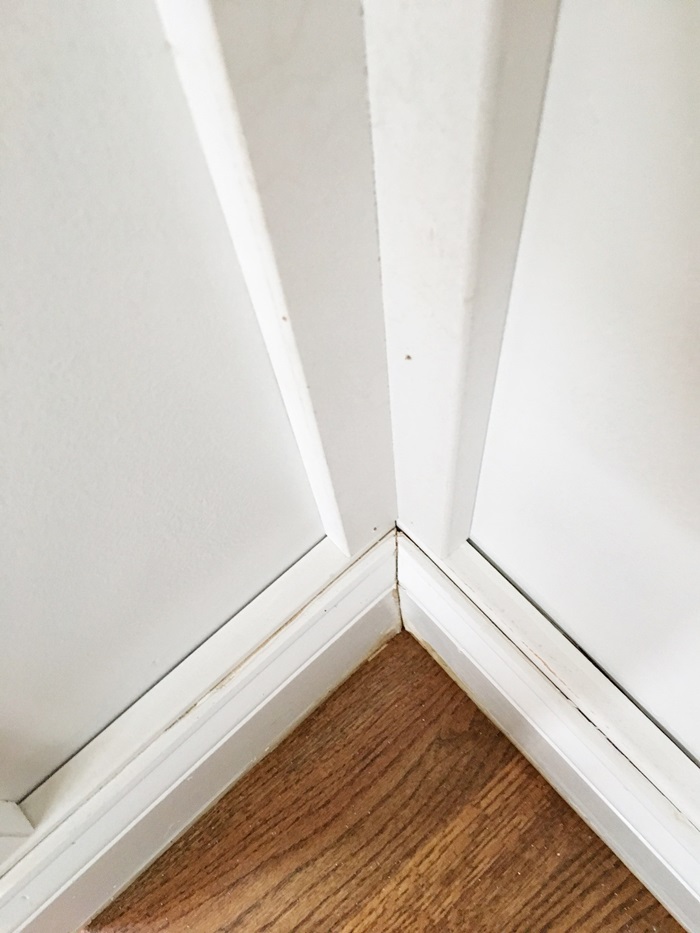
Another look at the corner before caulking and painting and cove molding is put down. Once all that is done, it looks so finished and beautiful.
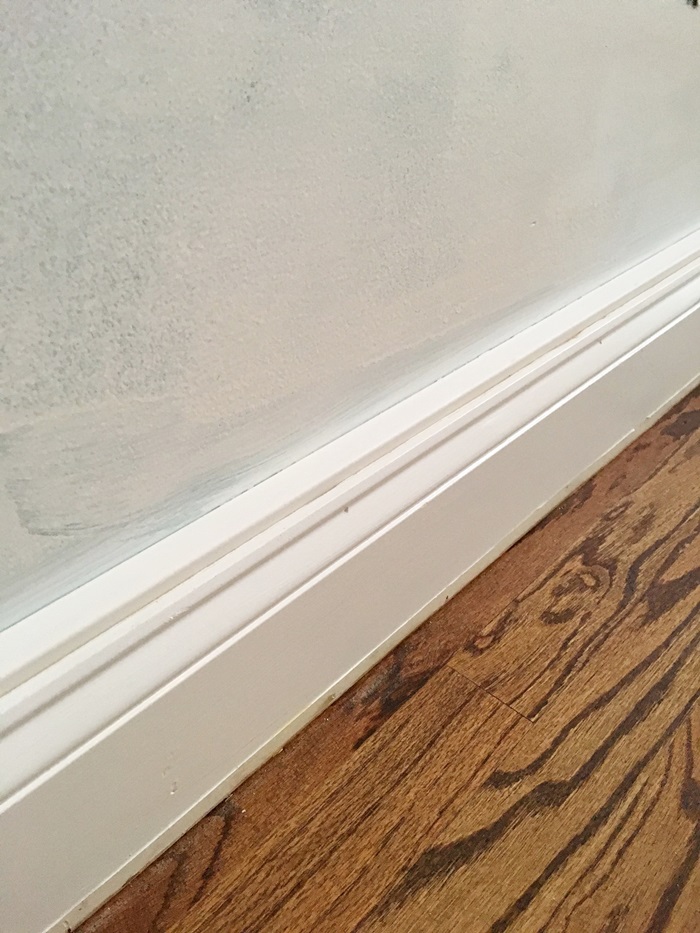
I love his idea of layering the 2 moldings to make the baseboards look really chunky.
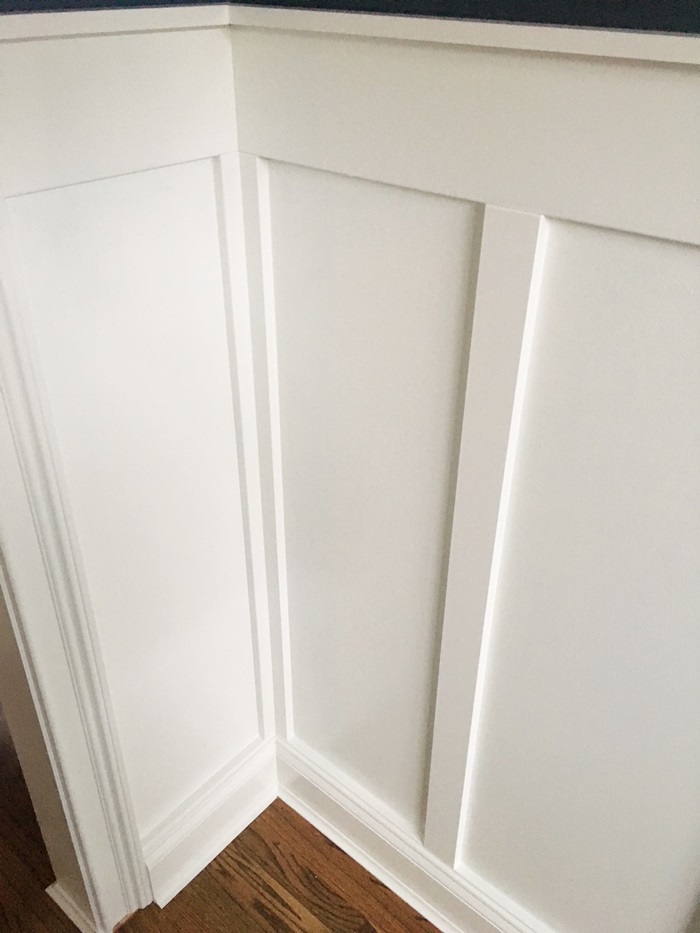
The battens were spaced apart about 12 or so inches, I think that’s what we ended up measuring. It was an eyeballing thing on each wall with the long wall having the most battens installed. After adding the cove molding at the bottom, caulking and painting, it all looks gorgeous.
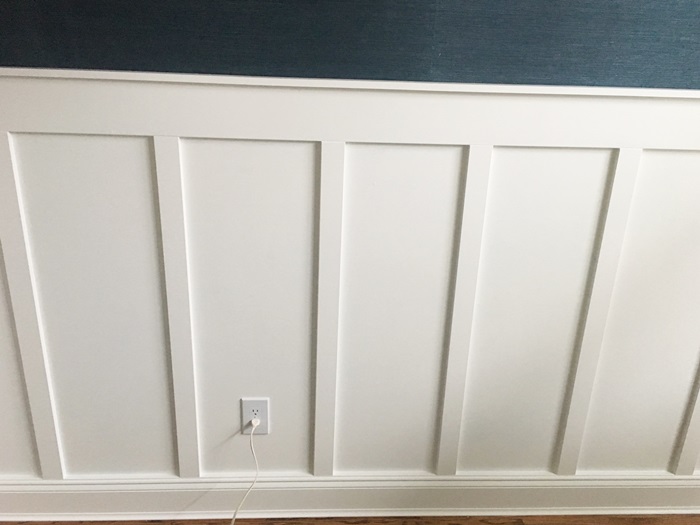
Long wall of battens. Oh, and a small 2″ board caps off the top piece and really adds a great look. This is the same thing we did in the dining room too.
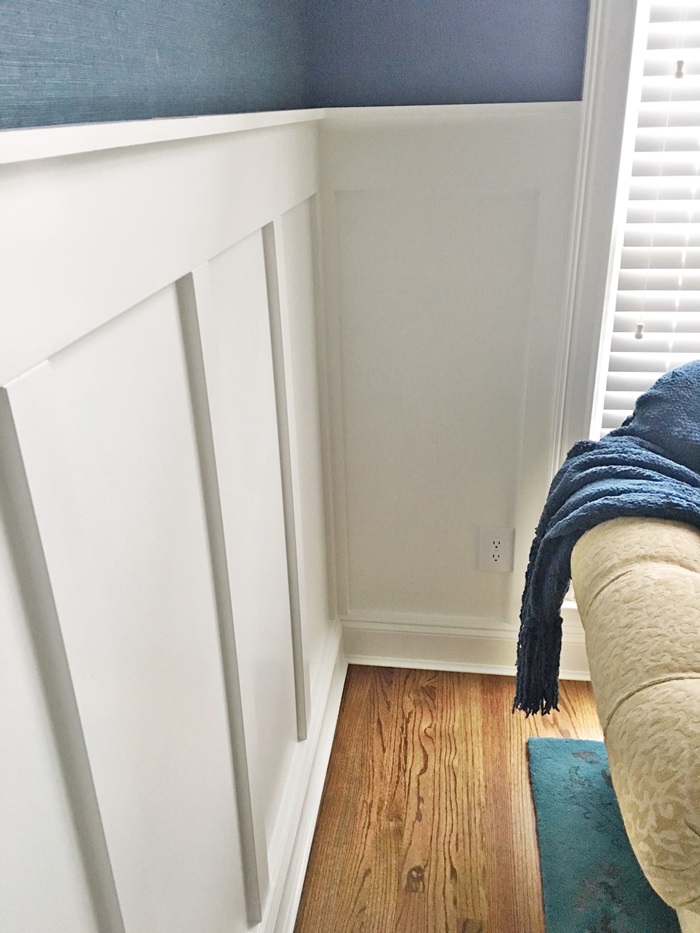
All finished and painted! Doesn’t it look beautiful?!
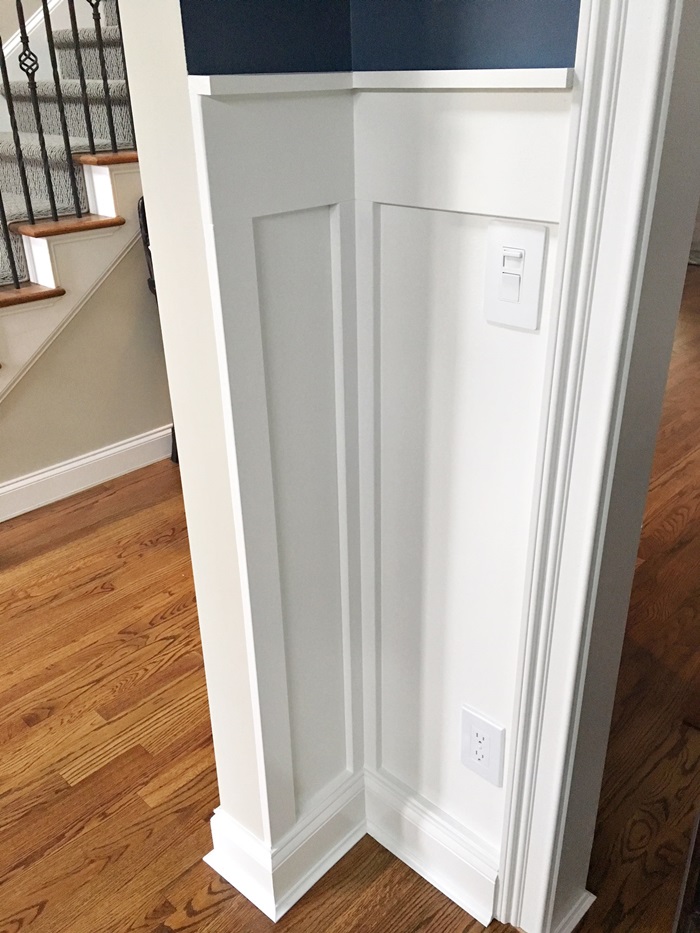
The final addition of the cove molding along the baseboard and the paint brings it all together.
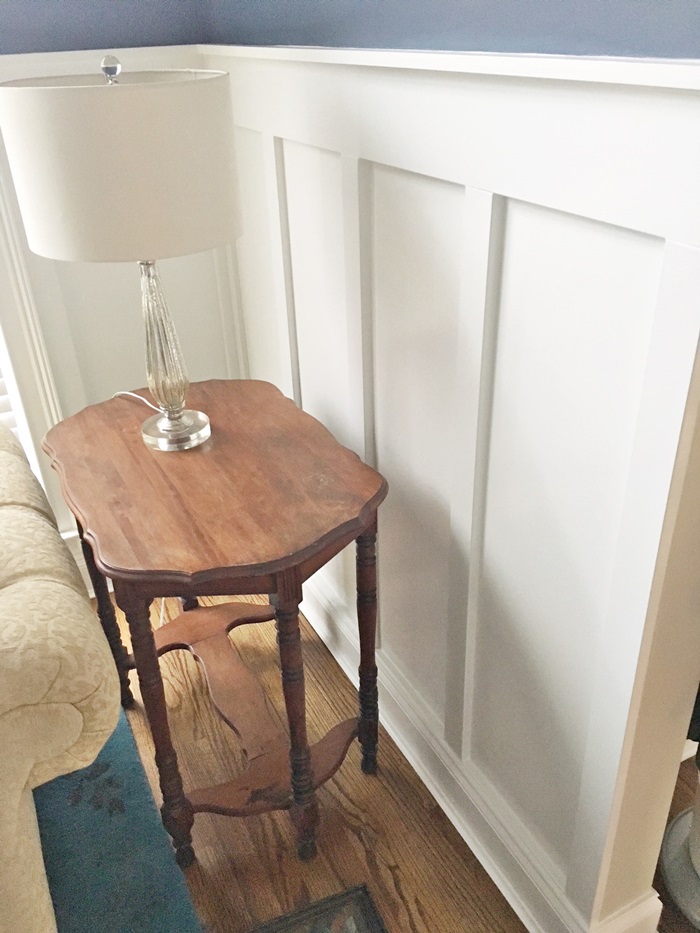
So proud of Mark and his woodworking capabilities. He’s very meticulous about how he does things and I’m glad he is. I always know it’s going to look great when he’s finished!
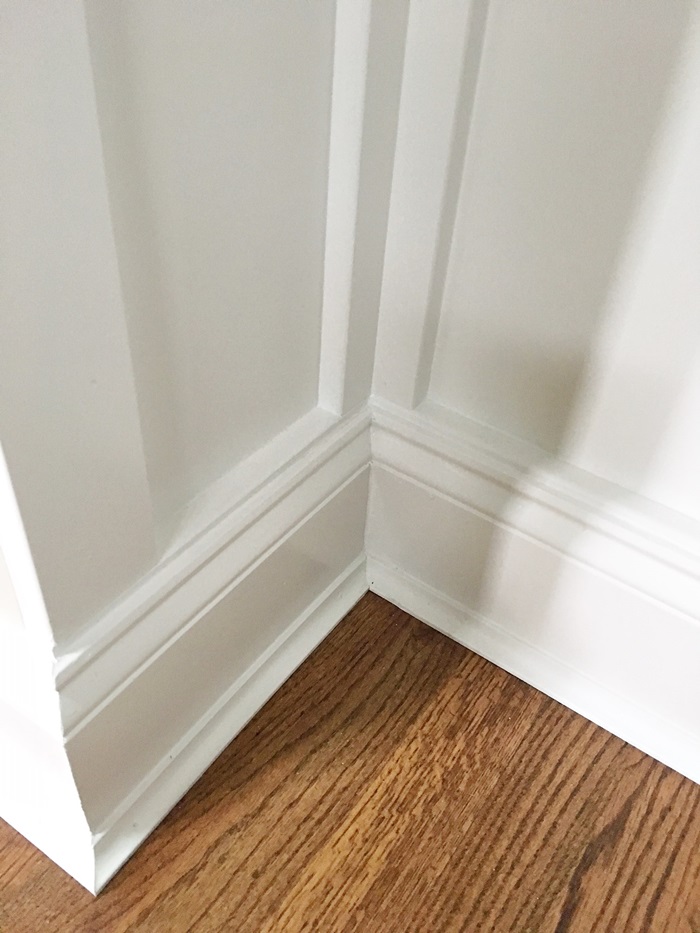
Closeup of the corner.
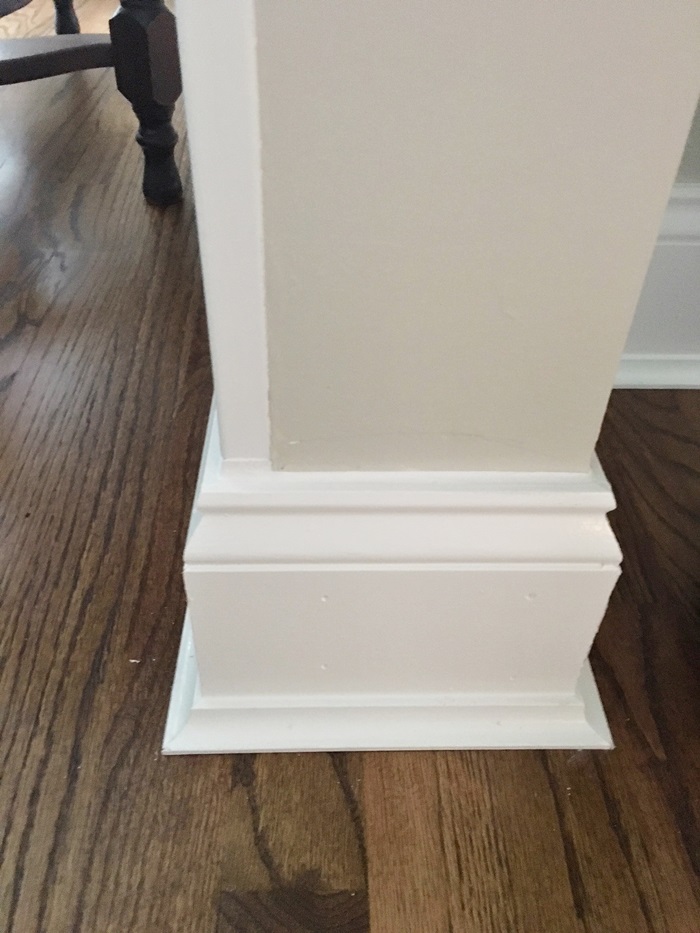
This is the small wall by the front door and how the board and batten butts up to it. He did a great job joining it to the regular baseboards at this corner.
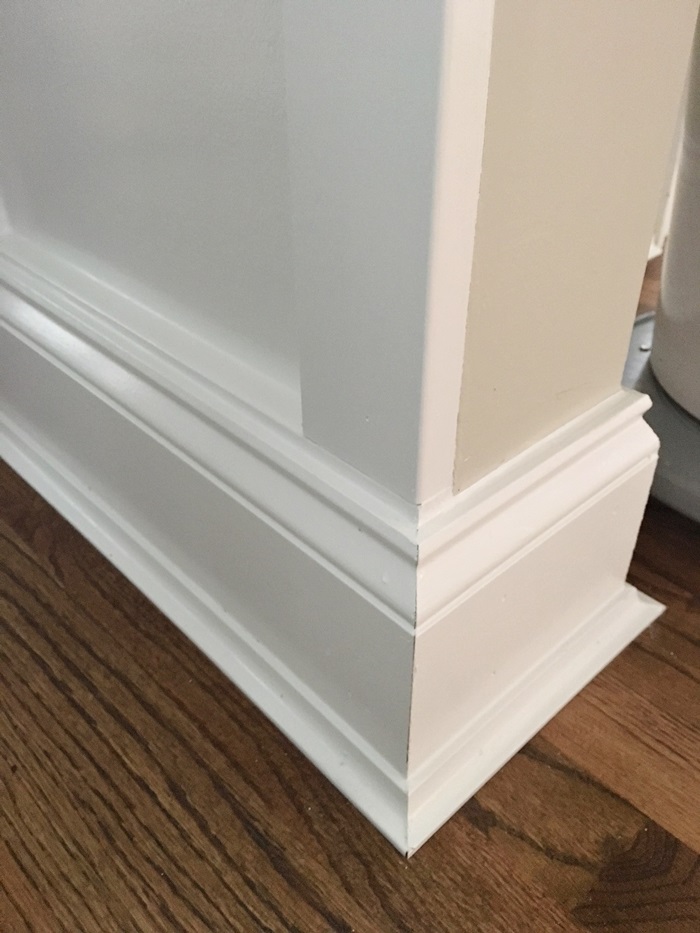
So nice and clean! Are you ready to see a peek of the living room now! It’s come a long way and we are so very happy with it.
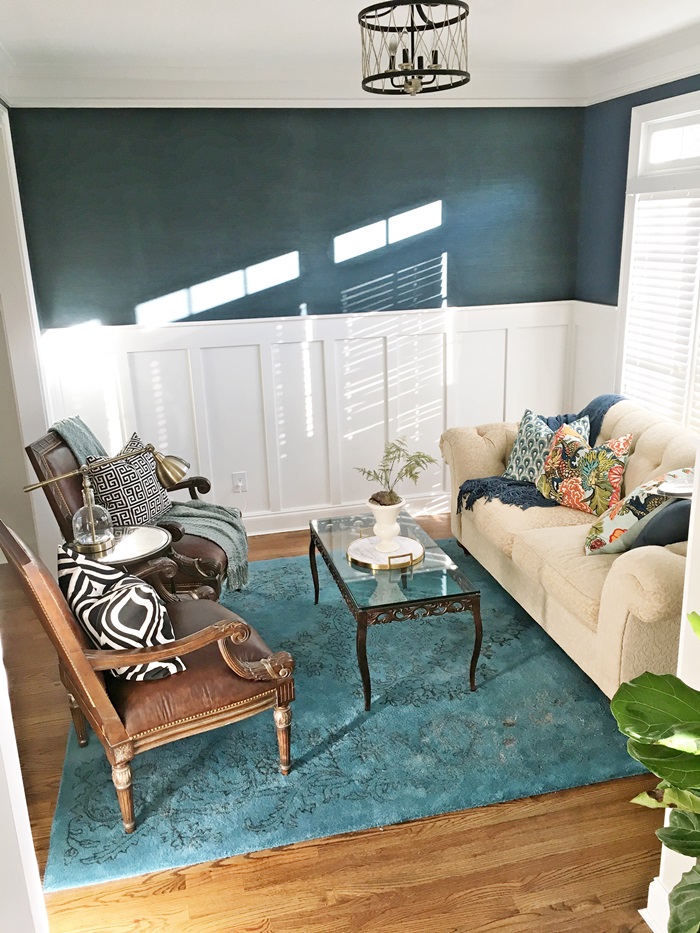
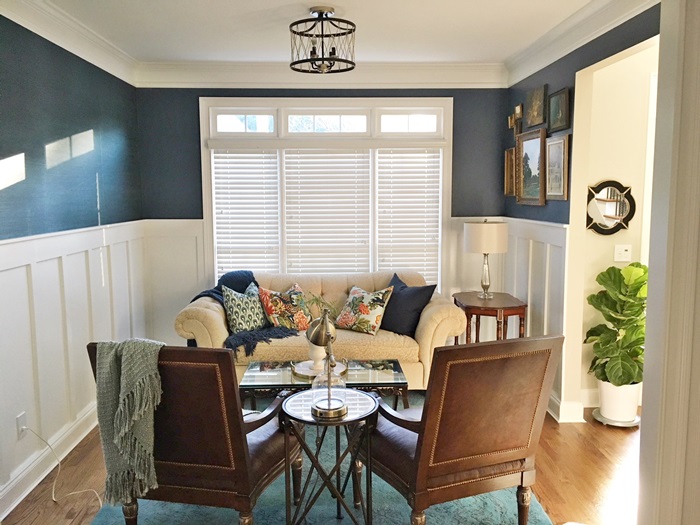
We ended up switching the living room rug with the family room rug, since this one is a little smaller than the teal zebra one I had in my old living room. The zebra is now in the family room and looks great. I love this one in here. Love the shades of teal and navy and how the pillows really pop now. Those leather chairs I dyed look great too, don’t they?
It’s sort of a shame that this long wall is going to be covered up along with Mark’s handiwork, but Mark has a big cabinet that he loves with glass doors and storage underneath that’s coming in here. The color is similar to our wall color, so it will look great and of course, I’ll share it when it’s all together. It will be here before I start putting up the tree so you’ll see it later. It’s been sitting in the garage all this time, but its final home will be on this wall. We can display pieces inside the glass doors and on top and it’s very tall too. I think it will look great in here and add another level of cozy to the room. This is not a big living room, but it already feels cozy in here with all the furniture finally in place.
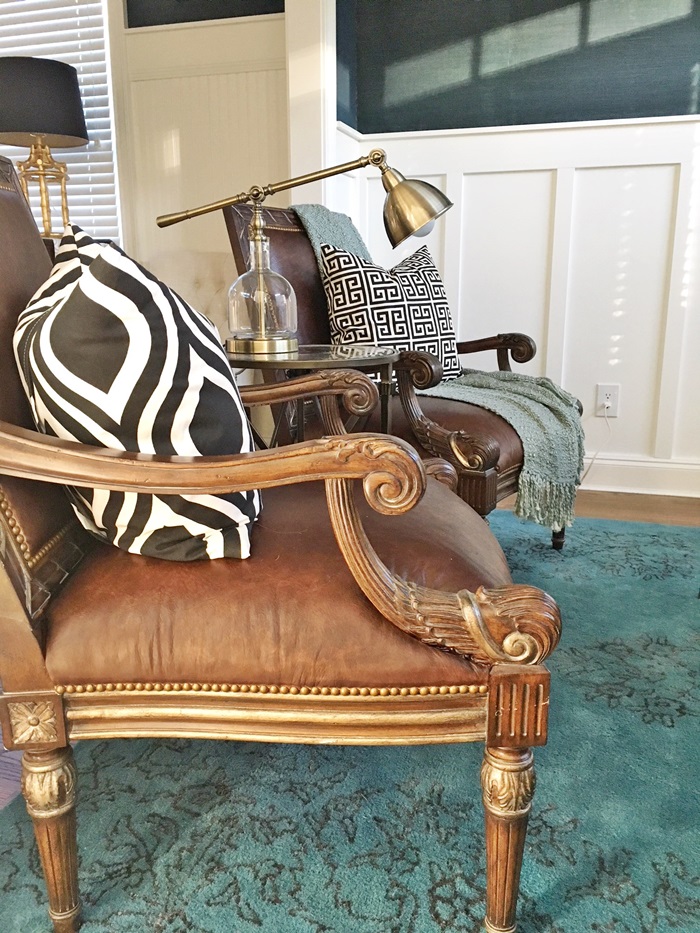
Loving the leather chairs that I DIY dyed! If you missed that tutorial go back and see how I changed them from caramel gold to deep brown. I love all the light coming in this room in the morning.
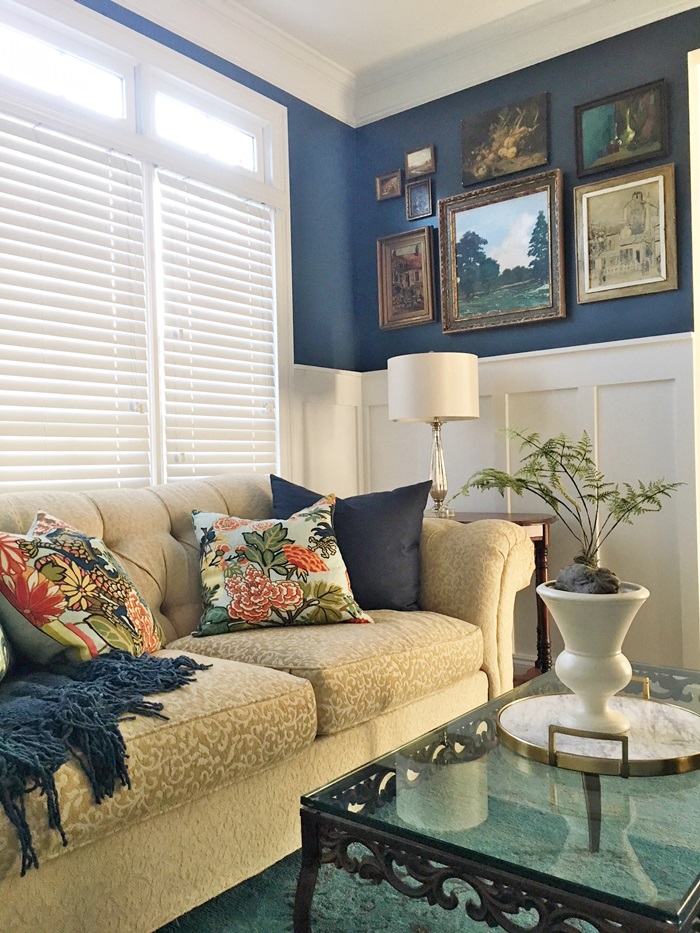
I added my little gallery wall of vintage paintings in here that I still love. They look pretty great on that navy wall. Wall color by the way is Ben Moore Spellbound. Great color!
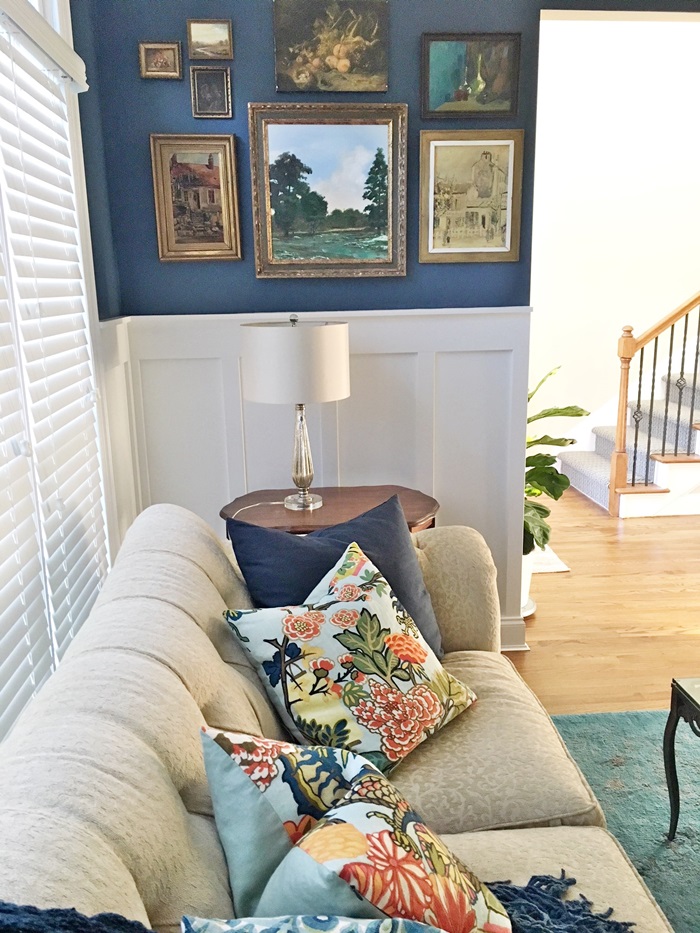
We are just loving how it’s all coming together. This is the first space you see coming in our front door and I love it now!
Some asked about my pillows, so I’ll link them here. I’m about to put together a whole shopping page on what I have, what I love, and things are are my style for you to browse and have available, so stay tuned for that all in one place.
Peacock pillow (affiliate link)
Schumacher Mai Chaing pillow (affiliate link) This is my color way, but no fringe on mine.
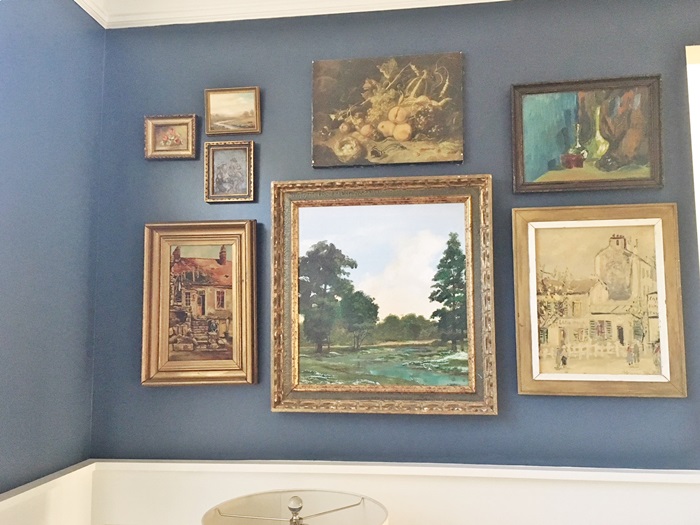
These little paintings mean a lot to me and it was fun collecting them. I’d love to get more original artwork eventually and mix in some contemporary art too.
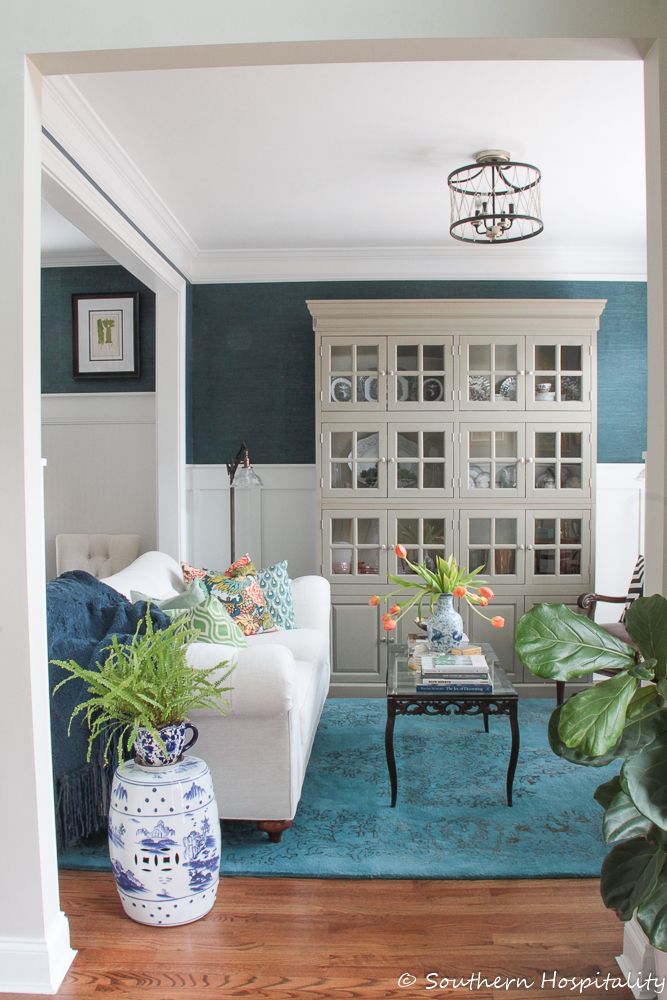
And here’s the view looking into the living room from the dining room. You can see one of our new light fixtures from Lamps Plus is in there and what a difference that makes too! I’ll be sharing all of those in another post.
You can also see how tiny this room is! Not big, but very cozy. Once Christmas decorating gets started, the sofa will have to move out from the windows, so I’ve got plans for it soon, which I’ll share at the bottom. It’s getting recovered! The fabric is starting to look so yellow to me now (after 13 years) and we want to freshen it up with new fabric. The sofa is still in great condition, so it will have a new lease on life after recovering.
Current view:
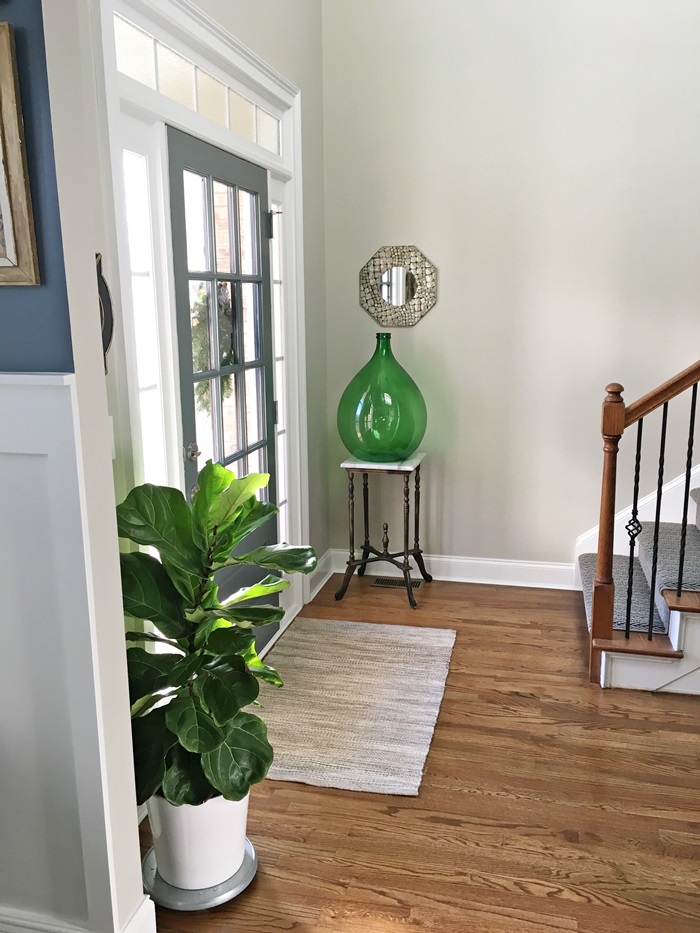
I added a cute natural jute rug in front of the door from Target, added one of my fiddle leaf fig plants that I picked up from Home Depot a few weeks ago. I love my big green wine bottle from Italy and it fits nicely here in the corner on top of an antique marble plant stand. I thought these 2 mirrors were nice accents in here too.
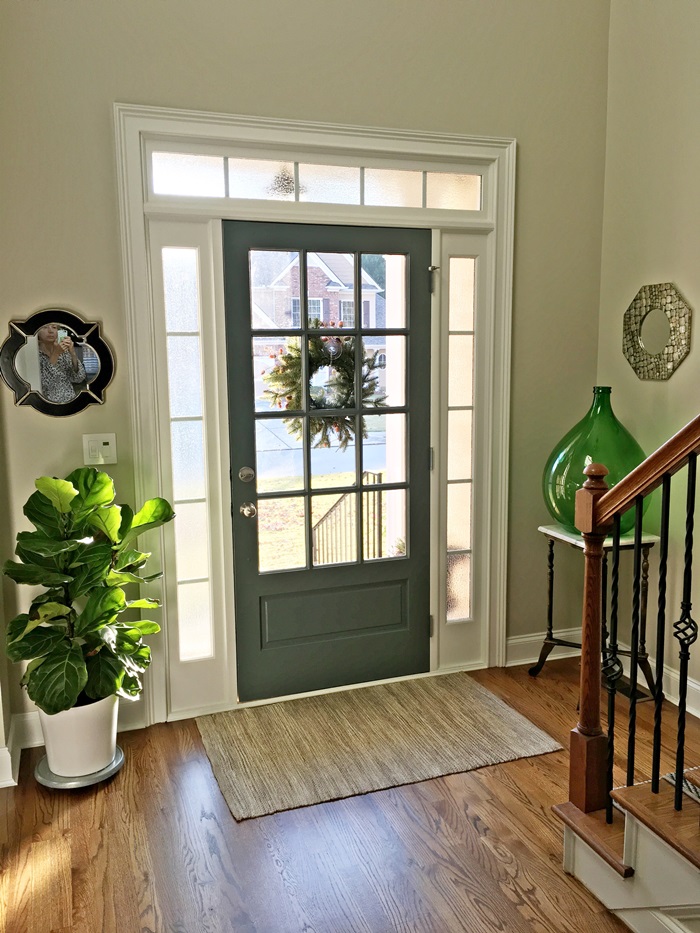

Target Threshold Jute rug (affiliate link)
Oops, you get to see my leopard print pjs in the mirror, but here’s a good look at the front door. Mark painted the front door in the same color as our kitchen bar and cabinets, Ben Moore Knoxville Gray and we love it! It looks really dark here, but it’s a gray blue.
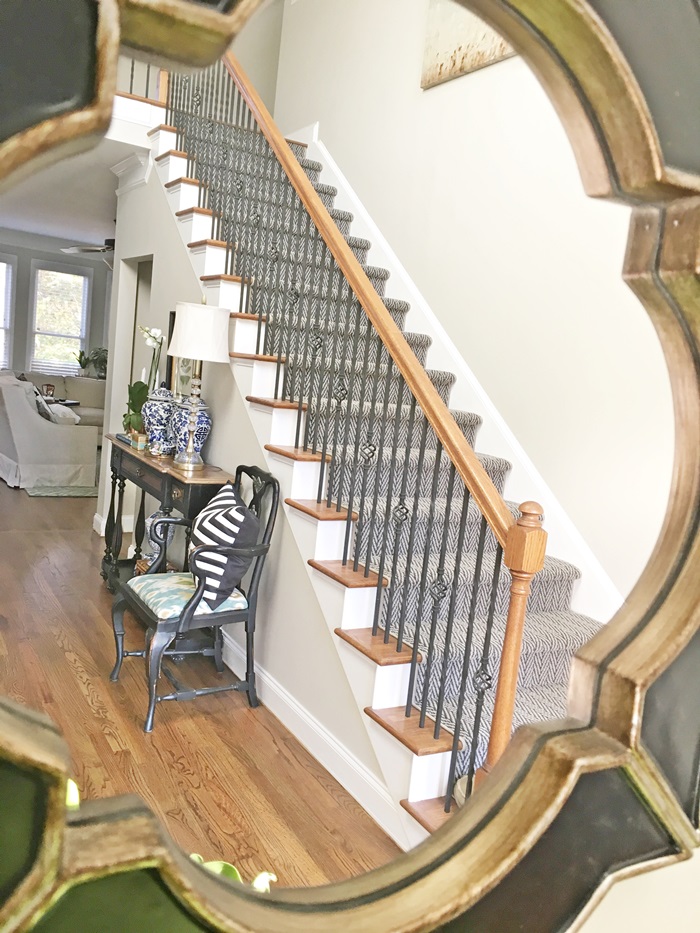
And here’s a peek at the foyer table I got a few weeks ago too. Ordered this from Joss and Main and just love it, it’s a Hooker piece which I’ve always loved that brand. It was on a really good sale when I bought it. I’ll share more of the foyer table and lots more in the coming weeks, with Christmas coming! It’s almost time to get all of that out and get started.
Hooker Sanctuary console table (affiliate link)
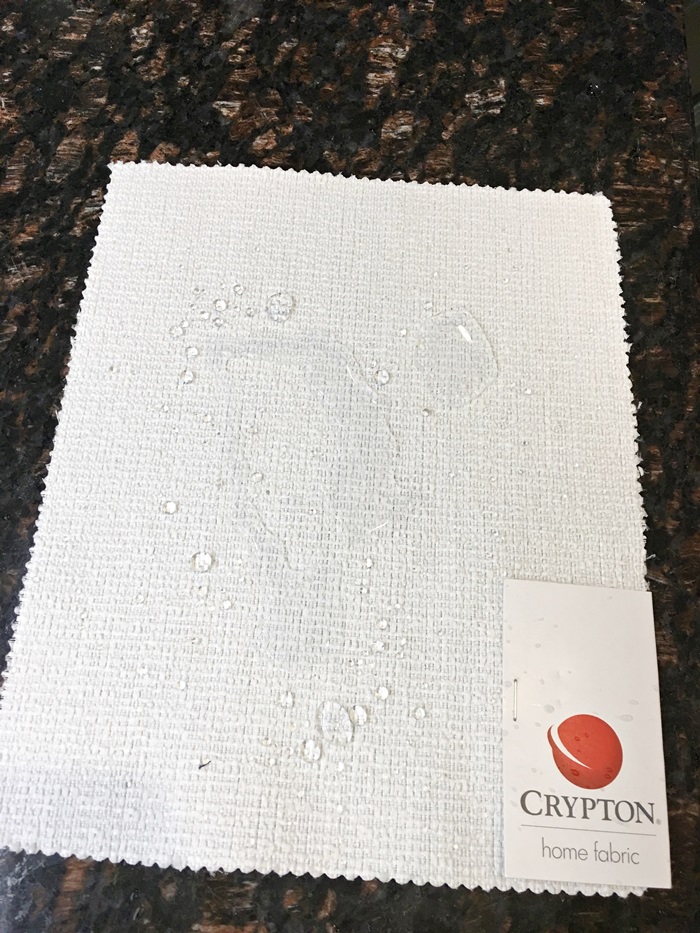
Speaking of Christmas, I’m hoping during the Christmas holidays to get the sofa in the living room reupholstered by a local firm. I met Crypton Fabrics in my visit to High Point market in the spring and reached out to them about getting fabric and they are going to provide their performance fabric for me to recover my old Ethan Allen sofa that I’ve had since 2004. Yay, I can’t wait to freshen it up with new fabric! I’m going with a brighter shade, not stark white and this is not the exact sample I’m choosing, but I wanted you to see how it performs. Water and liquids bead up and roll off and stains don’t penetrate.
When I saw this demo in High Point, I was blown away and now I’ll have Crypton on my EA sofa! Can’t wait!
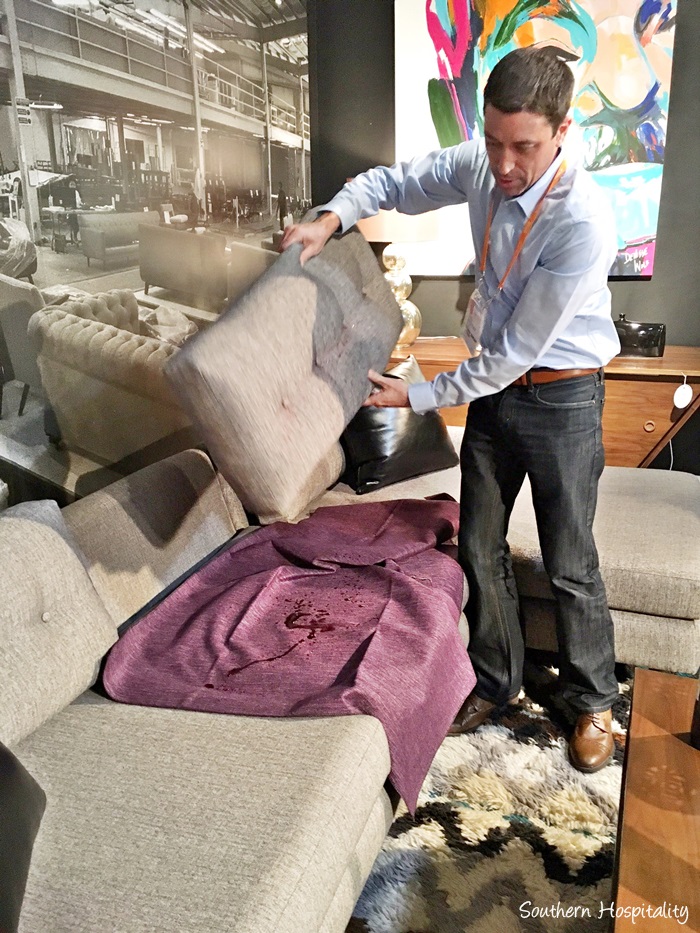
He poured red liquid on the sofa pillow, picked it up and it all rolled off and he just blotted up the rest. It’s pretty amazing fabric and I’m excited to get to use it on my sofa!
I was so excited to share all these updates with you and show how it’s all coming together now. What a difference to have the living room and dining room all finished and ready for the Holidays. We are so excited that next Saturday both our families are coming over for an Open House at our new home. My parents haven’t been here yet (dad just hasn’t felt like getting out much) and they all haven’t met each other yet either, so we are so happy to have everyone come over and celebrate with us. I’ll be sure and take some pics to share with y’all!


The house looks lovely!! I know the family get together will be special. You and Mark are quite a pair!! xo
Rhoda, that looks gorgeous! If you could figure out how to clone Mark and rent him out, you would be rich!! I love your special art wall and that big green bottle. Where did you end up putting the beautiful, smaller green and blue oil painting from your old house? That little painting really spoke to me. The comments about the pillows and throws were a little strange…I personally love them. Guests sometimes throw my stuff on the floor too, but it’s really there for me to look at and enjoy!
Hey, Roxanne, I have that little painting and will probably use it on my foyer table again after Christmas is over. I love it too and a friend of mine painted it for me!
I love the way the colors work together in this room, and the wood floors are perfection. Would you be willing to share how the rooms downstairs flow together? I am having a hard time visualizing how the spaces work with one another. You and Mark definitely make a good decorating team, watch out Joanna and Chip!
Hi, Stacey, sure I’ll be sharing more finished pics too since the living room and dining room are finished, so stay tuned for lots more pics soon. The living room,dining room, and kitchen all flow together and circle around to the family room.
Rhoda, your house is looking amazing as I knew it would! You have so many things I want to copy! I continue to love your style and your blog!
Wow! That amazing woodwork really changed your entire room! Gorgeous! Love seeing how you are styling your new home. Thanks fkr sharing with us. (I love pillows too! Just a personal thing I guess)
Absolutely stunning, Rhoda! You got you one amazingly talented wood workin’ man right there. Great, great job, Mark!
Rhoda, the room is just beautiful! Mark did a fantastic job and his work is professional! So excited for you!
Absolutely beautiful!!! Y’all are a great pair! Excited about your “new sofa”! Love that fabric! It’ll be great with little ones around! Can’t wait to see what y’all do for the holidays! Beautiful wall color and I love how the indoor front door ties into the same paint used in the kitchen! Both of you are very gifted and blessed! I’m still at WOW looking at the pictures! And what a fabulous job DIY on dying your leather chairs! Mark did a phenomenal job with the trim and board and batten! Yes – he can also “retire” and do what he does best! Everyone wants to hire him!
We just put a contract on a house in Canton and my daughter just moved into a brand new house in Woodstock. Her house has the board and batten in the foyer and dining room. I intend to copy that in my home too. Thanks so much for the tutorial. My husband is a great trim carpenter too, but it will be ever so much easier to follow your tutorial.
Welcome to the area! I’m glad you liked the way Mark did this board and batten, we really love how it turned out too.
It is all coming together so lovely! Congrats on your beautiful home!
It’s gorgeous!! How high up the wall did you do the well treatment? We are about DIY board and batten as well and I can’t decide if I want to take it up 4 feet or 5 feet. I have art I want to hang above the paneling like you as well.
Hi, Elena, our ceilings are 9′ tall and we went up 55″, not quite 5′. We did a higher treatment in the room next to it, the dining room and wanted more wall showing in this one. We love how it turned out.
Love your blog!!! Questions about your Board and Batten…How does one determine the height of this treatment on a wall? How did you decide on the different heights in your dining and living rooms? Thank you!!!
HI, Leisha, it really is a matter of preference. I just looked at pics I liked and went from there visualizing it with our ceiling heights. We wanted the dining room to be higher than the living room and not matchy so we did them different for each room.
Great woodwork!! Can you share what exact color that is above the battens? I see you mentioned navy, but I would like to have that in my office!
HI I color matched my grasscloth wallpaper that’s in the room with Spellbound by Ben Moore.