With a total of 3 work days on the bookcases and that was after I spent a little time putting them together, we finished up this project earlier this week and it’s definitely one that makes me really happy to see completed. I’ve envisioned bookcases in this corner since I moved in and thought that this project would totally enhance my downstairs den and it really does. That room is very large and the seating area for the TV only takes up about half the room, so it makes sense to make another seating area in this corner of the room. I loved the idea of a library feel with bookcases, plush chairs and a rug and table. So, this is the beginning of that transformation in the corner and I couldn’t be happier with how it’s turning out.
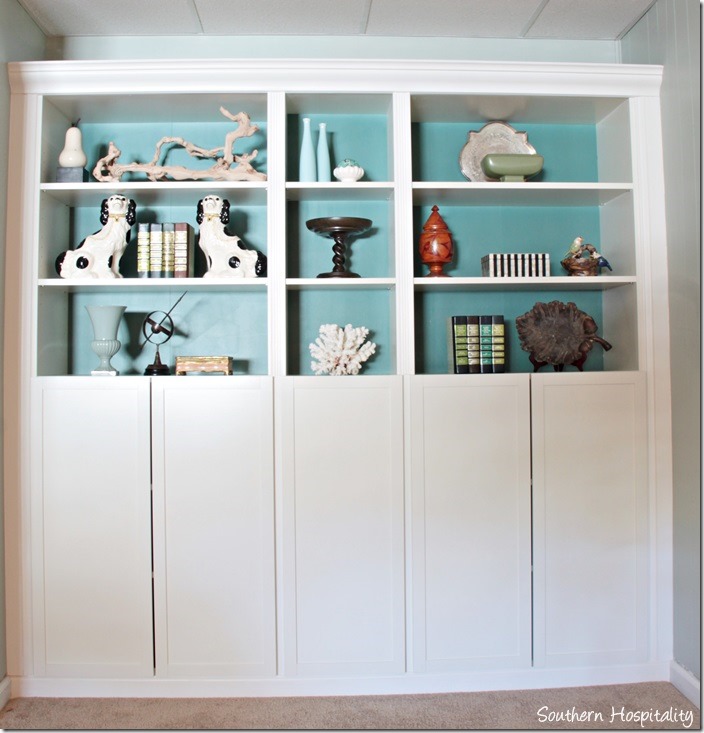
Tada! Here’s the finished bookcase and I’ll share how we added all the molding, one step at a time. This was a very fast styling job, using all my yardsale stashes that are in my storage room. It will be changing I’m sure, but it sure is cute with even these things added. I had to do a quick photoshoot for my Lowes post this month, so as soon as I finished painting, I started styling and shooting the photos. I love it!
Of course, I’ll share all the progress as I go along and make some fun changes in this space with furniture and accessories too. I hope to get better pics of the bookcases later, but this was the best I could do right now. This room has low lighting.
Last I left you in Part 1, we had the bookcases put together (see this Ikea Billy post for how I put them together)and then we nailed them all together and attached them to the wall so they would be nice and secure. All that was left was adding the molding. We went to Lowes, who I work with as a brand ambassador and bought stock molding to get this project finished. I spent just over $400 on the bookcases and doors and $66 on the wood trim to trim it all out, so this project was done for under $500. Not bad!
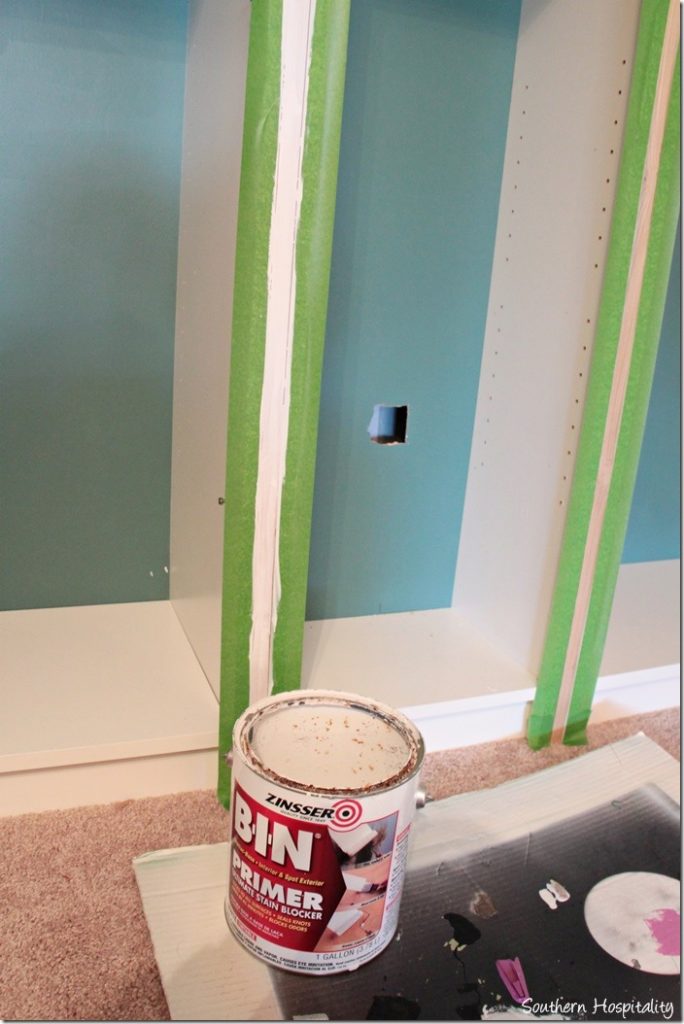
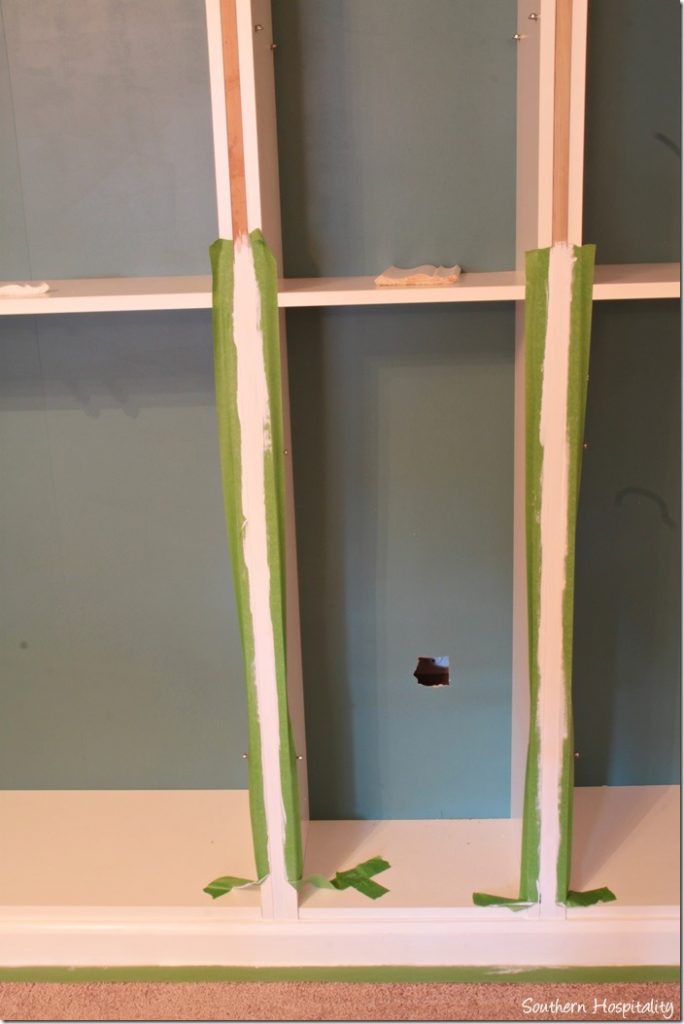
After we used a 1×4 in between the bookcases, nailing them together and creating a 2 and 1/4” front for stock molding, I then painted that strip in the middle which will be in between all the doors that go on. I primed first, then painted.
For those asking about the background color on the back of the bookcases, it is Liquid Jade by Valspar. I shared all the how-to’s in the post linked above, putting the Billy bookcases together.
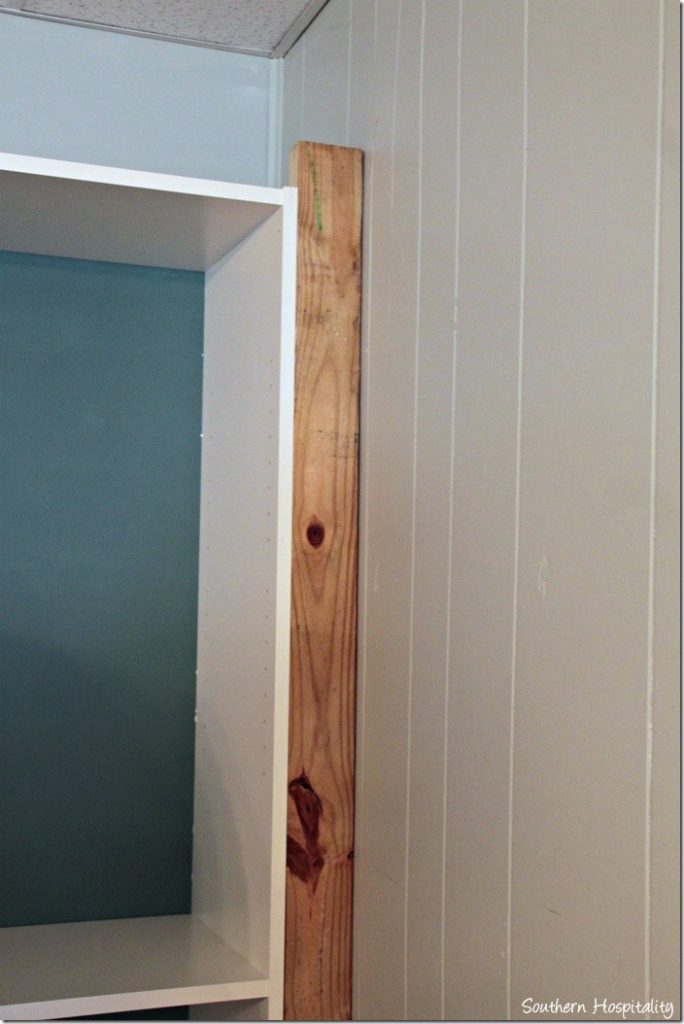
We used 2×4’s to add to the sides of the bookcases to create a nice firm base to nail on our trim molding.
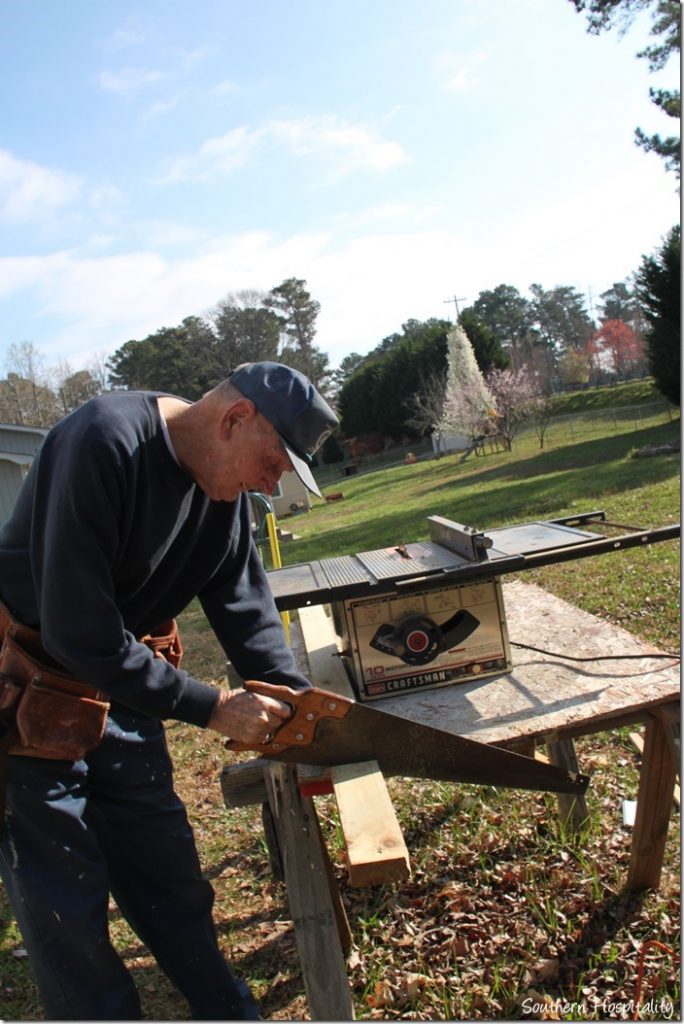
We had to rip them down just a bit to fit on either side of the bookcases.
Like this!
Now you can see how they went in. We tapped them into place and using my small brad nailer I nailed in nails from inside the bookcase, into the 2×4. The nails are really small and I touched them up with a little caulk and it hardly shows.
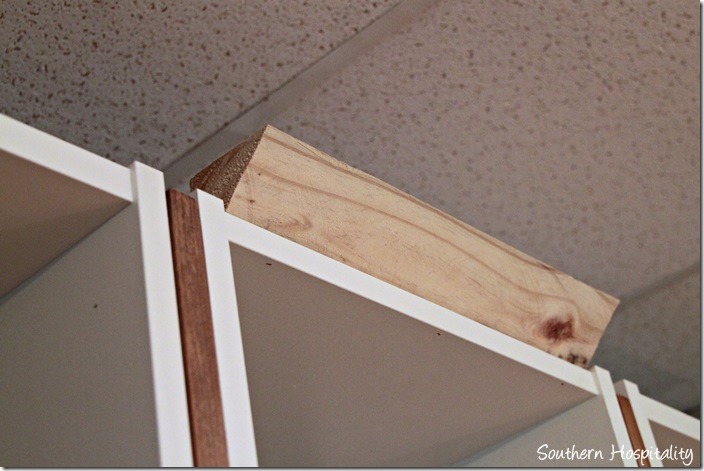
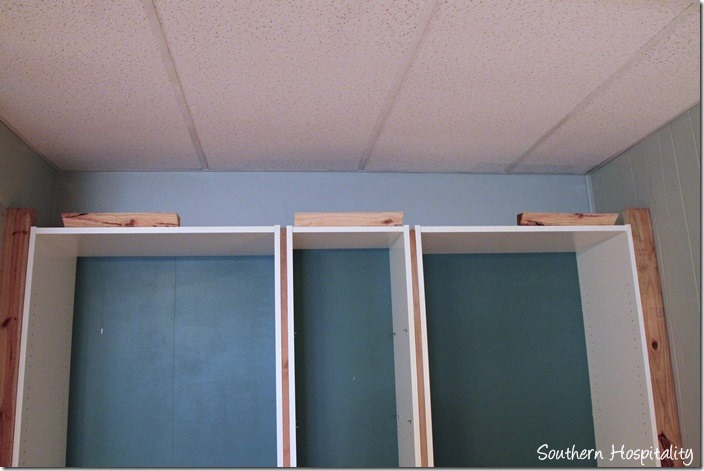
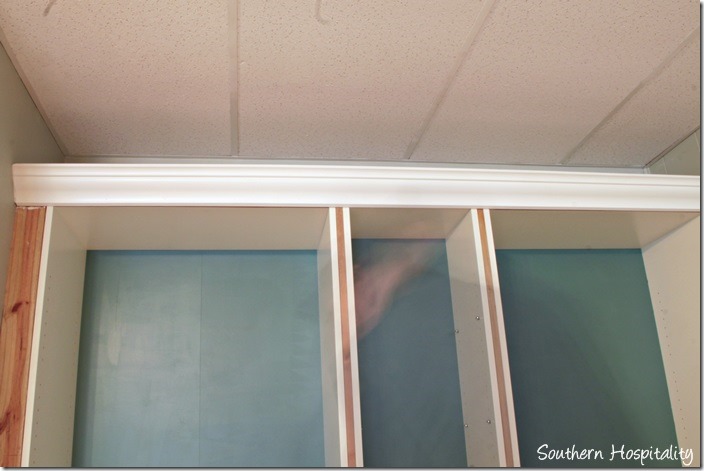
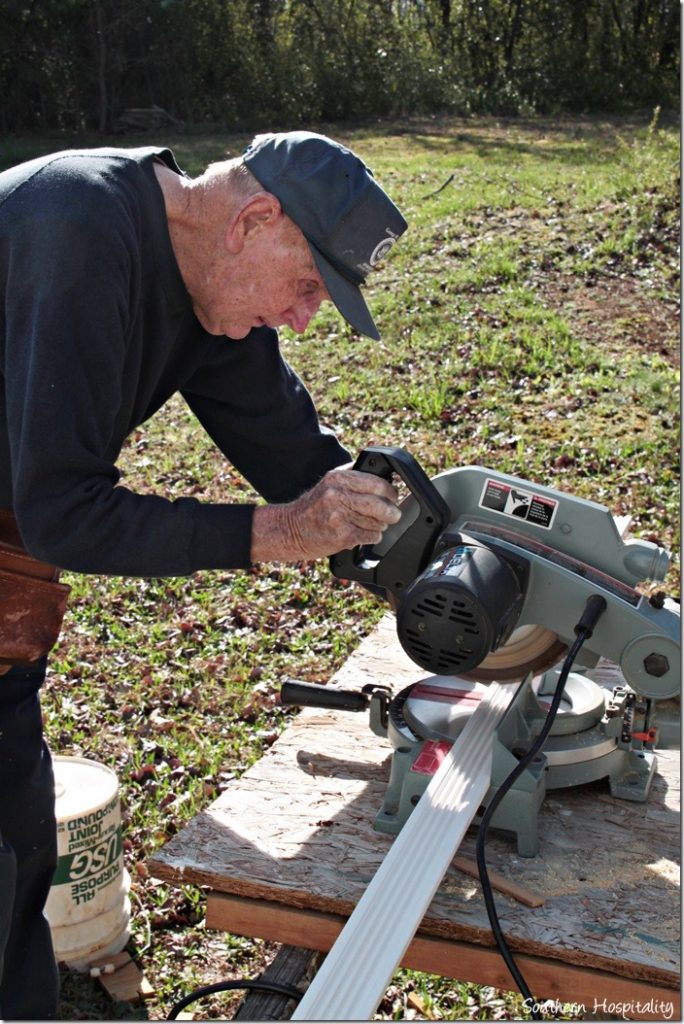
Next we worked on creating an angled ledge to nail the crown molding to. This was Dad’s idea, he wanted something solid to nail to so he ran a 2×4 at a 45º angle on his miter saw and we put these in place with the brad nailer too.
Like this, all the way across. Now we will have something solid to nail the crown molding on.
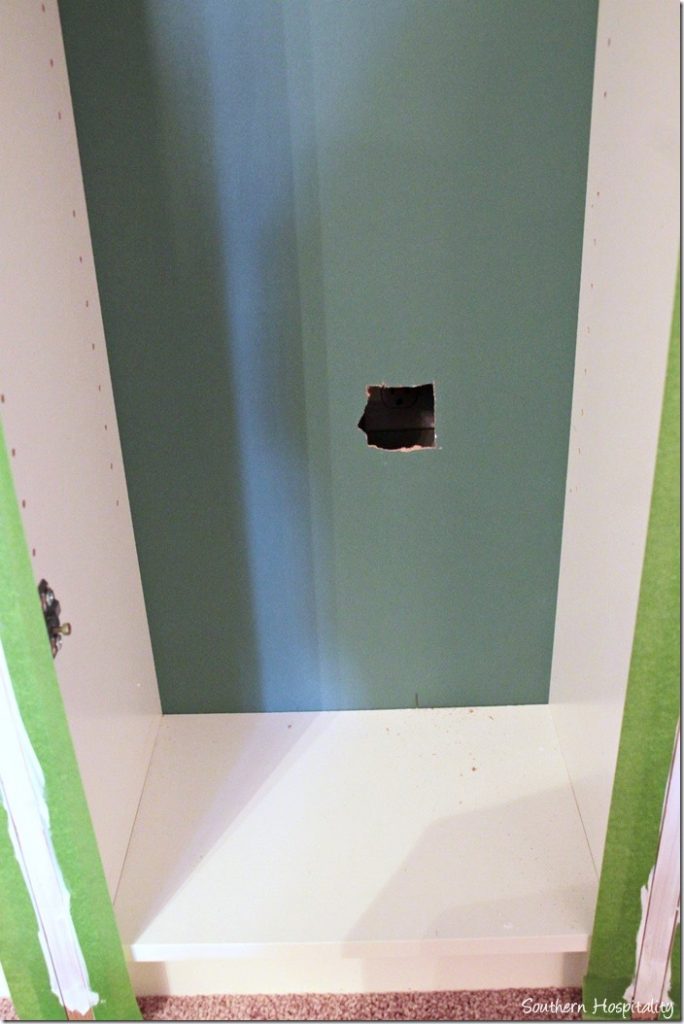
There is an electrical outlet behind this middle cabinet, so we measured and I cut out a small square with a utility knife (not very neatly I might add). This middle cabinet is only 12” deep and the large ones on either side are 15” deep, so we brought this one to the front so it would be flush but it sits off the wall 3”. Cutting the hole will allow me to get an extension cord plugged in that I’m going to bring to the top of the bookcases to install some puck lights later. This cut out will be hidden behind the door.
Someone mentioned that they thought these 15″ wide cabinets also come in the 15″ depth, but I didn’t see them at my Ikea.
So, we nailed up the baseboard molding across the bottom. It’s funny, but most every project we do together, my dad and I disagree on something and this time it was the baseboard across the bottom of the bookcases. When I told him I wanted to use the same baseboard as on the walls in here, he argued with me, wanting to use a plain 1×4 board across there. I said NO WAY! We are using the same baseboard and it will all line up. I even showed him other bloggers who have done this project and how it all turned out so good. It took some bickering back and forth, but I finally won my case and that’s what we did!
We added a long piece of baseboard across the bottom, mitering it on either size, so that it met with the existing baseboard that was already there. We did have to remove the old baseboards, cut them down to fit back in and miter them again. Then, it all worked out great! They went in like a charm and after caulking and painting, it all looks fantastic. So glad I won that argument! ![]()
There was a small gap behind the baseboard molding and the crown molding, so my dad cut out small strips of wood and nailed those into place too, behind them both. It’s not absolutely necessary, he is just old school and likes things to be solidly nailed, so it filled in the gaps, then I used caulk to blend it all together. Those are the kinds of things you have to be aware of in projects like this.
Here’s the crown molding in place. We put that piece in first, then the bottom baseboard molding. Then we did the 2 front trim pieces and lastly, the side molding.
Here’s the large baseboard molding that we used on the sides. We bought a wide piece and ripped it down to fit each side to be sure it ended up where we wanted it to be. As with all projects like this, the more you caulk all the seams the better things look, so I did that too.
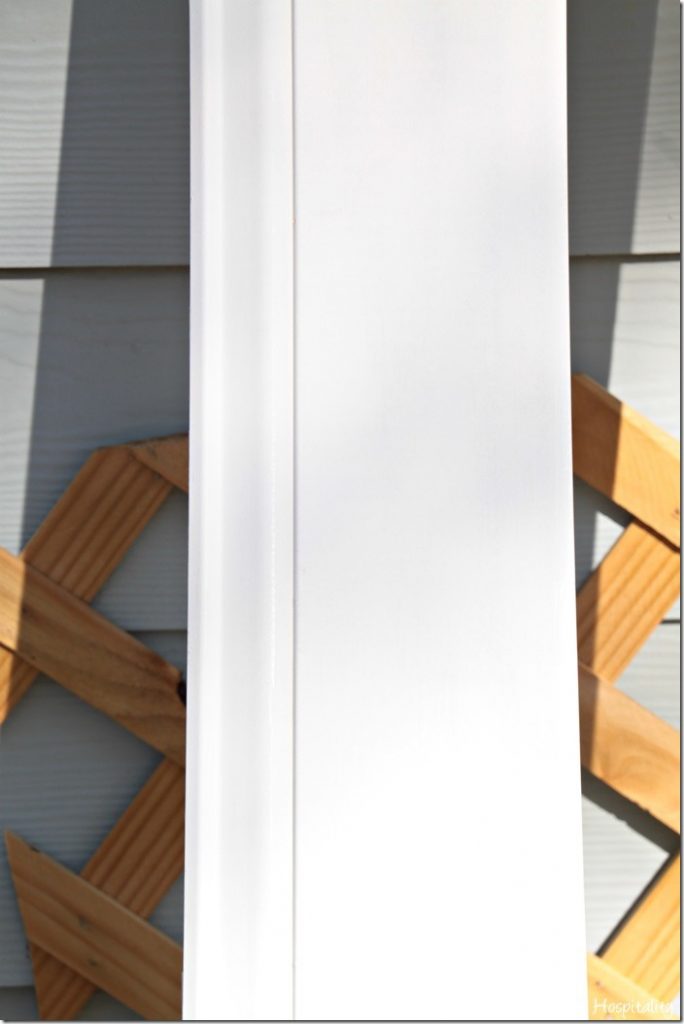
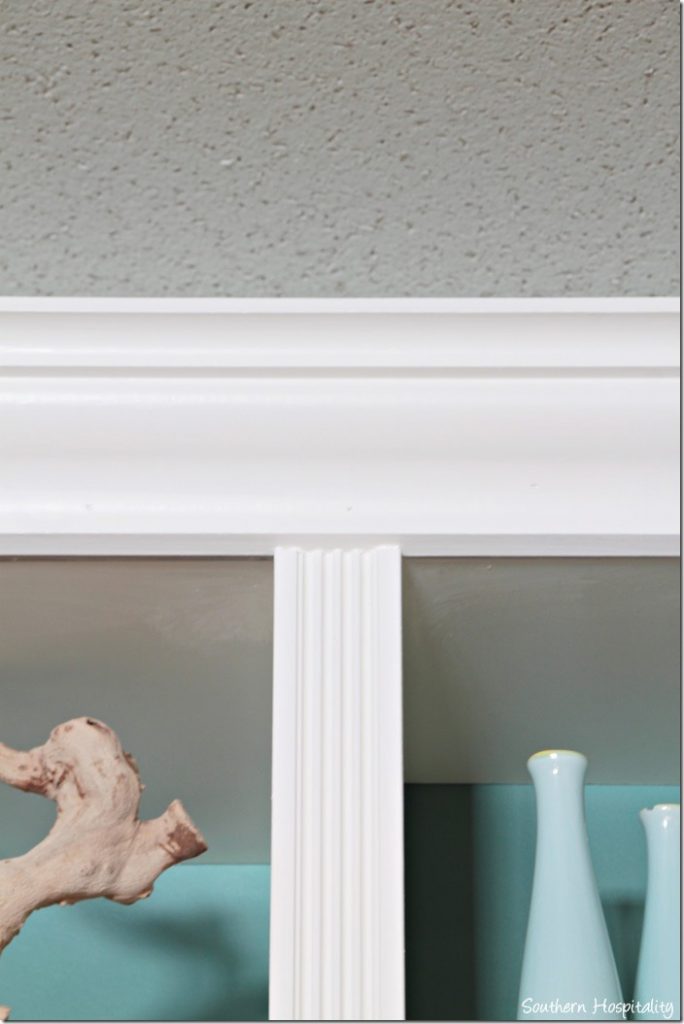
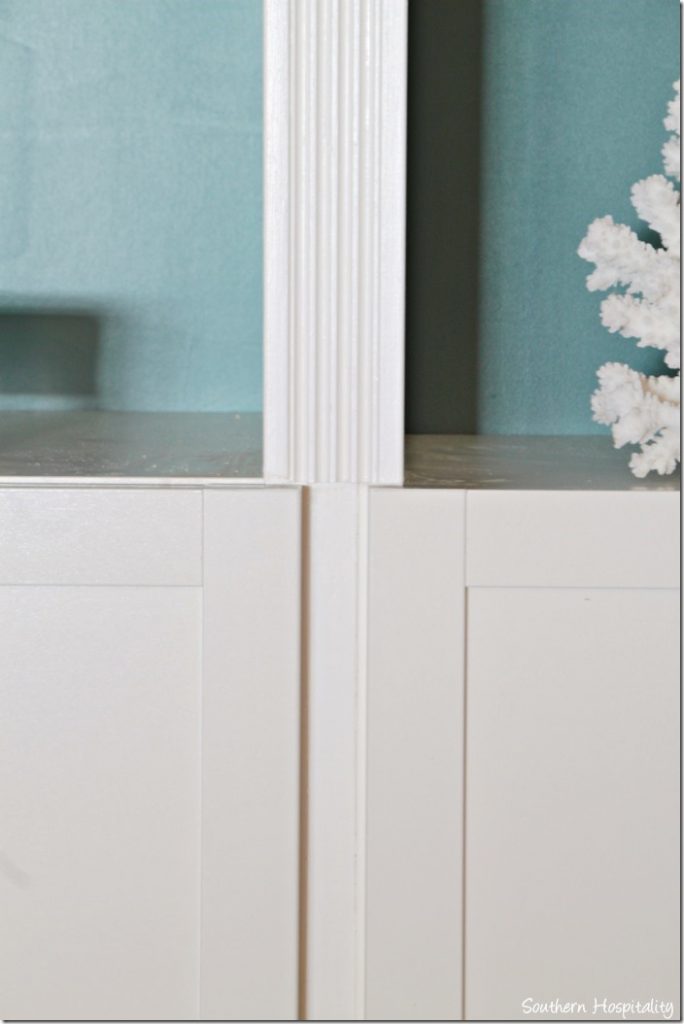
I used a 2 1/2” piece of reeded wood molding for the middle bars and it sat perfectly in place covering up our seams. With the doors at the bottom, I couldn’t run the molding all the way down, so we stopped it at the doors and it really looks good.
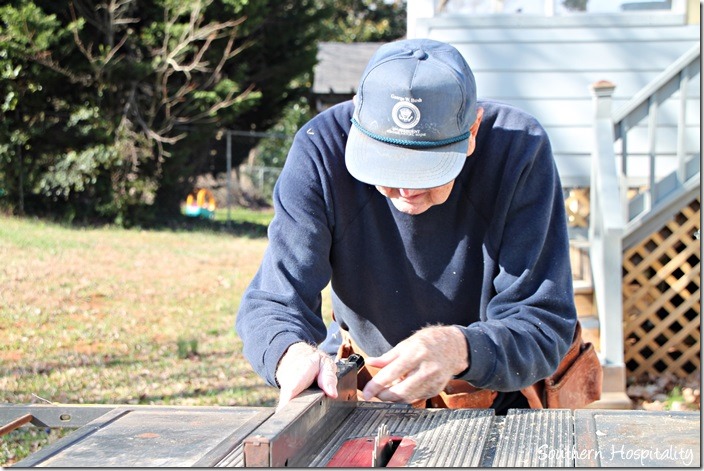
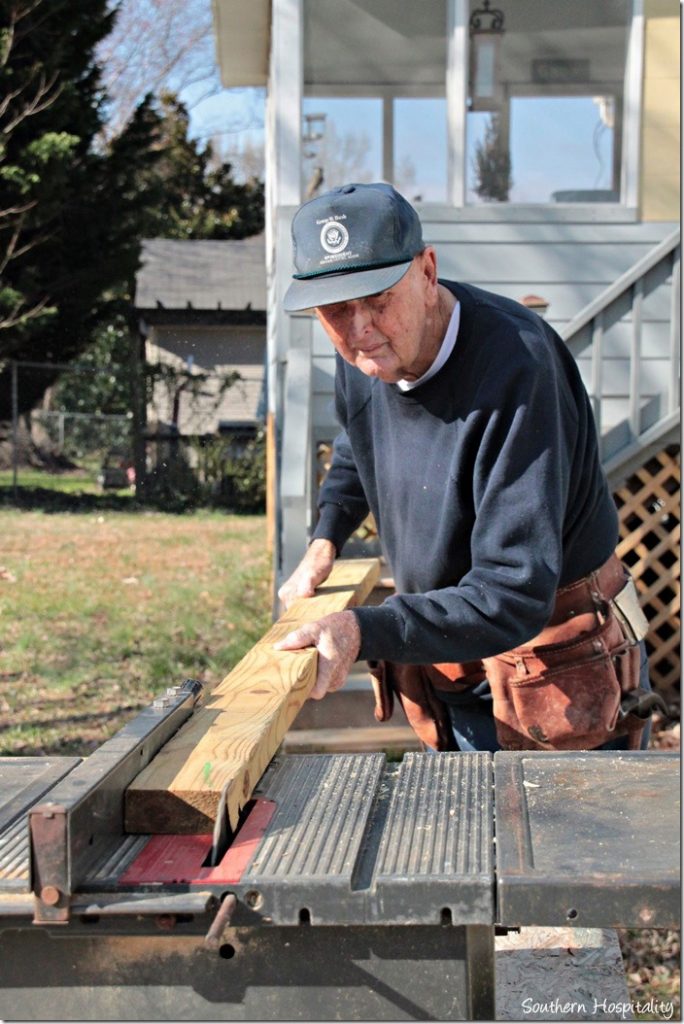
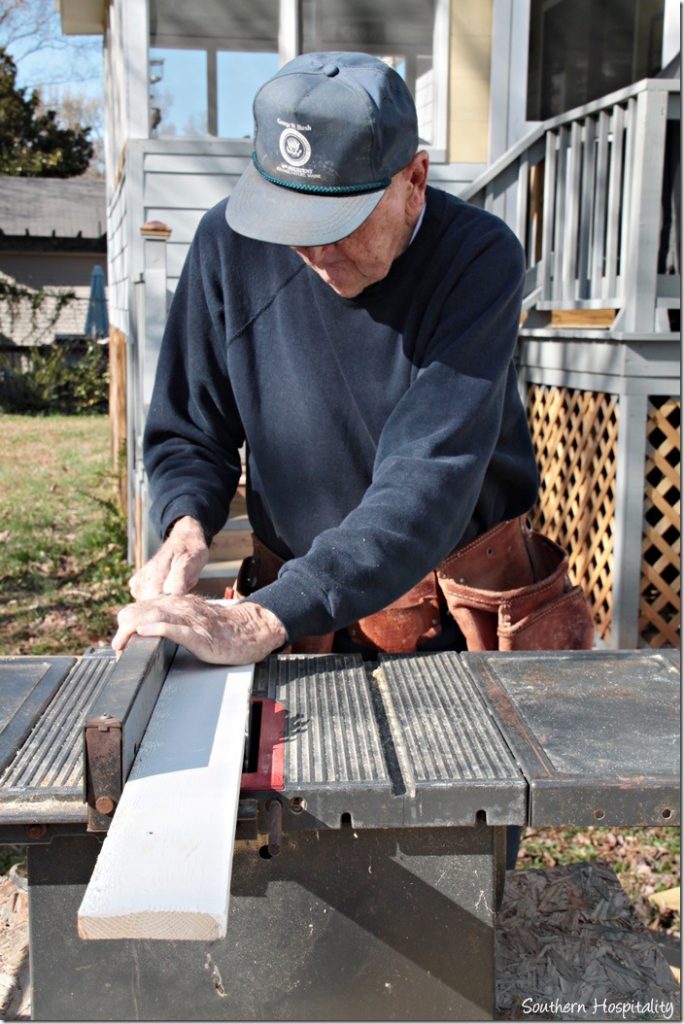
Dad measured a piece of wood in the table saw so that we knew the exact width to cut the baseboard piece that we were using on the sides.
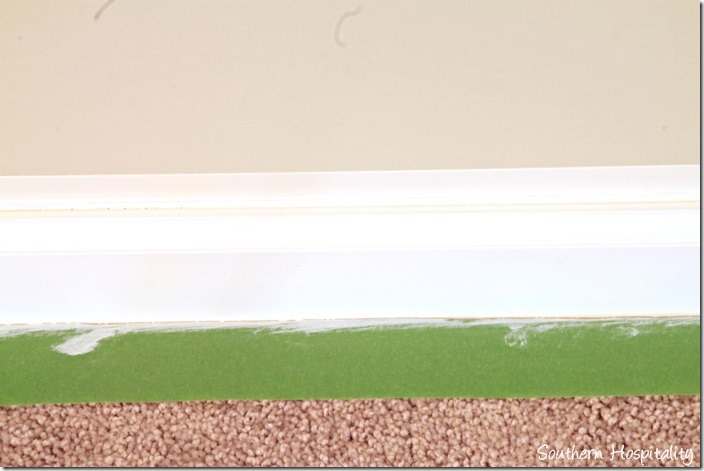
Baseboard molding caulked and painted. I didn’t stop and take pics of nailing up each of the molding pieces, but you can see them finished below.
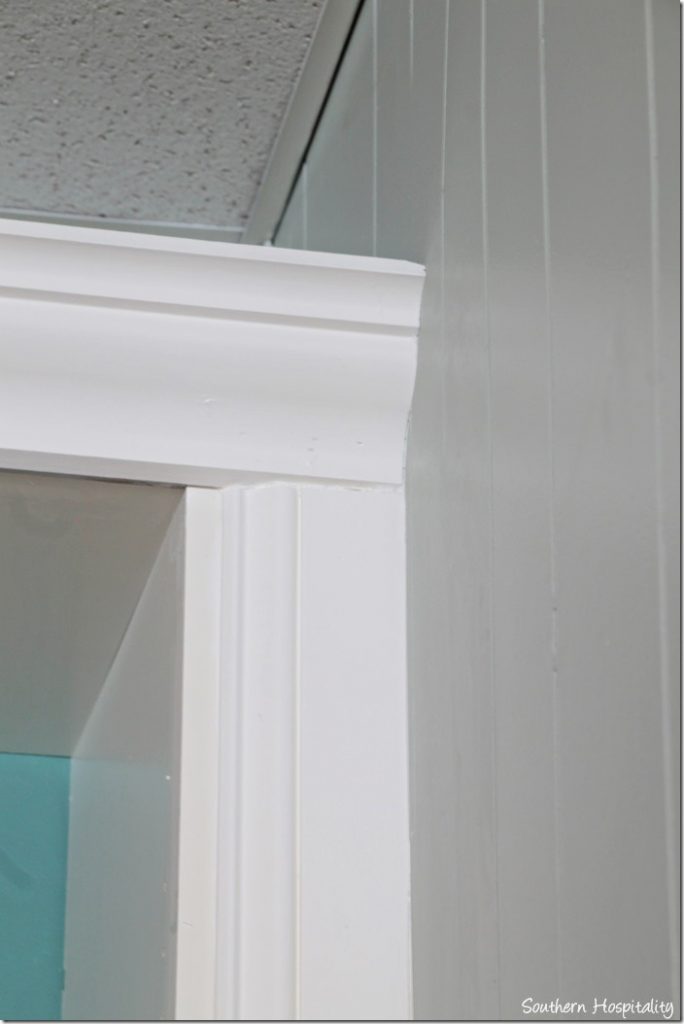
And side pieces all in and caulked and painted, butted up to the crown molding.
Reeded molding in place on the top of the bookcases.
And this shot shows how it stops at the top of the doors. I caulked and painted that whole strip below the molding down to the floor to make it all look seamless. Using Kate’s guide, I bought a quart of Dove White paint from Valspar to match these Billy bookcases. It’s not a perfect match, but it works just fine. You could take a door or shelf with you to the store and ask them to color match that, but I just used what I saw recommended already and I’m very happy with the match.
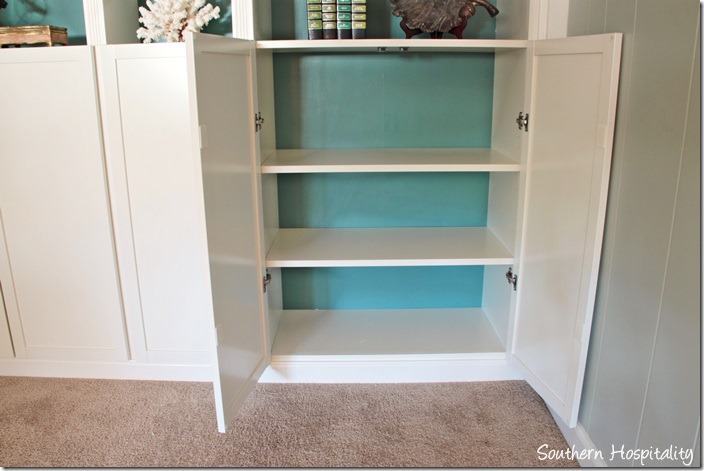
Doors open with shelves inside. Some of you will probably ask if I’m adding knobs. I think I’ve decided to leave it plain since these doors come with clickers that push open when the doors close (you know, those clicker things) and I like the clean classic look of the doors with no knobs, so I’m pretty sure I’m going to keep them plain. It sure will be nice to have all this storage!
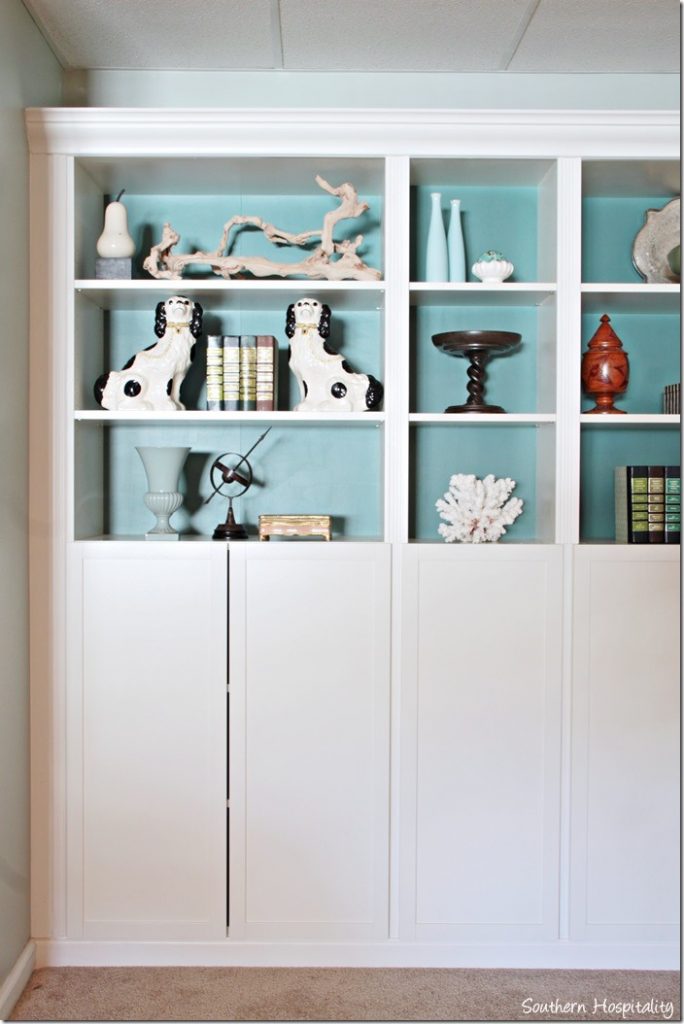
And the bookcases are all finished! I couldn’t be happier with how this has turned out. Just like I envisioned it!
I’m so happy that I followed the lead of so many other bloggers and tried this project myself. It was an easy one for me and my dad to accomplish and we got it all figured out and done in just a few hours. I will be working on this corner more in the future, getting it all set up as a reading nook and I think it’s going to turn out so cute!
Again, here are all the posts on this project:
My Inspiration post of all the bloggers who have done this project.
Putting the Ikea Billy bookcases together.
Part 1 of Installing the Billy bookcases.
I used Dove White by Valspar as the colormatch white paint for the Billy bookcases. It’s not a perfect match, but good enough!
I hope you enjoyed seeing this all come together. I sure did and my dad is pretty darn proud of it too. This is my Lowes project this month and all of the molding trim was purchased at my local Lowes.

Check out Lowes Creative Ideas Magazine app, visit Lowes on Facebook, and Lowes on Pinterest.
You can see Lowes on Instagram as well. Instagram is fun for every day real life happenings.
Disclosure: As a Lowes Creative blogger, I am sent gift cards to spend on projects and to blog about them. This post is sponsored by Lowes, but all ideas and projects are my own.



Wow, Rhoda – yet again, you and your Dad pulled off a brilliant project! Looking good, and can we see the shelves behind the doors please when you have stashed all your clutter away?! Inspirational.
Rhoda, this is beautiful! And your dad is so great!! Love it!
Hugs,
Vesna
I think you and your Dad did a wonderful job. The bookcases look great. I am sure you have added so much to your family room.
Rhonda,
What a beautiful addition to your family room. Seeing your dad working with you on this project brings my father to mind and how much I miss him. We did a lot of projects together on my first and second houses and I learned so much from him. You are so blessed to have him helping you, and teaching you. What great memories you are creating that will stay with you always.
What’s next? I can’t wait to see your next project!
Blessings to you both, Susan
Susan
You and your dad are an awesome team. The bookcases look wonderful.
Oh, Rhoda! I have a serious case of bookcase envy going on! It turned out perfectly, and how wonderful that your dad is able to help you bring your dreams to life. Thank you so much for the detailed tutorial. I have seen several examples of people across blogland doing this, but this is the best step-by-step instruction I’ve seen. I really like the contrasting color in the background, too. As always, you’re amazing!
Love the finished shelves! I can just envision one of these in the nook at the end of my hallway…I have tons of books, vintage white pottery for the shelves and a basket collection to put on top! Love to see your Dad helping with all your projects!
Hello Rhoda.
I have a pair of similar bookcases beside my bed, on the inner side I have placed ‘Billy Baldwin’ swing arm lights. These bookcases look great and you are a gem to show your Blog readers the step-by-step method of making such things.
I miss my father very much, like Susan who posted a previous comment. He was a Antique Dealer / Interior Decorator and the first agent for Colefax & Fowler’s Fabrics & Wallpapers back in the 60’s and could and would, like your Dad, turn his hand to do anything around the home or garden.
The great thing about having a parent who can ‘do or make stuff’ is that we learn how to do it properly. If you have stuff done by an outsider, they are not that happy if you watch their every move, whilst my Dad would say, “Hey, come here and hold this, do that, mark the line here”.. rather like watching my mother cook!
I thought you would like the tale of the actress in NYC, I am not sure who laughed more, her or myself when I had recovered from seeing her face to face (which as remarkably beautiful in ‘real’ life).
Best wishes from London.
Sara.
You and your wonderful dad make a great team…the bookcases are fabulous!…I love the trim and the color in the bookcases. Thanks for the tutorial Rhoda!!
I really, really love this finished project!! You guys did a fabulous job—–pinning it to try sometime in the future:) The custom moldings you added really make this stand out above some of the billy projects I have seen. Your Daddy did a great job:) Have a great week Rhoda.
Love your bookcases but love the pictures of your Dad even more. Every time I see his picture, I think there is one of God’s unique creations. He is a wonderful Dad, husband, and father. He is a hard worker and has been all his life. I feel so Blessed just to see and read about him through your blog. You are indeed Blessed to have him as your father and the same goes for your lovely Mom.
Hugs,
Connie
They look great, Rhoda! I’m so proud of you and your parents for taking on basically everything in your “new” home yourselves. You’ve done such a wonderful job. 🙂
Thanks to you and your dad for making this project look so easy!!! I know it took many many steps to get it right….but the end result is just beautiful!!
Can you tell me if you placed the bookcases on top of the carpet, or did you cut away the carpet and padding? I’m thinking of doing the same thing in my family room and can’t figure out what to do about the carpet?
Hi, Kay, no we did not remove the carpet. There was no need to. The bookcases sit fine on the carpet and then we added the baseboard molding at the bottom. It actually helped lift the bookcases up a bit so that the base molding would fit in well with the existing baseboard on either side.
Your dad reminds me of another carpenter we both know and love. You are so blessed to have such a loving and helpful father. Oh, and the bookcases are fabulous.
Your sweet dad makes all your dreams come true, doesn’t he? I adore the bookcase. You and your dad did a great job. I might have missed it in the narrative, but what is the color you used inside the bookcase. It’s beautiful.
Hi, Jaclyn, all of that is in the post about putting the Billys together. I’ll go ahead and add it here too: Liquid Jade by Valspar. Used a small sample pot. Thanks so much, I love my dad, he’s a gem!
These turned out so well. We’ve installed something like this and I can tell you, the measuring and fitting can drive you crazy! And of course, you arranged it beautifully!
Absolutely stunning, love your paint choice, too. Makes me want a miter saw so that I can make some of these projects. May I borrow your Dad?
I love how the bookcases turned out! Awesome job! Am thinking of adding some to my home. Thanks for the inspiration. You & your Dad are one great team!!
You did a great job of giving standard bookcases a custom look! This project really turned out nicely. The blue background looks so pretty and I’m sure you have lots more storage space! I love it!