I’ve been working on the Ikea Billy bookcases this week and got them all put together, so I wanted to share a bit of that process with you in case you’ve never put together anything from Ikea before. It’s not rocket science and if you follow the pictures in their booklets, you can do it too. Those diagrams are pretty clear, but sometimes you have to stare at them for a few minutes and make sure you see everything they are trying to tell you. If there is an X in the picture, take note of that, because it means, “don’t do this!”. I had a few duh moments, but managed to get them all together.
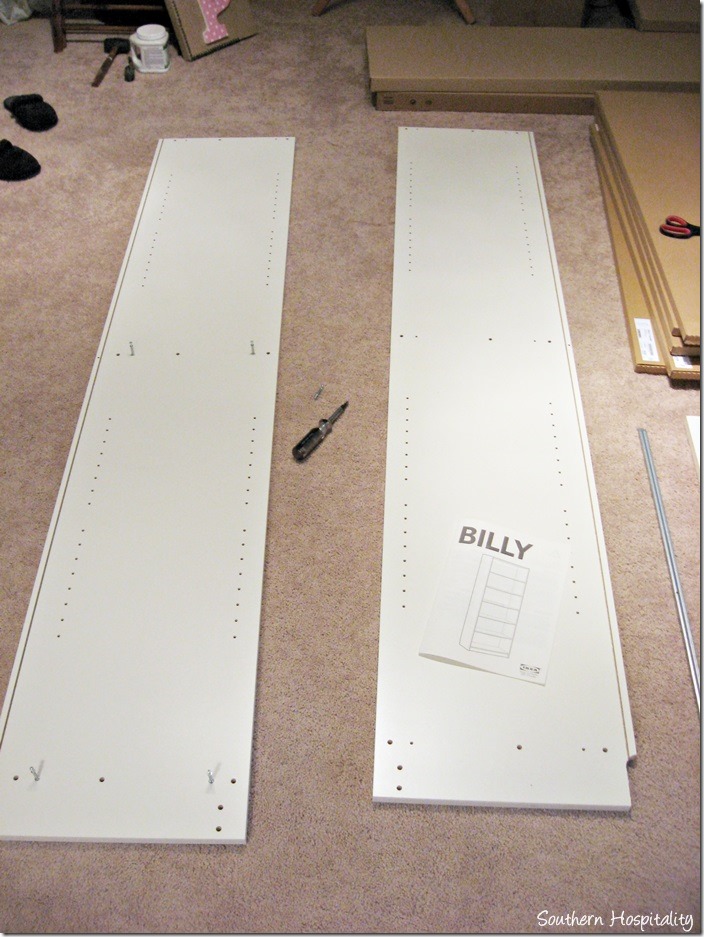
So, here we go. Take everything out of the box and get it all set up for assembly.
Make sure you face the 2 tall pieces opposite each other, like the diagram says, then it makes sense in how it all goes together. You put together the right side and then the left long piece fits over what you’ve put together, making it all one piece. You’ll see what I mean.
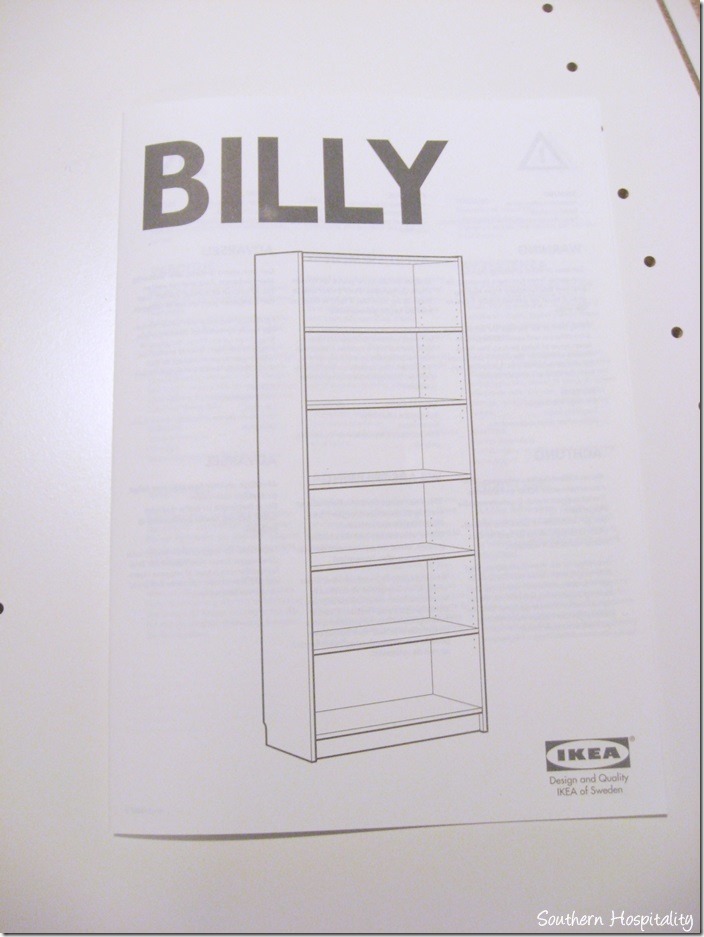
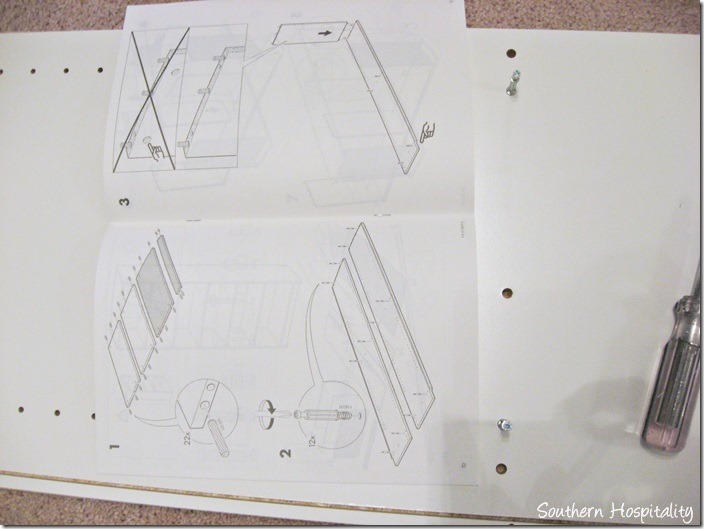
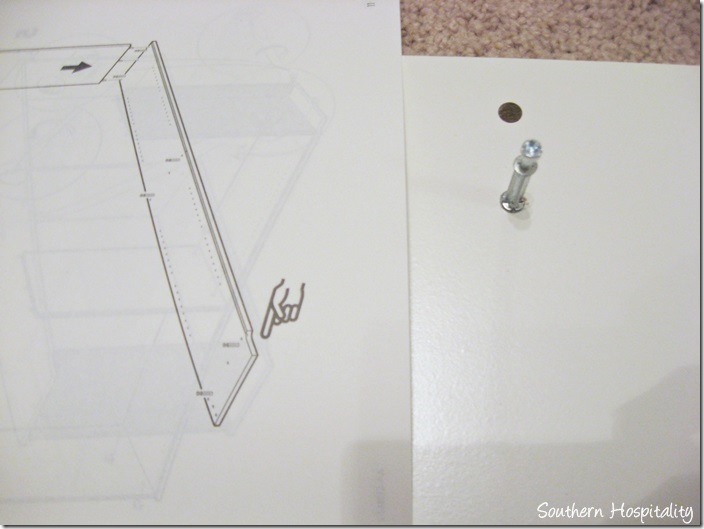
Each piece from Ikea comes with a booklet like this. There are pictures, but not a lot of words, so it’s sort of idiot proof, but believe me, there are still ways to screw it up. But, if you follow the pics and really pay attention to what they are telling you, it will all come out fine.
Start with the first pic and definitely to in the order they tell you to do each piece. There’s a reason for that.
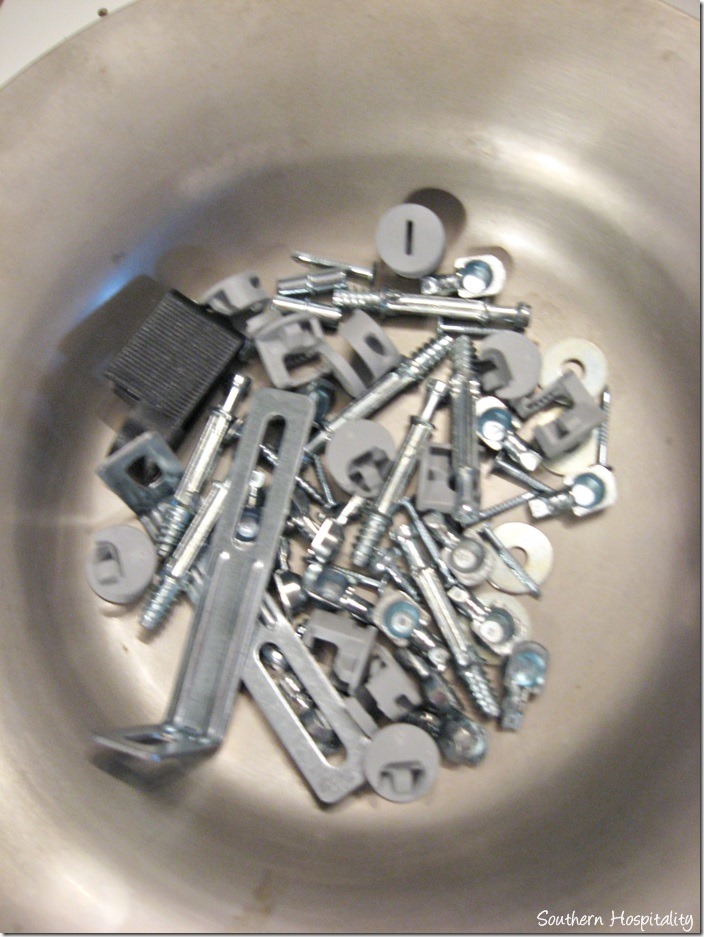
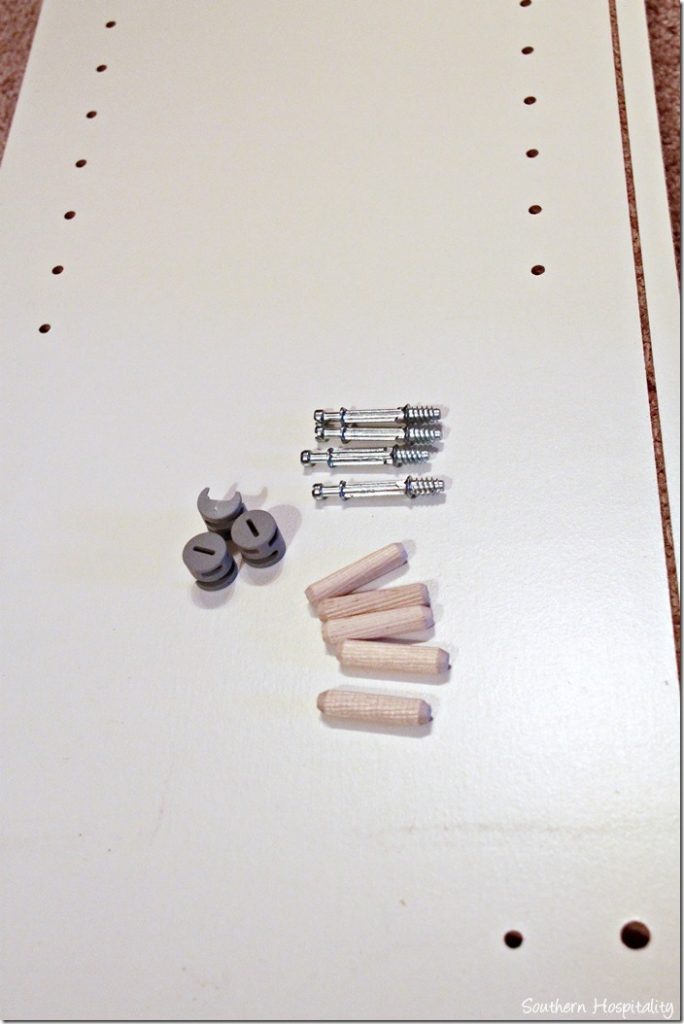
This isn’t a great pic, but this is the bag of hardware. I poured it all into a holder so I could see everything.
These parts are main hardware pieces of all Ikea pieces that are put together. If you have put together anything from Ikea, these will be very familiar to you. Wood dowels, screw locks, and long screws that anchor pieces together.
Following their pics, I put in all the long screws and the dowels in the pieces indicated.
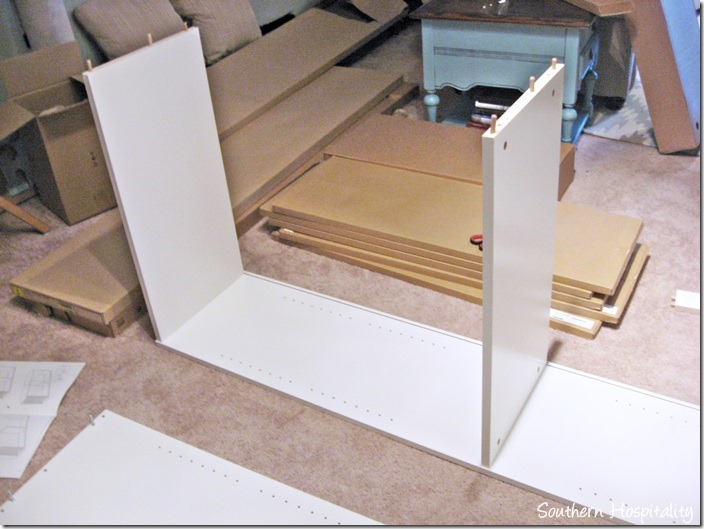
Then, you start fitting each piece together, paying attention to where the holes are and making sure they are facing the right direction.
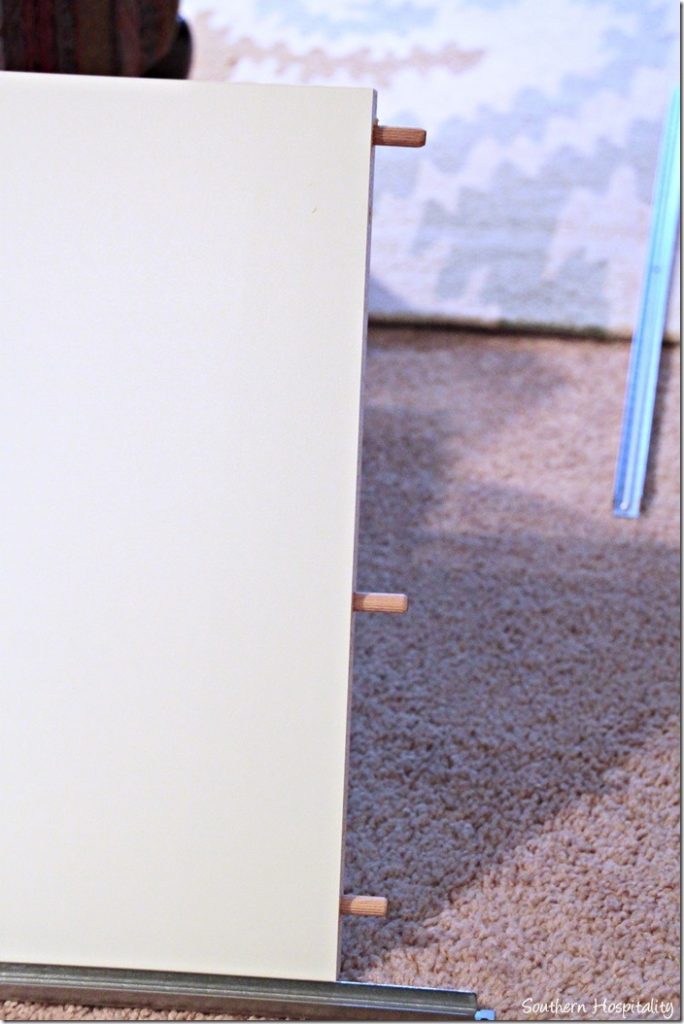
Dowels in place and ready for the bottom piece, which goes on last.
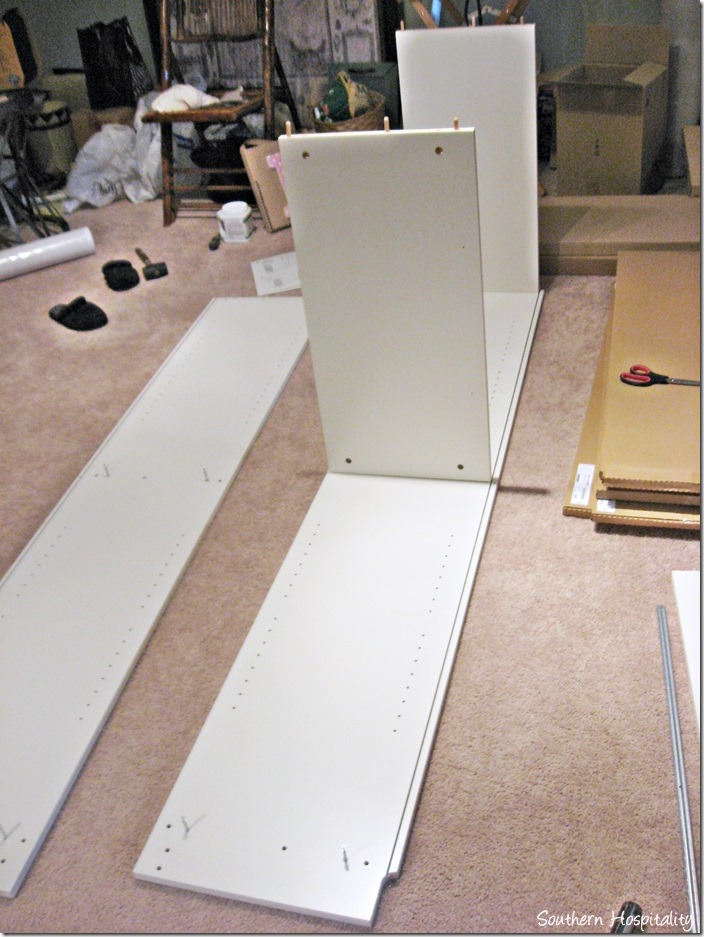
Here’s a shot of the dowels in place.
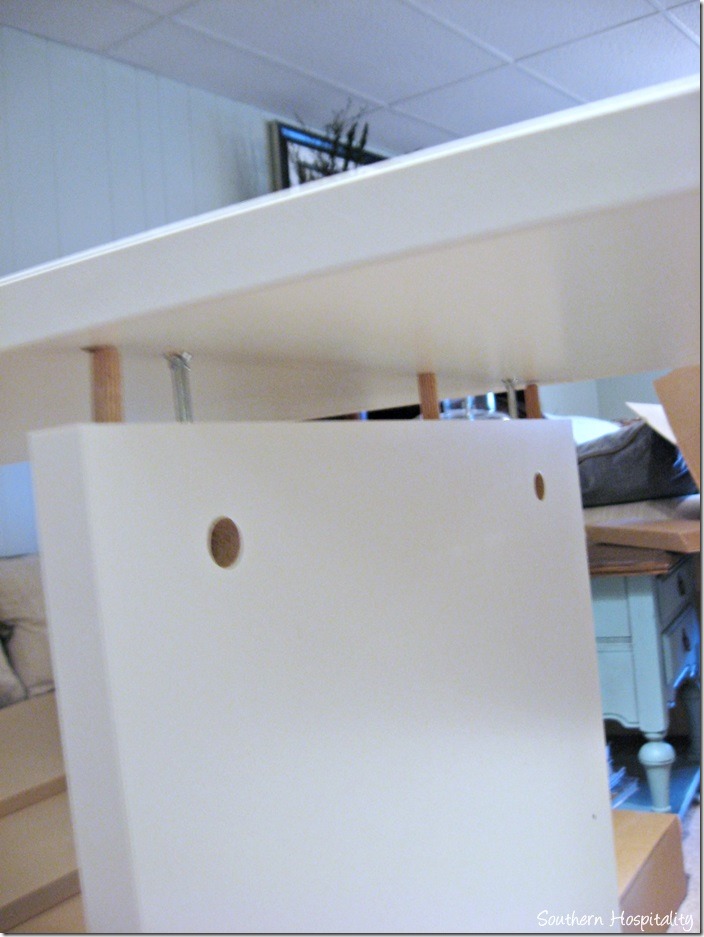
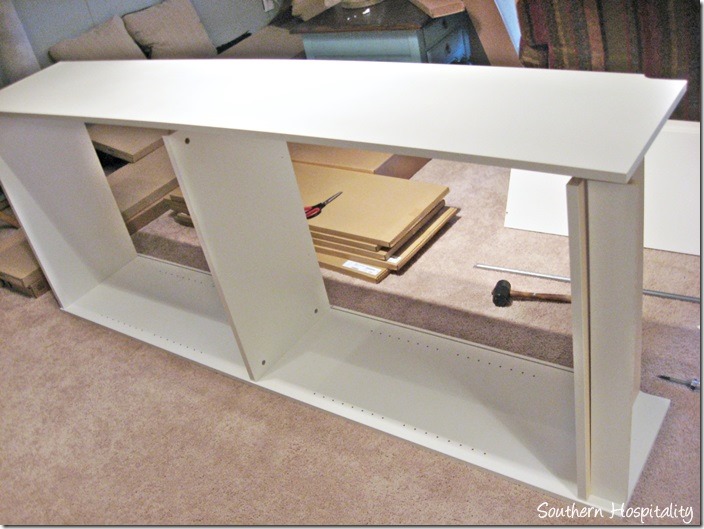
Once all the main pieces are in place, then it’s time to fit the other long piece over what I put together and this makes one side of the bookcase. You can do this by yourself if you pay attention. Make sure the long screws and dowels all fit into the predrilled holes and press down.
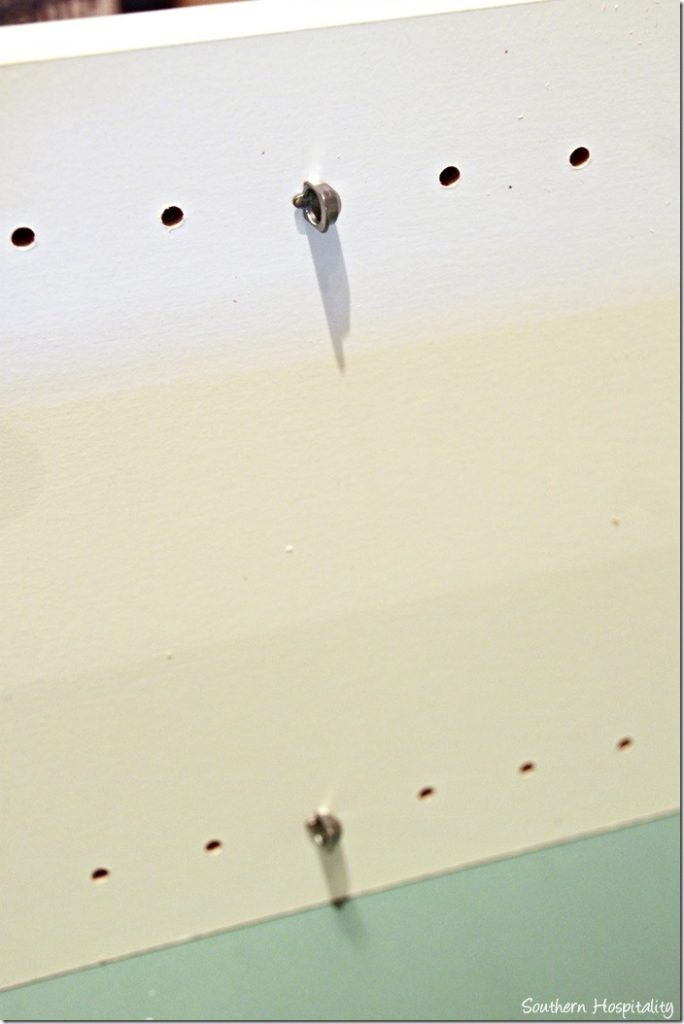
Fit each section into the holes and press down tightly to get them locked together. Then you add those locking round screws that I showed above and this locks it all in place.
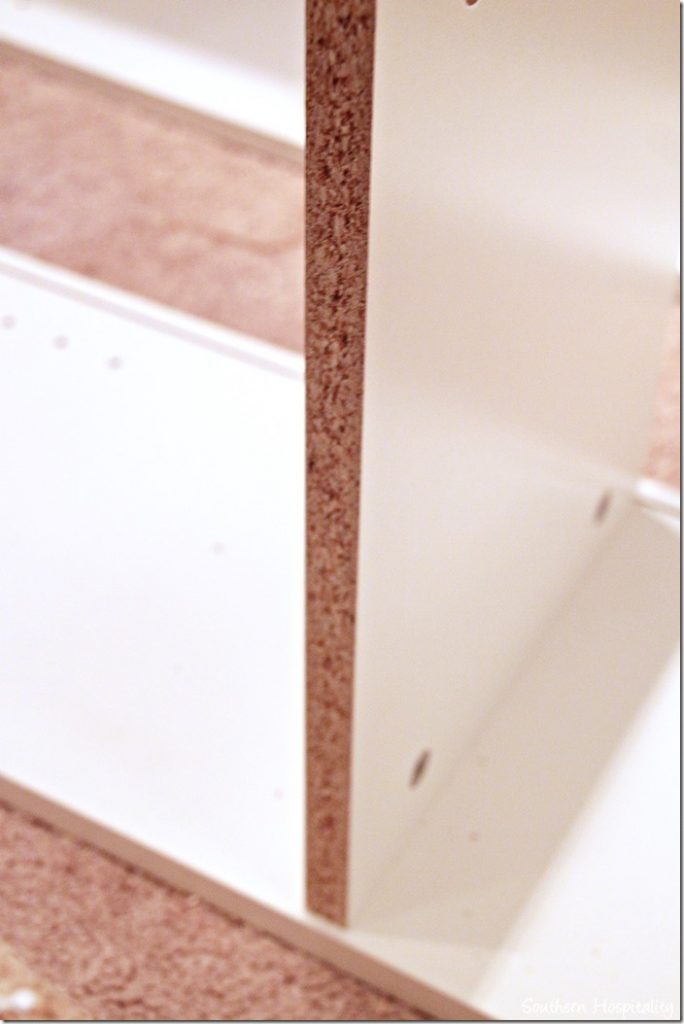
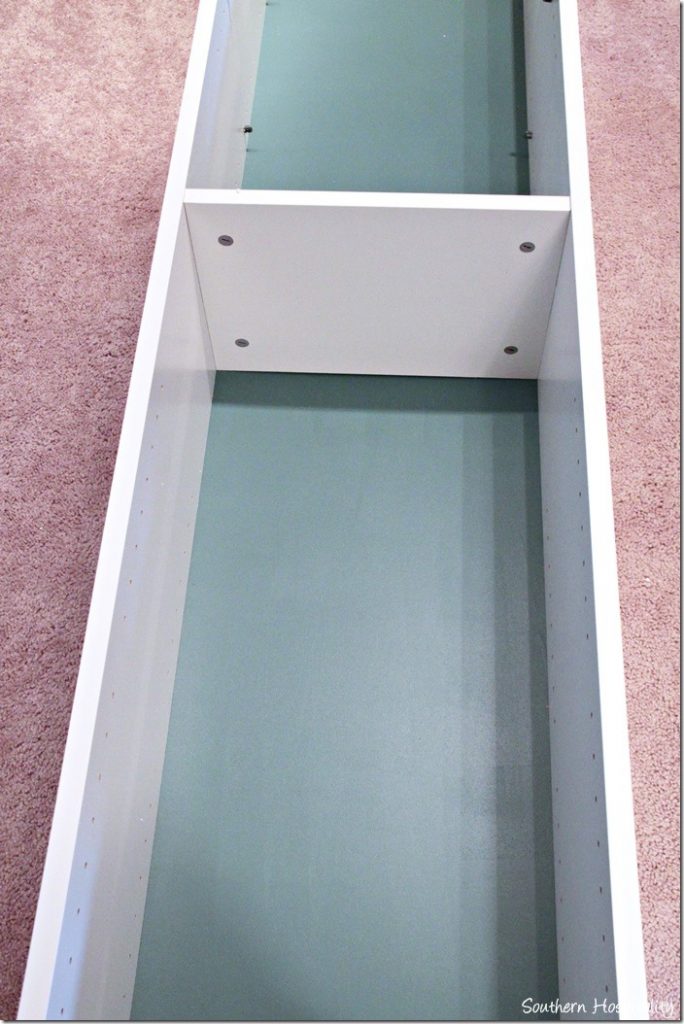
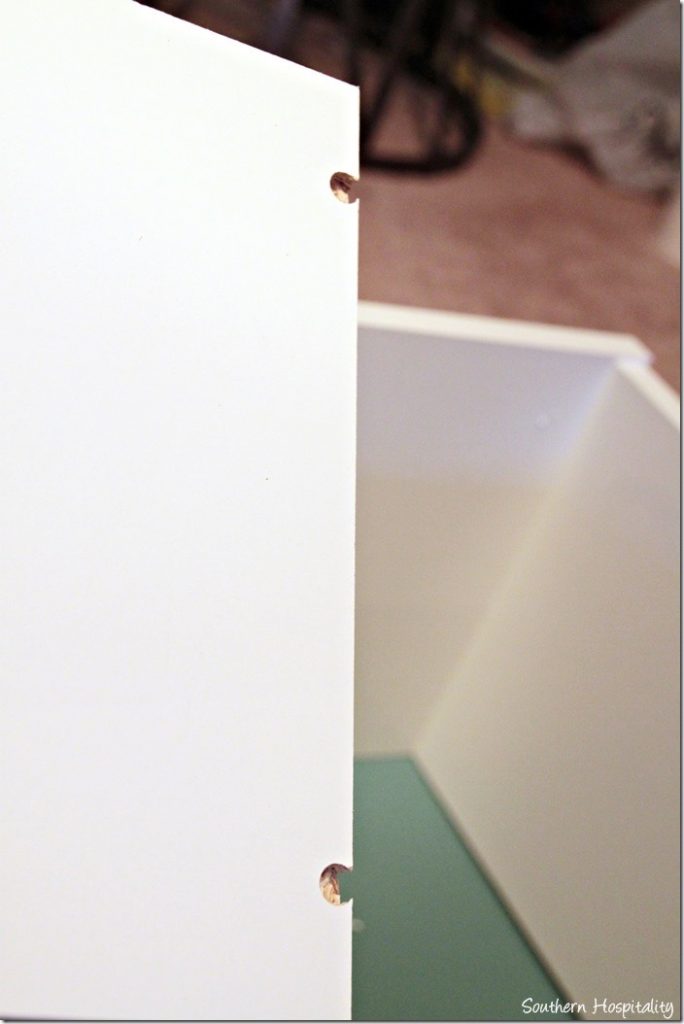
I had two 31” wide bookshelves to put together, plus a 15” wide one and somewhere along the way, I had one DUH moment, when I reversed the middle shelf that goes in at a crucial time. See that raw edge next to the finished edge? Yep, you definitely don’t want to see that. Once I figured out how to reverse the round locking screw, I was able to pull this piece off and anchor it in correctly. See, you gotta pay attention! I was so mad at myself for doing that, but it’s par for the course of putting together Ikea. It happens!
So, I got all 3 put together and couldn’t finish the assembly until I painted the backs of the shelves.
The backing is just a thick cardboard type material and it slides into place. I thought about adding beadboard wallpaper to it, but there’s no way it would then slide into the grooves on the back, it would have been too thick, so I just opted for paint. It won’t matter that much anyway once I have the shelves filled, but having a pretty color on the background will make a huge difference to the look.
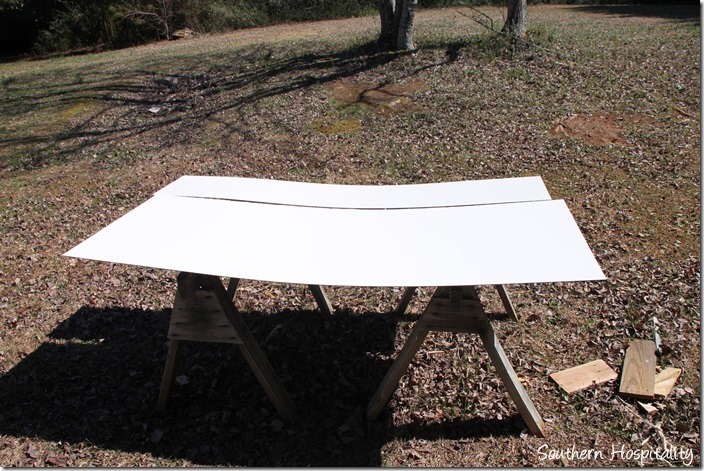
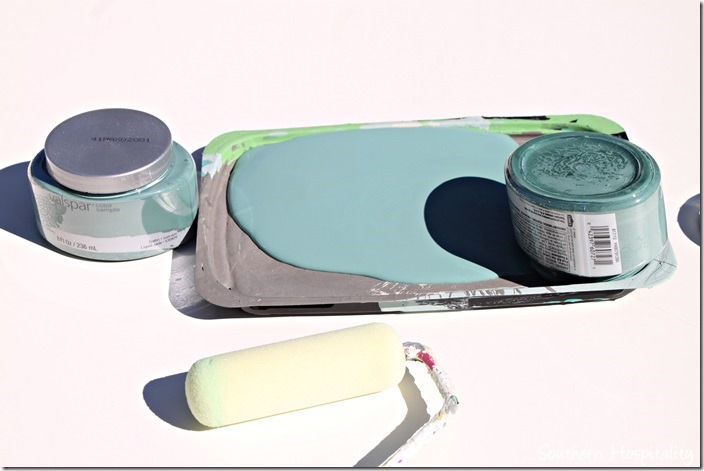
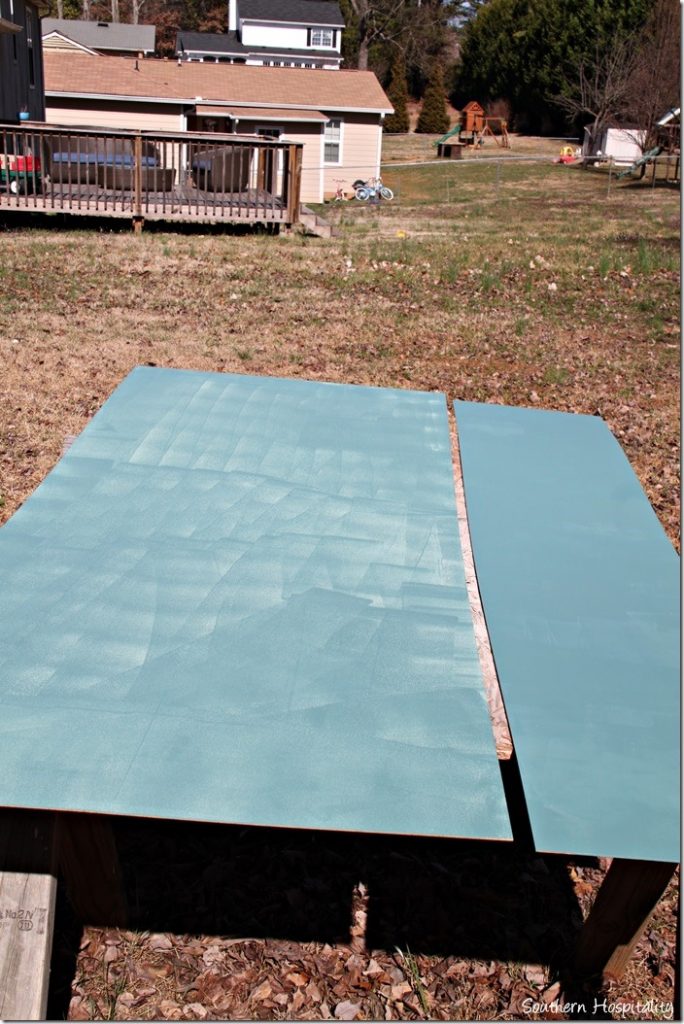
I picked up 2 sample paints of Valspar Liquid Jade, a pretty turquoise color. Using a foam roller, I gave all 3 backs 2 coats of paint.
You can definitely see that it needs 2 coats. The one on the left has only one coat. Outside in the sunshine and breeze, it dried really fast and I was able to paint all 3 with 2 coats in a couple of hours.
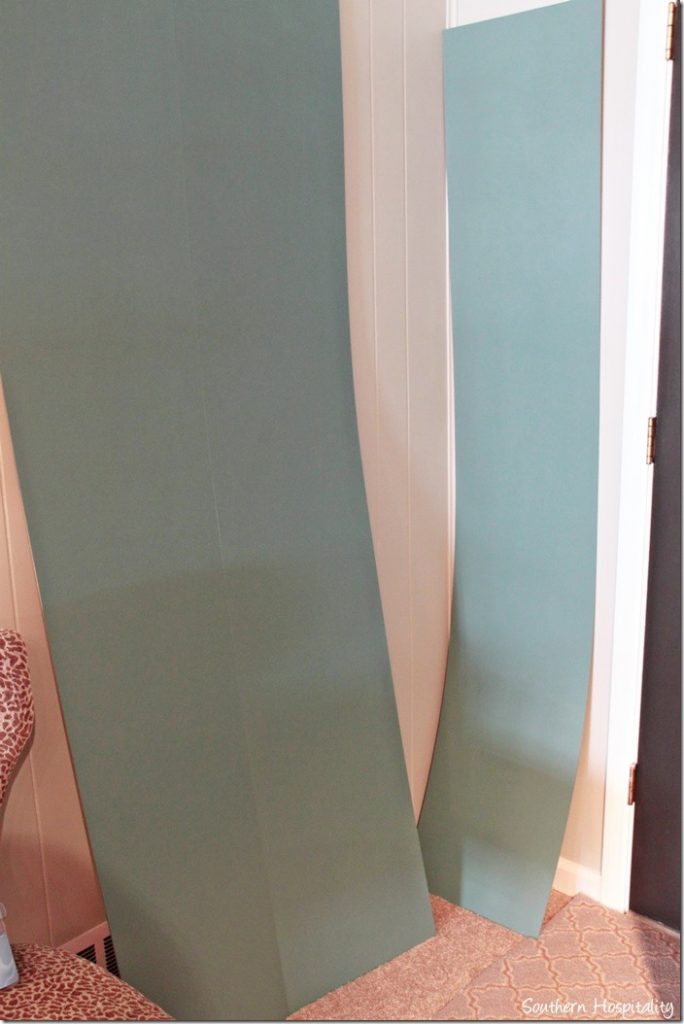
I took them back inside and leaned them up to dry overnight.
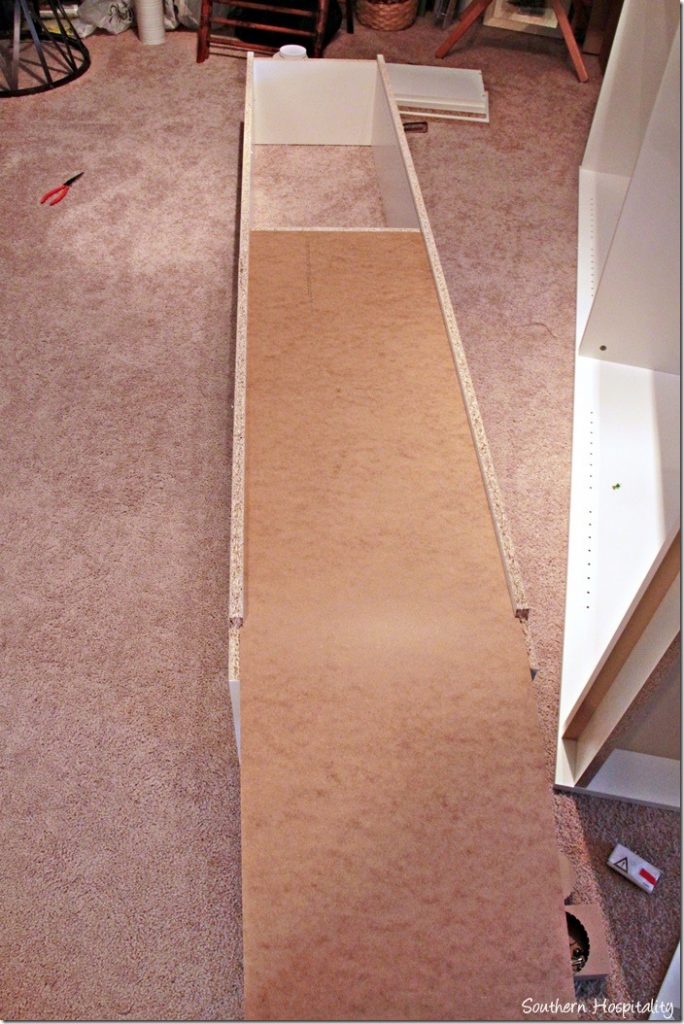
Next, it’s time to insert the backing and it just slides into grooves on the back of the bookshelves.
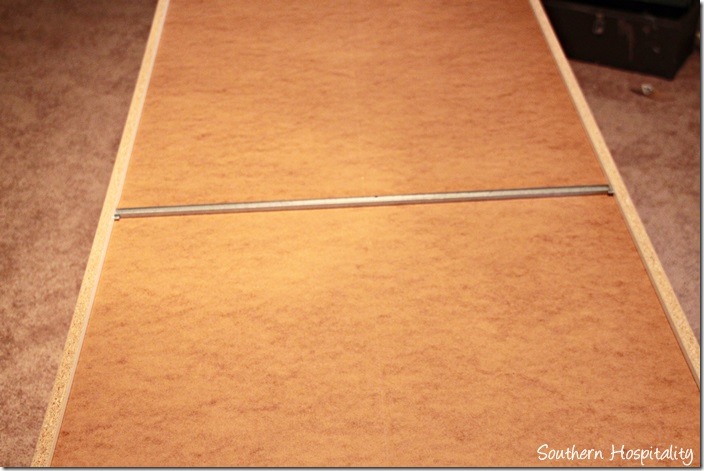
The wider Billy bookshelves have a metal insert too that is screwed into place for extra stability. There are also nails that are nailed in at the top and bottom to secure the backing.
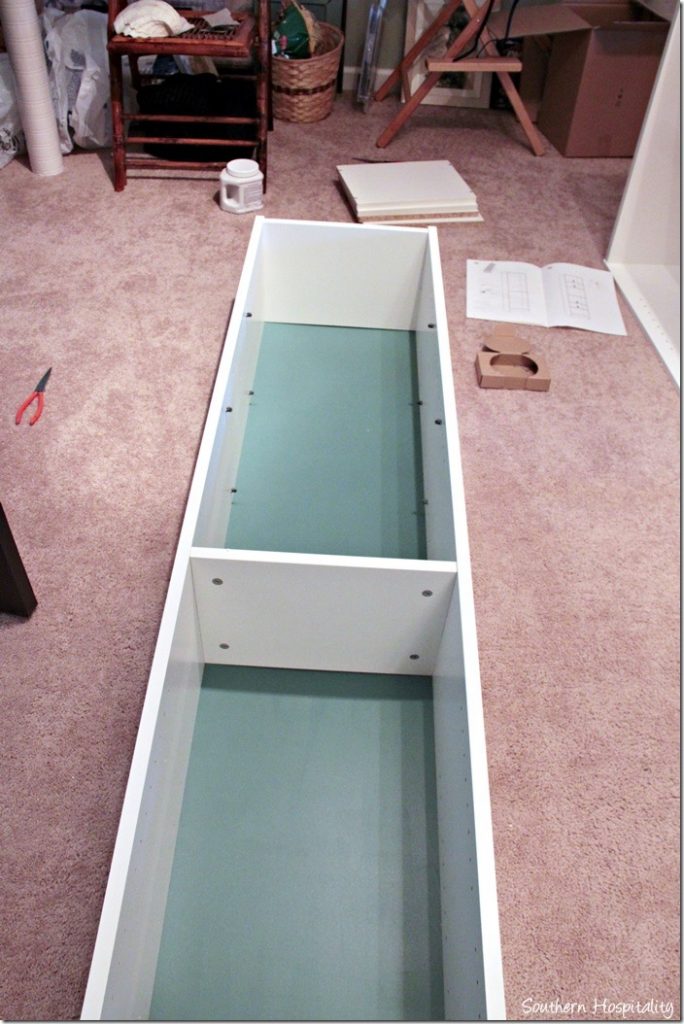
Here’s one all put together and just waiting for the shelves. I’ll wait til we are completely finished before add the shelves.
Ready to go.
My lighting is terrible in this room and cast a really yellow shadow here, but you can see the shelf brackets that just slide in the holes on the Billy bookshelves. You can adjust the shelves anywhere you want.
Then the shelves have a groove that just fit down over the brackets. Ikea really does a great job of predrilled holes and everything does line up well if you follow those directions and pics.
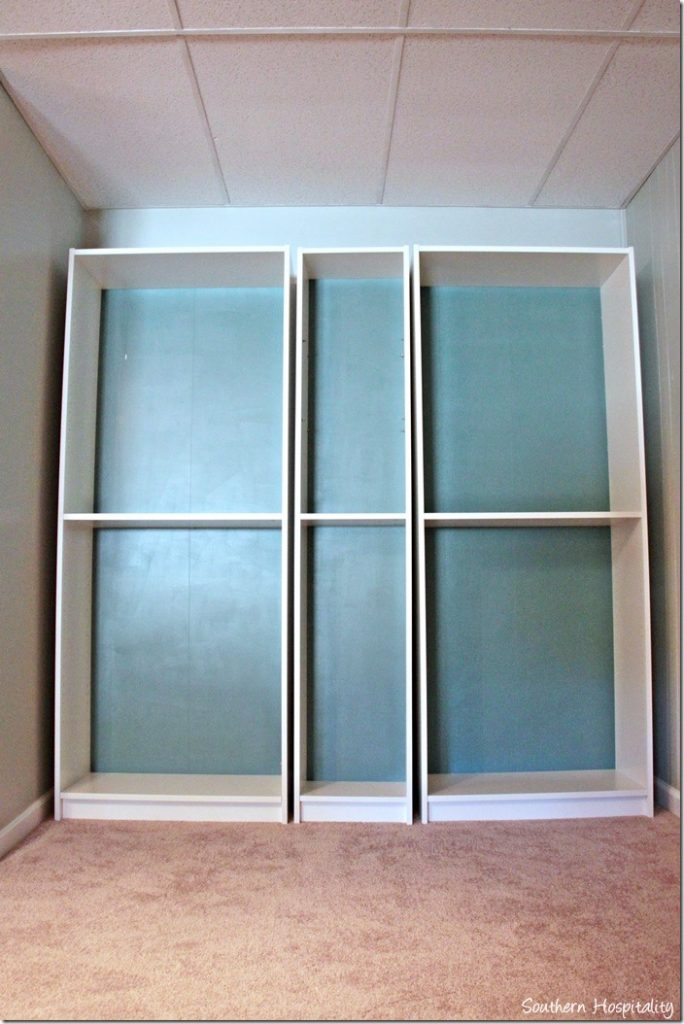
I couldn’t help but slide all 3 into place to get an idea of what this project is going to look like. I am going to love this in the corner of my den. This is a perfect spot for a little library and reading nook. I’ve got some fun things going here and will be adding a nice upholstered chair or two and of course, I’ll show you all of that when it’s completed. It’s going to take awhile for all of it, but I’ll share as I go. I can’t wait to make this corner really pretty…finally getting rid of the junk that’s been piled here since I moved in.
I may try to add some lighting on the shelves too, so will check out what’s available at Lowes and see what I can find. That would really highlight the shelves a lot, so I really want to do that. We will be working on this hopefully next week, adding molding to the top, sides and bottom to make this all appear built in. You can’t really tell from these pics, the the 2 wider shelves are 15” deep and the smaller one is only 11.5” deep. That’s the only way they carry these and I really wanted the deeper ones, so my dad said get the smaller one for the middle and we will pull it out flush with the other 2. I think once it’s all installed, it will hardly be noticeable at all that the middle shelf is not as deep. I will enjoy having the depth of the 15” shelves a lot! Oh, and I got doors at Ikea too to go along the bottom, so the bottom will be closed in with doors and the top will be open shelving.
Hoping this nook turns out to look like what I have envisioned! It will be fun to see it come alive, so stay tuned for progress!
To see the whole project, go here!
Part 1 Building in Billy Bookcases
Part 2 Adding Molding to Billy Bookcases


It’s looking good Rhoda. We will be building shelves in our little country house as well. I am thankful for the example of how you chose to do it! Thanks so much for always being a lovely place to land. Hug your dad for me! ~Sweetie!
Thanks for the tutorial! On similar bookcases (not Billy buy very much like them) we have added a piece of “beadboard” plywood (1/4″ thick stuff that comes preprimed from the hardware store). Just tack-nailed around the frame of the case it not only looks much nicer than the “cardboard” but it holds up much better and adds support to the entire structure. Also, as a hint, many of the shelves on these types of systems are not very sturdy and if you are shelving very heavy books they will eventually warp from the weight. One way to help with that is to occasionally “flip” the shelf boards over so the warping returns them to their original flatness. Or, if you want a better solution, use a piece of “L” bracket from the hardware store along the back of the shelf to help provide more strength. We have done both 🙂
That is such a great idea Christi and thank you Rhoda for you tutorial. I am going to flag this post so I can get back to it whenever I want. I am looking forward to seeing the finished project. I’ve been keeping an eye out for an antique secretary — the ones that kinda look like a china cabinet but it opens up to a writing desk. Well, I haven’t had any luck and the few I’ve seen were in such bad shape that there wasn’t any hope for them. Thank you for the tutorial.
Love the punch of color. I am embarking on a similar task today, so the inspiration is great.
Hi Rhonda – love love the Billy bookcases, I have several in my tiny house, but I never thought to paint the back side for a punch of color. DUH moment – but I’ve had mine for several years and wasn’t reading as many DIY blogs as I do now. I may have to empty one of mine out and do this 🙂
I can’t wait to see the finished product! Also interested to see what you find in the way of lighting. I have some china closets I’d like to add lighting too and also these bookcases built into my dining room would make good display for more of my collection!
I need to get to IKEA, I have many projects that I’m saying “I need to look at IKEA for that!”
We did Billy Bookshelves in the office at our house and we are quite happy with them. I still need to do some caulk and paint on the trim and build-up we did to make them look like built-ins. We had the same kind of thing going on – three big deep Billy bookcases with the top extensions and two for cd/dvd/ We faced them all out and worked on placement and the results are great. You are right, you wont really notice the difference once the project is complete.
I can’t wait to see your finished project.
If someone does notice, just reward them with a cupcake or something. 🙂
We just drove over to Ikea from Birmingham last weekend. Loved it and had a great time shopping. Bought some storage for under beds and light fixtures. Love your idea of painting the back. I am sure it is going to look great when you are finished.
Really like these bookcases. Love the painted backs! Can’t wait to see them finished & your tutorial on adding molding. Great project!
We. Illy bookcases in hubby’s home office. Word of caution…don’t let the FIL gather the excess cardboard for the trash before getting the backing out! Ours now has a nice crease in it! Hard to see when books are in front of it.
This is beautiful and the paint colour is perfect. The strip led lights work well inside and under cabinets, bty. I love that you are building them in, so to speak. Will you be placing them on a higher stand? I did something similar using drawers on the bottom as a base because I can’t stand see any space go to waste that could be used for storage! 🙂 It was extra work, but worth it in the end. i was only doing it once!
I forgot to add that I felt like an absolute genius when Iput together a complicated Ikea desk a friend had given me DISASSEMBLED with NO instructions. AND I changed the orientation! My friend thought I was brilliant when she brought over a pice to follow and I had already assembled it by myself. I will say, that the second or third time around they need actual screws to hold them together.
Love your book shelves and that color is so pretty! I’m glad you showed us that because I would have never thought to paint before assembly 🙂 Can’t wait for the pictures of the completed project.
I love the jade color. It’s going to be gorgeous!
Love that you painted the backs of the bookcases so it adds color, very nice touch! I also love the color you chose, it’s in the color range I would’ve picked myself!
Ikeas in Georgia must be different than out here in California. We can get the wide Billy bookcases in either the 11″ or 15″ depth, and both versions also show up on the website for me. It may be that the website does that because I picked a Los Angeles-area Ikea as my home store, not sure about that. Anyhow, I’m wondering what it might look like to have the two wider bookcases popped out and the narrower one recessed back – basically, lining them all up against the wall. I think the variance in depth might prove to be interesting. Just a thought.
Can’t wait to see how you finish up this project, I’m sure your reading nook/library is going to be gorgeous!
Oh Rhoda! I love all your posts, but this one is so timely for us! We have a little “sitting area” in our bedroom–it’a a little alcove where we have 2 comfy chairs with a little table between them for a lamp. The two side walls of the alcove are blank & it would be cramped & would look too busy to put furniture against those walls, so we’d talked about doing the Ikea hack with the shallow (11.5″ deep) shelves. Your great descriptions along with photos will be so helpful as we are assembling the shelves. I wait with great anticipation for your tutorial on the doors, lights, and trim to make them look built in. Wowza!!!!!
Hi Rhoda — love the color you chose for the back of the bookcases. I think the shallow depth on the center section will make them perfect for displaying collectibles that would otherwise look dwarfed on the deeper shelves, as well as give you a more custom look. How are you going to level them on that carpet? Keep us posted!
Rhoda, I am planning to use the Billies as a headboard in my guest bedrooms sing 4 bookcases to cover the wall. I need extra storage space so I can solve this with nice baskets and closed fabric covered bins. I am so tickled to see your step by steps as I was afraid I couldn’t assemble them. Thanks for your encouraging post as I think I can do this except for the moving of the weighty pieces. I also may try thin breadboard plywood on the backside as one of your other posters mentioned.
Thanks for the great idea.I have the Billy bookcases in my home office and also my family room. I think another trip to Ikea is in order -I love looking at how they set their rooms up.
Thanks for the great idea.I have the Billy bookcases in my home office and also my family room. I think another trip to Ikea is in order -I love looking at how they set their rooms up. Beautiful color!
Can’t wait to see how you add the molding to make them look built in- we’ve been wanting to do something like this in our study for a while. Thanks for the inspiration ! Never thought to paint the back- what a great idea 🙂
Great start–they’re going to look FABulous!
Catherine