This post is sponsored by Wagner Spray tools, all opinions are our own!
Hey, friends! It’s a busy week this week for me. I’ll be heading to Charleston, SC on Wednesday for the Haven Conference and staying a few days after with Mark and we can’t wait to check out the city again. It’s been too long!
In the meatime, I’ve got another home project to share with you today. We installed a new fence at our house last fall and it’s been sitting all this time and it was definitely due for staining. We wanted to protect the cedar fence and keep it from going gray, so it was time for staining.
I shared in this post about staining the fence, that I reached out to some contacts that I’ve met through blogging and Wagner is one of them. They’ve been to Haven several years and I used one of their spray paint guns at a recent Home Depot event, so knew getting a Wagner spray paint tool would be a big plus for our project.
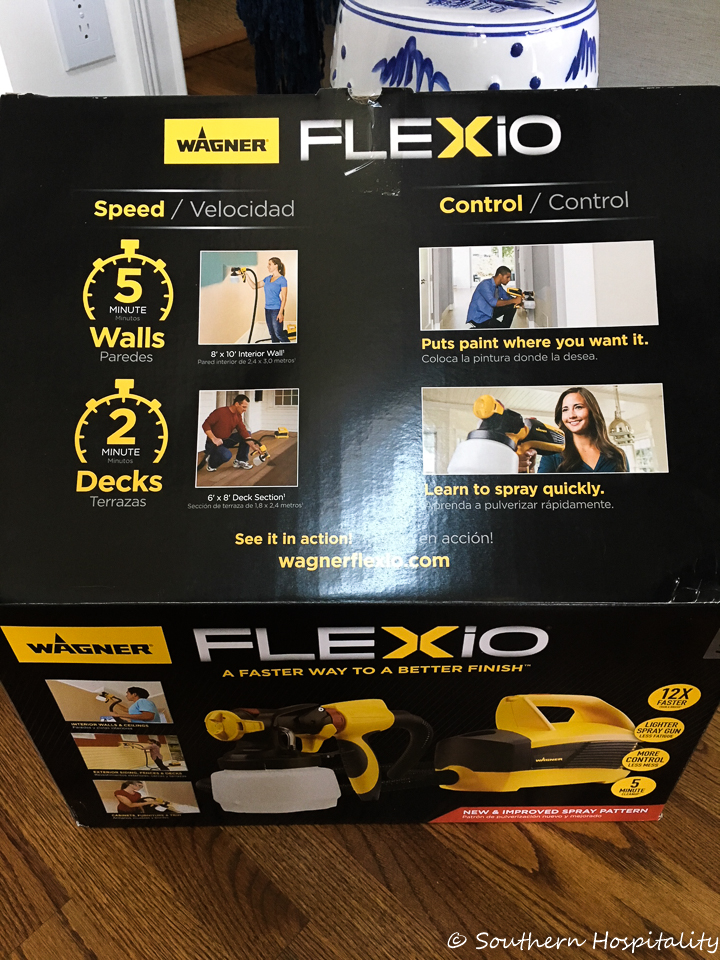
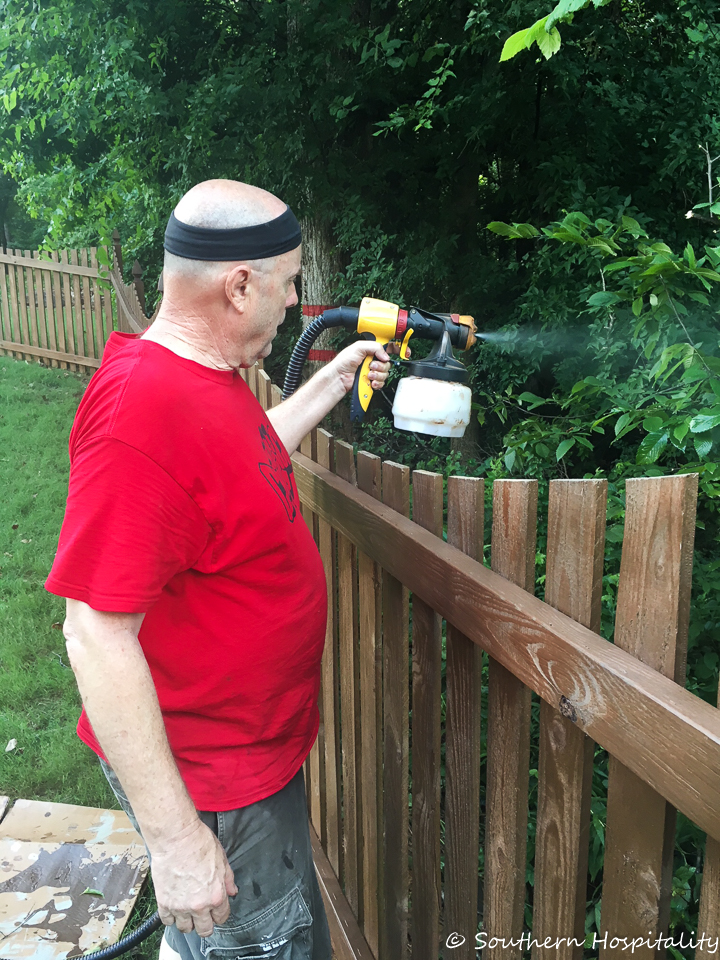
They sent me this Flexio 4000 Wagner spray gun and it’s very impressive. Mark got out the manual and read up on how to use it and we had a whole Saturday to devote to getting this project finished. I’m really glad we had part of it done by hand already, because it was still a full 4 hours to get the backside of the fence completed with the spray gun. So much of a time saver though, it would have taken us triple those hours if we had done it all by hand.
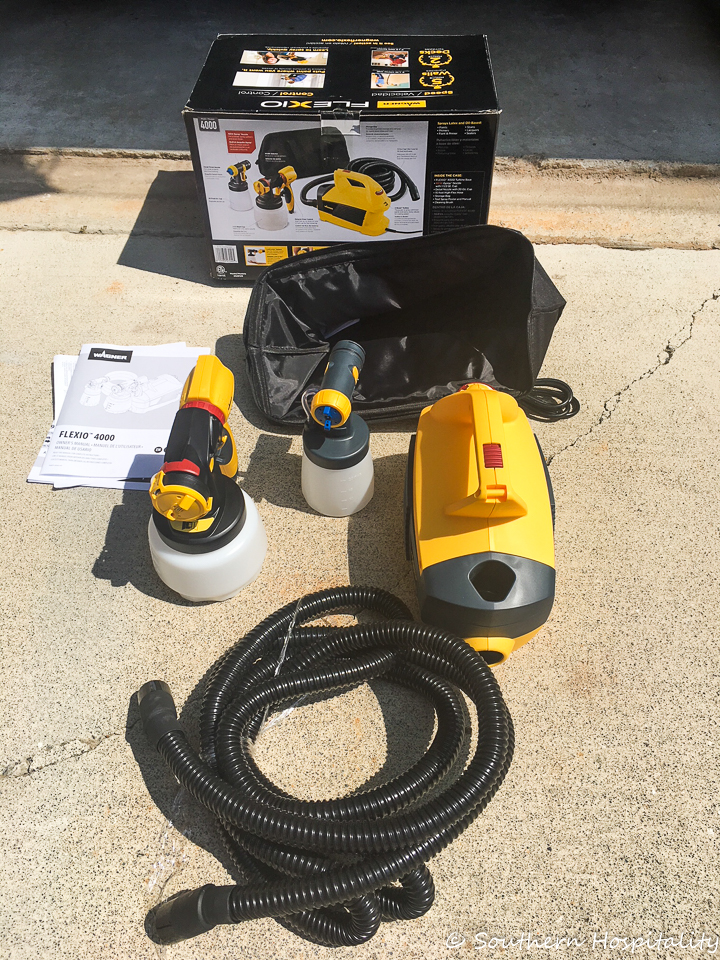
Here’s what all comes with the Wagner Flexio 4000. There are 2 canisters to fill up with paint or stain. The larger one is the one we used for the fence, but if you’re working on smaller areas or projects, the small one would come in handy. The black hose is the feeder line for the power supply, which is the yellow canister. You just fill up the paint holder with stain or paint and then attach the black hose to the sprayer, as well as the yellow power supply, plug it in and start spraying. There are instructions on how to set the nozzle and also how much pressure comes out when spraying, so those are things that can be adjusted as you go.
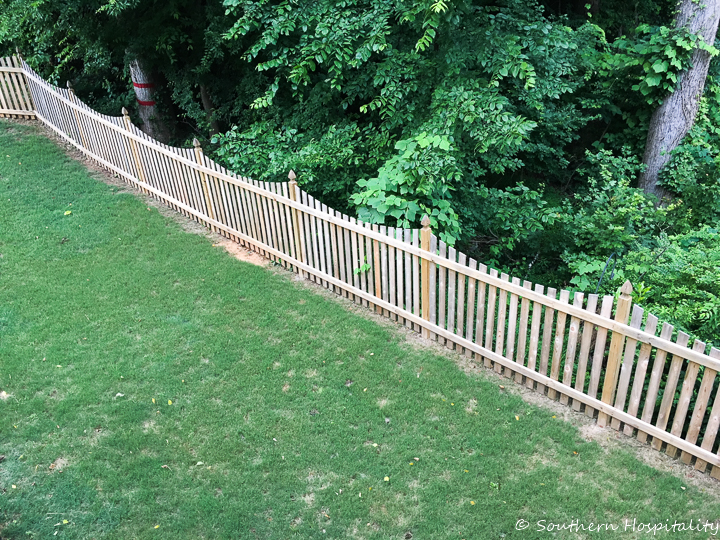
We had a lot of fence left to cover, so even though we had already done some by hand, there were both sides of the fence to spray and finish, all along the back of our property.
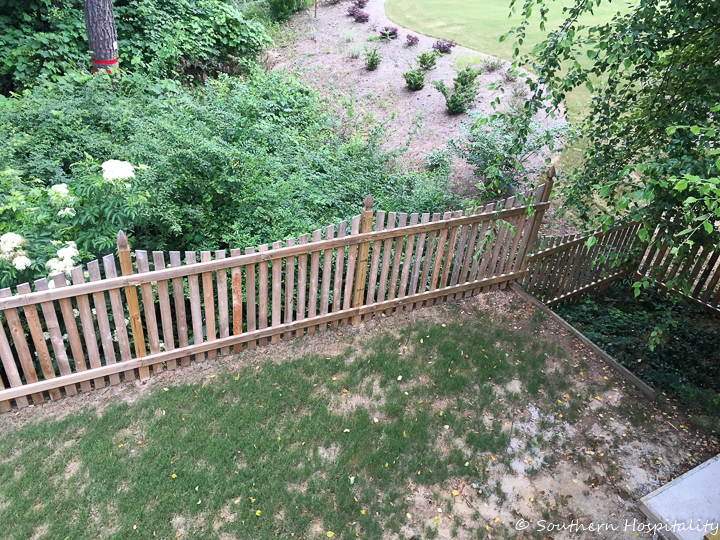
See all of this? Lots of fence to get done!
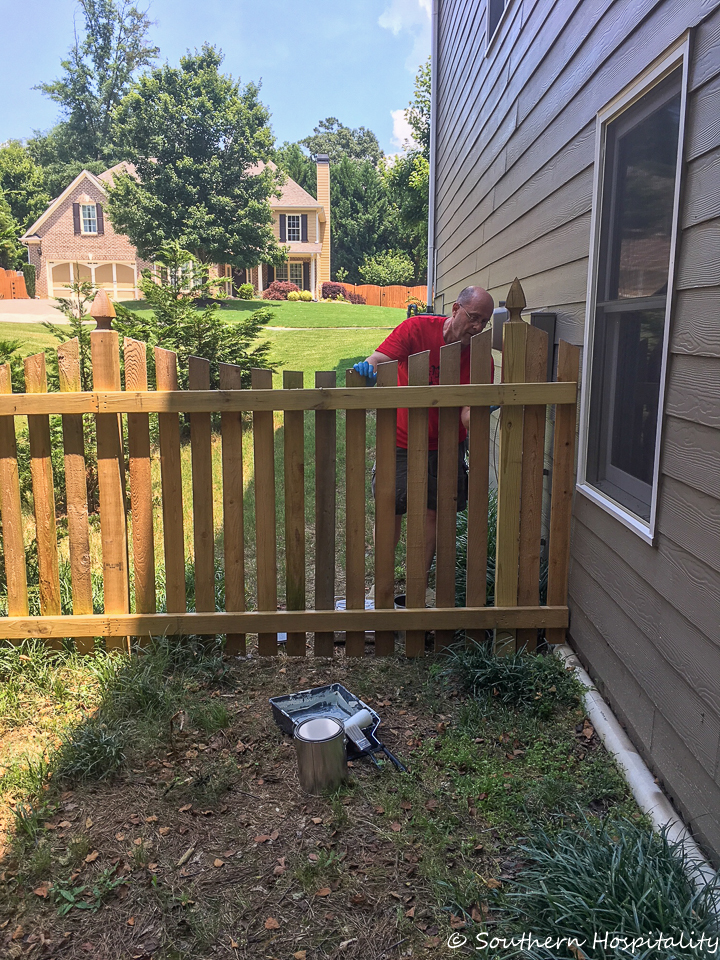
Here’s another shot of when we worked on both sides together getting a few sections done as we had an hour here and there in the evening to work on it. We needed a whole day to get the rest of it done and I was determined we were going to finish it all in one day. Happy to say, we did it!
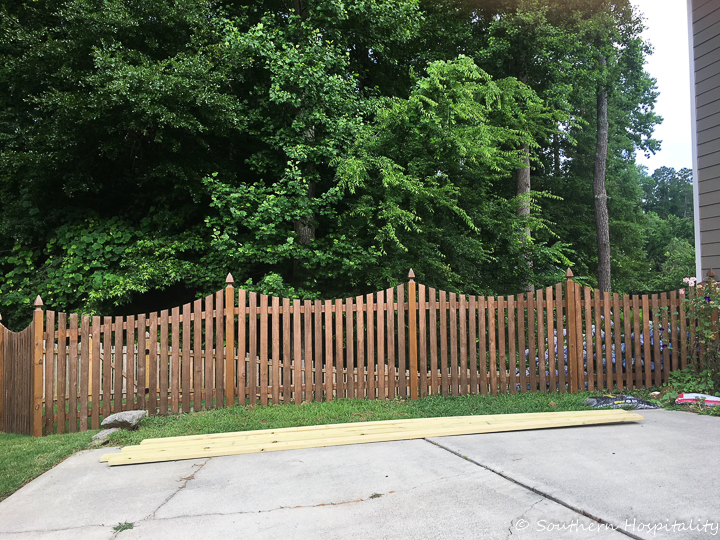
This is a section we had already done by hand too.
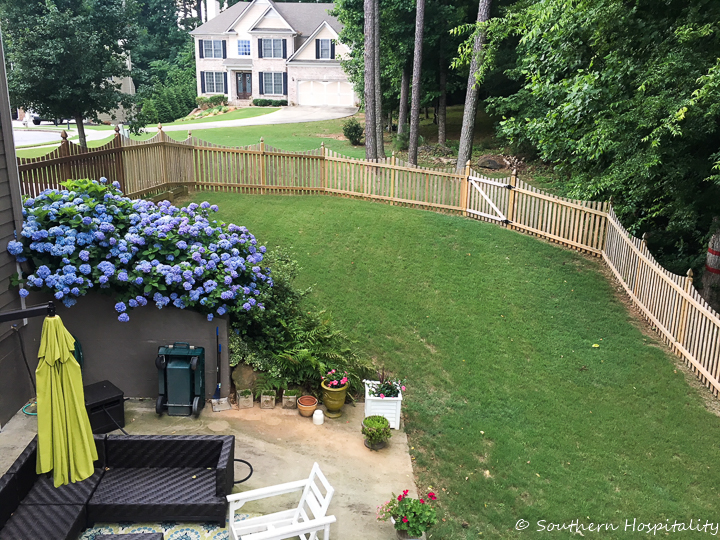
We had actually gotten all the way past the gate finished by hand and so the spray gun started after that.
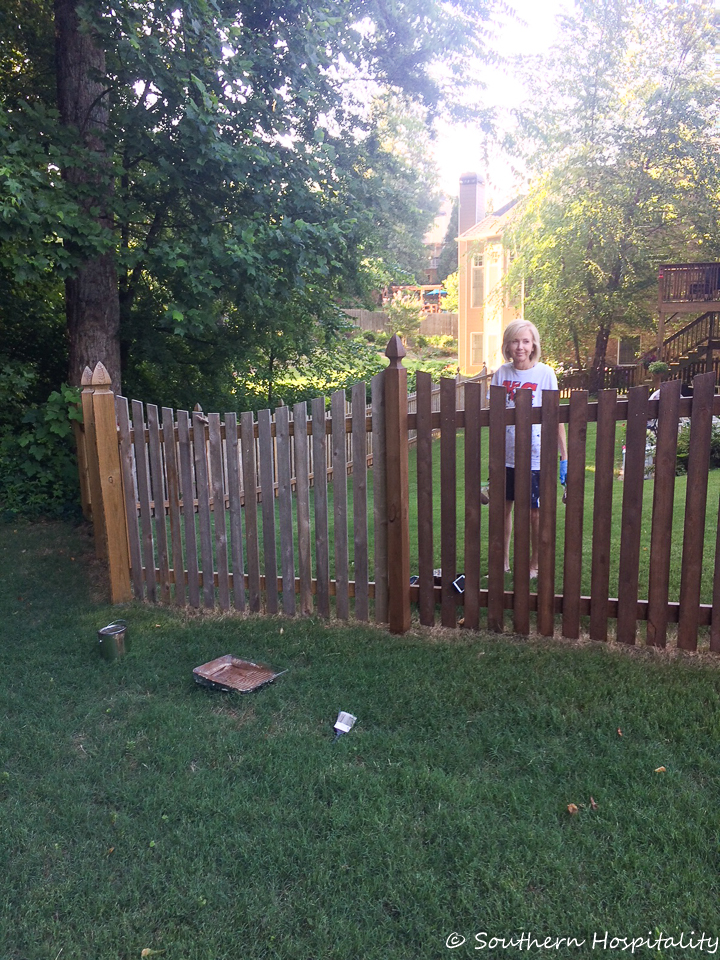
Progress shots of me inside the fence and Mark working on the outside.
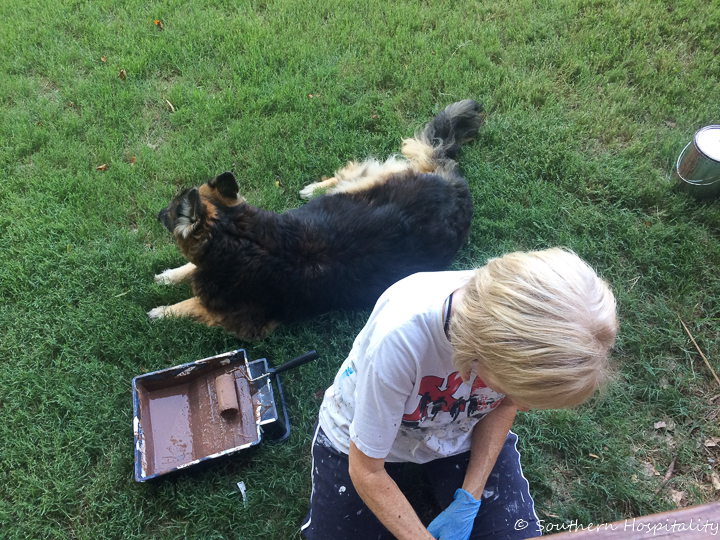
We got just past the gate finished by hand working an hour here and there. Thank goodness for a whole Saturday to finish the rest with the spray gun. Four hours later and we were tired, but finished! You can see Holly keeping me company.
Here’s a little video that I put together (and please know that I’m not a video pro at all, still learning!), but this shows a bit of the process of staining and how fast it can go. We worked about 4 straight hours on finishing this up.
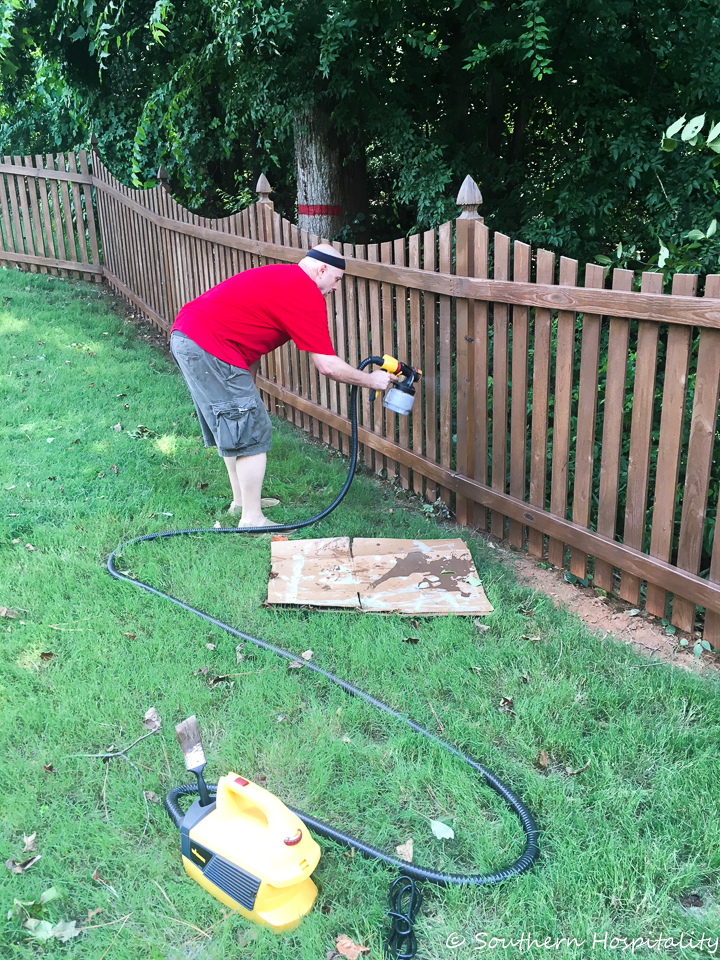
Mark took his hand at the sprayer and got a rhythm going. I took my turn too, as you’ll see in the video I’m sharing. I took a paint brush and worked behind him as best I could to catch drips, but it’s hard to catch them all. The Behr water based stain dries pretty fast.
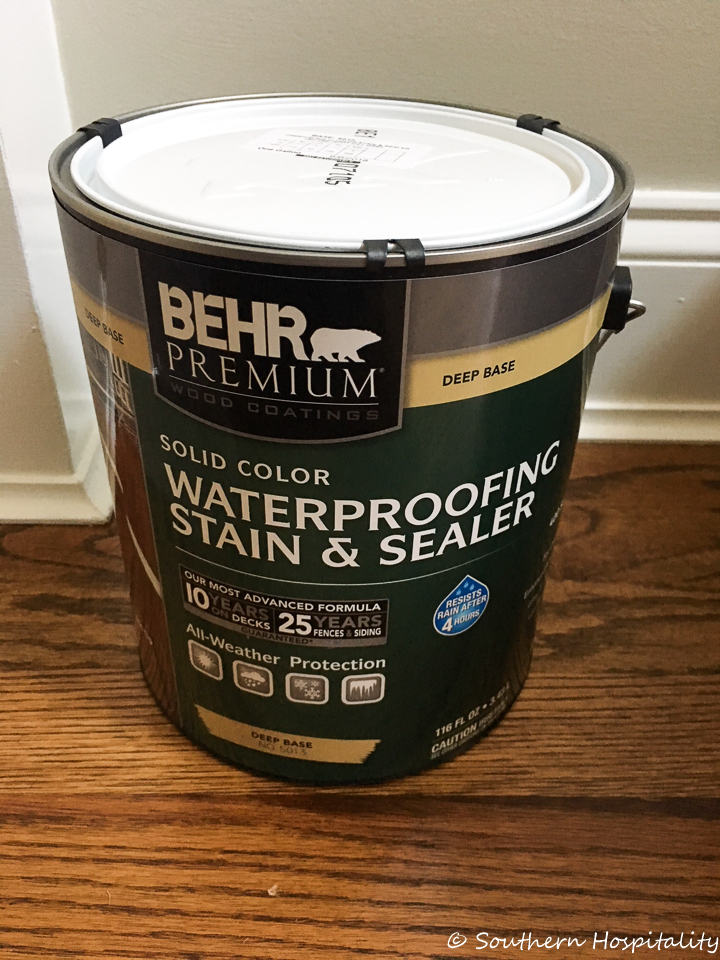
We worked with Behr, as I mentioned earlier on the stain and they sent us 2 five gallon buckets of stain for the fence and 1 gallon for the deck floor. We used Chocolate semi-transparent on the fence and deck rails, and Boot Hill Gray Solid stain and seal for the deck floor, which I’ll be sharing with you later.
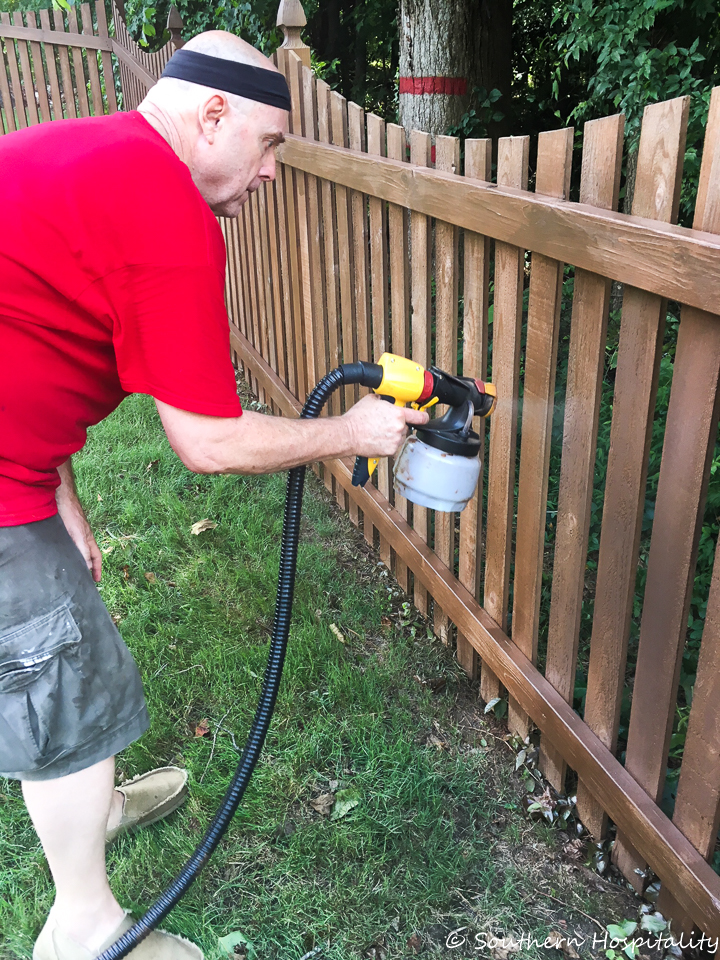
The sprayer covered very well and we were pleased with how fast it went. We worked all the way down the fence line inside the fence and then started on the outside. Mark did most of the spraying, while I used a brush to keep things moving. Once we got to the outside, we had the neighbor’s plants to work around too, so we had to be careful there and put paper and cardboard down to try to keep the overspray off of her plants. We did a good job with that too and thank goodness for the spray gun. It would have taken us so many more hours to complete this job without it!
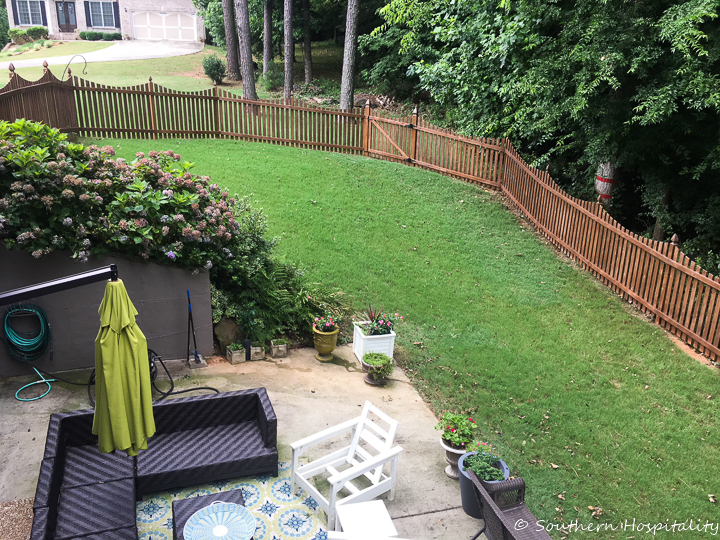
Very happy to say that 4 hours later, we were tired, exhausted, but finished with the fence staining project. Hopefully this stain will last several years and we won’t have to worry about it for a long time.
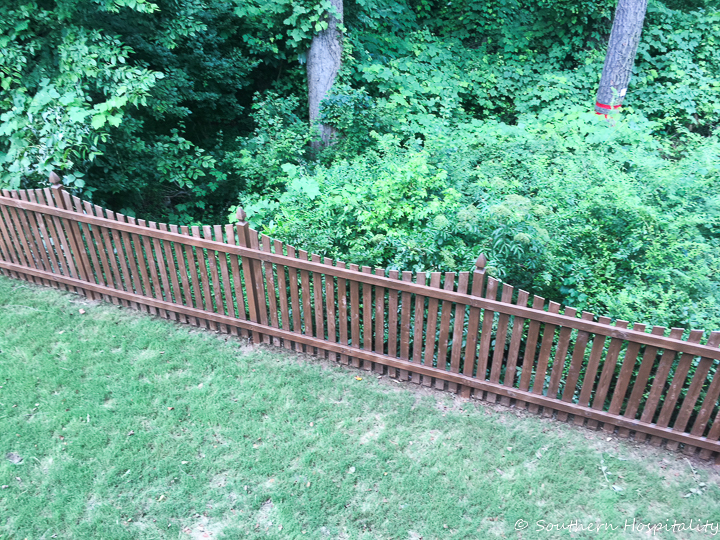
The Behr stain we got from Behr is a stain and sealer and it really penetrates the bare wood, protecting it from the elements.
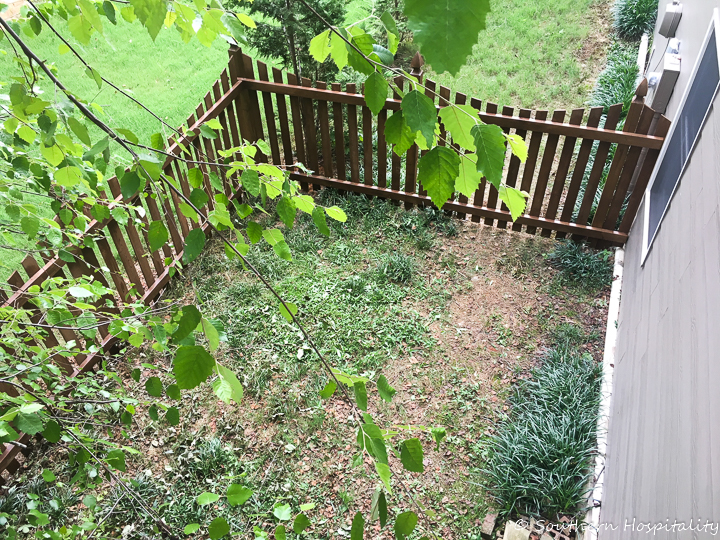
So nice to see the whole fence all finished and stained this pretty chocolate shade.
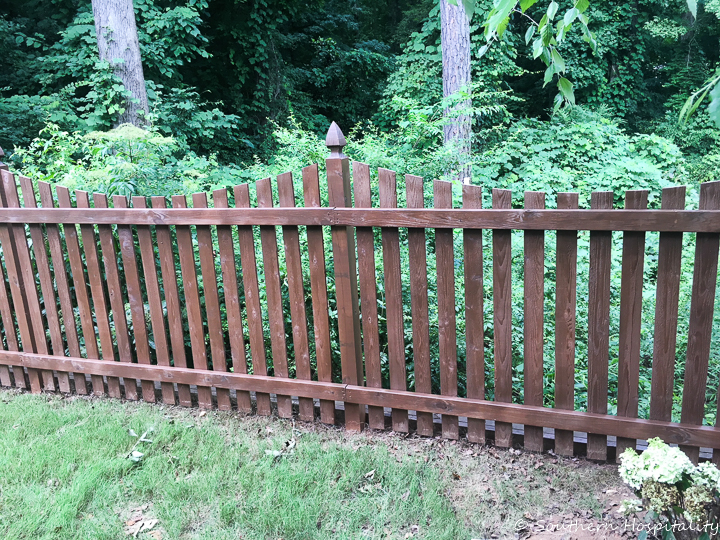
We are thrilled with how it turned out and again, so thankful to have that Wagner sprayer to use. Mark was very impressed with the sprayer and we will definitely be using it again for other paint projects we have.
I’ve been working on staining the deck too and I’ll share that with you as soon as I can. Working on the deck floor and getting all of that stained was a big job too, but I’m almost finished and we are enjoying that as well. I had to work around our afternoon rain showers that have been coming like clockwork this summer.
Cleanup on the Wagner Flexio wasn’t bad at all. Mark sprayed water through the nozzle to clean it out at the end, then took it apart and cleaned out any other stain remains that was on the nozzle. I wiped down the yellow power supply canister, since it got some spray on it and it looks almost new after cleaning it.
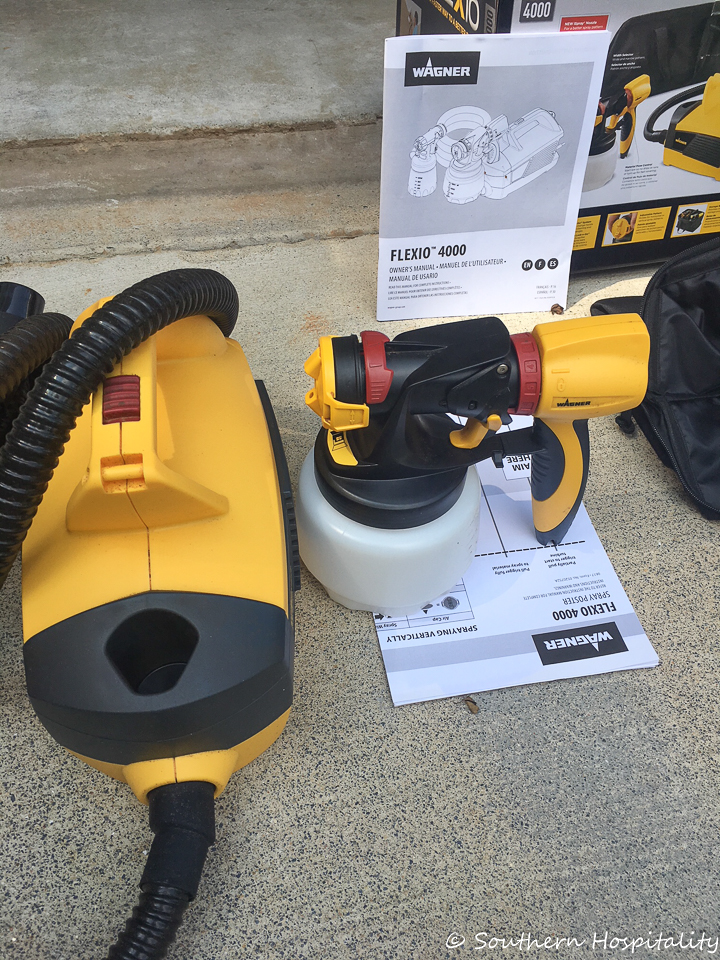
Here it is after we cleaned it up and put it away. It comes with a nice black fabric storage container to store it all in, to the right.
So happy to have this project behind us for the summer! One more thing to check off the list. We have made so much progress inside and out on our house in the last year since we bought the house and moved in. We just hit the one year anniversary of closing on our house and this time last year we were so busy with getting married and moving in the house, as well as coordinating all the projects that we did at the beginning, like painting inside and out and the floors. It’s been a whirlwind year, but such a good one! Thanks y’all for following along with our journey!
Note: This post is sponsored by Wagner Spray guns. Very happy to use one of these, as it made our project go so much faster and easier!


Loving this new home and loving Holly your new side kick ❤️😊
Rhoda,
You and Mark did a great job of staining the new fence and it looks great! Staining a fence this size is no easy task and having a power sprayer is a must. I bought this same Wagner power sprayer for my hubby and my Mom for Christmas last year. It does a great job and both of them were pleased at the results. I will say I bought mine on Ebay and got it much cheaper than it was in the big box stores.
As far as stains go, we have never used Behr but have had great results with Benjamin Moore Arbor coat. Its not cheap but it lasts for many years and it beats having to re-stain every two years like some cheaper brands. It is a two stage process like the Behr you used. Have a safe and wonderful time in Charleston… Its such a beautiful city.
HI, Teresa, glad to hear of your good experience with Wagner too. It sure helped our job go a lot faster, we’d still be working on it if we had done it all by hand. And this heat, too much! We are hoping we don’t have to do this too often.
This is great–thank you for sharing this process with us. The way you share all the details of your home improvement projects is so helpful.
HI, Beth, thank you I’m so glad it’s helpful!
Okay…the fence looks great but I’m kind of cracking up here…is Mark wearing a hair band on his head?? I guess technically it IS keeping his hair out of his eyes….lol.
It’s a sweat band/head band, whatever you want to call it and it keeps him sane when he’s outside. He’s a sweater and it pours in his eyes. If I can find him some terry cloth ones, I’ll get them, but I had to find some fast.
Older wood fences may have mold, mildew, dirt and other debris on them that may affect how well the wood absorbs the wood stain. If so, clean the fence a couple of days before you plan to stain it.