A 2005 master bathroom renovation transforms from builder’s beige to completely updated New Traditional yet modern look for 2020 in marble look porcelain and use of color in marble and accent tiles of soft blues and gray greens. Light bright and airy makes this master bath a standout renovation. Hope you enjoy!
This post is sponsored by Walker Zanger tile.
The master bathroom is finally finished and ready to show off. This New Traditional master bathroom went from plain and boring to beautiful in the span of 8 long weeks. It felt like it was taking forever, but really in the scheme of home improvement projects, that isn’t such a long time. We are thrilled with the outcome and can’t wait to show it off. After spending a few months scheming and planning this master bathroom, I am so happy with how it all turned out. I only changed my mind on a couple of things moving forward and those turned out to be the best choices as well.
A big thanks goes out to Walker Zanger for sponsoring this bathroom. I couldn’t have done all of this without them and the beautiful tile from Walker Zanger really makes our new bathroom shine. It is bright and beautiful and the tile is the star. I’m going to share the complete bathroom today with a breakdown on costs and then later I’ll also share individual posts from some of my other sponsors as well, they all deserve a detailed mention. All of them were necessary to make this bathroom happen and without them all, we wouldn’t have been able to afford the whole scope of the renovation we did. Bathrooms are not inexpensive, but we are thrilled that we were able to complete this one on somewhat of a budget.
This new modern traditional master bathroom is one of dreams! Truly a dream come true for us and the fanciest bathroom I’ve ever owned.
Let’s look at the Before pics again. I’m going to share them with the same After view as well for maximum impact. You’ll see in the Before shot that I was already sampling paints in the space trying to narrow that down.
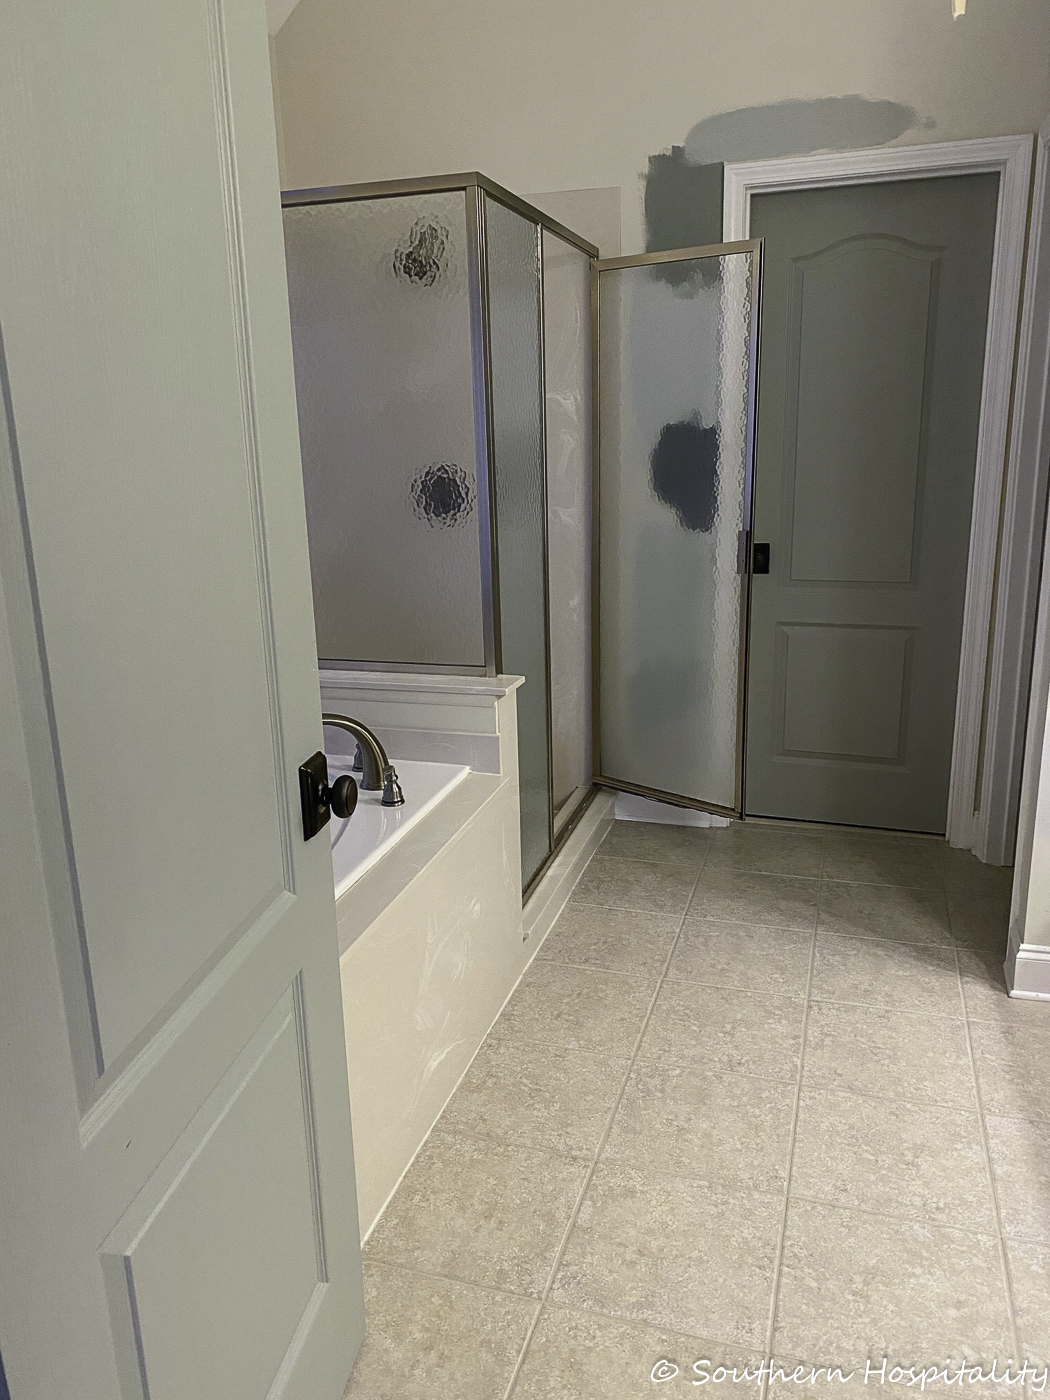
Before, plain and boring. Our house is 15 years old so the finishes reflected 2005 and very basic choices. There was also a ceiling fan up there.
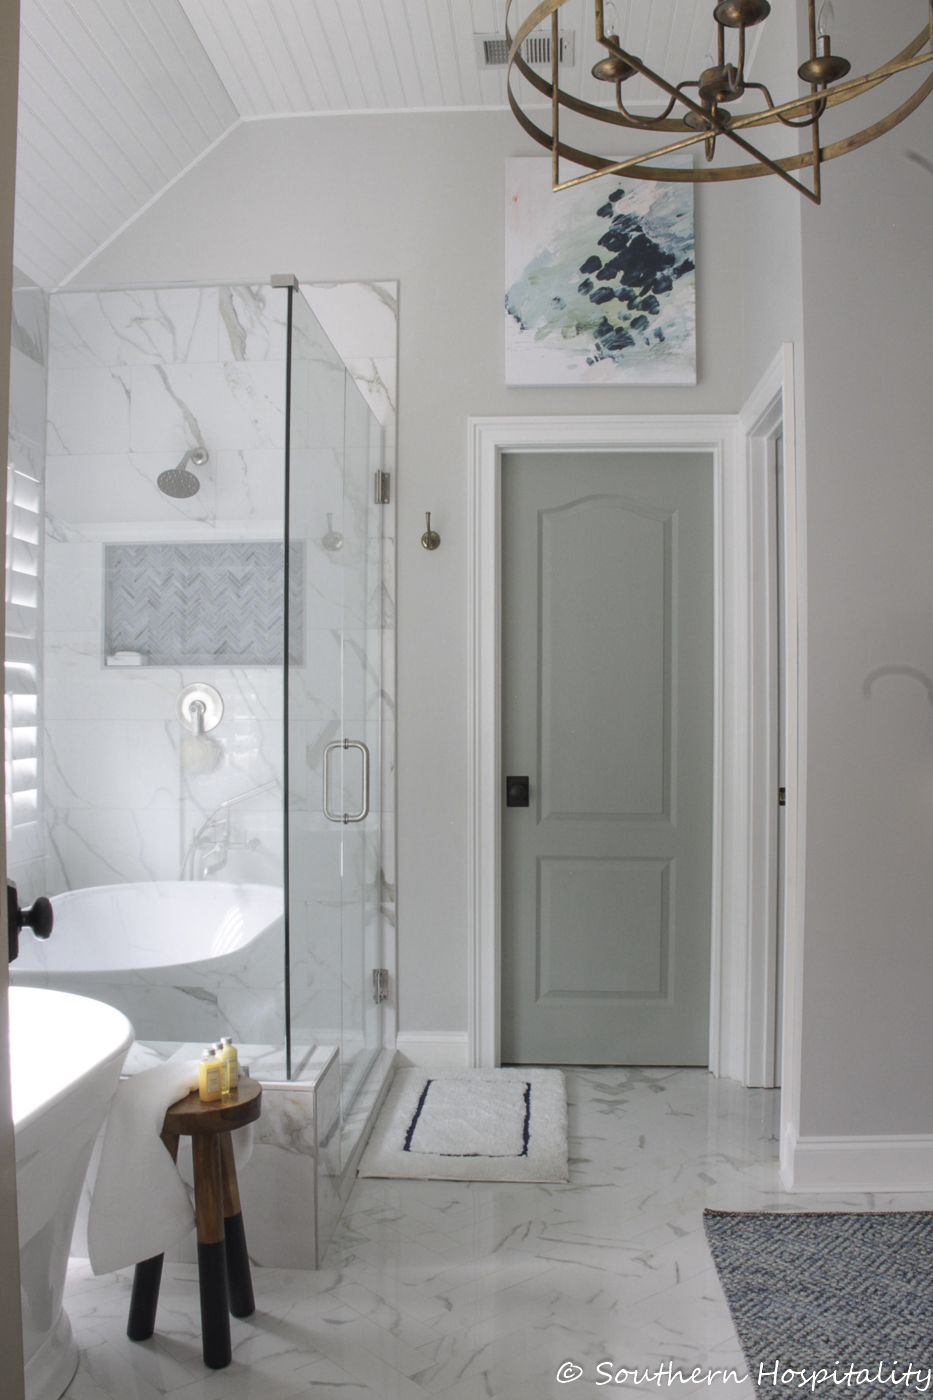
And AFTER! I’m going to share every single detail of this bathroom so you can see it from all angles. We are in love with it! Notice we also beefed up the door trim with chunkier molding on all the doors, so that was an extra bit of work.
Wall Color: Gray Owl (Benjamin Moore)
Abstract Painting: Lindsay Letters
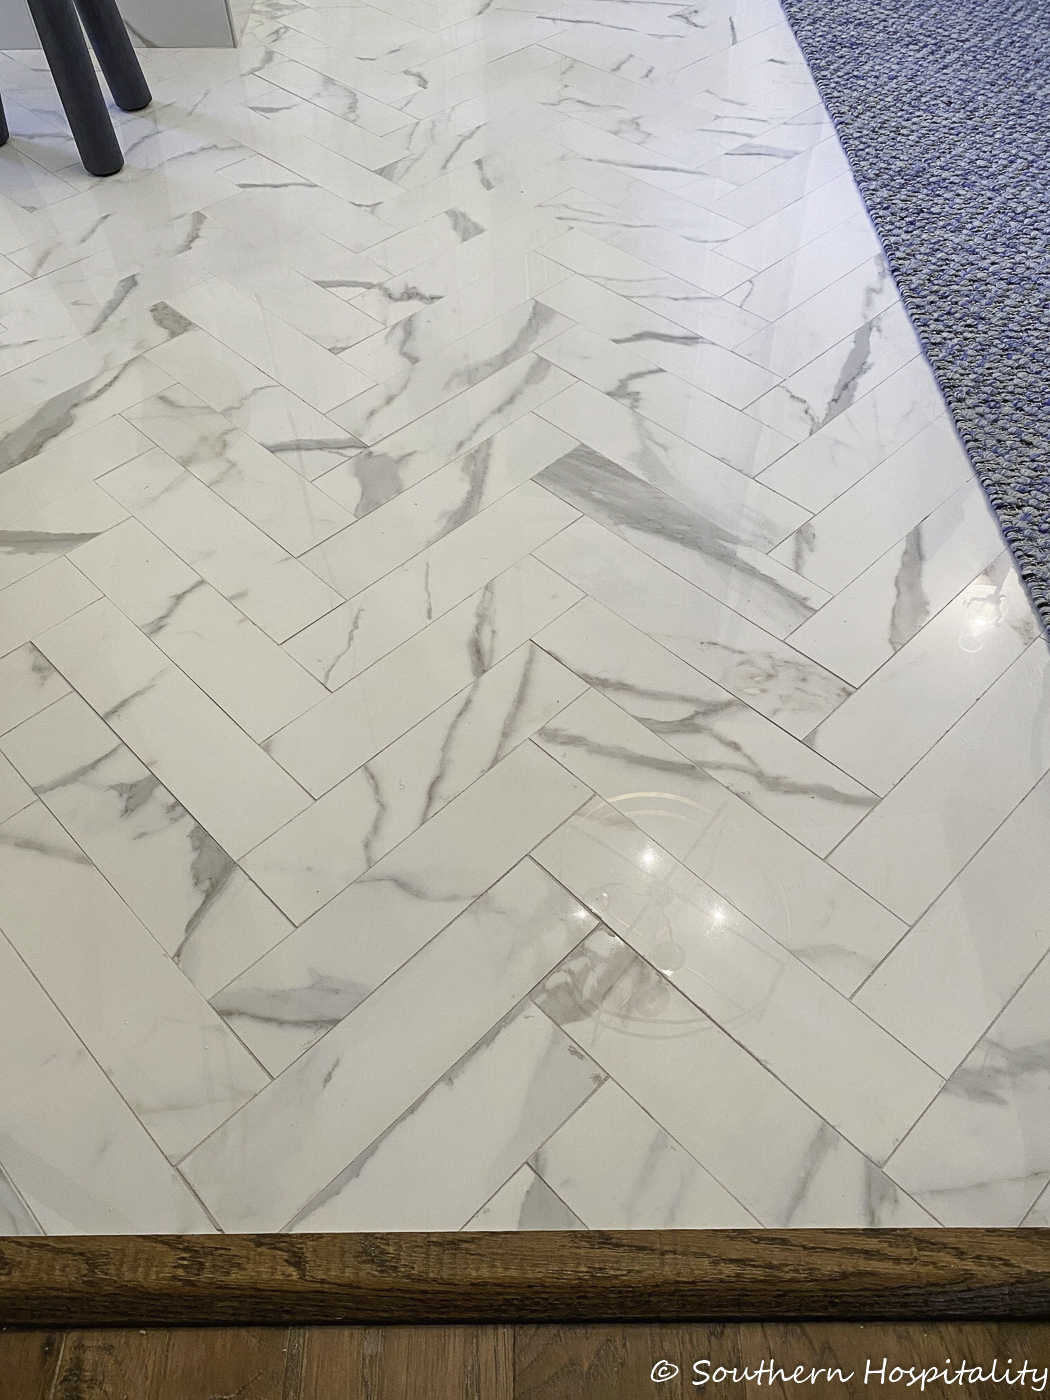
The Walker Zanger porcelain marble tile we chose was perfect. We love how durable it is but it has the look and feel of marble. We opted to have it laid in a herringbone pattern with minimal grout lines. They butted the tiles next to each other.
Walker Zanger:
Grout color for all tile: Warm Gray (Mapei from Floor & Decor)
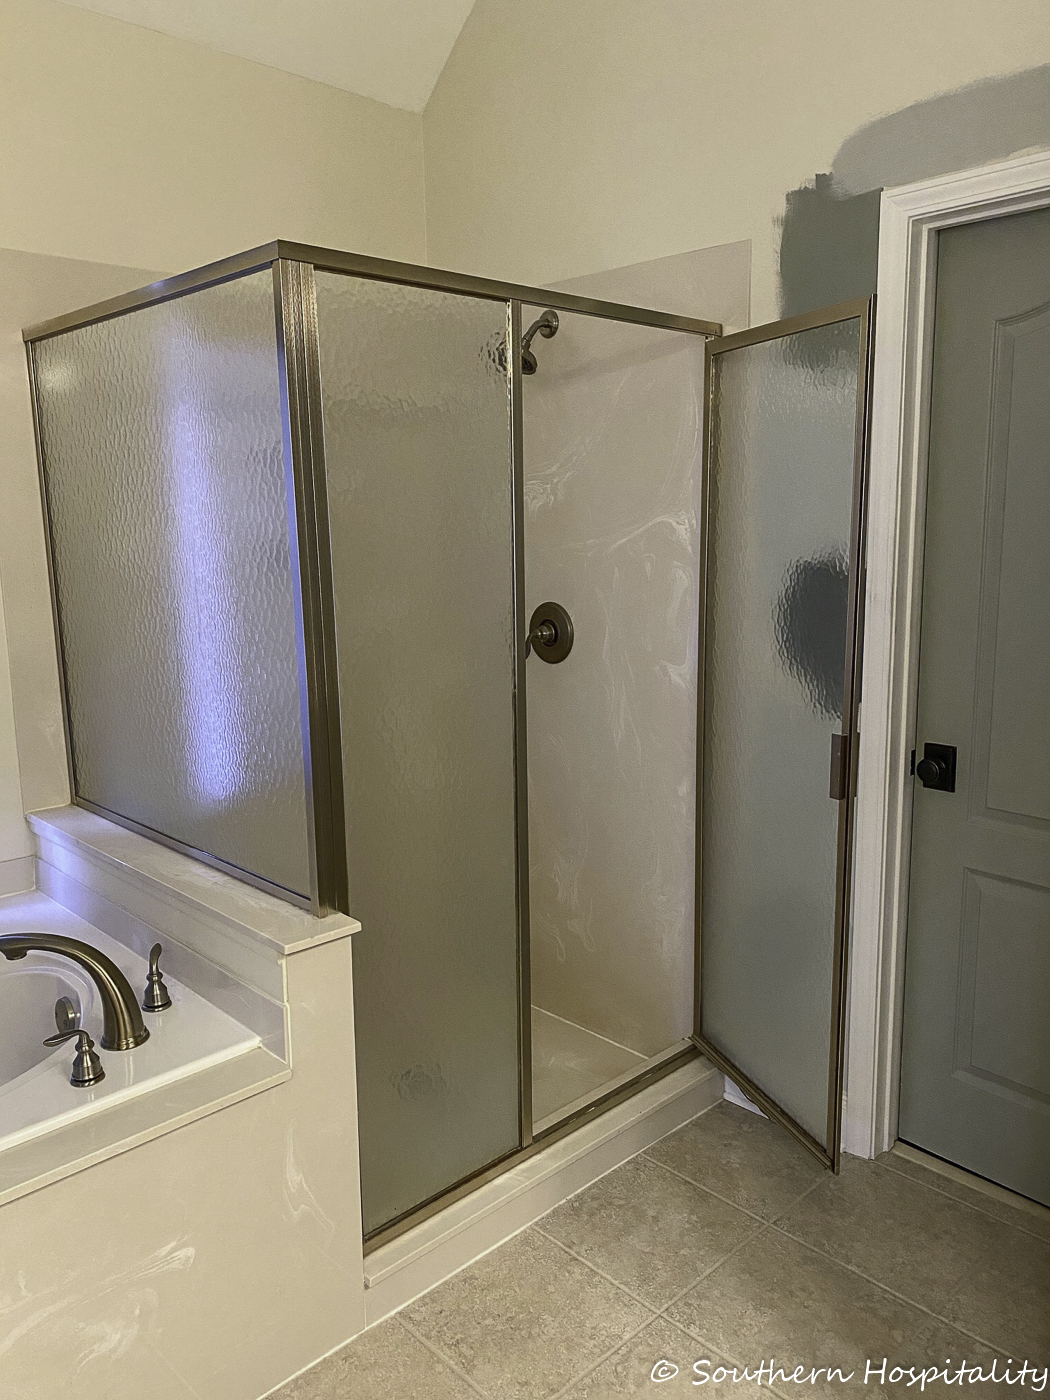
Before, the shower. We really disliked our shower situation. It was very closed in, we hated the fake marble look and the shower pan didn’t drain properly. There was always water left in the back corners of the shower making it hard to keep clean. We were able to gain a few inches in both directions and that helped to make it feel even more spacious. Removing that little pony wall and adding a bench was such a great idea.
We had a few moments of panic along the way. No renovation is perfect and because I decided to add a little bench in the shower at the last minute, we ran out of shower tile and had to order a few more pieces. So the stress was there while we were going through it, but everything worked out great in the end. I want to thank Lisa from Walker Zanger Buckhead store for helping me through this and getting everything ready for pickup ensuring we had a mostly smooth installation. They were great to work with and she gave me confidence in the choices we were making.
We had several hiccups along the way including a countertop fabrication problem. Our original choice had a corner broken during fabrication so we had to scramble and choose a new one. The good news is that we ended up using the original choice in our smaller guest bath so that ended well too. We aren’t ready to do that bathroom yet, but now we are ahead with a beautiful new countertop already!
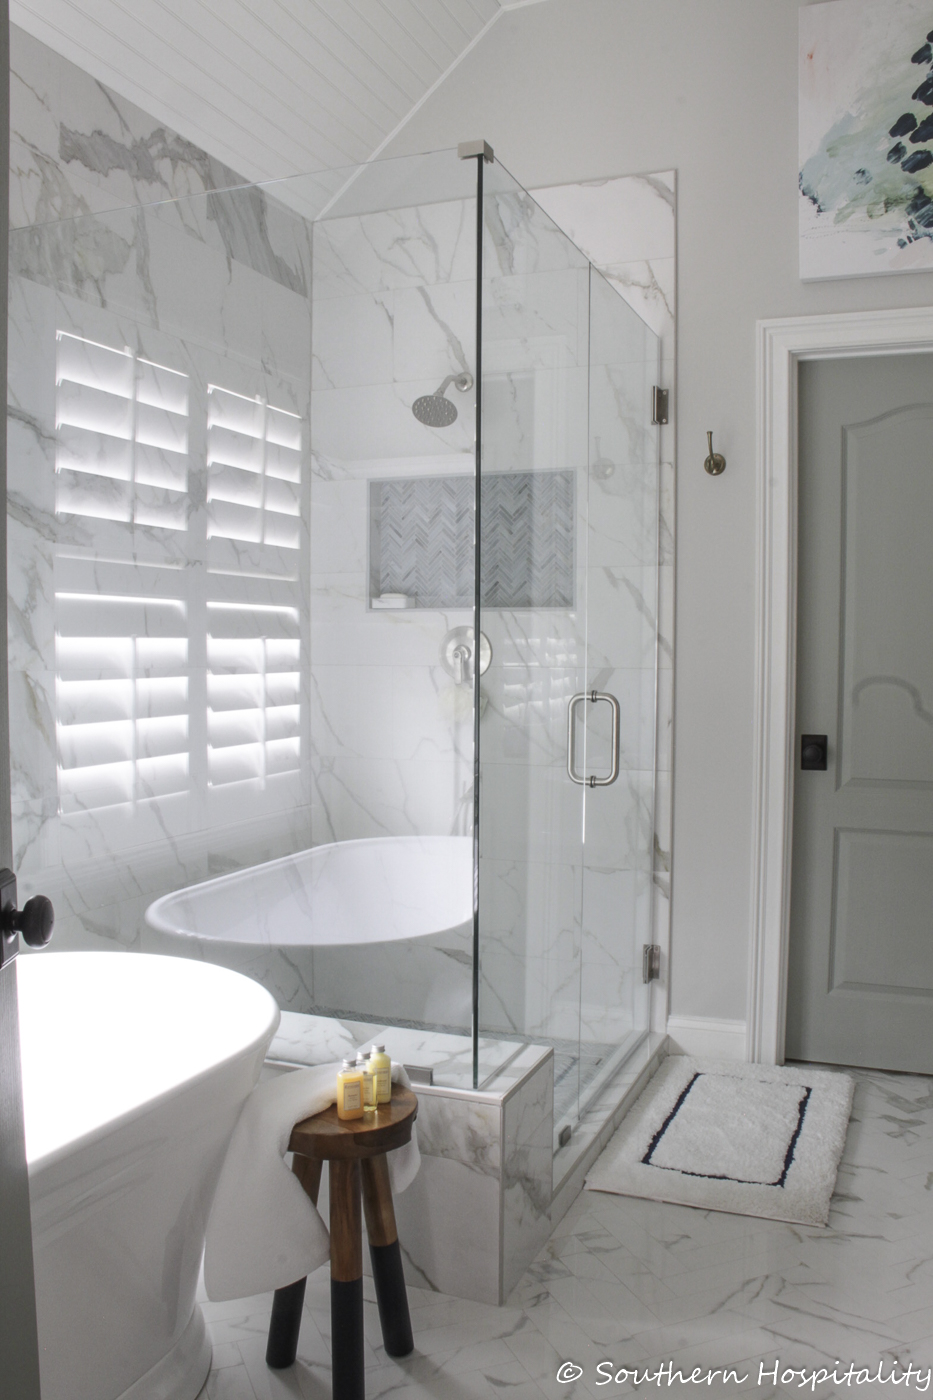
The new shower is so gorgeous! I can’t tell you how different it is. Even though it’s only a few inches bigger on both sides, it feels SO much more spacious and huge. Taking a shower is now a pleasure and not one I dread. The water drains so nice and the whole shower feels like a luxurious hotel, but it’s ours in our house!
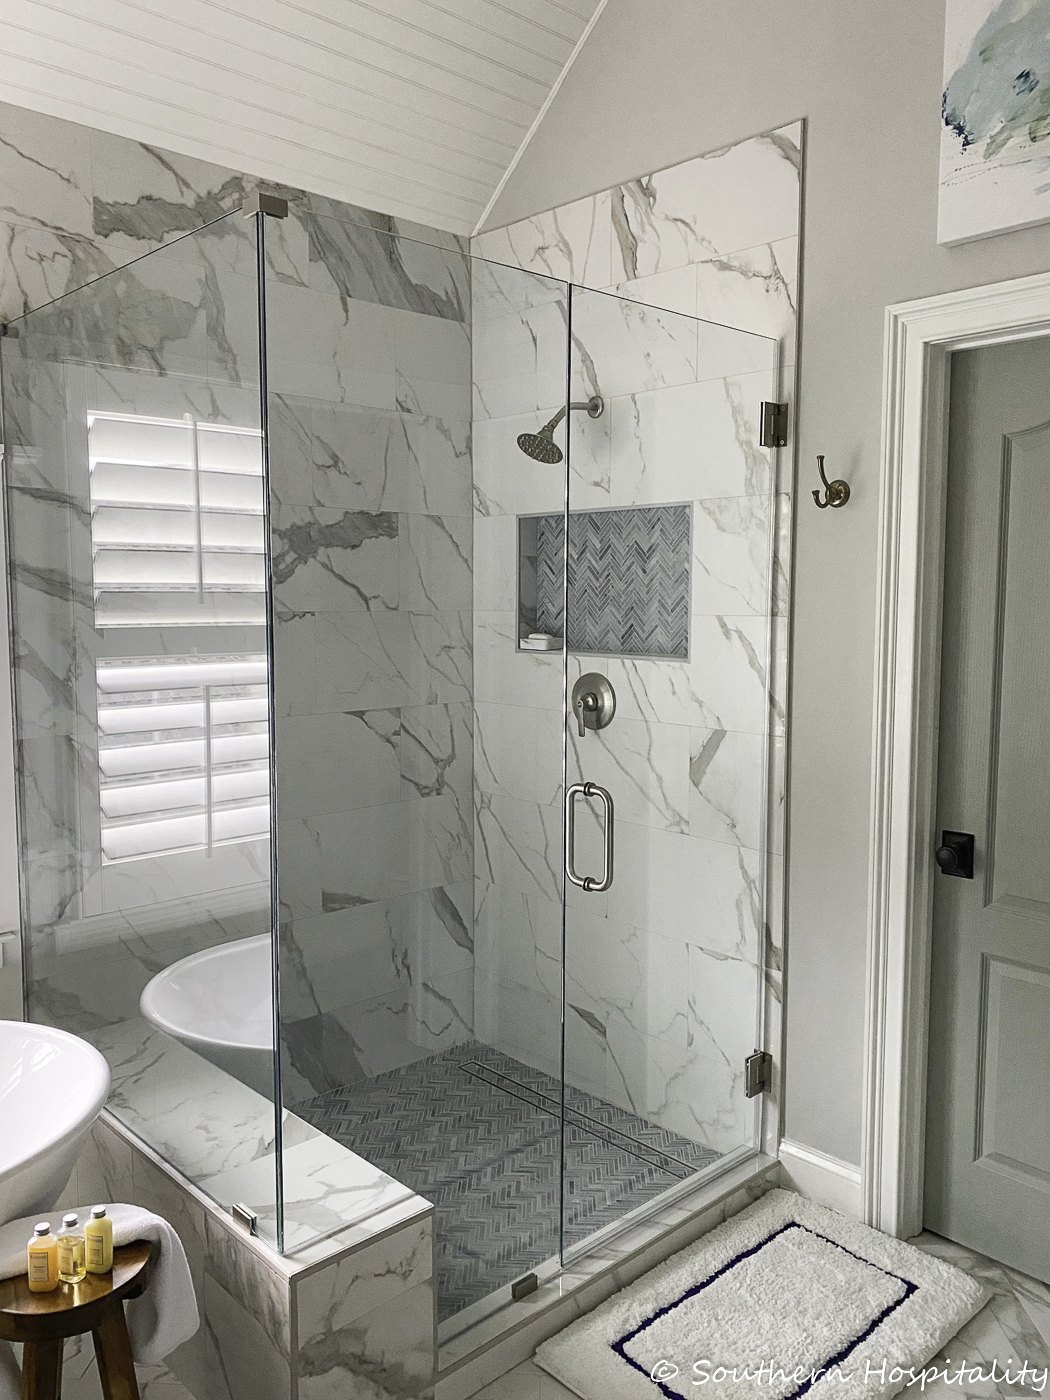
The shower tiles are the same porcelain tiles as the floor tiles, just larger in a 12 x 24 size. They were perfect for a spacious feel and minimal grout lines in the shower. We love it!
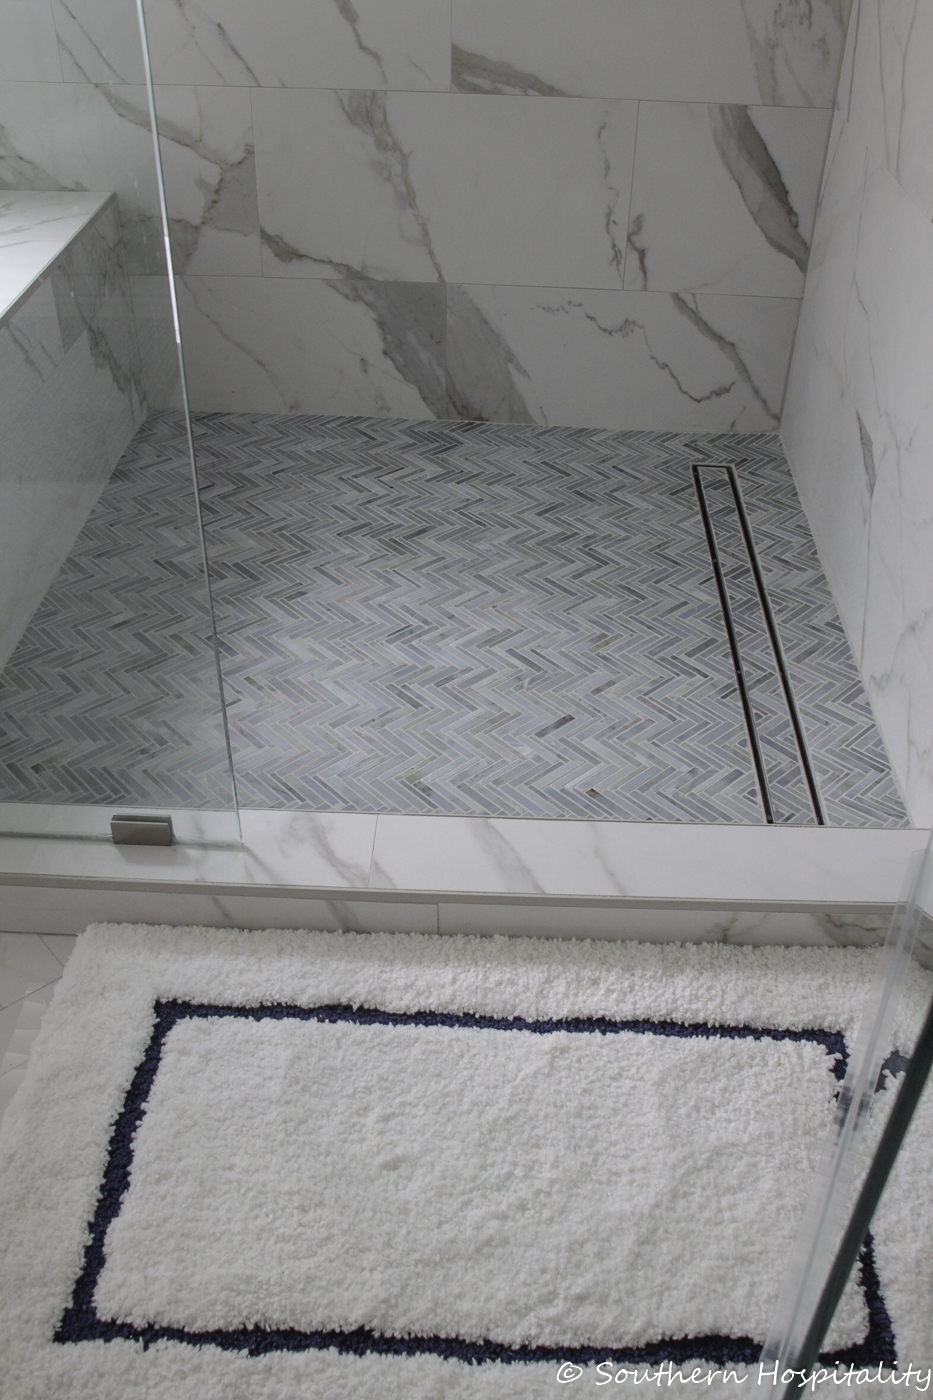
I used the same marble chevron tile for the shower niche as well and love, love this tile. It really caught my eye and became a focal point for the bathroom. I never wavered on this beautiful marble!
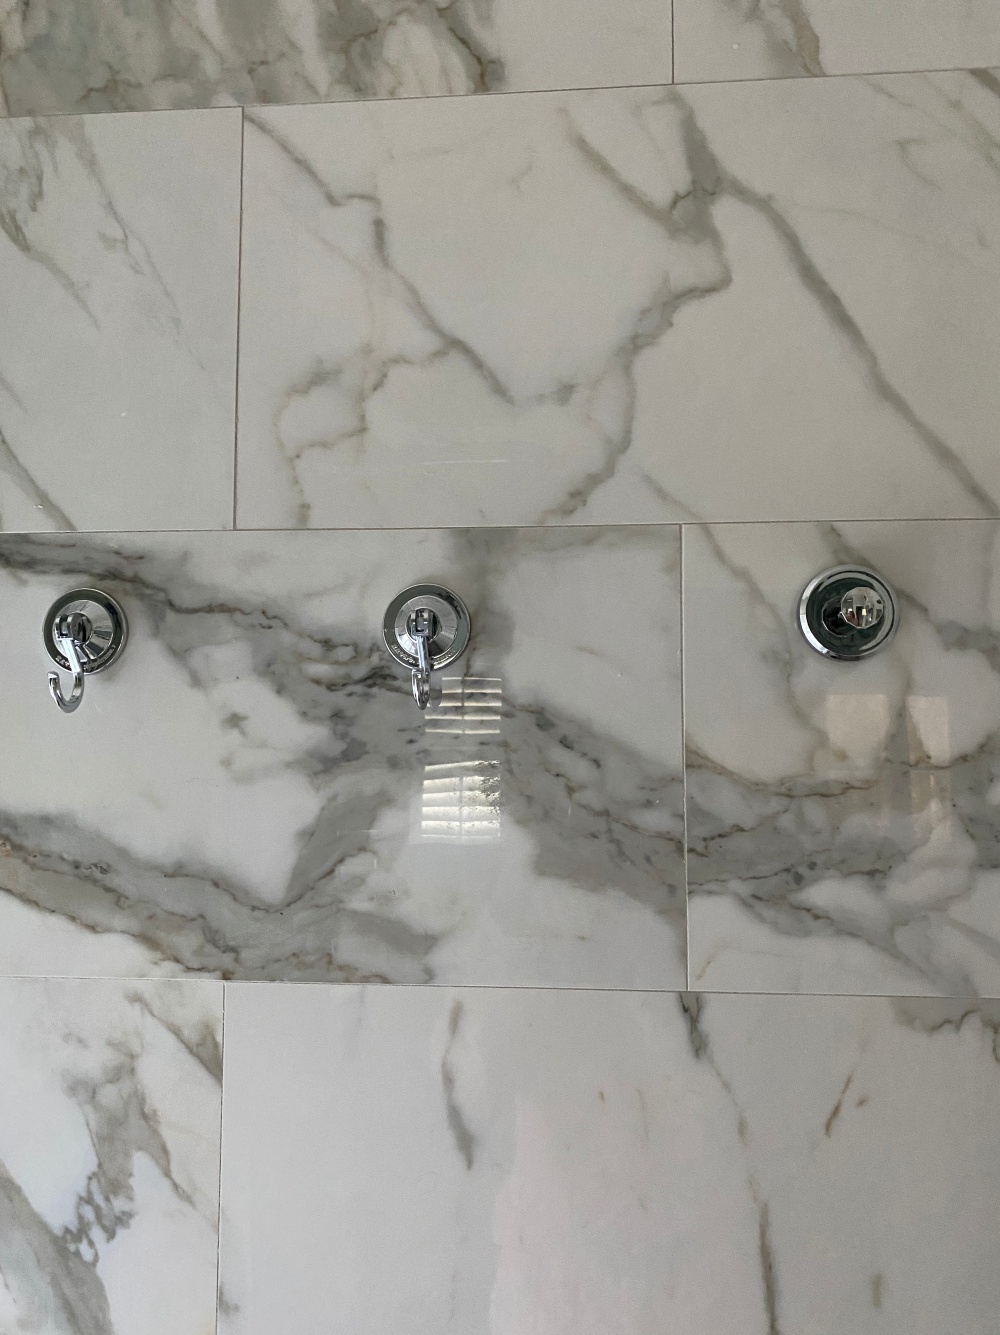
Mark ordered these suction hooks from Amazon and they are perfect inside the shower for hanging our towels. We don’t have a lot of outside wall space and the towels are out of the way and dry in here.
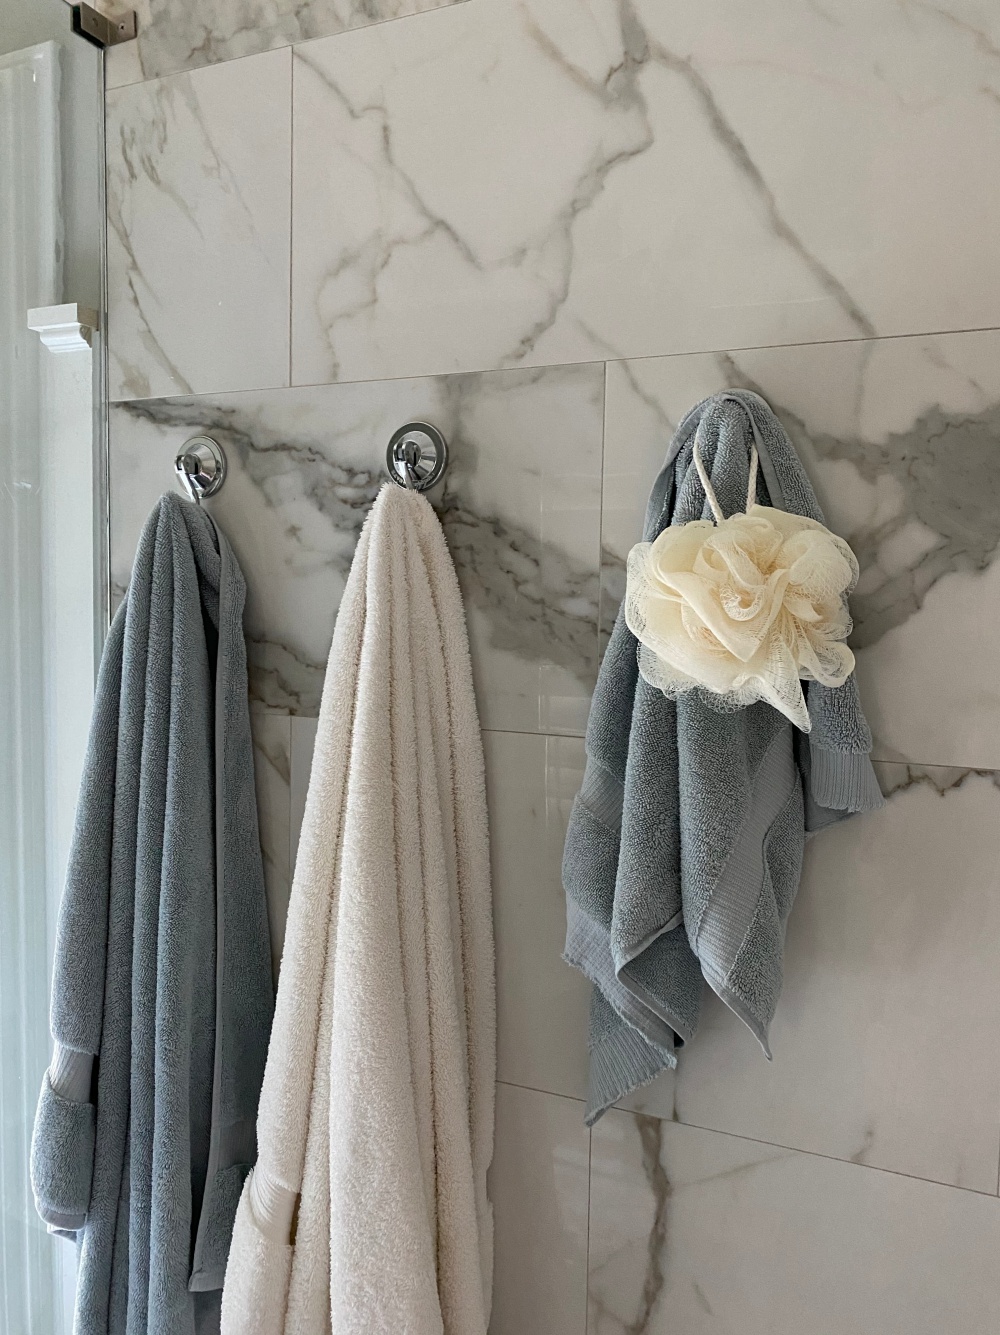
These were perfect for our needs!
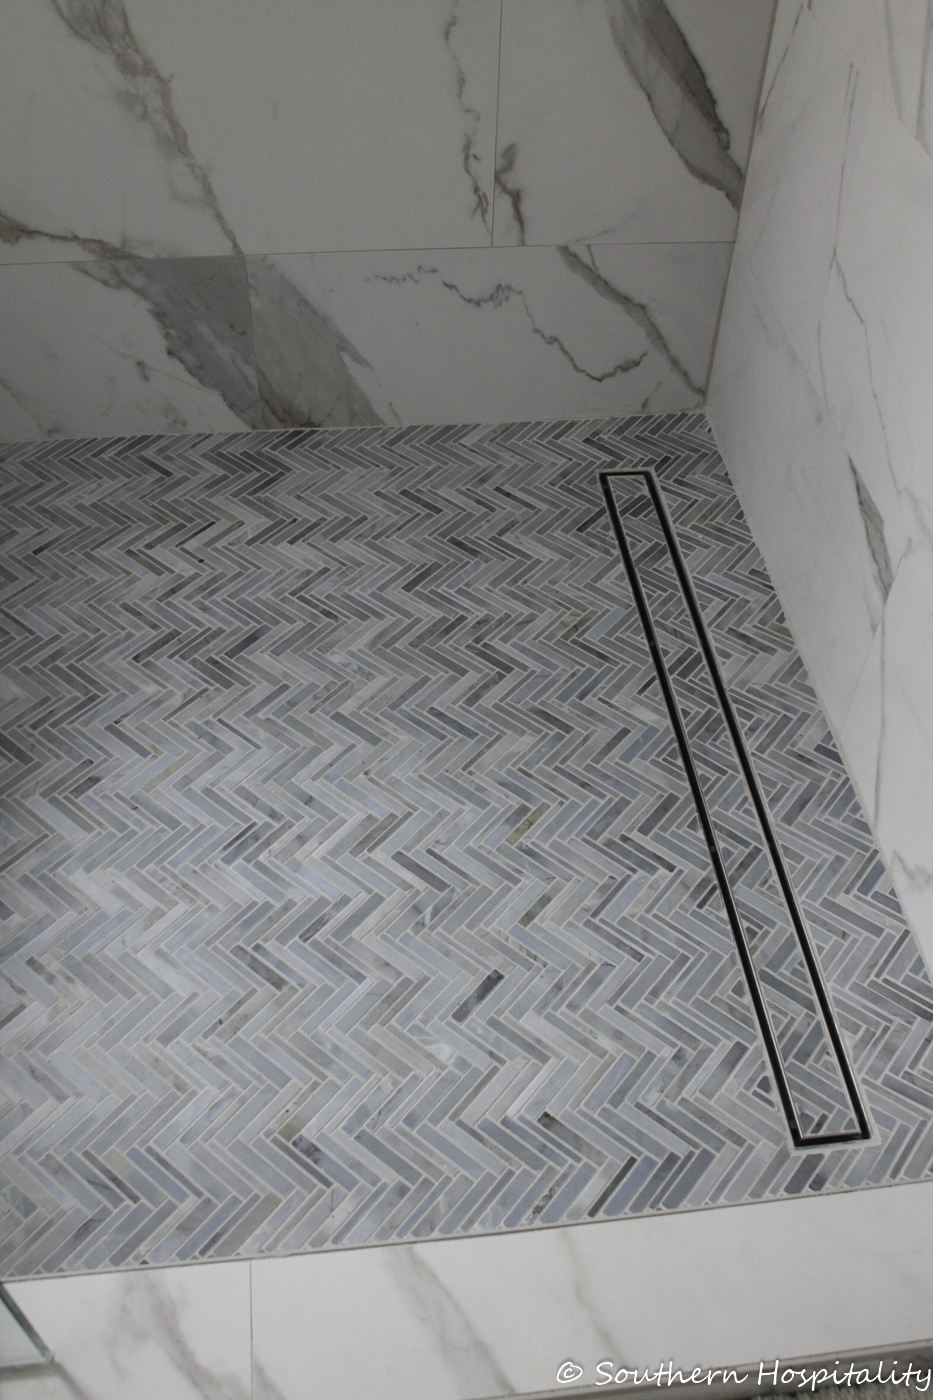
Isn’t it gorgeous? With a mix of shades of blue and gray it is one of the prettiest marbles I’ve ever seen. I opted for a linear drain, I’ll share sources on all of this as well.
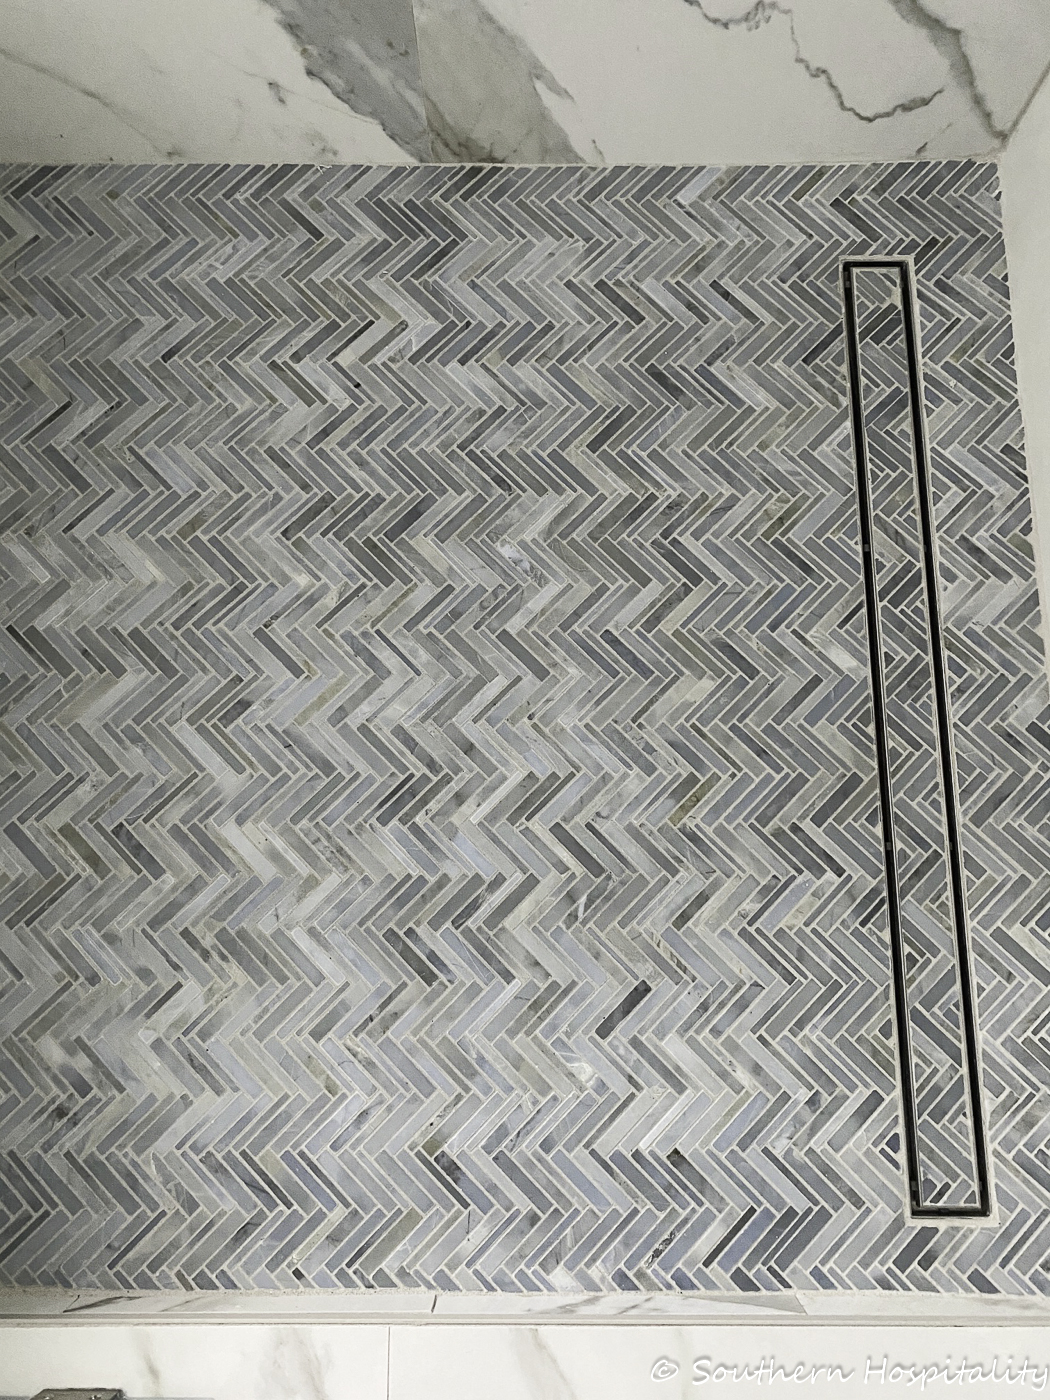
I can’t share it enough, it’s that pretty! I don’t think I’ll ever get tired of this marble!
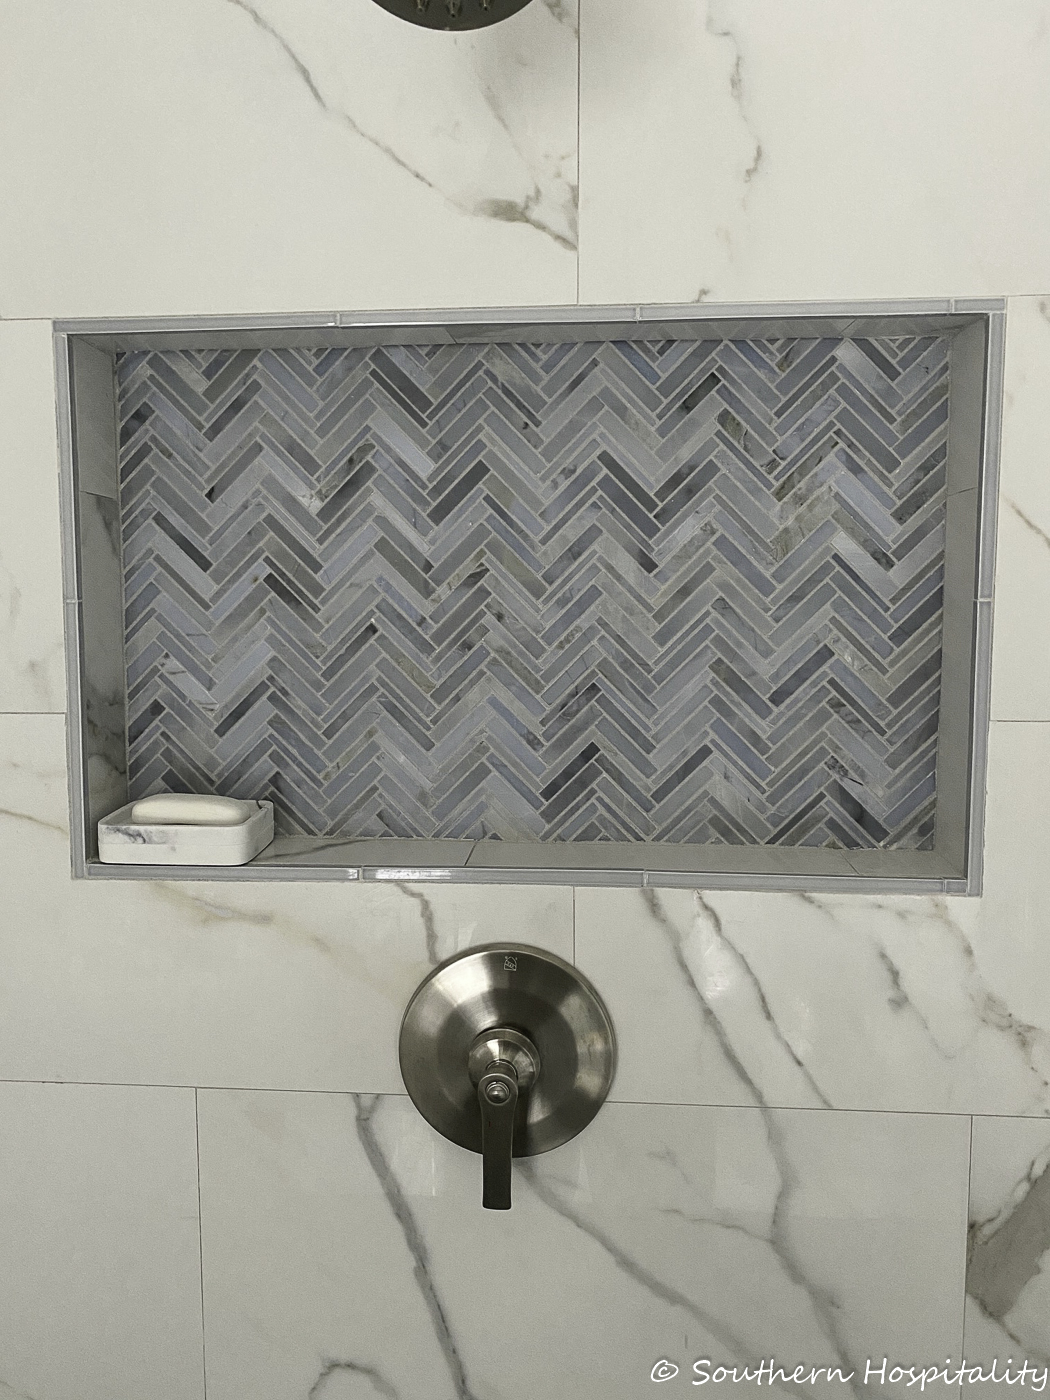
The niche is lined with a pretty stick tile from Walker Zanger too. The Warm Gray grout tied it all together. Soap dish from Walmart, linked below.
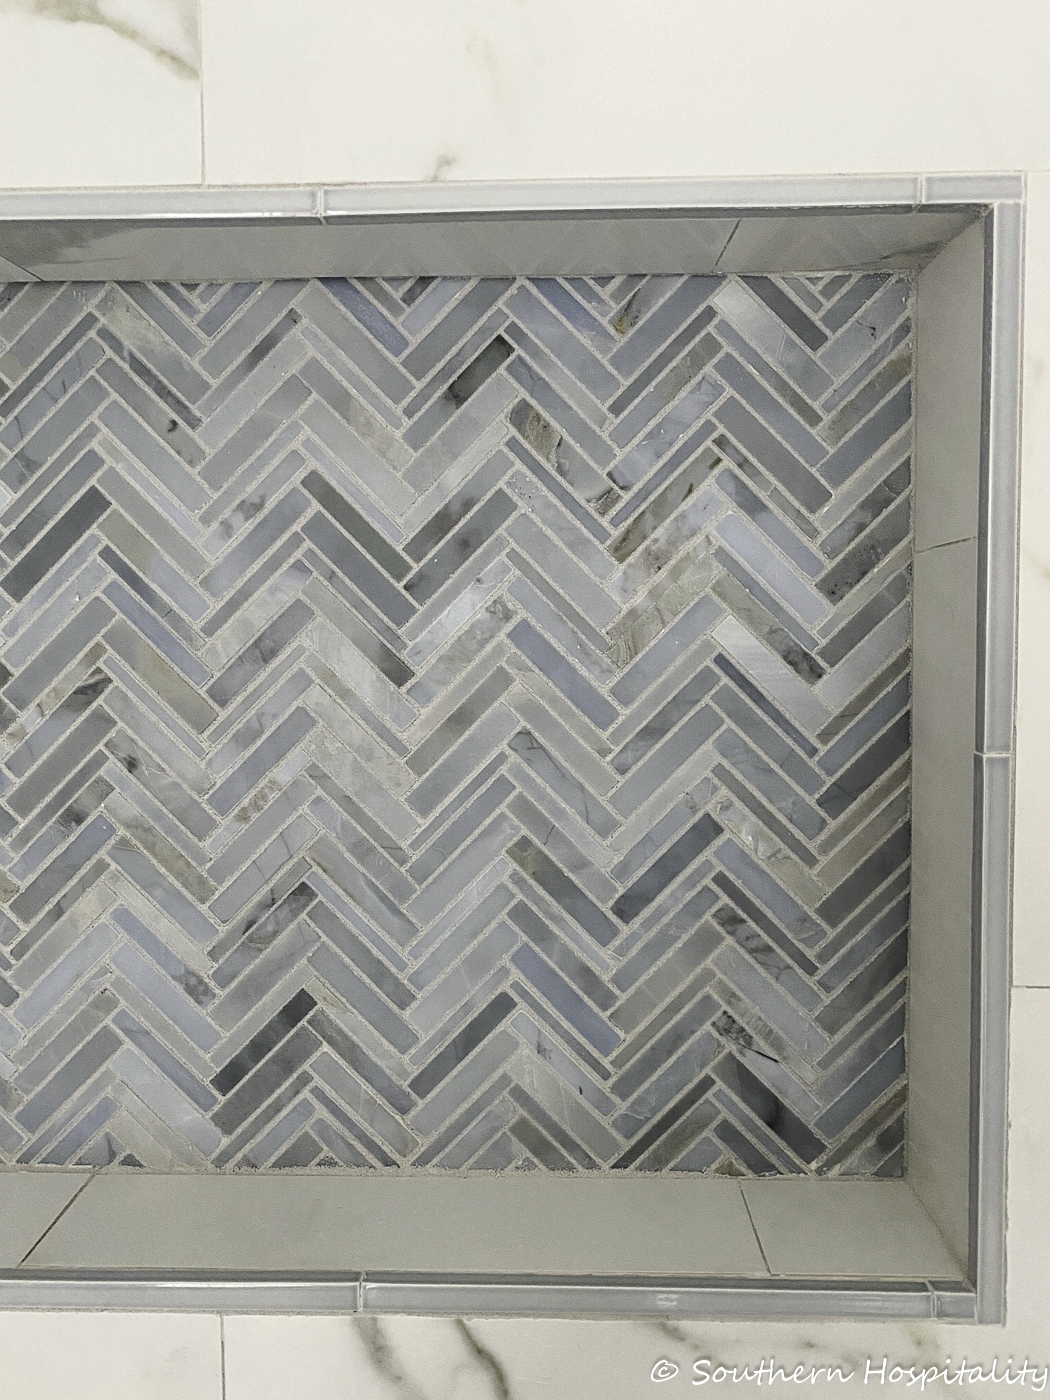
The niche is very big and spacious so glad we went with this as a focal point.
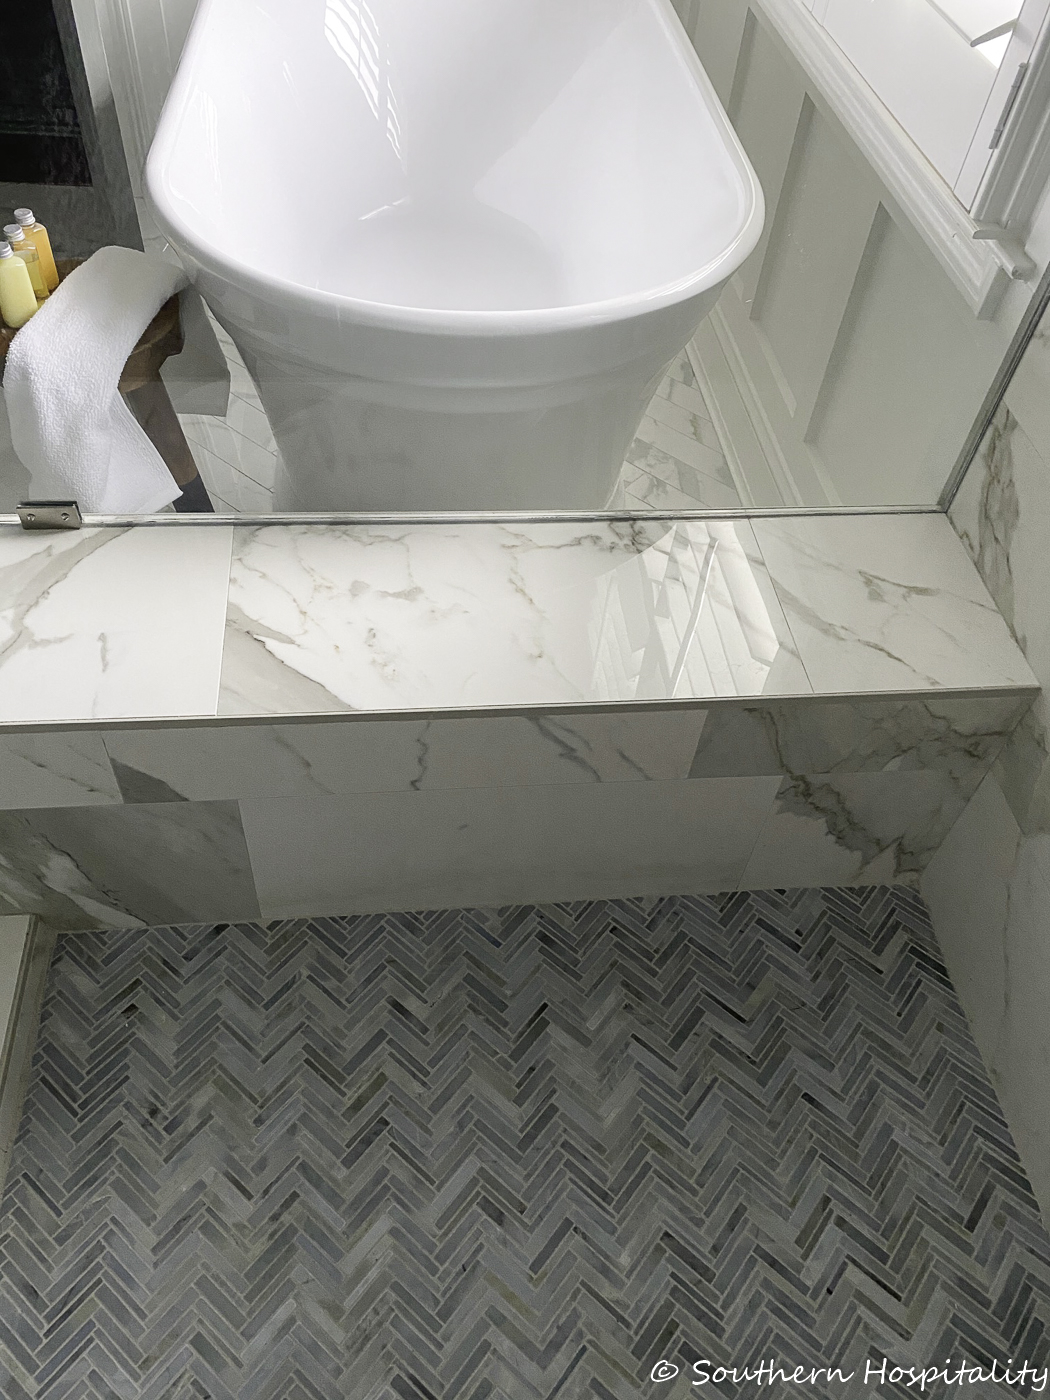
Looking out from the bench to the free standing tub.
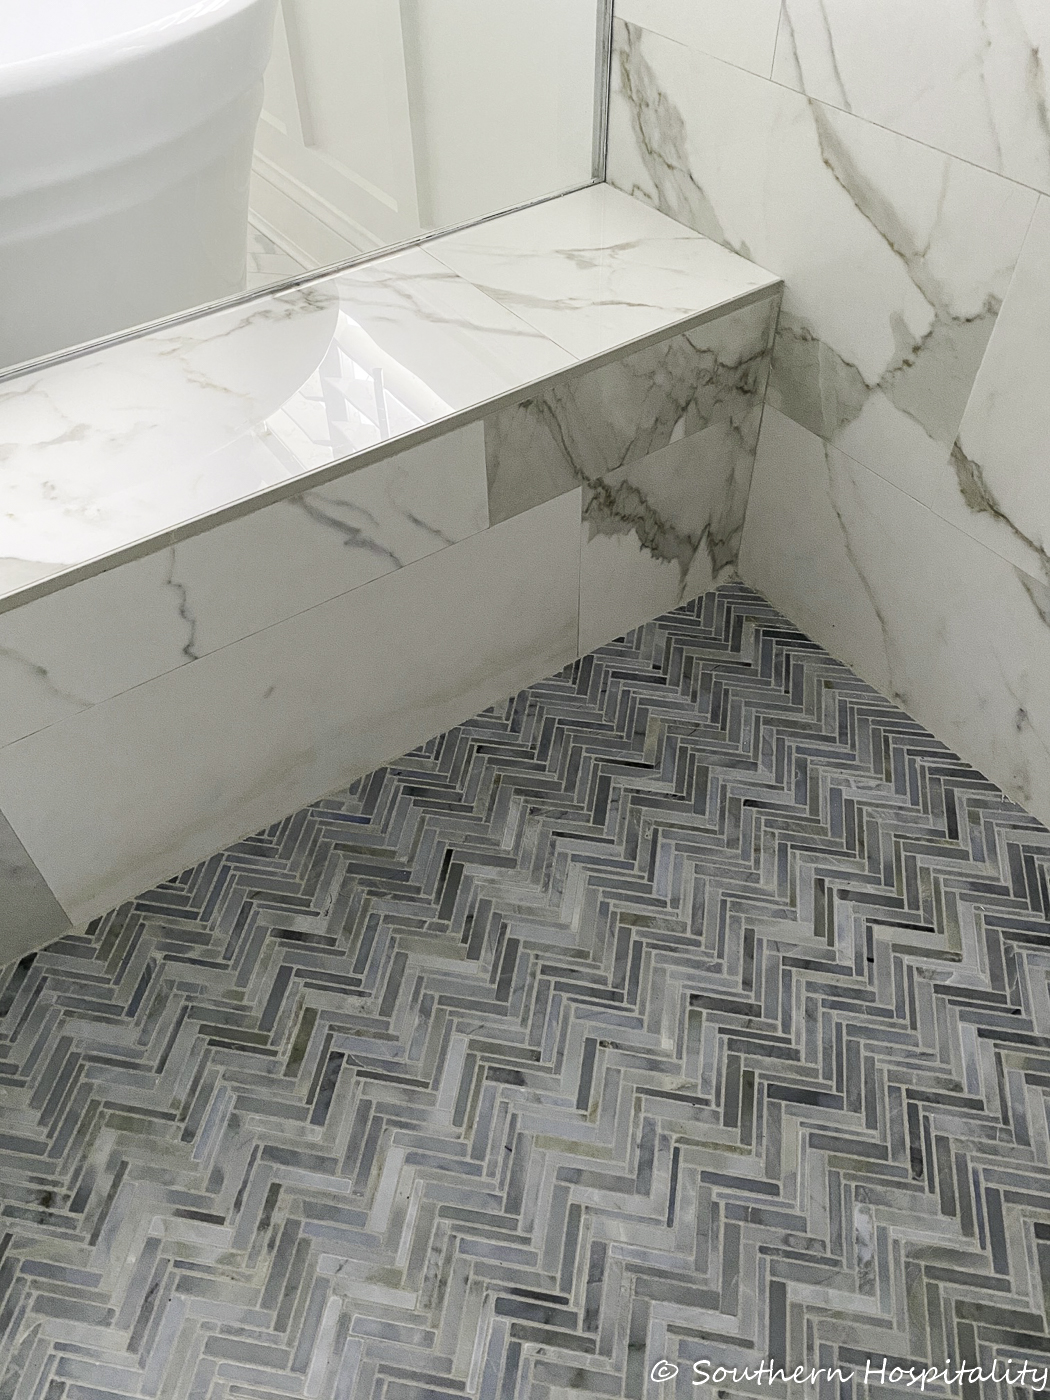
The shower bench is so nice. Before I had no place to put my foot to shave my legs, so this bench is the best! So much more comfortable for that chore. Now if we need to sit down in the shower, this bench will be there for us. I’ve never had a bench, but I love it!
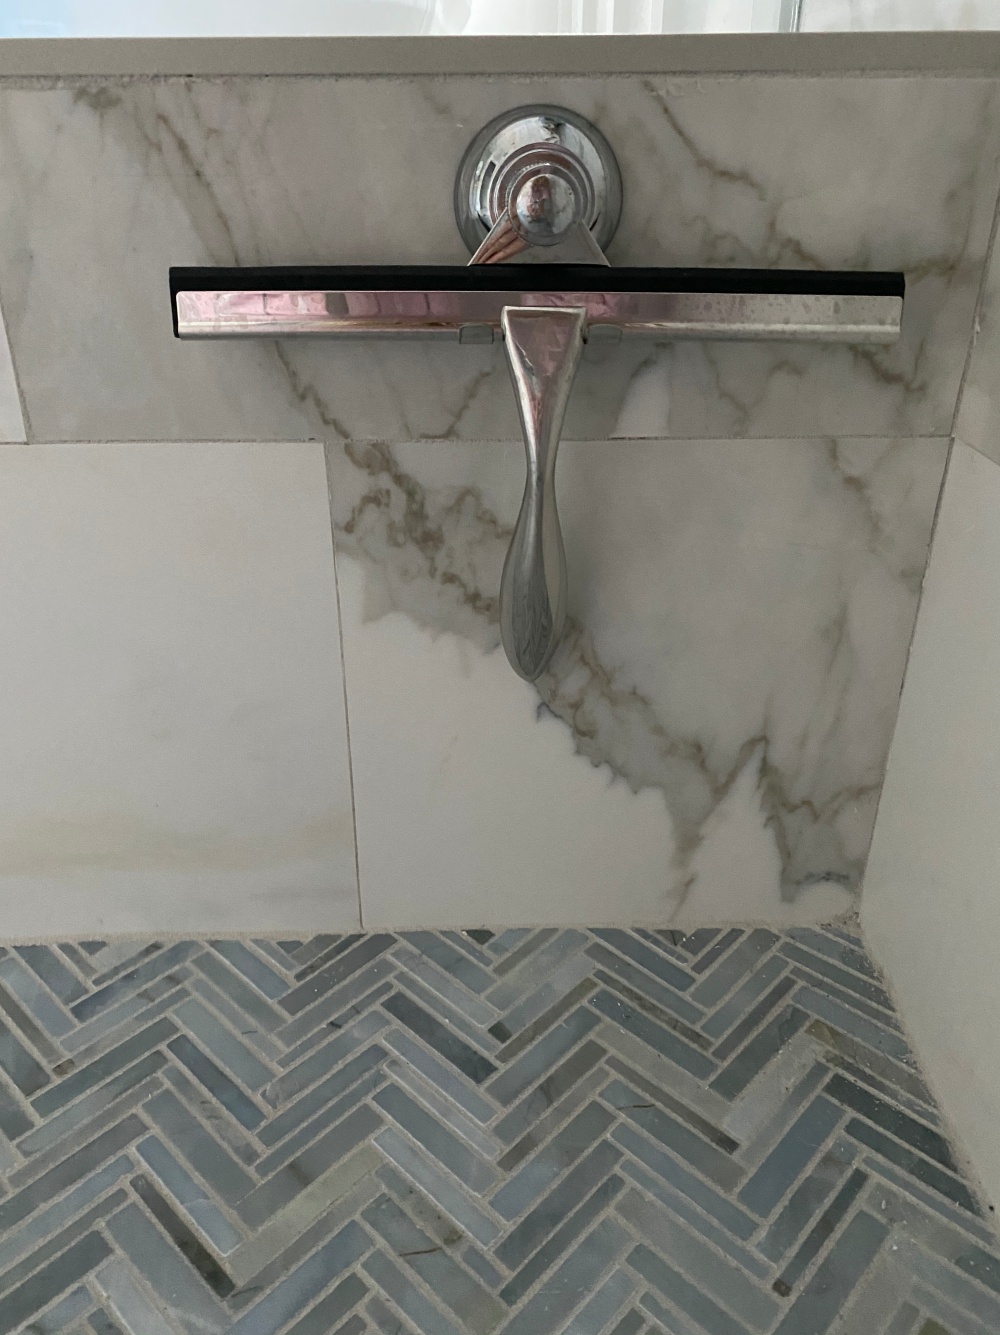
Mark ordered these chrome pieces off Amazon including this squeegee that we will use on the glass walls. I’ll include links below. It hangs out of sight on the bench, but handy for use.
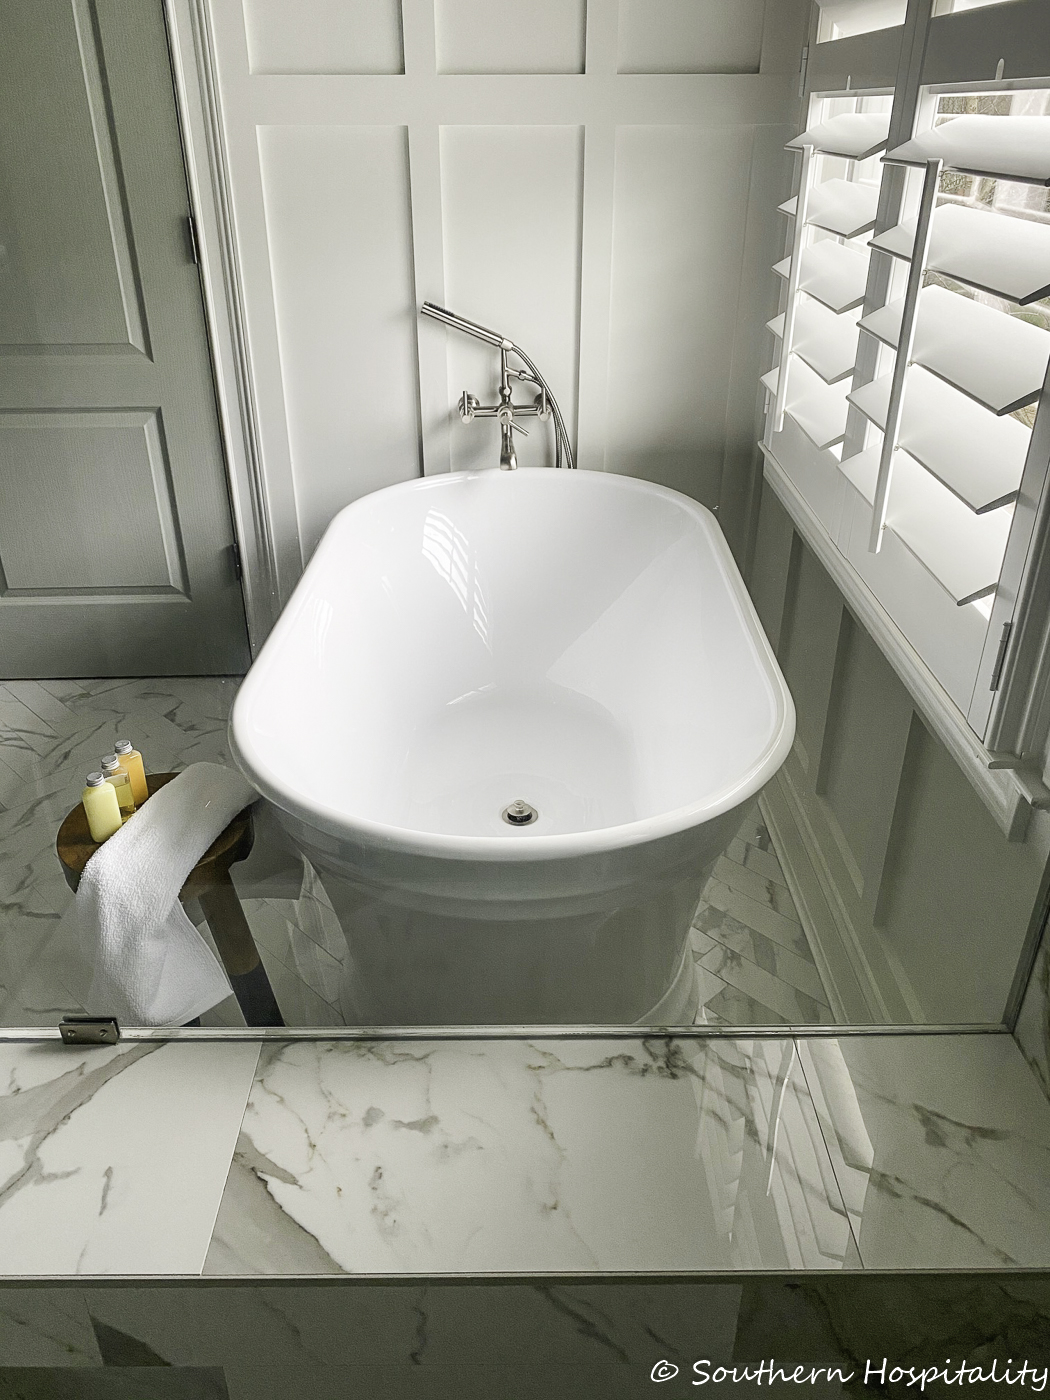
Another look through the glass at the tub. It’s everything too!
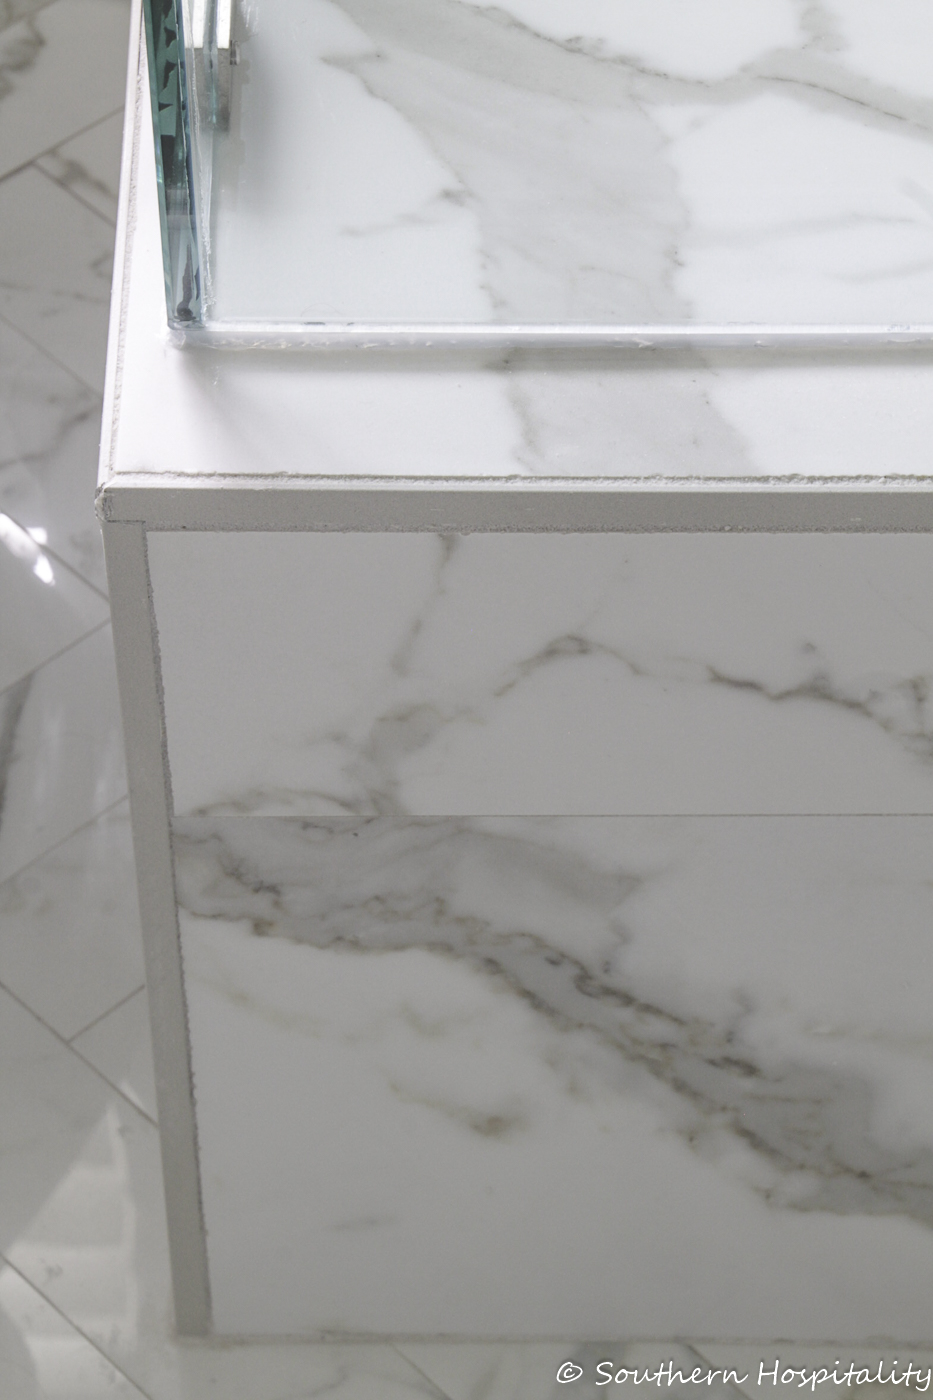
Here’s a look at the Schluter metal trim I got for the edging of the shower tile. It’s on the shower curb and bench inside as well as around the outside and top edge of the shower wall tiles. It blends in very well with the tile and I’m happy with this color.
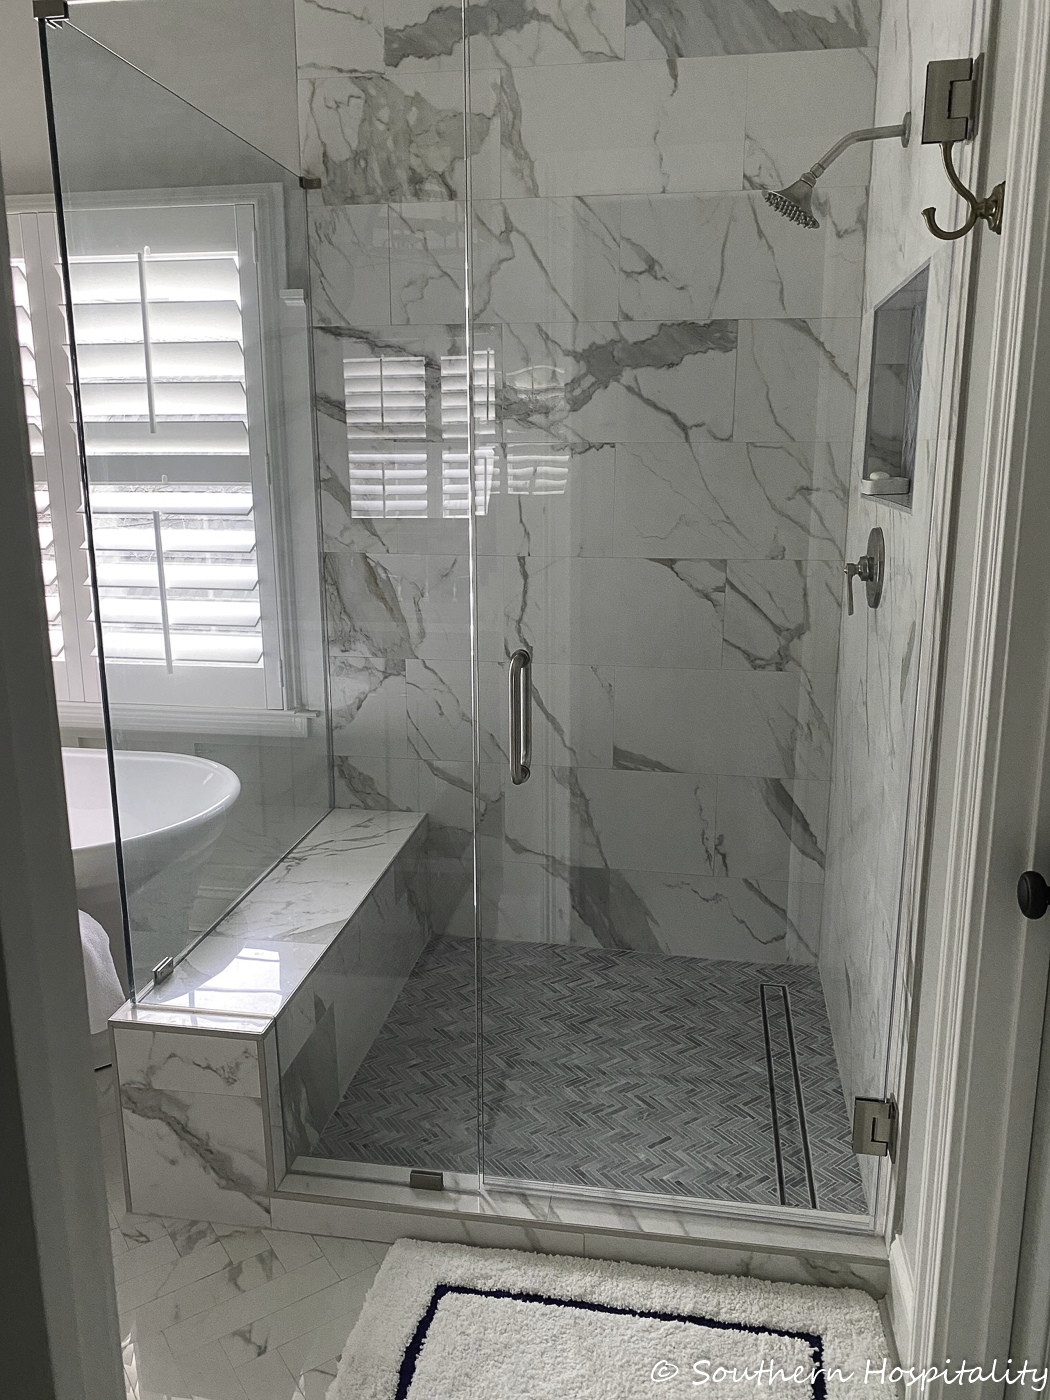
One more side shot of the newly tiled shower. Shower rug from Pottery Barn.
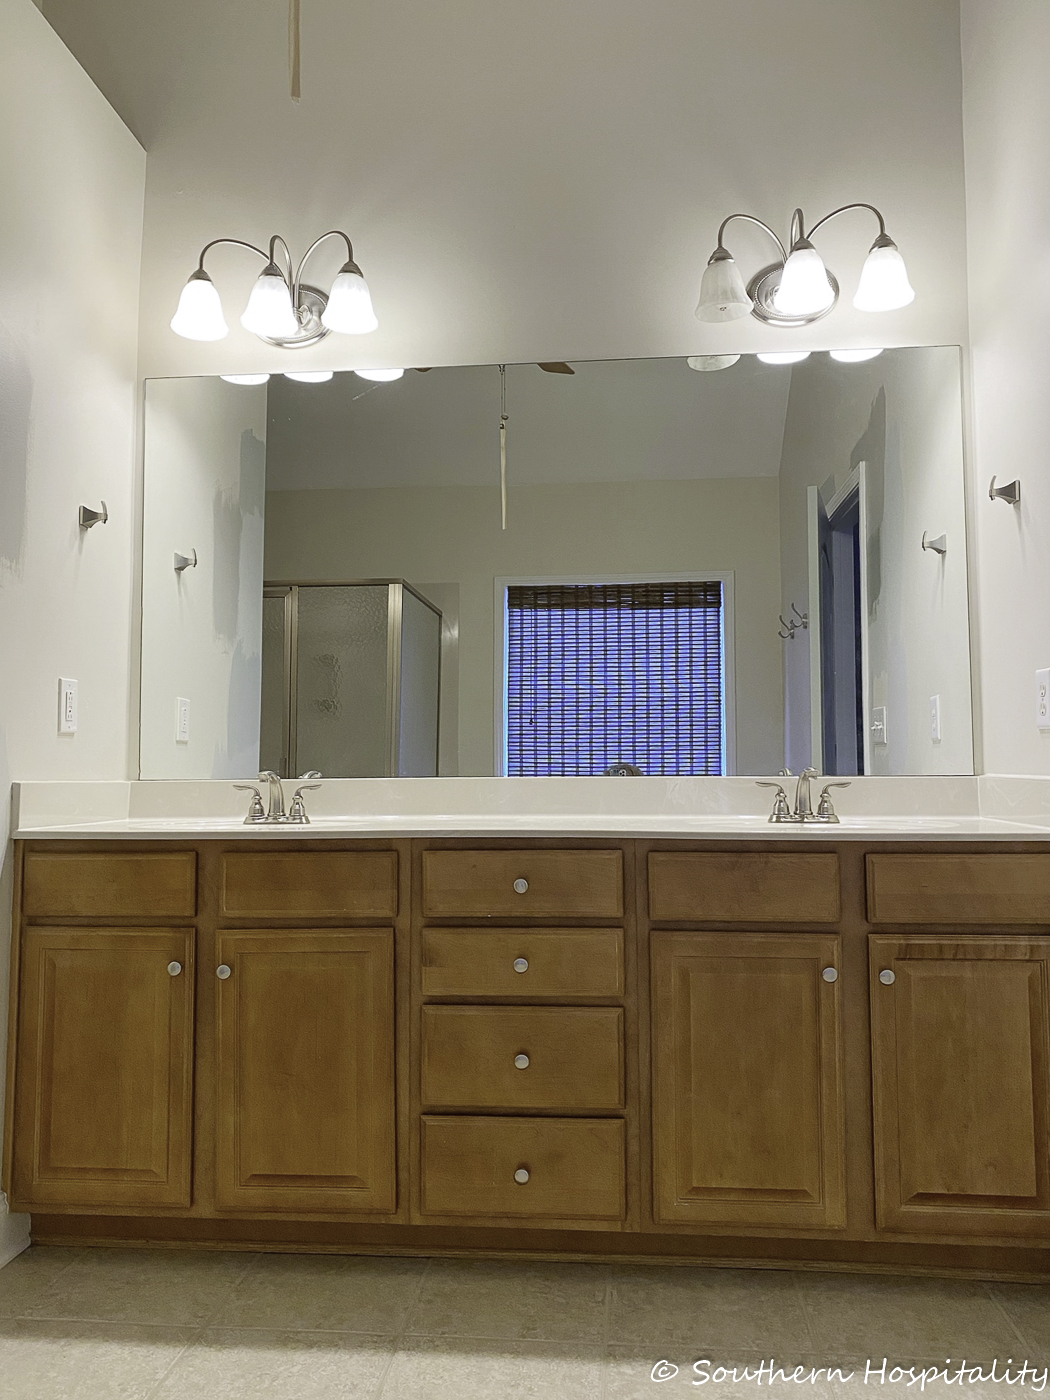
Vanity Before
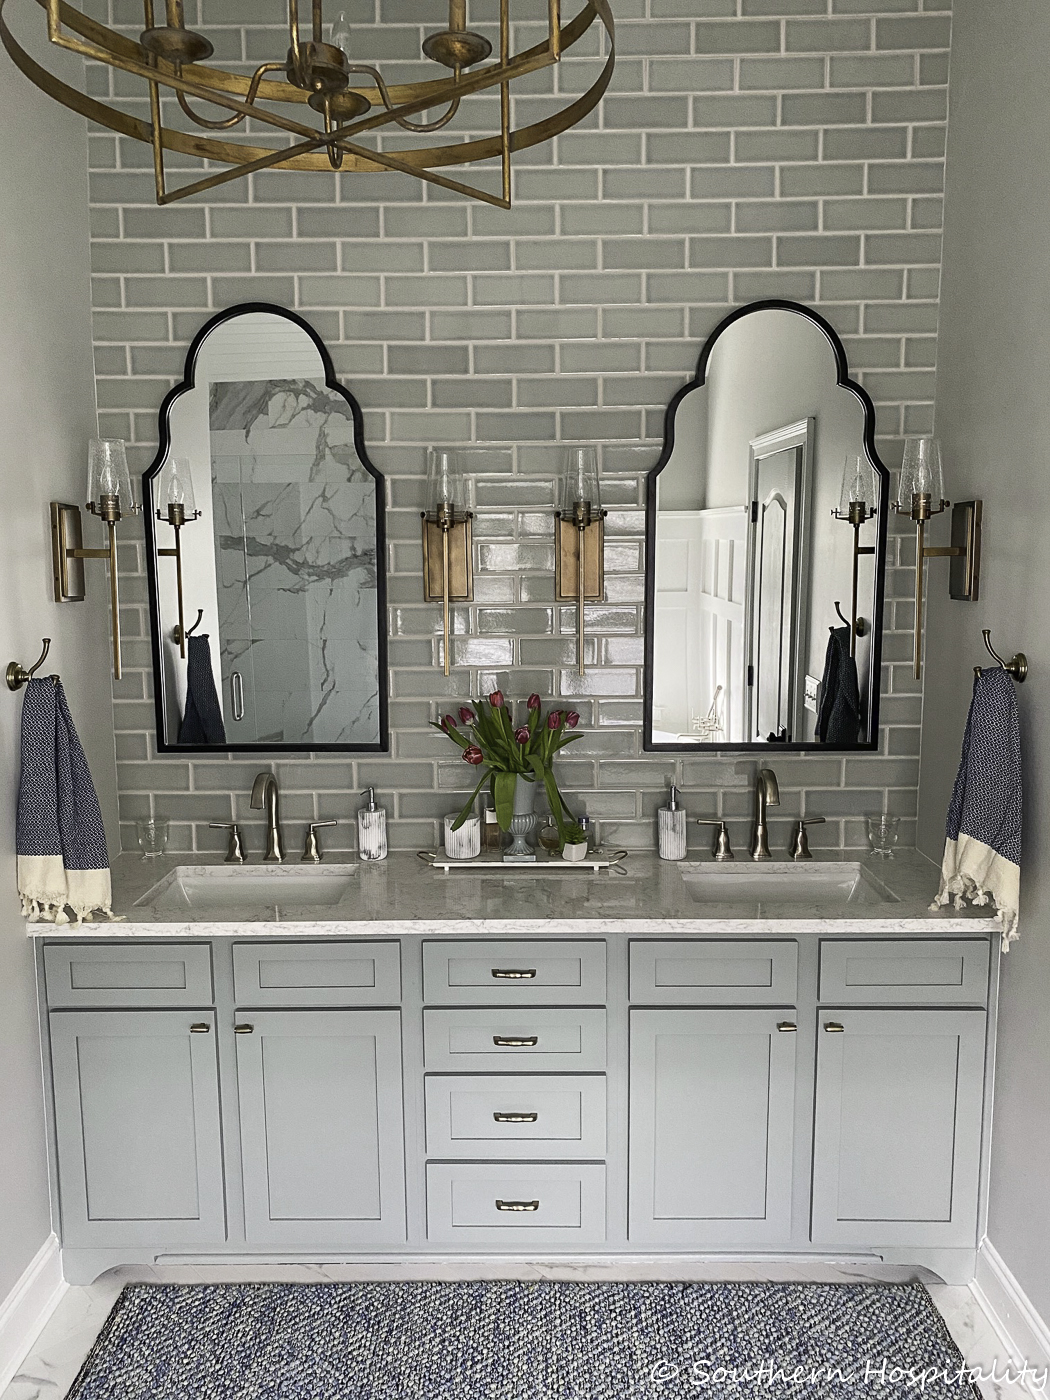
Vanity After
Now let’s move to the vanity! Wow at the changes in the vanity and the tile we chose for the vanity wall is absolutely gorgeous! It’s also from Walker Zanger and makes such a statement on this wall. I painted the vanity and we changed out the doors and drawer to a shaker style which also makes a huge statement. New door hardware from D. Lawless Hardware is a wow factor too.
The new drawers and doors are sponsored by Fast Cabinet Doors and I’ll be sharing a whole post about them and the process as well. It’s a game changer for our bathroom!
Vanity Color: Acacia Haze (Sherwin Williams)
Bathroom Door color: Oyster Bay (Sherwin Williams) same color strip
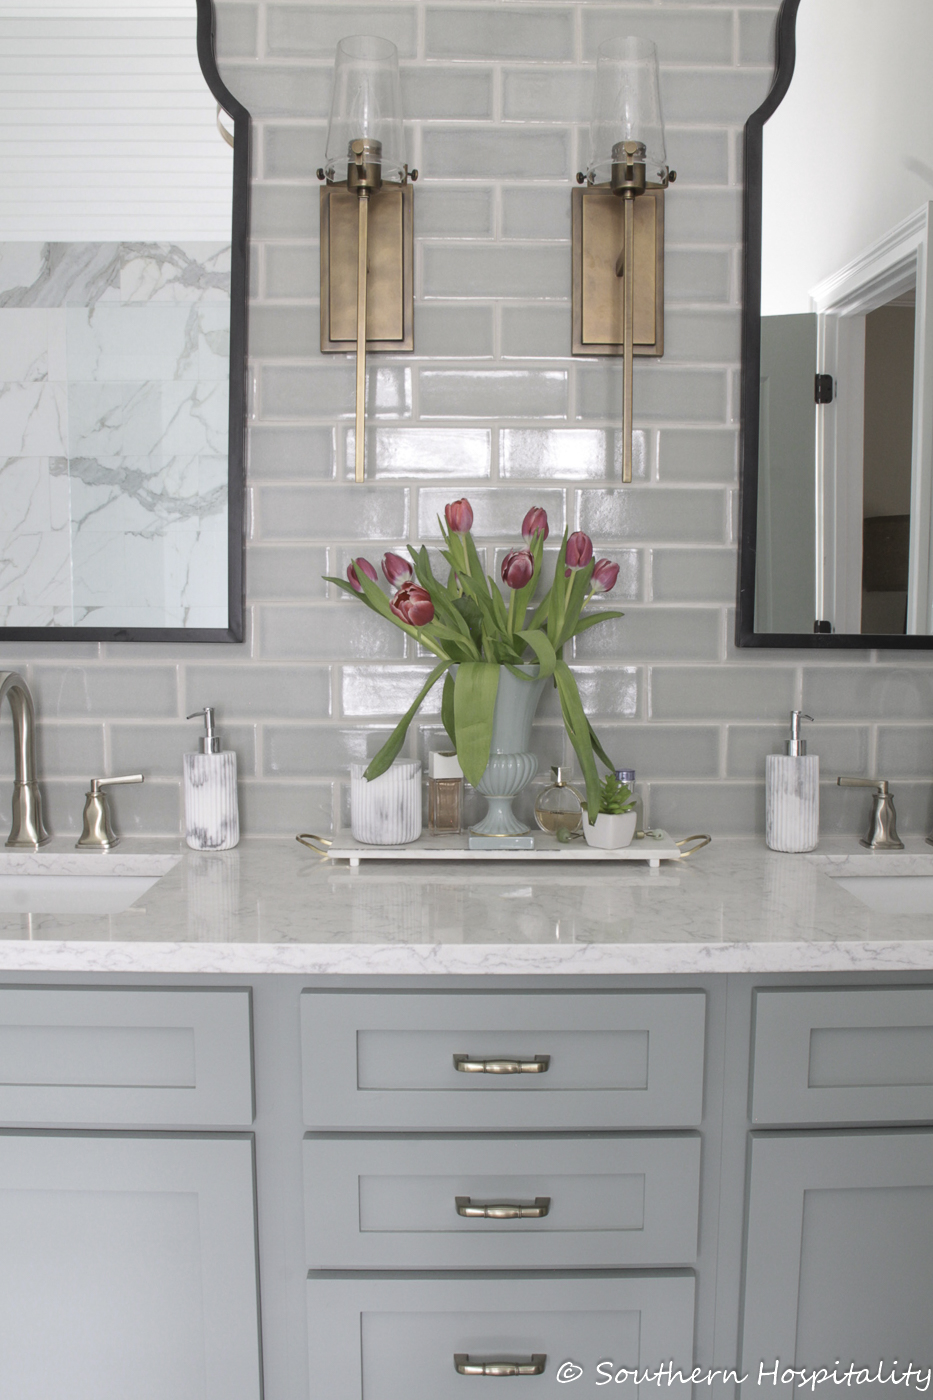
I was originally going to paint the vanity deep navy, but after getting everything in the room, I started second guessing that decision. I did sample boards of 3 colors and decided on this one, Acacia Haze from Sherwin Williams. I had the paint mixed in their Emerald finish which is very durable for cabinets. I primed them first, then painted with a foam roller and small brush and will be sharing a whole blog post about this project.
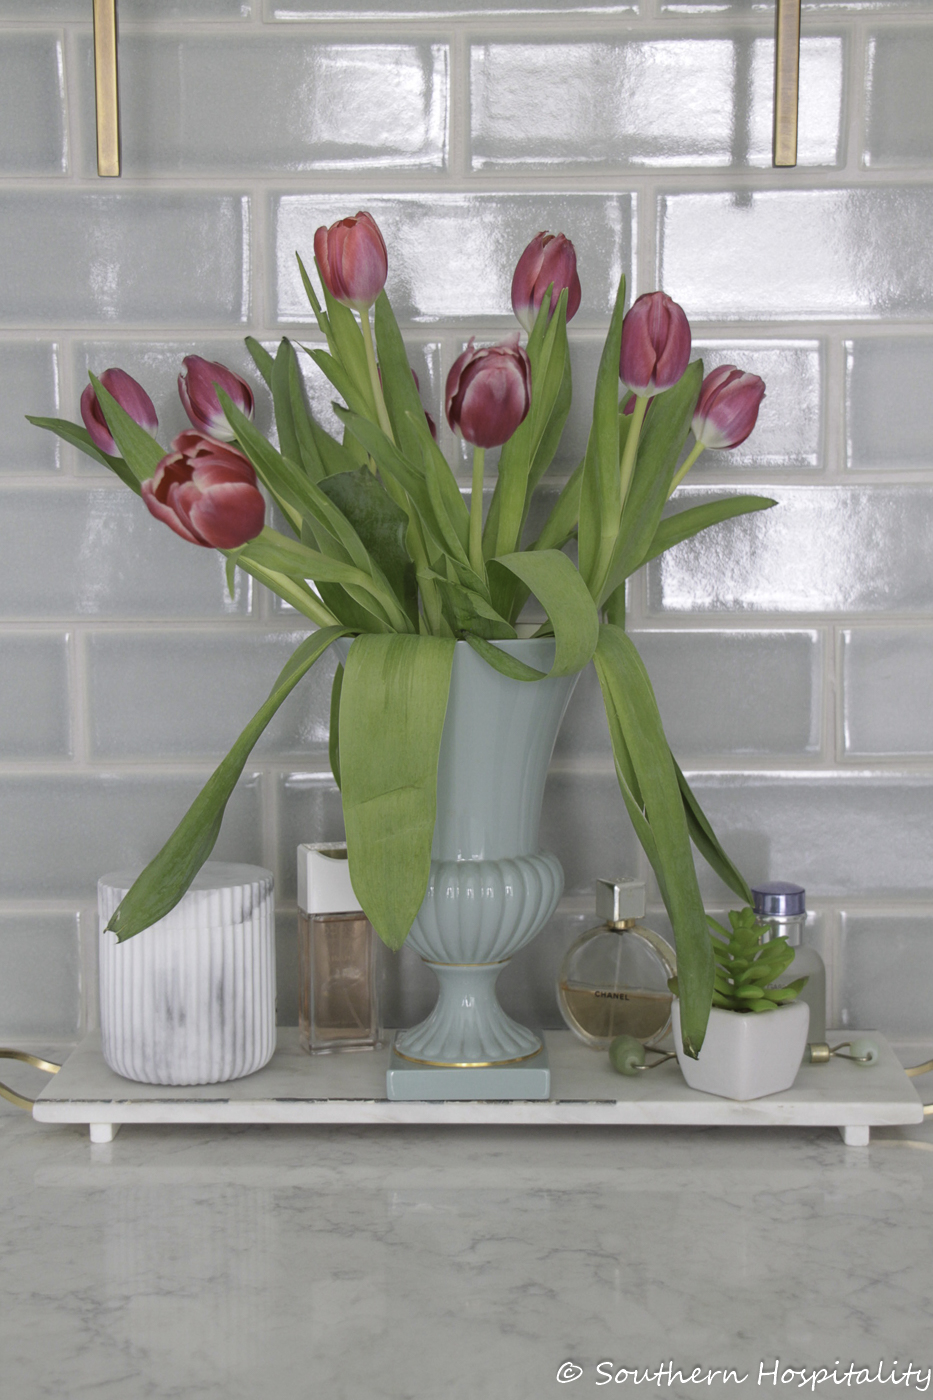
Let’s look at that tile a little closer. It’s one of the most beautiful tiles I’ve ever seen, with shadings and crackling and a hand made finish. They are gorgeous and I’m in love with these tiles!
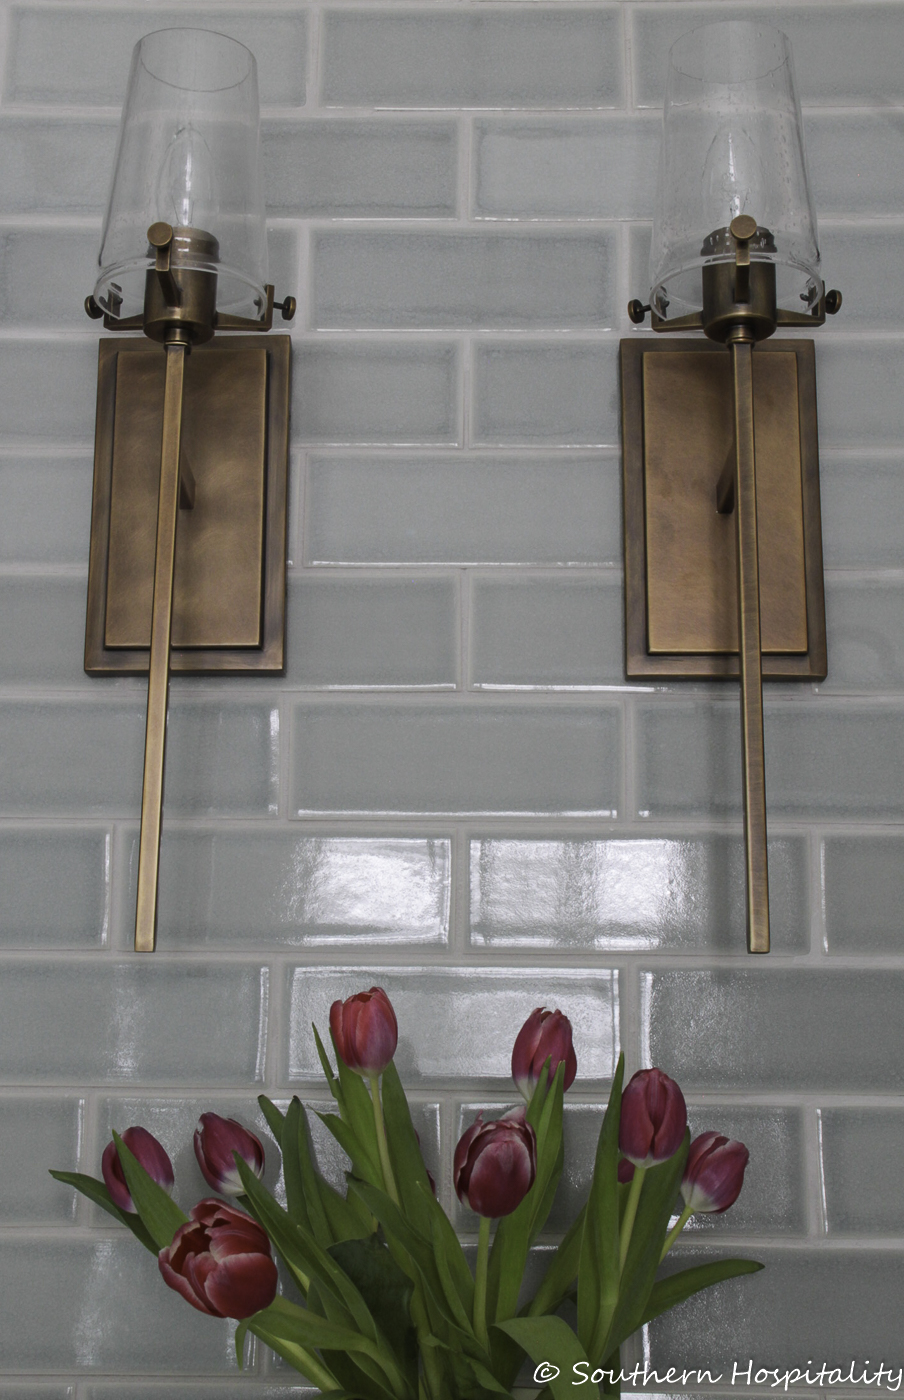
These gold sconces with seeded glass are gorgeous too and I adore them. Of course, I’ll share all the sources with you all too.
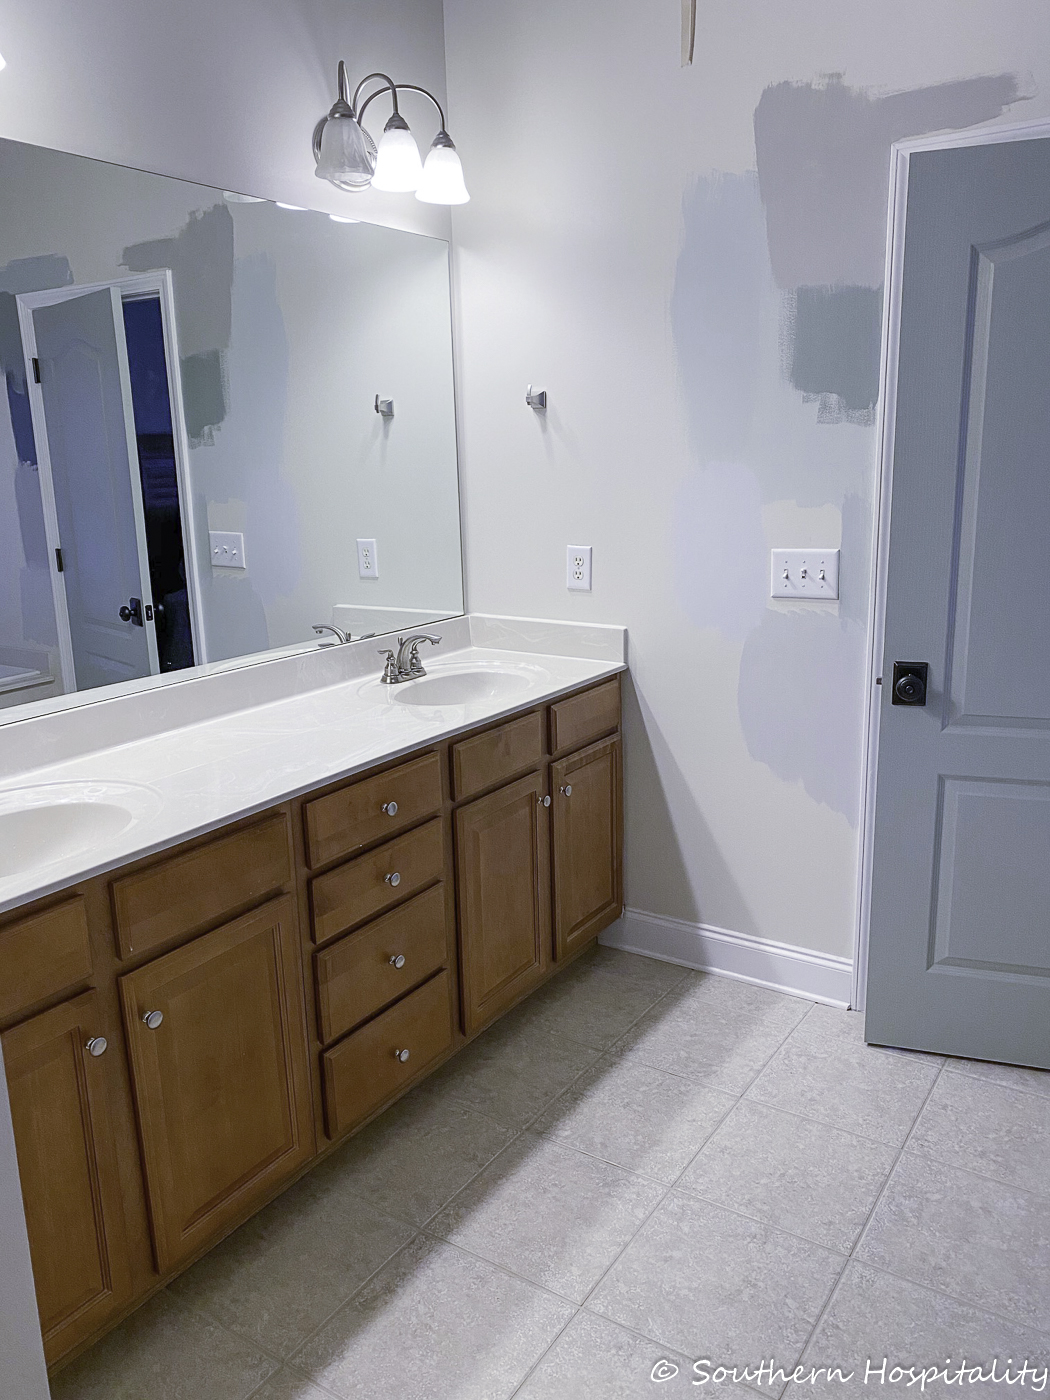
BEFORE
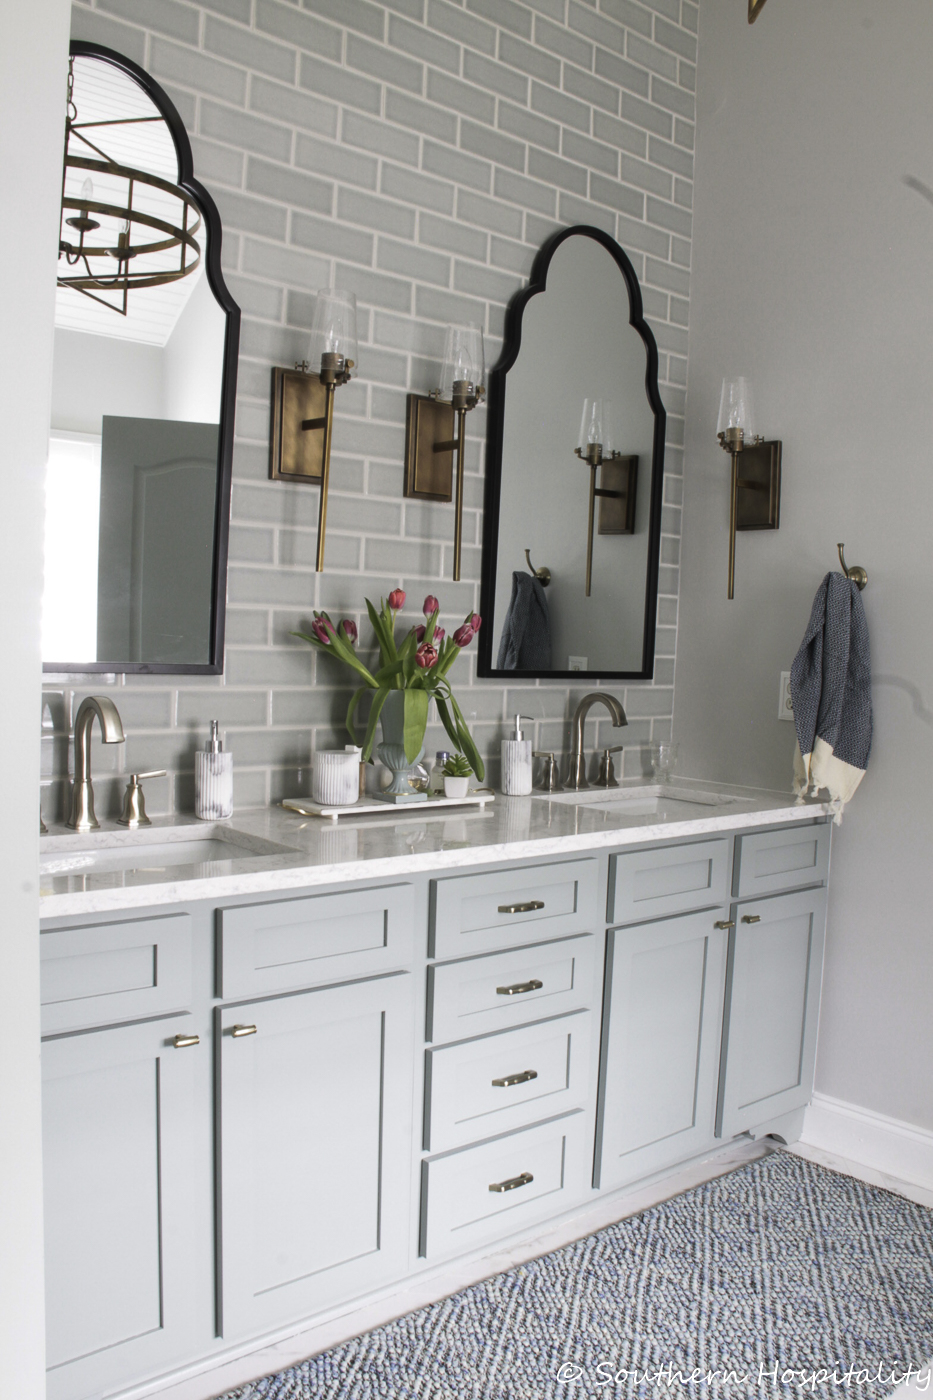
AFTER
This beautiful tile goes all the way to the ceiling and this was something we really wanted from the start and I’m so glad we went for it. I knew it would be a statement maker in the room and it is!
I tried a more patterned rug originally, but it was just too much in here, so I moved it to the closet and got this plainer, yet colorful textured rug, it’s linked below too.
Those black framed mirrors are from Kirklands. The marble look accessories and tray on top of the vanity are all from Homegoods, so I can’t link those. The clear glasses we use on the counter are linked below.
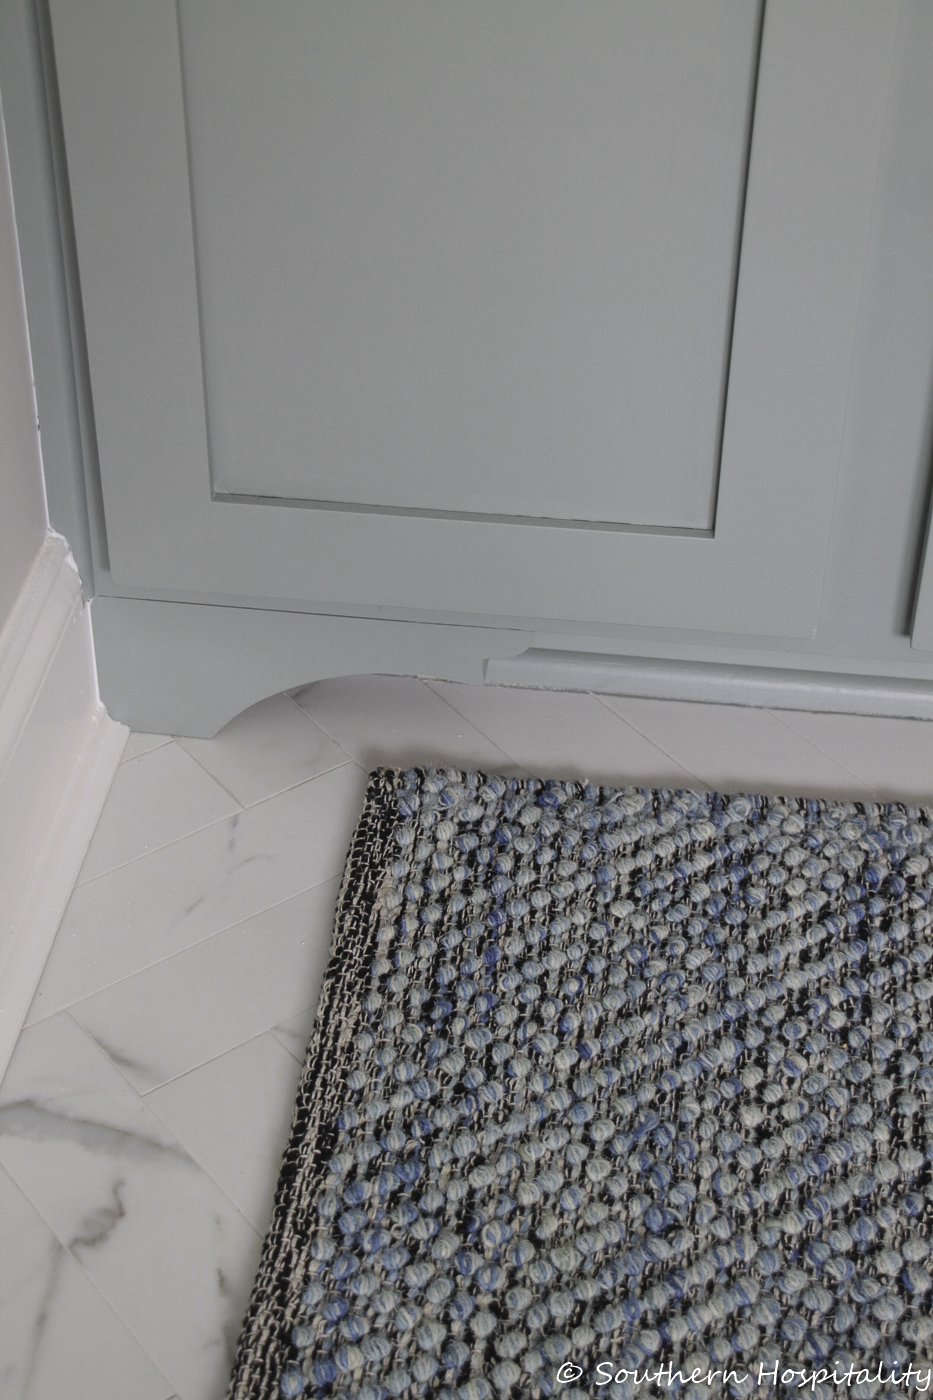
I took a page from my friend, Sarah at Thrifty Decor Chick and we added these corbels turned feet and they turned out great. Sarah has a tutorial you can see at that link, it’s such an easy project and adds so much impact to our vanity.
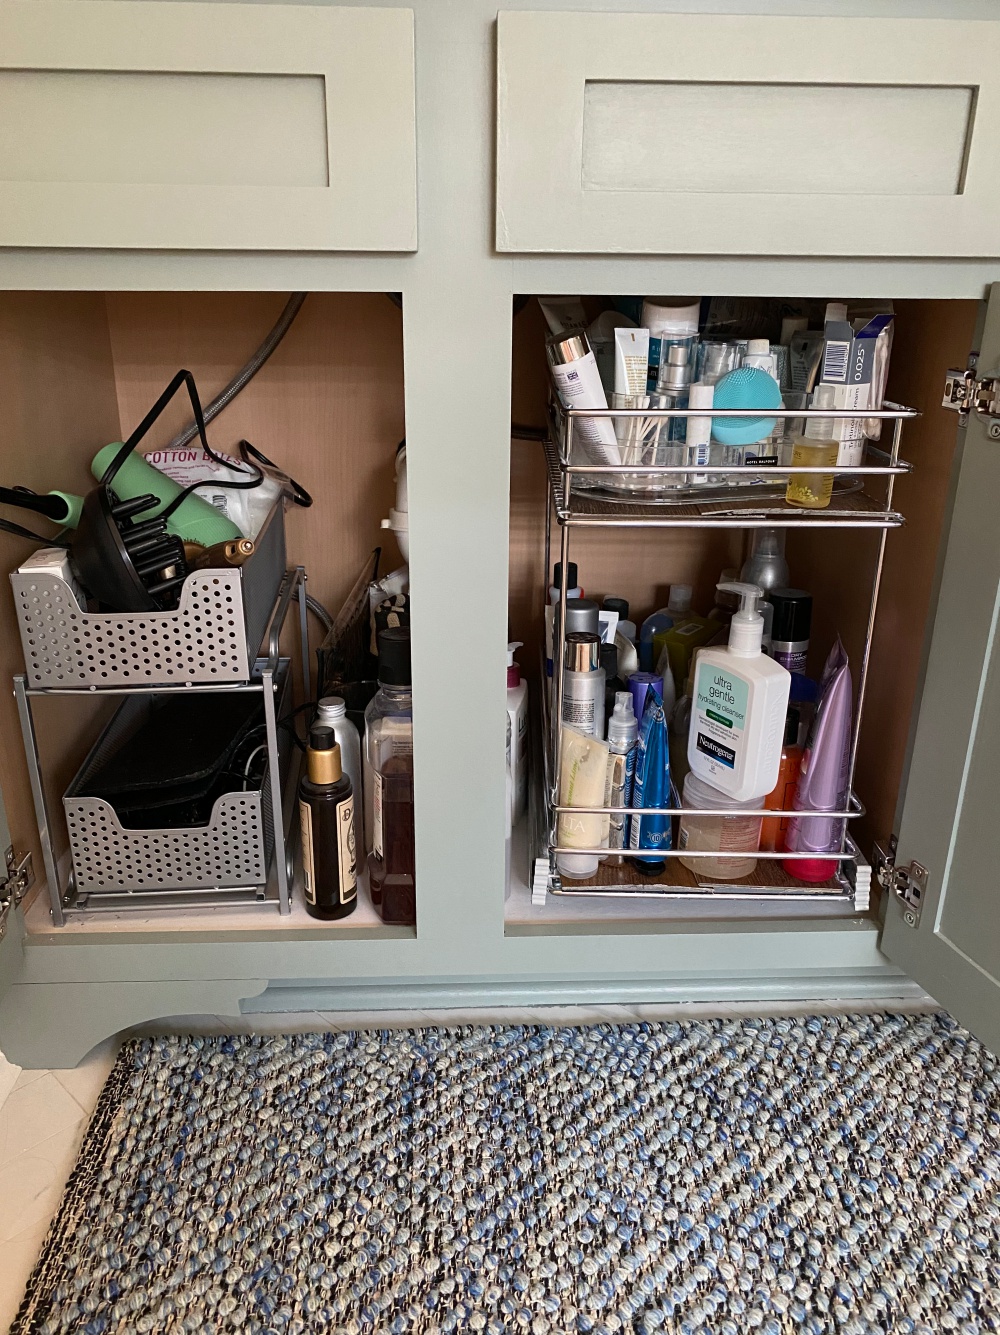
Here’s a peek inside the cabinets. The silver pullout on the right was already here and I added some old plank flooring in the bottom to keep my bottles from falling over. The smaller pullout on the left I got from Amazon and I’m linking it below. It’s great for my hair dryer and flat iron, etc. and it screws to the bottom of the cabinet.
The vanity turned out great I think. The Sherwin Williams Emerald paint was very easy to work with an leveled out so well. We are thrilled with how smooth they turned out with a foam roller and small brush. I see one little drip on that top drawer, but it all looks great in person and the pics shows it more than it actually looks in person.
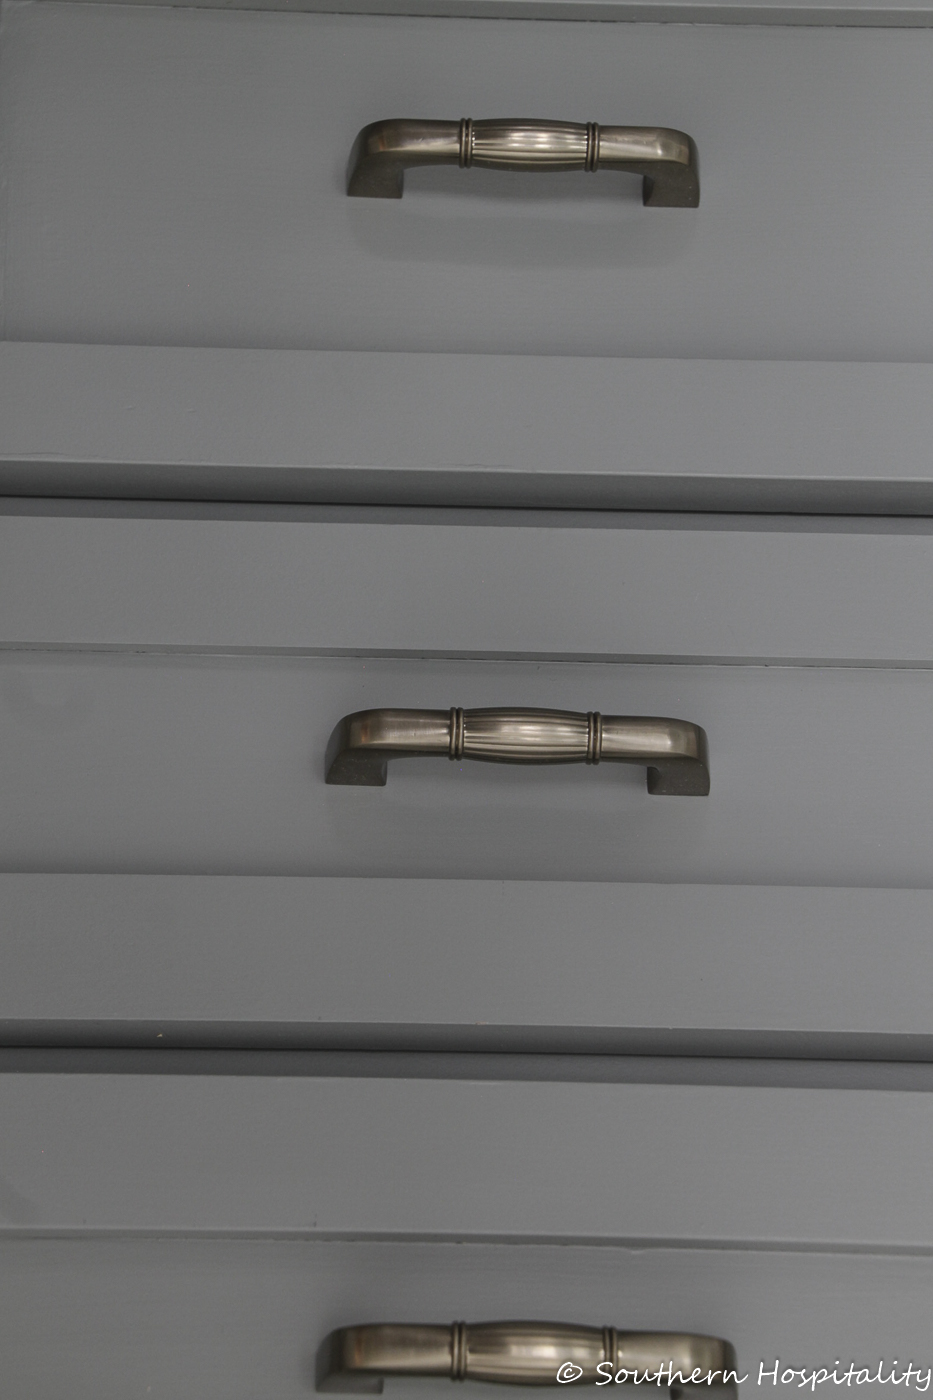
Drawer pulls are an antique brass and I love them too.

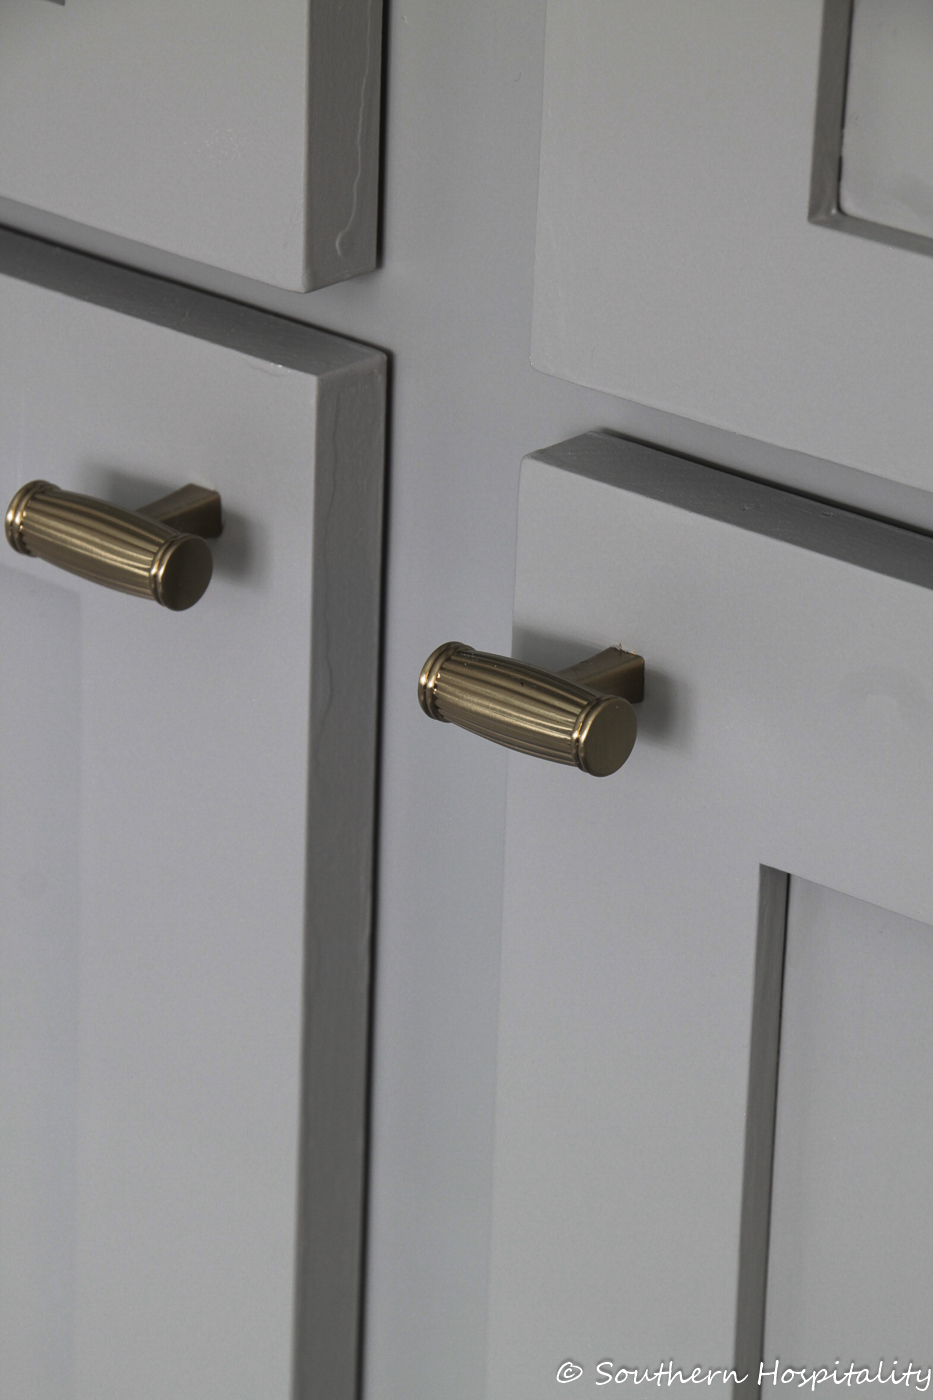
These knobs are gold toned and I love the detail on all of them.
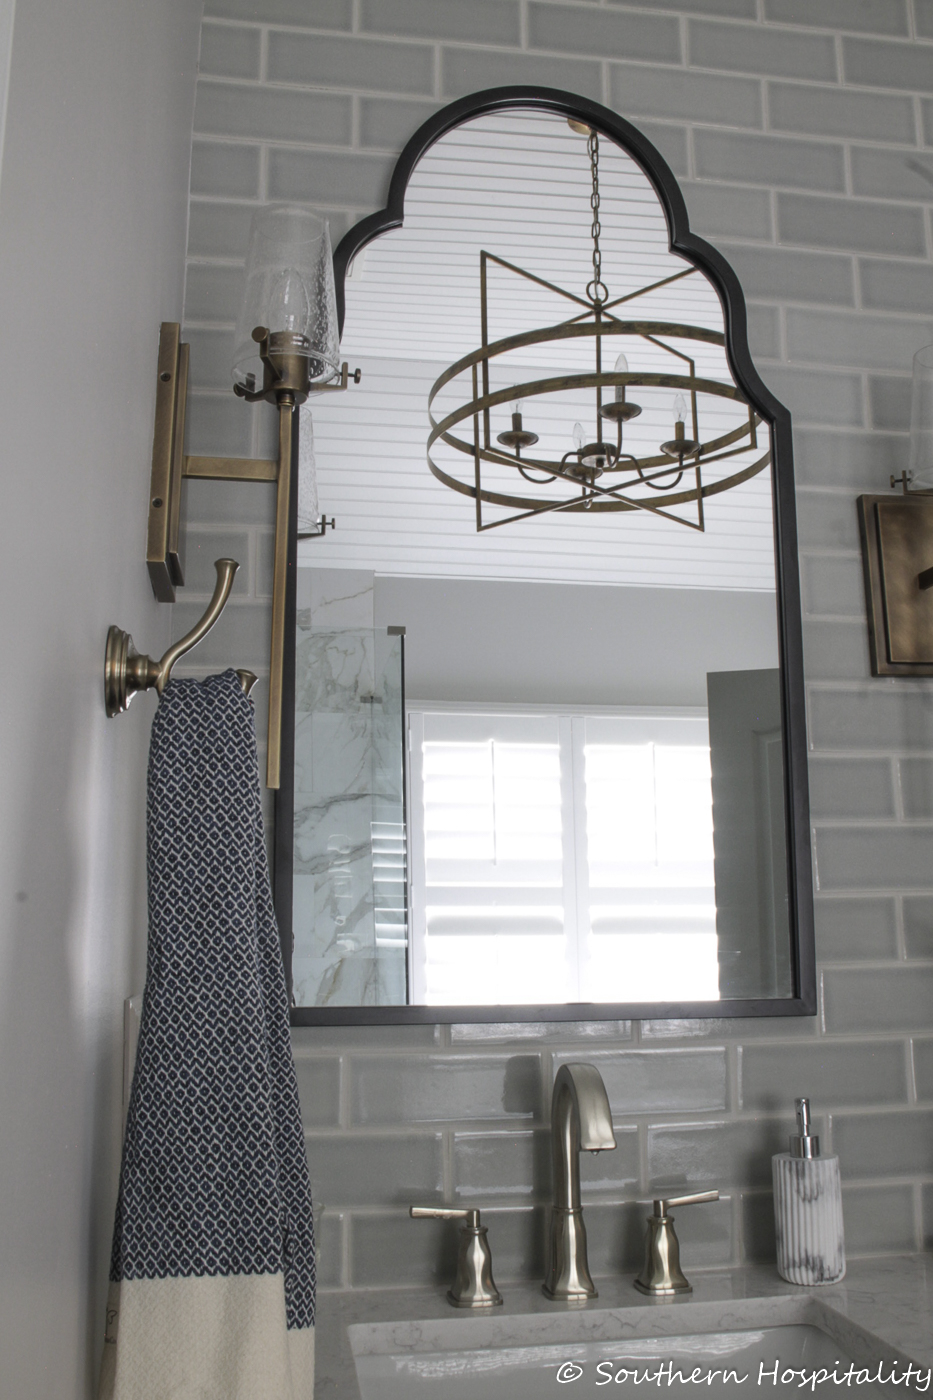
As you can see, I did a mix of metals in here, with black mirrors, brushed nickel faucets, and brass lighting and hooks. I love a mix and it feels good to me with a mix of metals to give it lots of interest.
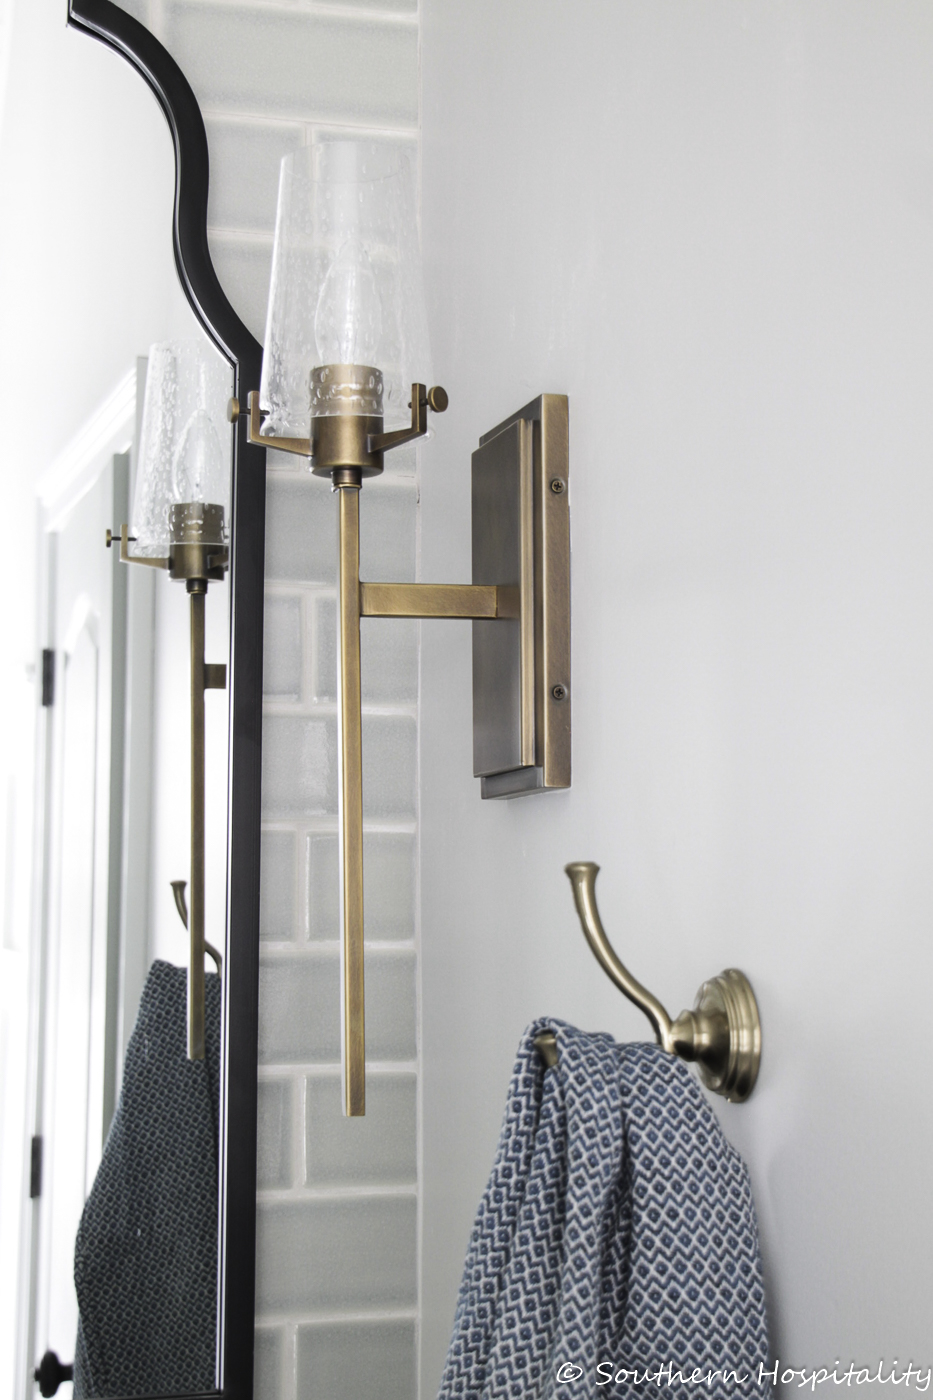
Hooks are Delta brand ordered online. Turkish towels are from Amazon linked below.
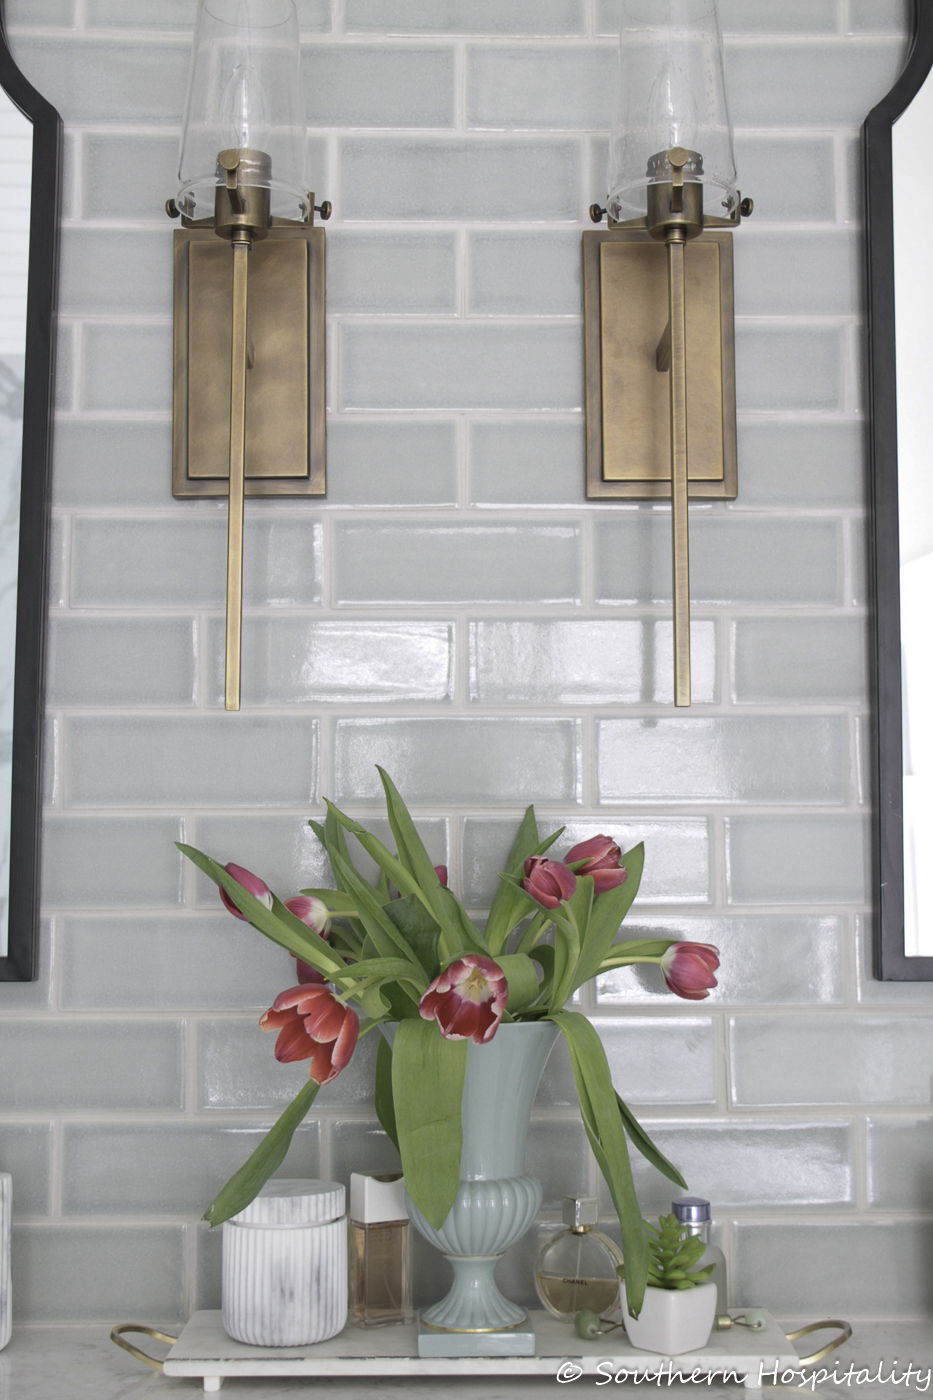
Another look at that gorgeous tile! It’s a soft gray green and changes colors throughout the day.
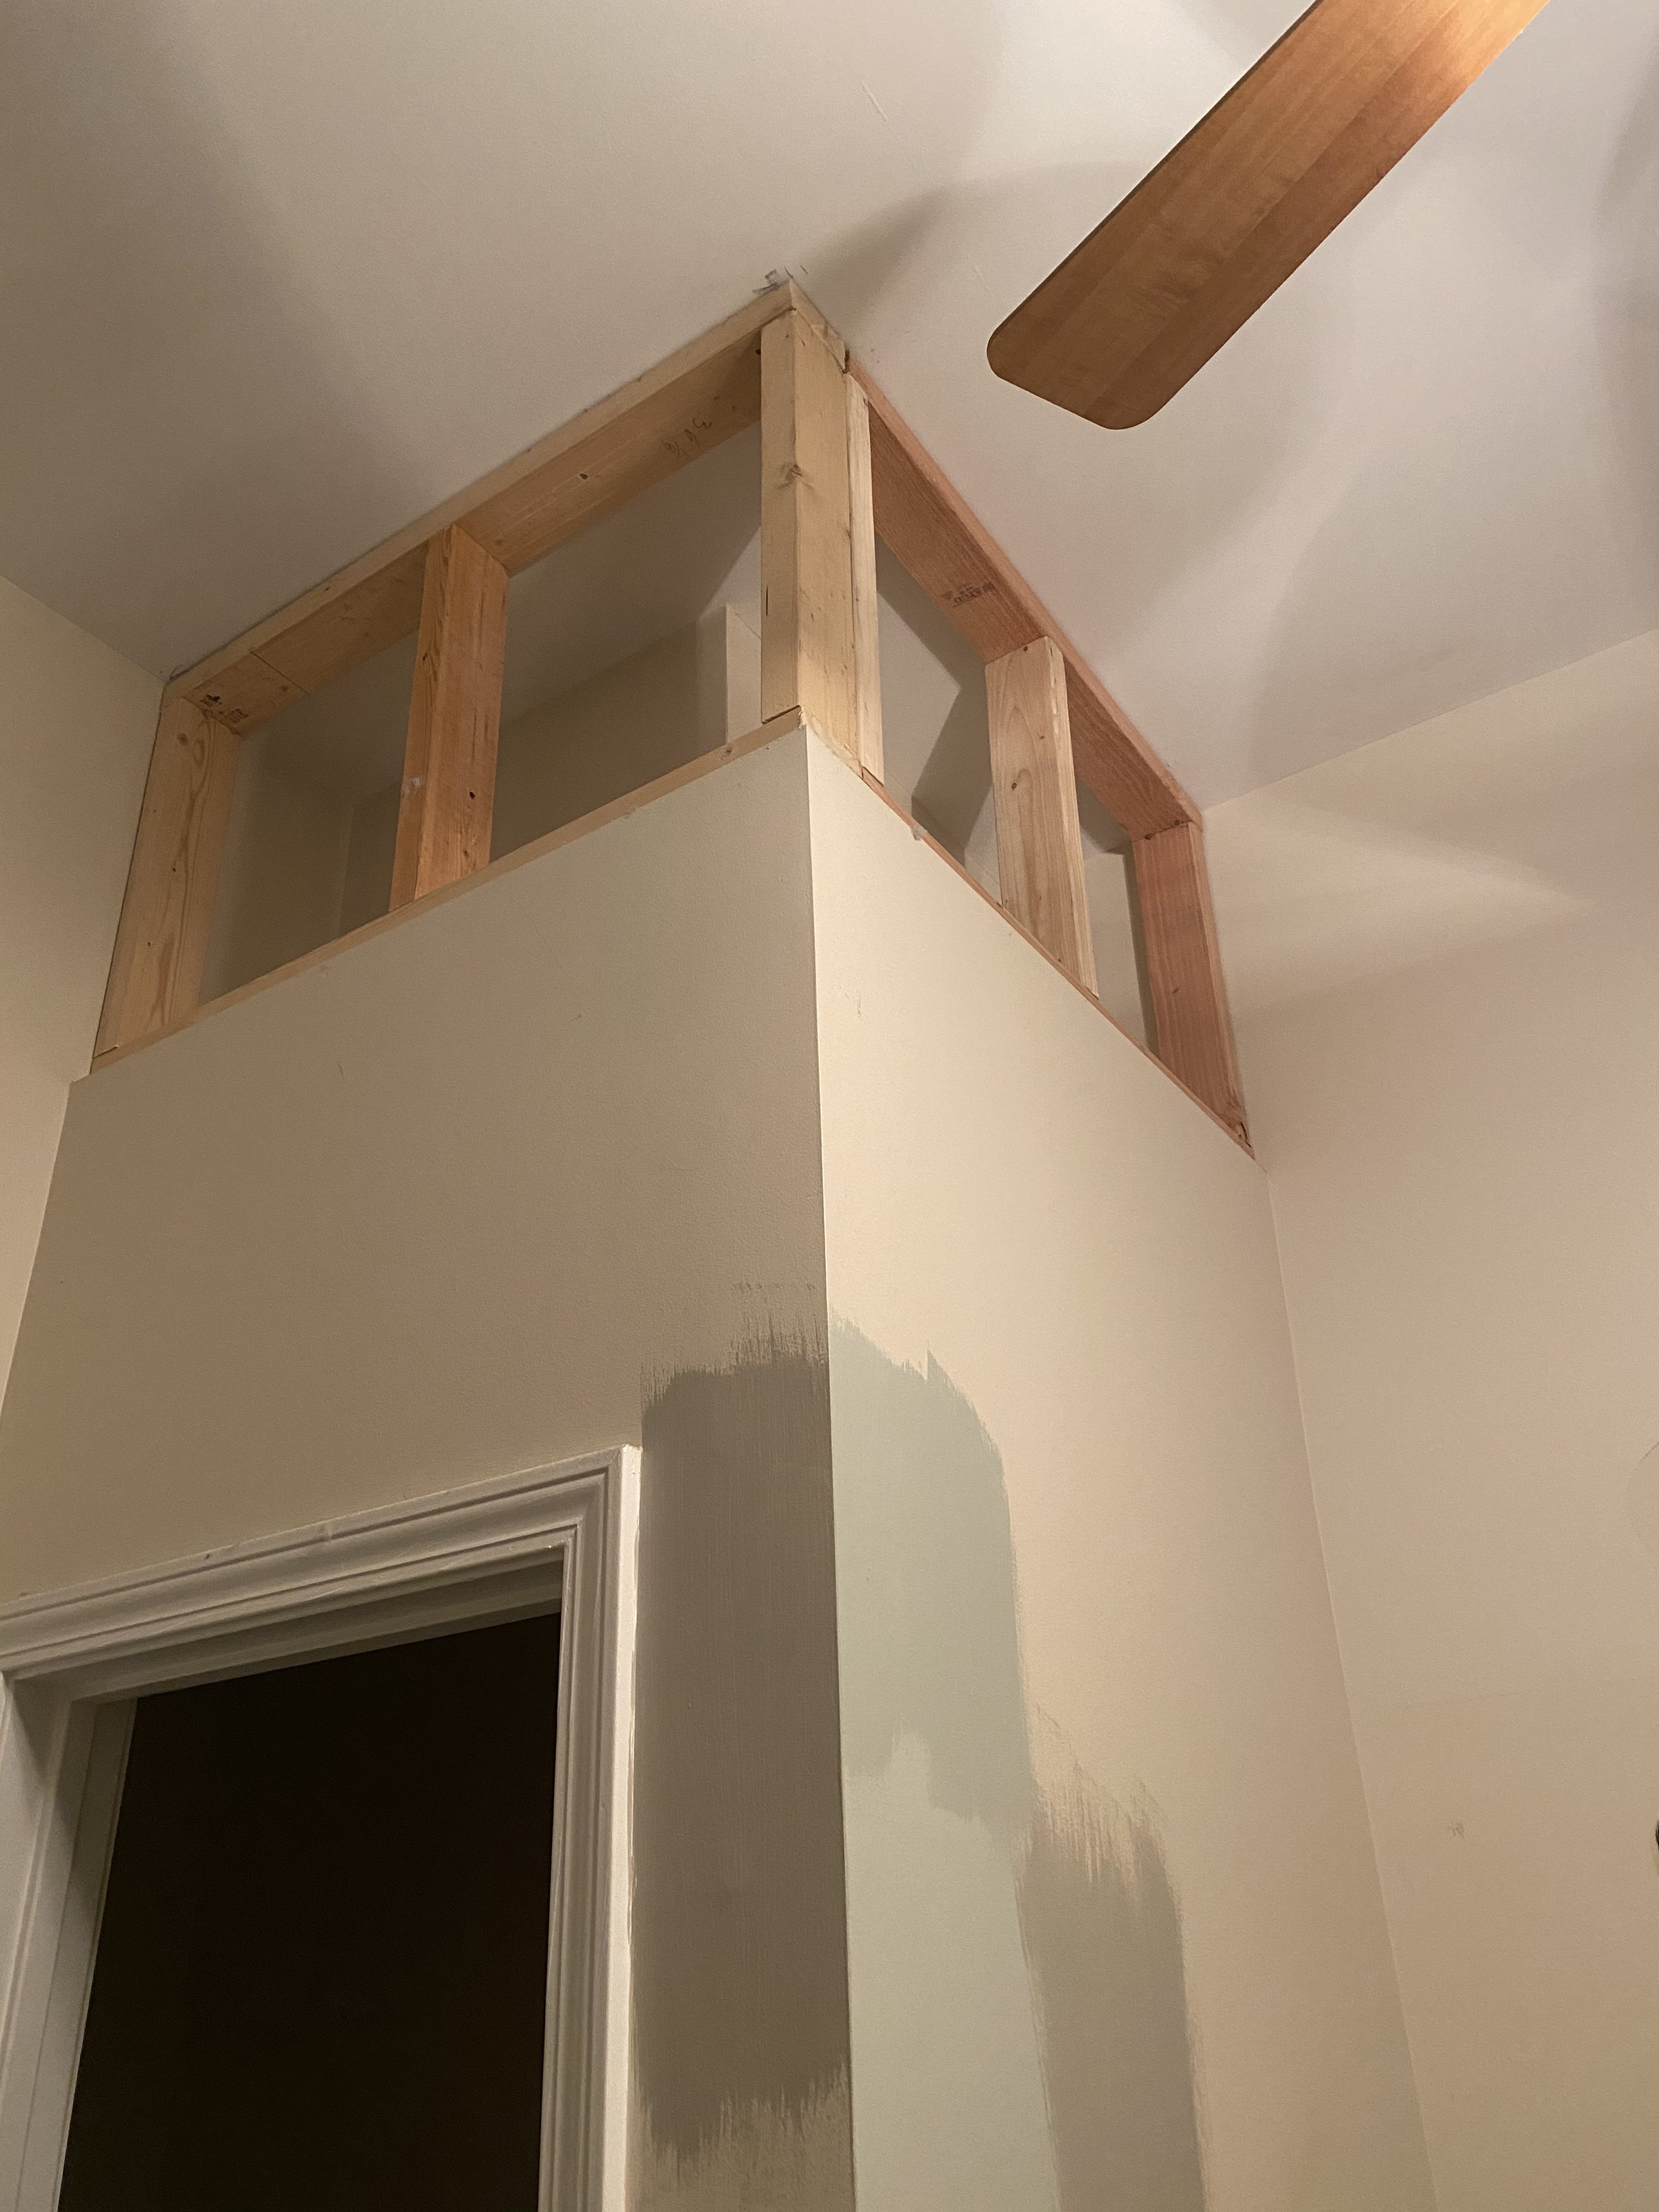
One thing we also did was to box in the niche in the top of the vaulted ceiling straight up to the ceiling. I don’t think I got a good after on this in the room shot, but here it is in progress. There was no need to keep it like this so I had the contractor box it up to the ceiling.
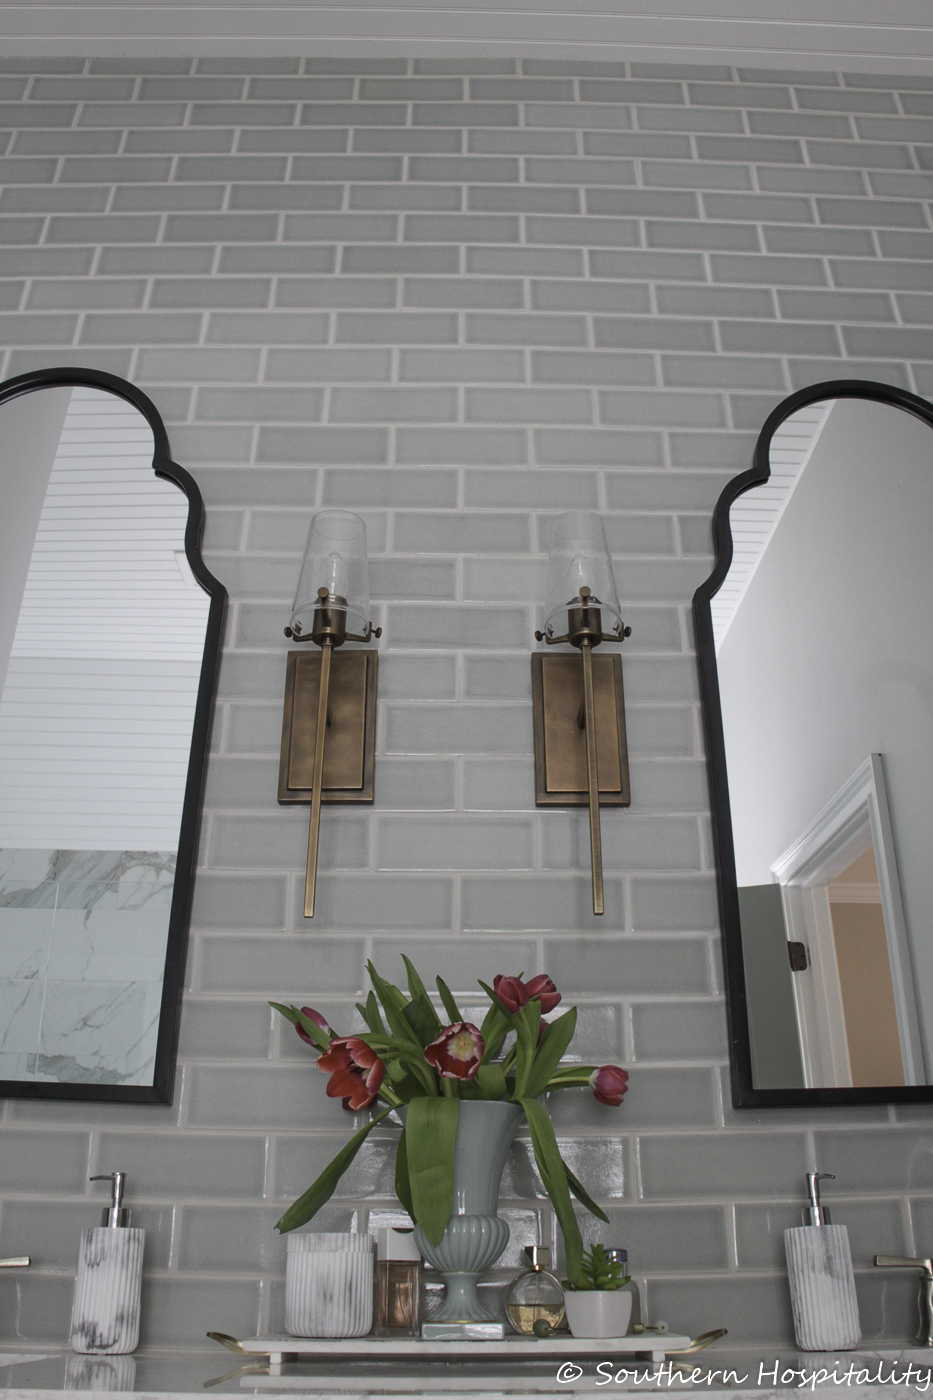
It gave us a chance to run the tile all the way up the wall with a good stopping point with no niche in the way. I’m so glad we did that, it gives a lot of continuity.
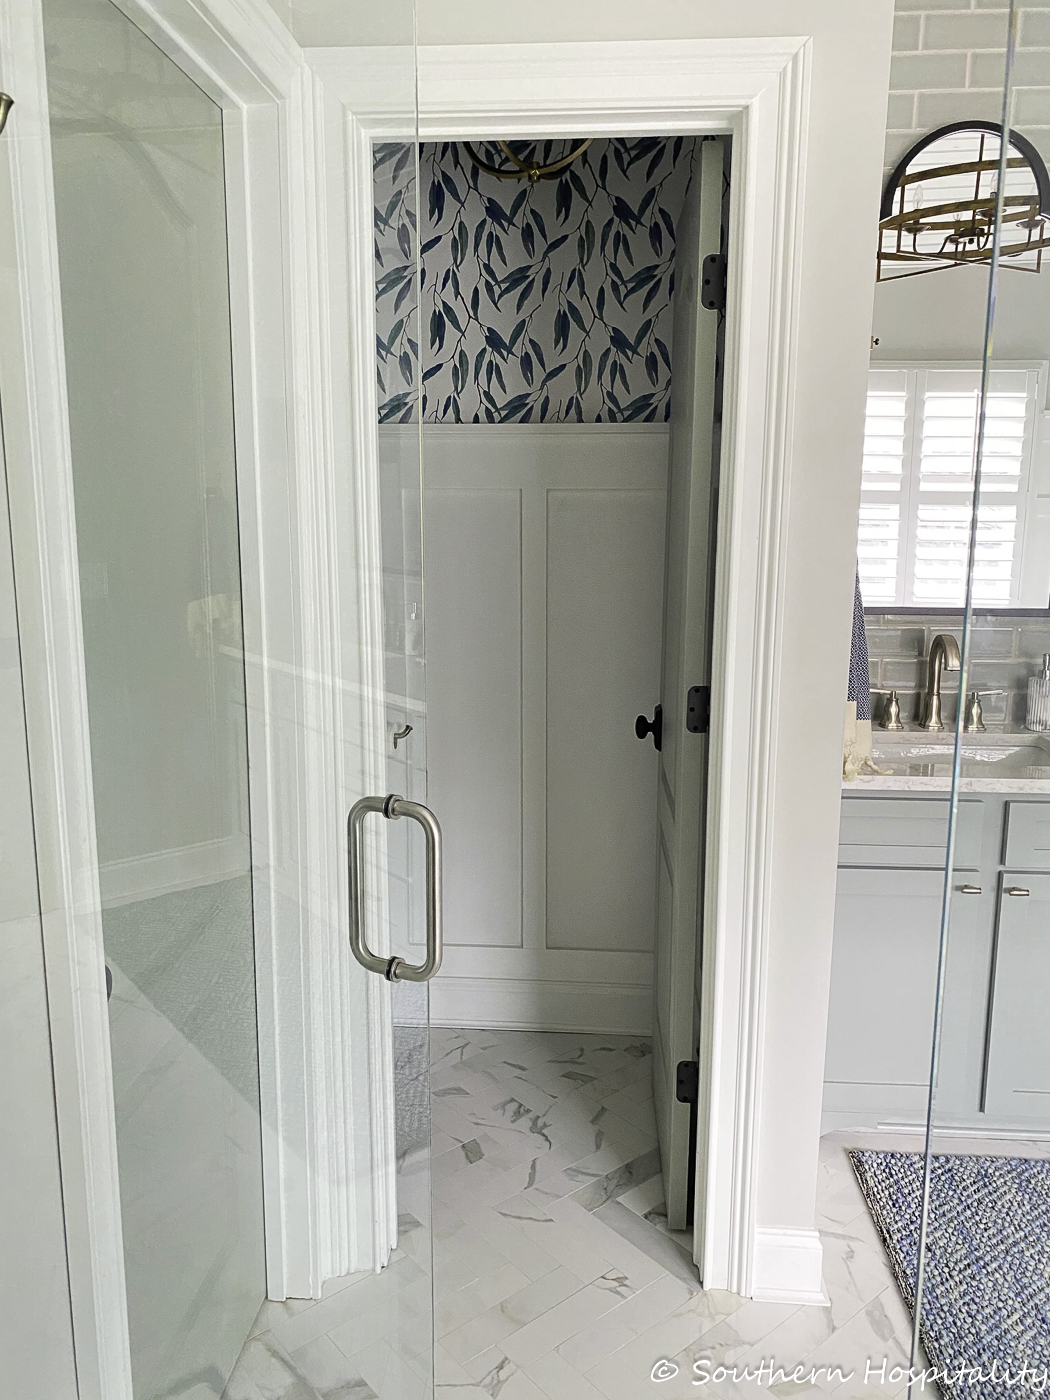
Looking into the water closet. We added board and batten in there as well as wallpaper and I painted the ceiling navy blue. You can see the chunky door molding here. Mark did a great job with the door moldings and all of the board and batten. His attention to detail shows in these projects.
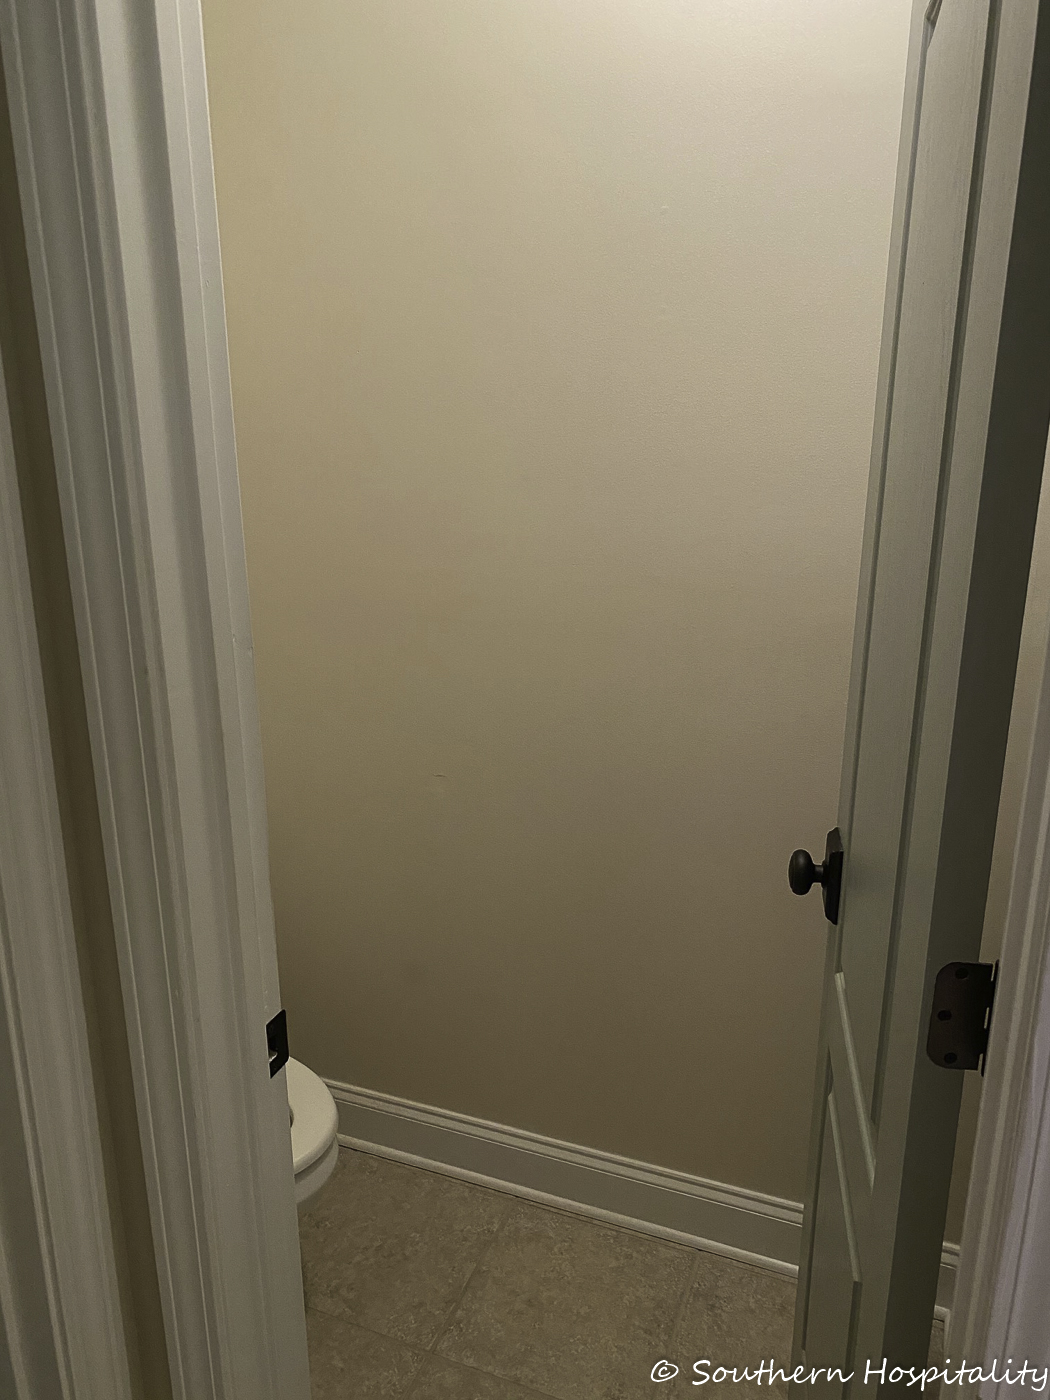
BEFORE: Plain and boring
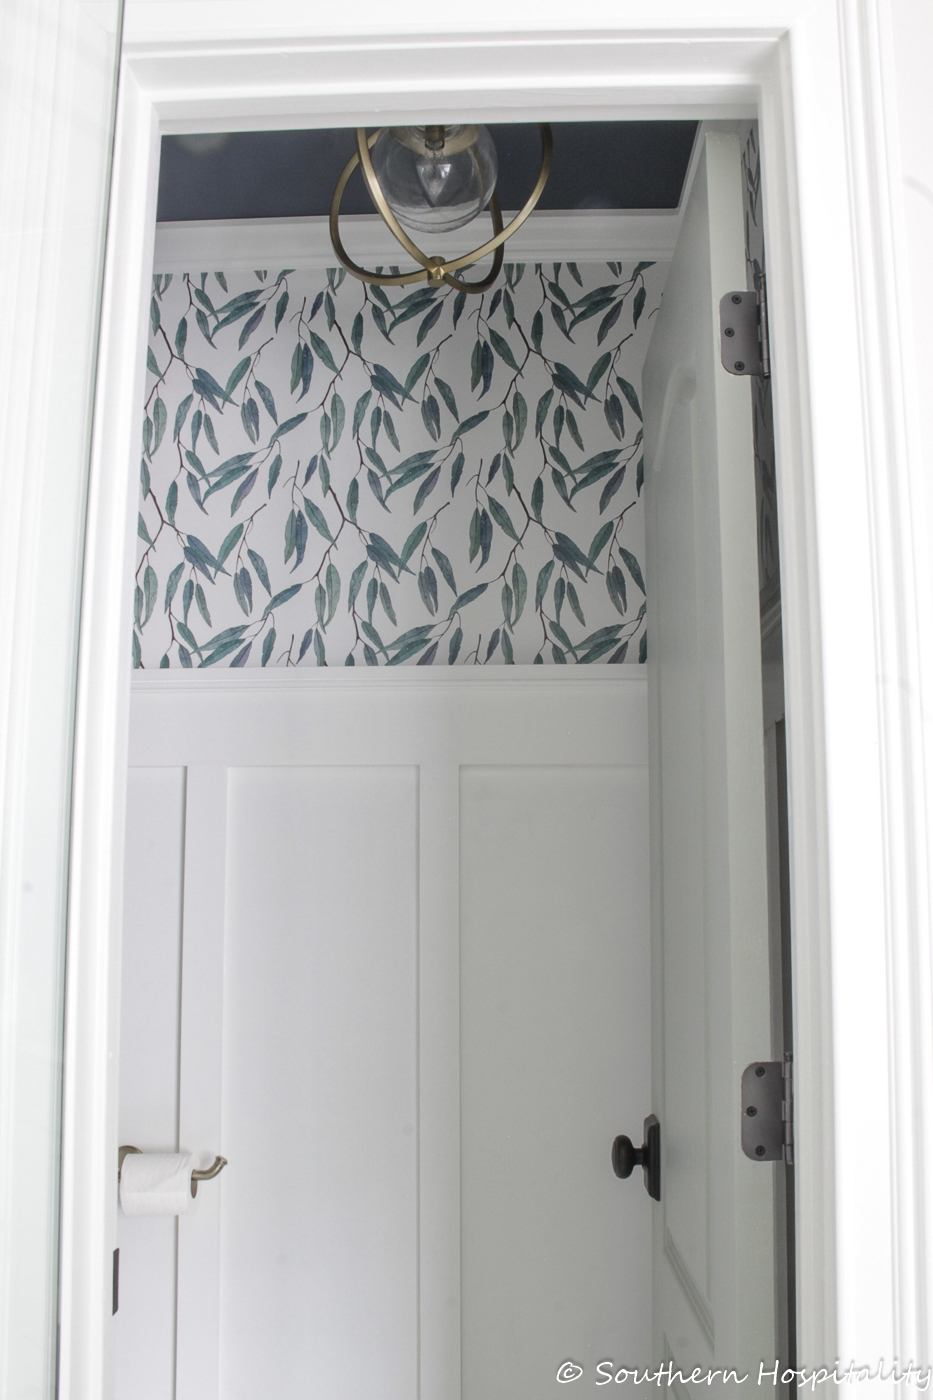
AFTER: Bright and beautiful
I’ll share all these details with you as well.
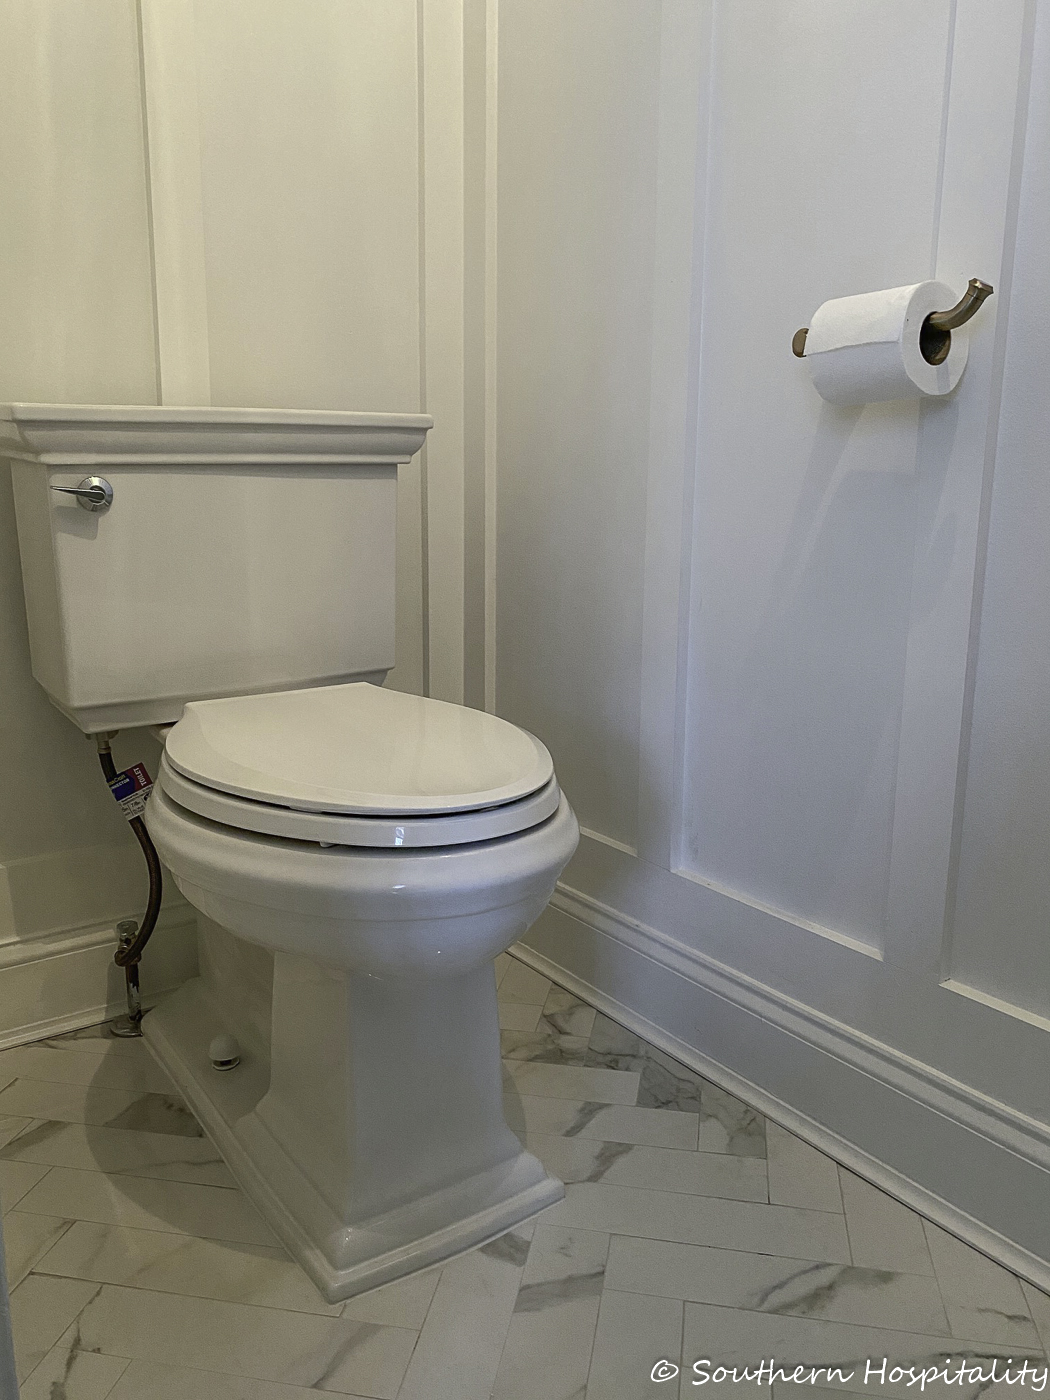
We got a new toilet and ordered this one online from Home Depot. It’s the Kohler Memoir and we love the shape of it.
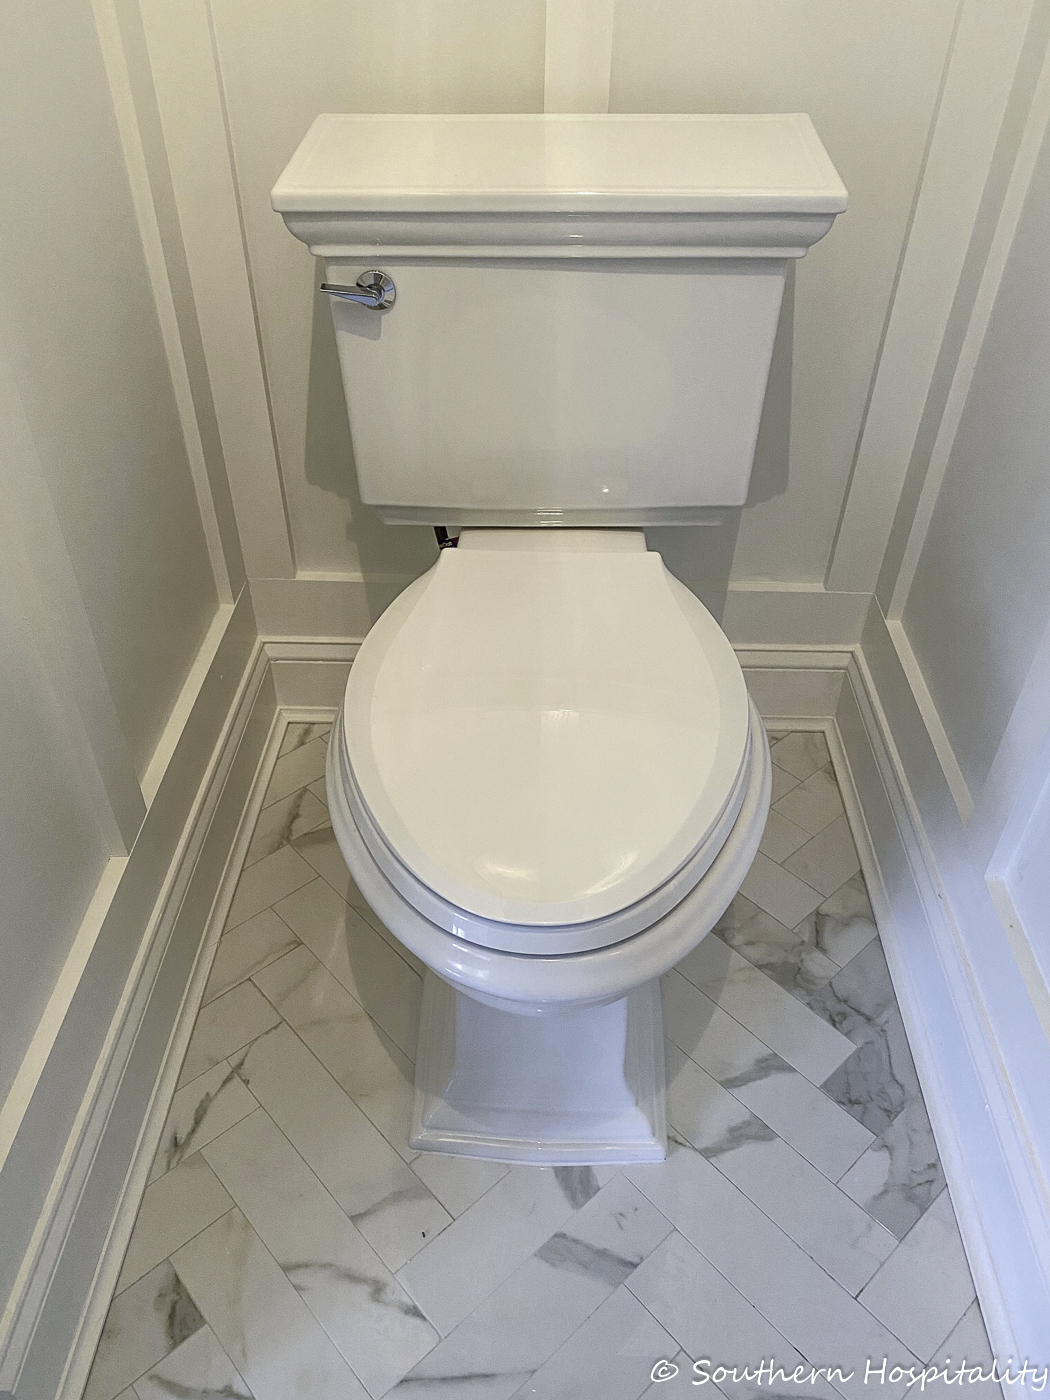
The crown molding look around the tank is so pretty.
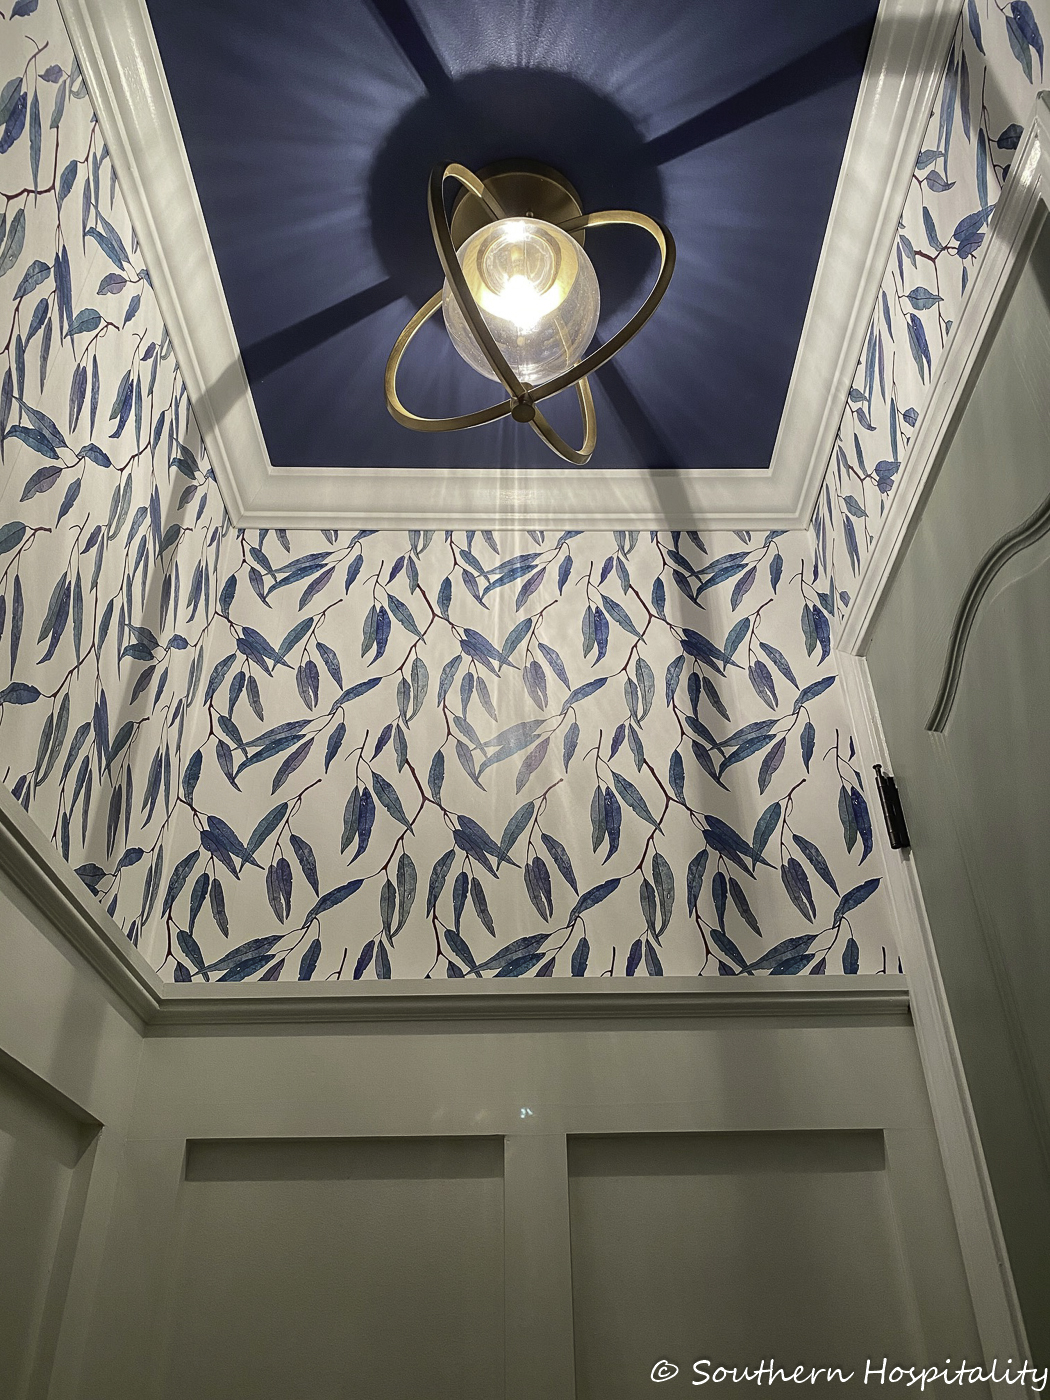
A shot of the ceiling light along with the navy ceiling and crown molding. Mark did a great job with this crown molding and it was one of the last things we finished in here. This light fixture is from All Modern, but the link I had doesn’t work anymore.
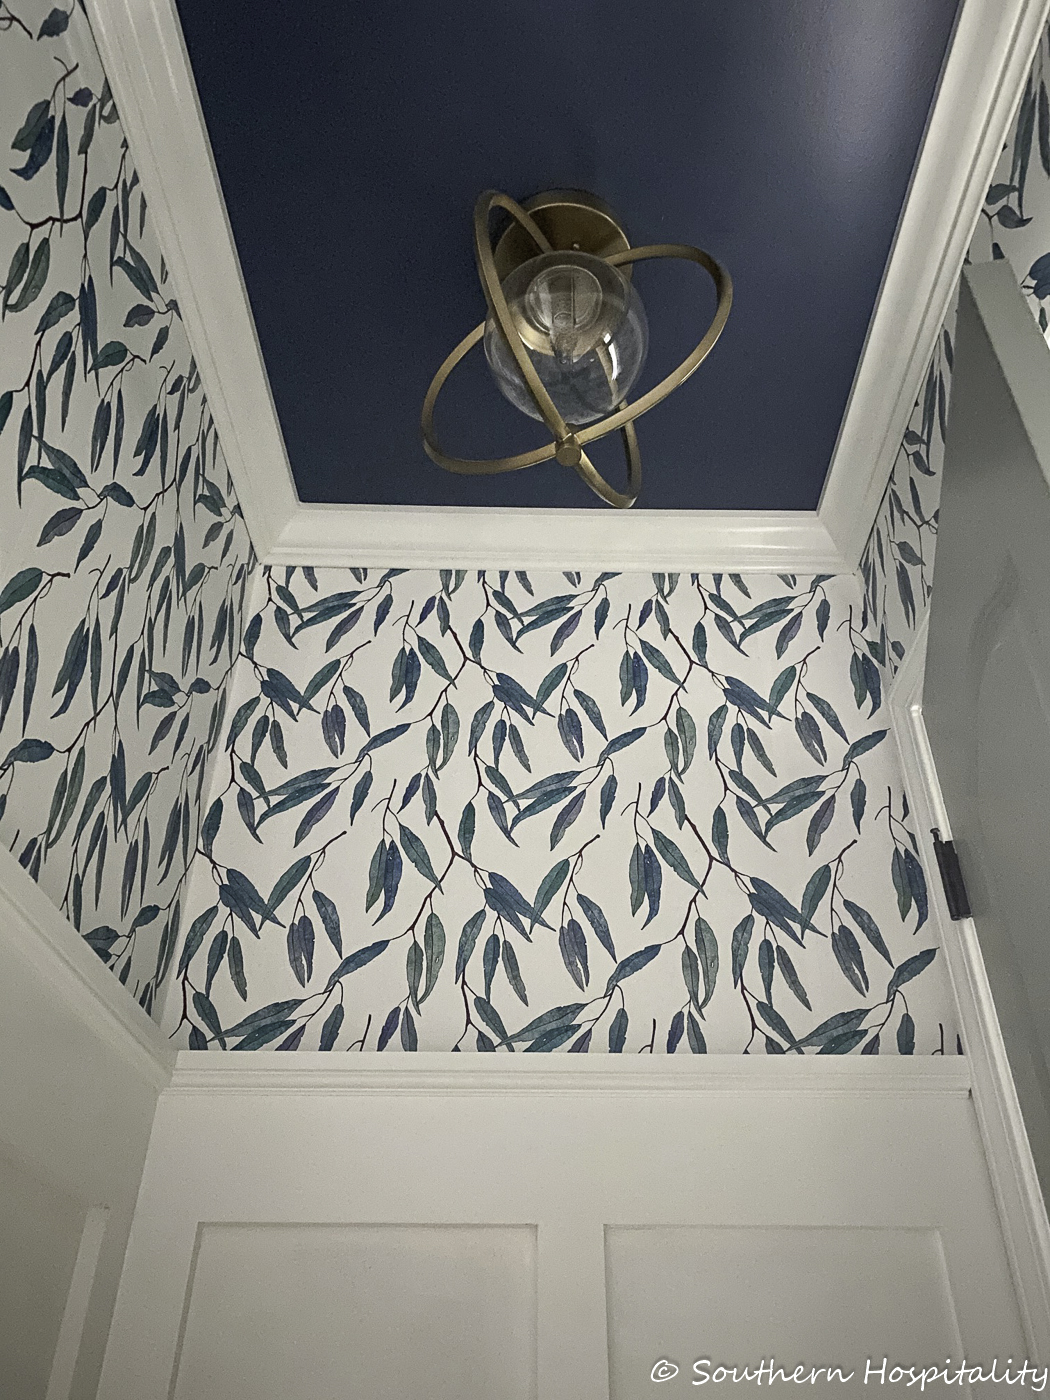
It totally finishes off the space. I absolutely love this wallpaper from Spoonflower, it’s a Eucalyptus pattern.
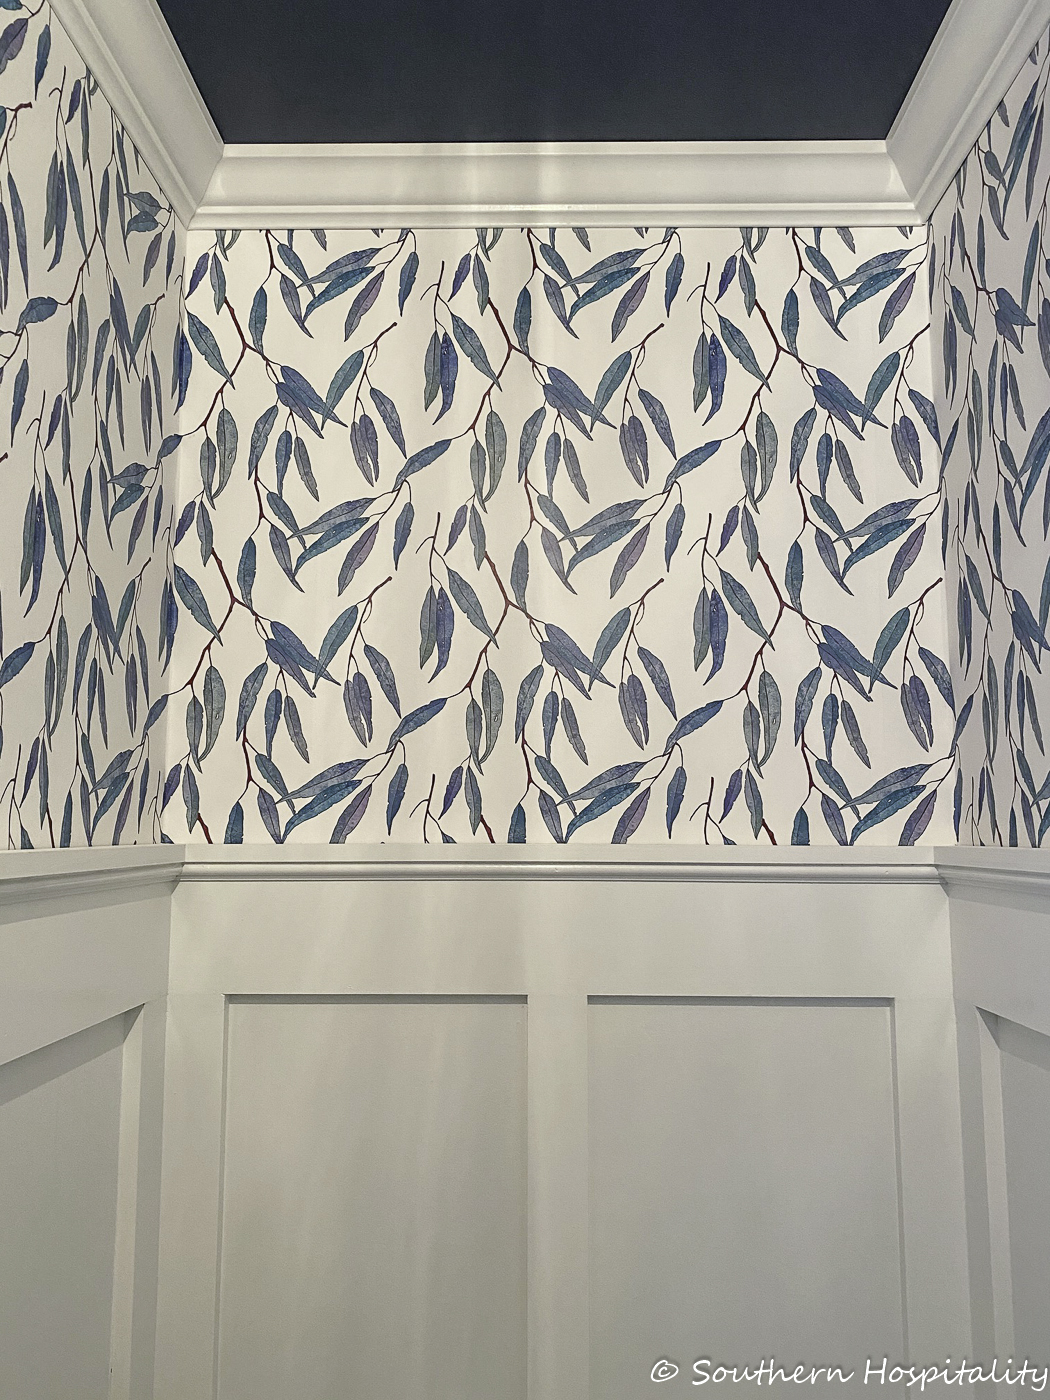
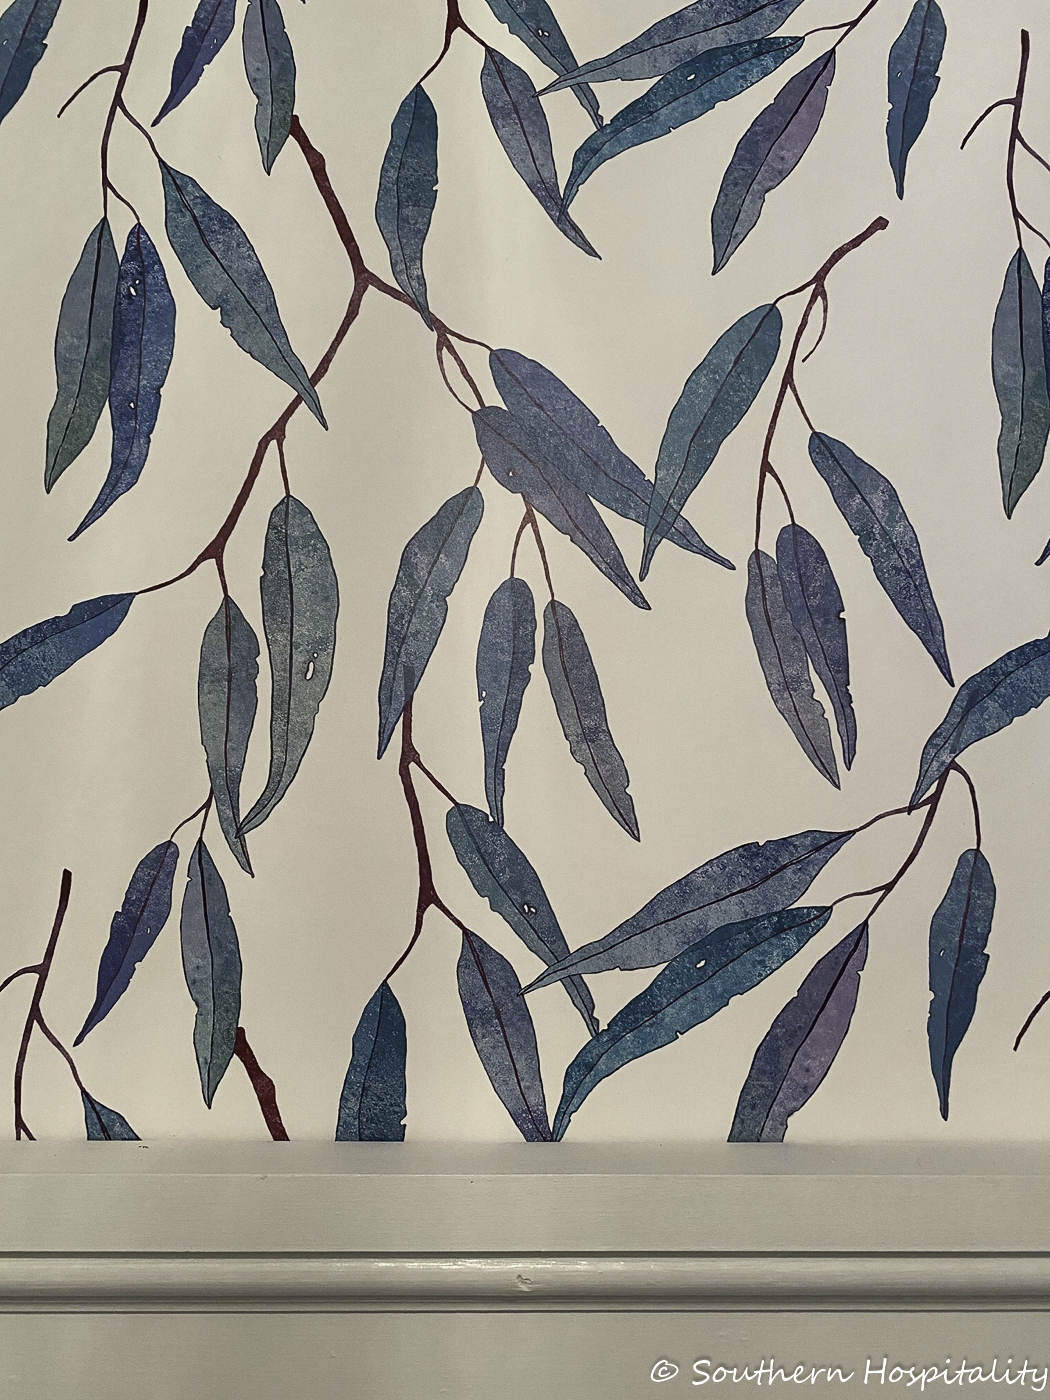
Love love it!
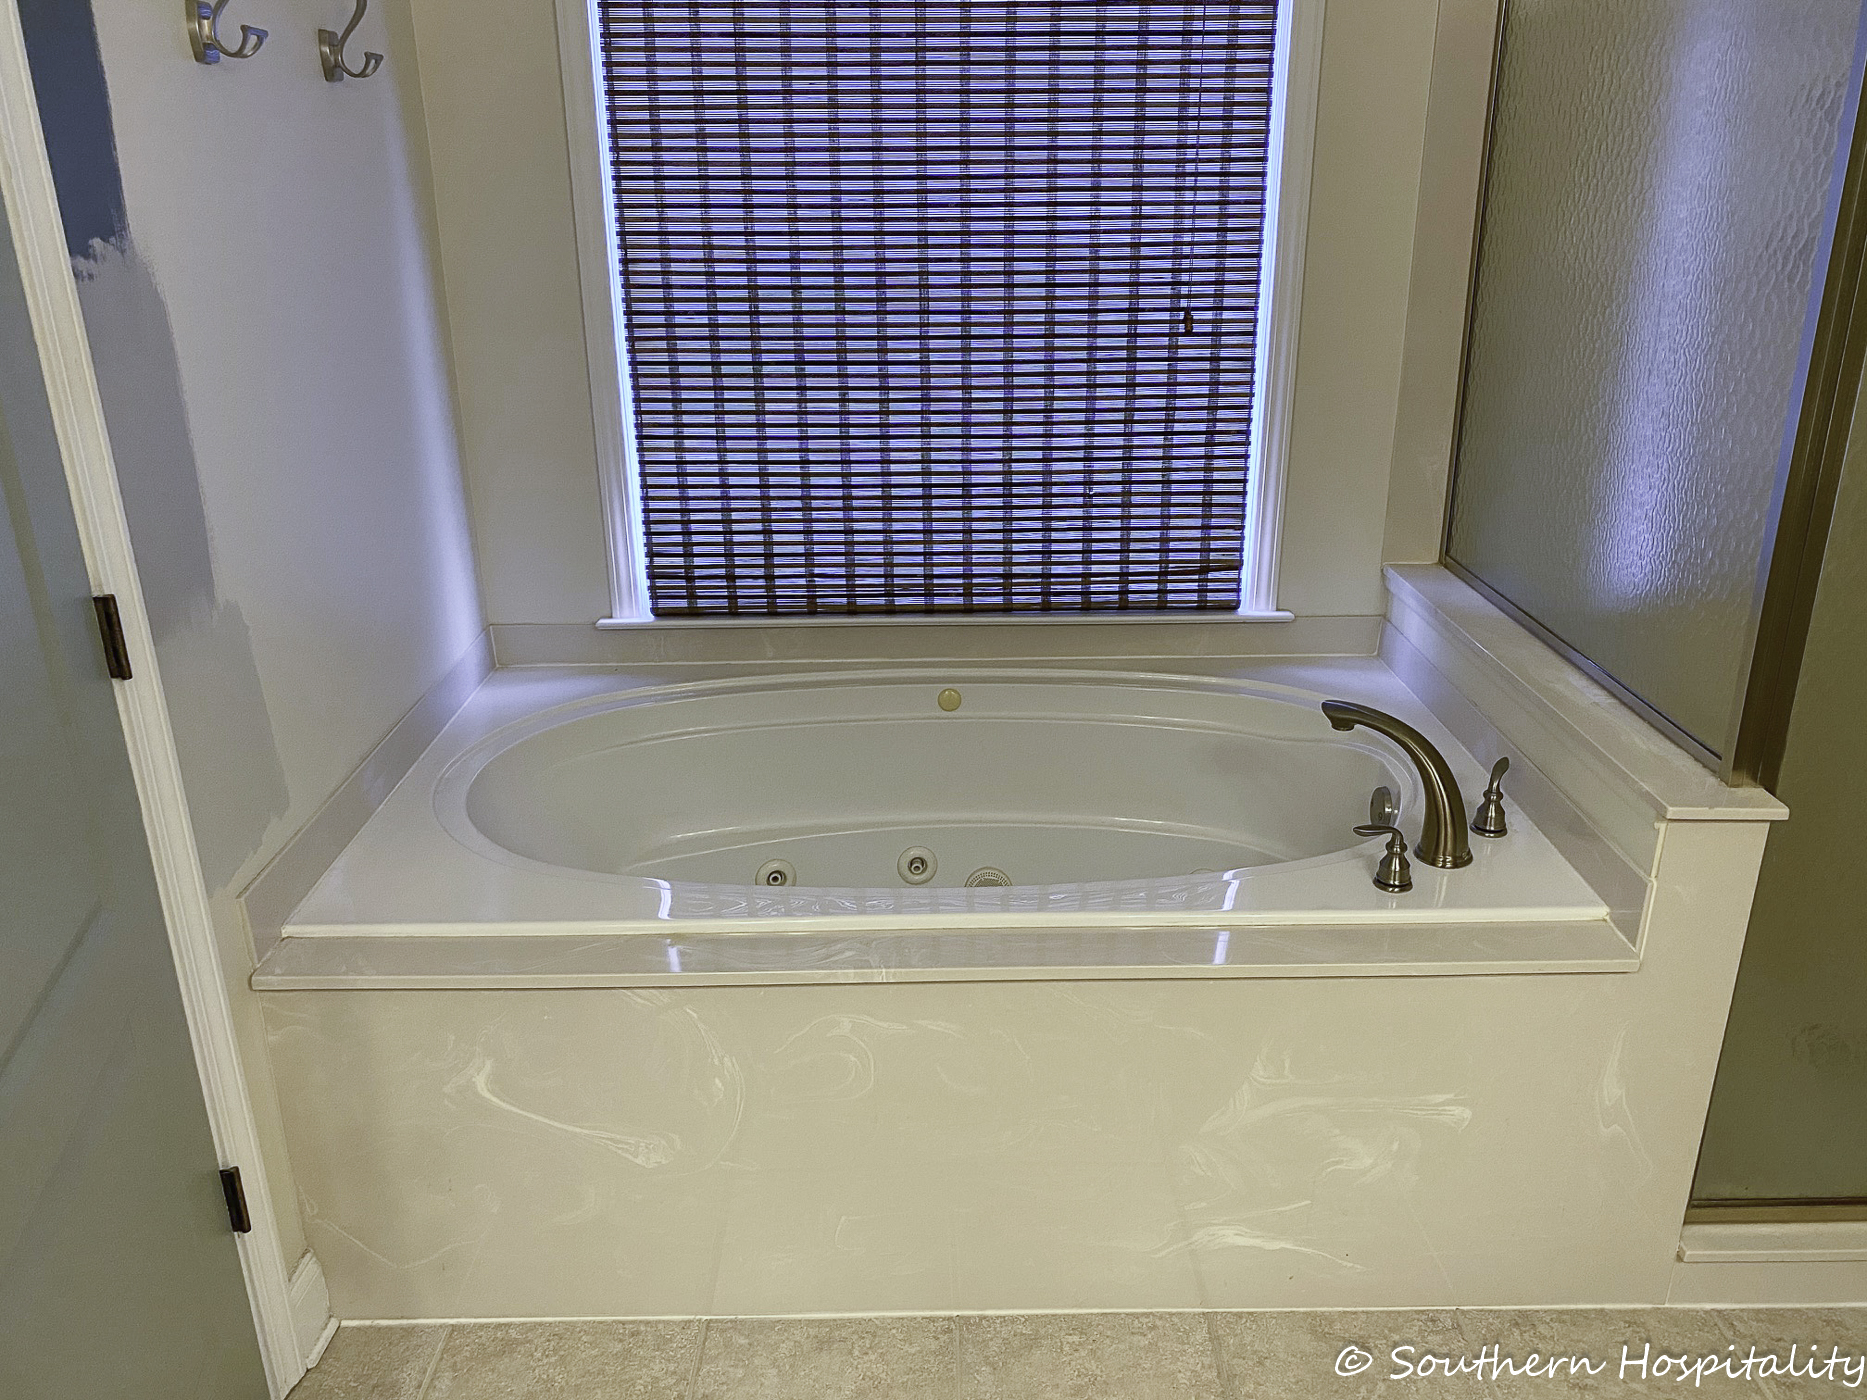
BEFORE: Built in jetted tub
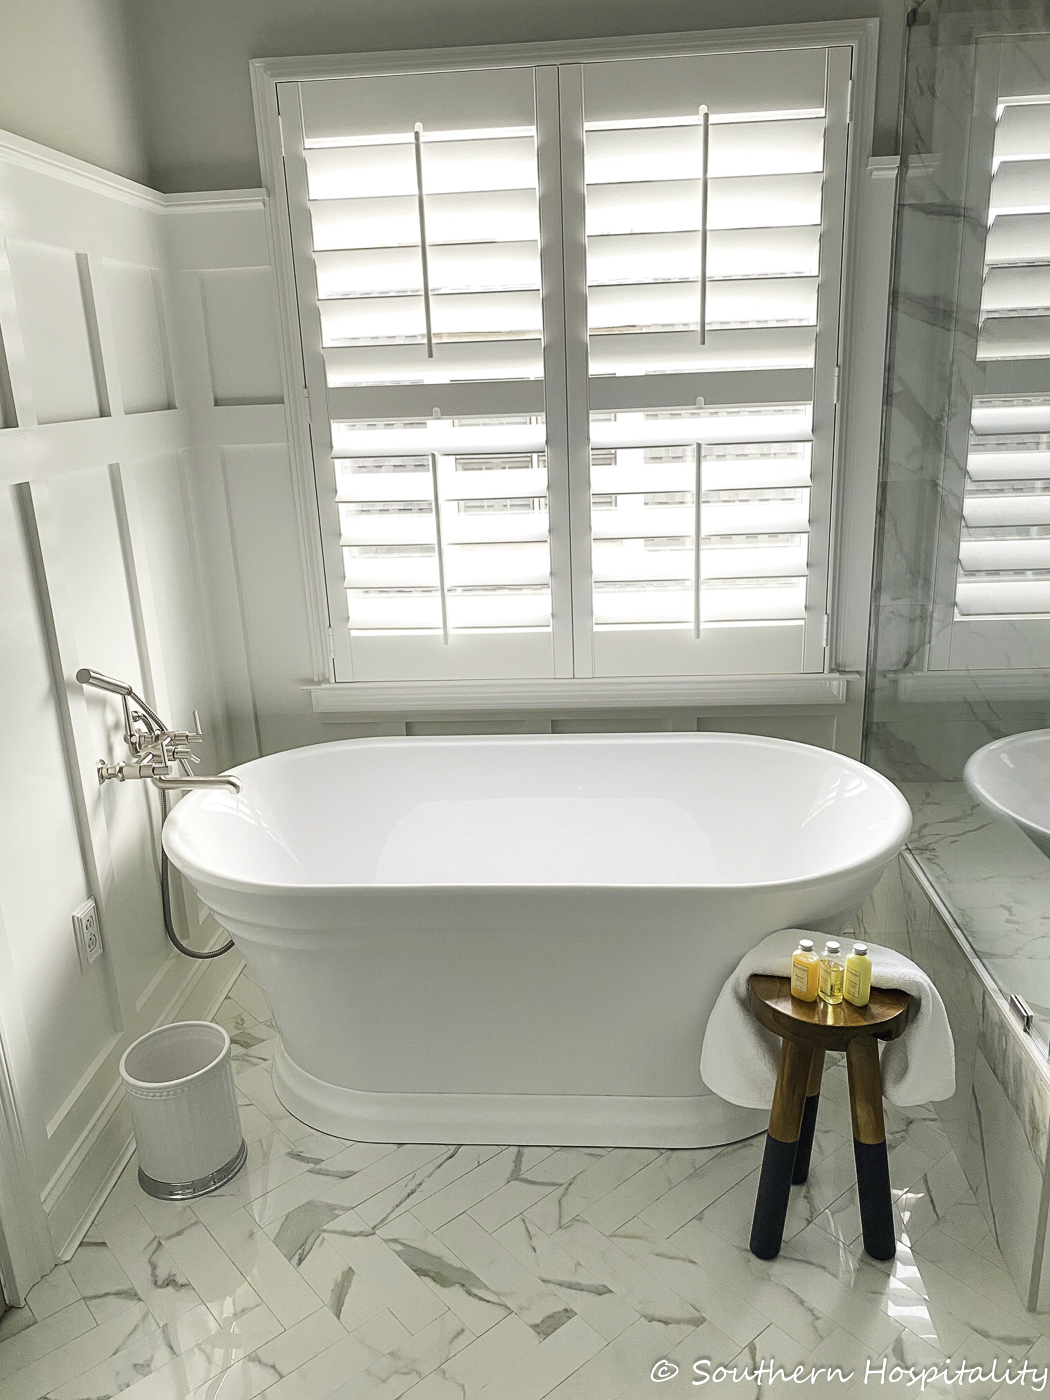
AFTER: Free Standing tub
The tub and all faucets are from Signature Hardware and I’ll be sharing a whole post about them as well. We also added board and batten around the tub. We worked on that project over the weekend before they came back to install the tub and toilet so that was one busy weekend. Mark had shingles too and we didn’t even know that until later. So glad we made it through all of that and can relax a bit now.
We had Plantation shutters installed from Sunburst Shutters. I’ll be sharing information on that later too, since we also added them in a few other spots while we were at it. During installation, Dan from Sunburst told me about their sliding barn doors, so we are getting one of those too for the master bathroom since our current door swings right into the tub. The sliding door will be such a space saver. I’ll share that when it gets installed as well as more on the Plantation shutter. We love it in here, let’s in more light and really elevates the bathroom.
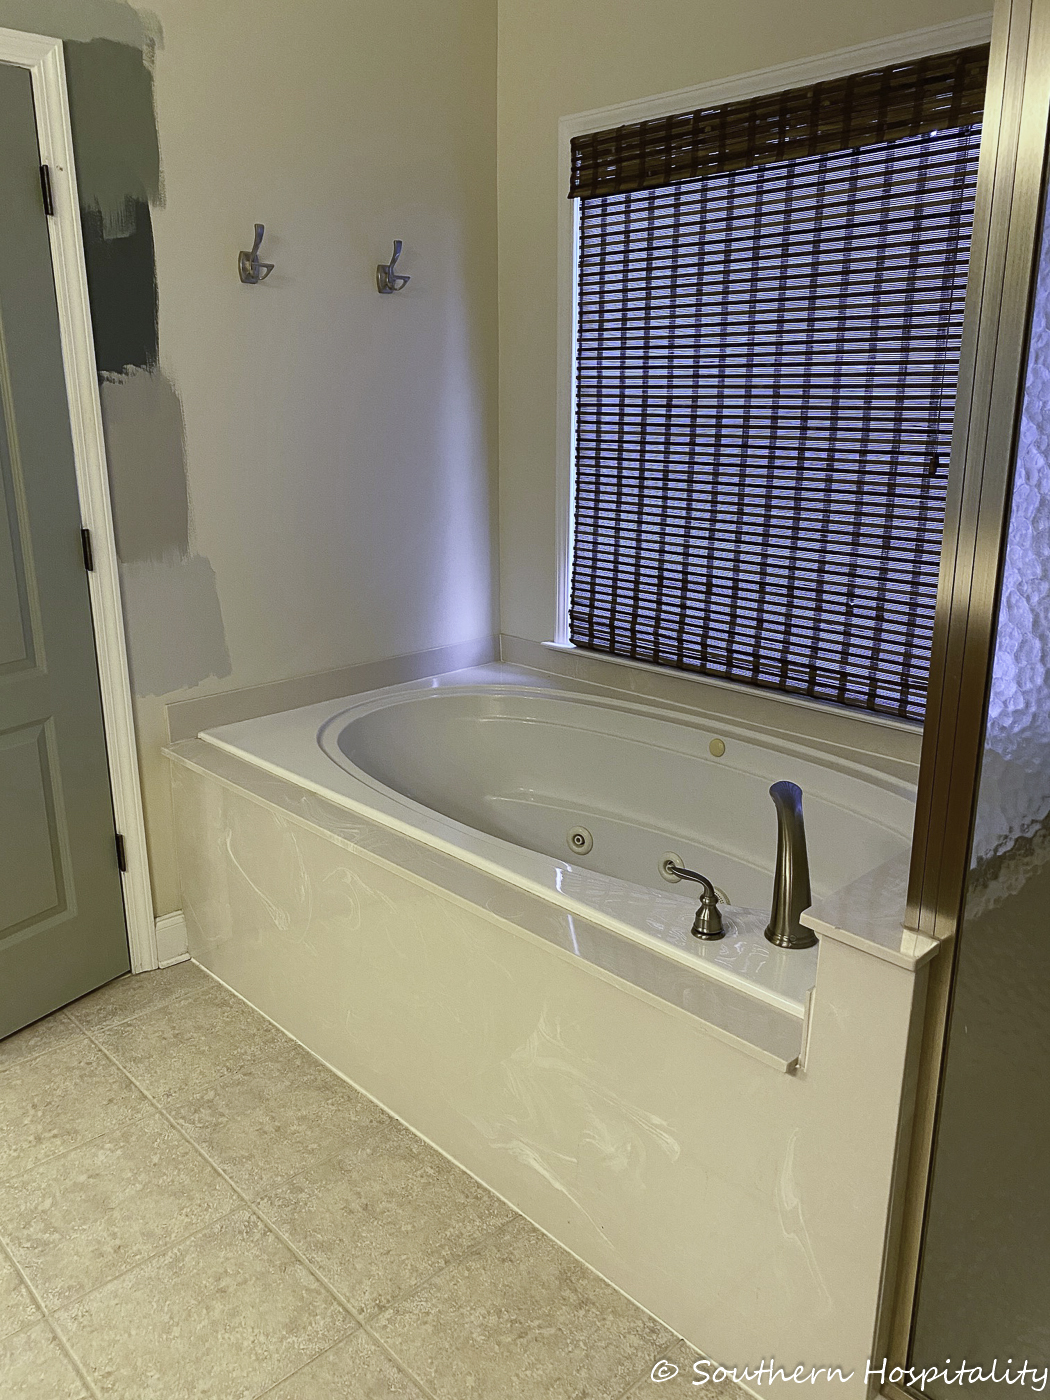
BEFORE
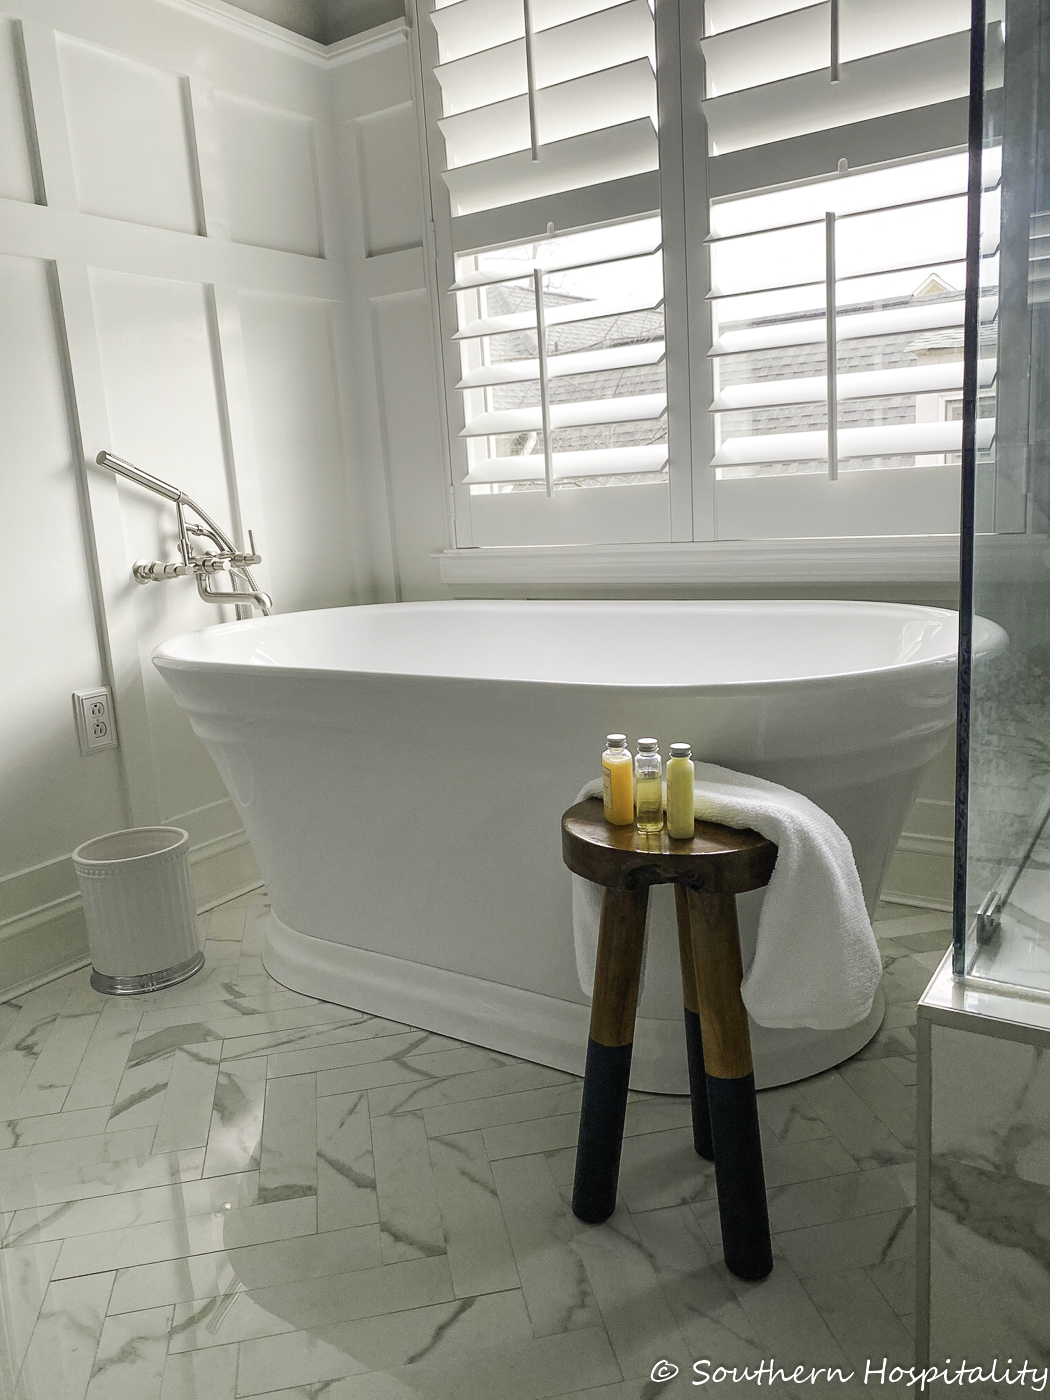
I absolutely love this tub and have taken one bath already. It was so comfortable and I was very impressed with the soaking tub. Love it!
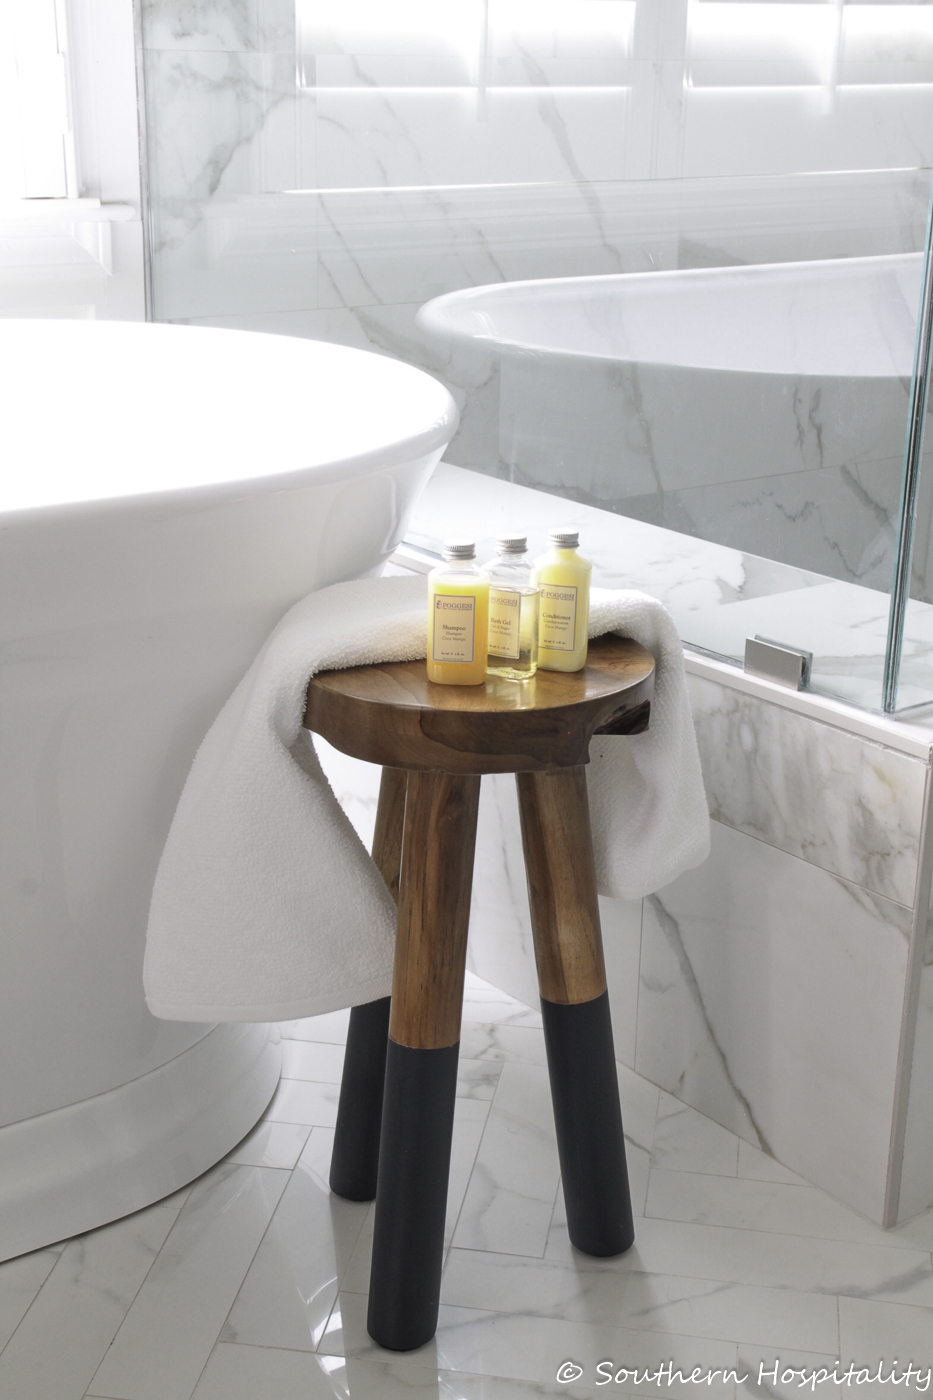
Ordered this little side table/stool from Serena & Lily and it’s a perfect piece in here.
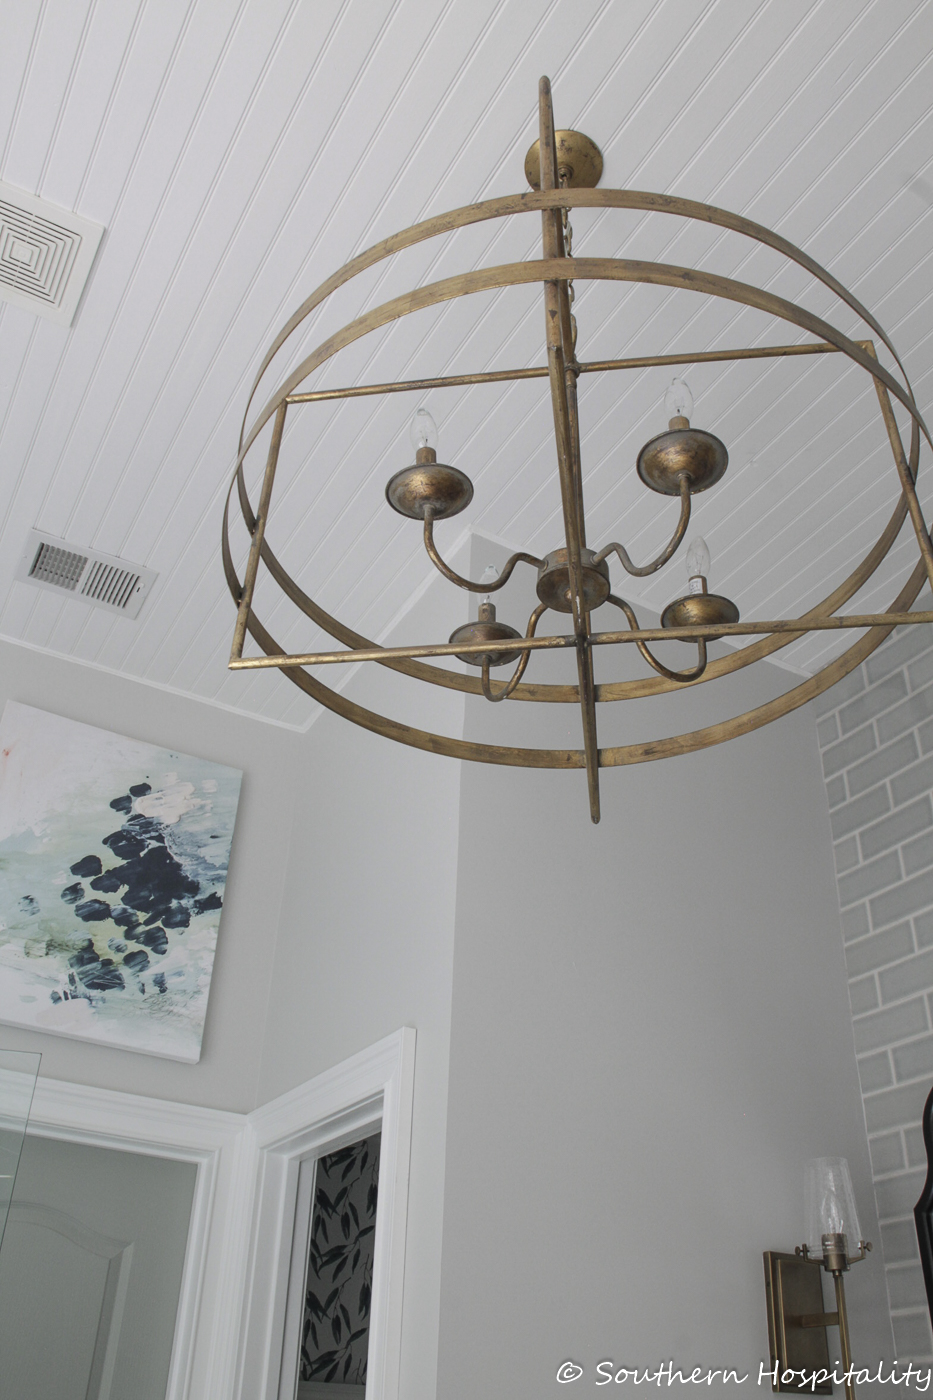
I’ll share sources on the lighting too, but the main light fixture is one of my faves, it’s so pretty and sparkly in here and looks so much better than the ceiling fan that I don’t think we’ll miss.
As you can also see, we had tongue and groove ceiling boards installed and the contractor did that too. It was so worth it to get that done and we love the look. There’s a look at the niche walled in and you can see the after on that. So much better!
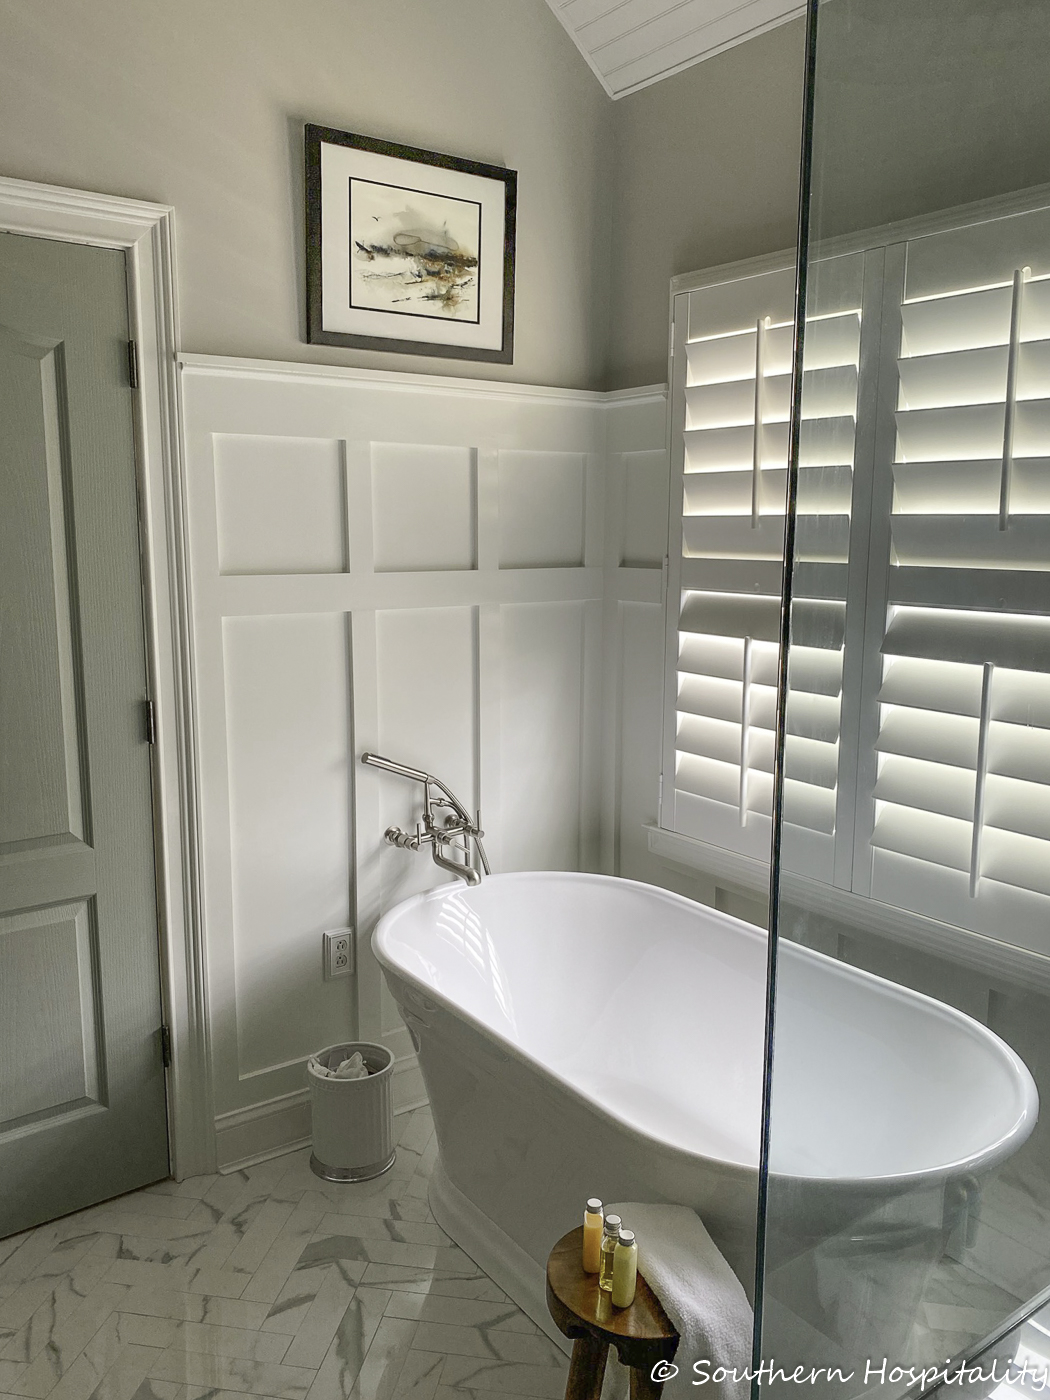
As a last minute addition just yesterday, Mark got in a new original watercolor from artist Jim Lagasse on Etsy and I immediately knew it would look perfect in the bathroom. We just love how it looks on the wall.
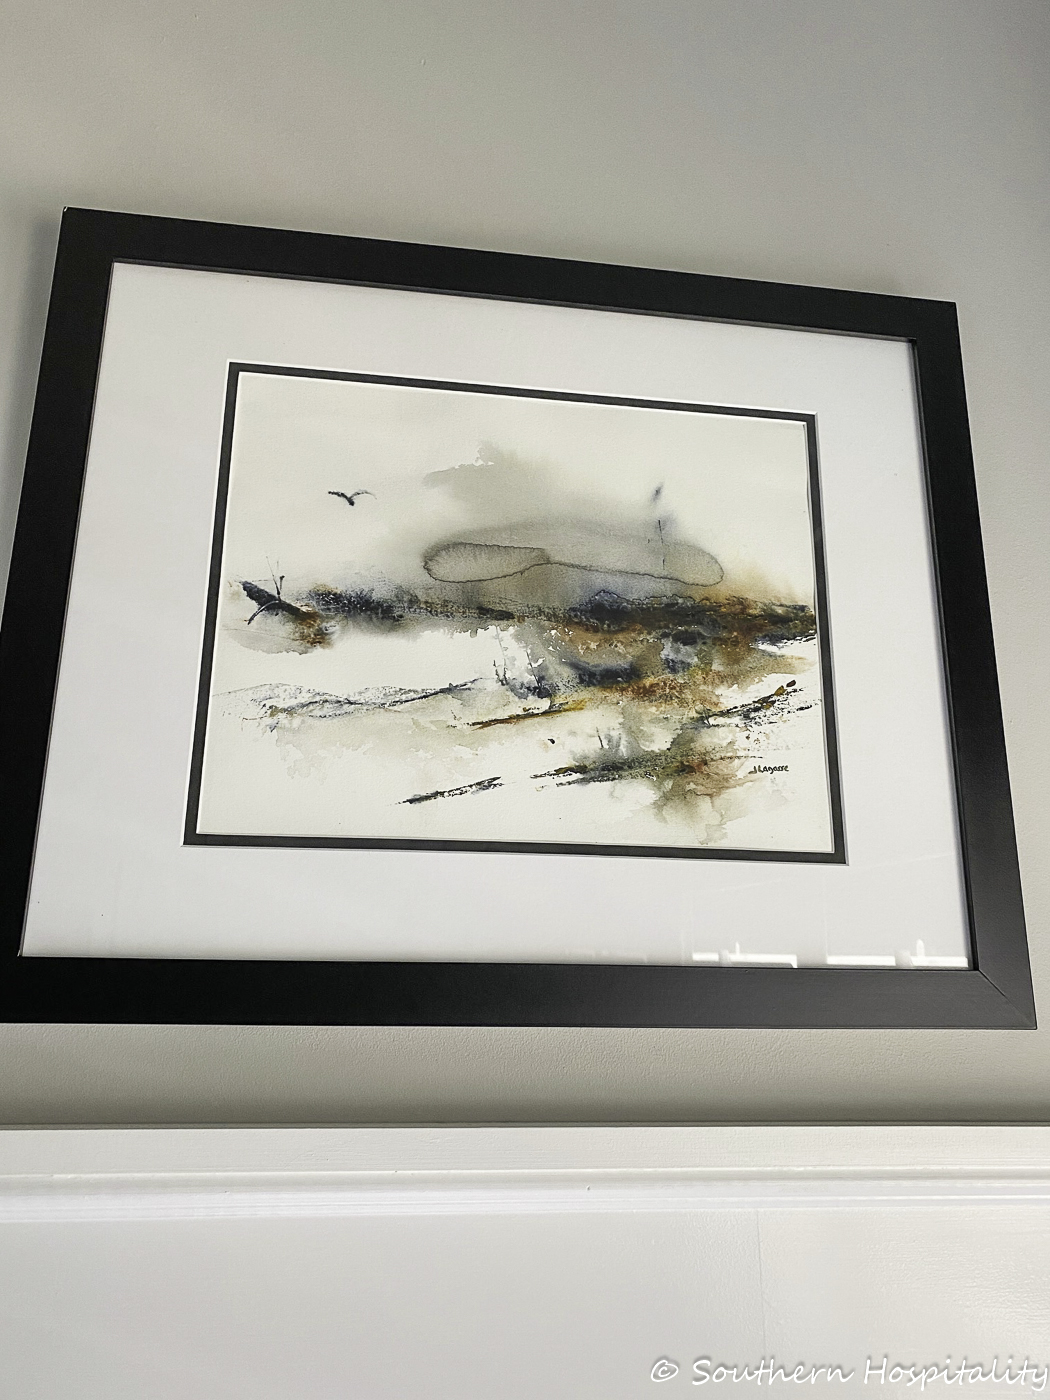
I shared on Instagram stories that Mark is an original watercolor collector and has sought out Winter landscapes in particular. This one is really striking and works so well in our newly renovate master. He has a whole gallery wall dedicated to watercolors in his man cave and we have several in our family room as well. I’ll do a post on that one of these days!
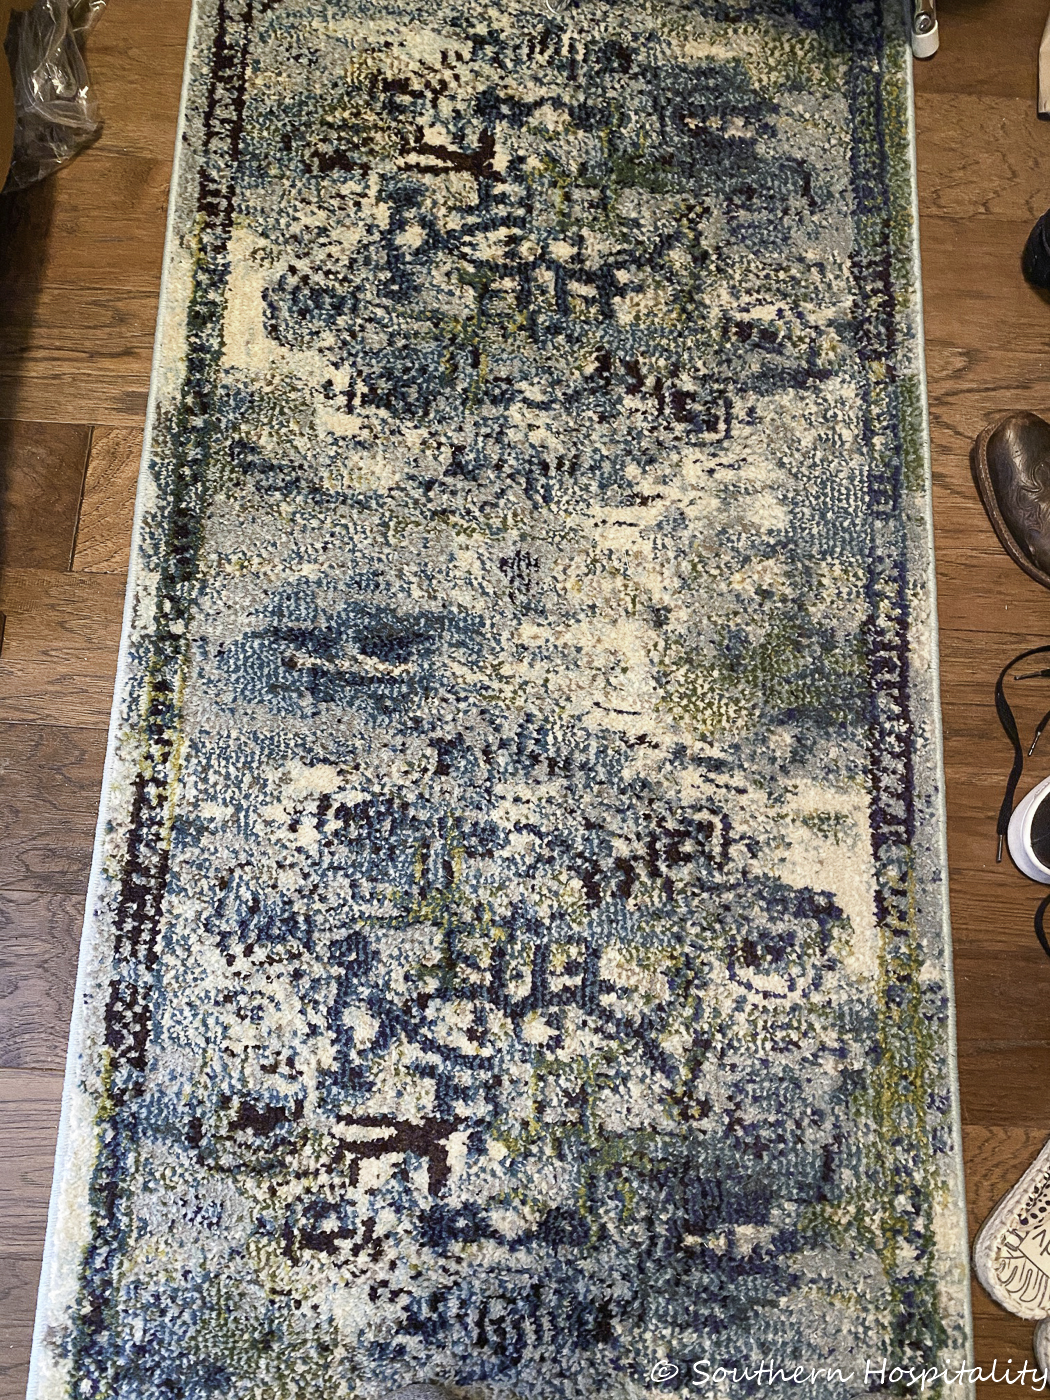
Here’s the rug I originally got that ended up in the closet. It’s really pretty but after the bathroom was finished, it was just too much pattern in there so now it softens up my closet. Here’s that rug link if you’re interested.
That’s the bathroom and I hope you enjoyed the tour as much as I enjoyed showing it off! I’m going to share the cost breakdown too since I know that you all like to see that too. I know I like to see how much things cost. It was more expensive than I thought it would be initially, but I think it was worth it to get the look and feel we got as well as adding value to our home for the future. We absolutely love every bit of it and I wouldn’t change a thing!
Without Walker Zanger sponsorship on the tile, I don’t think we could have done nearly this big a scope of renovation and I’m so grateful to them for the partnership. We all have a budget we have to work with.
When I started thinking about this renovation, I got estimates from a contractor for the labor portion, so I could figure out what my budget would be for all of this. I got sponsors involved and that helped a lot too. Without them all, we would’t have done the whole scope of what we did and would have probably cut some things out. I’m so happy with how it all turned out.
Wall Color: Gray Owl {Benjamin Moore)
Door Color: Oyster Bay {Sherwin Williams}
Vanity Color: Acacia Haze {Sherwin Williams}
Master Bathroom Cost Breakdown:
Labor: $7,168
Contractor: Daniel Martinez and crew (407.738.0608) Daniel and his guys did a great job and we are very happy with it all. He was recommended to me from a blog friend and she had gotten recommendations from several of her friends, so I felt comfortable choosing him and I’m very happy with the outcome. I hired someone that I could afford and who had a good recommendation. As you will see, his labor price was really good for the scope of work provided.
Labor included: Demo of entire bathroom, repair sheetrock, concrete board installed, shower pan installed, all tile installed, all plumbing, all lighting installed as well as lights moved, tub installed, faucets installed, tongue & groove installed on ceiling, primed and painted, take out toilet and install new one, place bathtub and faucet, wall in the niche on upper wall. This cost also included the tongue and groove wood materials. It also included hanging the two mirrors on the tile wall. Yes, I got a great deal!
$5,479 – Tile: Walker Zanger sponsor
Floor Tile: Marmorea Bianco Calacatta 3×12 polished porcelain tile (herringbone pattern)
Shower Tile: Marmorea Bianco Callacatta 12×24 polished porcelain
Shower Floor: Jet Set Cadet Blue Lounge Marble
Vanity Tile: Tilt Blue Shadow 3×8 field tile
$2,546 – Tub and Faucets: Sponsored by Signature Hardware – I’ll be doing a whole post about the tub and faucets and share all then.
$350 – Cabinet Doors and Drawers: Sponsored by Fast Cabinet Doors – I’ll be doing a whole post on the doors and drawers and painting of the vanity with lots of details on that.
$80 – Vanity Hardware: Sponsored by D. Lawless Hardware
Other Expenses:
$1,012: Lighting
$275: Toilet
$1,136: Quartz Countertop: Legacy Granite (Minuet by LG)
$150: Sinks – Kohler Caxton from Home Depot
$130: Mirrors – Kirklands
$80: Hooks – Delta Champagne Bronze from Home Depot
$35: Toilet Paper Holder – Delta Champagne Bronze from Home Depot
$1650: Shower Glass – Superior Showers/Atlanta
$123: Eucalyptus Wallpaper – Spoonflower
$91: Shower Drain – Amazon
$217: Misc. Expenses: Floor & Decor – Grout, Wood Floor reducer, Schluter metal trim in Greige (I think) for shower.
$55: Wall Paint – Gray Owl (Benjamin Moore)
$29: Vanity Paint – Acacia Haze (Sherwin Williams Emerald paint quart in Satin)
$46: Ceiling Paint – Custom mix gallon white in Satin for tongue & groove
$612: Wood Materials for Board & Batten: Home Depot
$300: Plantation Shutter over tub – Sunburst Shutters
$8,455: Total Sponsored
$13,109: Total We Paid
$21,564: Grand Total Master Bathroom Renovation
For more on the tub and faucets, click that link for information and to see how I updated the old vanity with new drawers, doors, and paint, click that post for all the info.
This is a long post, but I wanted to be thorough and share all the details. It’s not an inexpensive bathroom renovation and I was hoping it would come in less, but this is where we ended up and I’m fine with that. I had decided up front what I was comfortable with us spending and it came in just over that for our out of pocket portion. Again, if I had not gotten these fantastic sponsors on board, we would have had to do a lesser project, but I’m so glad they joined me on this master bathroom journey and now we have the master bathroom of our dreams. I really tried to shop wisely and get cost effective items and I think I did well on that.
We absolutely love the outcome and I wouldn’t change a thing. It’s a thrill to have this new bathroom and we will enjoy this space for years and years to come. I had no idea this world wide crisis was going to happen right after we finished, but I’m glad it’s done and this will definitely be the most expensive renovation we will take on in this house.
If you have any questions, please ask! I tried to cover all the details and you can find most all the products that I used in the bathroom below (affiliate links used). The black/gold with glass ceiling light below is going in my closet, so it’s not pictured in the post. There’s also a crown molding holder that Mark got from Amazon to help with the crown molding installation, which was a big help. The larger pullout shelves are similar to mine:


I couldn’t find where you purchased your runner bathroom rug (the one you ended up using). I really like it! Can you share where you purchased it from. Thanks!
Hi, Susan, all the source links (pics) are at the bottom of this post, so scroll down to the bottom. The rug is the very last pic.
I absolutely love your new bathroom ….it is true quality and so comforting with the colors
you chose. Yes, it is my dream bathroom for sure!
Thank you, Marie! It’s truly our dream come true bathroom too.
What height did you hang the sconces by the vanity? How did you figure out where to put them?
We eyeballed them and put them where they looked best so I would suggest you do that.
Absolutely love this bathroom. I love the way you give all the information and details about your projects, it makes it so easy to replicate your design. Major magazines never accomplish this and it is very frustrating. Keep up the good work!
Thank you, Tammy, for stopping by!
Absolutely GORGEOUS!! I love everything you have done! It has inspired me to redo my master bathroon!! I love your decorating ideas!
Thanks so much Barbie!
So beautiful! This was so helpful to me since I’m getting ready to research redoing my master bathroom. I love all your choices. If you had not had the sponsorship and your husbands potion he did and you did, what do you think the cost would have been?
Hi, Sherry, the tile materials would have been about $6K. So add that into the final costs and that would give you an idea. Of course, there are tile places that are less expensive, so you just have to price those items out. It’s a lot to figure out, but we are very happy with our decisions.
This room is absolutely gorgeous! Thank you so much for including all of the details. I’m getting ready to start planning my own master bathroom renovation, and my starting point is very similar to what yours was, so I was thrilled to find your blog post today. Your toilet closet is my favorite part—such an inspiration! Thank you so much for sharing!
HI, Melissa thank you for stopping by and glad you are inspired by our renovation. We love it so much a year later!
Beautiful bathroom! Very specific question- do you happen to know what color that metal trim is? It looks so natural and that’s exactly what I’m looking for over what my contractor is trying to do!
Hi, Martha, that trim is from Schluter and you can find that brand at Floor and Decor. I can’t remember the color name but it was a taupe color. You should be able to find it. It blended right in with our tile.
Hi Rhoda, wow, what an impressive bathroom renovation. I love the subtle pops of blue in the space. How have you found having a mosaic tile on the shower floor? Has it been difficult to keep clean?
HI, it hasn’t been bad at all. I use a stone cleaner and it cleans the grout too.
Hi Rhoda ~
What color did you use on the board and batten in the toilet room? Thank you.
Hi Karen, We had a bright white trim paint on all our trim when we moved in and I just had that colormatched at Sherwin Williams and that’s what we have been using on all of our new trimwork, so I don’t have a specific color. It’s more of a bright white but not stark white.
Firstly, this bathroom is sublime! We’ll decorate but not overdone. Beautiful!
You may have answered this in a previous comment, but who makes the light in the water closet? It’s just what I’m looking for. Thanks!a,
HI, Katy, that water closet fixture is from All Modern, but the link I had isn’t working anymore, so it may not be available anymore.
Hi Rhoda,
Your bathroom is absolutely amazing!!! I also live in the Atlanta area and have been looking for a skilled contractor to remodel my bathrooms. Now that you have been able to “live” in this space for a while, would you still recommend Daniel Martinez and his crew? Thanks in advance for your response.
Hi Teresa, yes I would still recommend if you’re on a budget. Daniel’s price was really great and within what we could spend. As with anything like this, really top craftsmanship can cost a lot of $$, but for our budget he did a great job.
Your bathroom remodel is beautiful! I have recently moved to the Atlanta area and we actually had a burst pipe with water damage so now we get to redo our room/bathroom. I want to know if you raised your vanity? I wouldn”t mind doing new doors/paints/hardware but I would like it to be higher (it is still the 1980 height!)
Penny Pratt
[email protected]
Hi, Penny, thanks for stopping by. No we didn’t have to raise the vanity. Luckily is is at a good height for us. This house was built in 2005 so the vanity was fine.
Beautiful! What was the previous size of your shower and the new size? We are looking at a 3’x4’ shower, but we aren’t sure if that will feel too small (we are tall people). Love the tile work on your shower as well!
HI, Meg, we only added maybe 6″ to the new shower and it’s about 4×4′, so not that big. It feels quite a bit bigger than the old even though it’s not.
This bath has all the beauty it needs, the position of the lighting is the best I’ve seen in many moons.