It sounded so simple when we were starting this kitchen renovation. Mark and I talked about tiling the backsplash ourselves. We had just finished that herringbone marble tile on the fireplace and it didn’t go so perfectly, so Mark was not thrilled about taking this on, but he did it because it needed doing and we figured we’d save a little money by doing this one ourselves. We try to do that on things we can do. But, this tile project may very well be our last tile project.
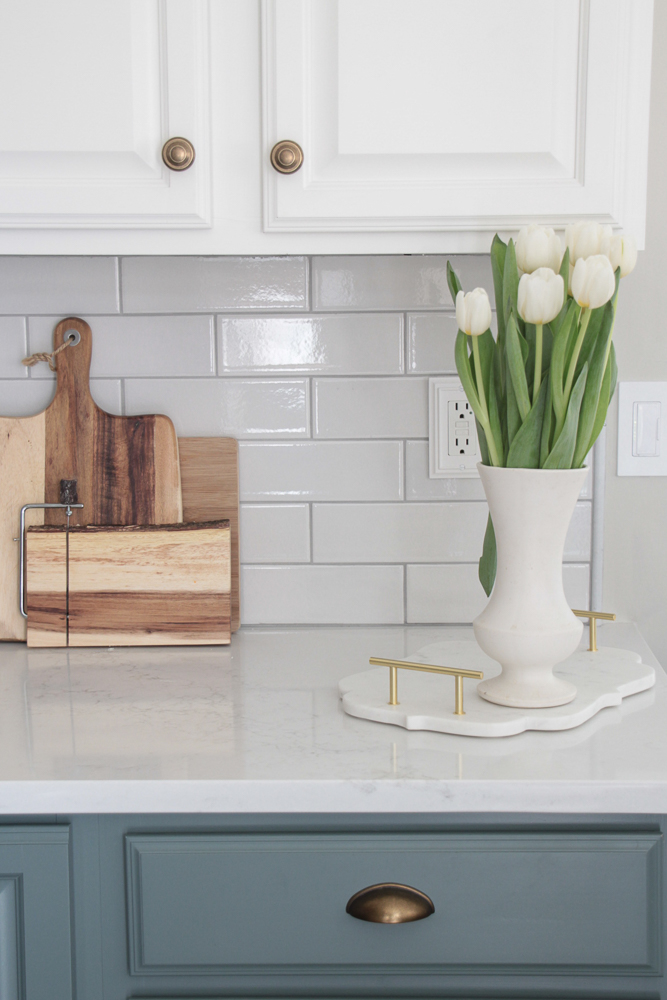
Here’s a pretty after shot before we get to the ugly part of the project.
Again, tiling a backsplash sounds pretty easy, right? But this one required several steps to get there, so that made it even harder and more time consuming. I wasn’t going to share this process, but I figured I’d share real life DIY. Most people only share the end result and the beautiful reveal, but that’s not always real life. There is a lot of messy in between the Before pics and the pretty pics, so I’m going to show you all the messy today!
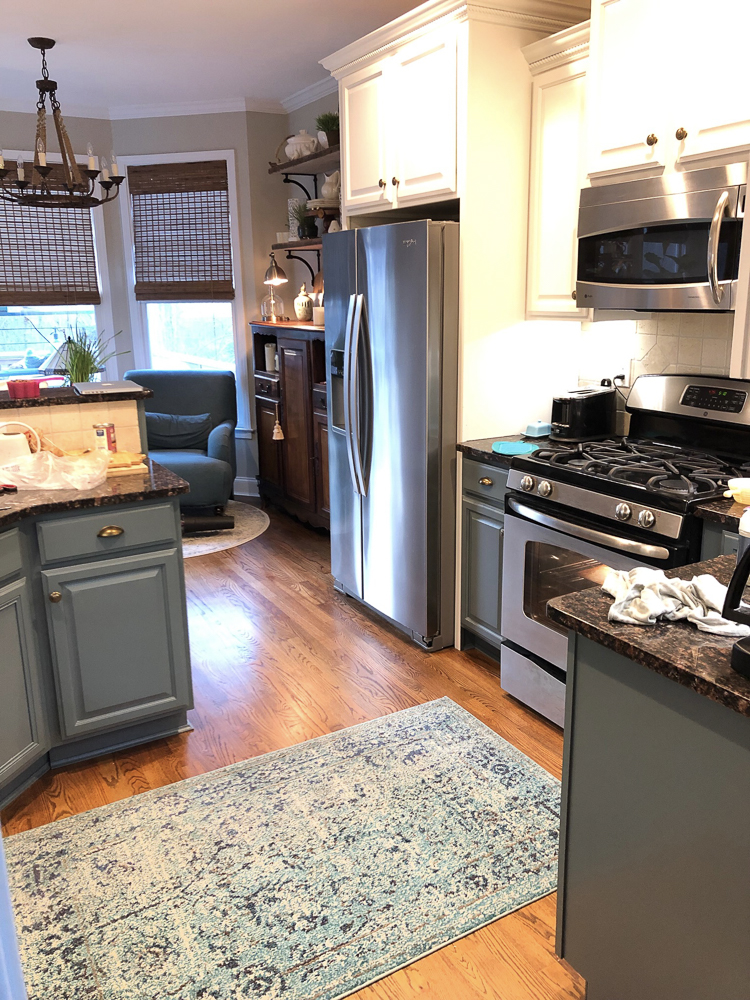
Here’s a quick shot of the kitchen before we started demo. As is was. Real life living. I had scheduled the quartz installation a week out so that we would have a whole weekend to get the old backsplash down. It’s a good thing, we needed every bit of that time. Taking down an old backsplash is not fun either!
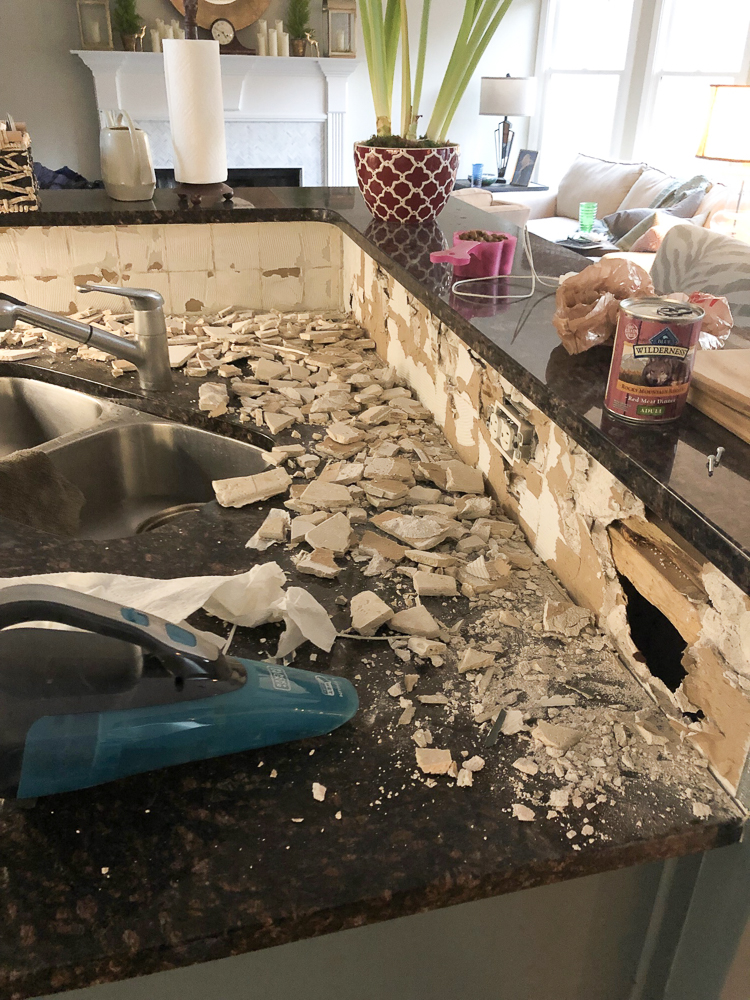
Once you commit to taking it down, it gets really messy. Mark hammered and crow barred all the old tile and drywall down. There was no saving the drywall, so that meant an extra few hours to install new drywall.
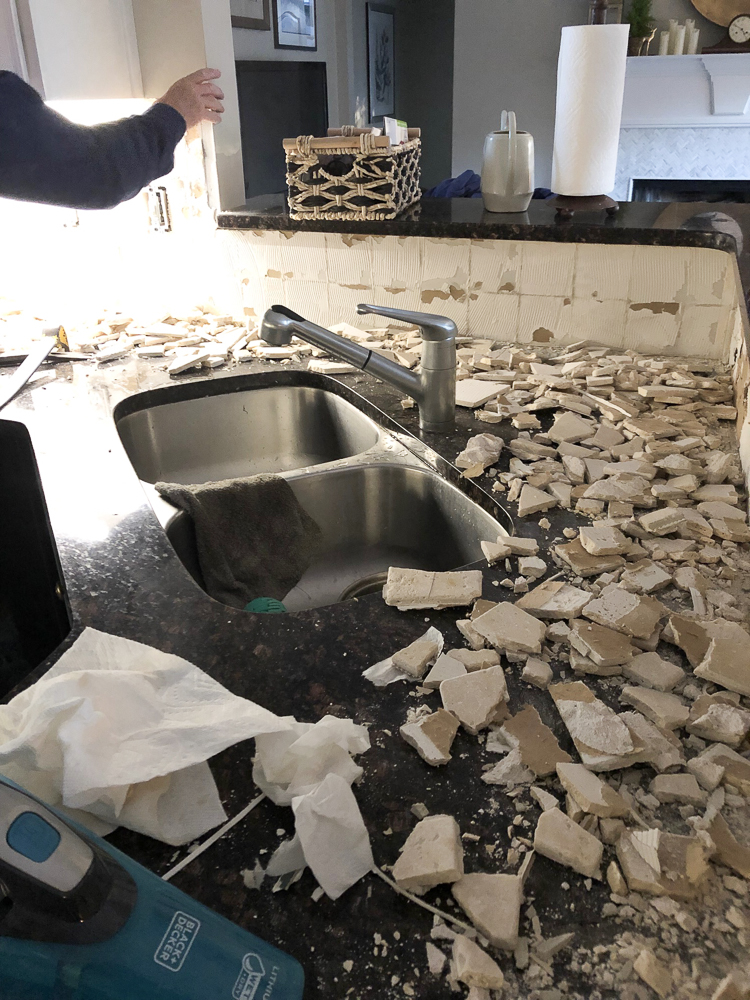
I didn’t even get pics of that part, but that was several hours of installation to get the drywall back up for the new tile. So, the demo happened right before the quartz install on a Tuesday.
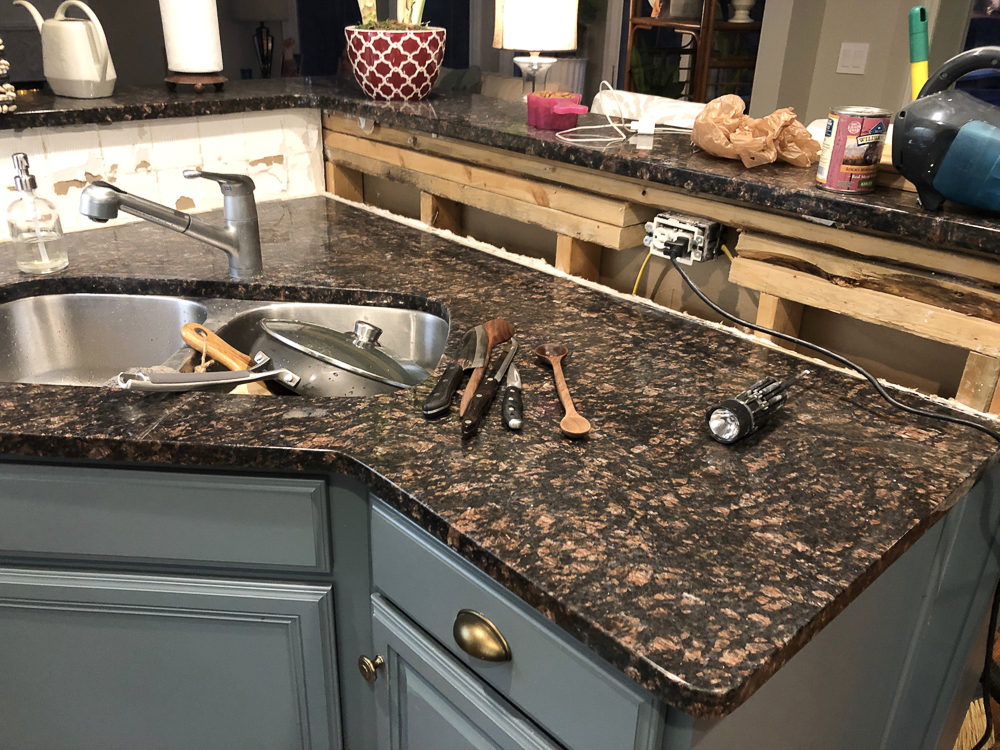
Drywall removed down to the studs. The ugly before the pretty!
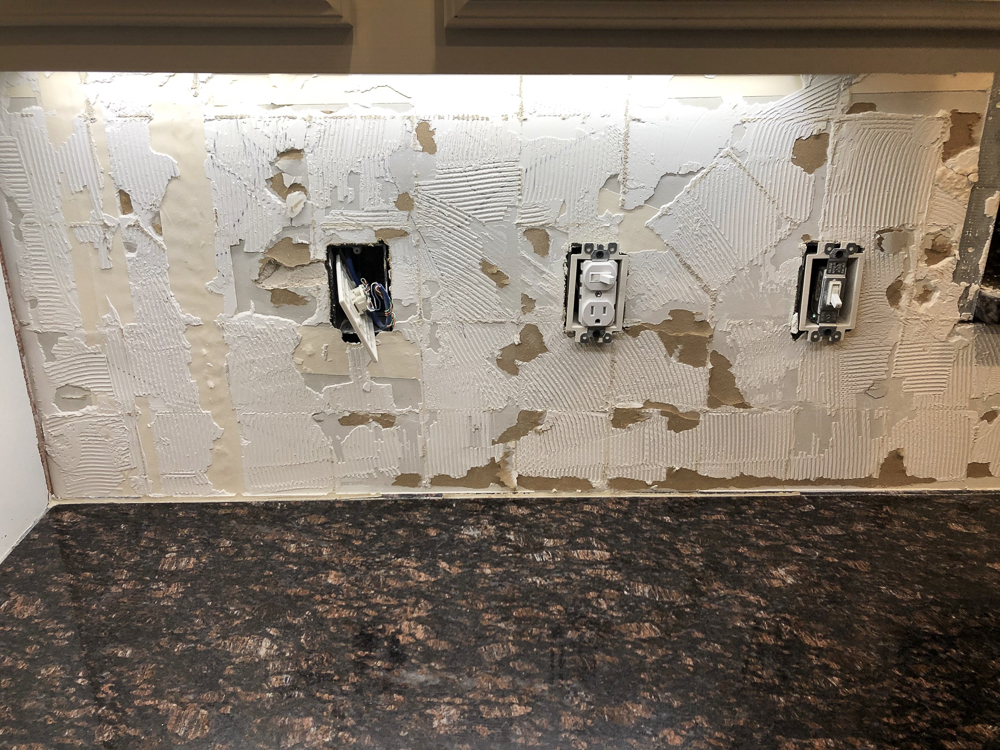
All of this old drywall came down too, it couldn’t be saved.
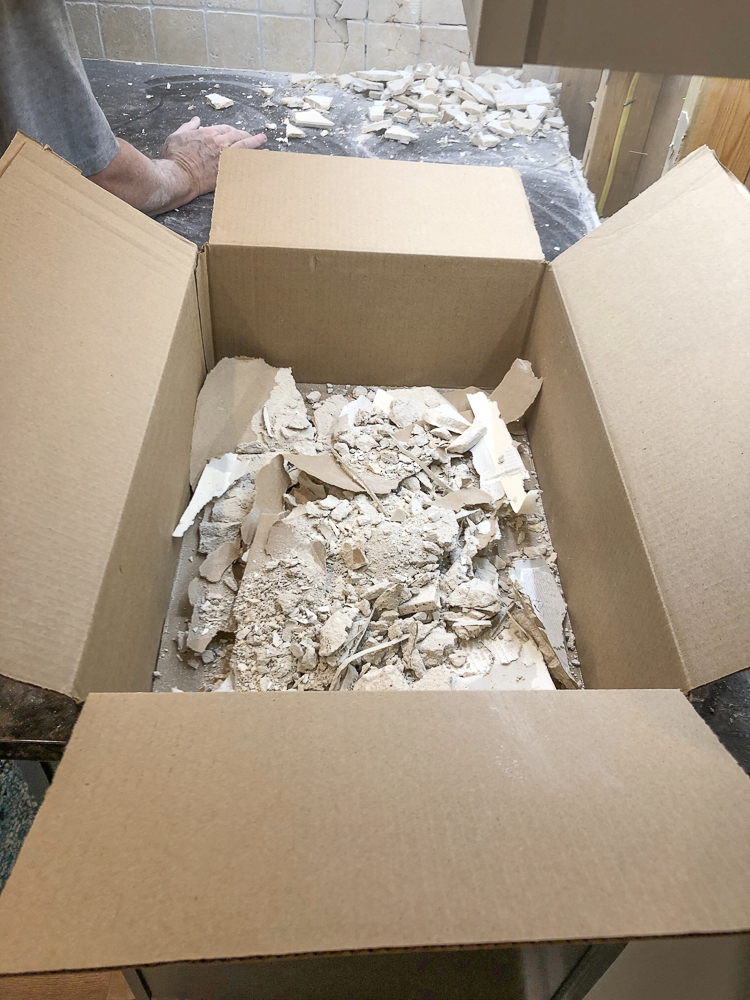
And let me tell you, that’s a really messy job. You know how awful drywall dust can be and there was plenty of that flying around with all the tiles and drywall that was broken up. We are very lucky here in Acworth that the City comes around once a week and we can haul building materials, yard debris, etc. to the curb and they will haul it off. I saved all of our Amazon boxes and piled the broken tile and drywall in there, boxed it all up and stacked them by the curb.
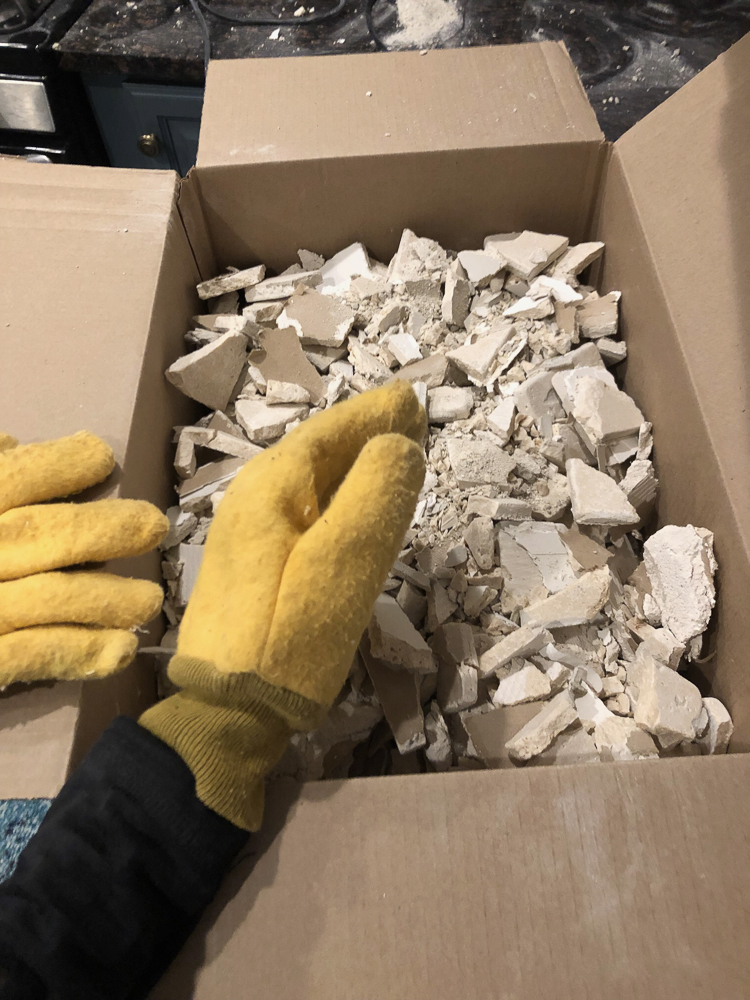
I cleaned up as Mark demo’d and got it all in boxes and outside for take away. That was great to get all of that gone! I used the shop vac to vacuum up as much dust and left over debris as I could getting ready for the installation.
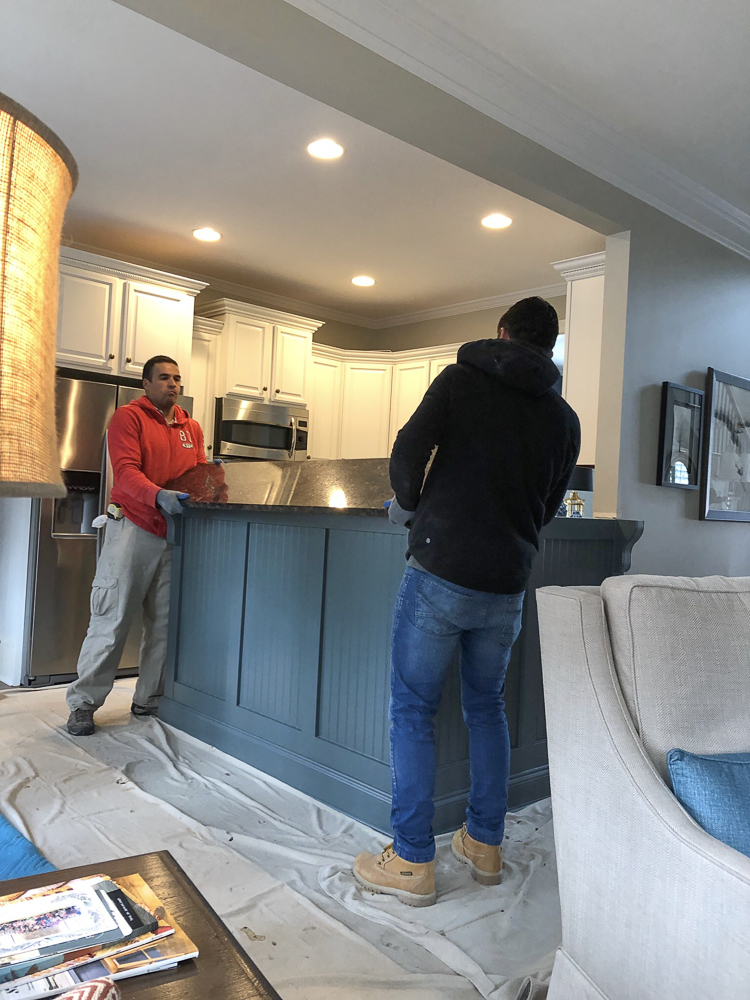
Legacy Granite arrived in the afternoon of install day and I was sitting here waiting like I was waiting for a prom date! It was so exciting! They did a fantastic job of removing the old granite and hauling it off as well. Legacy is the same company who did my previous house granite installation and I trust them completely.
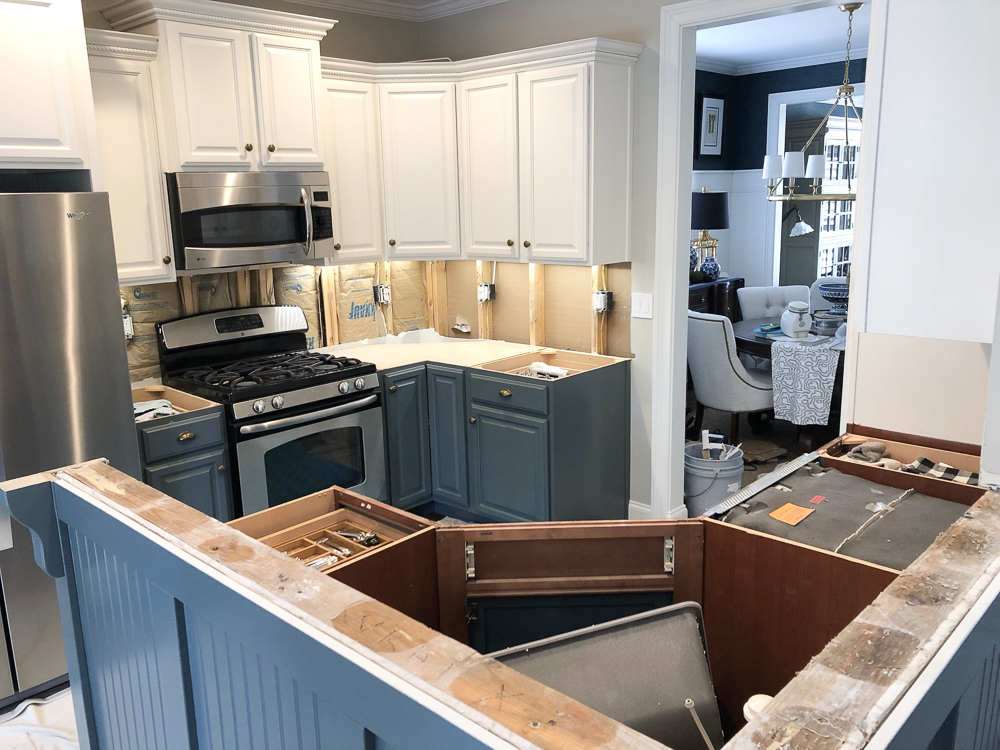
Here’s the kitchen all naked now with no countertops! You can see the state of the backsplash at this point.
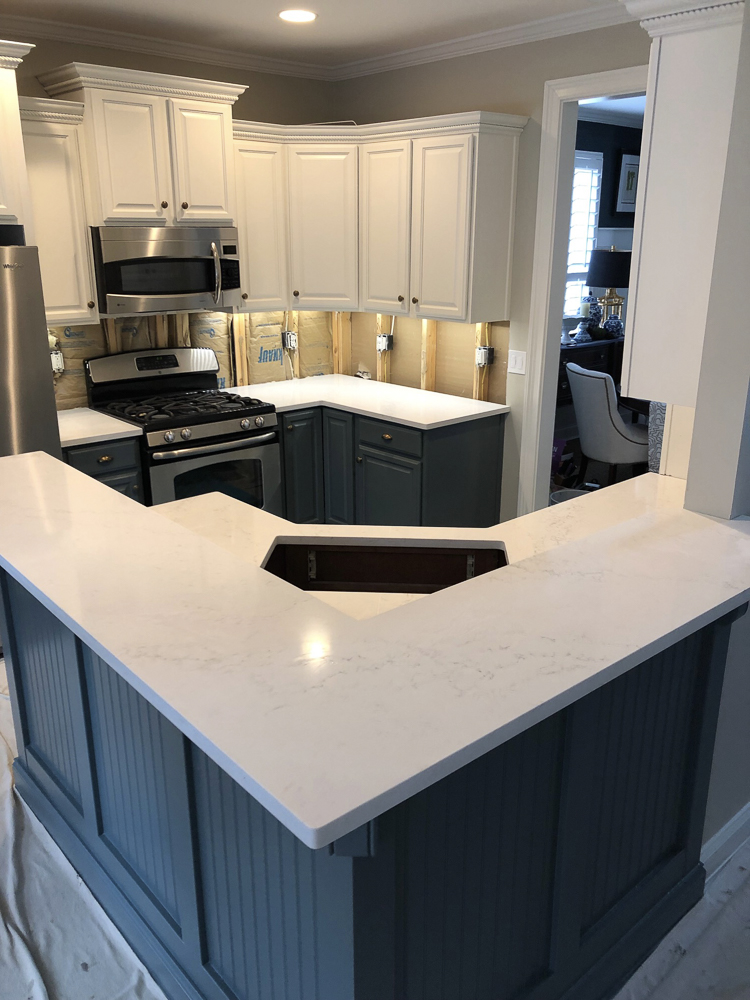
And after the HanStone quartz countertops go in! I’ll be sharing the whole reveal post on Monday, so stay tuned for that. I got the big camera out and got some great shots of the new kitchen. To say I’m in love with it is an understatement! I couldn’t believe how much lighter and brighter it was immediately.
The next step was adding that drywall back to the walls that were missing so we could start the backsplash tile project. Mark wasn’t looking forward to this and I wasn’t either, but we jumped in and got it done. He took off on a Friday and we got the drywall back up. We worked on the tile on Saturday of that weekend and then it was the next weekend, on Sunday afternoon that I finally got to grout the whole thing. So our kitchen was a mess for 2 weekends. Getting the quartz installed was a breeze compared to the backsplash. I had scheduled the install on a Tuesday and the plumber came on Wednesday to hook up the new faucet, so we were only without water for 3 days.
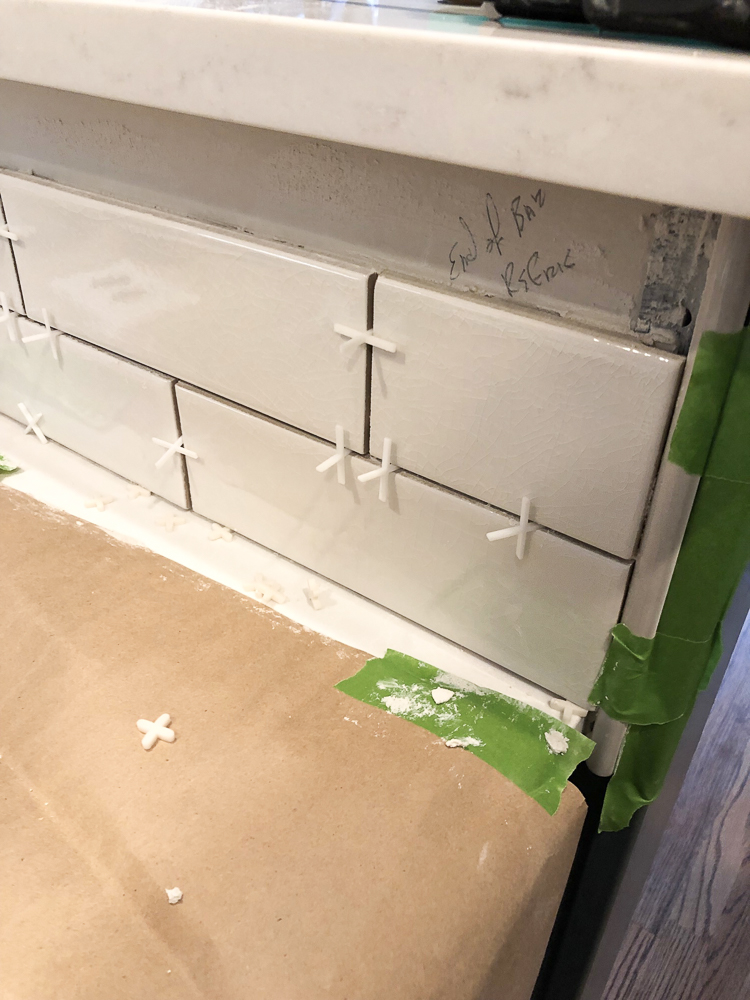
Beginning the backsplash here on this small bar wall, we worked our way around to the left and got the sink side done first. We finished that side the first weekend and I got it grouted first, so at least we could use that side of the kitchen.
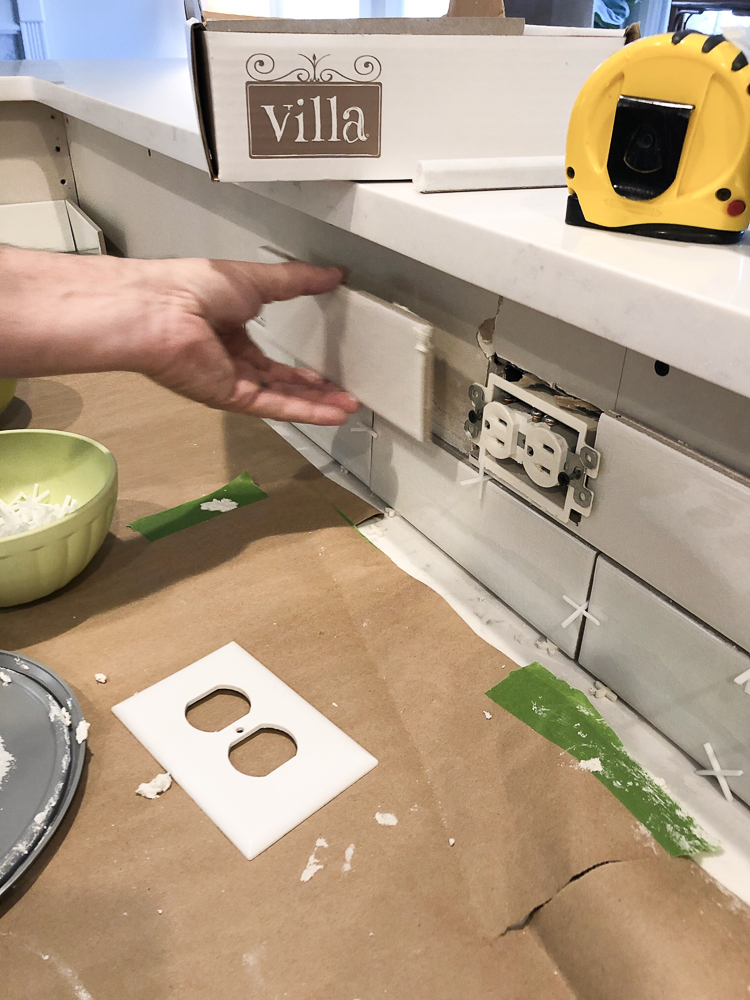
I took a lot or progress pics on this part so you can see how it went. Mark cut the tiles and I set most of them in place.
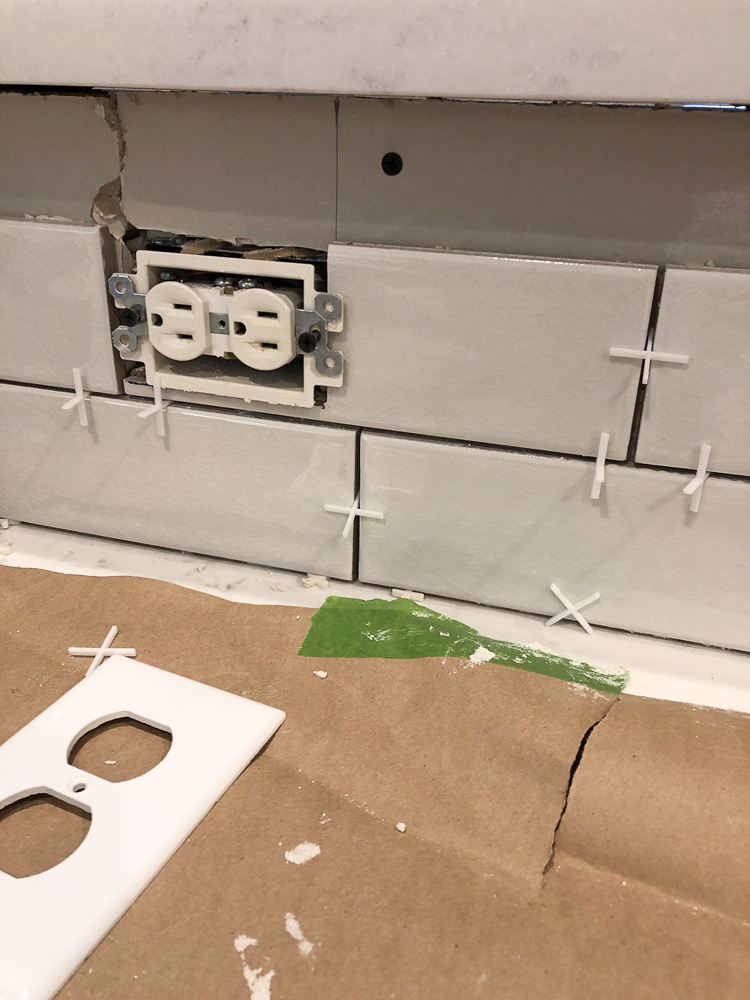
Using 1/16″ spacers for the grout lines.
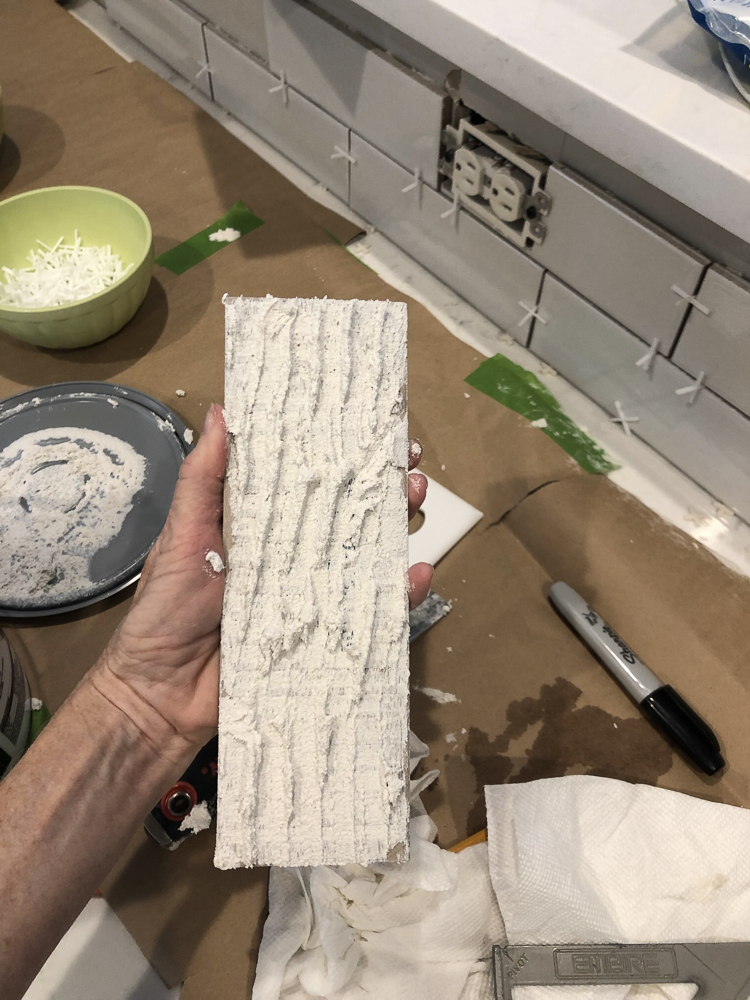
We figured out that buttering the back of each tile was so much faster and less messy so that’s how I did it all, moving around the wall with whole pieces and then stopping and cutting as we needed to.
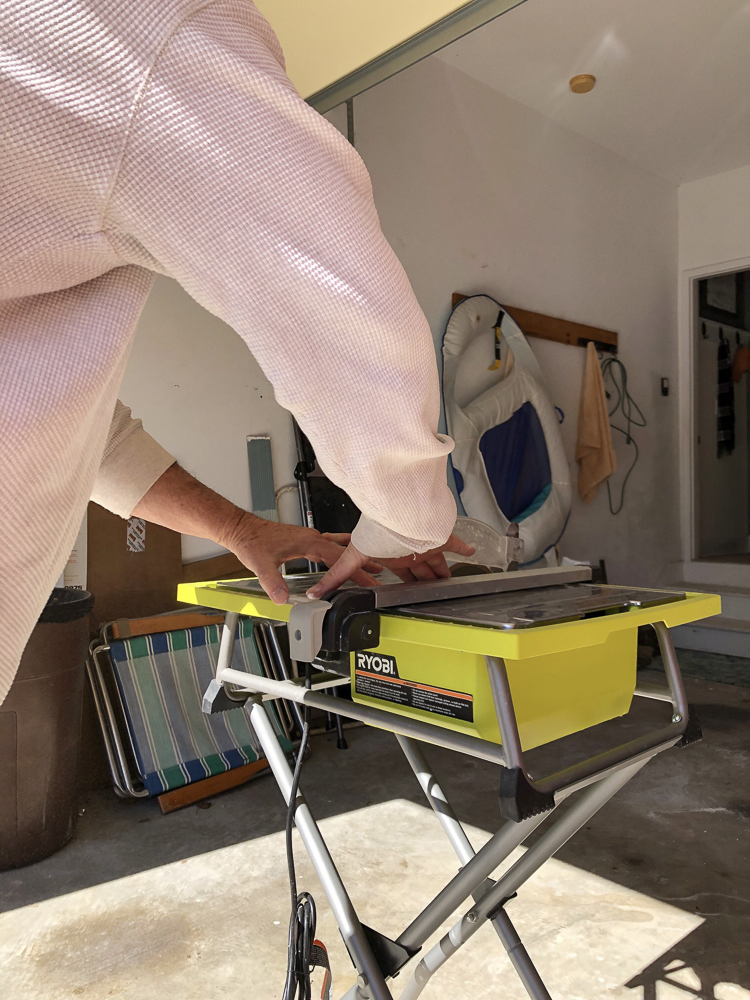
Mark did a great job with the Ryobi tile saw, but this was porcelain tile and was very hard. He did have some problems with the edges of the tiles chipping and cutting around the outlets was not easy either.
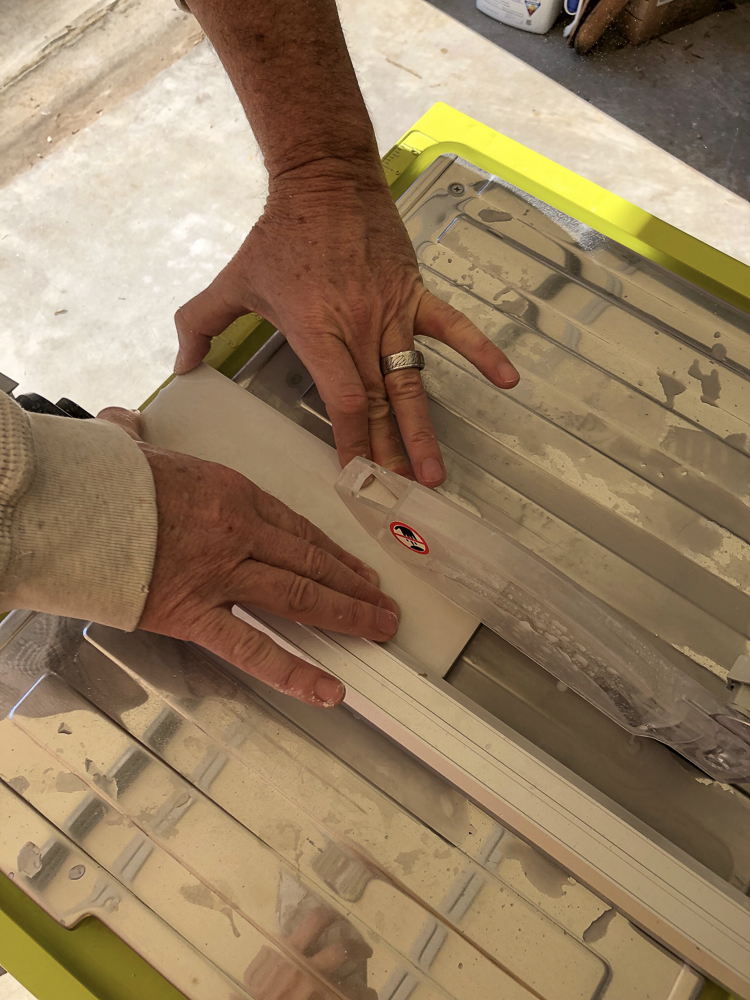
He hung in there in spite of things not always going smoothly. I thought this project would never end and stretching it out over 2 weekends was especially long.
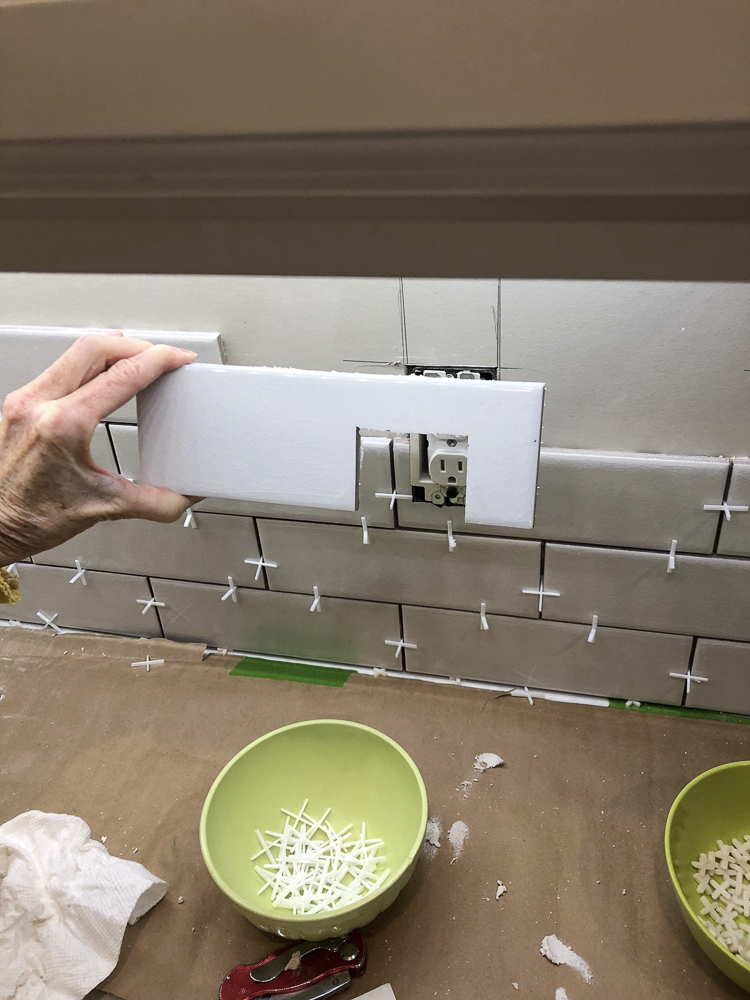
He did a great job cutting around those outlets though and usually had to cut 2 tiles to fit around them.
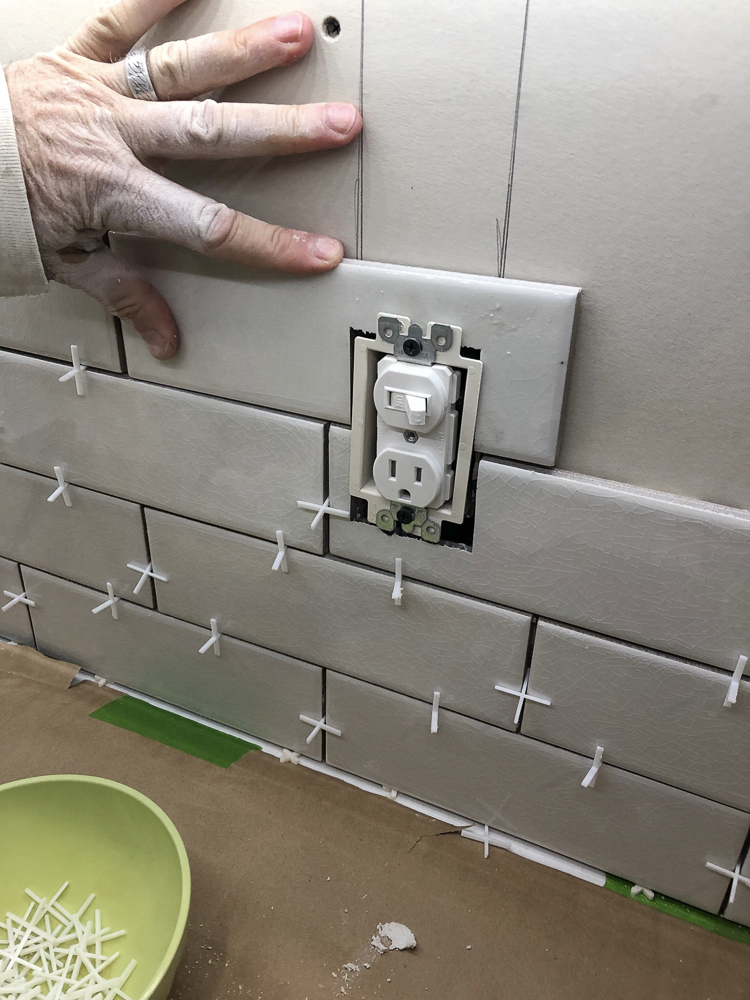
He measured and marked them with a Sharpie making sure to cut so the outlet covers would fit over any edges and hide them.
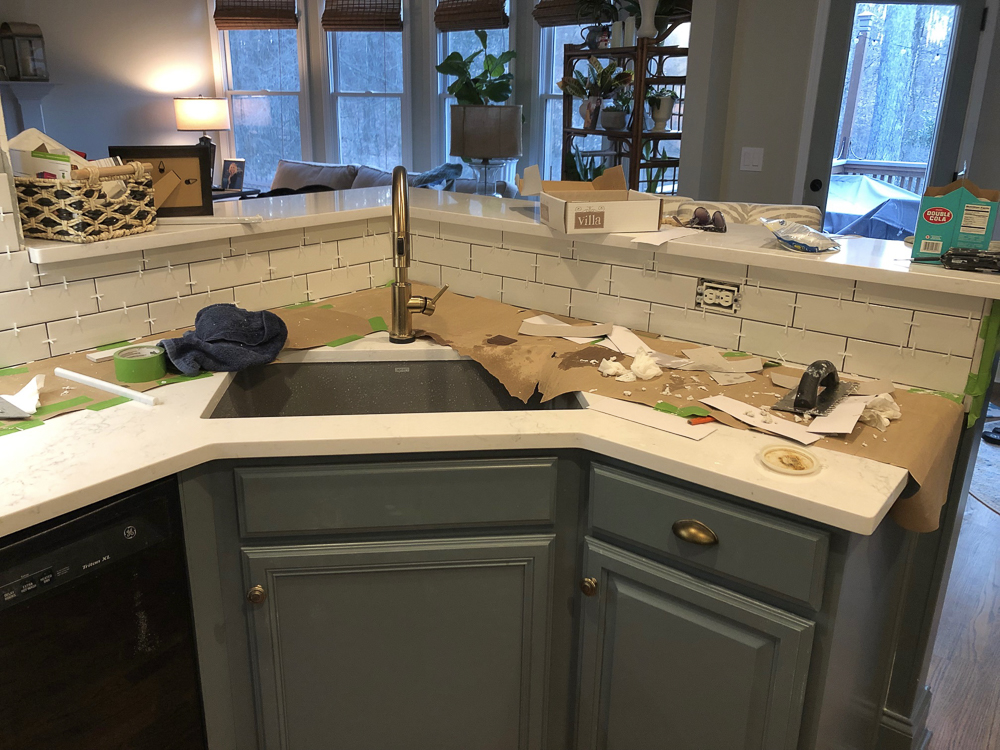
One side finished and ready to grout.
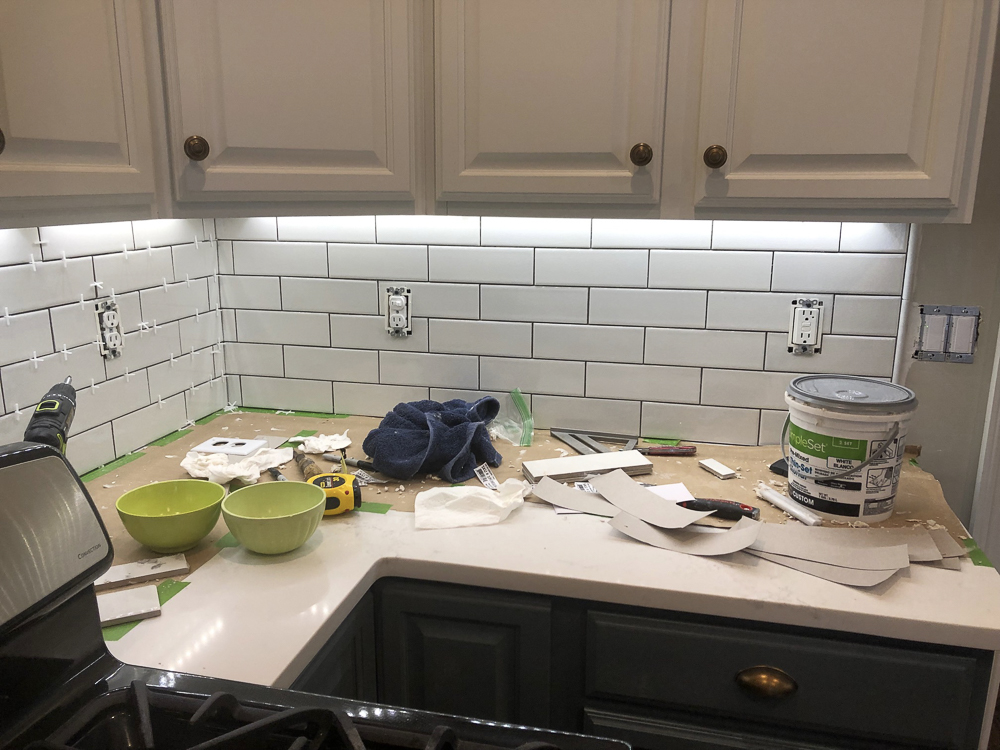
We moved on to the other side and did this wall first. Once we finished this wall, I was able to lay out the tiles and figure out how we wanted them to sit on that left wall where the stove is. The thing with tile is it is recommended by most tile guys to start in the middle so that you end up with equal tiles on either end, but sometimes you’ll have slivers of tile so you want to avoid that if possible on an area that is high profile.
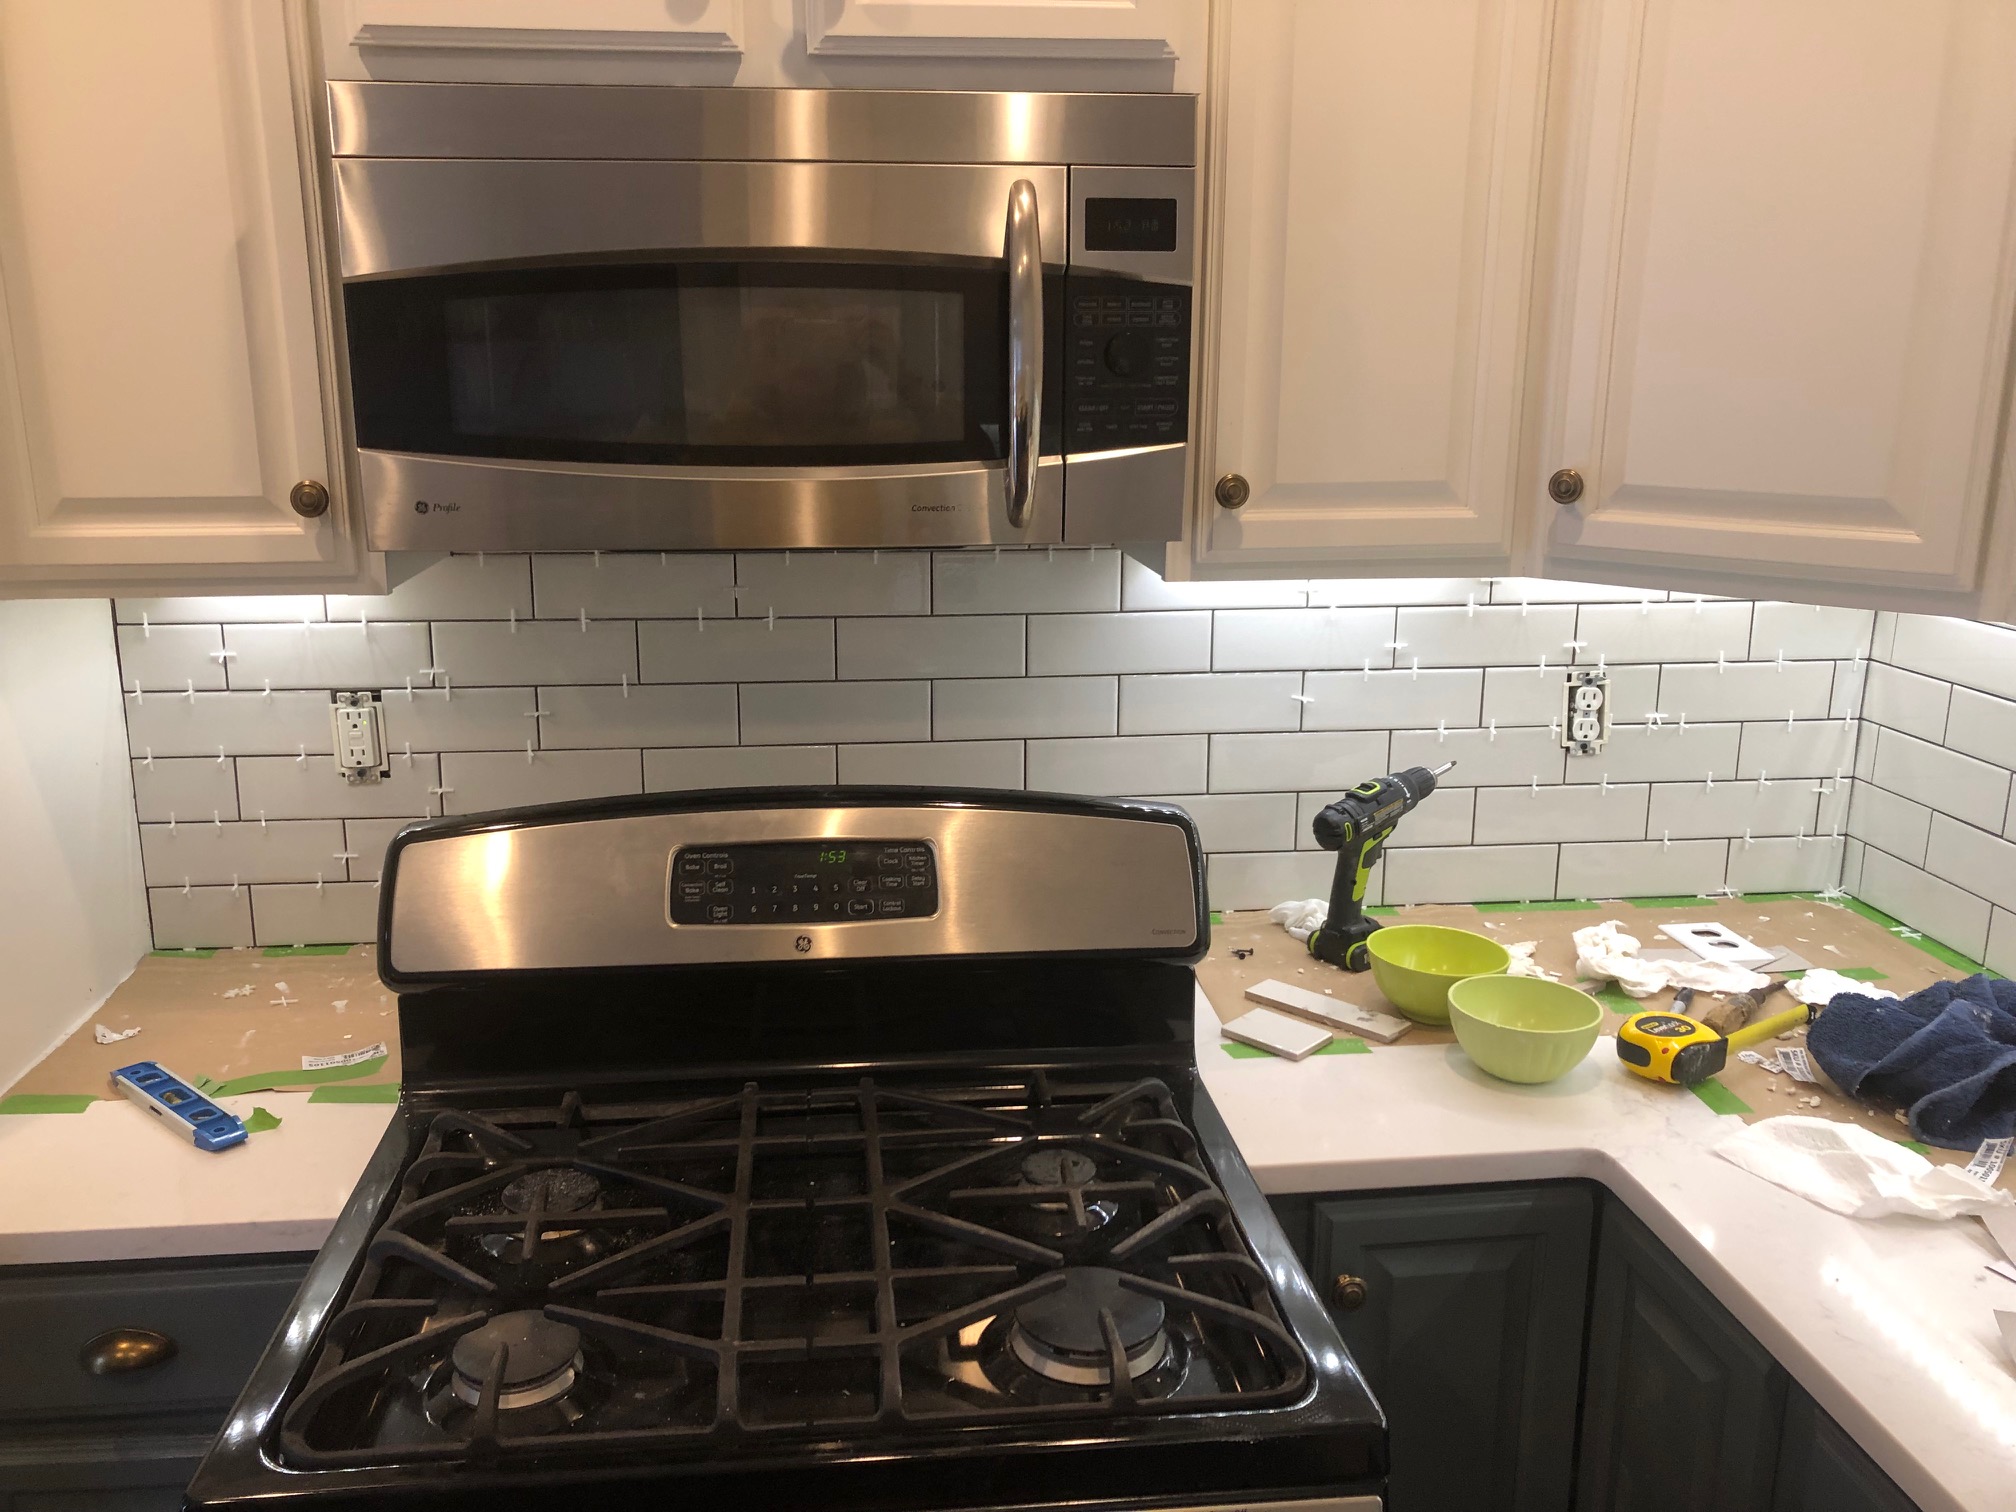
I laid out this wall before I started setting them and kept 1/2 tiles on the left and the smaller slivers on the right, because we thought it would look better to have the smaller cuts in the corner that wouldn’t be so obvious. That’s something you just have to figure out when you’re starting a tile project. Don’t start putting it up until you measure, lay it out and know where your tiles will end up. Take into account the spacer too because that will change it all as well.
There’s so much to think about when you’re tiling and then all the cutting is very time consuming too so we thought we’d get done a lot faster than we did, but that wasn’t the case. We are apparently way slower than a tile guy would be!
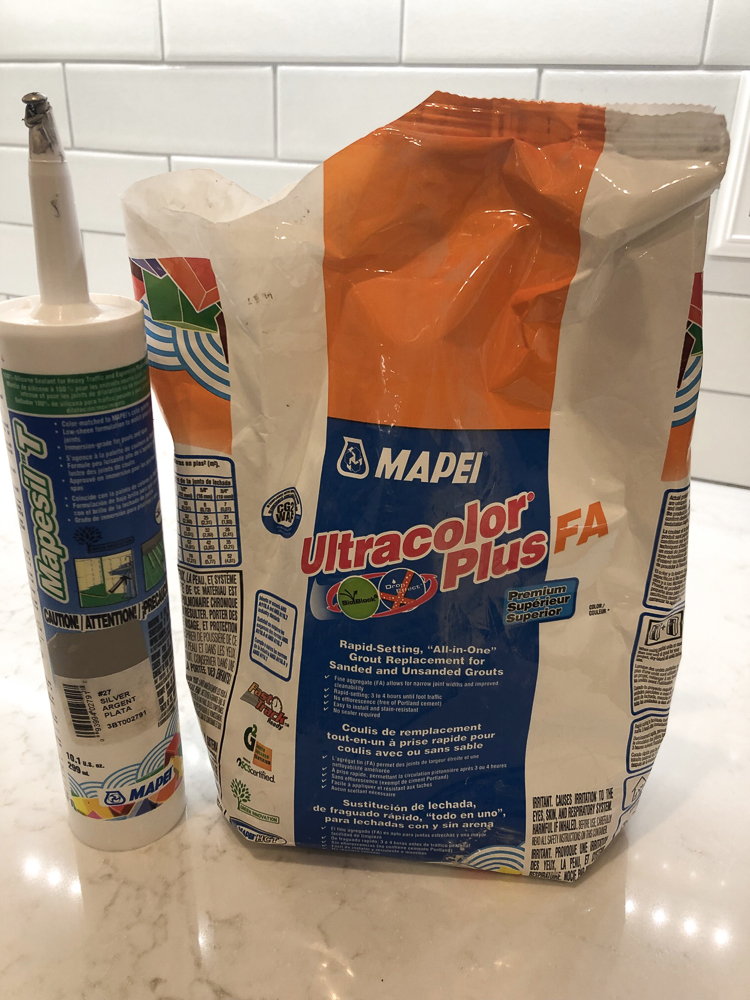
At last all the tiles were set and dry and ready to grout. That was my job so I spend about 4 hours last Sunday afternoon getting everything on this side grouted. It’s recommended that the line between the countertop and backsplash have silicone grout added (in a tube) because it’s flexible and will hold up, whereas regular grout can crack in this line.
I used this product by Mapei from Floor and Decor. We bought the backsplash tile from Floor and Decor too.
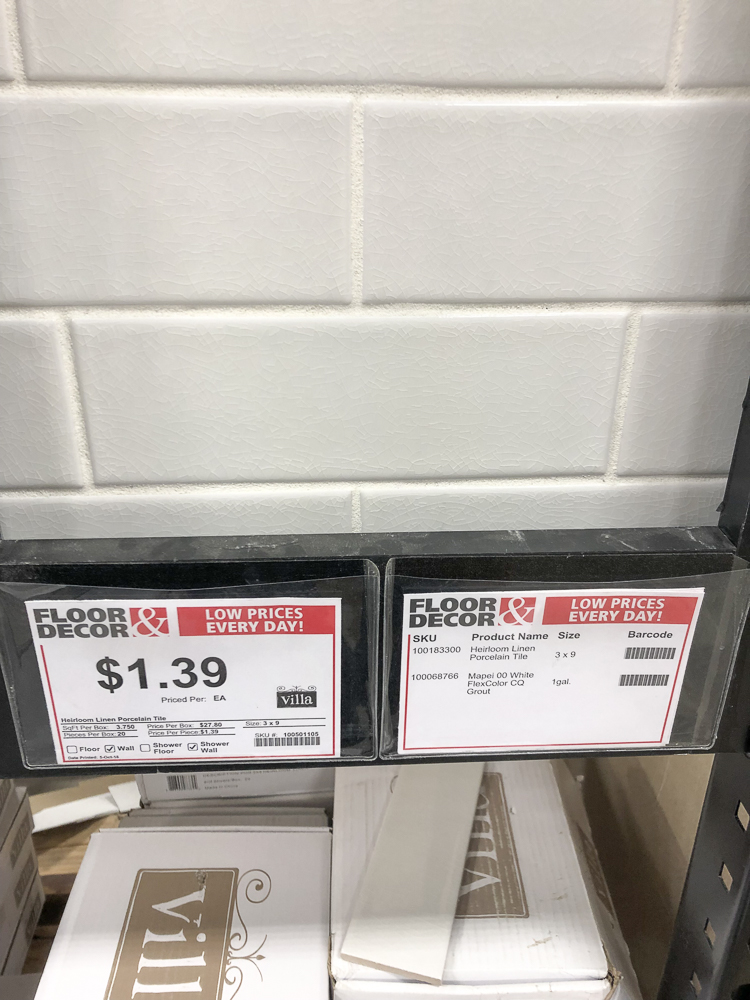
Here’s another look at the tile I got for the backsplash, from Floor and Decor. This part wasn’t sponsored, we bought it and the supplies from them. This is called Heirloom Linen and was a really good fit for our countertops and kitchen cabinet color. It has a slight gray undertone and isn’t white-white like so many subway tiles are. I love the crackled finish too.
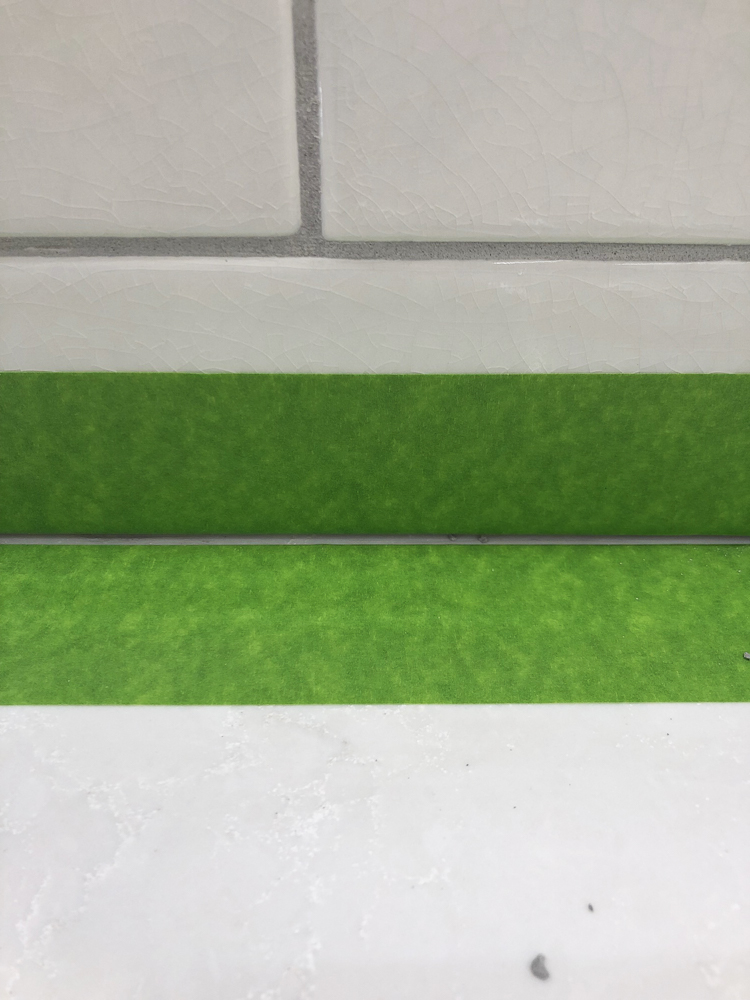
When I added the silicone caulk to the joint between countertop and backsplash, I taped it off. This stuff is not easy to work with, it’s very sticky and smears a lot, so I’ve learned to tape it off top and bottom, just leaving it exposed where the line is, so that it’s much easier to get in place and not have too much mess to clean up. Getting a smooth grout line is not too hard, but use a wet finger dipped in soapy water, that was the recommendation I read online and it worked. I immediately took off the tape and mostly had a nice grout line. I had a little cleaning up to do, but it was manageable.
As you can imagine, this whole process will wreck your hands and nails. I think mine are just getting back to normal 4 days later.
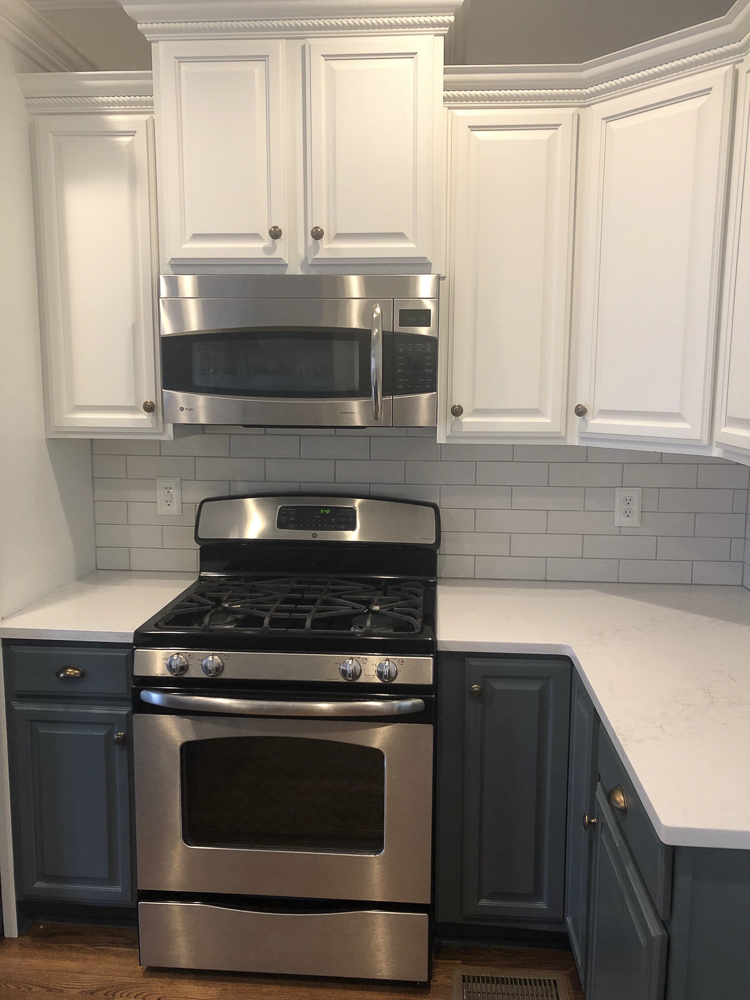
Here’s a quick peek with my cellphone of the finished backsplash. We are SO happy that this project is done and complete. It felt like it would never end!
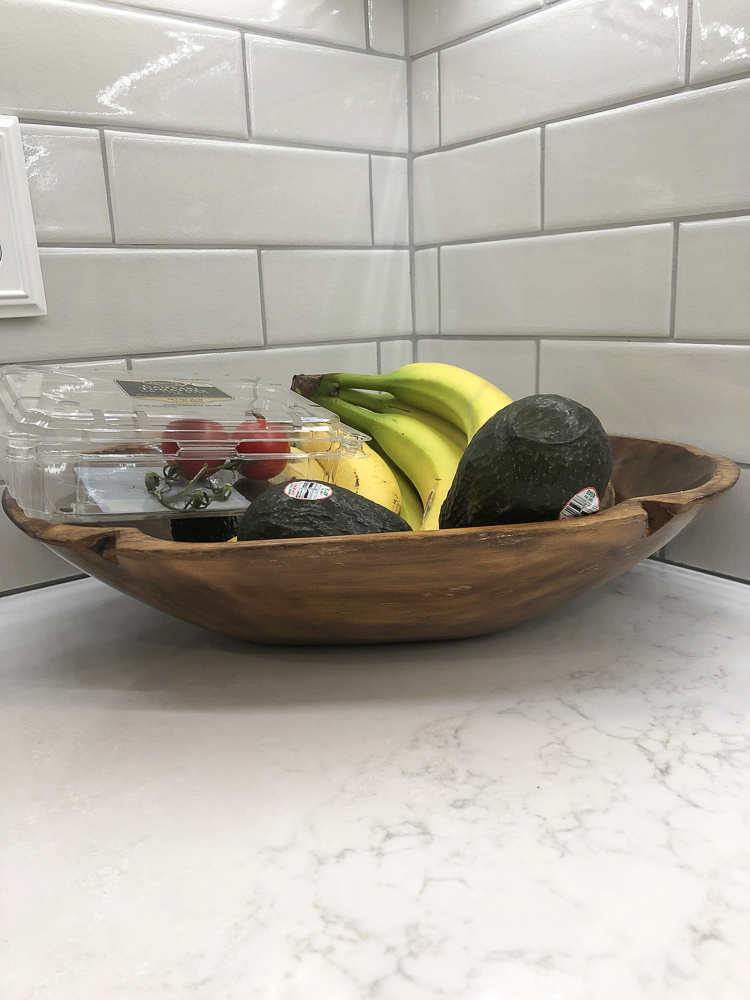
I’m very pleased with the job we did. Again, it’s not perfect, but I’m not going to point any of that out, I’ll just let you see these pretty pics and be happy with me. It was a hard job to get finished, but I’m so proud of what we did.
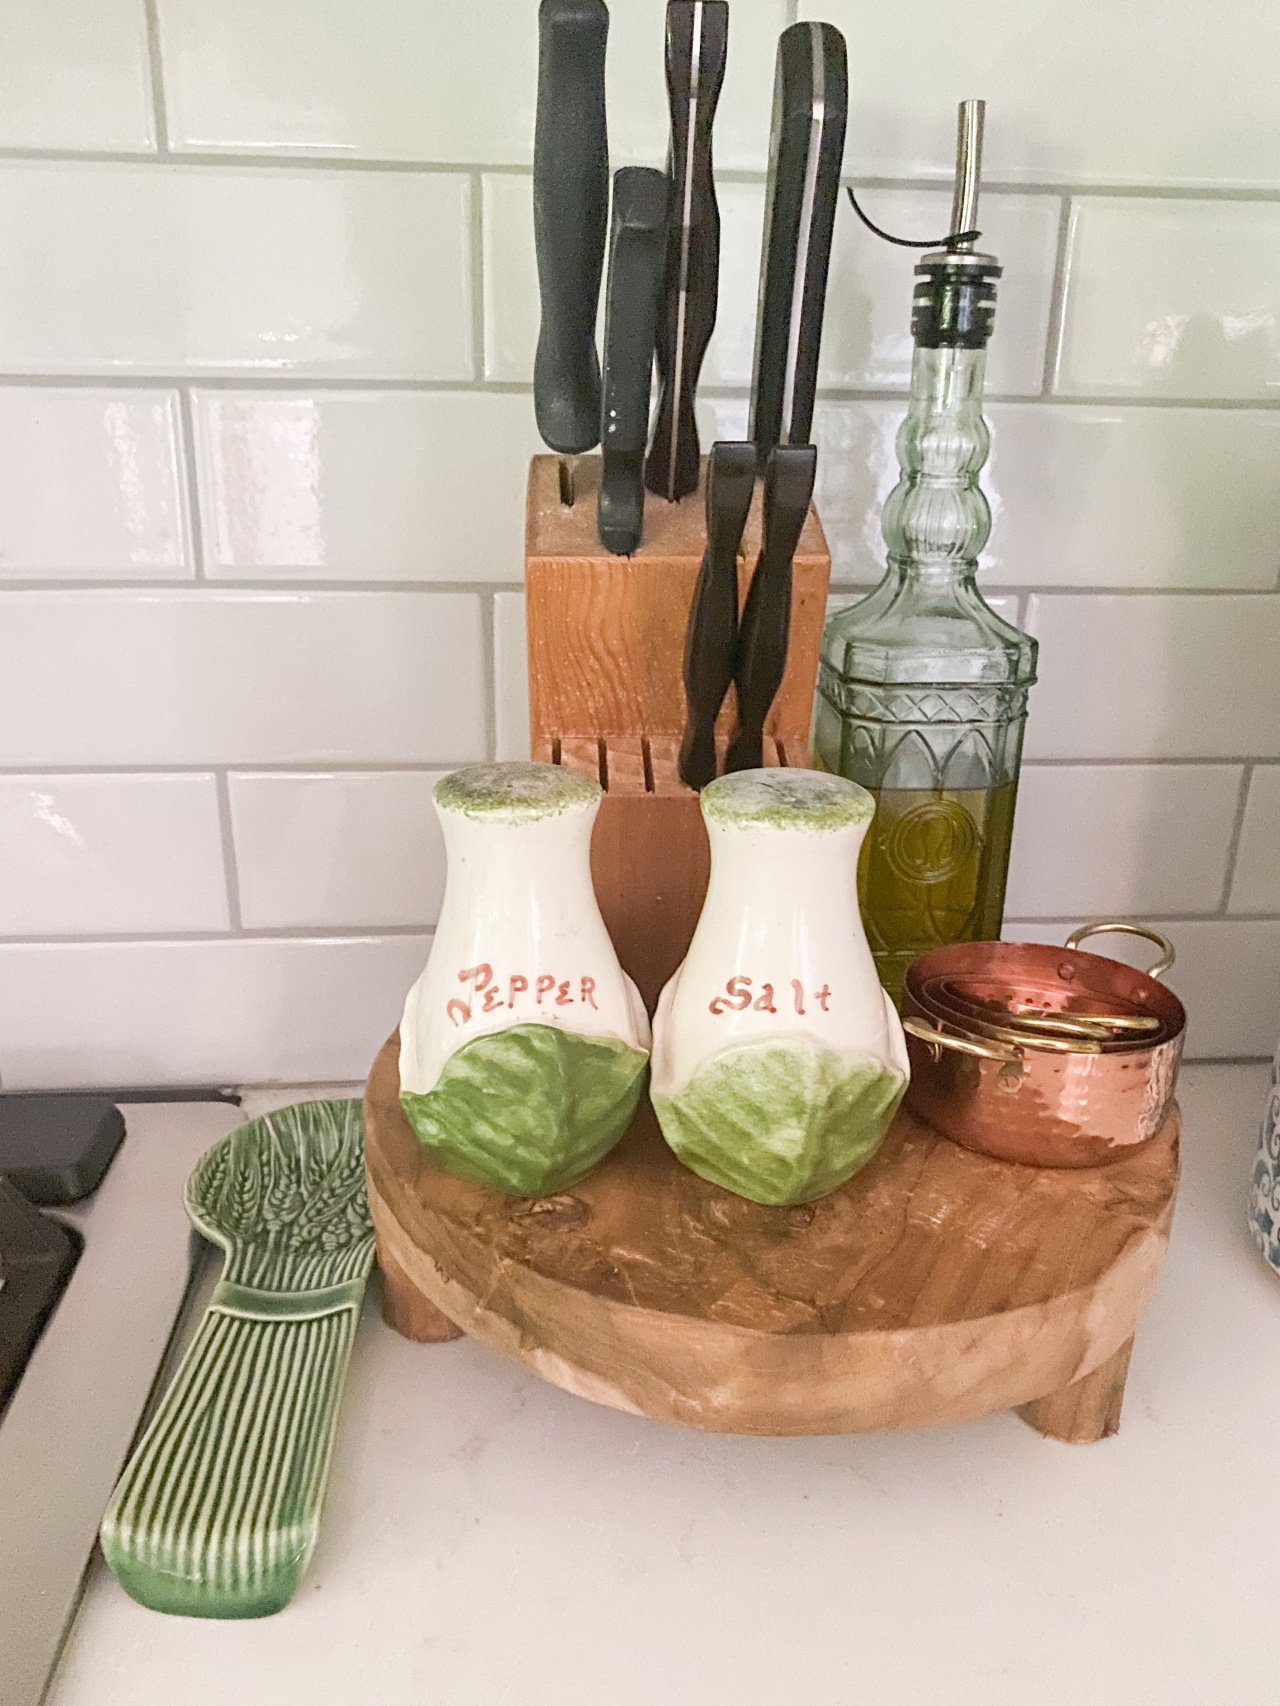
Mark does not enjoy tile work and we will more than likely not tackle another one in the house. It’s just a time consuming project and sometimes those are better left to the professionals so I’m pretty sure when we get around to renovating the master bathroom, we’ll hire all of the tile work out. He said he likes working with wood so much better. But, he hung in there with me and we made it through this DIY project!
I’ll be sharing the whole kitchen on Monday and I can’t wait to show it to you all. We are so very happy with it, I probably am the most because I do spend a fair amount of time in there. It feels so much lighter and brighter and is a dreamy kitchen to me now! I’ll be sharing all the details of the countertops, sink, and faucet. It feels like a whole new kitchen in there and it practically is! I hope this gives you all ideas on how to update a kitchen without gutting the whole thing or moving things around. This was a fairly straightforward renovation and a pretty cost effective one too!
If you’ve been with me awhile, you will remember that my dad and I did my subway tile backsplash in my old kitchen and that was quite the project too. I think it’s easier to do a project like this when you’re not living in it. We also used Bondera sticky tile mat and it was a lot less messy with that product. Maybe I should have used it again this time, but we went ahead with the thinset. That post has a bit more on the grouting process. I was such a mess with the grout on this one that I didn’t get any pictures of the actual grouting and it was a fast rush trying to get it grouted, wiping down the grout off the tiles, and getting it all wiped down before it dried too much.
Whew, I’m glad that one is done and Mark is really glad it’s done!


Beeeutiful! Like the rest of the rooms in your home, leaving this room will be hard to do! ha Kudos to both of you!!
Great job Rhoda and Mark! I love your quartz countertop and subway tile, and I forgot you were getting the single bowl sink! Girl, I’m so envious! I love your transparency with the good and bad of projects, and sharing resources and costs. Get some well earned rest this weekend!
Thank you, Dian, I just love this sink and a one bowl is my fave. This is my 3rd Blanco granite sink and I’m hooked. I don’t see that many bloggers using them, but they are my fave. The deep one bowl is the best!
really like it. also want to commend you for the honest portrail of the project. I have imagined how tragic some endeavors have been when newbies observe some before and afters minus the real life in between and get in way over their heads and have to hire someone to fix their mess costing many times more than they could afford. You have done a great thing!!
Thank you, Brenda, it’s just one of those things, I like to keep it real around here and DIY projects are as real as they get. Not just the pretty part, but the in between ugly parts too.
This turned out great! I’ve never filed before. I’m kinda uneasy about doing it. Love the backsplash in your kitchen. Would love to do mine and the herringbone marble on fireplace.
What was the color grout that you used? I need to replace my backsplash and counters and cabinets. Csn you tecvine d any cabinets that aren’t too expensive.
HI, Donna, you’ll just have to shop around for cabinets, I’m not an expert on that, but I have heard some smaller cabinet shops are less expensive than the big box stores are, so you might check around on that in your area. The grout color I used is Mapei Silver.
Just beautiful! You and Mark have done a fabulous job! Thanks for sharing everything with us! Hope you can just relax for awhile now! You both need a rest from all your work! It’s great to see how truly gifted you both are and how the two of you work so well together! You are truly blessed to have one another! Have a great week!
Thank you, Mary-Ann, we are blessed we found each other and work so well together. Mark comes up with lots of ideas to do around here too, so I don’t think it will be too long before he tackles another molding project. That’s what he loves to do the most. And I’ll be getting going on my laundry room. I can’t wait to make it over!
I love how this turned out! You made such great choices….especially considering that the kitchen ties so many rooms together. You really knocked this one out of the park. It is so you! Can’t wait for the laundry room 😉
I can’t believe I stumbled across this and we have the identical countertops! You did an amazing job and your kitchen is stunning! I just wondered if you are certain that was 1/16″ grout lines because I thought it was 1/8″ from the photos. I bought 1/8″ spacers but am worried now the grout line will be too thick. Also, what shade grout is that? It’s perfection in my eyes!
HI, Melanie, pretty sure it was 1/16″, I didn’t want big grout lines.
Bravo!! All I can say is guts and determination equals a Beautiful Job. I dearly love the crackled tile you selected! Can’t wait to see the complete Reveal. It seems your struggles surely paid off!
Thank you, the reveal is already posted since this was done a few years ago.https://southernhospitalityblog.com/blue-and-white-kitchen-renovation-reveal/
What a great team!. It looks great. Barb
Do you remember which Subway Tile you used? I’m clueless with this stuff but know what I like and I love what you did with your kitchen and would love to use your subway tile in a river property I have.
Thanks,
Anne
Hi Anne, I did share the tile name and picture of the tile at Floor & Decor in this post. It’s by Villa and called Heirloom Linen. This project was several years ago, so it may not be available anymore.