It’s crazytown in my world right now.
I’m not gonna lie. Dad and I are about worn out from this renovation. I know you all think we are super-human or something, but we’re about to hit the 6 month mark and this whole renovation thing has been all consuming, so we can’t wait to finish up all those last minute details. And we’re getting there, thank the Lord. Right now, most of the big jobs have been finished and it’s those little details that will kill ya. But, we are persevering and I know one day soon, I’m going to breathe a big sigh of relief when I unpack that last box and get all settled in my new house.
It’s going to be totally worth the agony. For any of you wondering if I want to turn into a house flipper, let me assure you, I certainly do not. My ole’ body couldn’t take anymore. Here’s the latest!
I’ve set my moving date for Saturday, October 20th. Cue the music and singing!!
This month could not be worse as far as how much I have on my schedule. It just ended up like that. All these fun and meaningful things that I’ve been asked to be a part of, they’re all good and I wanted to be a part of all of them, but now it’s all falling in one single month.
So, let me tell you what I’ll be up to the rest of this month.
I have 3 days this week to keep working on all those little details at the house and hopefully we’ll get that tile backsplash done this week before I leave town. I leave this Thursday for Raleigh, NC where I’ll be speaking at the Southern Blogger’s Conference. So honored that they want me to share my blog story and blog tips and happy to be a part of it!
I’ll return the following Monday and jump right back into the house renovation on Tuesday, where I hope we will be finished with the backsplash tile and be in clean up mode for the house. I’ll have 4 days to finish up anything that needs doing, clean the house and hopefully move over some smalls and breakables that I don’t want to pack up for the moving guys.
Then, on Sat. the 20th, I’ve got 2 moving guys with a big truck coming to my house (and no, it’s not 2 Men and a Truck, just two guys with a truck that I’m hiring on a weekend from their regular moving jobs) and we’ll get all my furniture packed up from my sister’s house and my storage unit at my parent’s house and then the big move will commence. I imagine that will be an all day job, considering how much stuff I have. I hope to get all the furniture in place that day and all the boxes stacked on one side of my garage.
On that following Monday after I move, the installation week begins for the Room Service Atlanta project here in Atlanta that I really wanted to be a part of too. I volunteered for that several weeks ago and it just happens to fall so close to my move-in date, so I just have to roll with it. We’ll be there painting rooms, possibly putting down some flooring and getting those rooms ready to show off to the new young men who will live there.
Meaningful and wonderful things to be a part of! See, how could I say no to any of this?
But, it does make for a little bit of stress this month, but I know I’ll survive it all and then in November I can relax a bit and get my boxes unpacked. On Saturday, the 27th, I’ll be at the Country Living Fair here in Atlanta at Stone Mountain. I couldn’t pass that up either! Are you going? Look for me if you do.
As you can see, I’m stretched to the max this month, but it’s all good. I can’t complain. I am SO blessed!
So, what were we up to this week?
A little of this and that again. It seems there are endless little things that have to be done in a house renovation and just when you think you are done, you’re not. There’s those few little things that are left til the last, like more caulking and touch up painting, painting my closest bi-fold doors, painting all the shelving in the closets. All those things that I just didn’t get to before now. It’s coming along though, we’re getting there. And you know, even if I don’t quite get all that touch up painting done, I’ll survive and it will get done later.
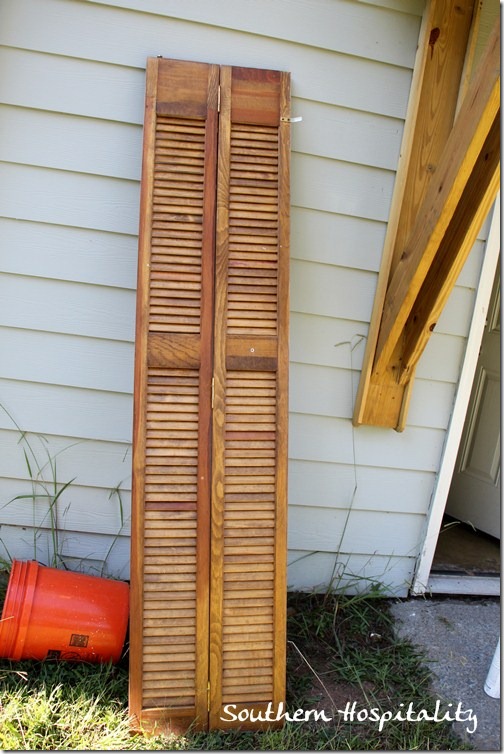
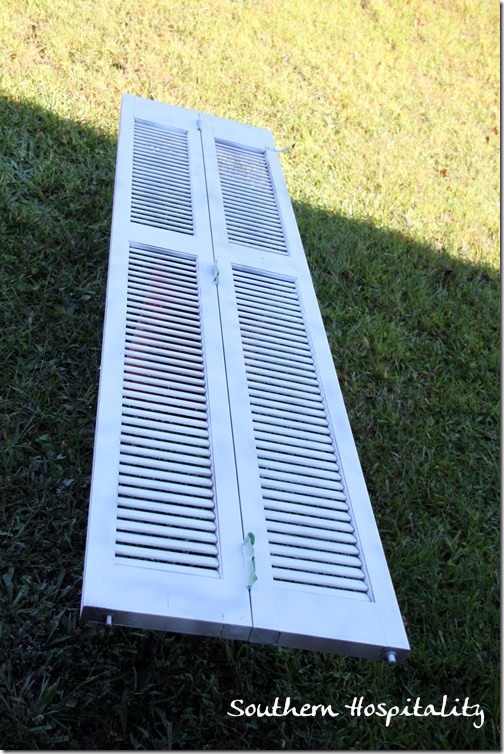
I finally got my bifold doors out and decided to save time by spraying them with primer instead of brushing. If you’ve ever painted bifolds with a brush, let’s just say, it ain’t no fun. I might try a sprayer for the dark brown finish color they are going to be (same as my other doors).
Right now they are just primed, but next time they’ll get painted dark brown.
Mom and Dad got back into town and Dad and I got back to work again and worked all weekend, finishing up all the trim work, like the quarter round in the dining room and foyer and trimming out that nasty kitchen window. That wasn’t any fun either. Things like that can take hours to do and it did.
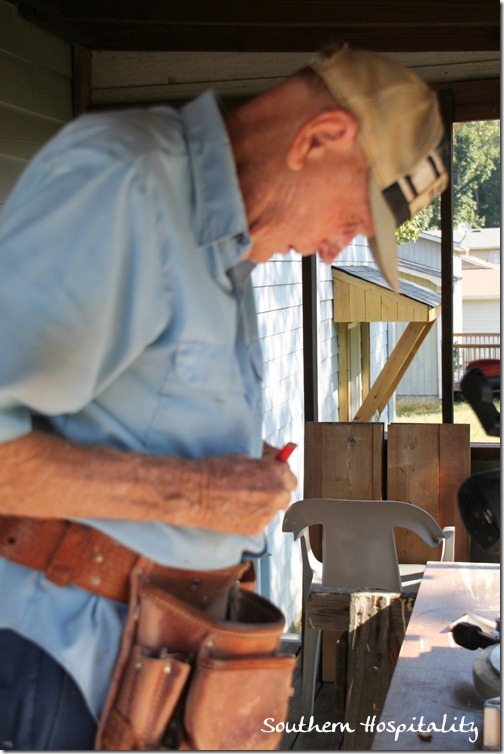
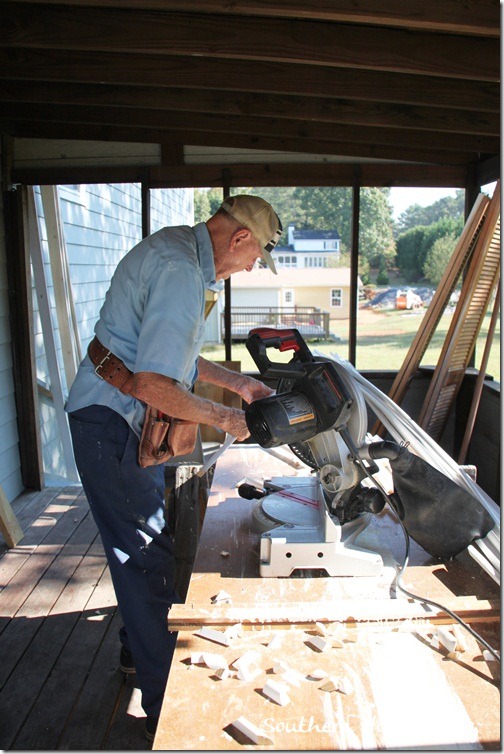
As always, Dad cut and I nailed with the nail guns.
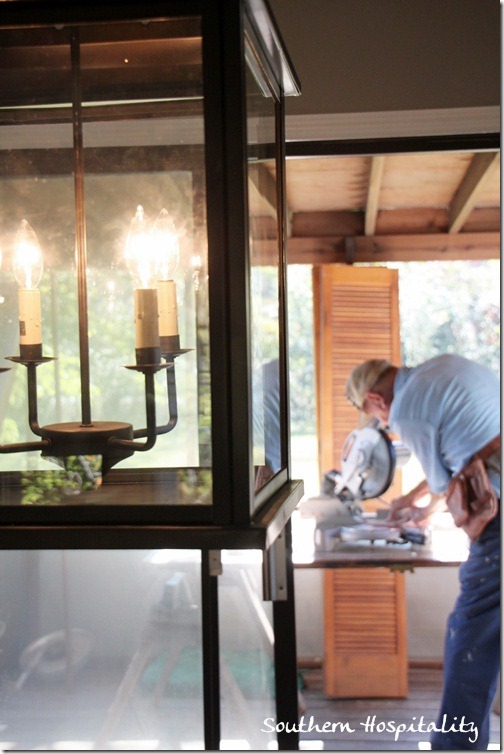
We set up shop on the porch and used the chop saw a whole bunch.
And now the dining room floors are all finished too. There’s more caulking and touch up paint in my future. Will it ever end?
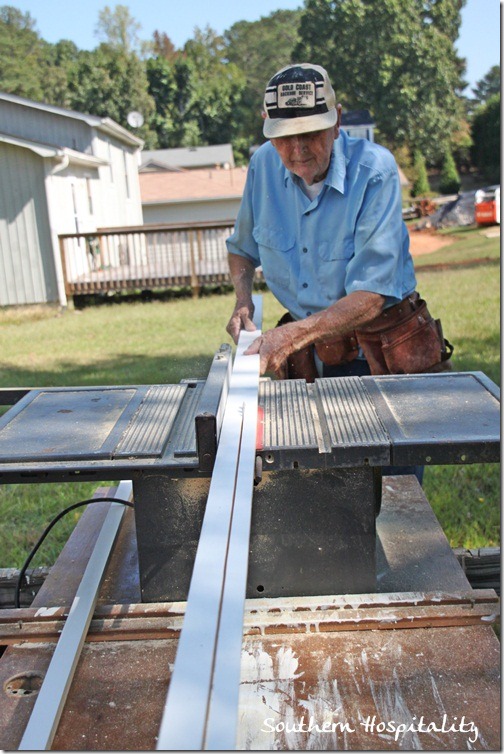
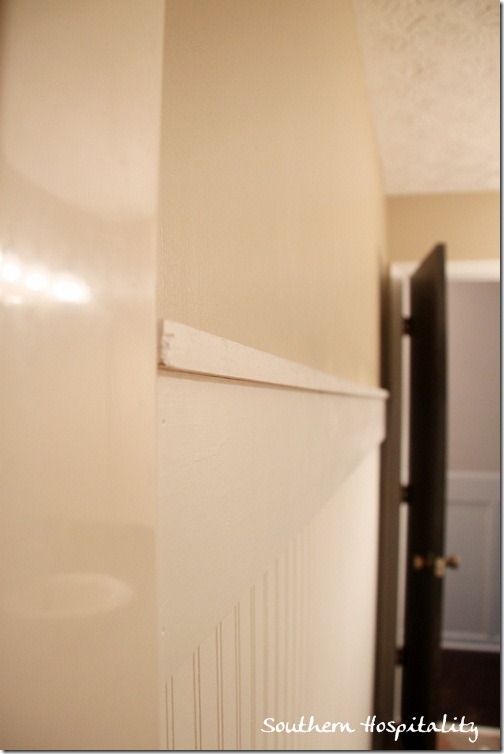
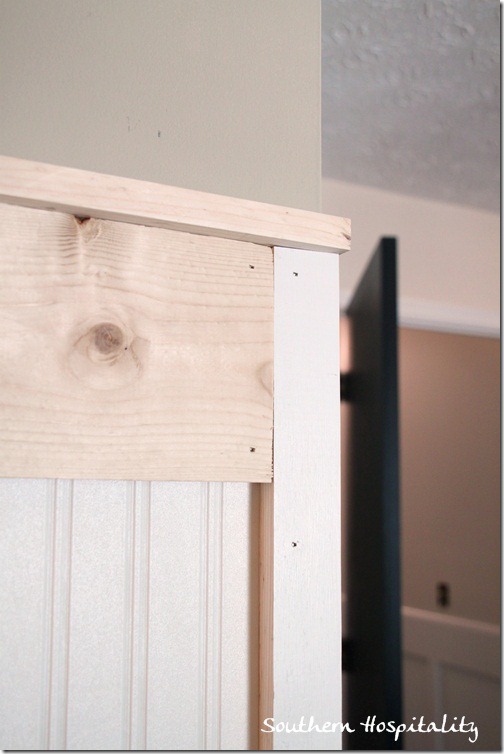
We set up the table saw in the backyard and did lots of ripping on that. We were finishing up the top trim for my beadboard wallpaper project and I’m happy to say, it all looks fantastic.
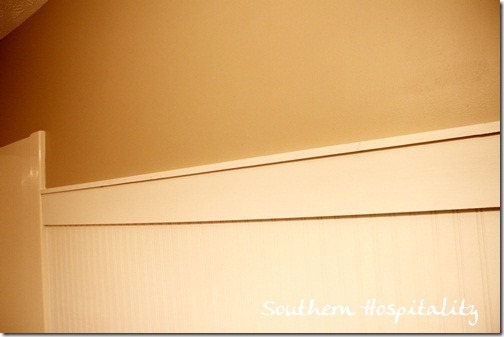
I used a 1×6 for the top trim piece and then we capped it off with about a 1 1/2” topper that we ripped out of some boards. More caulking and more touch up painting. You get the picture.
This is the hall bath and this one wall of beadboard wallpaper adds to much character to the room. I’ve got some pretty hooks I’m going to add to the board here for towels.
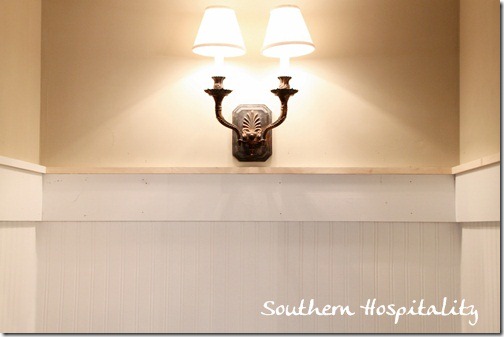
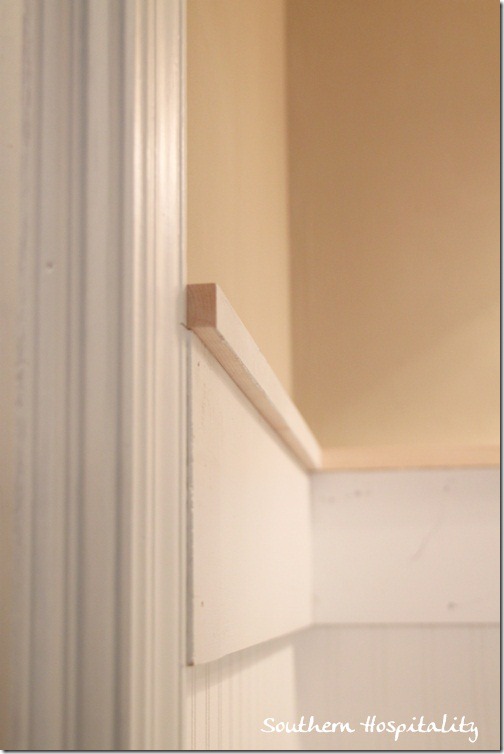
We did the same top treatment in my vanity area and added a chunky trim board on the edge of the wall going into the little space. It just gives it a more finished look to add this piece to the corner of the wall.
And here’s that space finished too. More caulking, more touch up painting. Got the picture yet? I love my little sconce in here. I used Sherwin Williams Windsor Greige in this space too, as well as the hall bath. It’s a pretty Khaki color.
That chunky little top piece adds so much to the look. This will all get painted out with my white trim paint.
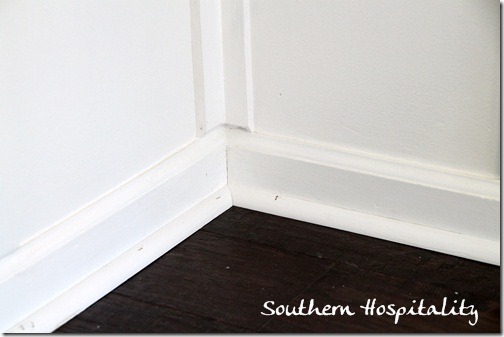
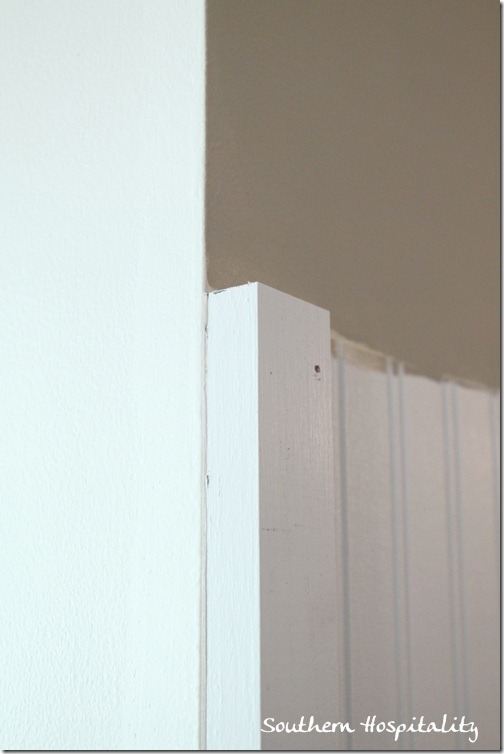
Here’s how we did the corner of the walls with that chunky board running down to the baseboard. Isn’t it cute? Caulked and painted it will look great. I’m still crazy about my beadboard wallpaper and sell it in my online shop if you are interested in the Graham Brown version. I’ve shared several of my tutorials here and here on putting this up and it is great stuff to work with. Really adds a lot of architectural detail where there was none. I love adding the chunky molding with it and I think this version with the 1×6 board and topper piece is my favorite way to do this wallpaper to date. My space is going to be adorable now. Just a note, it took me about 2 1/2 rolls of wallpaper to do my vanity nook and the hall bath wall.
Moving on to the kitchen, I shared with you last weekend that I’m going to be working with Payless Décor for the bamboo blinds in my house. They have been very generous to me and are providing blinds for my kitchen, living room, and bedroom. I couldn’t be happier with the choices I’ve made and I got up the blinds in my kitchen this weekend. Payless Décor is right here in Atlanta and I have really enjoyed working with them. If you’re in the market, definitely check them out for great prices and quality on blinds for your windows. You’ll be hearing me talk more and more about Payless in the coming months. Note: I received free blinds for my kitchen from Payless Decor.
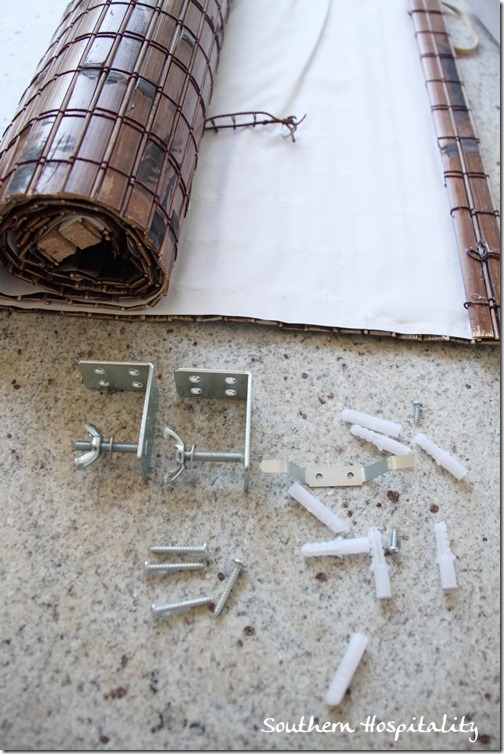
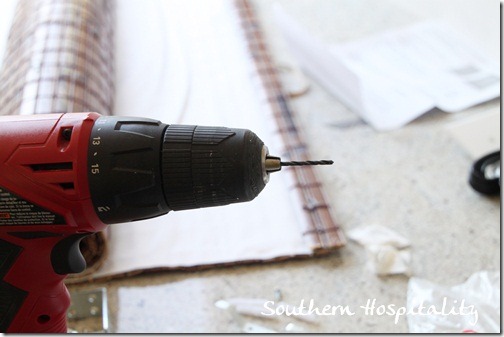
Here’s how easy they are to install. Very! I used my drill to drill pilot holes for the screws to go in my deep windows. I used an inside mount shade.
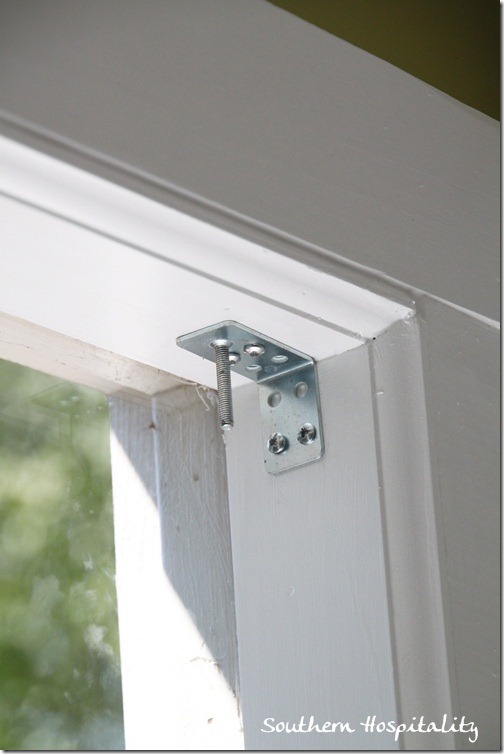
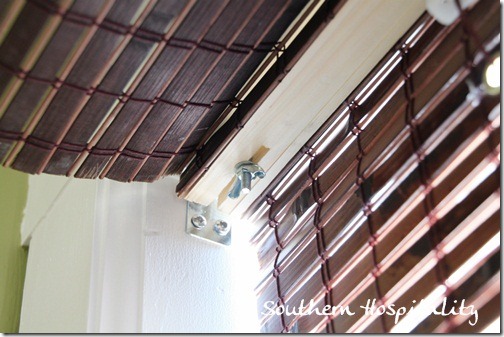
All the hardware is included right inside the shade, just take it apart and you have it all there. I screwed 4 screws in the hardware, sitting it in the middle of my window up top. The shades just slip right over that screw that hangs down.
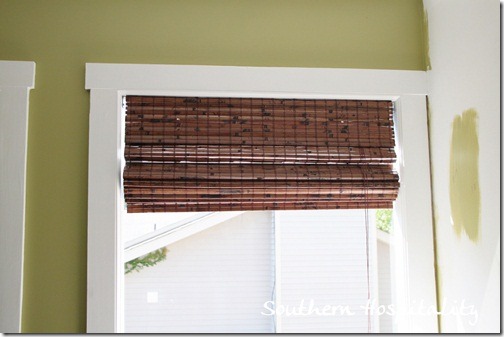
See, like this! How easy is that for installation. The little header that comes on the blinds hangs down in front and hides all the hardware. I chose a simple white backing for my shade.
Pulled up, it will let in plenty of light, but I have a feeling I’ll be keeping these closed much of the time. The afternoon sun comes right in my big kitchen windows and this room gets hot. So, these shades should really help to keep the heat out.
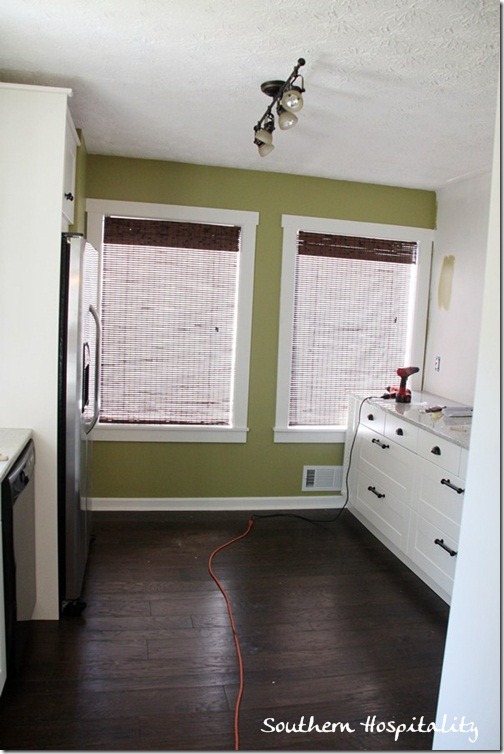
Down, they filter the light and definitely keep the heat out. With the white liner on the back, I don’t have to worry about privacy issues at night. I’ll probably add a cute fabric faux Roman shade over the top of my windows to add some color.
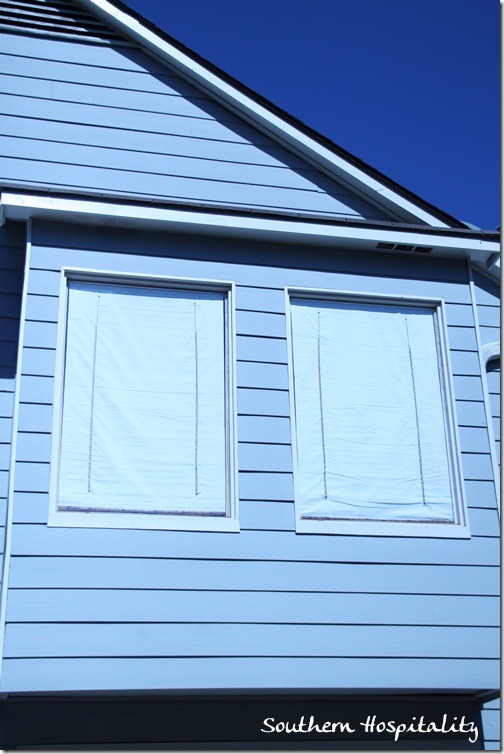
And here’s what they look like from outside.
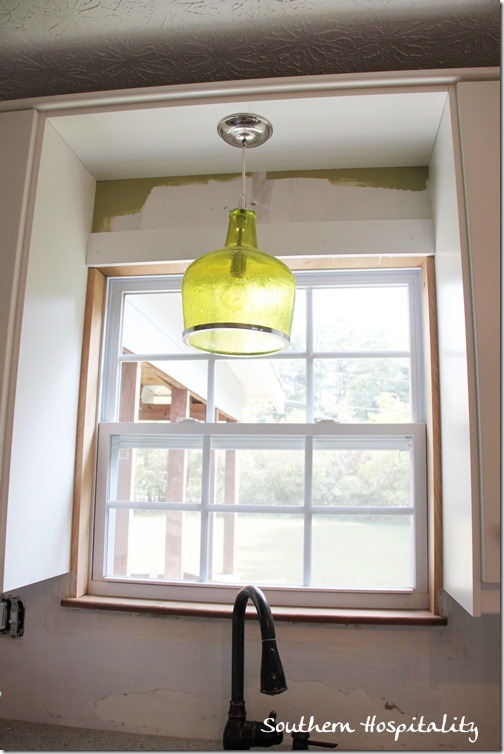
Next, we moved on to that kitchen window. Oh boy, this one was a challenge. It’s the small things like this that can take so long. One piece at a time we got it trimmed out. The nail gun sure comes in handy for projects like this.
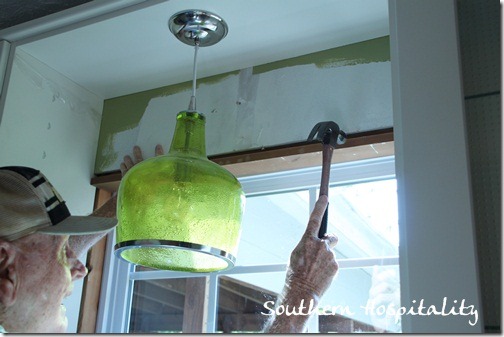
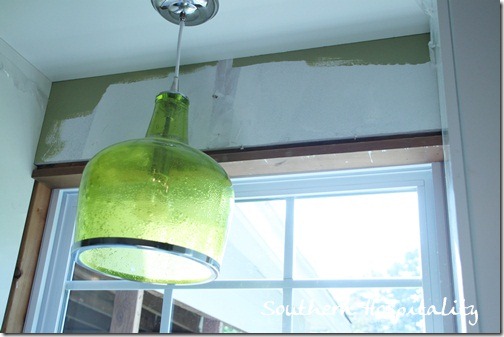
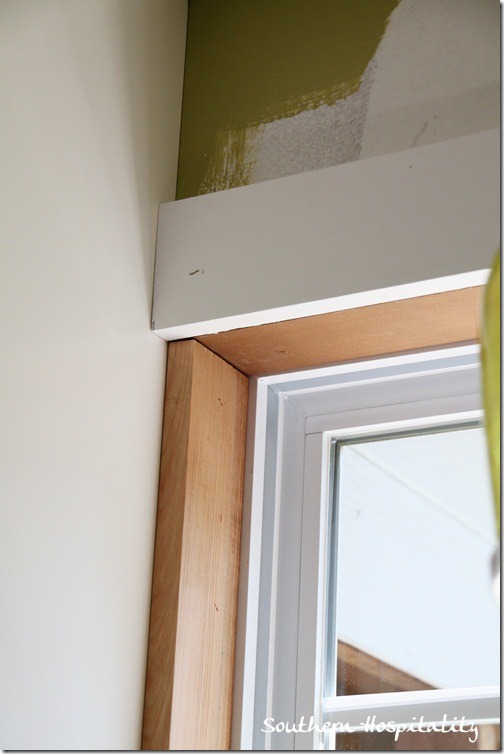
We started off by adding a filler to the top, a piece of wood that would act as the top of the window and then a header will be added over this piece, flush with the edge of it. All of this will be painted out with my white trim paint.
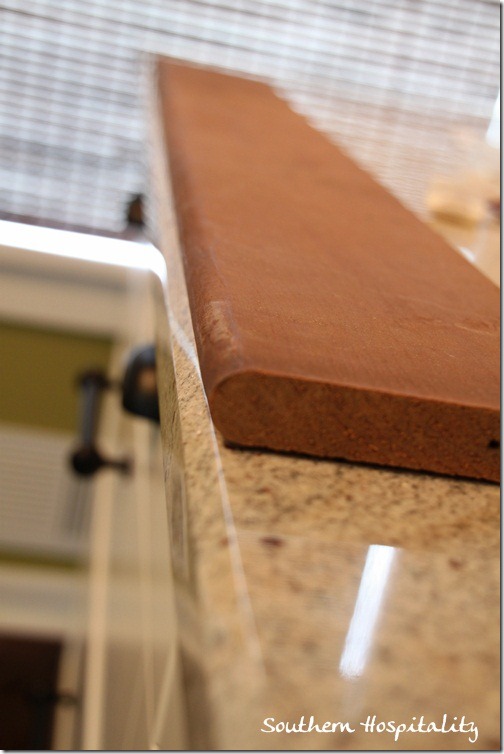
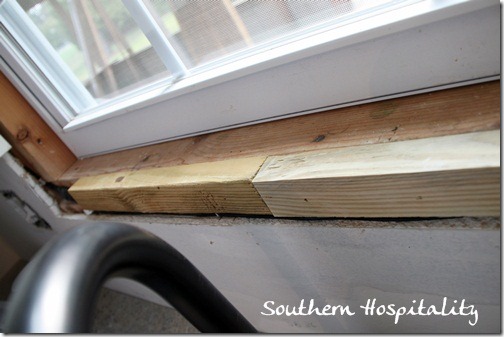
I found a piece of scrap wood with a rounded bullnose so it was perfect for the window sill. I’m picturing sitting a cute plant on this little sill that’s just over 5” wide.
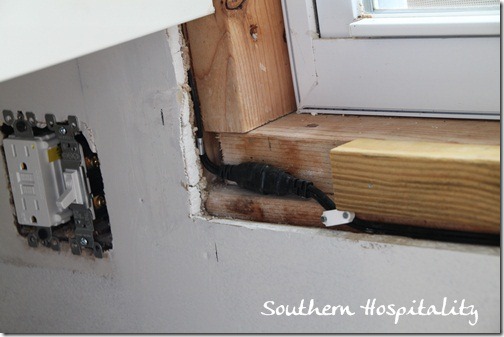
My under cabinet lighting is hidden behind the molding.
We tacked it down well and kept moving.
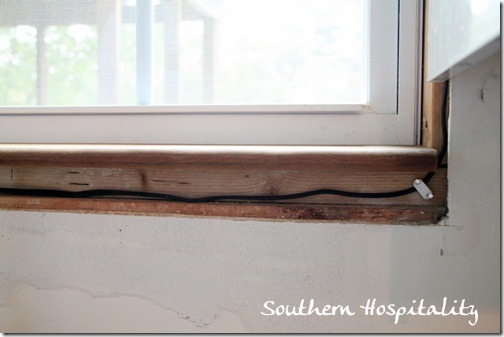
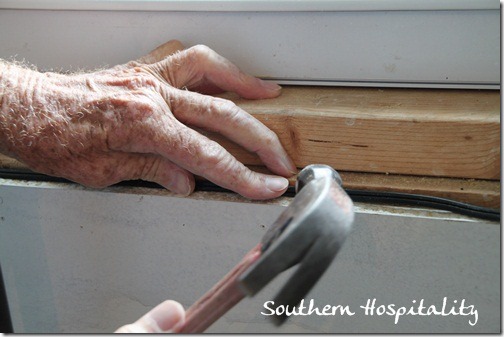
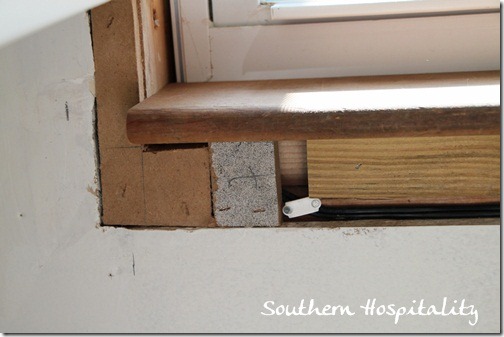
We had to add to more pieces of wood to bring out the sill to the correct depth for the sill to sit on.
Then that left this little spot where the cords come together for the under cabinet lighting. We just needed to cover it up. Please know that we are not professionals, so if you are a pro, you will probably cringe at how we are doing this. Please bear with me. ![]()
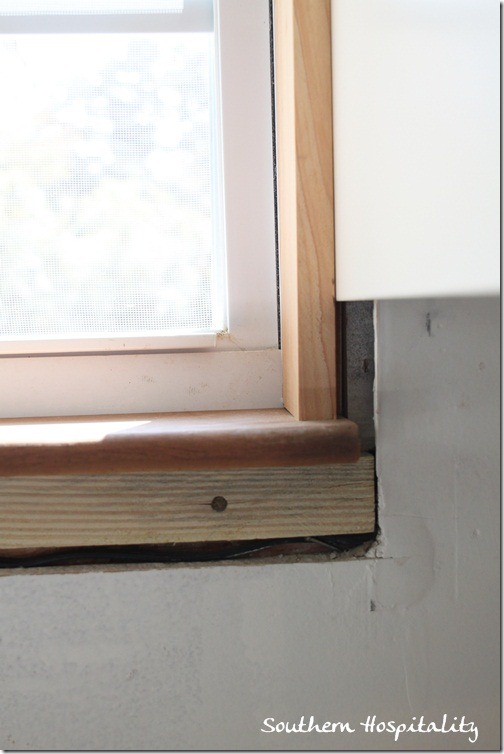
We got it into place and then figured out the sides and underneath. My subway tile will come all the way to the bottom of the sill so we didn’t want to add any more wood under it.
We added some drywall and then went back with some sheetrock mud and filled in all the gaps, adding sheetrock tape across all of this. we are planning to run the tile all the way under the sill, so hopefully this will work out fine.
With the header board on top, we are just about finished. Caulking and touch up painting, yada yada…you get the picture.
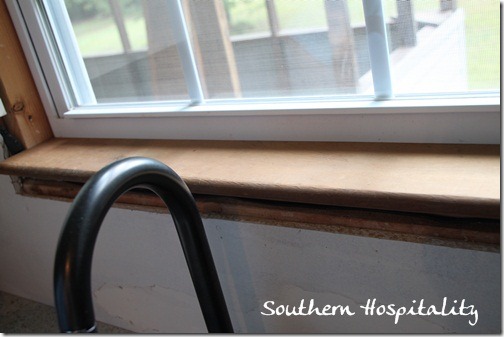
Finished sill before sheetrock mud.
And after sheetrock mud is in place. This should all come together next week and we’ll get that subway tile up and grouted. Now THAT will be a happy day.
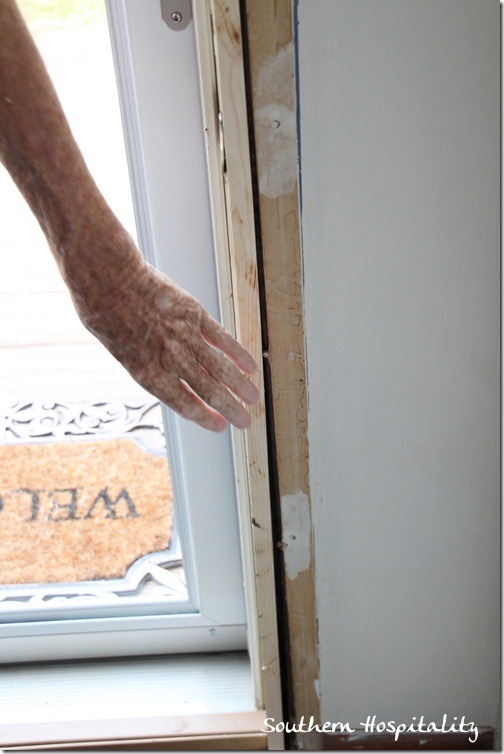
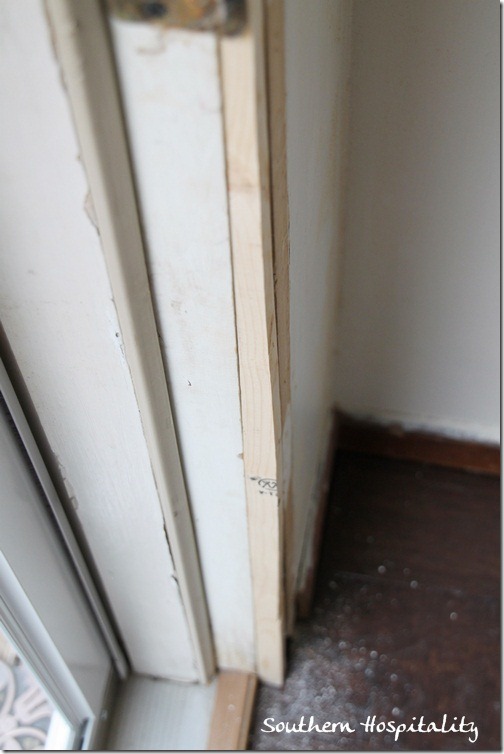
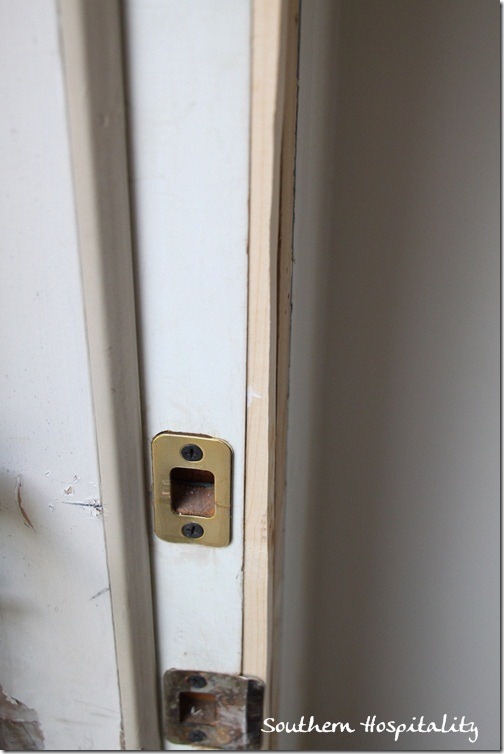
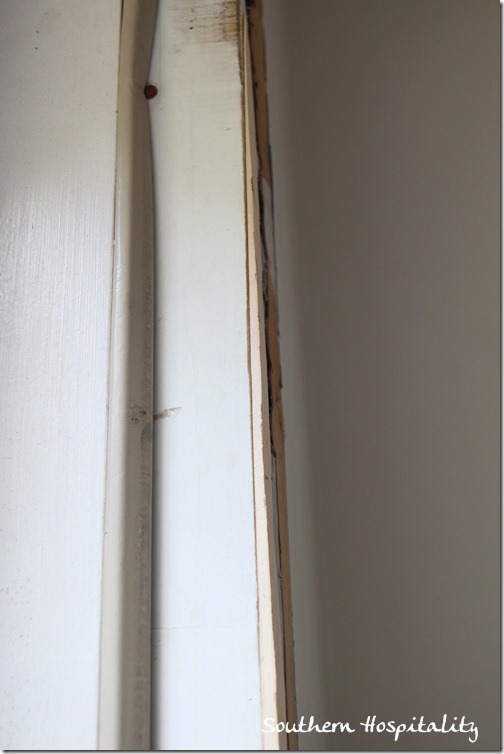
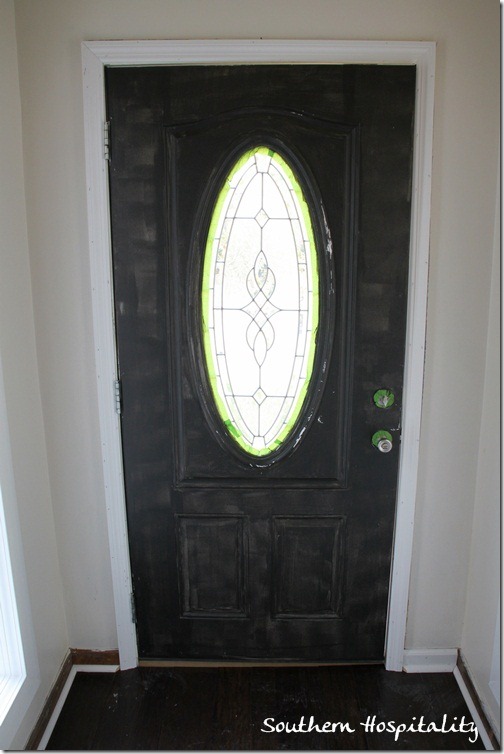
Next, it was time to tackle the front door. We’ve left this til last too, but it’s been a wonky space all along. There was a big uneven gap along the door frame, where it wasn’t put in properly. It didn’t line up right, but wasn’t that noticeable and just needed a filler piece of wood, which we will then put new door facing over. It was a strange little problem that took me awhile to spot after we got the house, but we knew we’d address it eventually.
So, we ripped this chunky piece of wood to use as a filler piece behind the door facing, but it had to start off thick and then end up thinner and thinner at the top to make it work.
It’s chunky at the bottom, then gets a bit thinner in the middle.
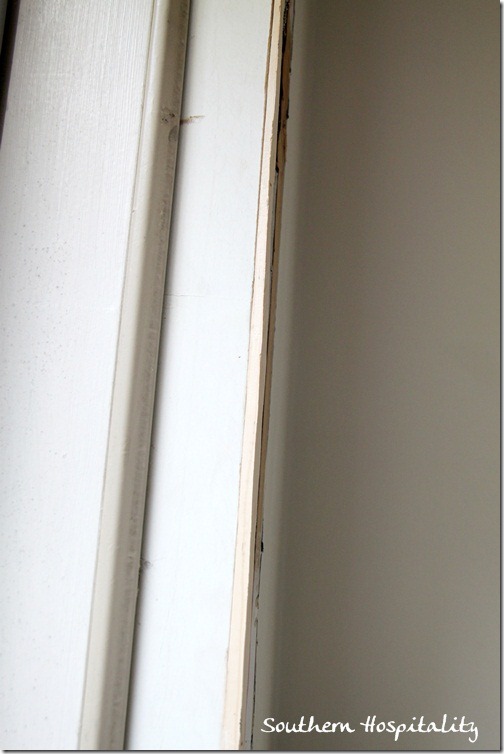
My smart dad ripped this long piece on the table saw and it came out perfectly. See how it gets thinner and thinner at the top? That’s what we needed. I’ll caulk it and paint it (do you see a pattern here?).
Really thin at the top. All of this gets covered with our door facing.
New door facing all around the door and new quarter round and we are all set in this little foyer. Oh, except for another coat of paint on the door.
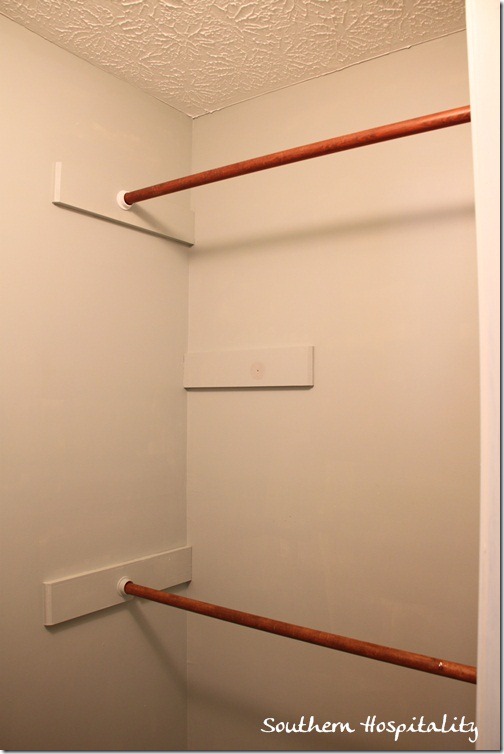
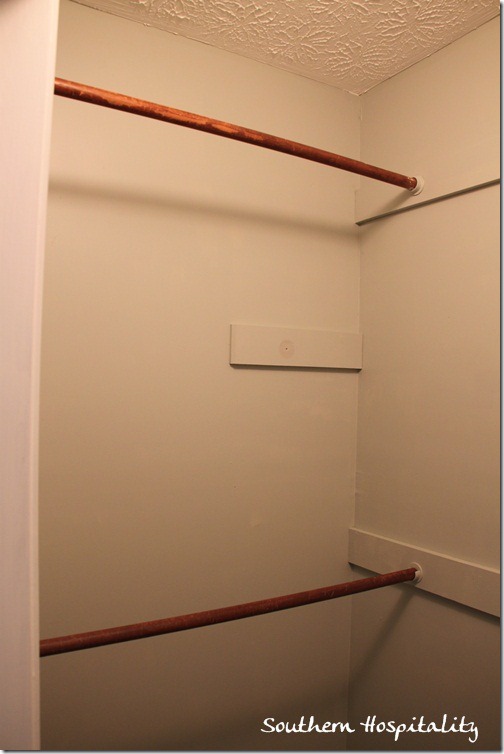
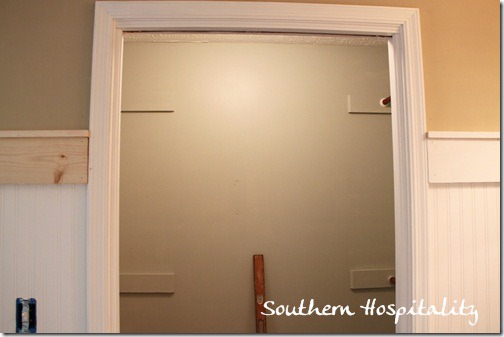
I got my closet somewhat ready and decided to use two hanging tiers on either side of the closet and leave the middle free. Right side.
and left side.
I’ve got shelves to add on top of the hanging rods and I can use this middle space to go up with shoe racks or drawers. I would love a wonderful closet organizer system, so maybe one day I can get that going.
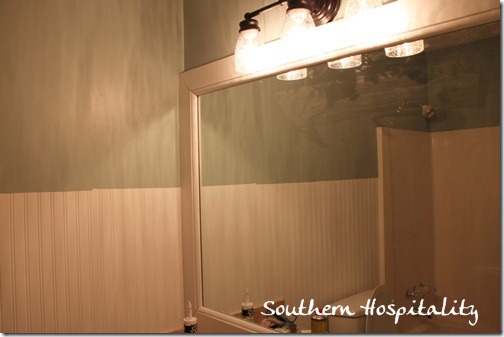
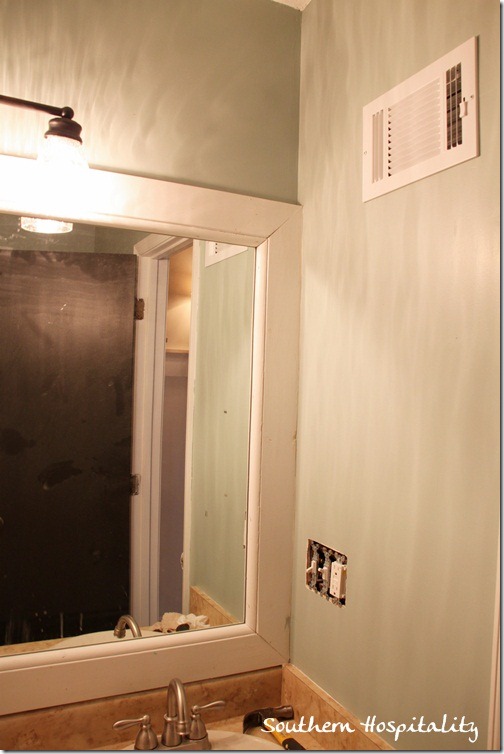
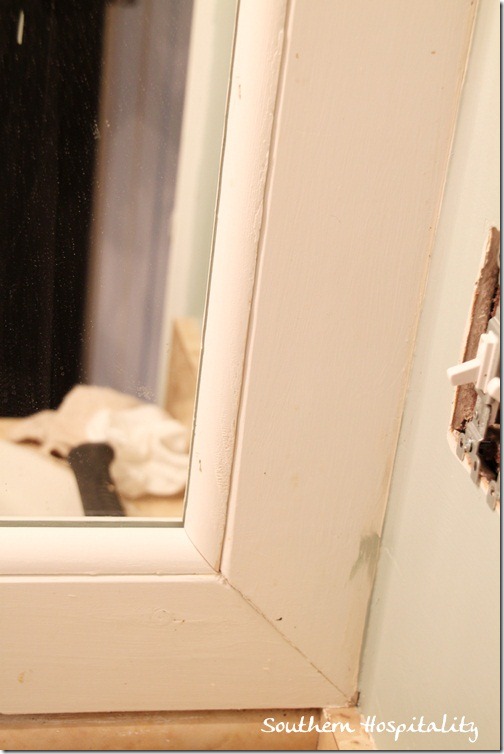
My mirror got quarter round too to give it more of a finished look.
And just adding that helps it a bunch, don’t you think?
It needs a little caulk and a fresh coat of paint and I’ll be finished with it.
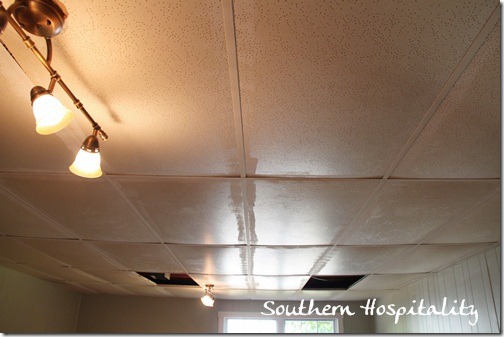
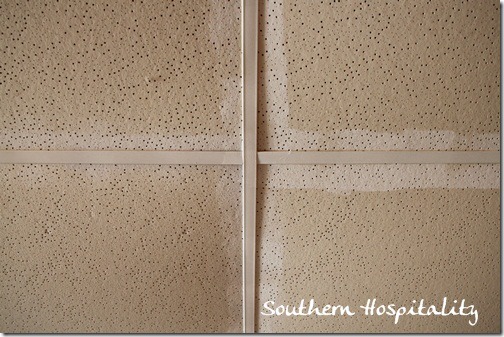
Down in the den, to get ready for the new ceiling tiles, I rolled white paint on all the gridwork.
So when my new white ceiling tiles go in, this will look SO much better. This will happen before move-in date, thanks to Lowes!
Are you tired just reading all this?? I know, me too. It’s exhausting and we are all tired, but we are SO CLOSE to being finished and I can hardly wait til move in day. If I can just finish up a few more things, I’ll feel good about moving in and just go for it. I could wait a couple more weeks, but I’m chomping at the bit to just get in there already. I can get my bed set up and then take my time unpacking boxes and getting the whole house set up. I’ll have all of November for that!
And I already have internet and TV service (AT & T U-verse), so there’s really no need to keep waiting, is there?
Thanks for sharing this journey with me. Y’all are the best cheerleaders out there and I’m so happy to be sharing this momentous journey with all of you. It’s going to be worth all the hard work, sweat, and just plain exhaustion at times. My sweet daddy needs a break and I’ll be glad to give him one. We’ll have plenty more to do once I get moved in and he gets to rest for a few months.


You are amazing!! What an awesome inspiration you are. I don’t think there is anything you wouldn’t tackle. I’m looking forward to seeing your Home all finished and ready to be decorated and lived in and loved by you and your wonderful family.
It’s so wonderful that you have your dad helping you. My own daddy owned an auto repair garage, and built the house I grew up in. I believed he could do anything. He’s been gone twenty two years now–I was thirty five and he was only 57—my age now. I miss him every day. The pictures of your dad are wonderful.
I admire you & your dad (and mom) for your 6 months of hard work to renovate a plain jane house into a beautful home. I’ve enjoyed following you during the renovation. I don’t know how you do it, though. My 82 yr. old dad & I tackled the chore of adding shoe moulding to 2 areas of my home this past w/end and needless to say, I’m pooped. Kudos to you!
Phew, I’ve been along since the beginning but just reading this particular post has me exhausted. You are an amazing woman and the daughter of equally amazing parents. Hope you are settled in soon, can enjoy things, and that the holidays, this year, will be extra special in your very own home.
It’s all coming along wonderfully, you must be getting really excited. Why don’t you do a walk through with a video at the end and upload it to youtube so we can all see it, you could link from your website, I think it would be great to see it this way too, not just 2 dimensional images 🙂
I am making over my mums house at the moment to put it on the market or rent it, not sure which yet. I am limited to just changing the paint colour inside but will be doing some styling to get it on the market as a lot of her furniture is just too dated. I am going to take a few of my pieces over to get it ready for the market. I am excited about it as I know she would be thrilled if she saw how light it looks now I have taken down the dark drapes and painted over the old fashioned patterned wallpaper. It will need some life in it once the painting is done so I hope that I can pull it off and get a lot of interest in it. I will do some photos for my blog maybe when its finished.
Lee 🙂
What a journey you’ve been on! You’re my renovation hero! So happy for you that the end is in sight… I’m in awe of all that you and your dad have done.
Enjoy the conference this weekend — wish I could go but “life” is getting in the way of my bloggy and DIY goals these days. 🙂 Safe travels!
xo Heidi
Rhoda,
Your blind company sent you the wrong brackets. You should not have to see them installed on the side like that. They should have sent the brackets that are simply flat, and not and “L” shape. Then you would just install the screws into the top of the frame, and not the sides.
I hope you can request them for your other windows, you’ll like the look better.
Amazing progress, it looks wonderful. You and your parents have done such a great job! I can’t wait to hear how it feels spending your first night in your new home.
Rhoda,
One of the great joys for me of following your project (aside from the fact that this is your home) is watching your father working so dilligently on this for you. What a sweetheart! And your mother, too!
Not only is it a blessing to have such Godly parents, but it is a blessing to have such talented parents. I have found myself in tears reading back through your house adventure. And I am so thankful you have cataloged everything.
Know that I am SO happy for you, and I am proud of you for all of the hard work you have put into your home. It is just turning out so cute, and I am glad you have been blessed along the way by various merchants and companies. You are a good spokesperson.
I’m not sure you will see this, but I did want to leave this note here for you and tell you again how proud and happy I am for you. Great job, my friend. But that is no surprise to me!
XO,
Sheila
P.S. Someone told me that when they clicked on my email address they went to a strange ad. Not sure what, but if you end up there, know I didn’t approve it! LOL
Things are looking great! I know you’re ALL ready to cross the finish line! Your parents are Saints!
Hey Rhonda,
I am thinking about ordering Payless Blinds for a client’s house and wondered which ones you ordered I like how they look. I really like the blinds without liners but wonder if it will give them any privacy at all. I know the blinds I typically order for clients vary in how much you can see through them based on the weave but since I am not familar with this product can’t tell. I ordered some samples but what I thought would be the typical bamboo look was very green, didn’t look like yours at all. I need them quick so needed to order from the designer group, is that what yours is from?