Happy New Year!
There will be posts all over blogland about New Year’s resolutions and setting goals and all of that productive stuff, but I didn’t feel like talking about that today, so how about a fun Before and After? We can get organized and make resolutions later. Actually I’m not much of a resolutions girl.
Now that Christmas is over, I can finally get around to showing all my rooms since we jumped right into the Holidays just as I was getting finished up. My roommate, Rhonda, uses this bathroom and I got it looking good for her. She loves it and I’m really proud of how it came out, especially since I didn’t gut it, but worked with what I had. I will probably give it a new vanity one day, but for now, I’m totally happy with it.
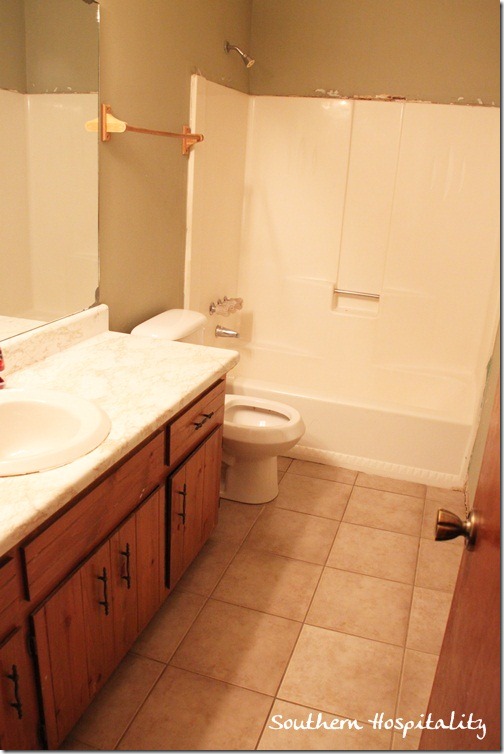
Here’s a reminder of where this bathroom started. Pretty blah and uninspiring and it definitely needed a little repair and painting.
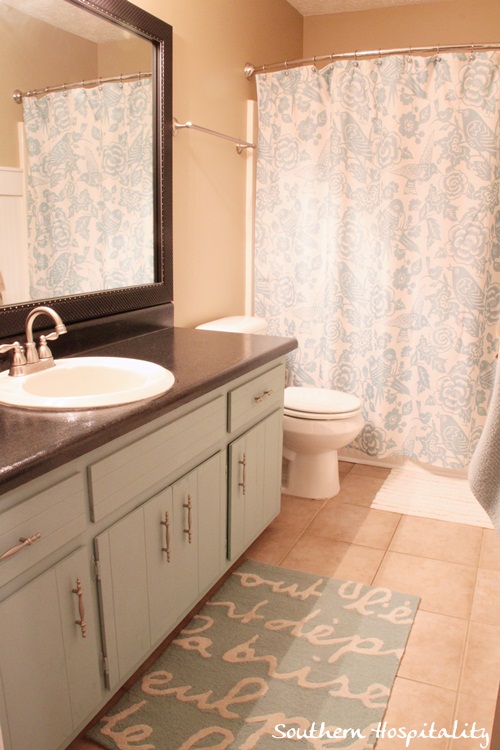
The After looks pretty darn good, I think. It’s amazing what paint, adding beadboard and molding, rugs, painting the countertop, painting the vanity, new lighting, and spray painting the hardware on the vanity will do. None of these things were super expensive, but all together made for a pretty dramatic change in here.
The shower curtain plays off the vanity which is painted Annie Sloan Duck Egg blue. I did the Rustoleum countertop transformation kit which you can find in the link above. The shower curtain , called Birds of a Feather, was ordered online through Walmart and it came via Wayfair (not sure how that works, but that is what my order says). Wayfair has tons of products and this curtain was around $25. I love how it adds some fun to the room.
The rug came from Ballards Outlet and this is still in their catalog. Loved the blue with writing on it, so I grabbed it while I was at the outlet.
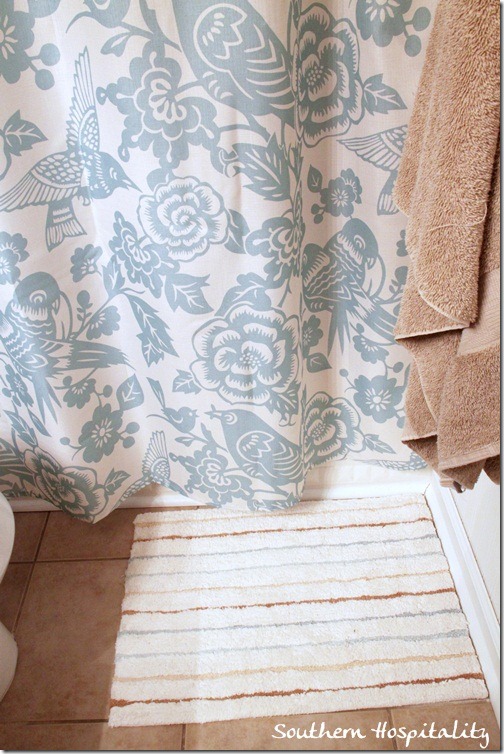
This little bathmat came from TJ Maxx and ties in nicely with the other rug and shower curtain.
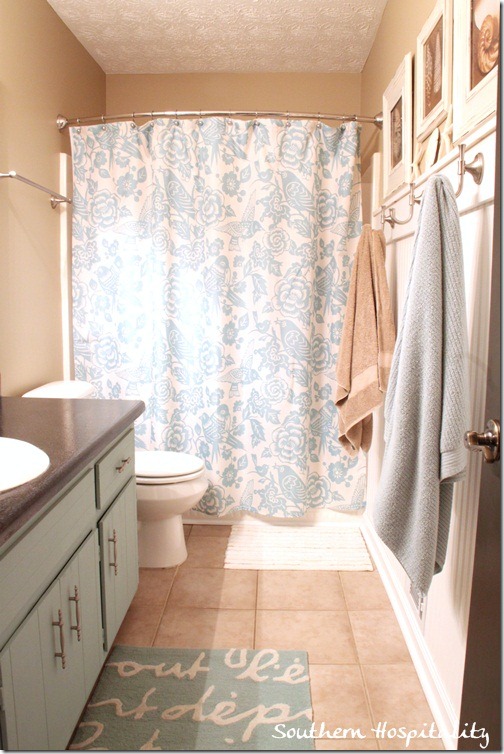
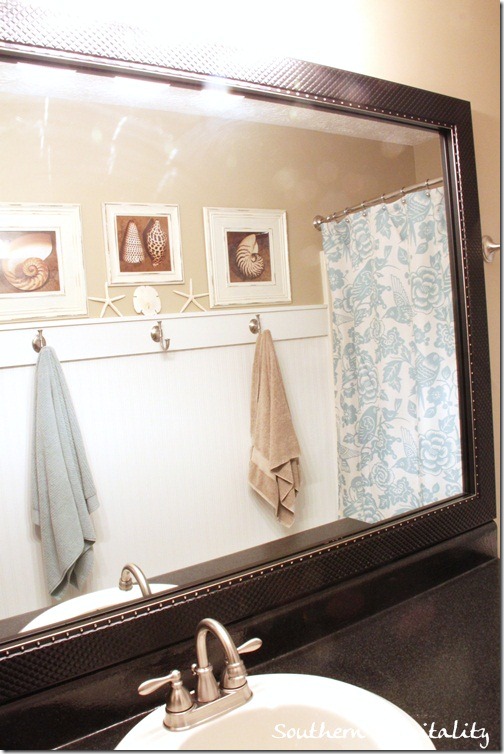
There’s a good shot of the mirror frame from MirrorMate, which also adds a nice finished look in here. And you can get a good look at the beadboard wallpaper and molding above. I did add one more hook to the mix, total of 3.
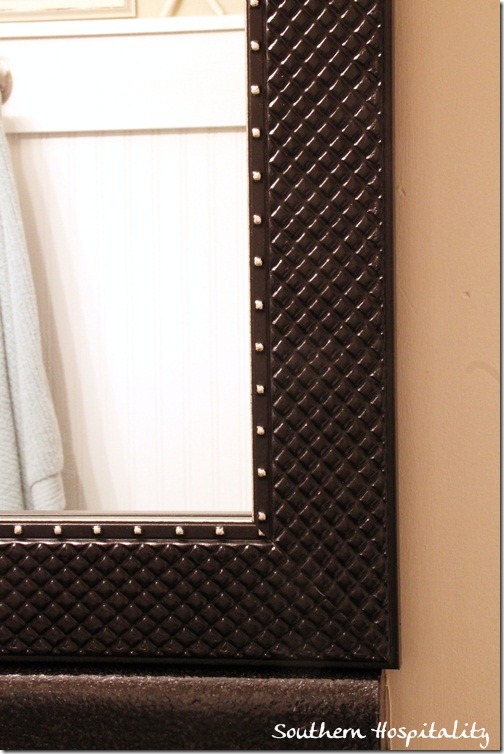
Close up of the frame.
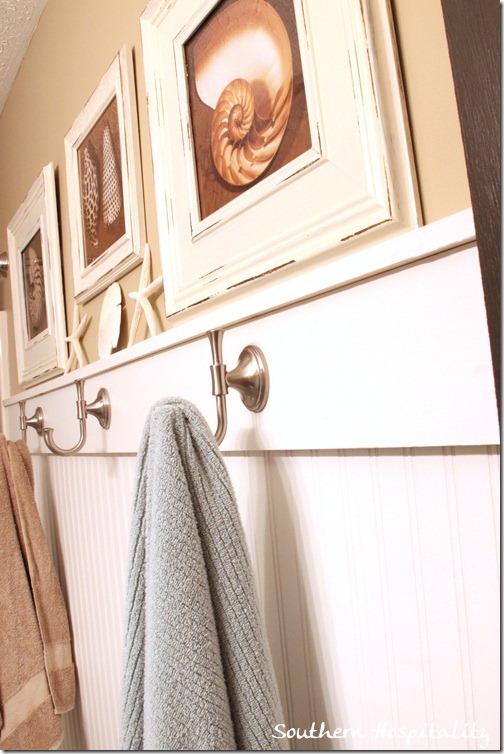
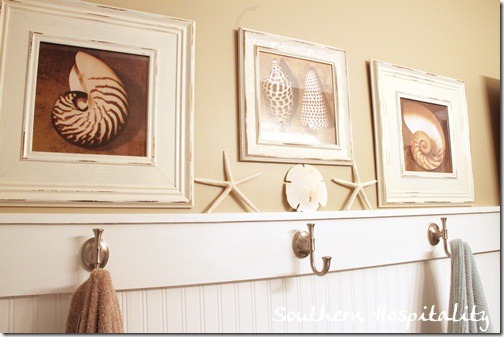
Good shot of the hooks and beadboard with the shell art above.
Forgot to include a link to the beadboard wallpaper, which I carry in my online shop, from Graham Brown. I love working with this paper and have showed several projects over the years on my blog and how easy it is to work with.
This shell art was in my master bath in my old house, so I’m reusing here.
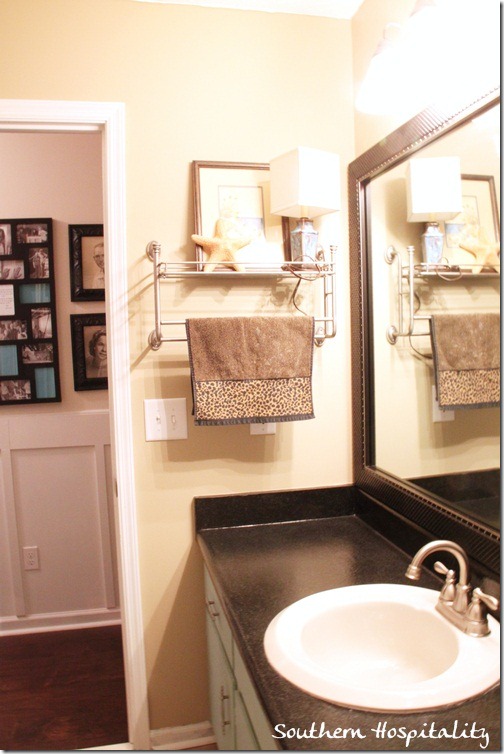
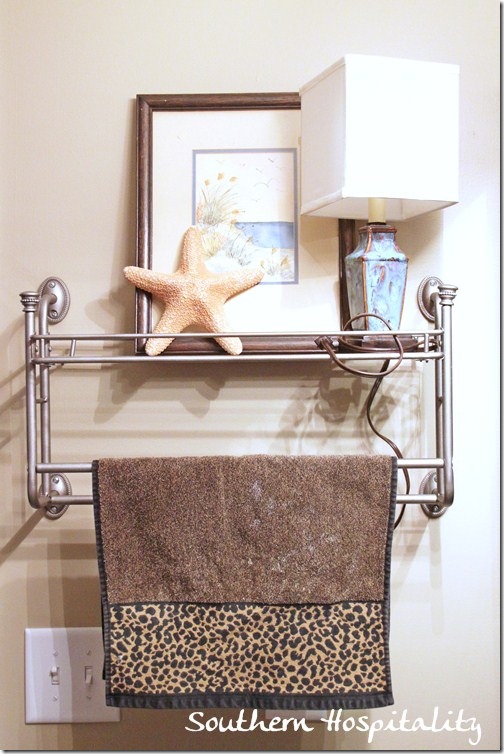
And there was room for a wall shelf here on the end wall. This piece was also in my old masterbath and I’m reusing it. I sprayed it with Satin Nickel Rustoleum spray paint since I had painted it gold in my old bath.
Already had the lamp and beach print too, so all in all this was a very cost effective bathroom makeover. This shot is most accurate for paint color. It is hard to get good pics in a windowless bathroom. It is Khaki and not gold.
Hope this gave you all some ideas on how you can take a plain Jane bathroom that is horribly dated and ugly and at least bring it up to date without completely starting over and gutting the space. I was fortunate to already have this neutral tile on the floors too, so that did help a lot. Much better than linoleum, so I’m grateful to have it. I could definitely work with it.
Do you have an old bathroom that needs some help? Think about painting the vanity, adding new hardware (although I kept mine and painted it), rugs, shower curtain and adding that beadboard wallpaper in mine really added a lot of architectural detail to an otherwise plain space.
All those little things add up to making a stylish space!



I love the duck egg blue vanity. Everything looks great and look forward to your 2013 posts. You’re an inspiration!
That looks fantastic!
What a transformation! The duck egg blue vanity is so pretty and I love the shower curtain.
Great transformation ! Thanks for sharing great ideas!
Rhoda…the bathroom is beautiful…I love how you can make a room look like a million bucks on a budget!…Rhonda must love her bathroom!….I hear you loud and clear on the resolutions and projects…I sat down and did my project wish list last year…I think I only accomplished 2 of them!!…so this year..I shall not do that…so I won’t feel that sense of “non-accomplishment”…however, my year was filled of many, many other wonderful “non-project” accomplishments and treasured moments and events!..Happy New Year Rhoda!
Thank you so much, Shirley!
love it Rhoda- I am so much more motivated with my own home since I began reading your blog awhile back…
thanks 🙂
Rhoda, you really worked your magic on this bath! You are a true inspiration of how you can update on a budget. My only resolution is to eat healthier (and less!) and exercise more! Whew! That’s enough for me! Happy New Year!
Thank you for that, Rhoda. My bathroom currently looks exactly like your “before” – all white and no character. Because I live in a character cottage I’d love to put in a rolltop bath and a Victorian washstand, but this is a rental property and so no such extravagant changes can be made. So I’ll be looking out for little decorative items, some pictures, a nice shelf and that will be about it!
It looks fantastic! Love the colors, fresh and light yet warm. I hope you don’t mind if I steal your shelf over the electrics idea, I have a bathroom wall that’s similar and I just love that! Wishing you all the best-Annette
HI, Annette, of course you can borrow any ideas for your own, that’s why I do this stuff!
What a happy looking bathroom. Great job. Once again you’ve made lemon aid out of a lemon!
The previous owners would just flip out if they could see what you and your dad have done to this house.
Hi Rhoda!! I need to be doing lesson plans and instead I am looking at your beautiful guest bathroom! This is wonderful! Is this the counter top you painted?? <3 <3 Love it…as I always do with your remakes!! It's going to be a good year…Happy New Year!! ~Nancy from OHIO
Yep,Nancy that is the Rusteoleum countertop product I used, link above.
Happy New Year to you and yours.
Luv the blue and chocolate combination. So fresh and beautiful.
Cheers, Gee
Looks great! Do you have plans for the area above the toilet? Since you don’t need that towel rack maybe a pretty picture would work.
Hi, Lynn, I’ll probably leave the towel rack for now, it might come in handy sometimes.
Happy new year, Rhoda! The bathroom looks like a million $$$$!!!! Beautiful transformation. I bet that is pictures of your Mom and Dad that I spy outside the door? They sure have been with you every step of the way. Wishing you ALL the BEST in 2013. I am not a resolutions girl either cause I feel too bad when I break them:) XO, Pinky
Rhoda,
As always, your designer savvy worked its magic! How beautiful it is! May I ask what color you used on the walls? I am looking for a color that is neutral and no too good. Thanks much! Happy New Year!
This is the kind of makeover I love–one that doesn’t require a contractor or a big budget! You give me ideas for my mom’s countertops–she has been updating her bathrooms on a budget by removing wallpaper, painting cabinets, etc. Never thought of using the Countertop Transformations—how long ago did you do it and does it seem to be holding up well? Also, did you use any kind of clearcoat over the ASPC to protect the cabinets? So happy for you in your new home.
Hi, MK, I did that probably back in August and yes, it’s holding up fine. Once that top coat cures well, it’s very hard and durable. No, I didn’t use any topcoat over the Annie Sloan either. I could do that, but haven’t take the time.
Wow. It looks great!
Karen
How do you determine the height of your beadboard wallpaper?
Robin, really I just eyeball it for the most part, It’s about 2/3 up the wall and my ceilings are 8′ high in all my rooms. I did it high in the dining room and in my bathroom vanity area too, just gives it more presence and importance, I think rather than regular chair rail height.
I love it! Thanks for the reply.
Love the reusing of items, all your tips on painting, and the end result in this lovely space. You are very talented!
Thanks for sharing your pictures of your bathroom. My husband and I are starting a bath remodel project this week and will certainly use some of your ideas. Happy New Year to you.