We’ve taken a little time off from the house, with me being out of town and my dad in the mountains, but we’ll get back on track again soon and get started on those stair treads. I did get a few things accomplished last week though and the KITCHEN CABINETS ARE FINISHED! Not that I’m excited about that or anything. 🙂
I’m still working on all the details of the kitchen, ordered my granite, and ordered a stainless steel stove, which was delivered on Monday. Boy, are they expensive! I considered a used one, but didn’t one that I thought might be just right, so ended up going to Brandsmart. They have some pretty good deals and I just opted for a free-standing Magtag stainless version for $600. I really wanted a slide-in, but wow oh wow, are they expensive, double the price of a free-standing. I didn’t have lots of time to hit a bunch of stores to wait on a killer deal, but Brandsmart delivers for free and will also haul off an old appliance, which I have, so that’s a good thing too. I really needed to get a stove in place before the granite installers come this week to do the template on Thursday.
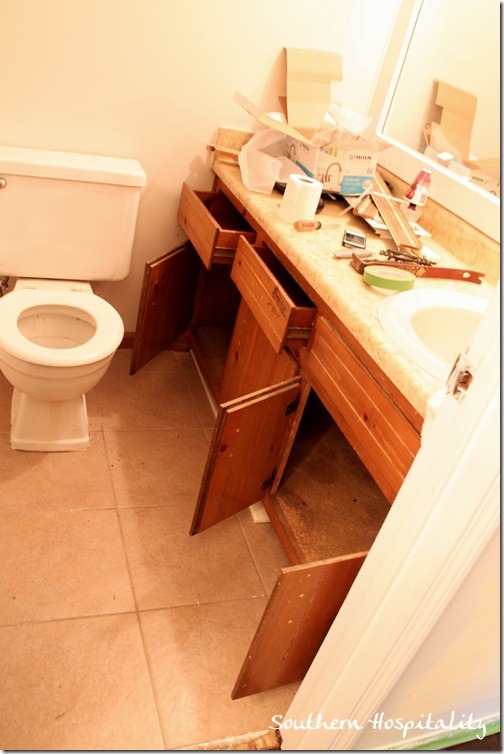
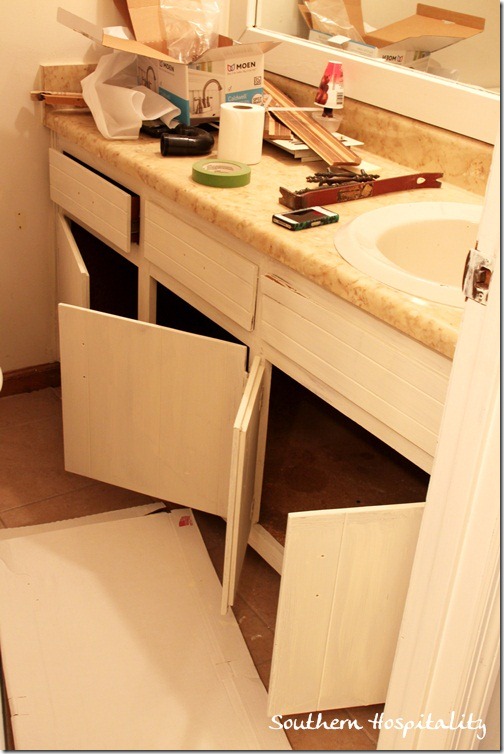
In the meantime, I’ve done a few updates to the vanities in the bathroom. Those rooms had not been touched at all, so painting the vanities, walls, and trim is on the list of things to do. I’m also adding some beadboard wallpaper in my bedroom and the hall bathroom as well. I just love how it adds some architectural details to a plain house like mine.
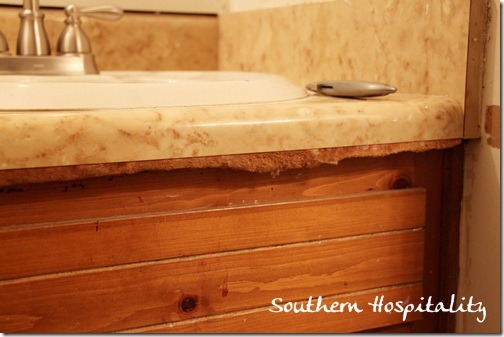
If you’ve ever had laminate countertops, you’ll recognize this tell-tell sign of water damage. The underside of those countertops are some sort of flakey particle stuff and when it gets wet, it swells like crazy. I had to get out my utility knife and saw off this mess so at least it’s even underneath now.
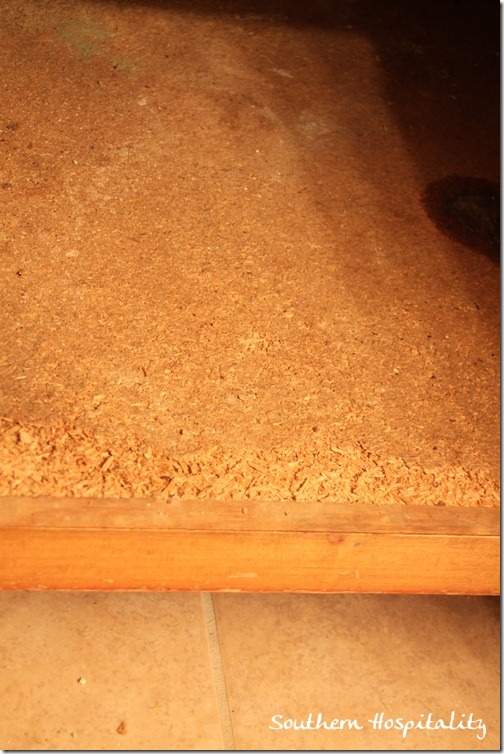
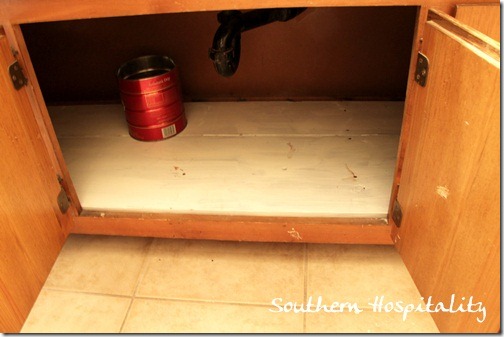
Inside the vanity is a flakey particle board bottom. It’s actually structurally sound in the master bath (unlike the hall bath, which had to be completely removed), so I’m going to add some contact paper or something like that to cover up the ugly.
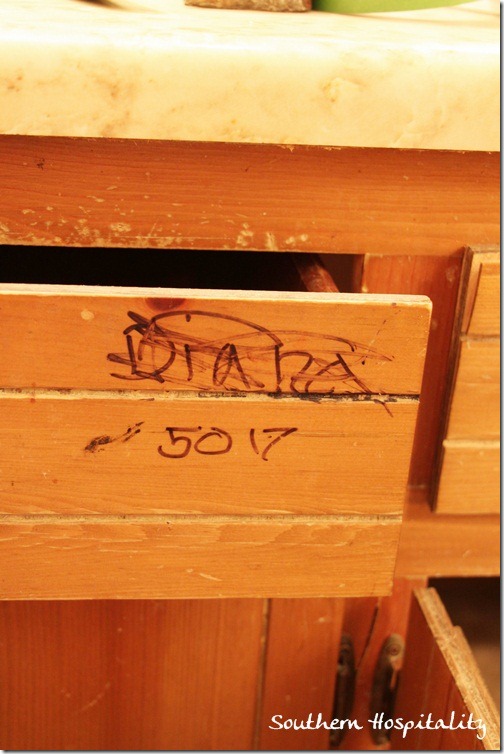
There must have been some kids in the family who lived here, cause I found all sorts of writing all over the walls and wood. Annie Sloan chalk paint covered this up.
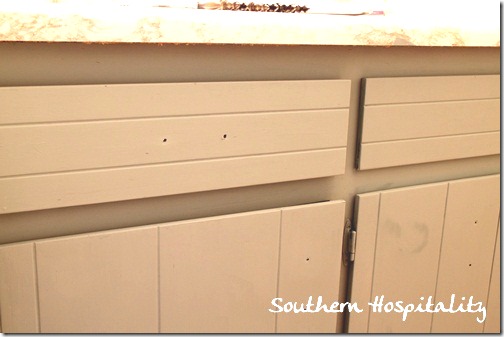
After prepping and wiping down the cabinets, I started painting with Annie Sloan Old White. I just want to brighten up these vanities and make them at least halfway pretty until I can afford to gut these bathrooms and get some nicer ones.
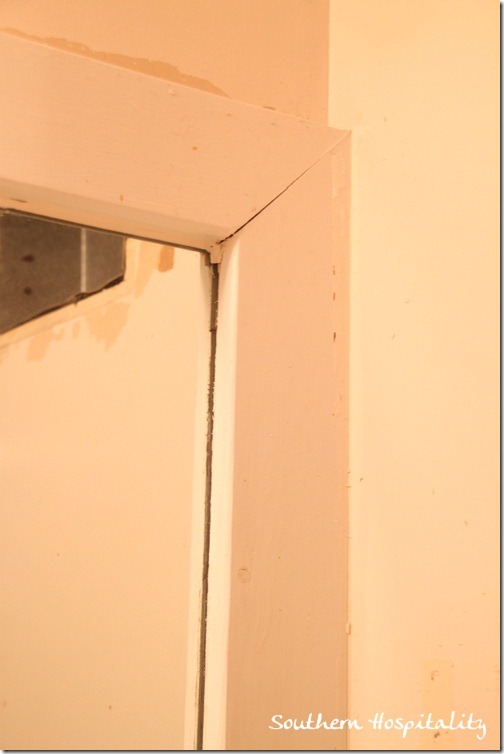
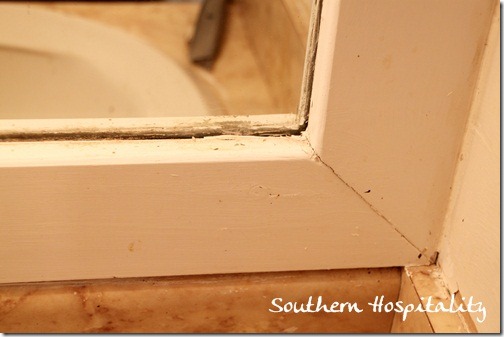
The master bath has this really butt-ugly frame around the mirror. Looks like a real hatchet job by someone a long time ago. I’m going to scrape out all the old caulking, sand it down and at least paint it a pretty color for now.
It’s just ugly, but maybe I can salvage it a bit by cleaning it up and painting.
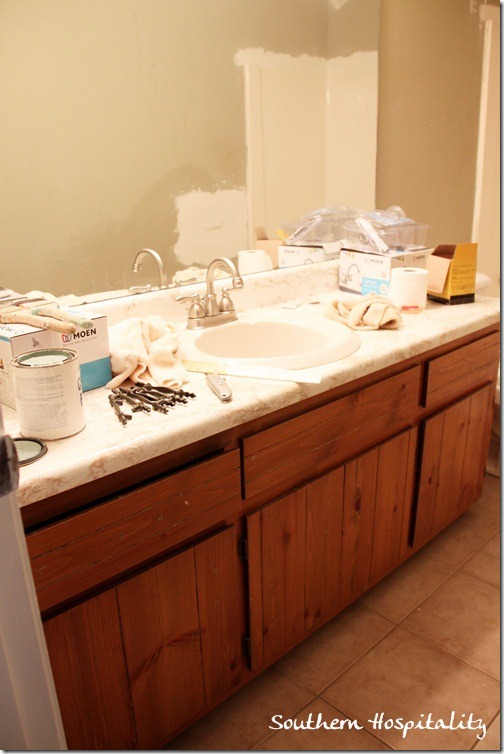
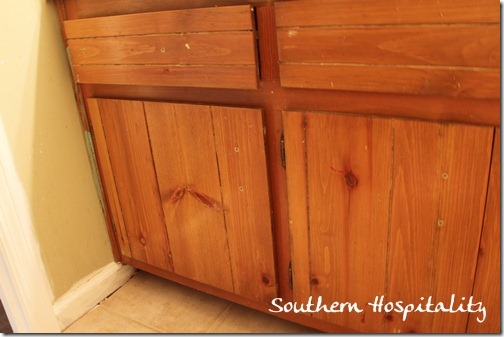
The hall bath is not any better, with the rustic pine cabinets, but painting them will help. At least I have some decent tile floors in both baths, so that’s a plus.
My dad replaced the old cabinet floor in this one, which had completely fallen apart.
Ready to paint!
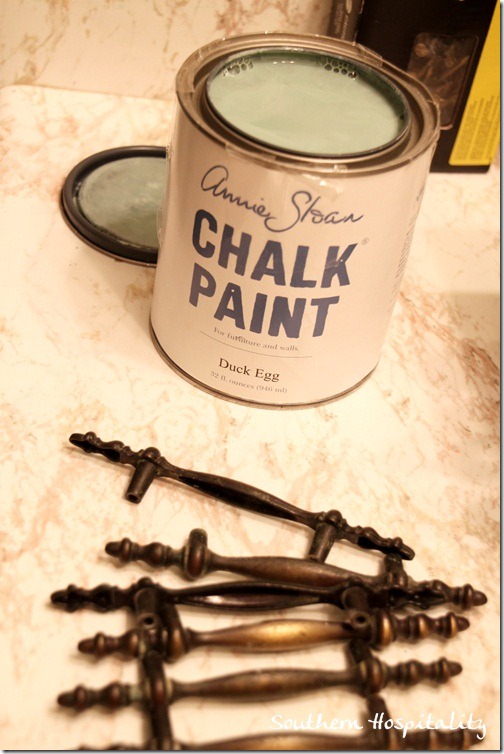
I got out Duck Egg by Annie Sloan and began the process of making it prettier.
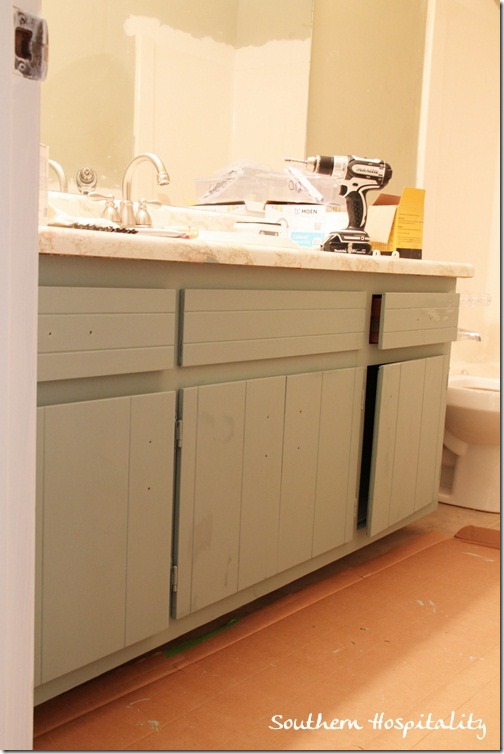
And it looks better already. I have a few touch ups to do and I’ll probably wax it a bit and give it a little distressing. I think I may spray those handles with some Rust-Oleum Satin Nickel spray paint I have and all the hardware in here will be silver toned.
Speaking of hardware, a reader asked me about mixing hardware in a house, so I’m going to do a post soon about that. My hardware in this house is going to be a mixed bag, for sure and I’m just fine with that. In case you think all hardware has to match in a house….it totally doesn’t!
Looking better!
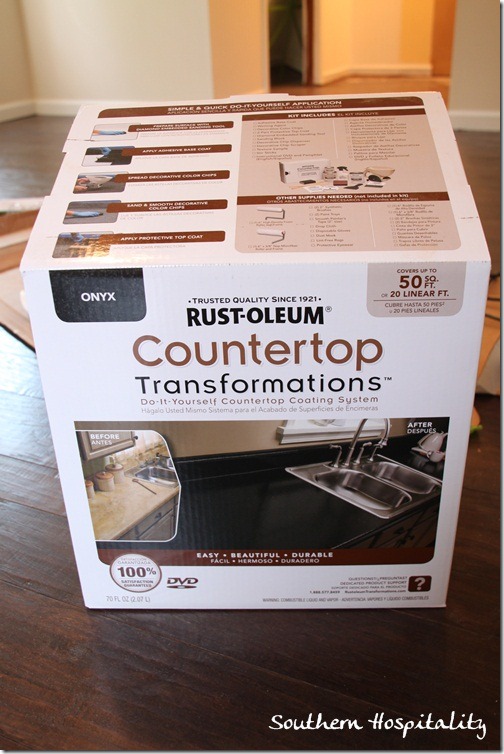
And the master bath (which is really, really tiny) is looking better already too. Next, I’ll tackle the countertops and I’m using Rust-Oleum’s countertop transformation kit in black for both bathrooms.
I’ll be tackling this one soon and of course, I’ll share all the how-to pics and how it goes. Once I get the vanities all back together and paint the walls, I do think these bathrooms will be livable. Well, after a really good scrubbing, of course. That hasn’t been done yet.
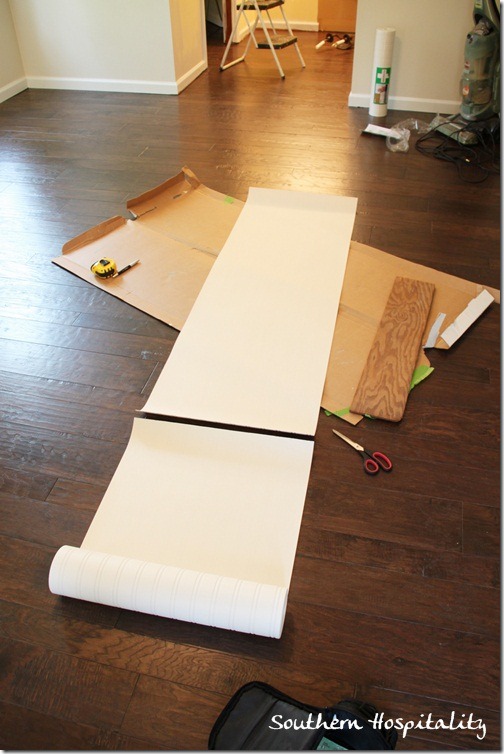
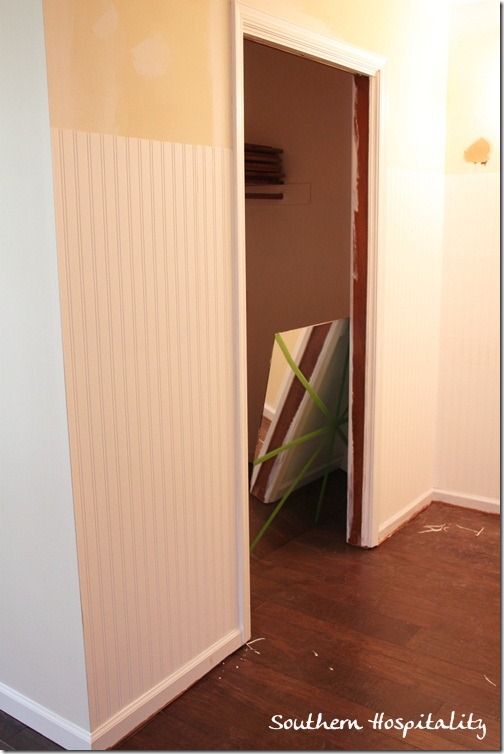
One more thing I’ve been working on this week: adding beadboard wallpaper in my vanity area and in the hall bath, for some architectural interest. I’ve done tutorials on this before, so go there to take a look. I still love this paper after discovering it 3 years ago and now sell it in my online shop and many of you have bought it over this past year, so thank you!
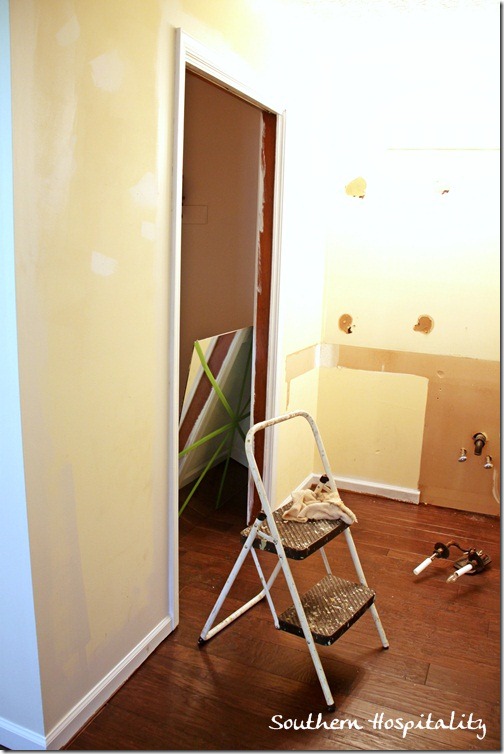
I got the walls ready and started the wallpaper process. My plumber will be back to close off those plumbing pipes later in September, so I’ll have to wait to do that area later.
But, I got started on the parts of the wall I could get to.
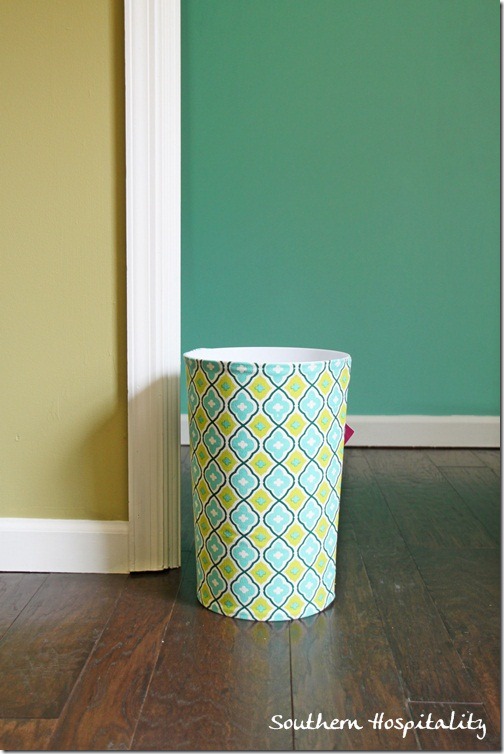
One little beauty shot, I couldn’t wait to show you. My office space is going to be adorable. I spotted this trashcan in a Joss and Main sale one day and couldn’t resist picking it up for my office. It’s a sure winner in there!
Now, on to the kitchen finale! I hope you’re not tired of seeing it yet, cause I’m in love with this kitchen.
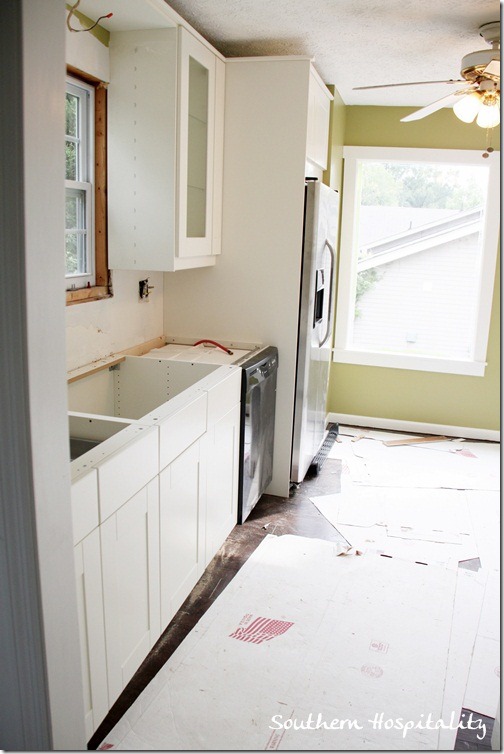
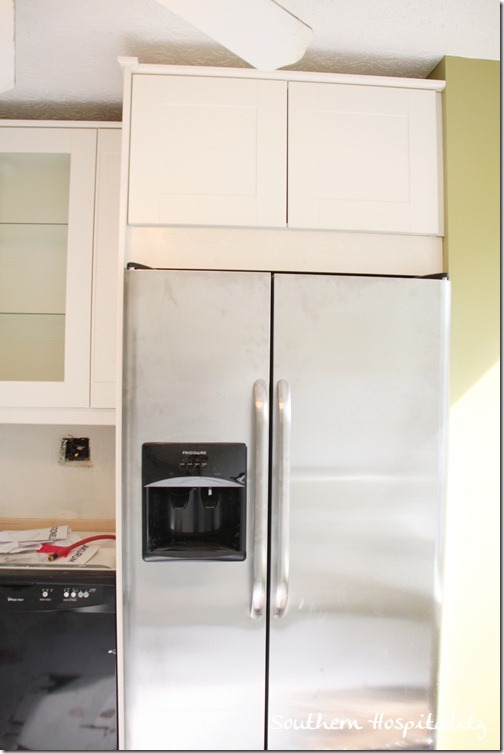
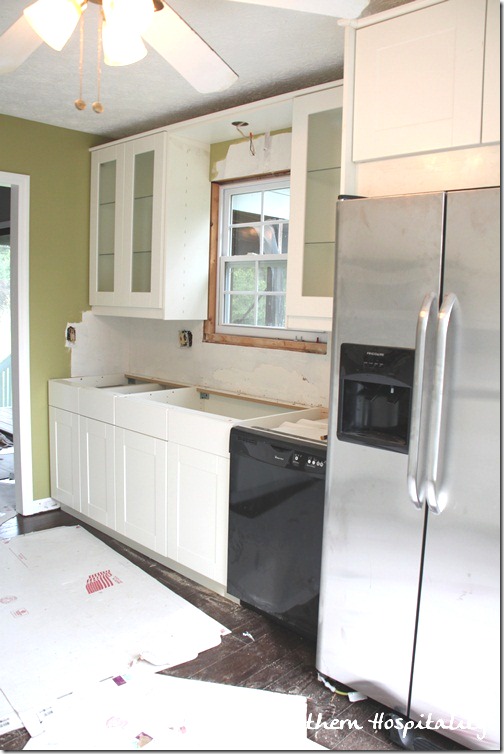
Looking in from the dining room, the left wall with the sink, dishwasher and fridge. I’m happy with how the fridge panel came out and he built out the top cabinet as far as he could over the fridge.
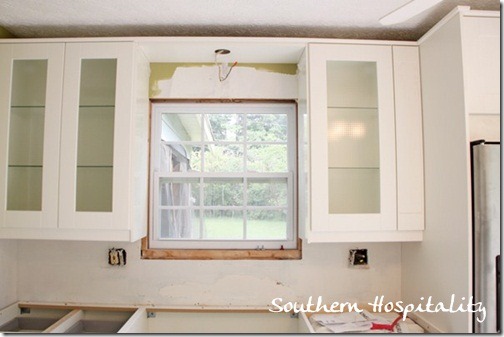
I have glass doors on either side of the sink. The window will be trimmed out with molding and I’ll tile the backsplash. My Ballard’s green pendant light will hang above the sink. When I was planning the kitchen, we discovered there would be a 6” space that need to be filled. You can see it to the right of the single glass door.
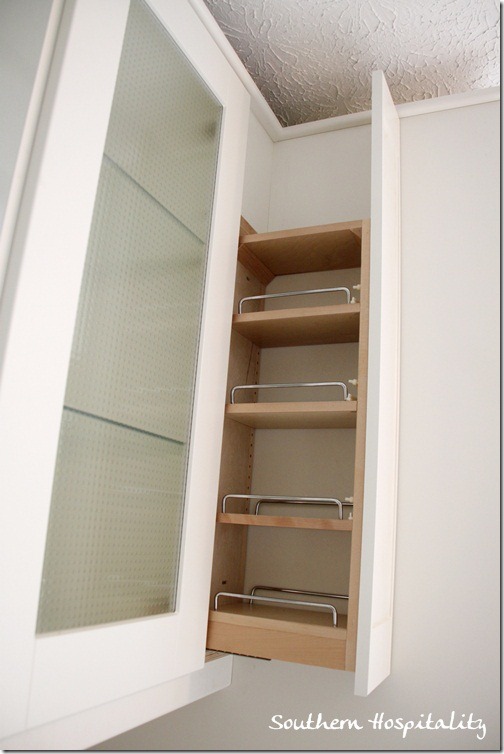
Vic, my installer (contact info in this post) did a great job with this pull-out spice rack that I got online here. He modified it to fit my space and cut down a small door front panel to fit. I love how it tucks in there. I could paint it white, but I don’t mind that it’s a natural finish either. Here’s the website that I ordered the spicerack from, after seeing it on another blog (that I can’t remember) who did an Ikea kitchen too. Ikea doesn’t have a lot of small fillers like this, but this piece worked out great, since Vic cut down a 12″ door to put on the front. Once I get my hardware on all the cabinets, they will be very functional.
Vic does kitchen cabinet installs, as well as many other home projects that require woodwork precision and I highly recommend him.
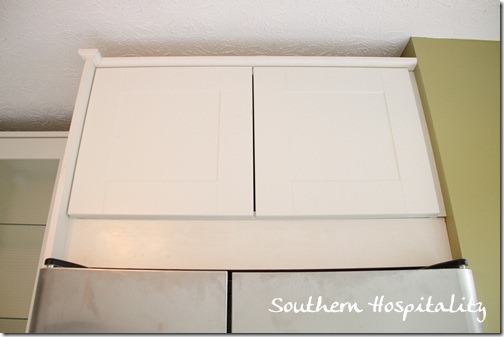
Here’s how he built out the fridge. Added a panel to the left of the fridge, which is seen coming in the door. I wanted to cover up the black side, which is how that is normally done, but there is a wall to the right of the fridge and the top cabinet had to meet that right wall. That meant the panel had to come out a little further and we had to just work around that the best we could. I told him to do what he could with the crown molding, so that’s why it has a little extra point on the left side, to meet the panel. When you’re working in a kitchen, there are so many details to consider and since I’ve never had a really fancy kitchen, it was interesting walking through these details with someone in the know. I’m really happy with how it all turned out overall.
Closer look at the over the fridge cabinet. It’s nice and deep and will hold lots of things.
It’s not a high-end kitchen, but I think it’s going to turn out really great when we get everything else in place. I do believe I maximized every inch of space I possibly could.
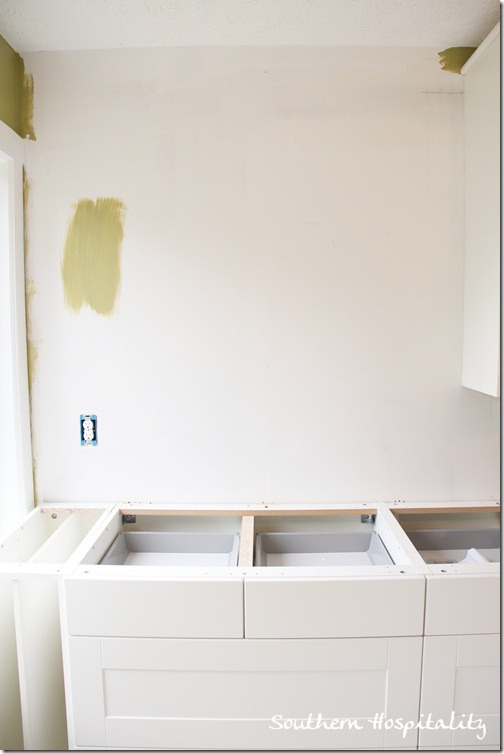
Since this kitchen wasn’t big enough to eat in and we took out that door that came in here from the living room, that gave me room to add these 2 large 36” base cabinets and with a nice long granite countertop, this area is going to be nice for prep work in the kitchen. Cause I will be cooking in here! I wasn’t sure how it was ultimately going to look after putting in these base cabinets next to the window, but I really don’t mind it at all. I think keeping the wall above open for my rustic shelves will help keep it open and not feel closed in at all.
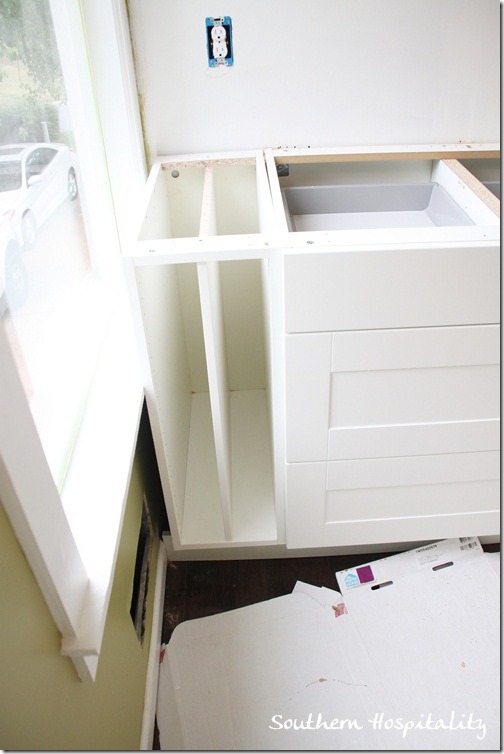
My neighbors that I told you about who put in an Ikea kitchen 2 years ago (and expert kitchen cabinet installer) gave me a great idea for the end of these cabinets (I’m going to share their kitchen with you later too). They added an open slot cabinet for storing platters and cookie sheets, so that’s what I did here too. I ordered a 12” base cabinet for about $25 from Ikea and my installer cut it down to fit this space. We decided to take it all the way to the window molding so that nothing can drop down there off the countertops. These slots will come in handy for lots of things.
My rustic 4’ shelves will go here on this wall. I’m so excited about this part!
Looking back towards dining room. That nasty greasy fan is coming down from there pronto and new lighting will go up.
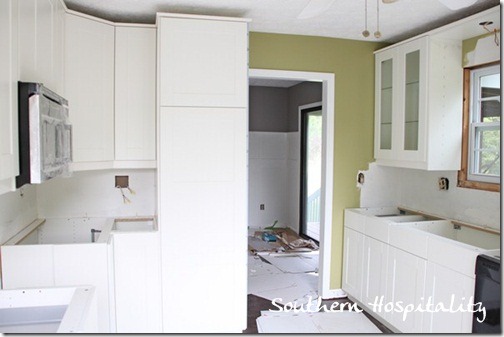
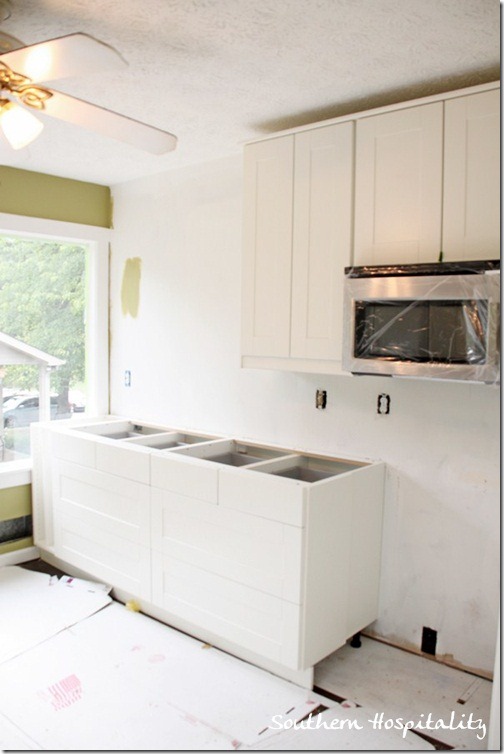
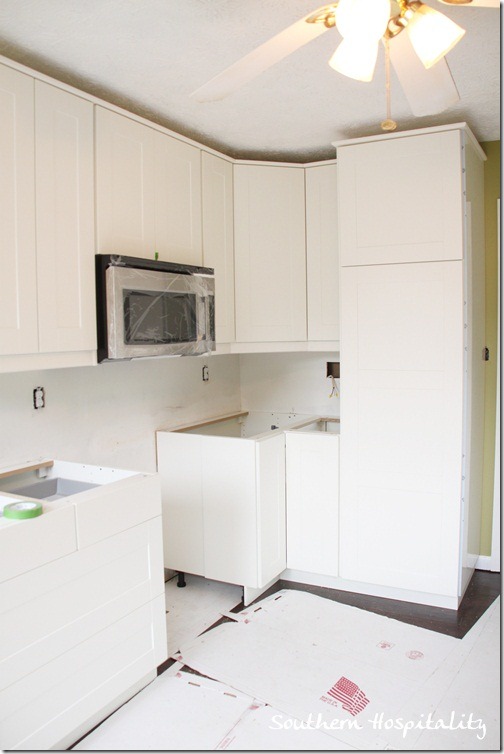
Opposite side with the corner cabinets and pantry. The stove will go in that empty spot and the microwave is installed now too.
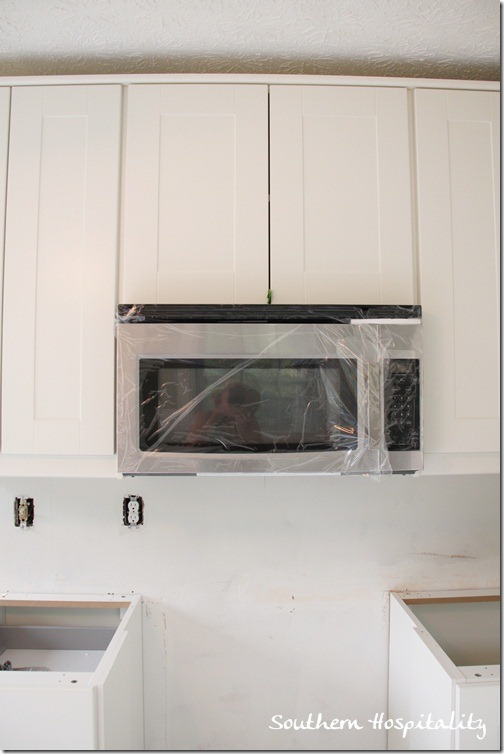
New microwave from Ikea (made by Whirlpool). I can’t wait to get all my handles and knobs on, that will make a huge difference too.
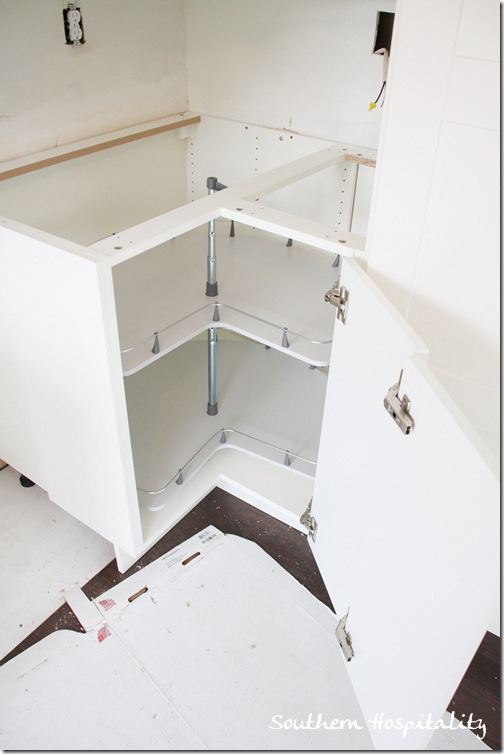
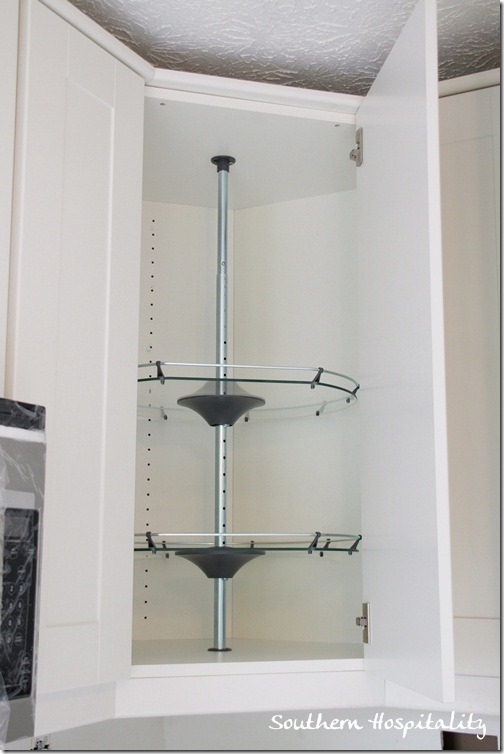
I did manage to install my Lazy Susan carousels in the upper and lower corner cabinets. They were a little tricky, but my neighbor gave me some pointers and then I did the rest.
These are going to come in major handy too, once I start filling up these cabinets with food and dishes.
All in all, I’m so happy I went with these Ikea cabinets. Now that they are all finished, I love them. It’s a bit challenging learning how to put all the hardware together, but I have to say, it’s all well made and very sturdy. Those shelves above are even glass on the upper carousels. Nice touches on so many things they do. It was intimidating at first, but if you know someone who’s put together anything from Ikea before, you could get some help. And I’m sure Ikea would help too if you called them. It was a relief to finally match up all the doors and drawers and get the hardware installed and working.
So, that’s a wrap on the kitchen cabinet installation. You can see we are moving along, even if the kitchen slowed down progress for a couple of weeks. We are ready to get back on track and get this house finished. I predict that September will be a big one and we will get most of the rest finished then. We still have to completely finish the kitchen, which means granite, sink, faucet, all the plumbing done, as well as the backsplash, which I think dad and I will tackle. We can do it!
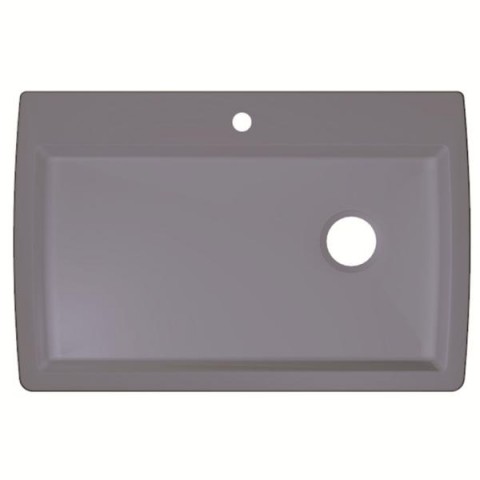
Speaking of sinks, I got a beautiful granite sink by Blanco. This time, instead of the black I got for my old house, I went with Metallic Gray and I love it! I think it’s going to look fab with my lighter granite.
Then, I have to finish the bathrooms vanities, paint the walls and that will be done. The new stair treads are waiting for us to install too, and we have to install all the quarter-round/shoe molding around the baseboards in the whole house. I really think I’ll be moving in by mid-October. That’s the target in my head, at least! To say I’m excited is an understatement.
The first night I spend in here in my own bed, I might not be able to sleep, I’ll be so giddy. ![]() I’m sure I’ll get used to my new home really fast.
I’m sure I’ll get used to my new home really fast.


I went to IKEA yesterday and thought of you! Not only because of your kitchen cabinets, but I ended up buying some green accessories! You’re rubbing off on me. 🙂
Love what you’re done so far! It’s going to be super adorable by the time you’re finished.
Rhoda, you are one hard-working lady! I don’t know how you get so much done in such a short amount of time. I love reading everyone else’s comments because I pick up some tips from them too such as using the self-stick tiles. Everything is looking fabulous, and that trash can is the cat’s meow!
I have loved following your remodel. I am on the other side of ATL so know exactly what you are working with and it is great to see the transformation. The self stick tiles for the cabinets suggestion is a good one. I did contact paper and it is awful right now, going to switch it out.
Great work! I love following your renovation. Also, can’t wait to see how you feel about the Rust Oleum Countertop product. I’ve been wanting to use this in one of my baths and just didn’t have the nerve to try.
Your kitchen looks great! We used Rusteoleum’s cabinet transformation on our cabinets and painted them white. I love my white cabinets! I think they make a kitchen look very clean, even if it isn’t!
It all looks so wonderful; congrats on everything; can’t wait for more updates
Rhoda, your kitchen looks fabulous! You did such a great job on the layout! Paint magic and hard work has transformed you bathroom cabinets! Everything is coming together! I love your choices! I’m so happy for you!
Can’t wait til you do the counter recover with rustoleum. I am in the process of doing the exact same thing with my bathroom, doing a remodel before the remodel. Something to get me by til I can afford to gut, just like you. I found a great sabinet remodel idea on Remondelondo de casa but was struggling with the counter. Didn’t like the cover I used on a previous remodel (that’s since been completely redone.) Can’t wait to see yours to see if it’s an option for me. Get to it girl. Your public is waiting.
Rhoda….your kitchen is fabulous…you have certainly done such a great job in planning the space…Your labor of love so proudly shows!!
Love the color of the bathroom cabinet!!….
Loving your progress, it’s all coming along wonderfully, waiting eagerly for your next update. It’s giving me lots of ideas for doing up my mums house.
Lee 🙂
It’s all coming together soooo beautifully, Rhoda! You may feel like you’ve not done much lately, but I am amazed at how much you HAVE accomplished! Onward!
xo Heidi
Hi Rhoda- I am 1 of your biggest blog fans! I am soo soo happy you have found happiness and are creating this new life for yourself in this already, and what will be, a beautiful home! I am also a survivor of loss, a divorce, a beautiful home and have been blessed with a new life and home. It is so healing and so empowering to rise above all that. I wish you peaceful new memories in your new place. Can’t wait to see it decorated! Warmest regards- Jen
Everything is looking so beautiful! Bookmarked your link to that bead board wallpaper in your shop. I’m sure I’ll snag some eventually. I can think of several places I could use that and a few that I could HAVE used that – sigh! 🙂
Hi Rhoda! I stumbled upon your blog and just love it! I find your house so inspiring! Your parents are a real blessing, but you already know that. I was wondering why you didn’t get your granite from IKEA and how did you do that pattern on the wall in your office?
HI, Stacy, so glad you stopped by! I didn’t get granite from Ikea because their prices were more than I could find elsewhere. I shopped around and got the best price for the color I wanted.
Here’s a link on how to stencil that wall:
http://southernhospitalityblog.com/how-to-stencil-a-wall-a-giveaway/
I know this is an old post, but I was wondering if you could tell me if you purchased the spice rack in the height specifically for your wall cabinets (i.e. the same height) or if you went with just the standard 30″ high one. I was browsing the website and noticed that they make a 39″, 36″ 30″, etc. height spice rack. I have 39″ high wall cabinets, but I don’t think I’d be able to reach the top shelf of the spice rack if it’s that high up.
Thanks! This is the PERFECT solution for my gap!
HI, Christina, I just measured and mine is 27″ (maybe it’s the 30″ one, I don’t remember), but my installer put it in and added a filler piece at the top where it doesn’t go to the top of my cabinets, which are 39 to 40″ tall. Then he used a standard 12″ door and cut it down to fit that little 6″ spice rack drawer. He nailed the door on top somehow and used edging to finish off the edges. He did a great job so I know there are many things that can be customized to work in these Ikea kitchens.
Hi Rhoda,
Thank you so much for the quick response! I am super excited to get my project started now! 🙂