This post is sponsored by Wayfair.
Hope you’re all having a wonderful Sunday! We’ve been busy around here with several things going on, some big and some small. The bathroom is coming along and if you’ve watched any of my Instagram stories, you will have seen some sneak peeks. It’s looking SO good. I still have to find someone to install the glass shower doors and I am getting that wallpaper I talked about earlier, so this project is coming together exactly as I had hoped. It’s not inexpensive to do a bathroom renovation and we couldn’t have done this one right now if not for the help from Wayfair. All the materials came from Wayfair for the project, including tile, vanity, light fixture, which is much of what was needed for the whole project.
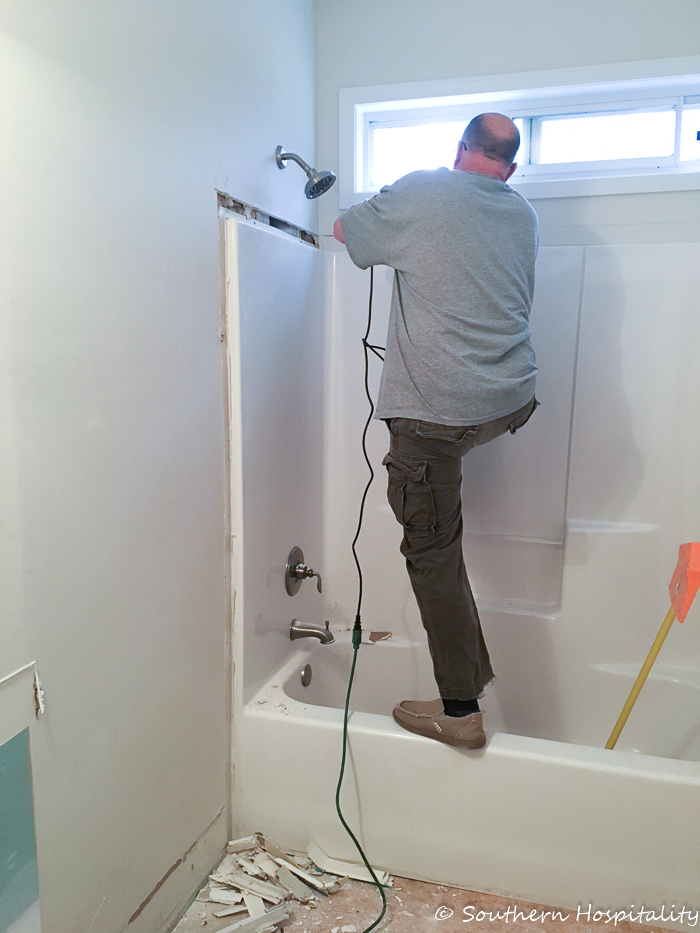
I hired the same tile guy that I hired for my previous house black and white master bathroom that I did almost 2 years ago. He did a really good job and I was happy with him, so hired him again for this one. We decided to try to do as much as we could on this renvation to keep the costs down as much as possible, but it still adds up, even with getting most of the materials sponsored. I’ll do a breakdown on everything when I get the final post up so you can see how much it costs to do a bathroom. I haven’t added up everything yet, because it will cost to install the shower door and also get the wallpaper hung so that’s an extra few hundred dollars that will be added in the budget.
Here’s a look at the first post I did with the Before pics of this guest bath. It was boring and blah!
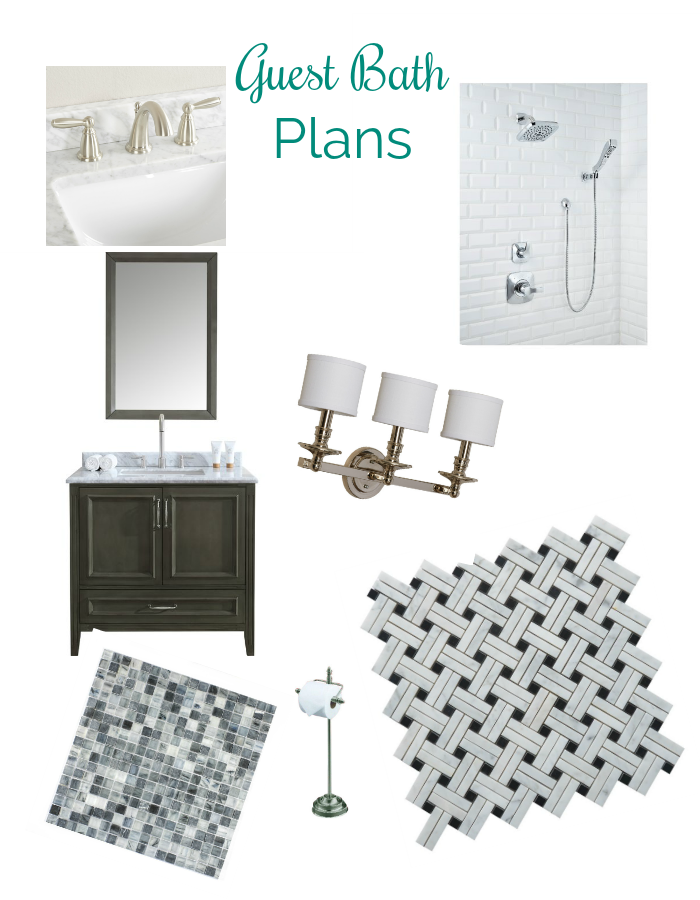
Here’s a look again at the mood board I put together for this guest bath renovation.
I’d say this project will come in a little over $7K, with $3K coming from Wayfair and the rest of it out of our pocket. I l ike to share costs, because I know they are different all over the country and you all like to know these things too. I know I’m always curious what budgets are when I’m watching renovation shows on TV. I’ll share the tile guy’s information at the bottom of the post.
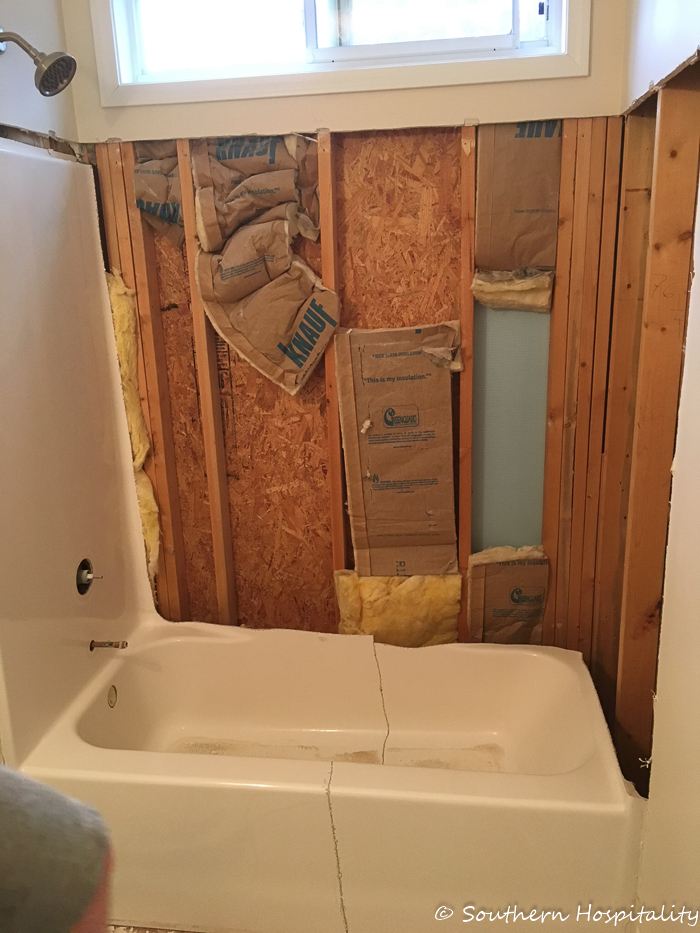
So, to save almost $900, Mark demo’d the tub, vanity, old floor tile and baseboards out of the room. The vanity was pretty easy and I helped him carry it all out. I called the local Habitat for Humanity store and they came and picked up the vanity and countertop/sink/faucet, so I felt good about that getting recycled. Mark used one of his multi-tool cutters to cut through the fiberglass shower to get the tub out of there. Since there’s no way to take it out in one piece, it made sense to cut it into smaller manageable pieces and that’s what we did. He cut out the pieces and I hauled them outside.
Our local city of Acworth hauls away trash on certain days of the week, apart from our garbage can pickup, so that helped. We piled all the cardboard boxes, old tile in boxes, and all the demo’d materials out by the curb and they picked it all up, so that was nice.
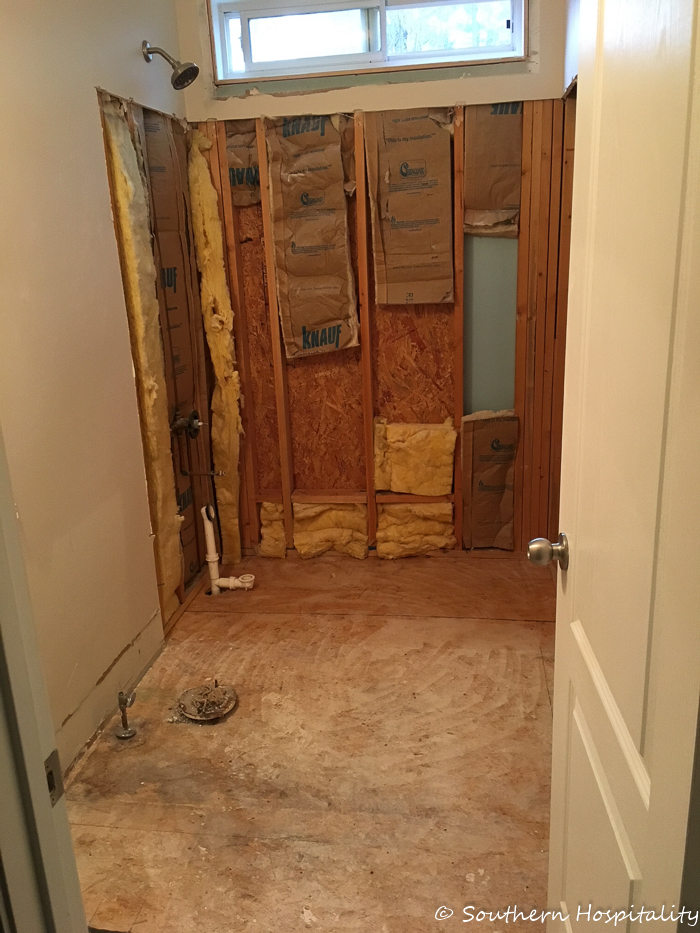
Everything’s out and ready for the tile guy to come in and do his thing.
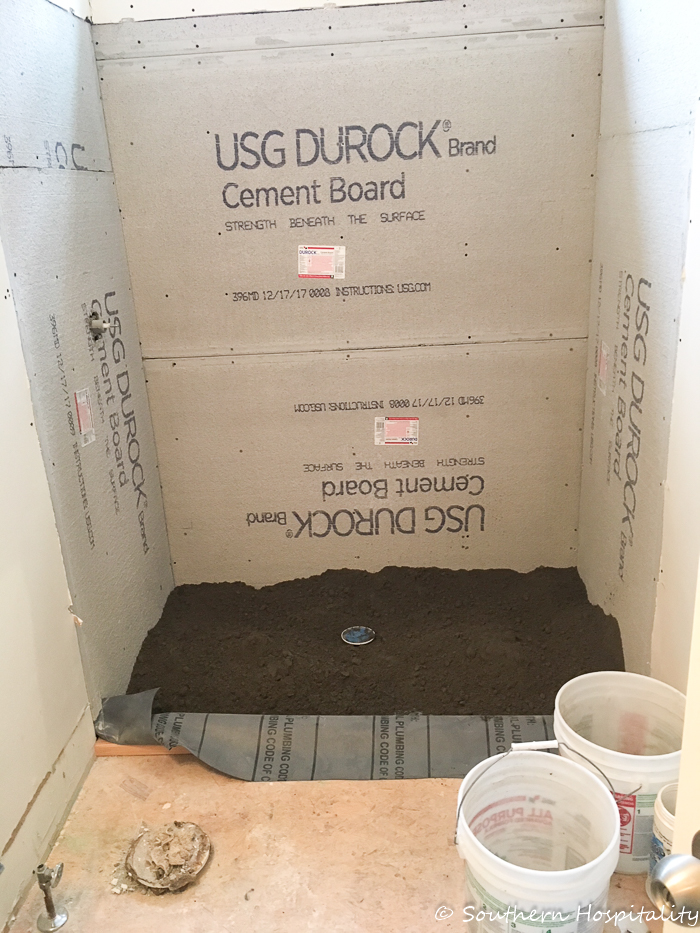
The first day was shower prep and he got all the plumbing done for the sink and shower faucet installation. Since the old one piece tub came out, we were going to do a complete tiled shower floor to ceiling, like I did in my old bathroom. It’s such a great look! We toyed with the idea of just adding in a cast iron white tub and tiling above, but since this space is a guest room downstairs, we thought a beautiful tiled shower would be such a nice look in here and I’m glad we went that direction.
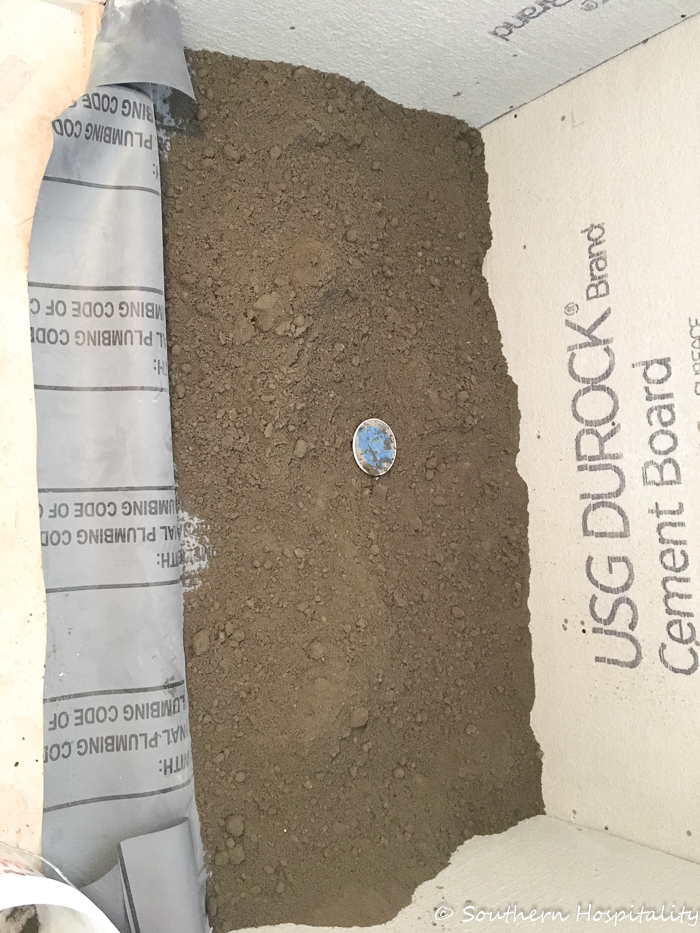
Drain is installed, along with the rubber shower liner and the shower pan mud is added and sloped to the drain. This is looking down at the shower floor sideways, in case you are wondering.
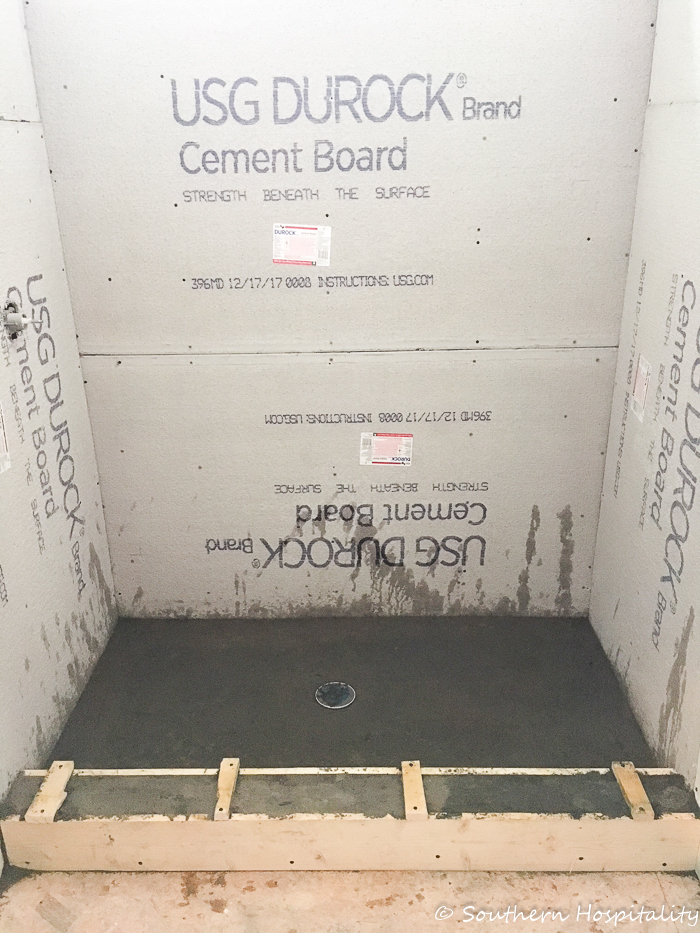
And here’s the shower curb and floor after he finished building it and carefully sloping it correctly towards the drain. Waterproof concrete board goes on the walls for the tile to adhere to.
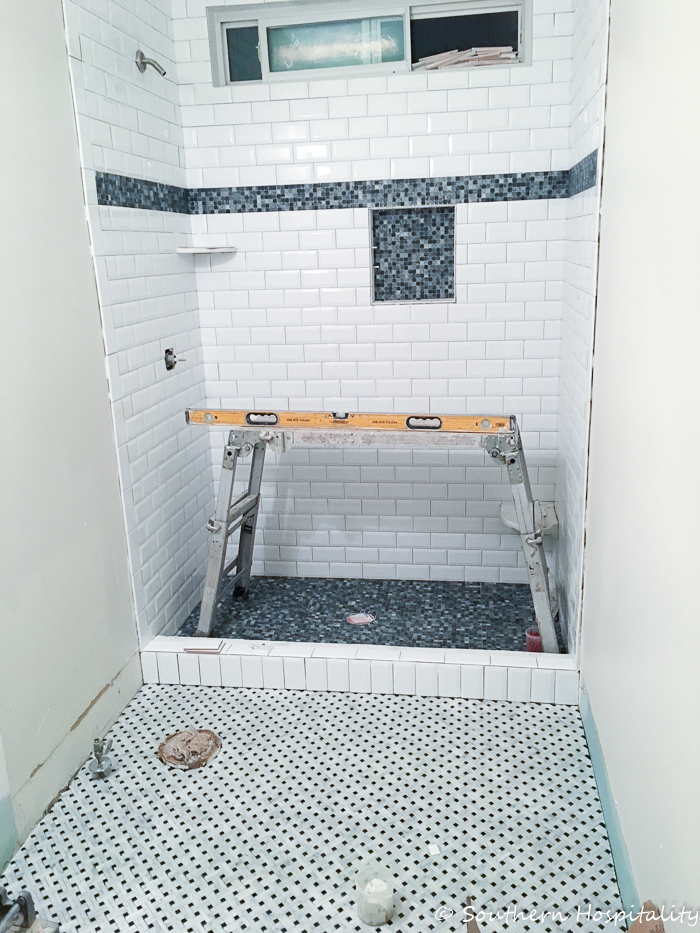
And tada, the magic of tiling! He got the shower done first and then started on the marble basketweave floor. Isn’t it gorgeous?! We took out the wood molding trim around the tall window and he tiled all that too. I made the mistake of not ordering enough white bullnose trim tile, so that delayed things for a few days as I waited for that shipment to come in, but all in all, it worked out great. My tile guy worked with the schedule and then came back and finished the last part all in one day, including setting the vanity and getting the faucets hooked up.
I love the marble mosaic border we chose for the shower floor and the border/niche.
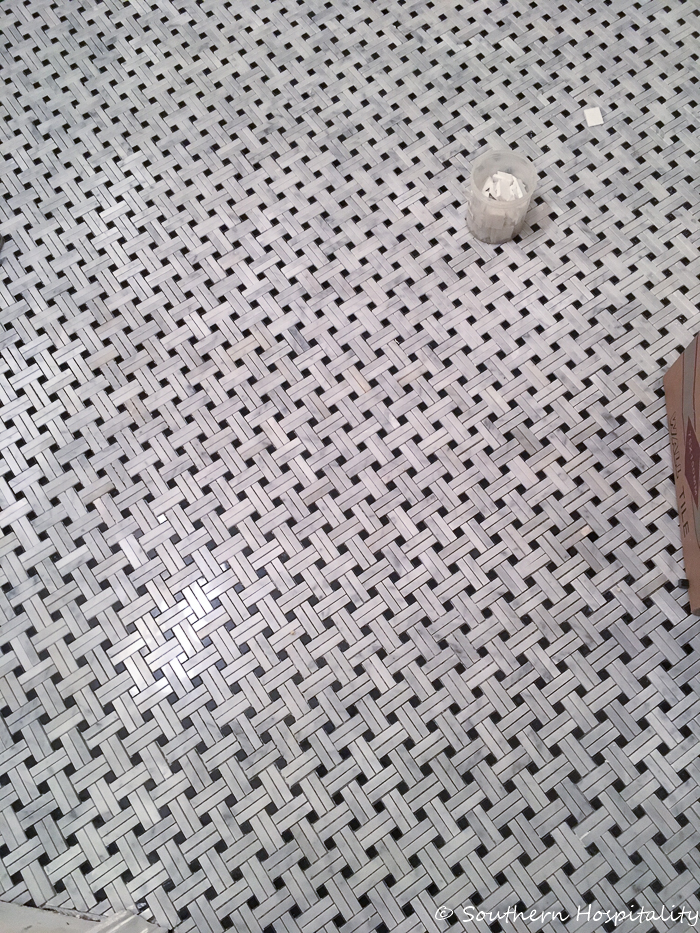
This basketweave tile was already on the diagonal, so it was easy to get it installed with that look. We just love this floor so much!
Again, the tile guy I used is Luis with Keystone Renovations. He’s here in the Atlanta area and has been doing tile work for over 10 years and he does plumbing too. I’ve been very happy with the 2 bathrooms he has completed for me. His number is 404/569-8845.
His labor charge for getting the shower prepped for tiling and plumbing completed, all the tile work/grouting and setting the vanity/faucet and toilet was just over $3,500. From what I hear, that’s a really good price, so we were happy to hire this part out. Redoing a shower is not something we would attempt to tackle ourselves.
Here’s a look again at the products we got from Wayfair. We love these choices (affiliate links)
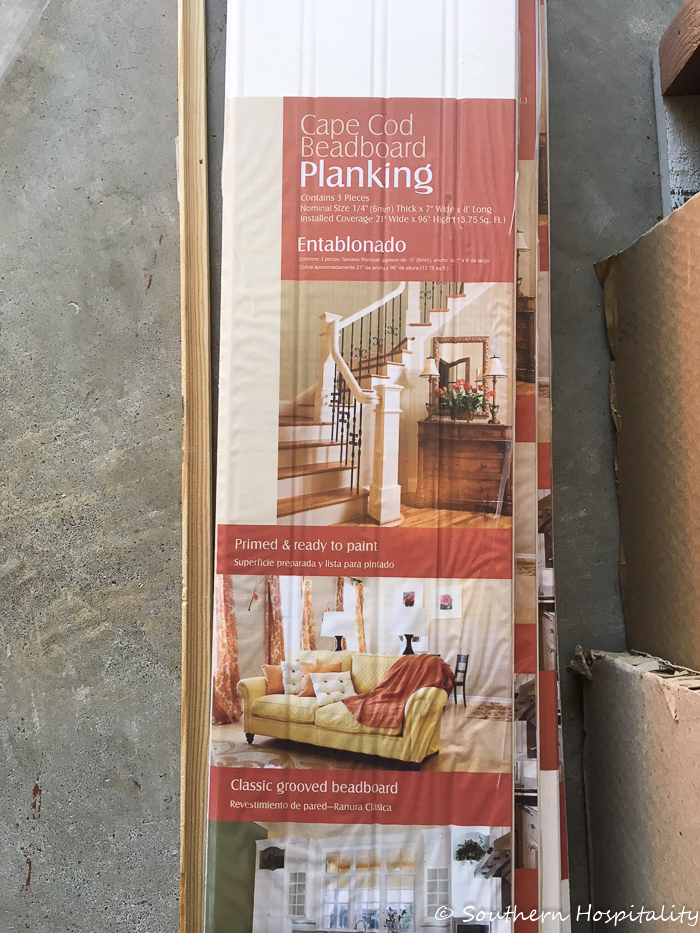
Next, it was time for Mark to do his thing on the walls with Cape Cod beadboard planking. This is what he used in the dining room as well. It’s an MDF product and the panels slide together like a tongue and groove. He’s used this many times in the past, but for some reason, this time they were really hard to slide together, so he’s not sure he’s going to use them again. We do have some shorter pieces that he’s saved from our other projects that he’s going to use going up our staircase, but other than that, I’m not sure he will use them again. The panels were very frustrating to get together for some reason.
But, once they are up and finished, they are beautiful when painted.
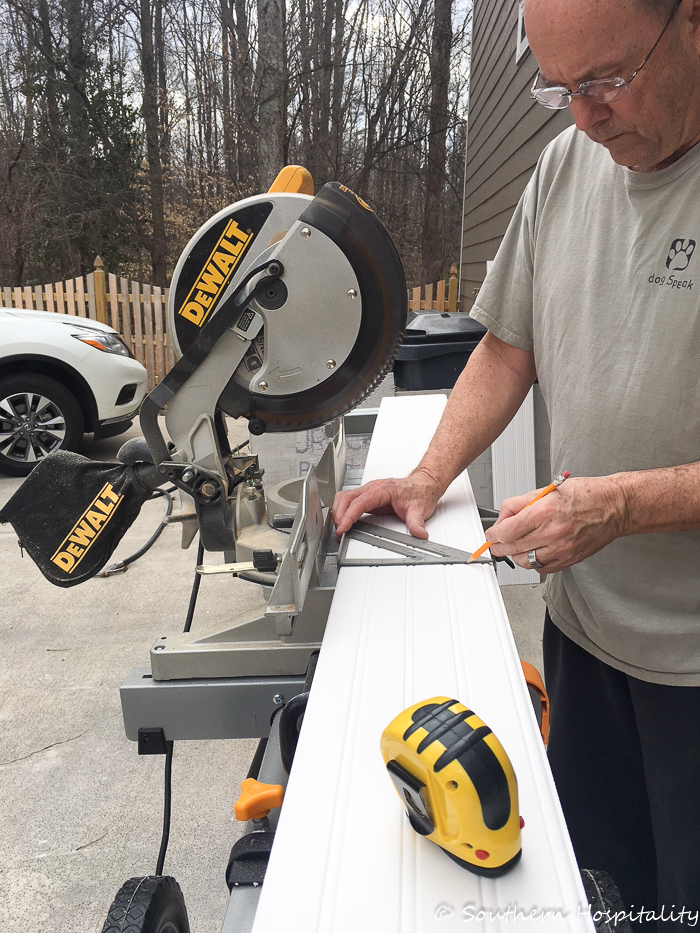
He got out his miter saw and got busy cutting the panels to length. We decided on a 65″ top of the board finish on our beadboard panels. The ceilings in our downstairs is 9′, so this left about 3 and 1/2 feet above the wainscot that would be open. When deciding on heights like this, it’s really a personal preference. We could have gone shorter, but decided that 65″ was about right for the look we wanted in here.
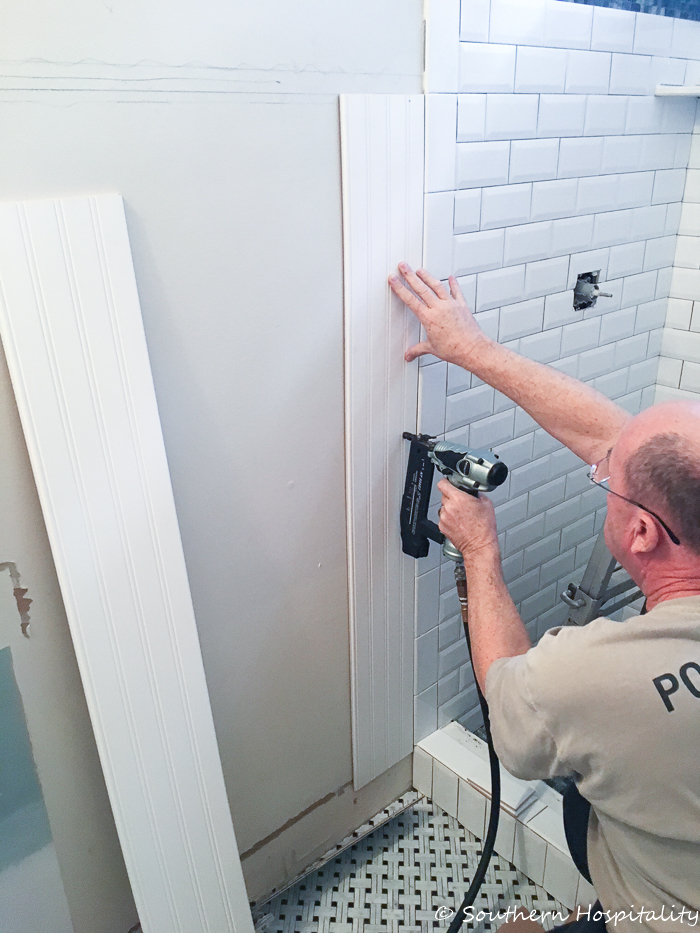
You can see Mark drew out where each piece would sit when finished, with a small trim piece on top of the wainscot and a 5 1/2″ board on top of that, capped off with a small 2″ board on top. You’ll see it when it all comes together.
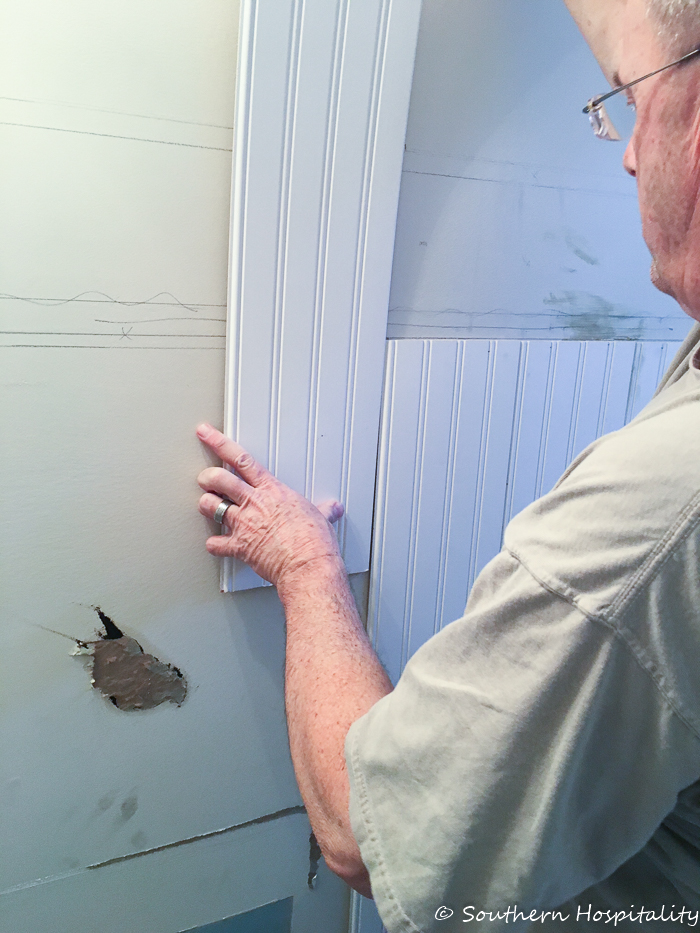
He uses Liquid Nails and his nail gun to install this beadboard and tries to keep his nails inside the grooves so they are less noticable. Usually paint fills in the nail holes pretty well along with caulking in the seams and where needed. You can see how he had to slide the panels together and usually they pop together much better, but many of these he ended up having to get the tongue started and slide them into place, which was very frustrating for him.
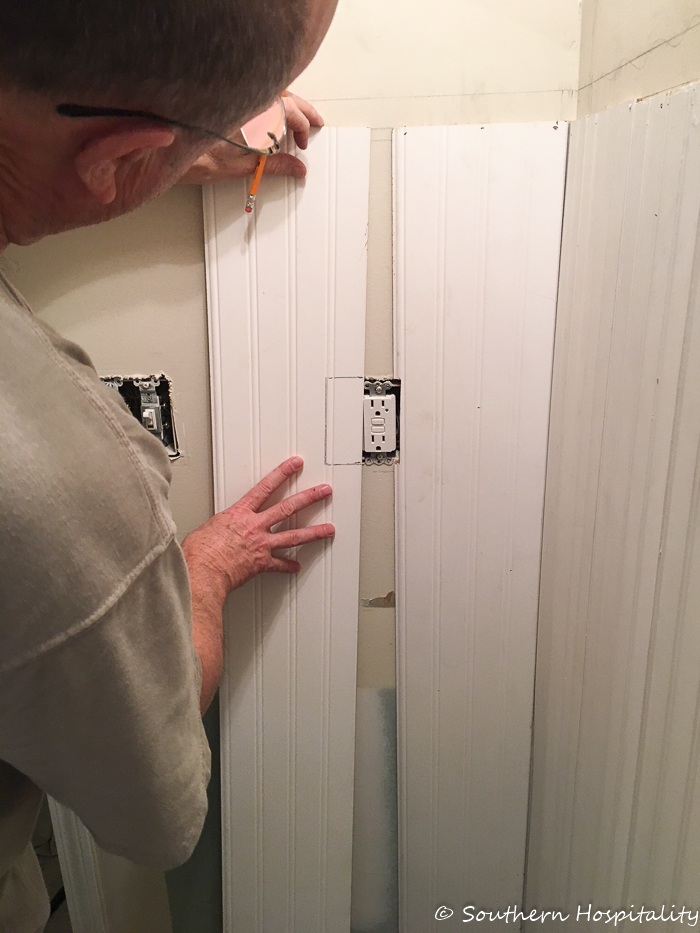
Figuring and cutting around the outlet covers was part of it too and we finally made it around the room and got it all finished. We were happy to see that day come too!
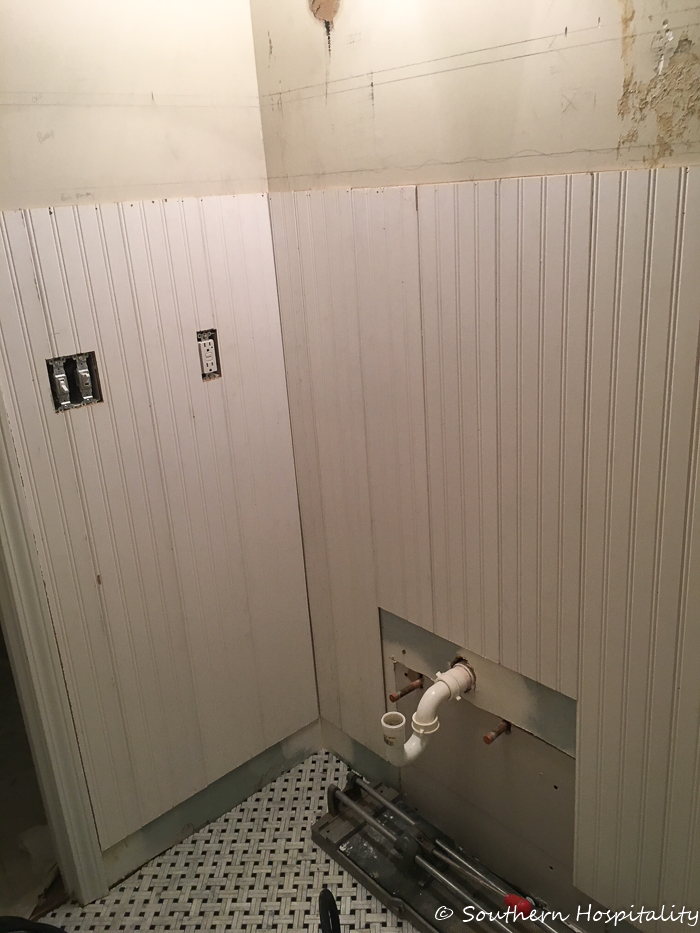
All done with the beadboard panels and waiting for caulk and paint and the top trim boards and baseboards. It looks ugly before it gets pretty again, that’s just the way it is with renovations.
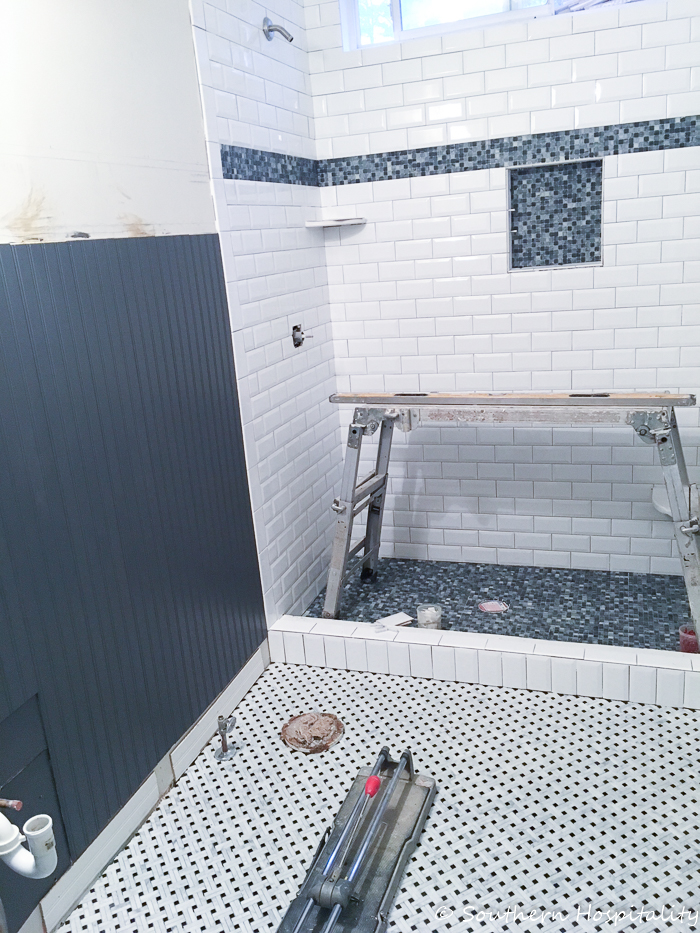
In another big change of plans, I decided to paint the beadboard a dark dramatic color. The vanity is also a dark gray but with all the white in here and the sunlight that comes in, I knew it could handle a dark color. I ended up using Peppercorn by Sherwin Williams and it’s a great dark charcoal color.
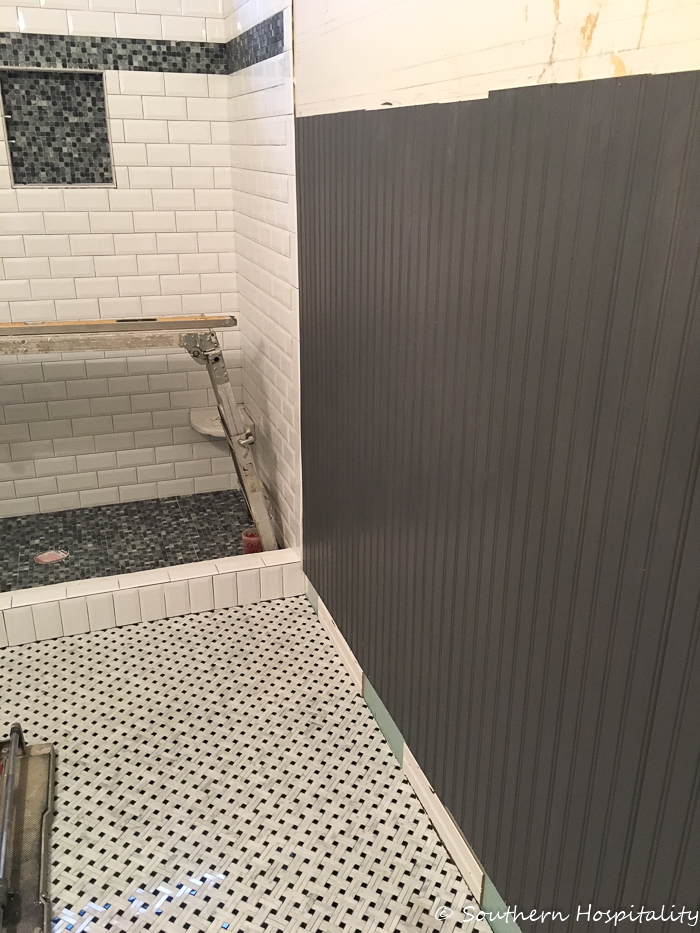
Very dramatic, yes?! I just loved it as soon as the first coat went on and Mark was on board with the dark color too. I just love small spaces with dramatic colors and patterns, it really makes them special.
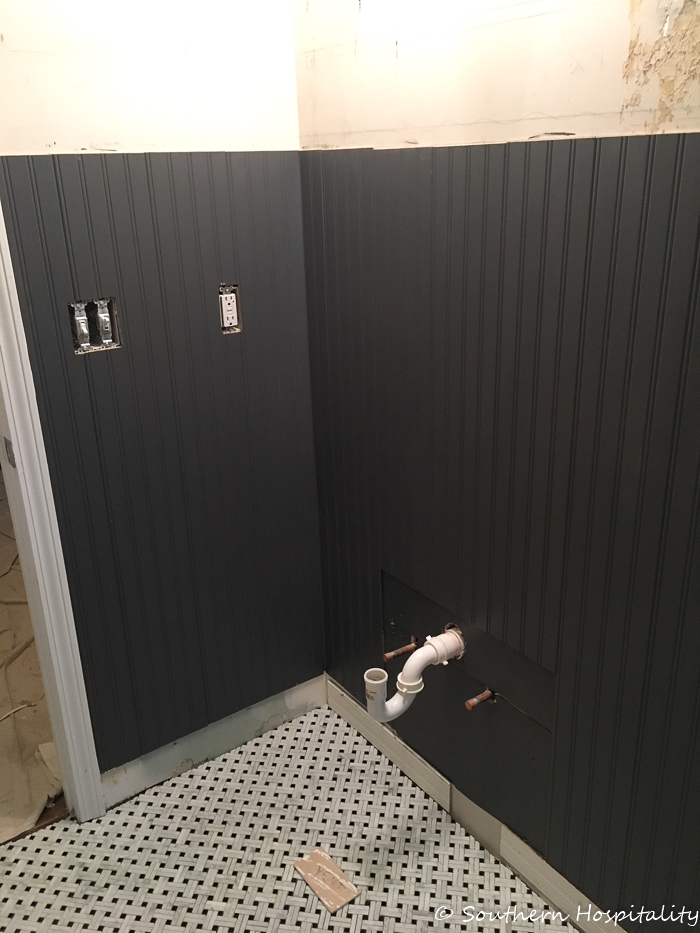
Painted and waiting for the trim boards to go up.
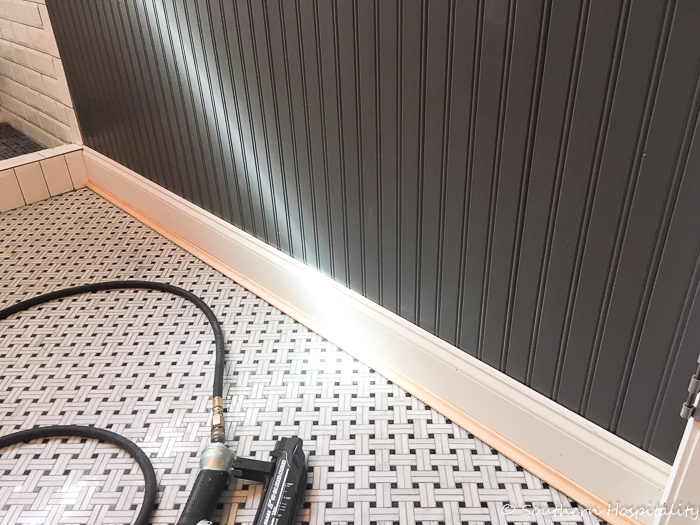
Mark worked on those one weekend and we got them all mostly finished when the tile guy came back and finished his last day.
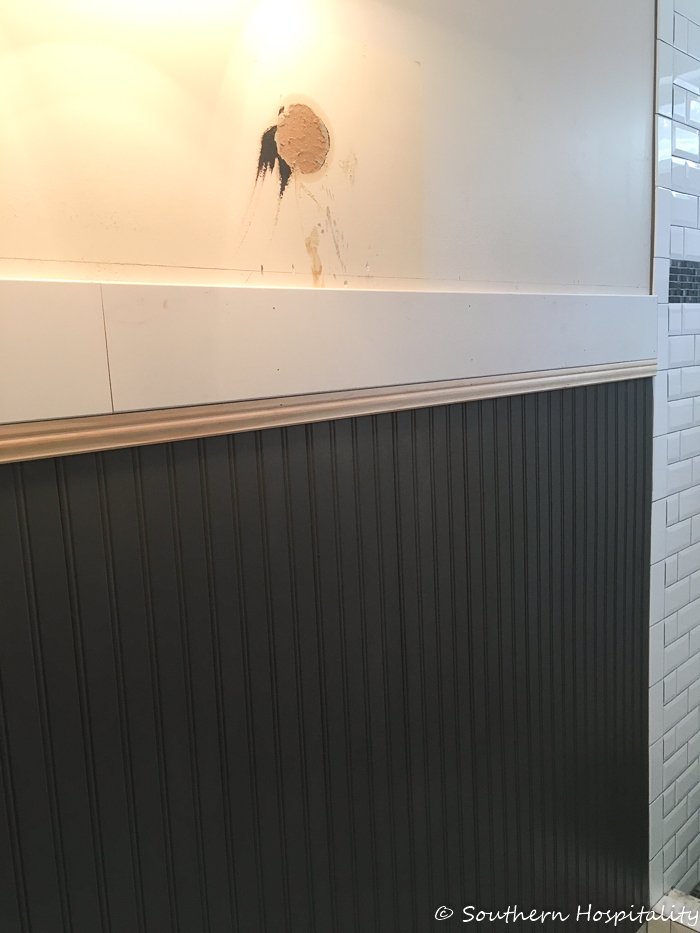
There will be one more small trim board that will go on top to finish it off. I did order the wallpaper and it’s going up too! Can’t wait.
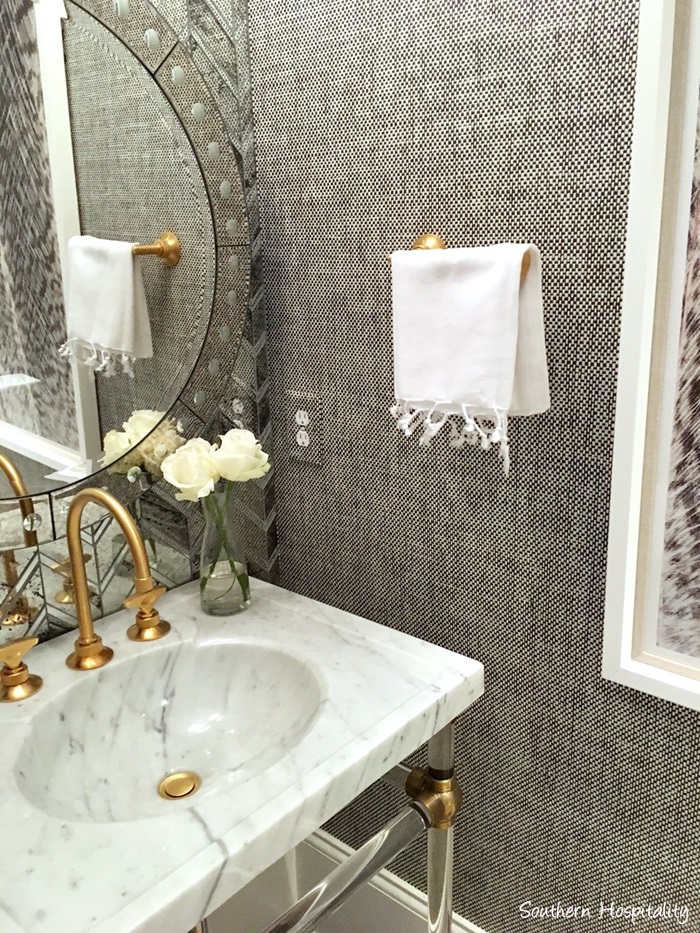
Again, this is Thibaut Wicker Weave in Black and it’s on the way so this bathroom is one more step to being finished. I decided, what the heck…a little more $$, but it will make such a nice statement in there.
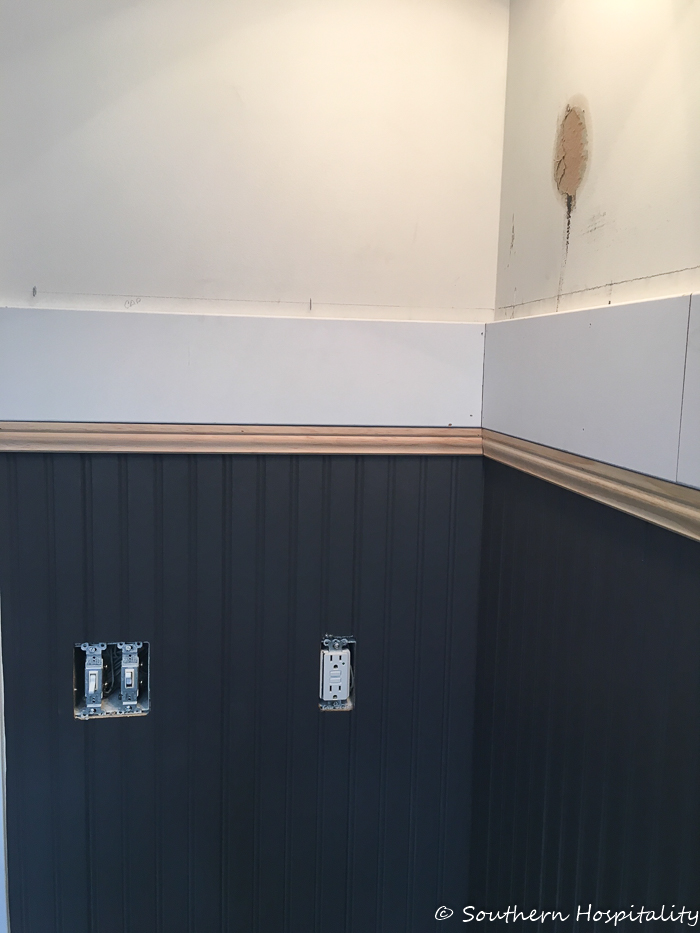
All the trim boards were added and I got them all painted out.
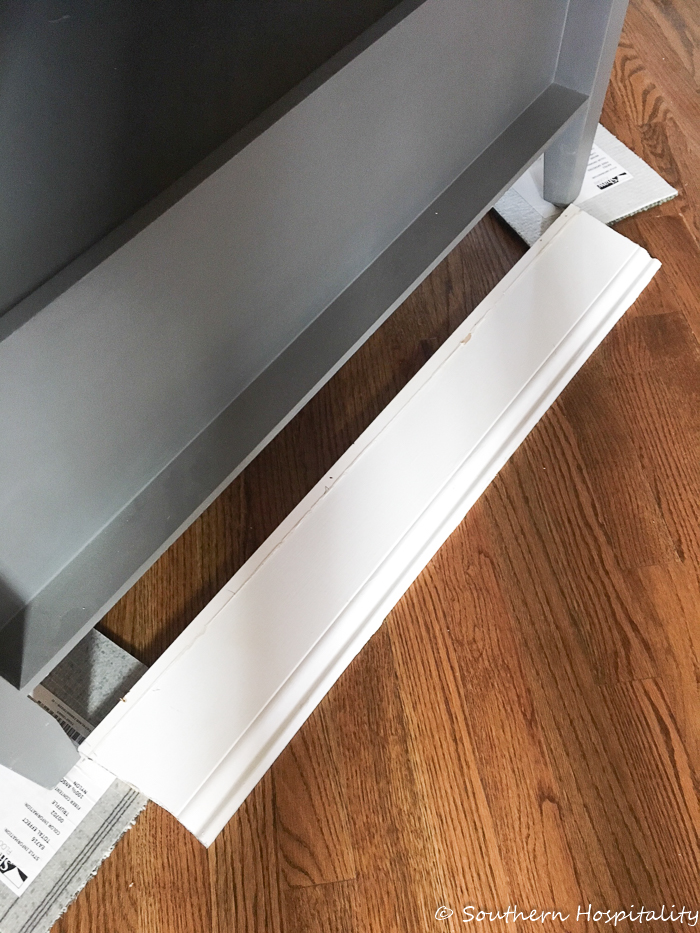
Meticulous Mark even cut out a piece of baseboard trim to add inside the legs of the vanity. Even though it really won’t show unless someone was on their knees looking under the vanity, he wanted to finish it off so that was put in place too. He scribed it to fit insde the legs which are slightly curved.
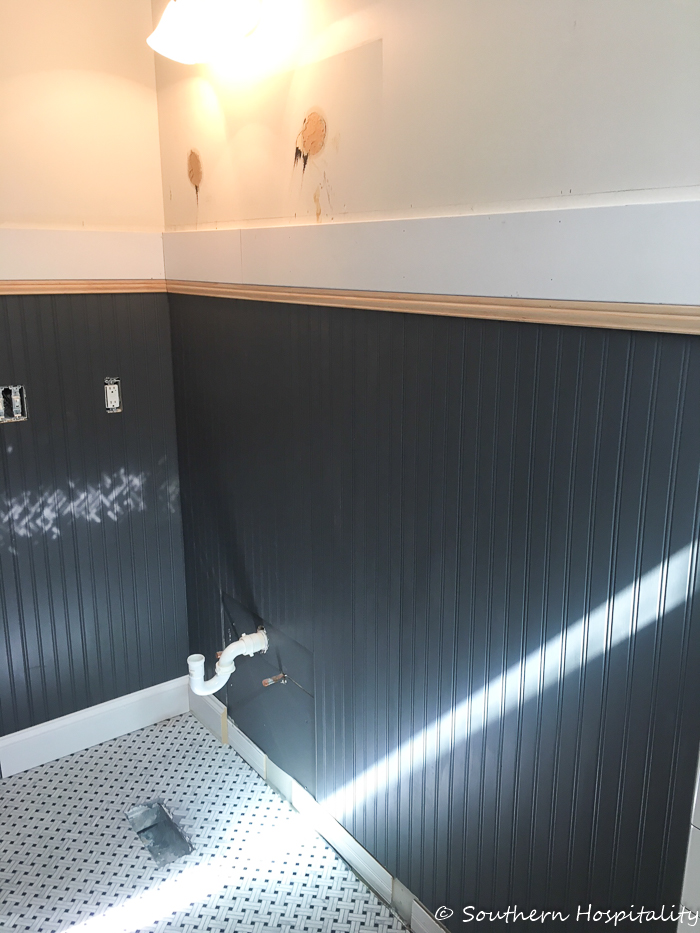
Waiting for the baseboards and the vanity to go in.
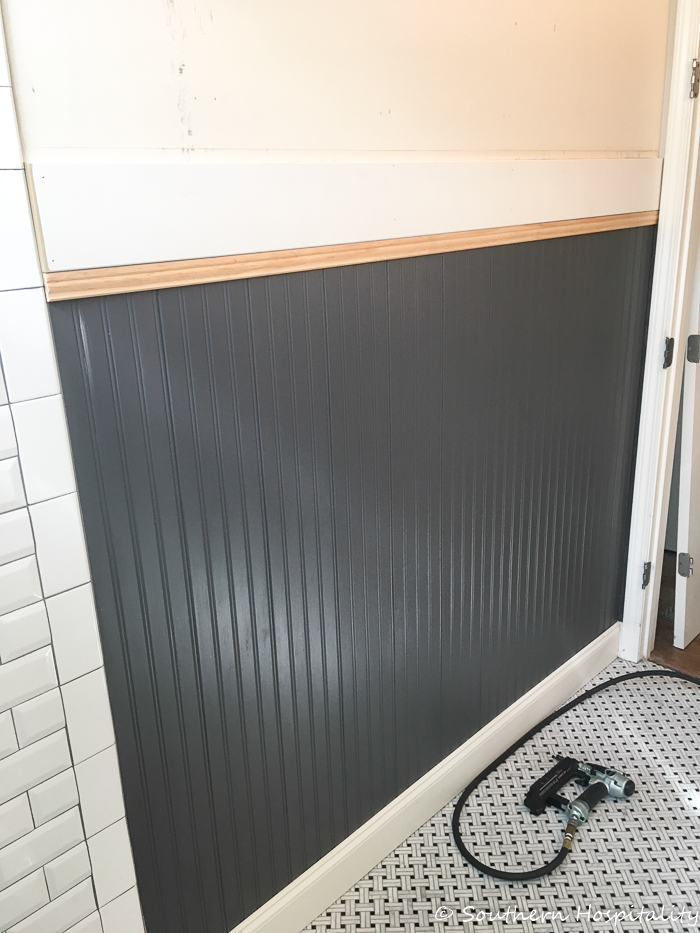
Mostly finished on this side.
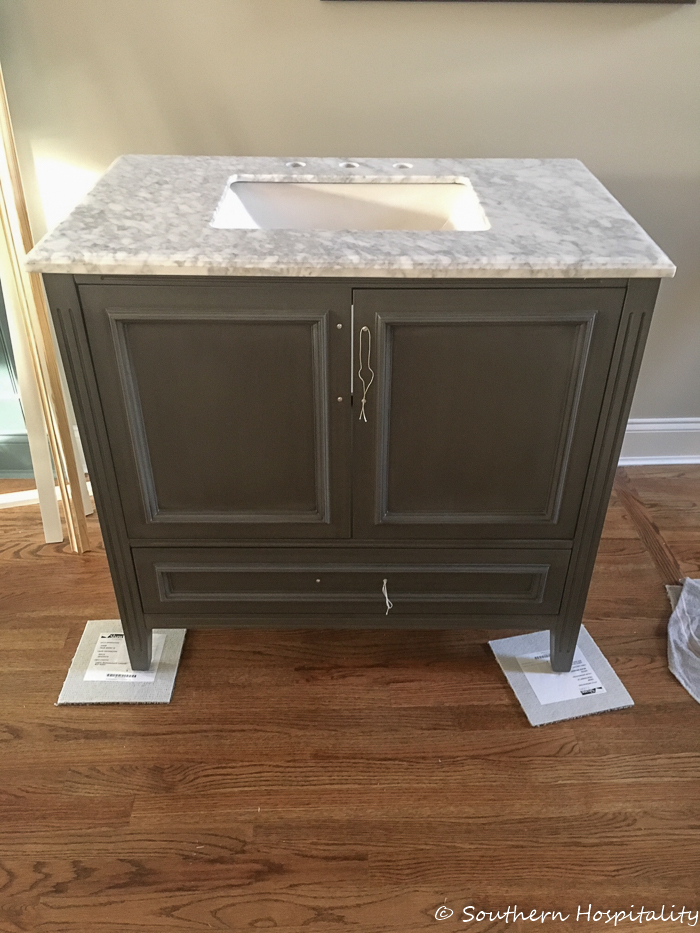
And here’s the vanity waiting to go in there and get installed.
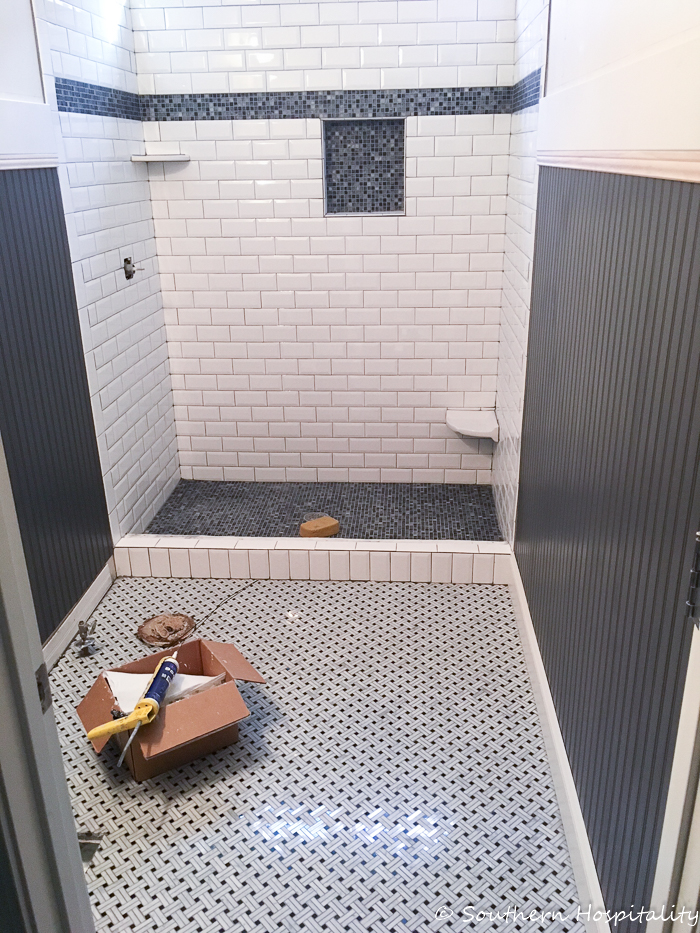
This is where I’ll leave you for now! That’s the progress on the bathroom. All the beadboard and trim has been painted and the vanity and toilet are back in place and next is getting the shower doors installed, adding the new mirror and light fixture and getting the wallpaper installed. Still have a few more things to do before I can show you all and that won’t be until after April 1st, so stay tuned for the final reveal! It’s going to be beautiful, I can hardly wait to share it with you.
If anyone knows someone who could install a glass shower door (from Kohler) let me know. My tile guy doesn’t do those anymore, simply because they are too much trouble, so I’m looking around now to find someone. Most plumbers don’t install shower doors and I want to find someone who knows what they are doing. Mark doesn’t want to tackle it either and I don’t blame him, since holes have to be drilled into the tile to set the doors. The one I chose is the same one I used before, the Kohler Levity semi-frameless shower doors.
At first, I thought 2 months was more than enough time to get this finished but now I’m glad we have plenty of time, since we still have some important things to complete.
One of my readers saw my bathroom plans earlier and did this cute drawing on a computer program, using all my mood board ideas to show what the bathroom would look like. 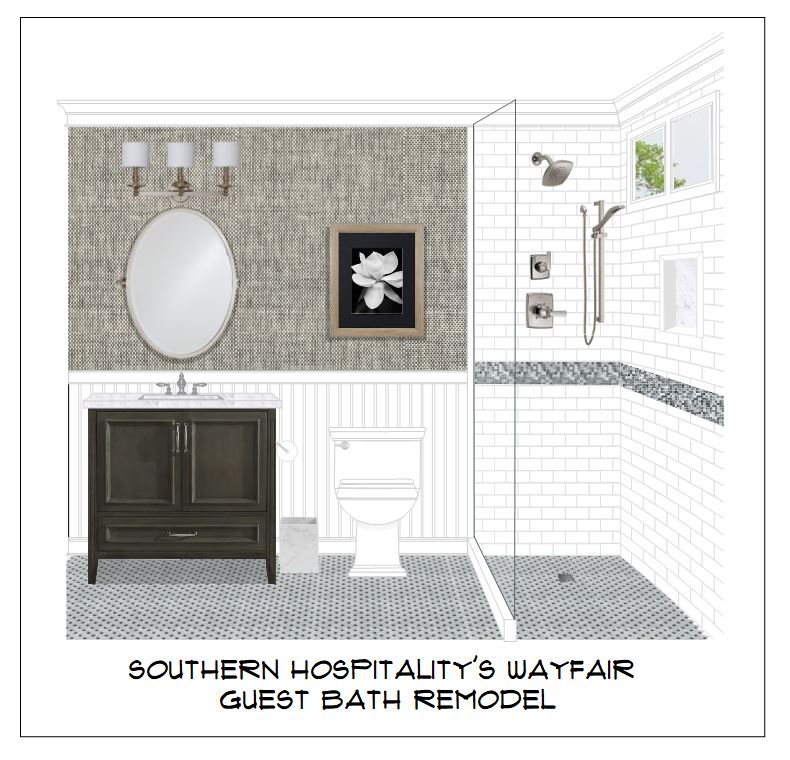
Isn’t that cute? I did a change of mind and ended up doing a dark beadboard, but this is really neat how it gives a good idea of the final look! I apprecidate her taking the time to do that!
I can’t wait to share it all and get those final and finishing touches in there! It’s so exciting to see it now and how great it’s looking.


Rhoda, showing my hubby your work and he was quite impressed!
Thank you, Dawn, I appreciate that!
Great use and application of finishes. LOVE the darker headboard… masculine and classy at the same time! Beautifully done! Y’all make a great team! Always enjoy looking at your decorating ideas and spaces!