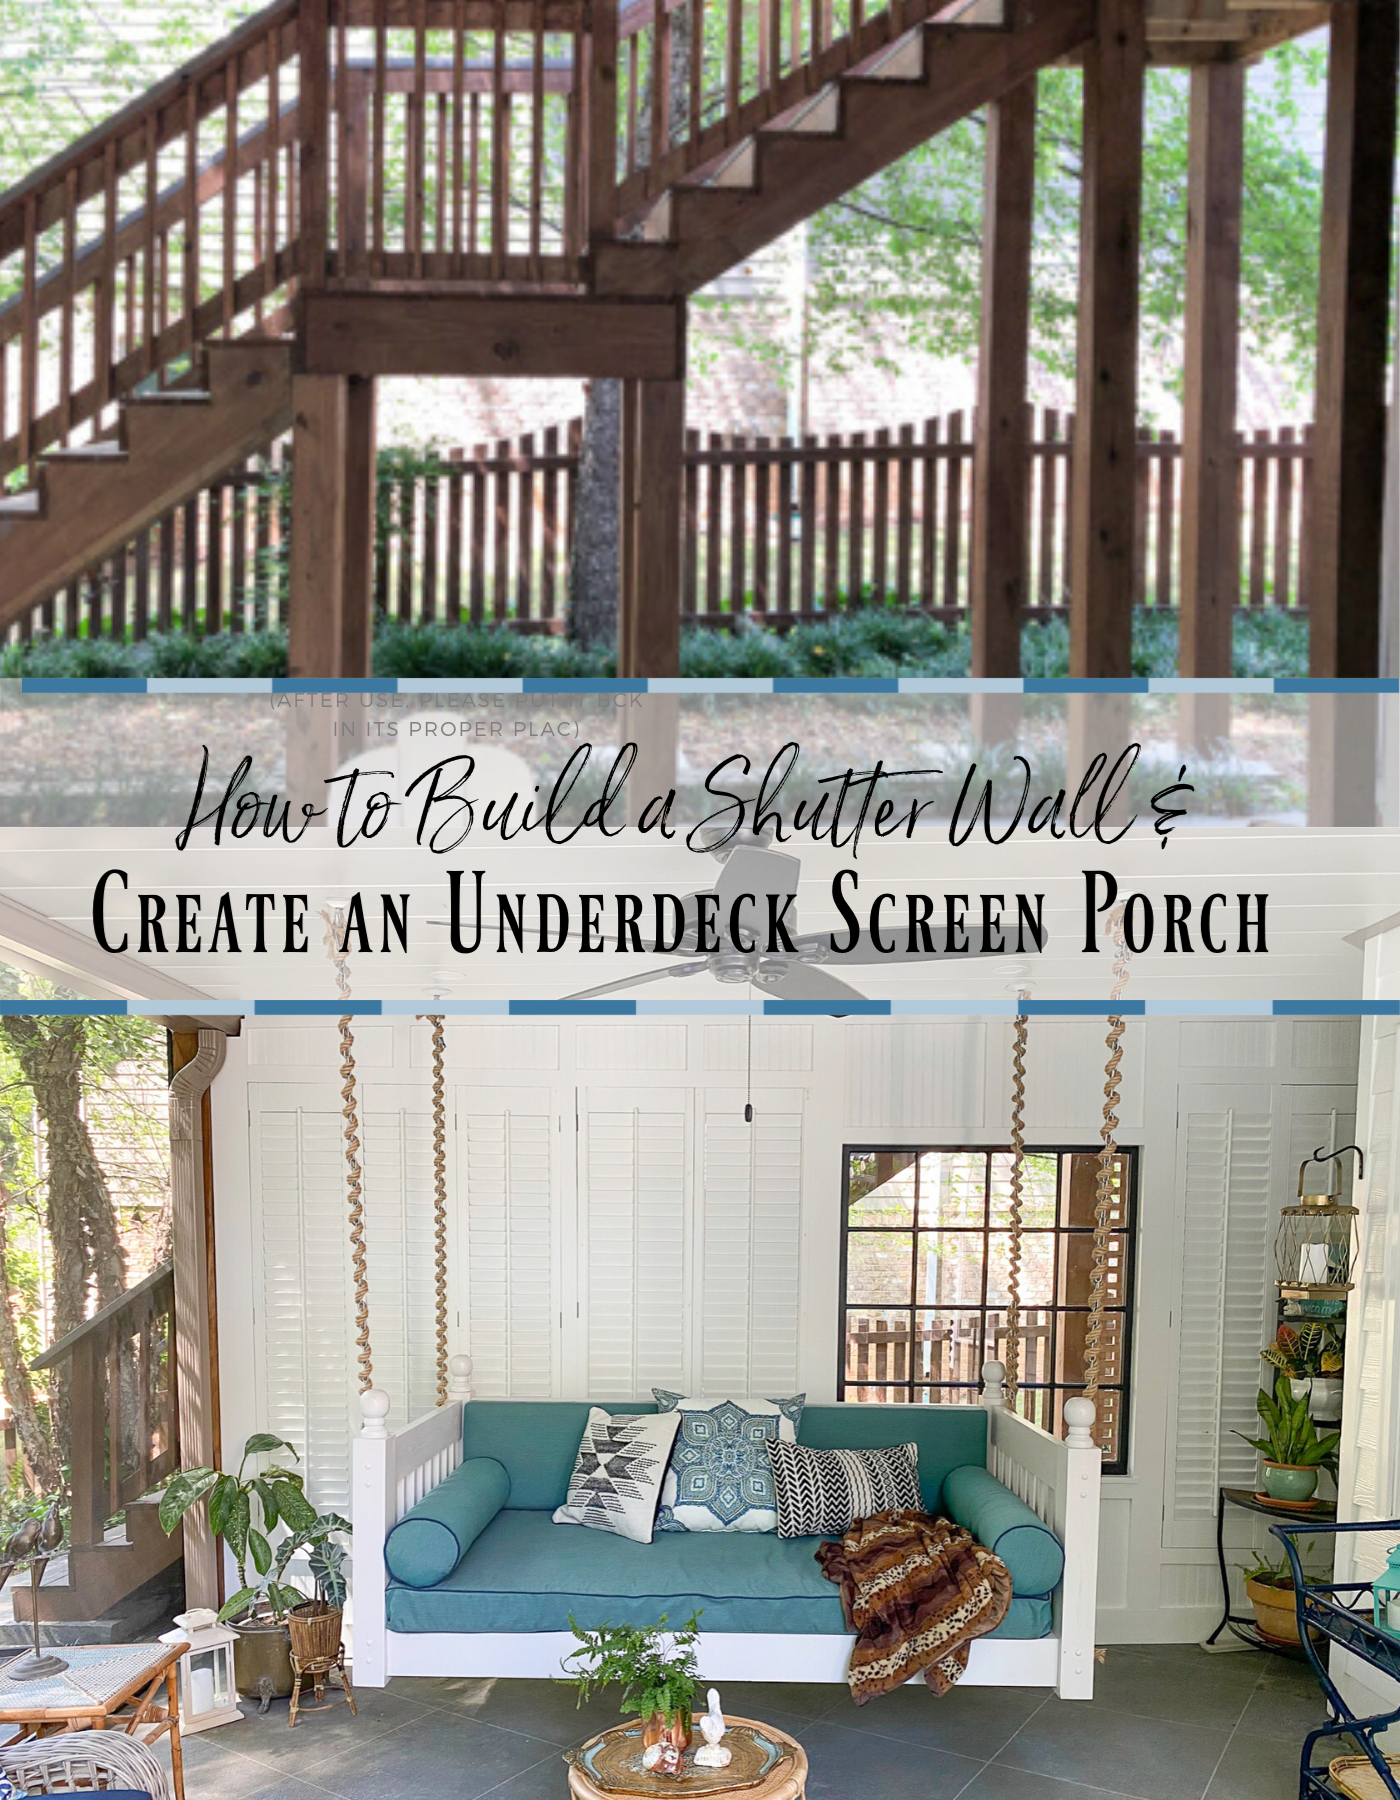
It was such a pleasure to share our new outdoor spaces with you all and you definitely had great things to say. Mark and I have really enjoyed fixing up our house in the last 3 years and making it the best it can be. Finishing up this screened room was the last thing to complete our patio living space and closing up this wall was the final project to do that. So today I’m going to share how we built a shutter wall from old shutters and a salvaged old window.
Please Pin Me!
You can see what we started with here. This was taken after we put in the stairs our first spring in the house but before doing anything else to the patio or underdeck. It was a green mildewed mess back here and we definitely didn’t enjoy sitting under here. Not inspiring or pretty at all!
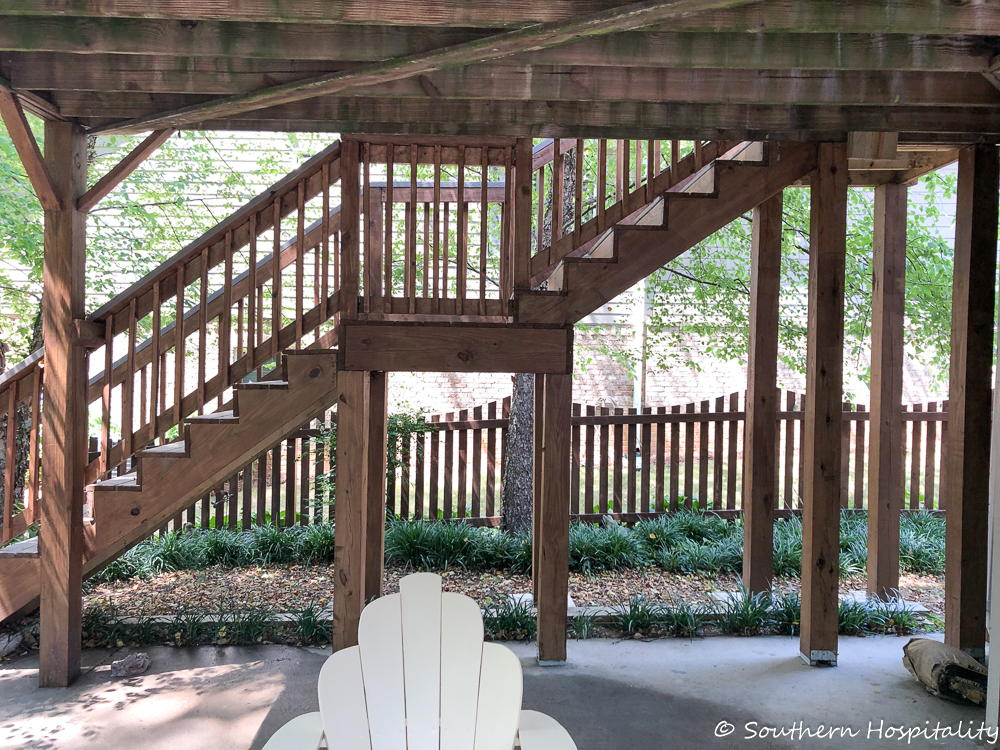
We were glad to have stairs at this point to take us from the upstairs living area down to the backyard. That was a must too for our outdoor living. It sure was good for Holly, she came up the stairs every morning to spend time on the deck.
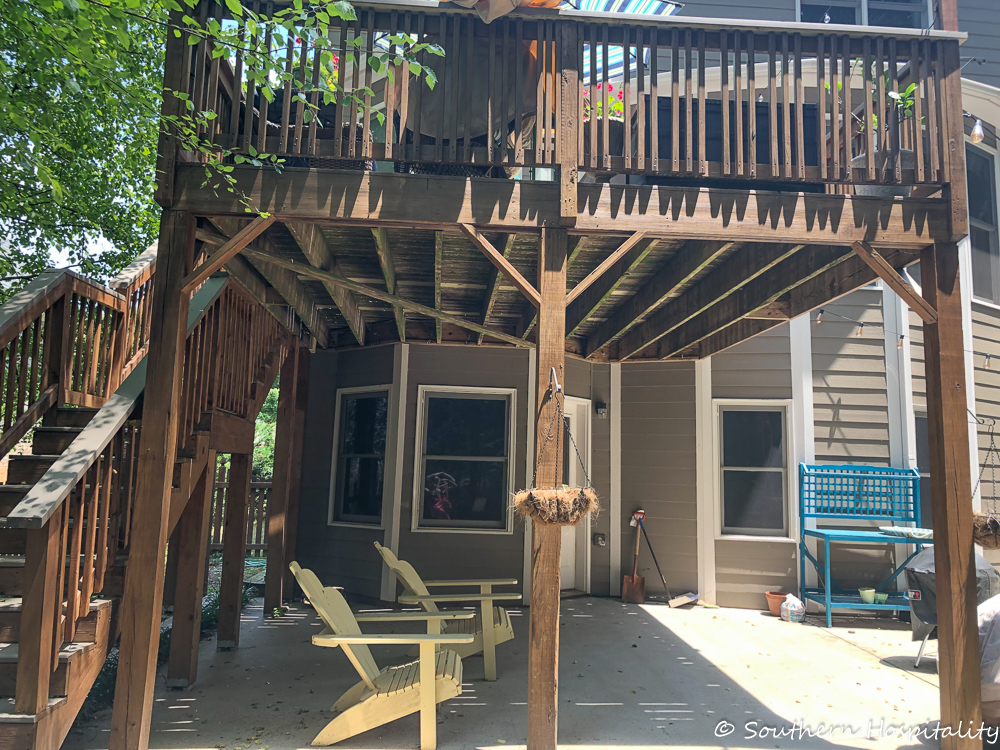
So this is what we had for those first 2 1/2 years and we didn’t spend much time down here even though we had a sectional sofa at the other end of the patio. We used the top deck for lounging most of the time, but that was subject to weather conditions. It could get pretty hot up there.
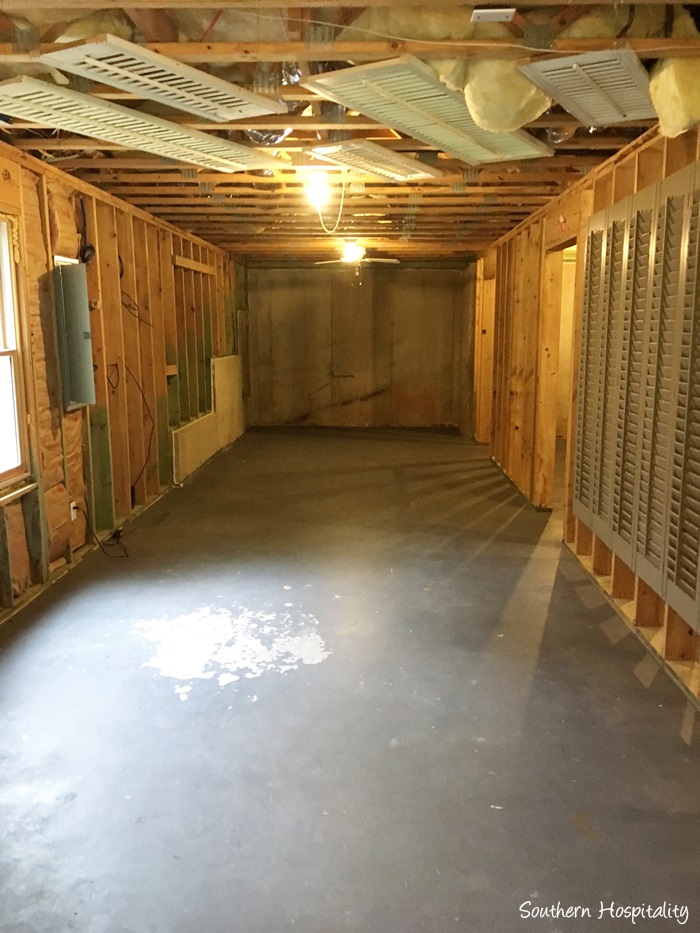
And just for reference, this is a pic I took when we bought the house. The basement was a clean wide open space (it’s not now, haha!) but you can see the shutters that were left here by previous owners. We spotted those shutters and filed that away for a future project. We had to unscrew the ones on the ceiling and get them down to figure out our plan for them. We had discussed building a wall down here for the eventual screen porch we decided to do under the deck and these shutters would be perfect for that.
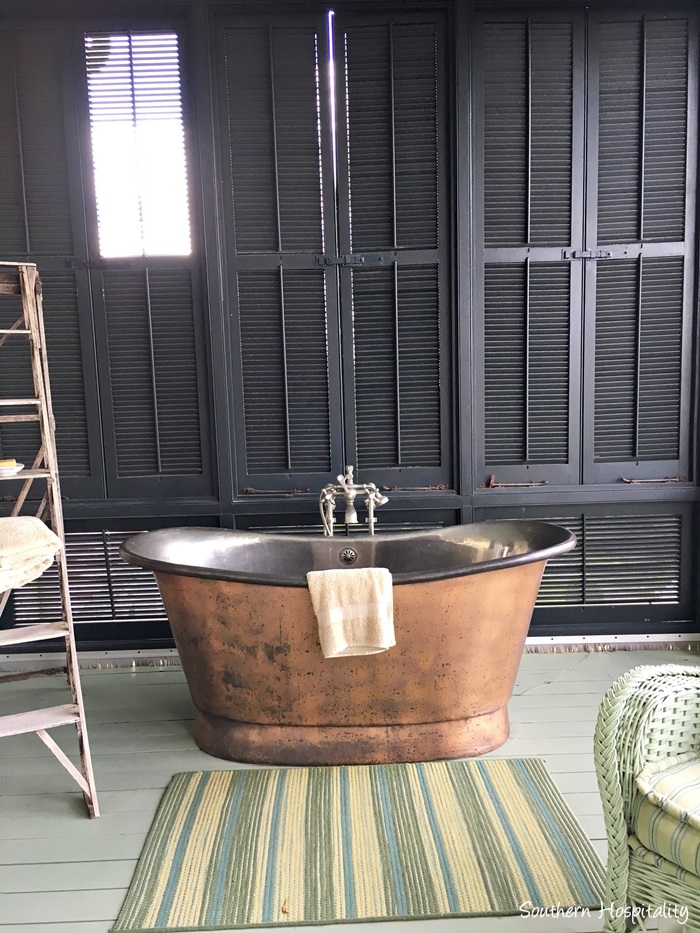
Shutter walls like this one from Moss Mountain were always inspiring to me.
Of course, there were a lot of projects that were completed prior to that, including the rock wall, Underdeck ceiling, faux tile floor, and those fabulous Phantom Screens. The shutter wall was the final step to achieving our screen porch space.
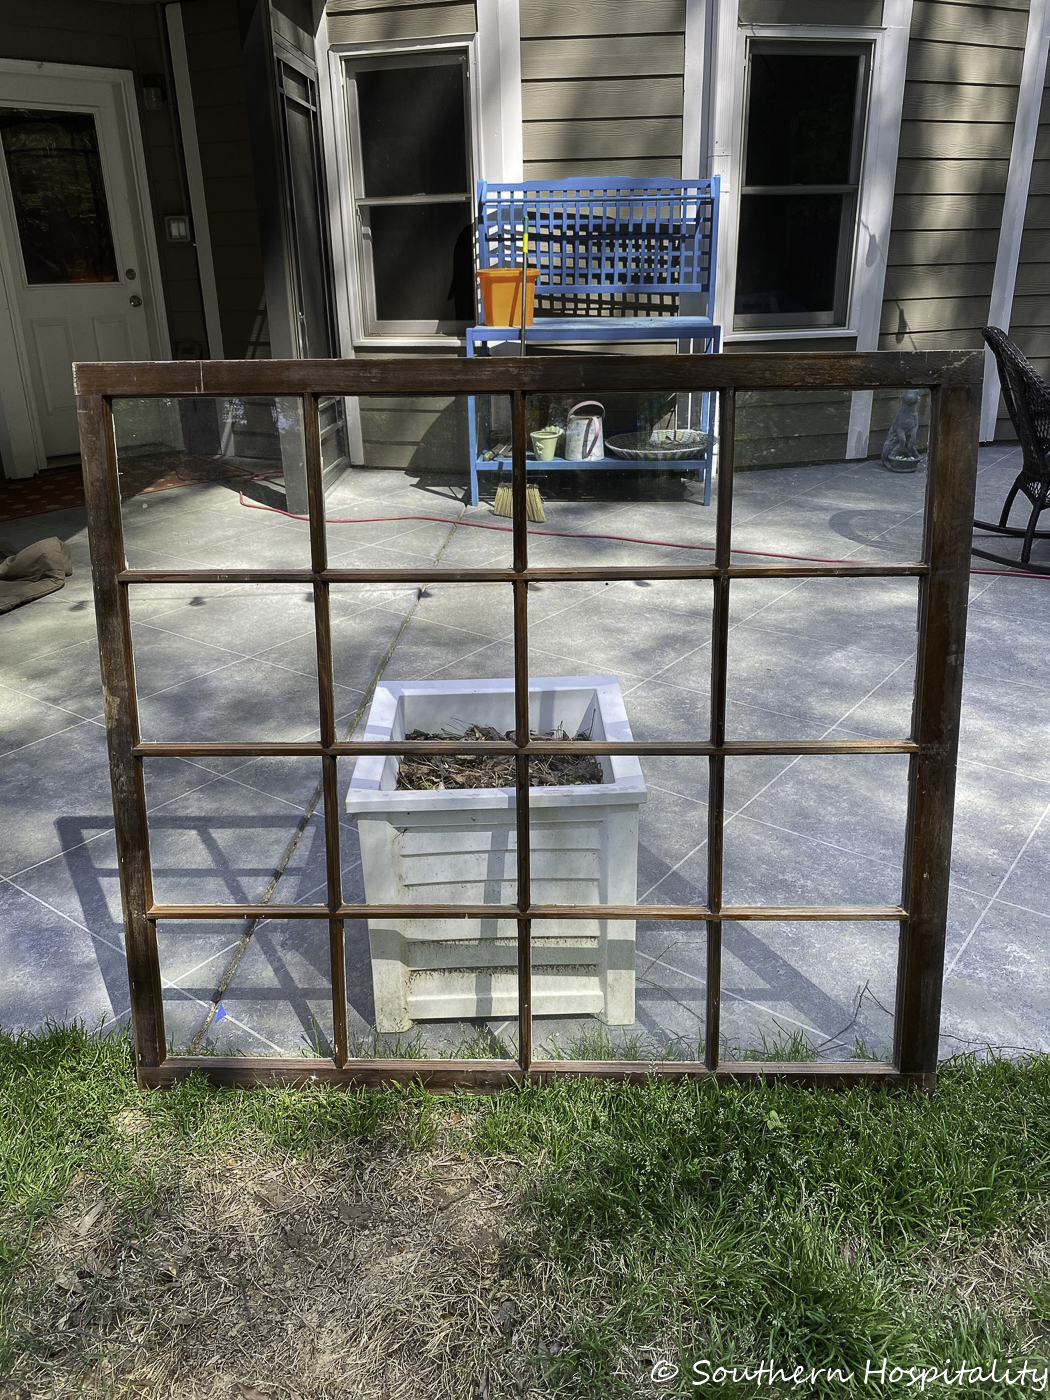
Mark and I found this salvaged old window at an antique store at least a year ago. We bought it for $25 and brought it home, just waiting on the time that we would get this wall completed. We thought it would be a fun addition to the shutters we already had. We really didn’t know exactly how this wall was going to come together, but we had a vision.
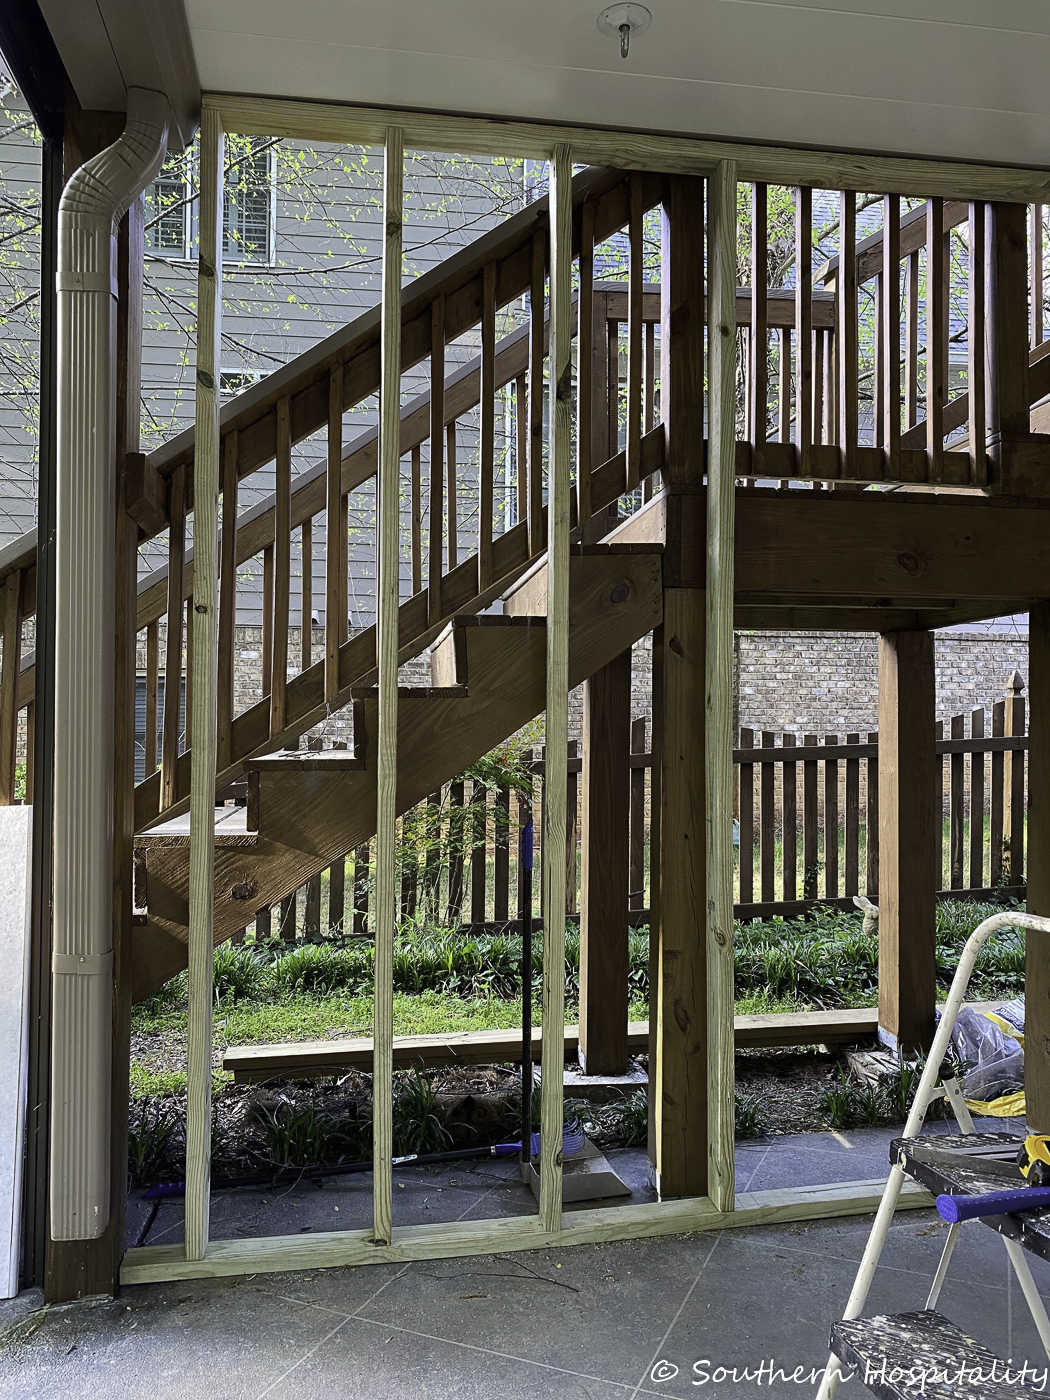
So now was the time to get busy and Mark really pondered over this space figuring out how to build studs for this wall and getting it ready to screw in the shutters and place the window. We had room for 7 shutters as well as the salvaged window.
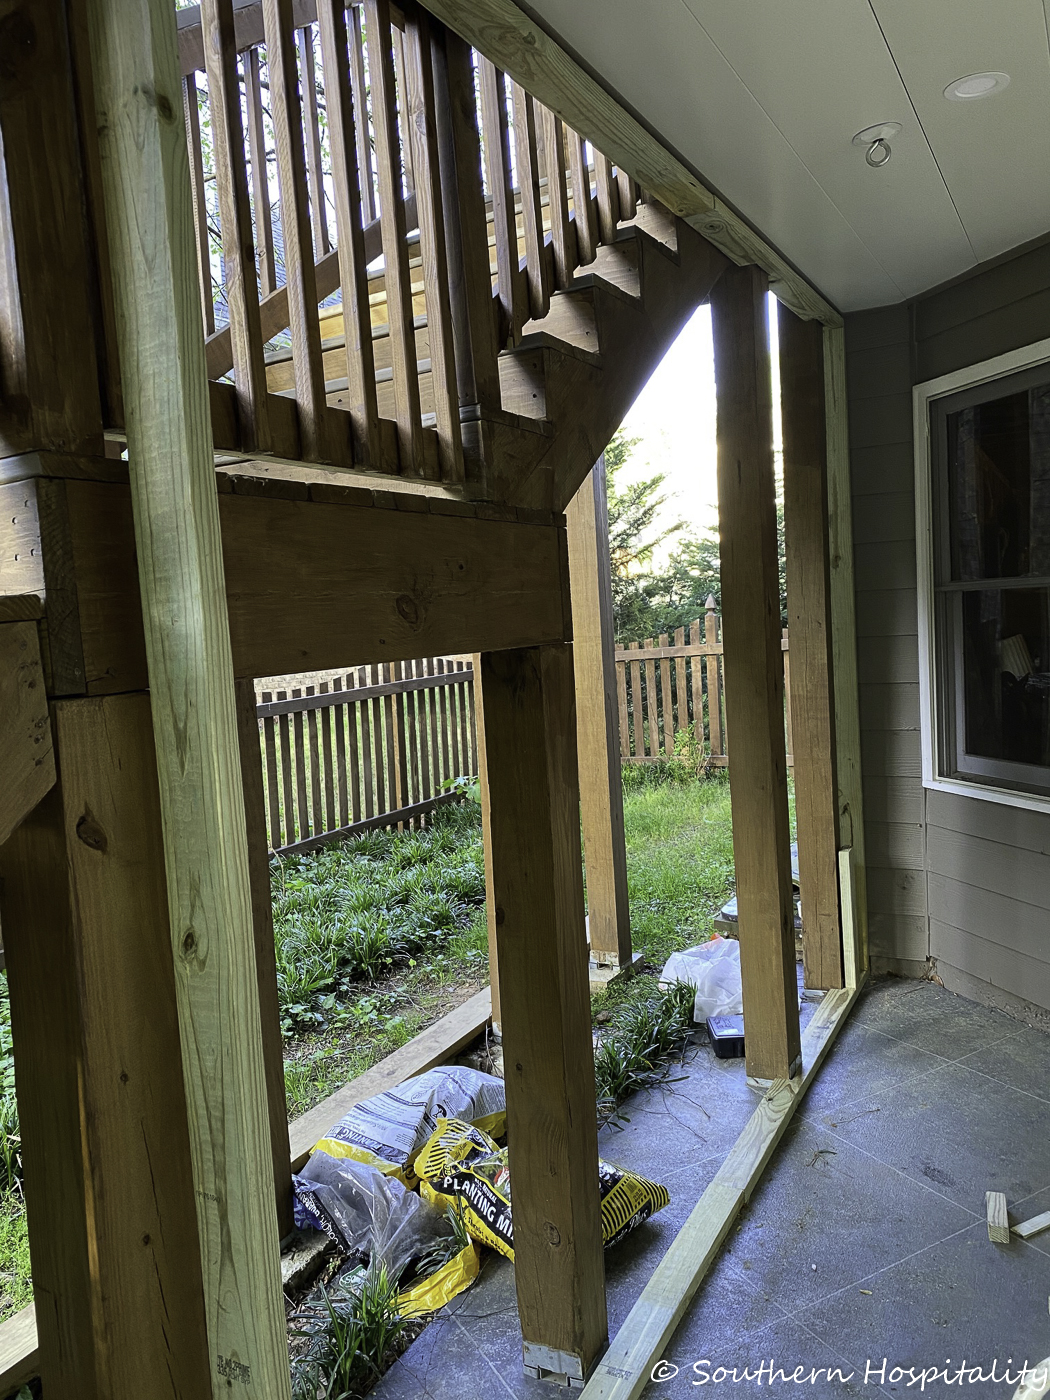
The big posts that held up the stairs were not all completely straight across the floor, so Mark had to figure out how to add in a pressure treated board across the bottom and make the wall as straight as he could get it. You can see the board is in front of some of the big posts and some are cut out to create a straight line to use for the studs that will come. I’m so proud of Mark for figuring all this out. I could never have done this!
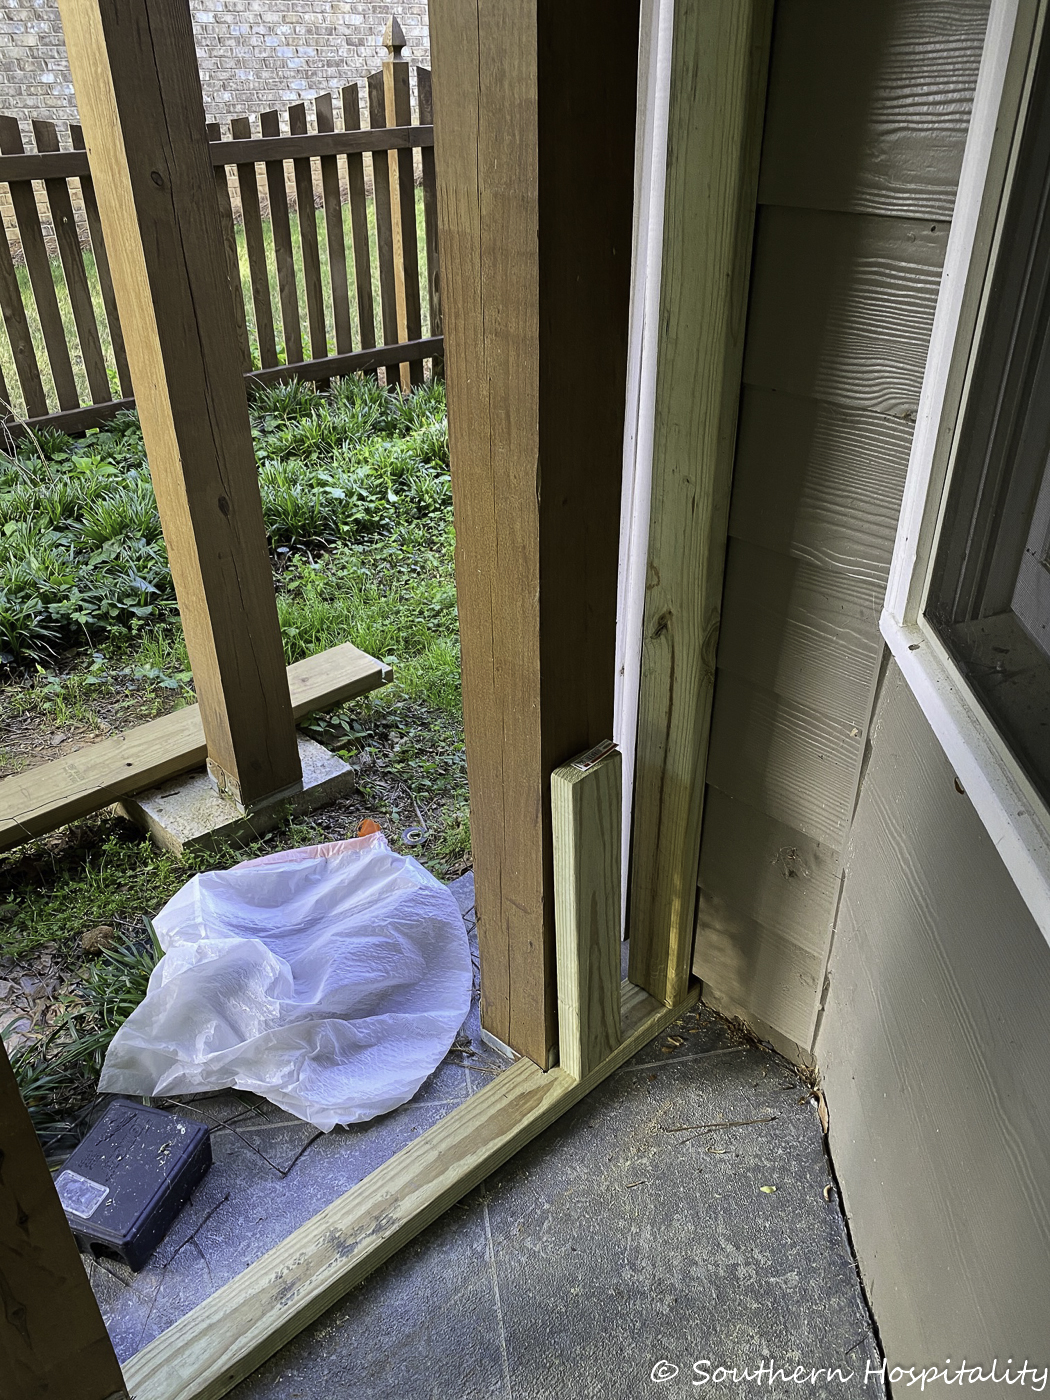
The goal of the wall was to make it as straight and plumb as possible and have everything line up visually. It’s an exterior wall so it’s not holding anything up. We used the large stair posts as anchors for the 2×4 studs and everything is very sturdy. He added 2x4s all across the bottom as well as the top and then began adding studs in.
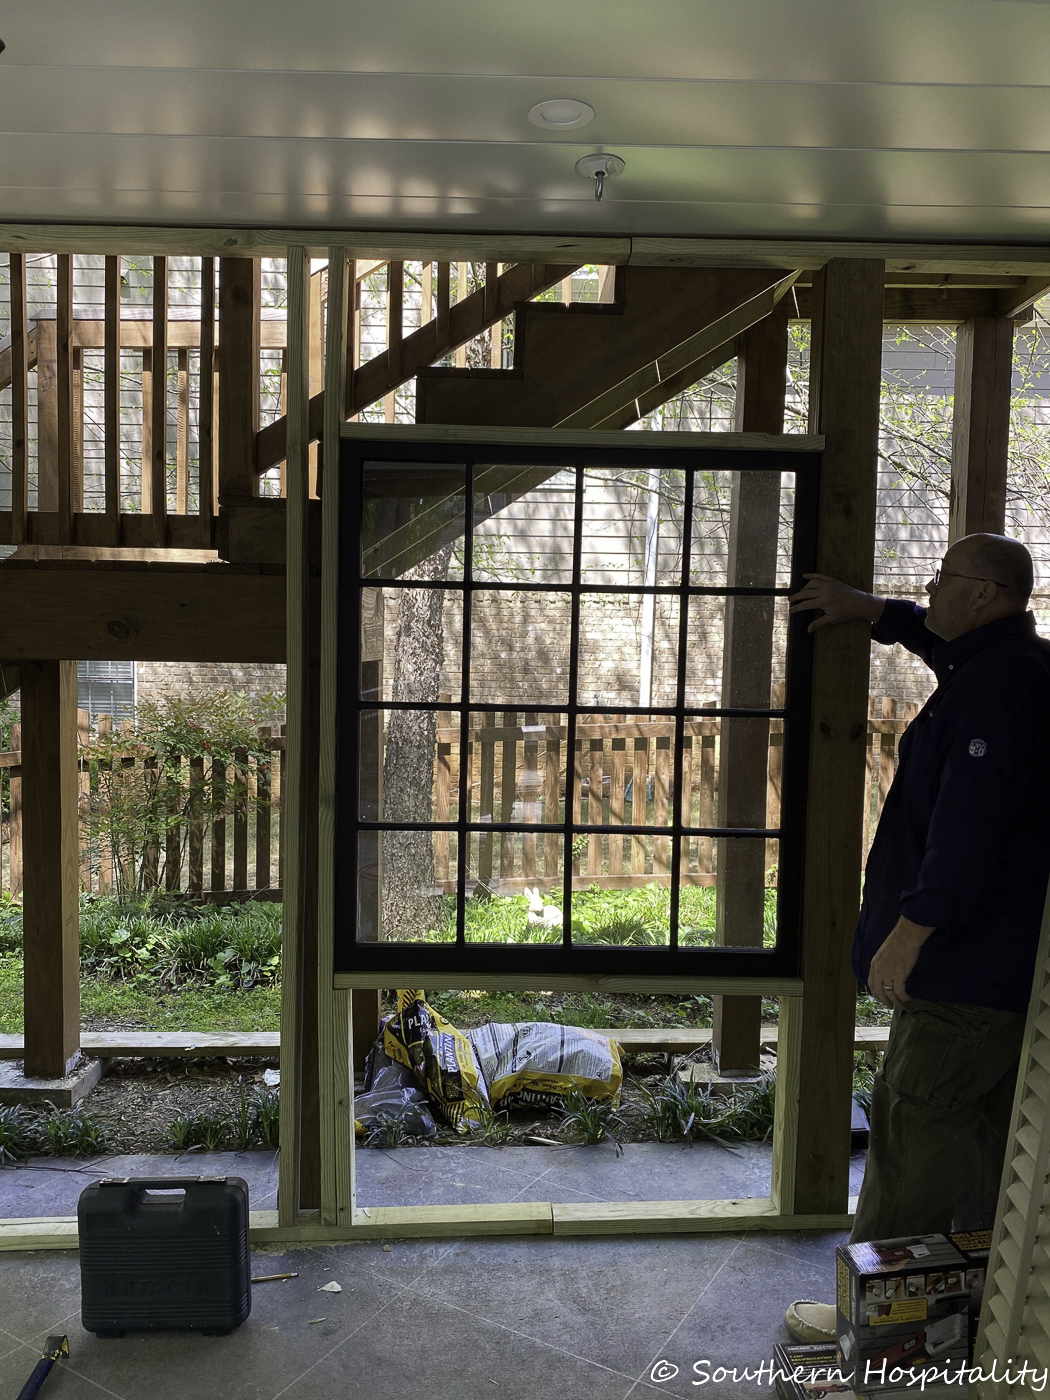
When we bought the window last year, we brought it out and discovered it was exactly 4′ wide which was perfect for this opening in the stairs to see out like a real window so we knew where the window would go already. This placement would be off center but that was fine with us. We had room for a pair of shutters to the right of the window and room for 5 shutters to the left of the window, so we figured out placement and room for trimming it all out so that everything would come out even. Mark did a great job with this part too.
Mark built a frame for the window out of 2x4s and fit the window inside adding trim pieces to keep it in place. He leveled everything as he built it. One thing to note is that the ceiling is sloped on the top to drain water out from the upper deck, so if you see something that looks off or sloping in these pictures, it’s the sloped ceiling and the sloped floor. Our concrete floor is also very sloped to drain water off the patio and it was really evident as we started doing this project. It all slopes downward to the yard from the house, which is what you want with a patio to keep it from holding water.
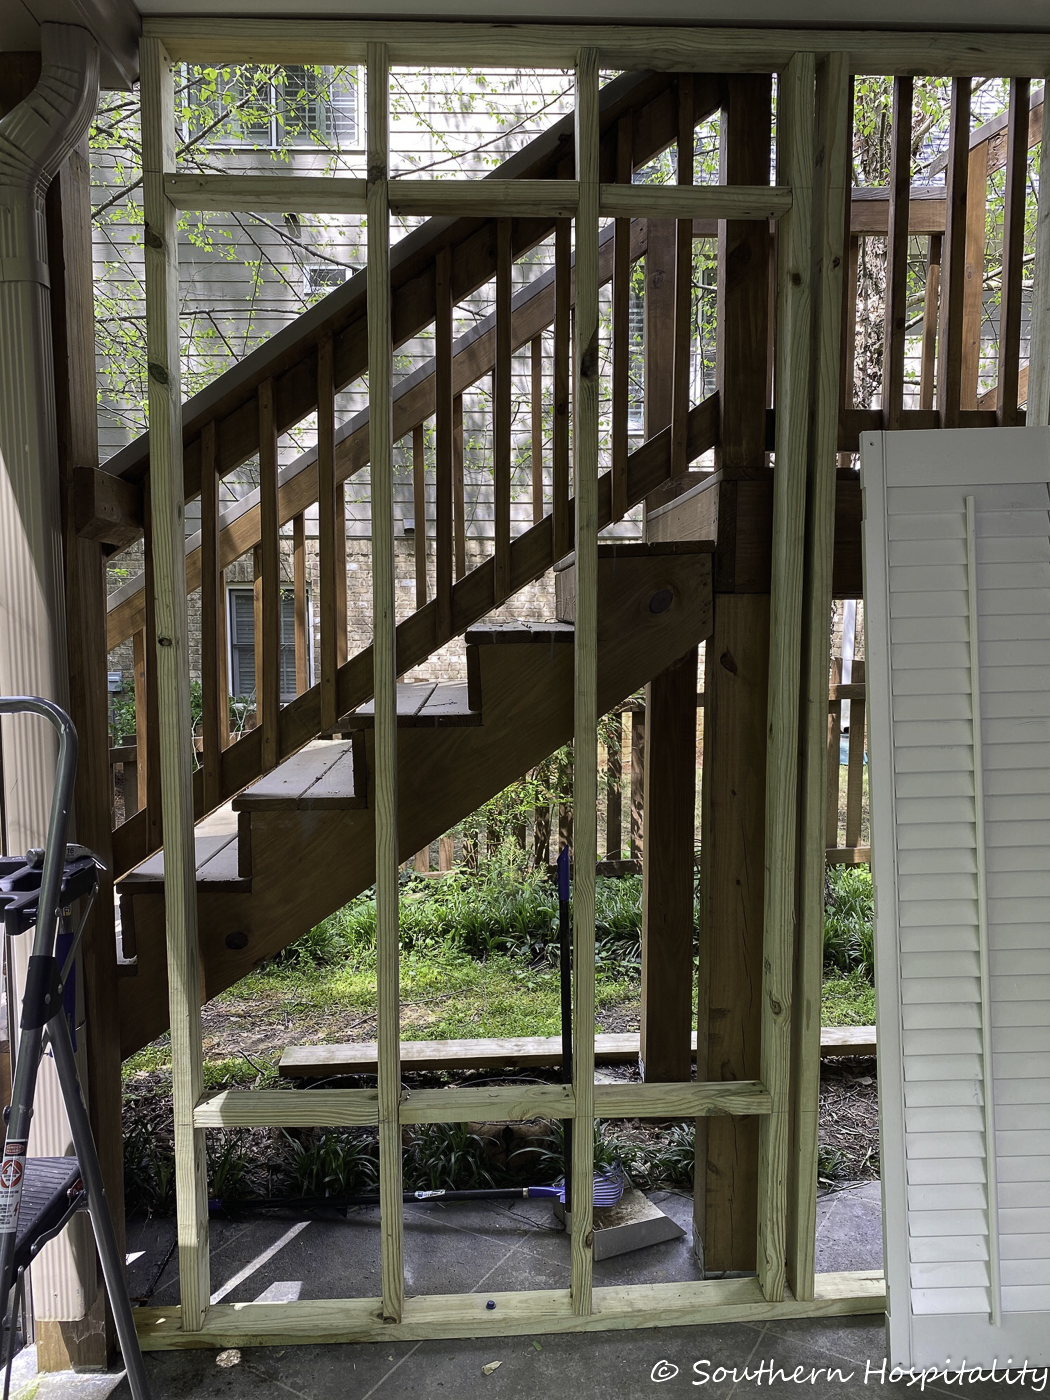
So he measured all the shutters and built a frame to nail them to. Three in this section, with another pair to the right of this. The first 3 were all the same size and the next 2 were slightly wider and not as long as the other 3, so it’s stair stepped up and he added studs according to the size of the shutters. The shutters would be screwed in directly on the studs. There were already screw holes in the shutters that were perfect for screwing them into place.
Note about the shutters: We never planned to open and close the shutters. They are hiding the stairs which we don’t need to see. We have the window and 2 sides of screens for breezes and light, so there was no need for the shutters to be operable. I’ve had lots of questions about that part, so that’s what we chose. We put screening behind so that keeps them inoperable as well. They tilt slightly but we won’t open them.

At this point, we added screens behind the shutters. We bought one roll of screening which was plenty for our project. We only screened behind the shutters just so bugs couldn’t get through those slats. The other parts of the wall didn’t need screening because it was solid boards.
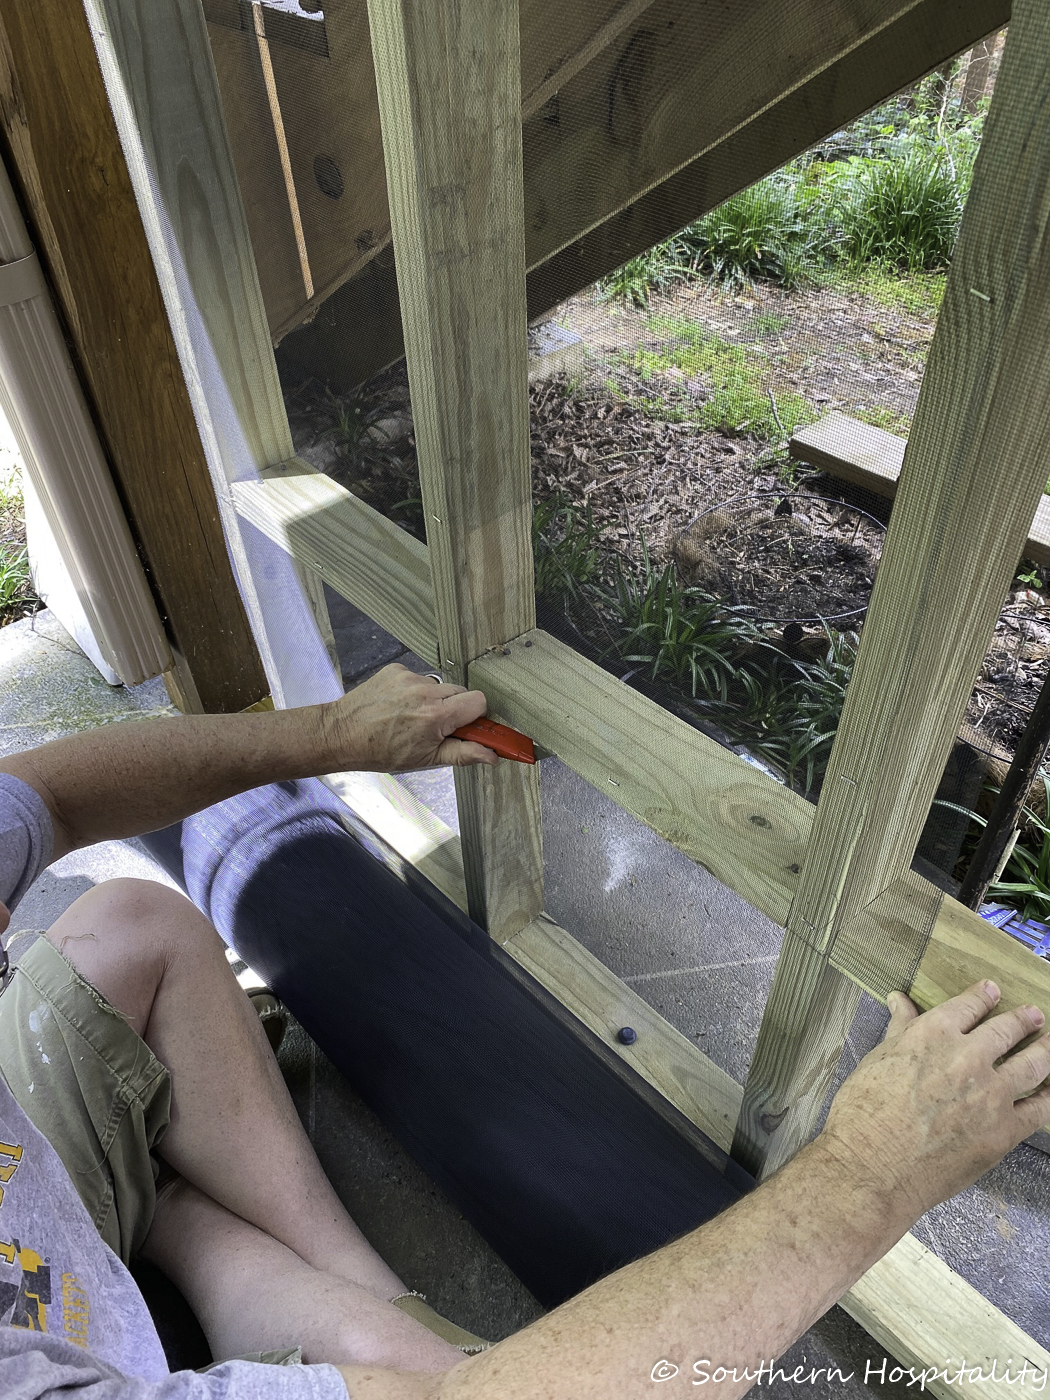
We used a staple gun to staple in the screen and make it taut against the studs, getting ready for the shutters to go on top. We just cut the screening with a utlity knife.
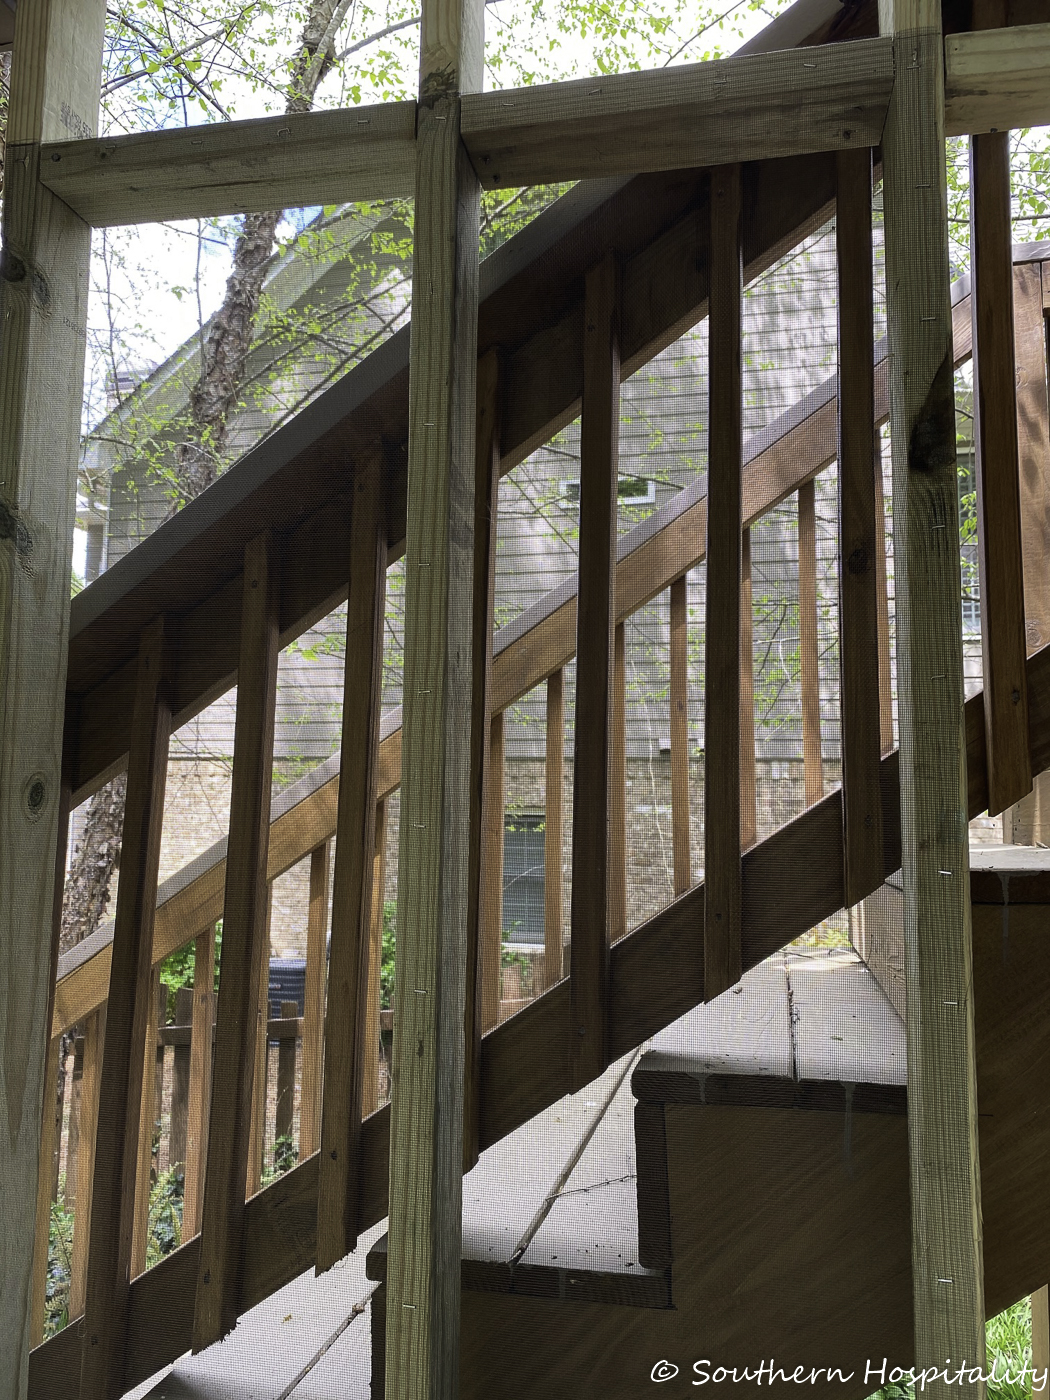
Hard to see the screening here, but it’s in place.
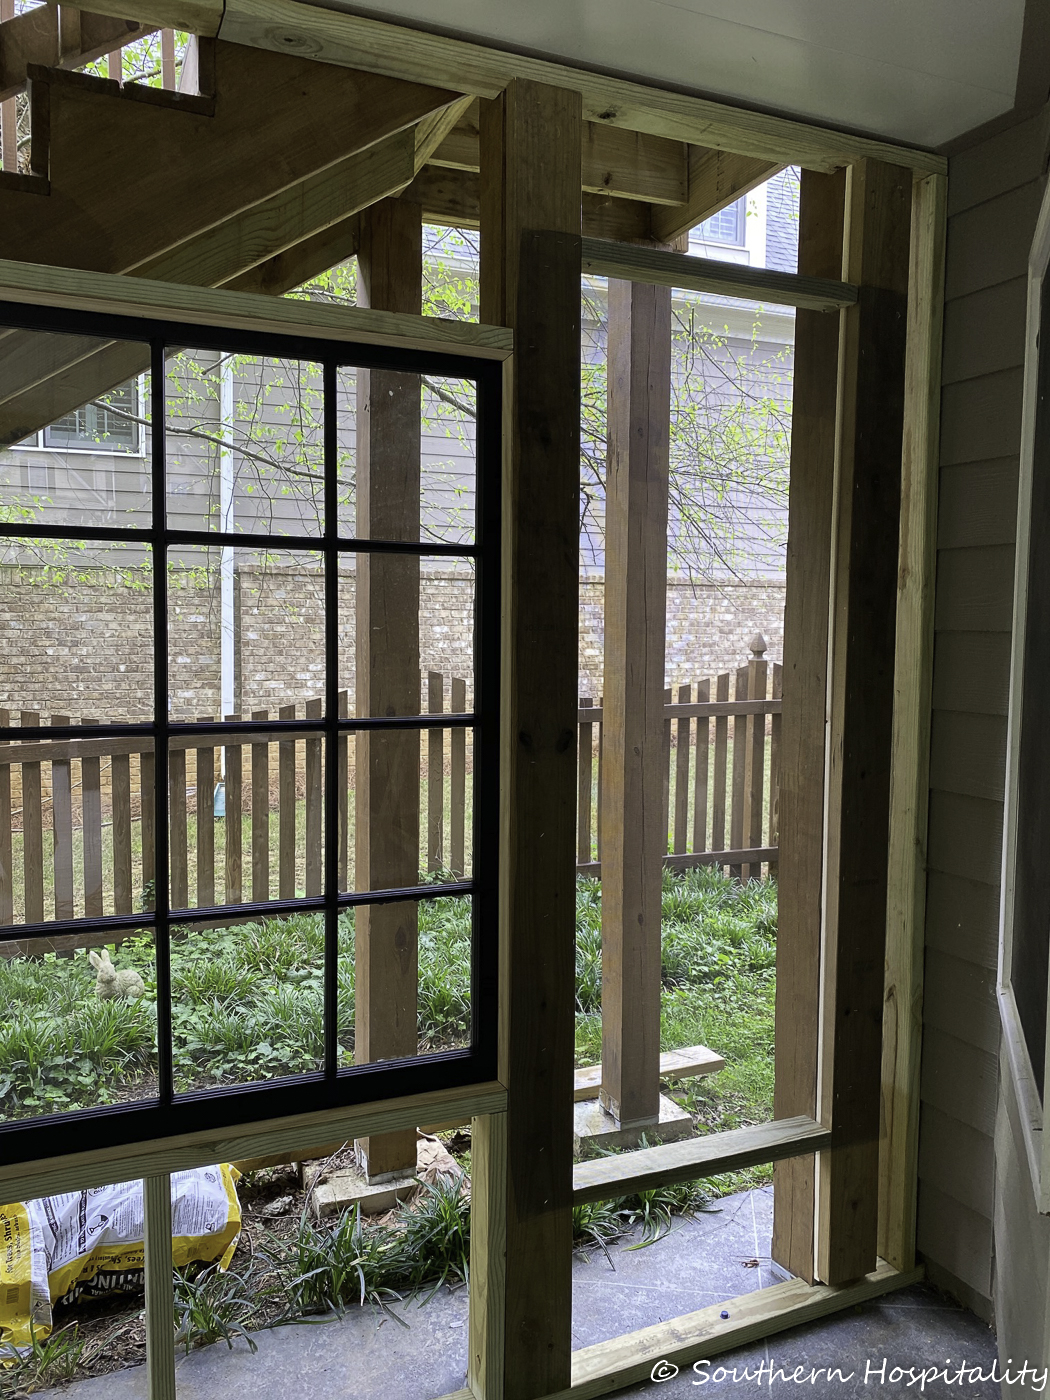
Mark framed in the window with studs as well as this side for 2 shutters and screened that in as well. We did a lot of figuring as we went along on this project and Mark was great with that part.
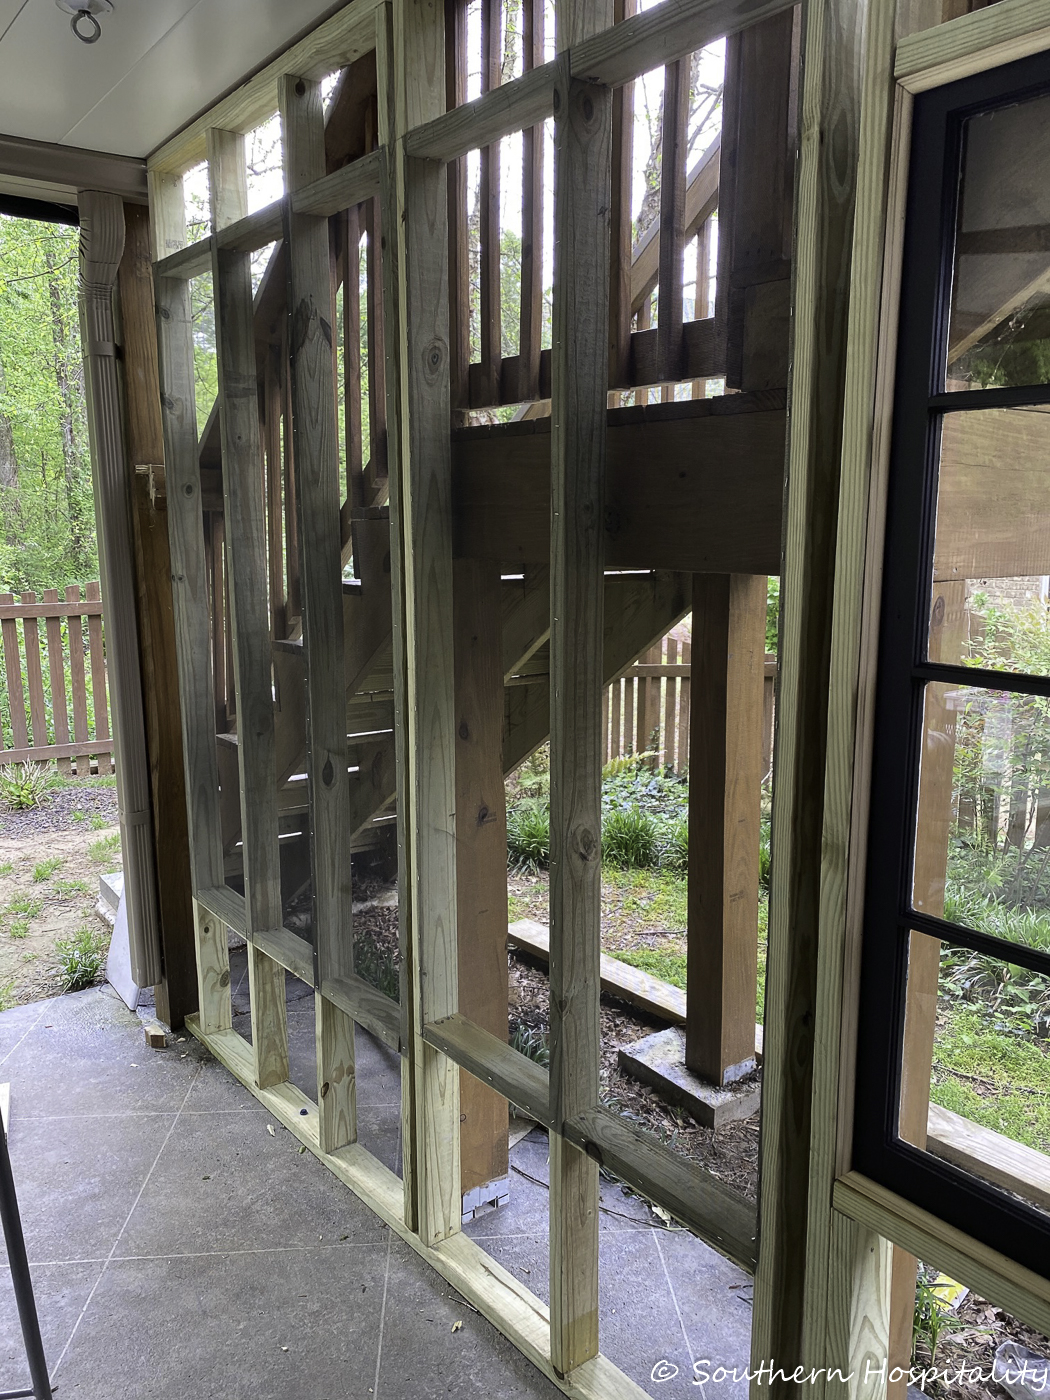
Studs in and screening in place so shutters can be screwed into place now.
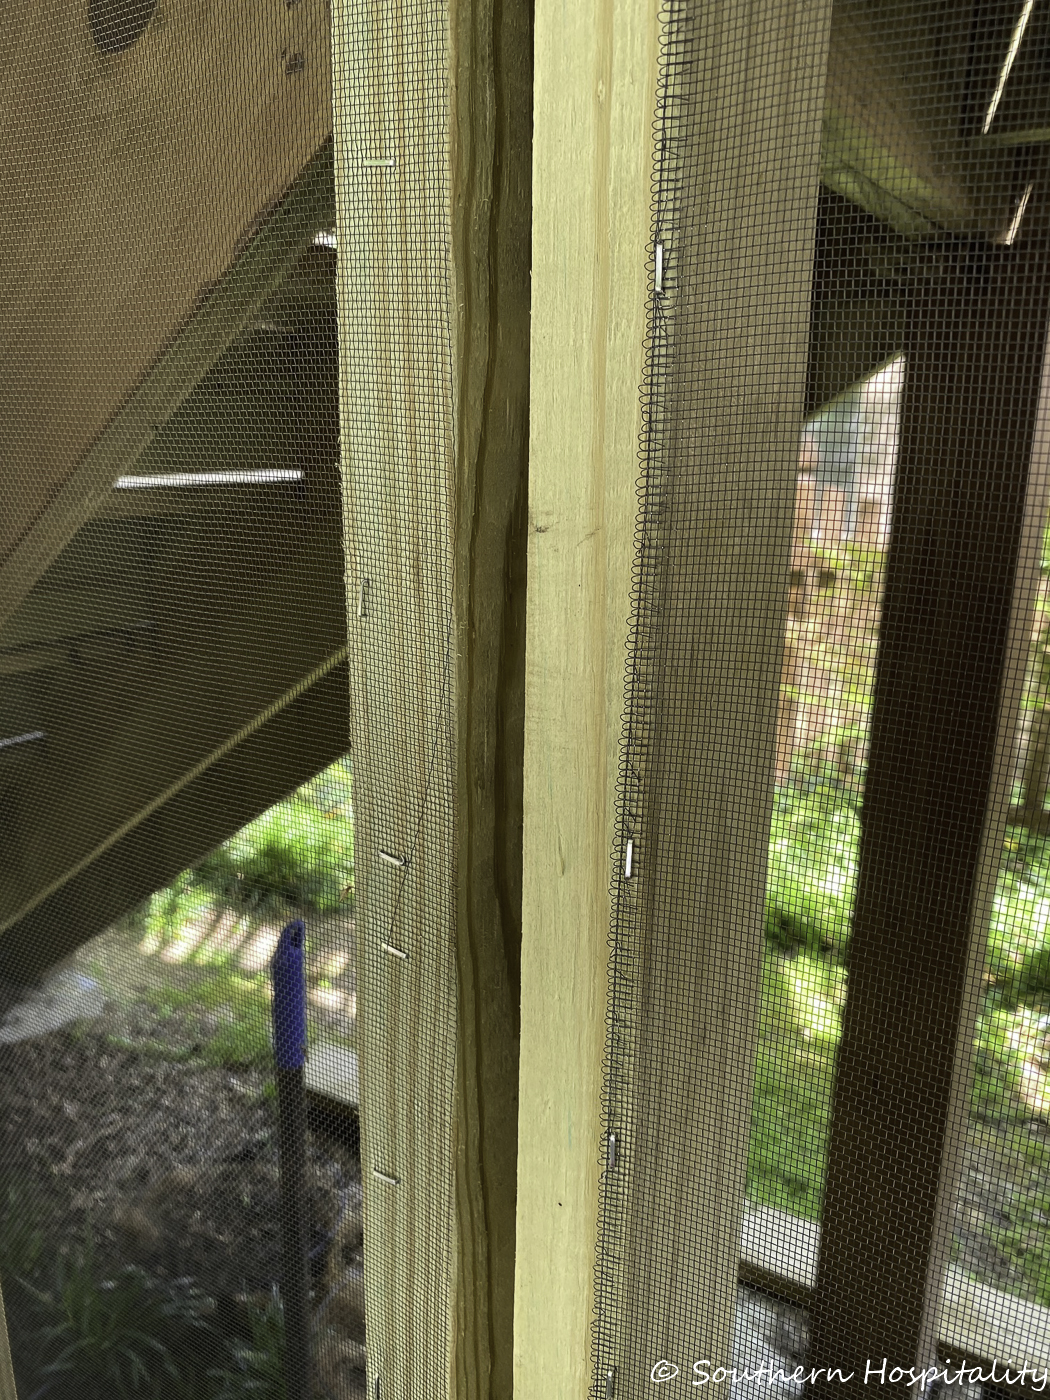
Here you can see the screening in place.
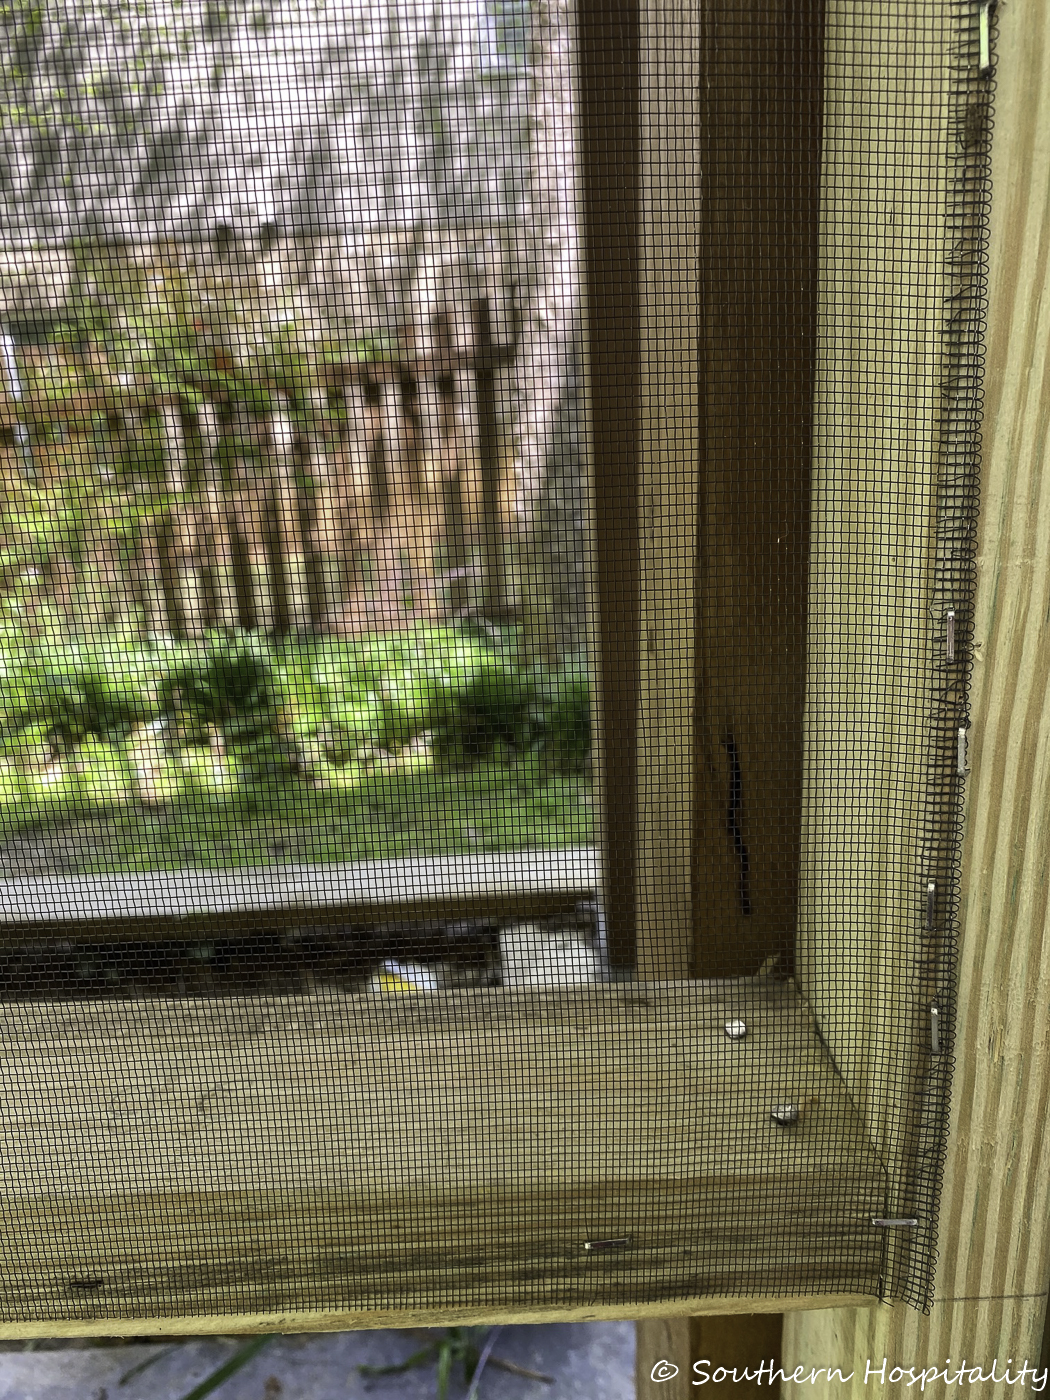
Stapled into place. Another note about the shutters. Many people asked us about how they will hold up. We think they will hold up OK. I painted them all with exterior semi-gloss paint and they are sheltered somewhat by the stairs behind them. They will get wet a little bit, but we will keep an eye on them and hope they hold up for many years. I’ll get to the exterior part of this project below too, but that’s just a side note for you on the shutters. The Plantation shutters are meant for interior use, but we didn’t have anything to lose by using them outside. They were available and free!
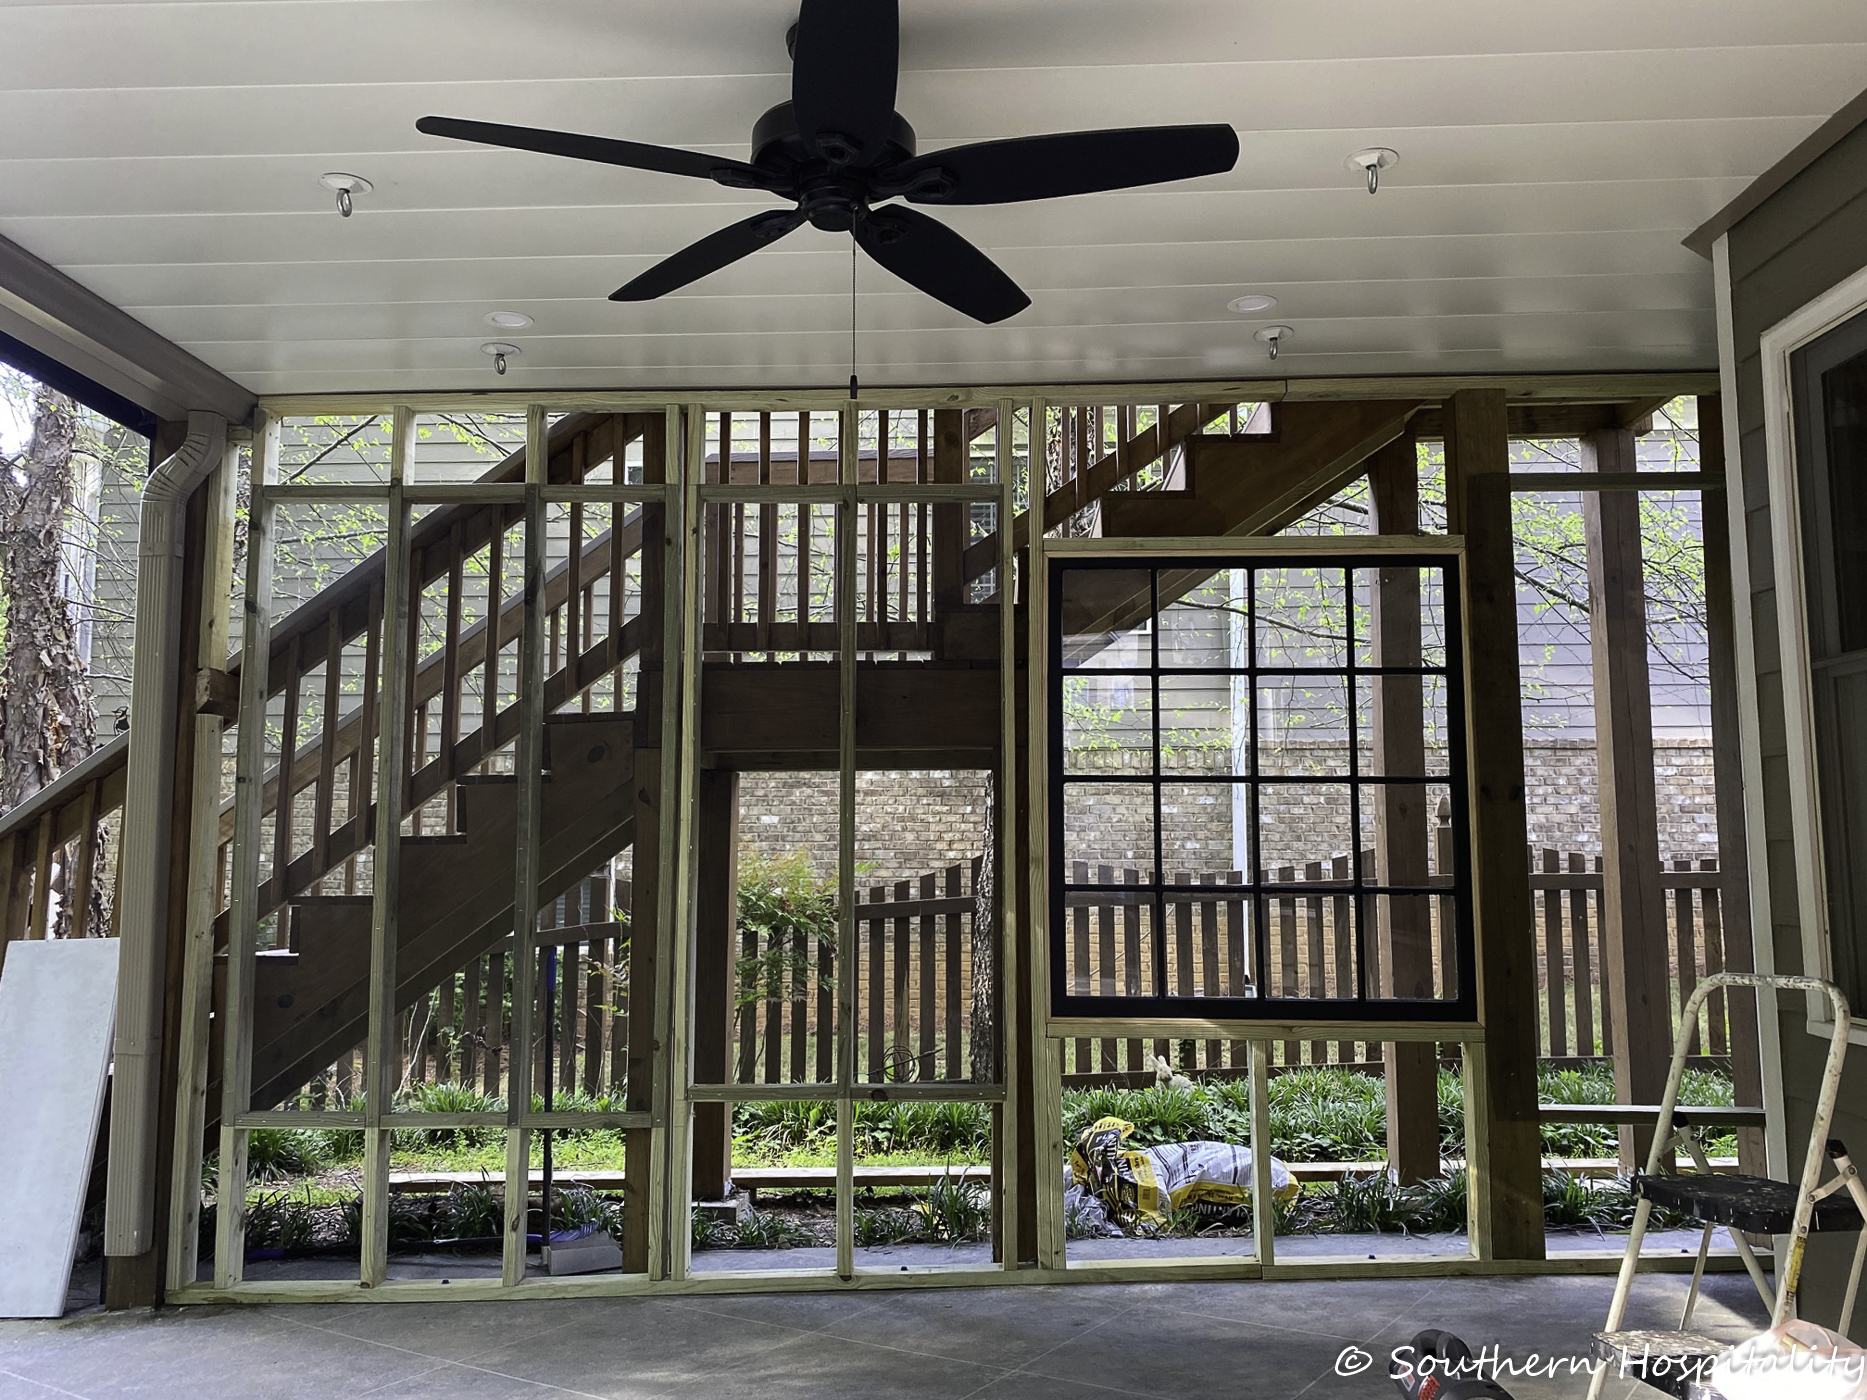
Here’s the entire wall all studded and ready for the shutters to be installed. We did this part together and we put them in place and Mark screwed them all into the studs so they are nice and secure. Three to the left, then two, the salvaged window and two more to the right. That leaves areas above and below to fill in. We decided on beadboard for that part so we bought a couple of sheets of beadboard to cut and place in the other areas.
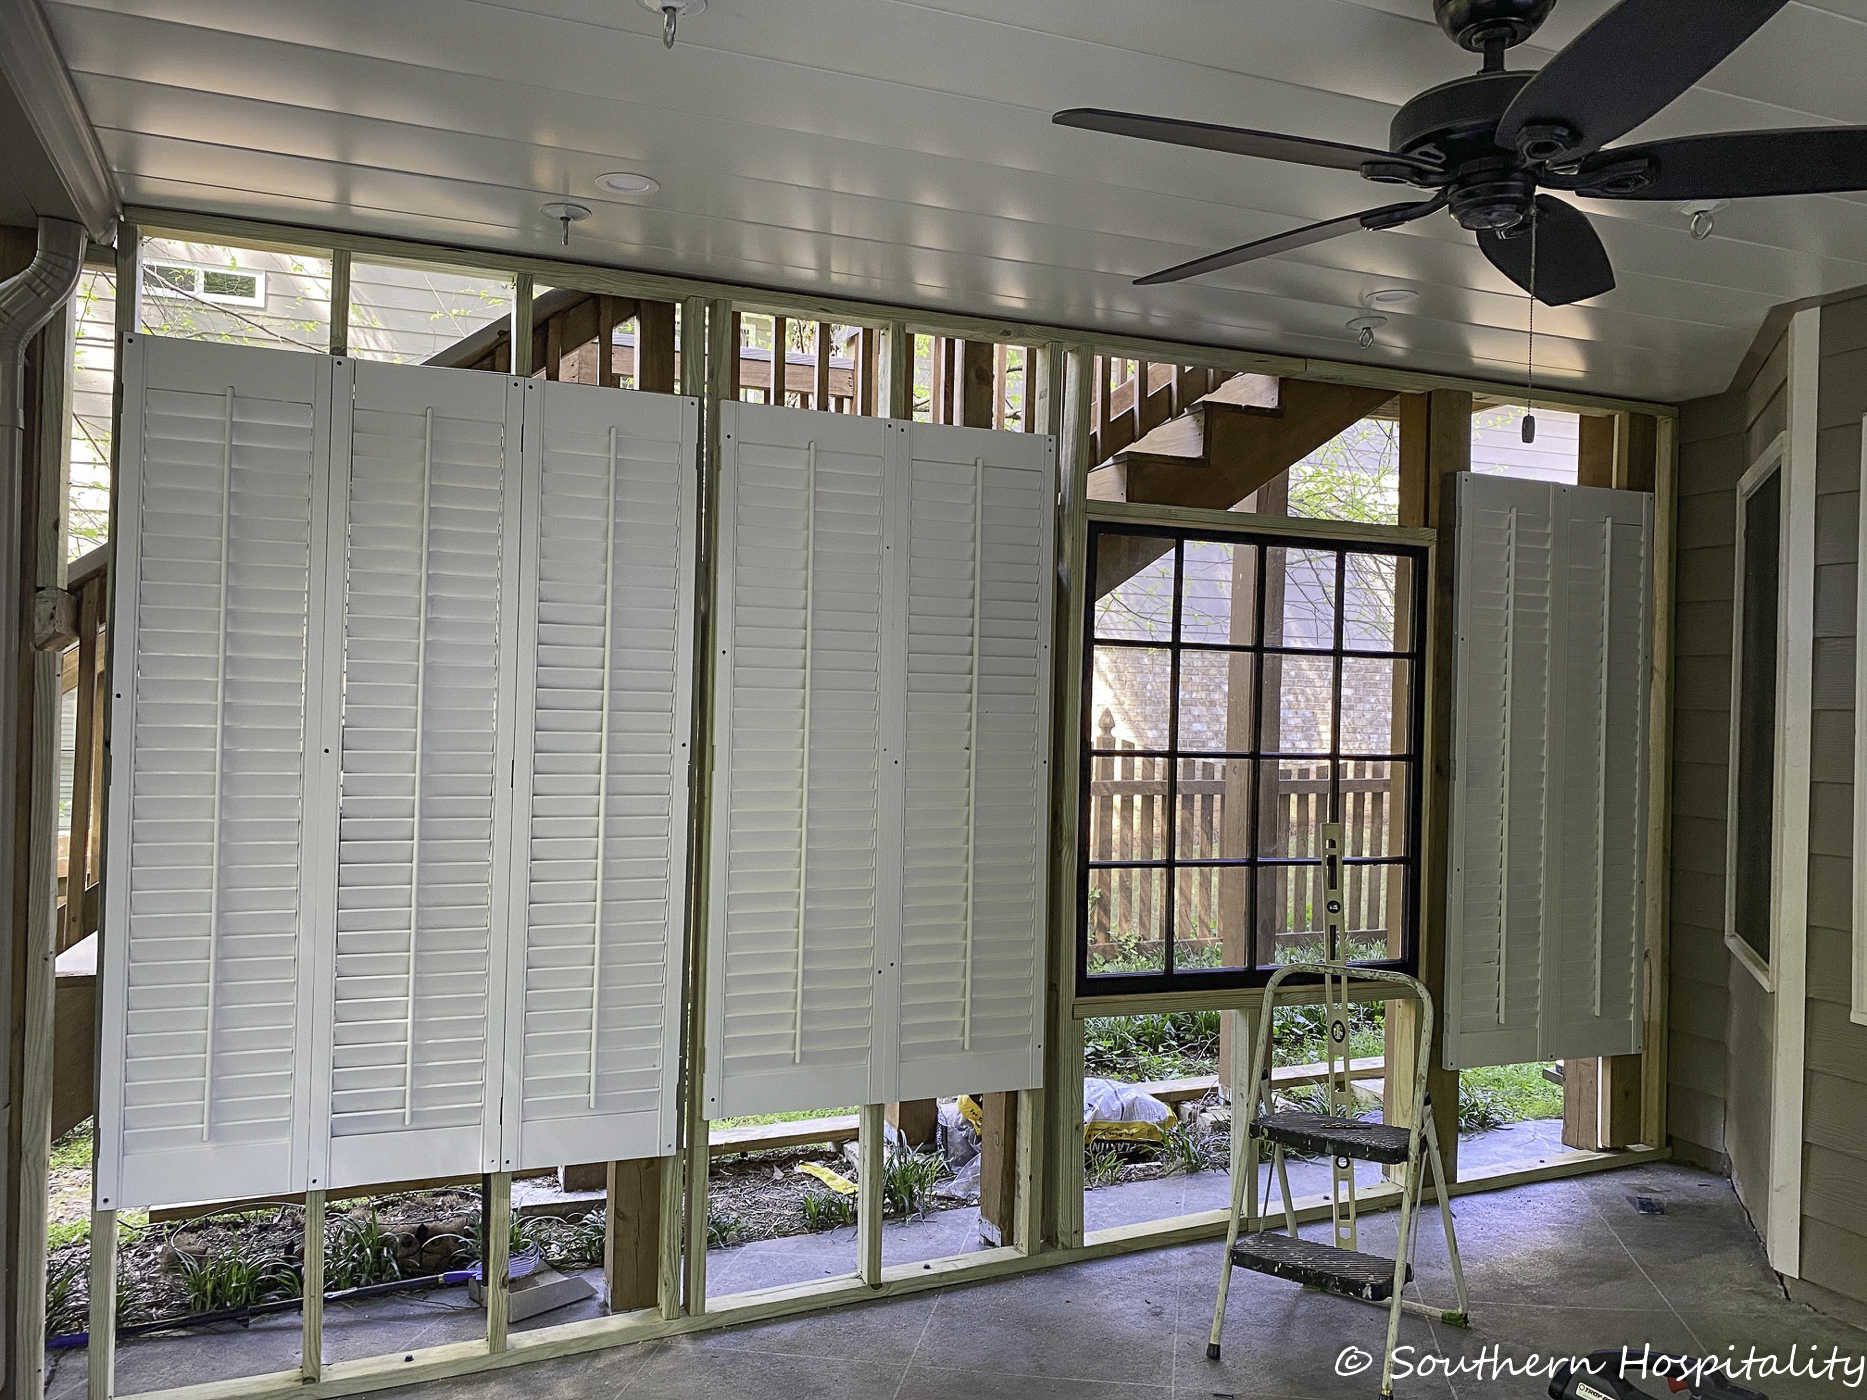
All 7 shutters in place. Now to fill the other holes! Beadboard it is.
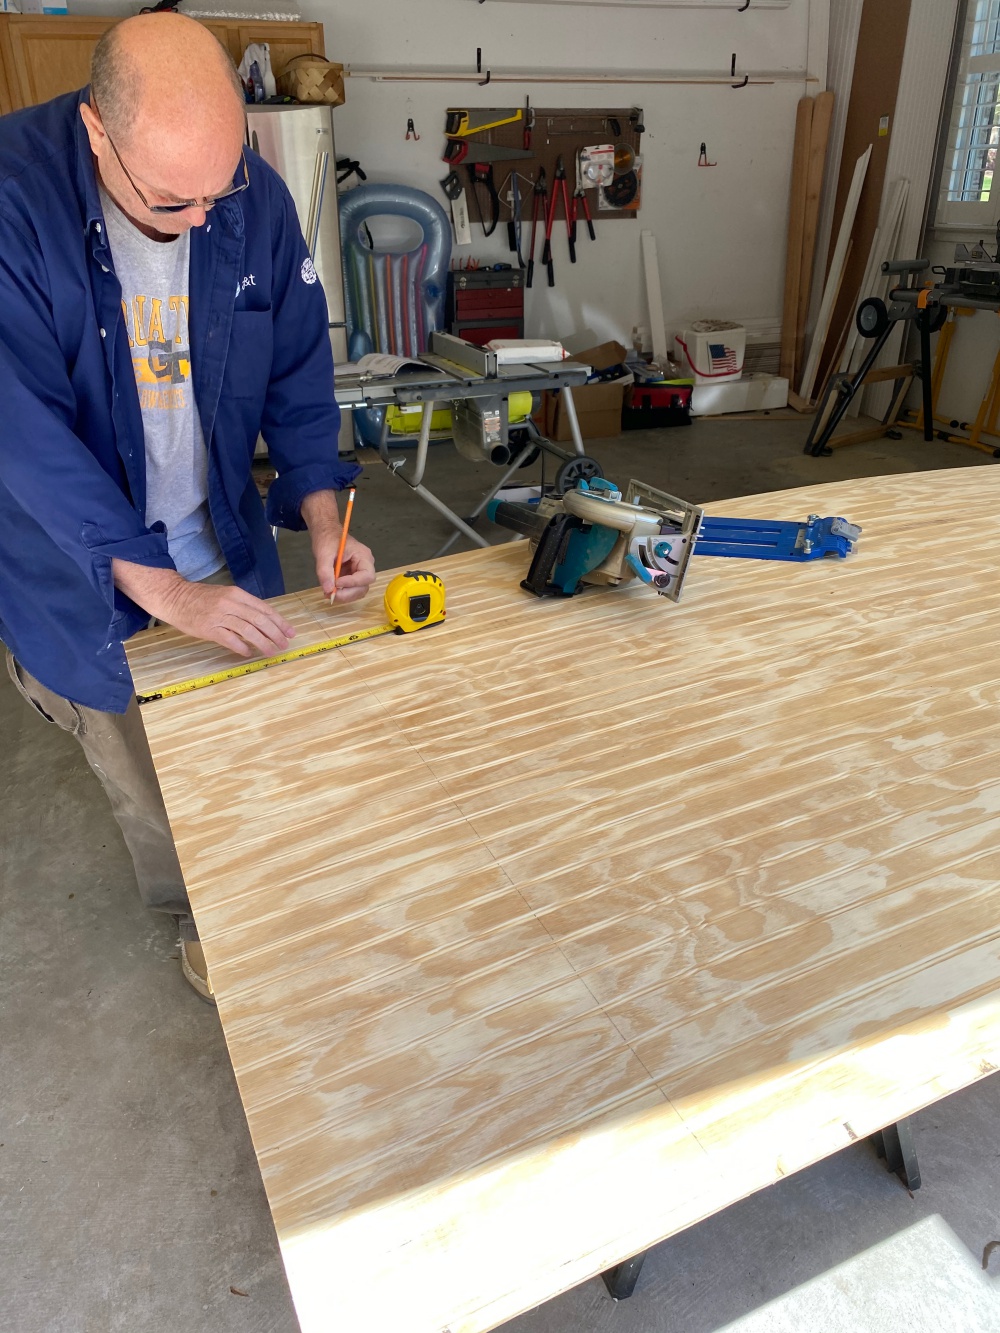
Because of the sloping ceiling and floor, Mark had to scribe and figure out the angles to cut on each piece of beadboard. This was definitely time consuming, but he did a great job. We trimmed out the raw edges with 1×3, 1×4 and 1×6 preprimed boards and then painted it all white.
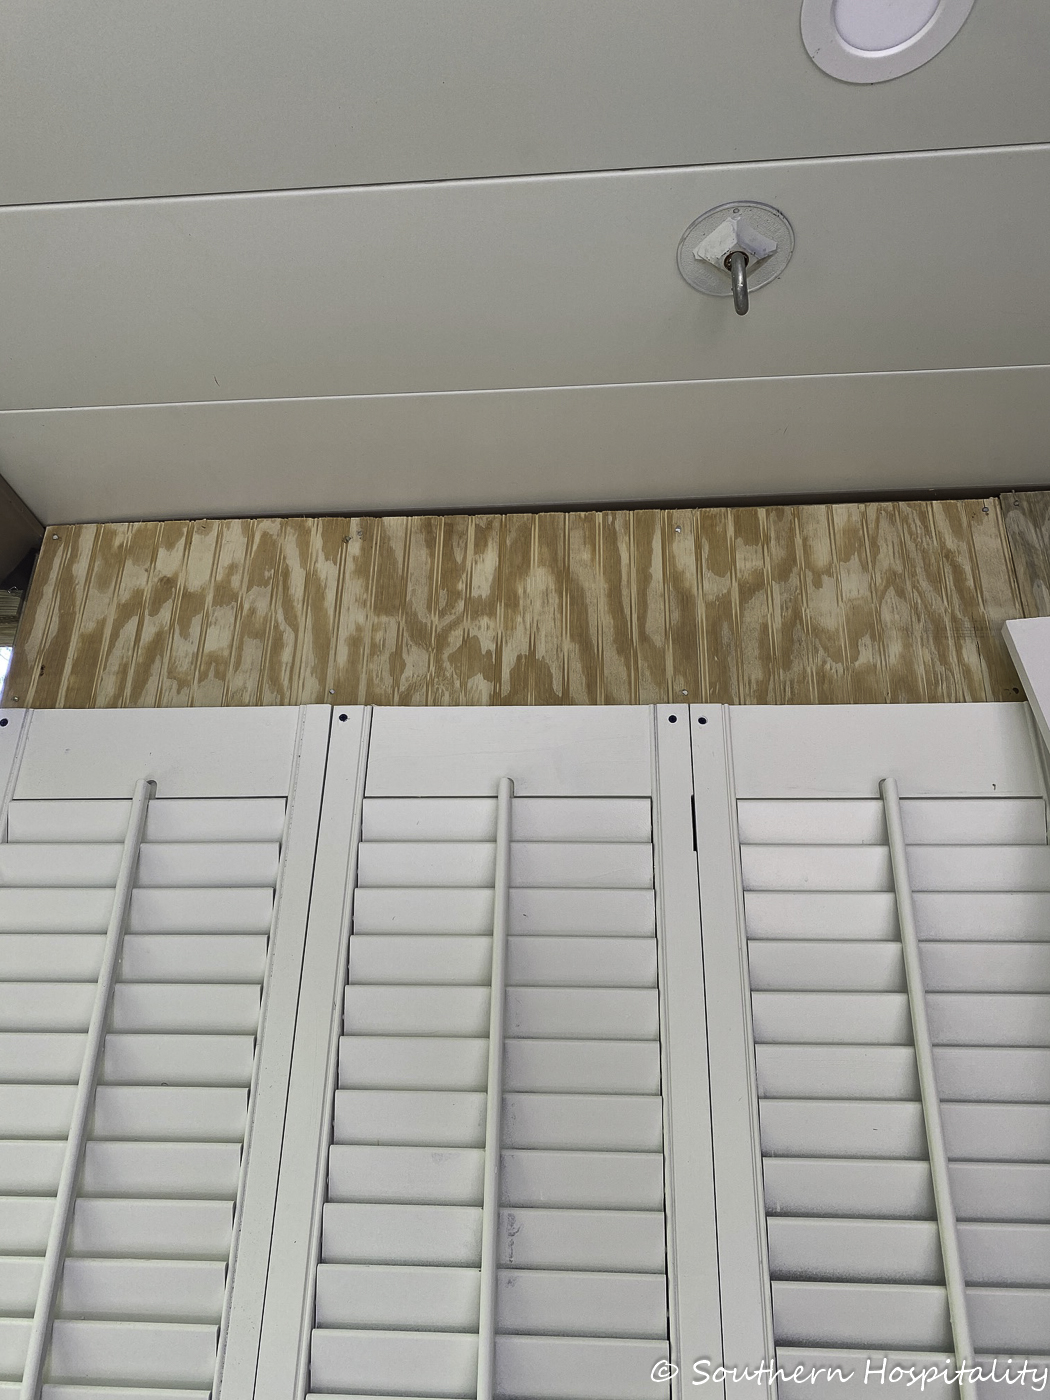
Piece by piece the beadboard went into place at the top and bottom of the shutters.
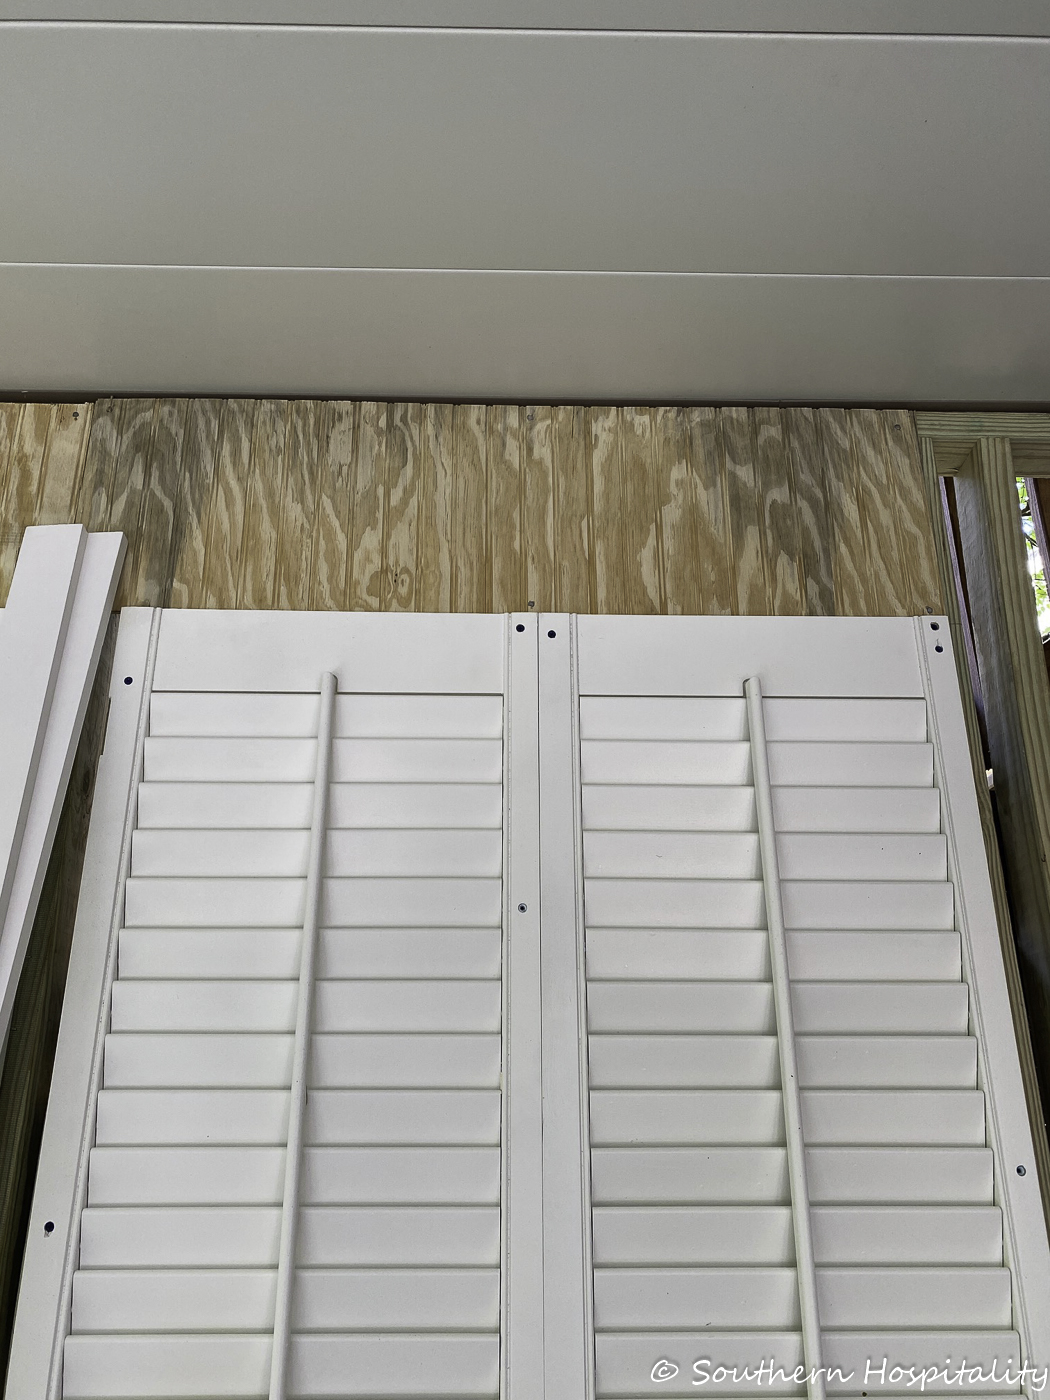
Moving across the top of the wall.
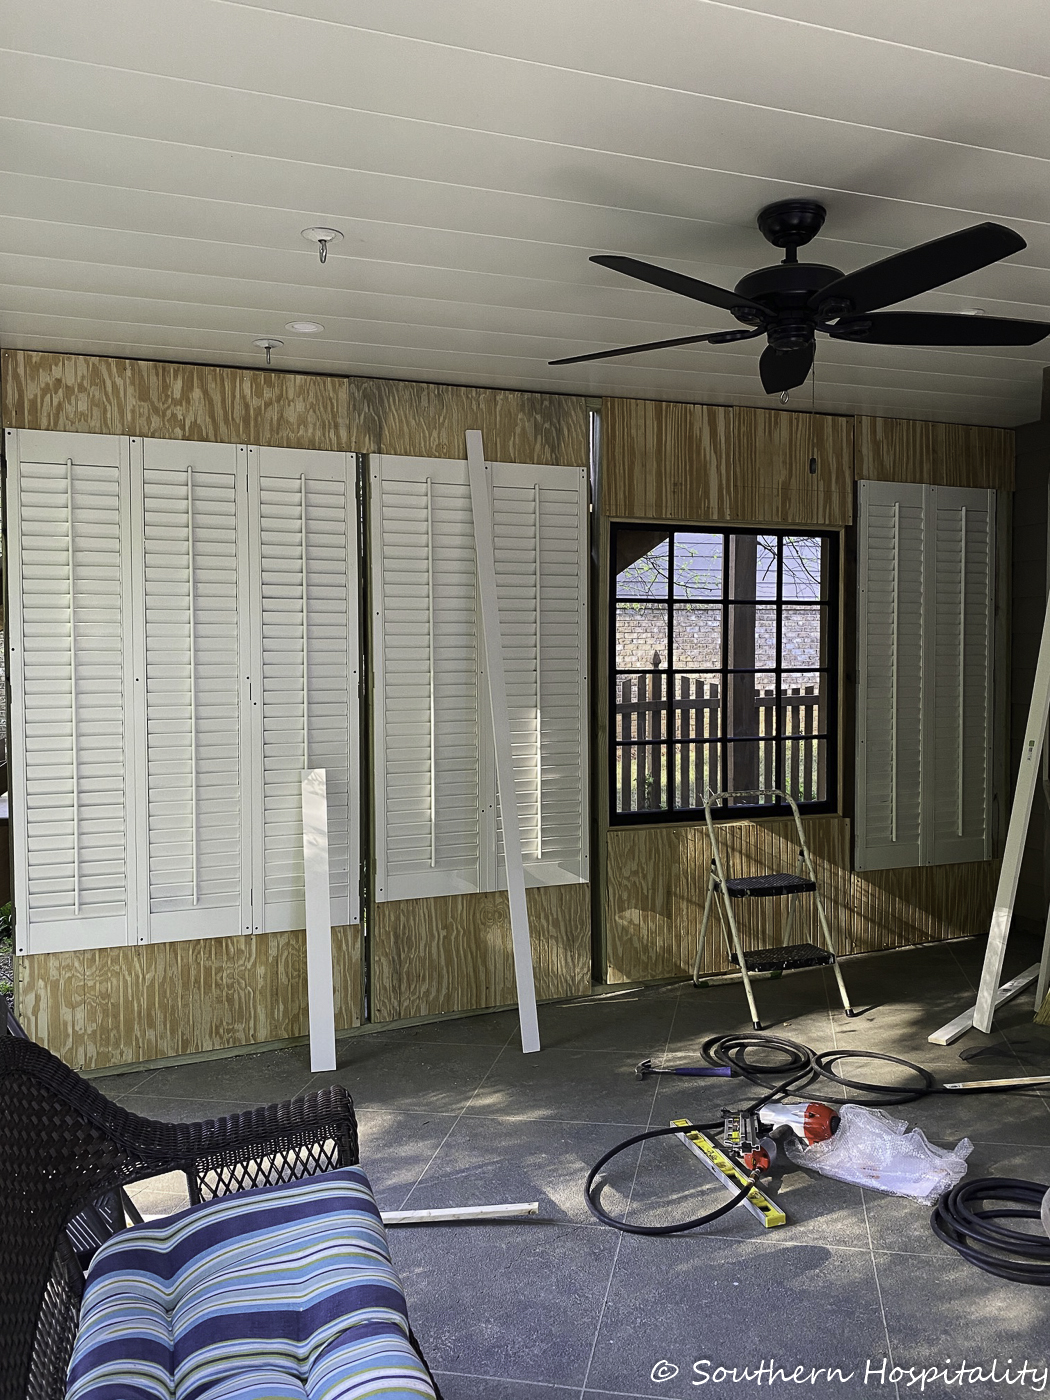
And then we were finished with this part. All beadboard in place and then it was time to figure out the trimwork part. You can see all those trim boards. Mark would use them for spacers and figure out exactly how to run them horizontally and vertically to make it as visually appealing as possible. His goal was to have everything line up nicely. The shutters were about the same depth as the trim boards so that worked out nicely and the trim pieces butted up nicely against the shutters.
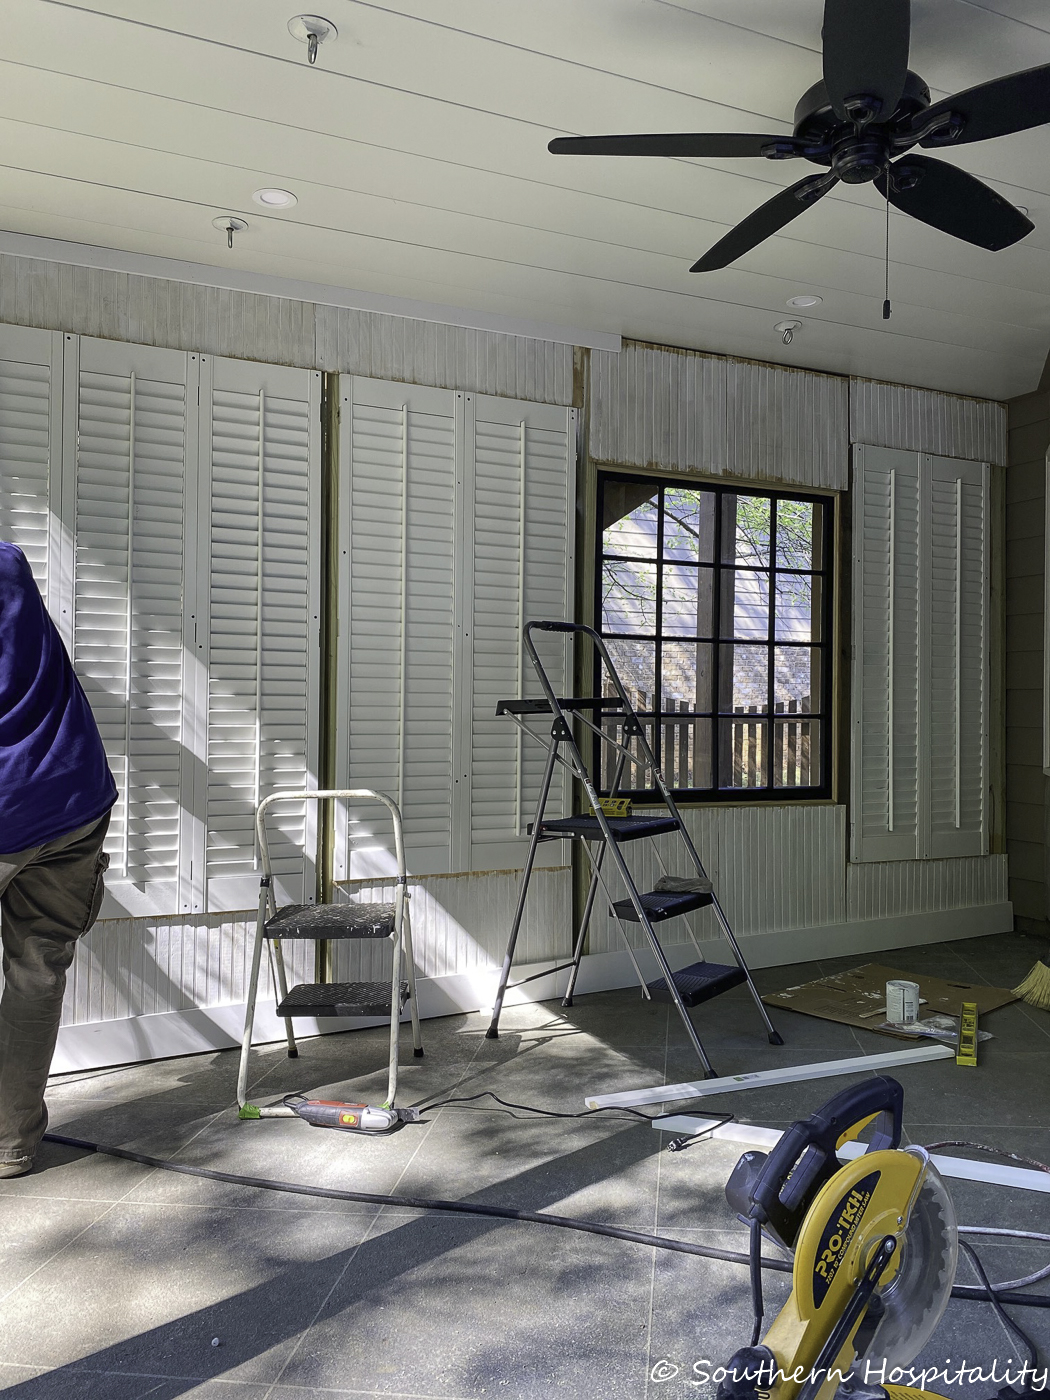
It got trimmed out with a top board across the top and a large baseboard across the bottom and once those were in place we started on the vertical boards.
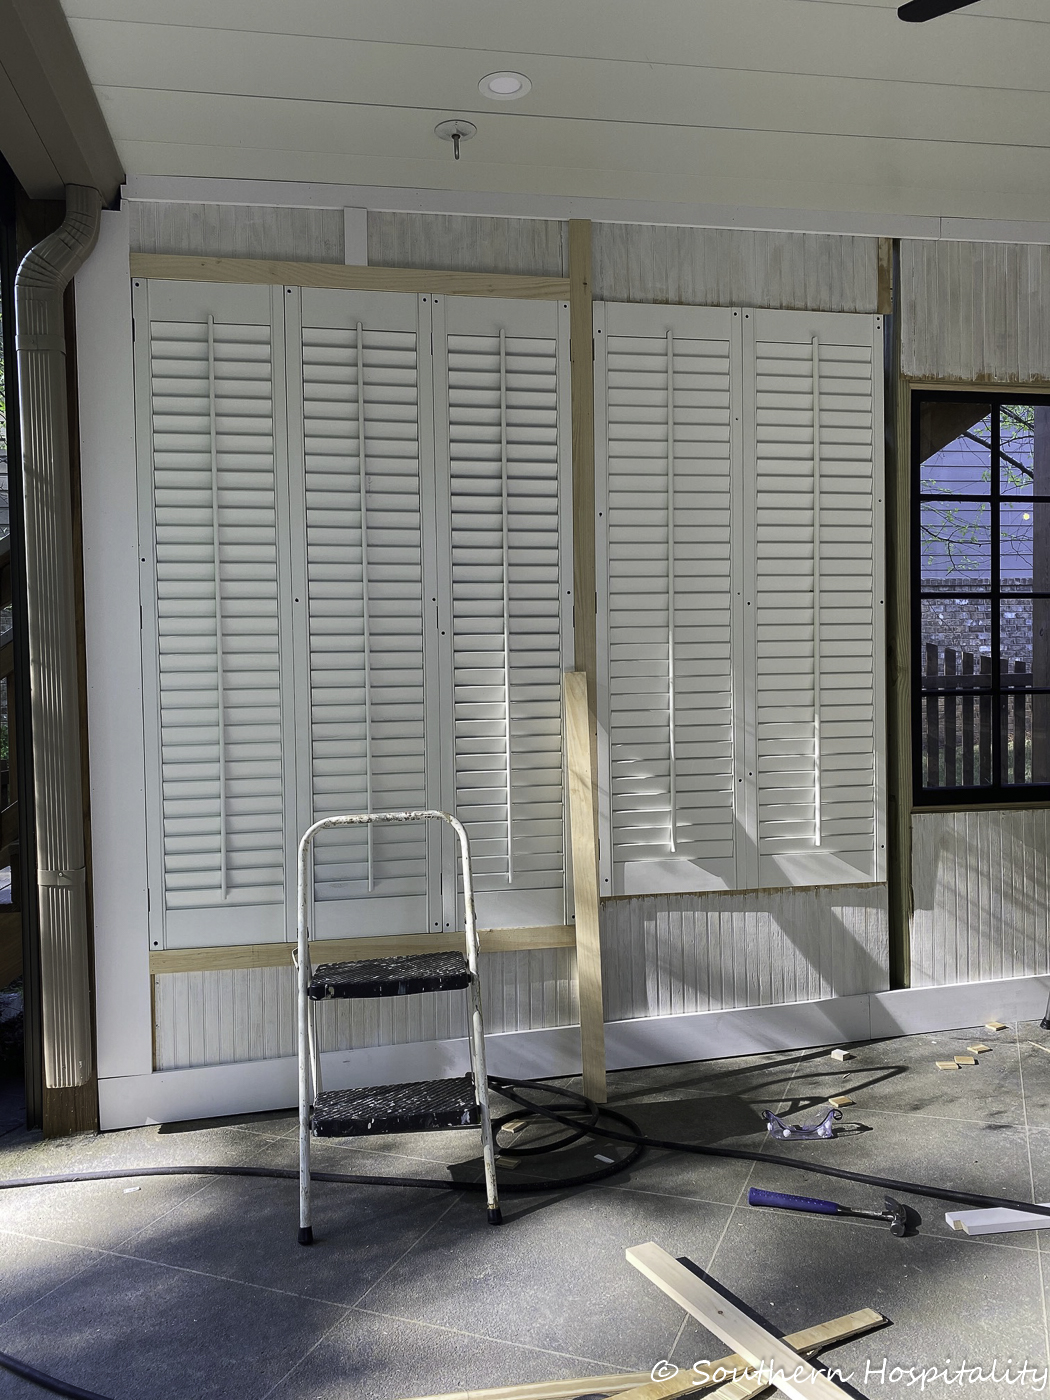
He trimmed it out where the beadboard is inset and framed with the trim pieces and I think it turned out so nice! You can see one long piece fit between the sets of shutters and ties that all together. He boxed in each section with trim pieces top and bottom, then everything got primed and painted by me.
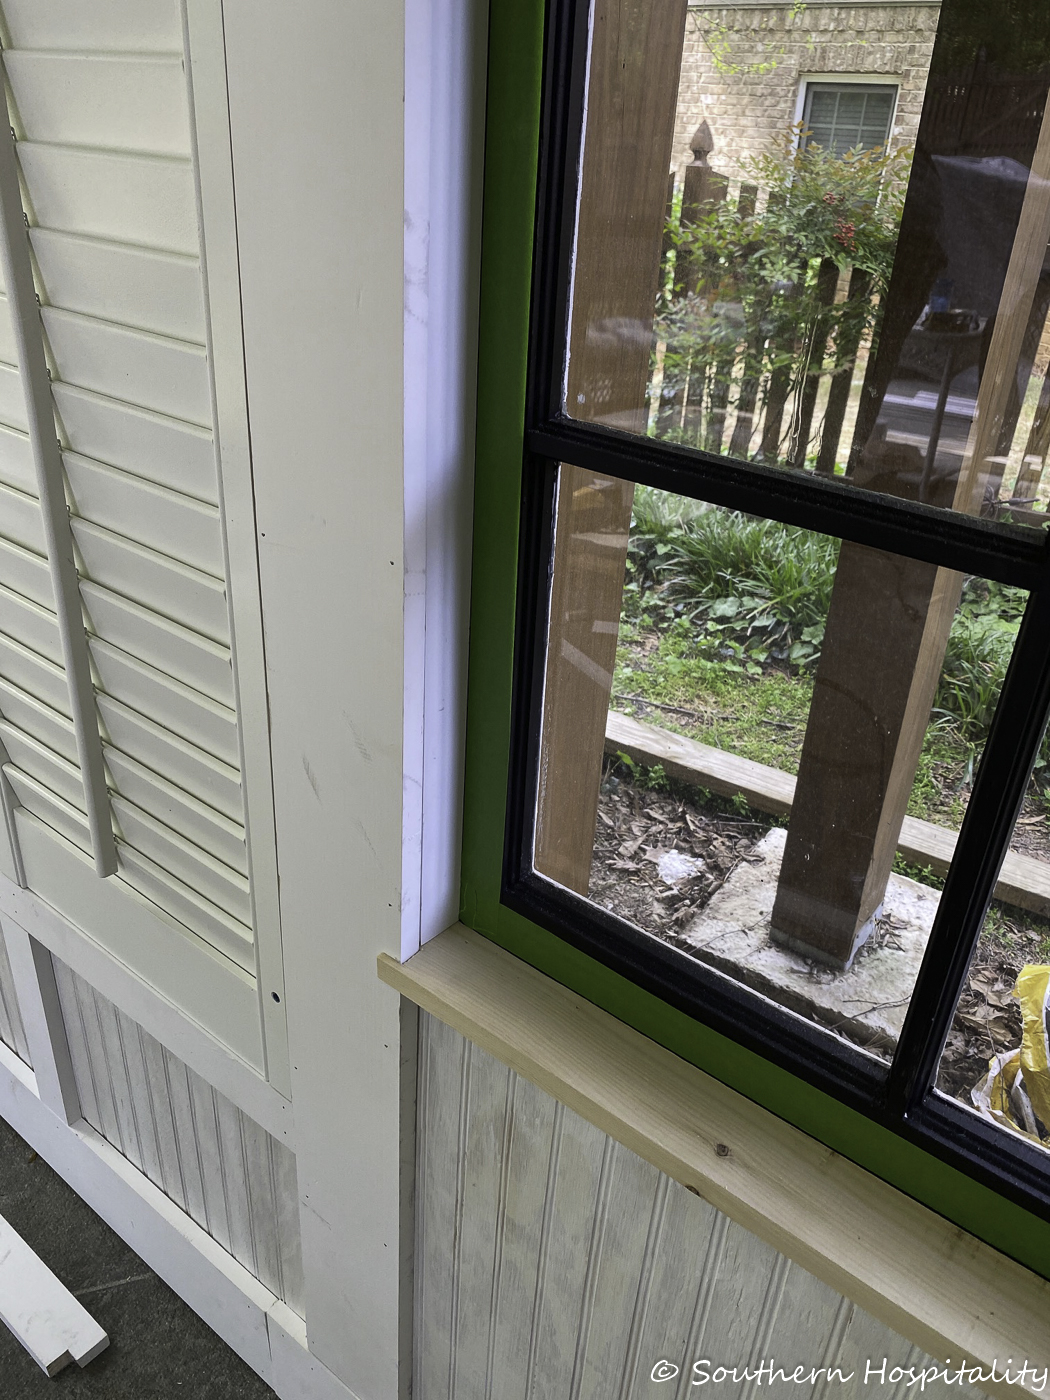
He took care with the window trimming and made it look like a real window with trim pieces and a window sill. I decided to paint the window black and I’m so glad I did.
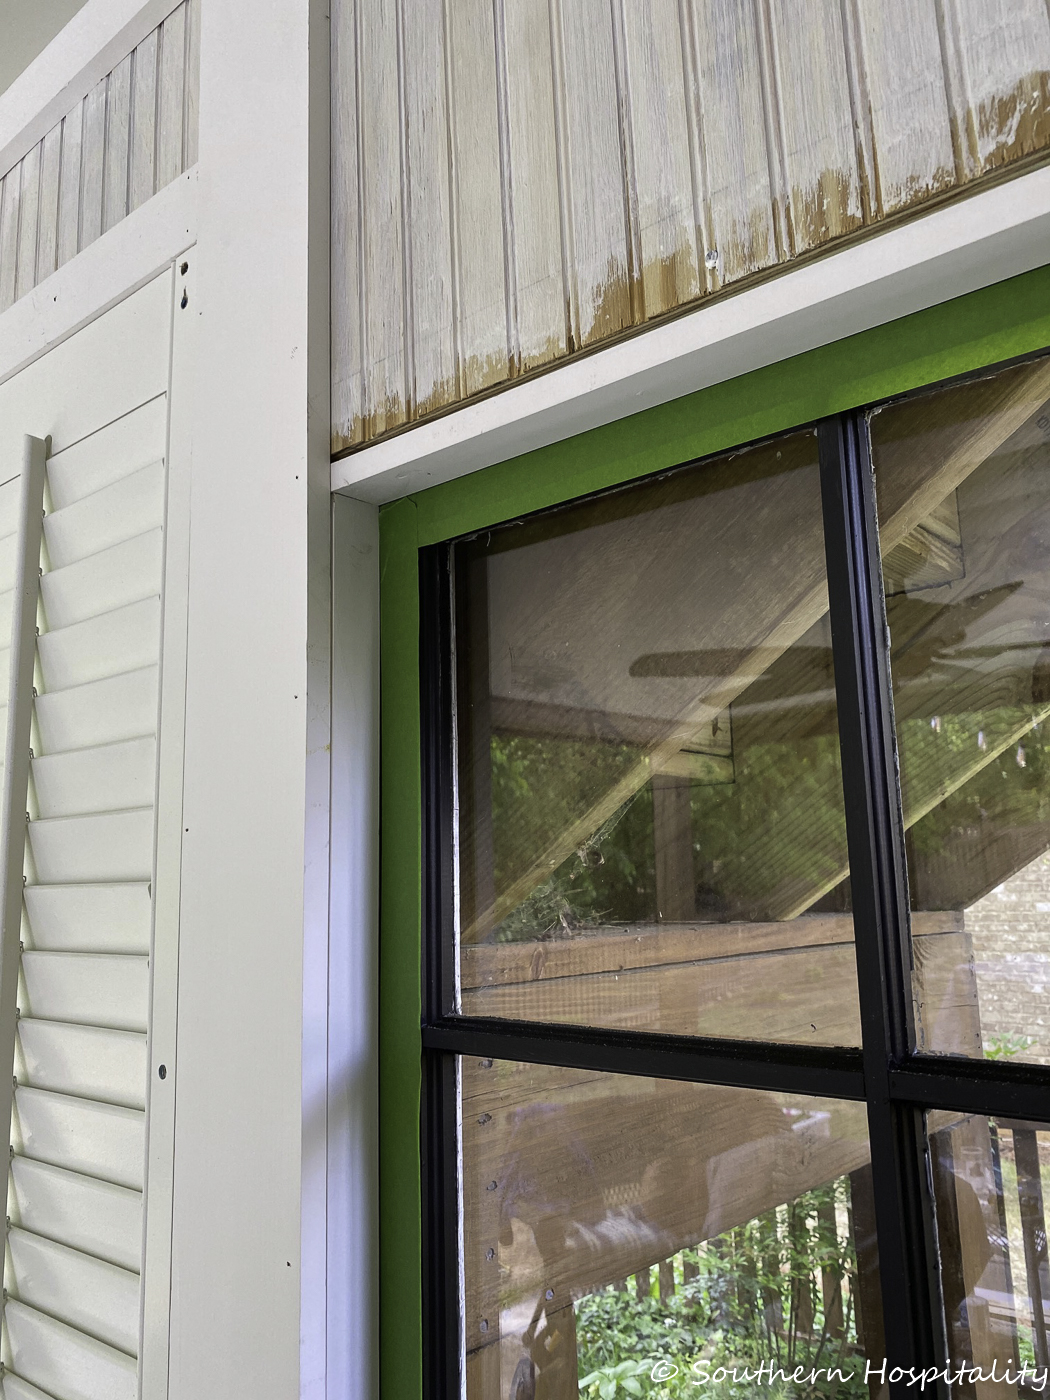
The window got all trimmed out and we caulked everything before painting. I just love how this window turned out, it’s really a focal point in the space.
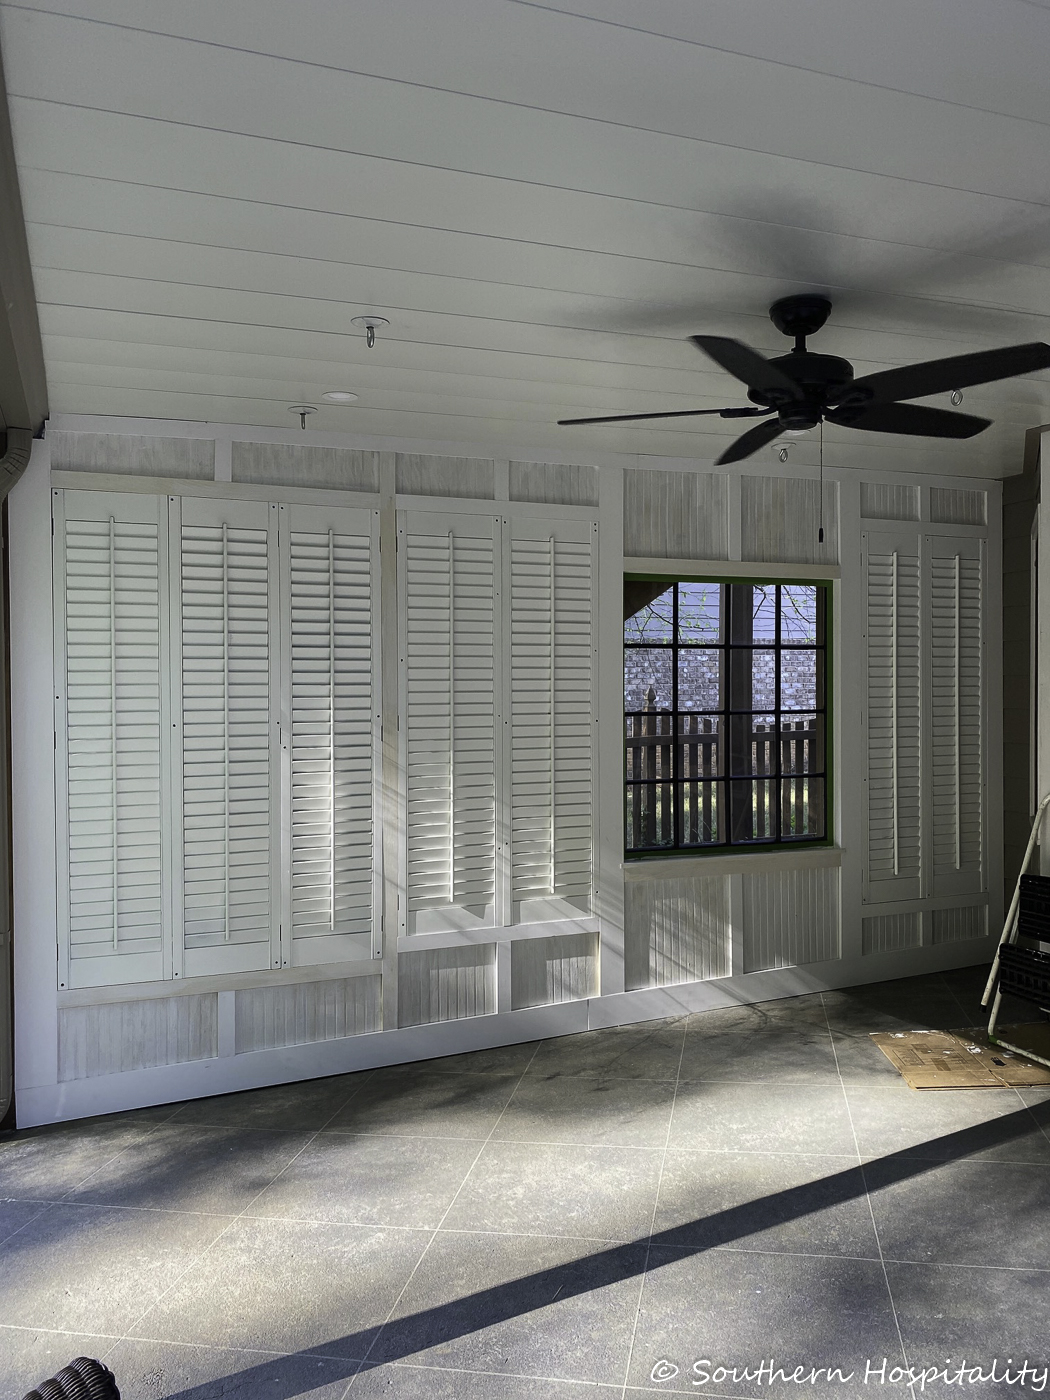
All the trim in place, primed and ready for the final painting!
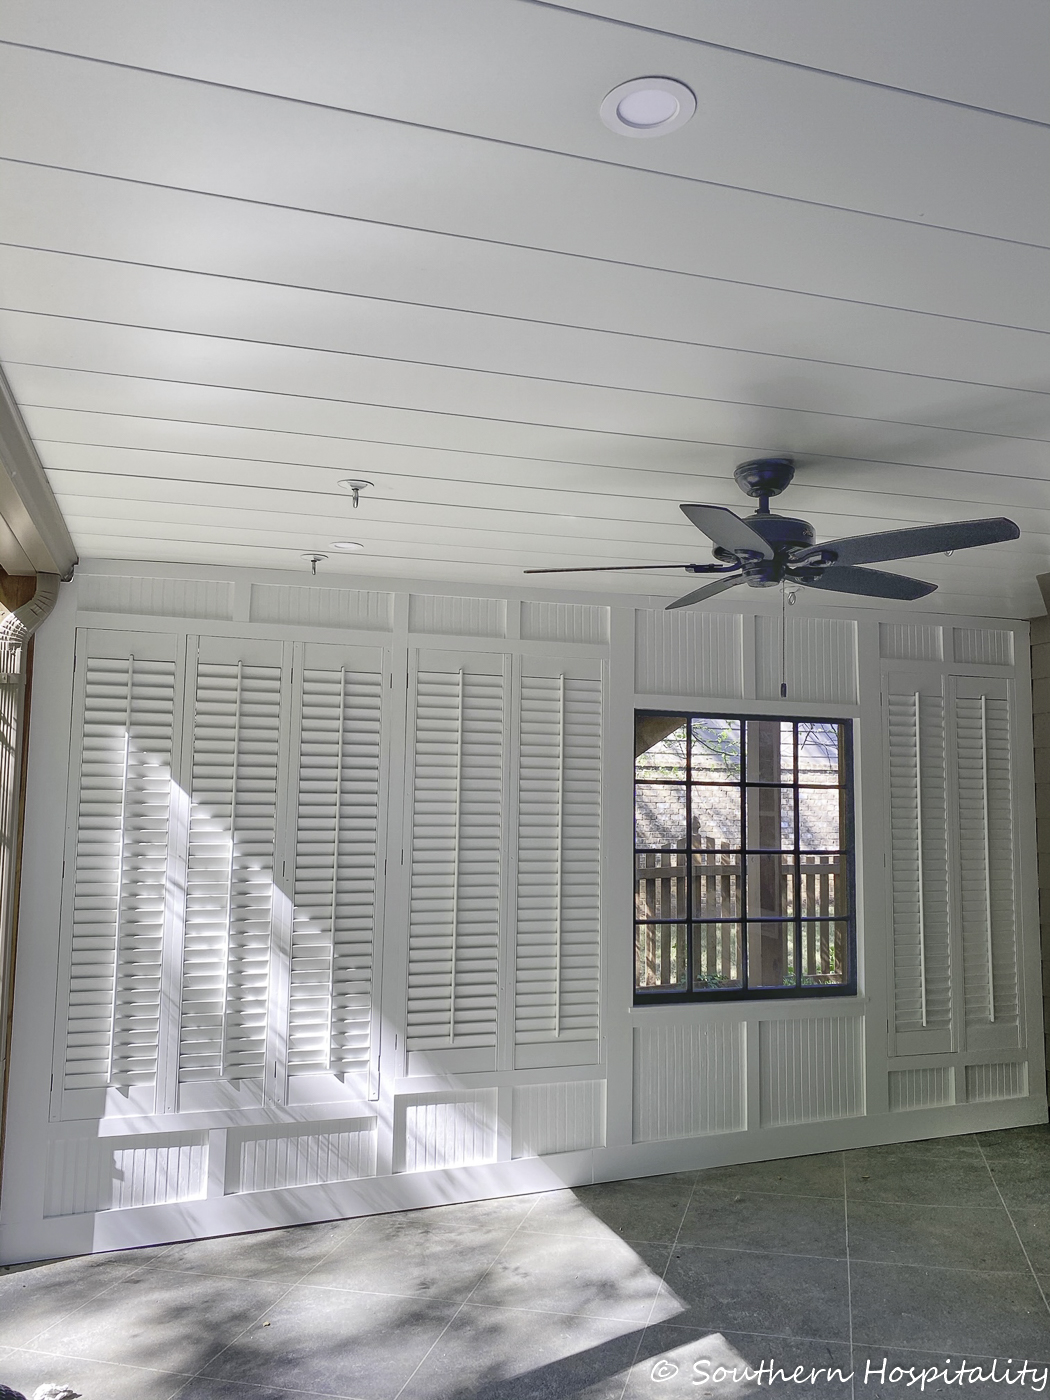
I got busy and did that part and it was finally finished and we called it done! The shutter wall was complete! I absolutely love how it turned out!
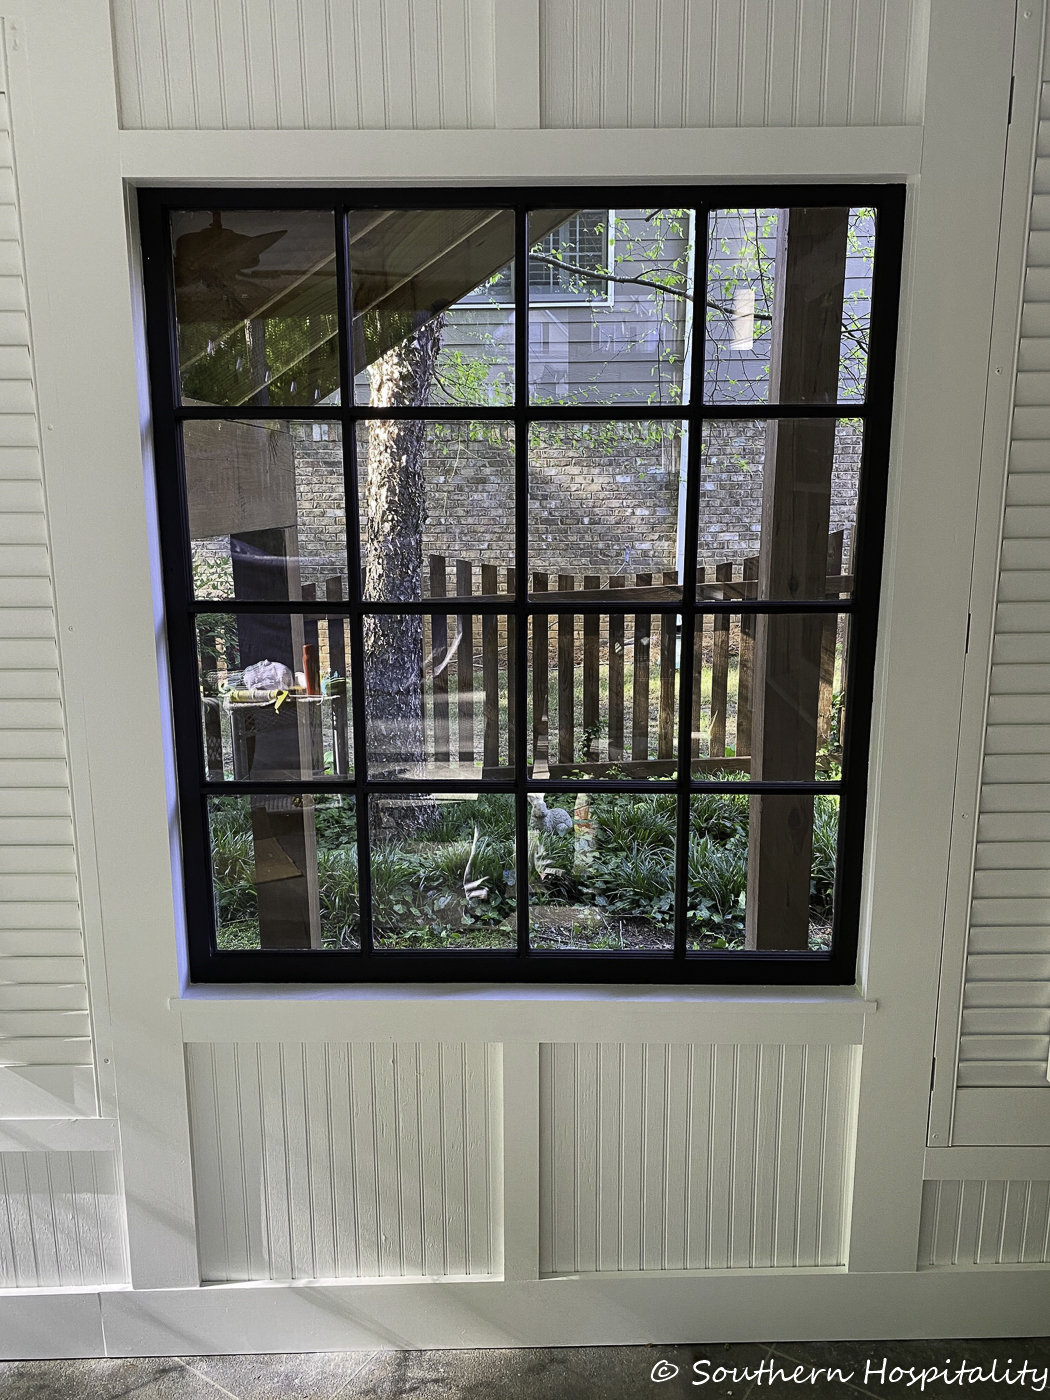
That window is everything. We can see out and it brings in light as well. It was the perfect place to put it looking right through the stairs.
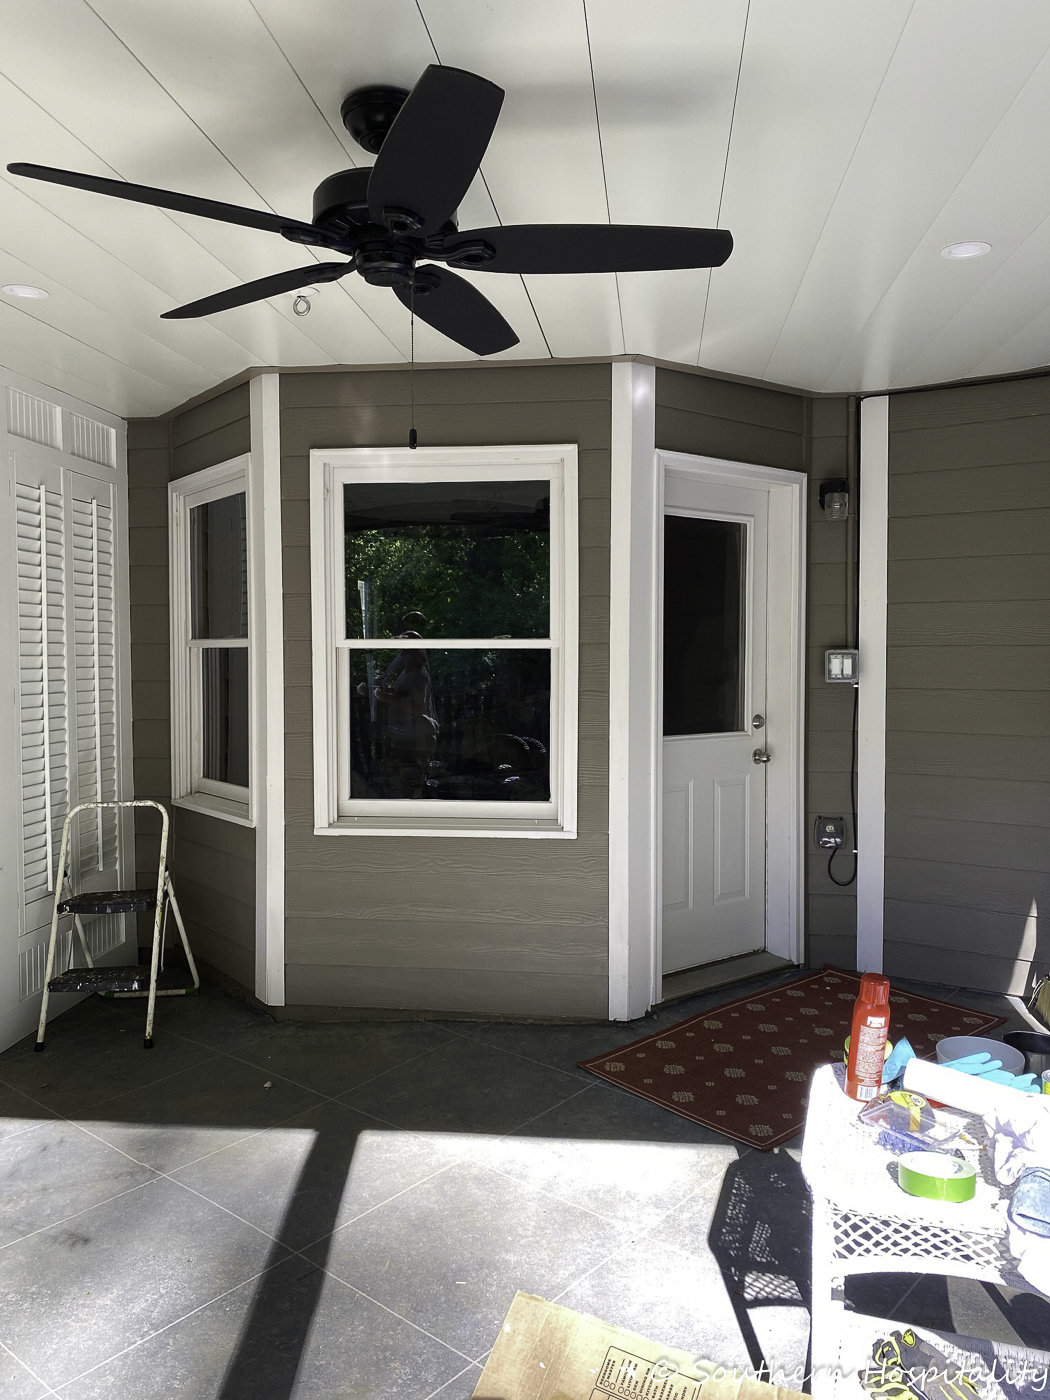
As soon as the shutter was was finished we sat down to enjoy our project and look at it awhile. I started looking around and mentioned to Mark that I wanted to paint the rest of the siding white just like the shutter wall, so that’s what we decided to do. I knew it would make it a very cohesive space if I painted it all white and make it feel like a real room. So that’s what I did! I decided on black windows and door here too and I love how it came out.
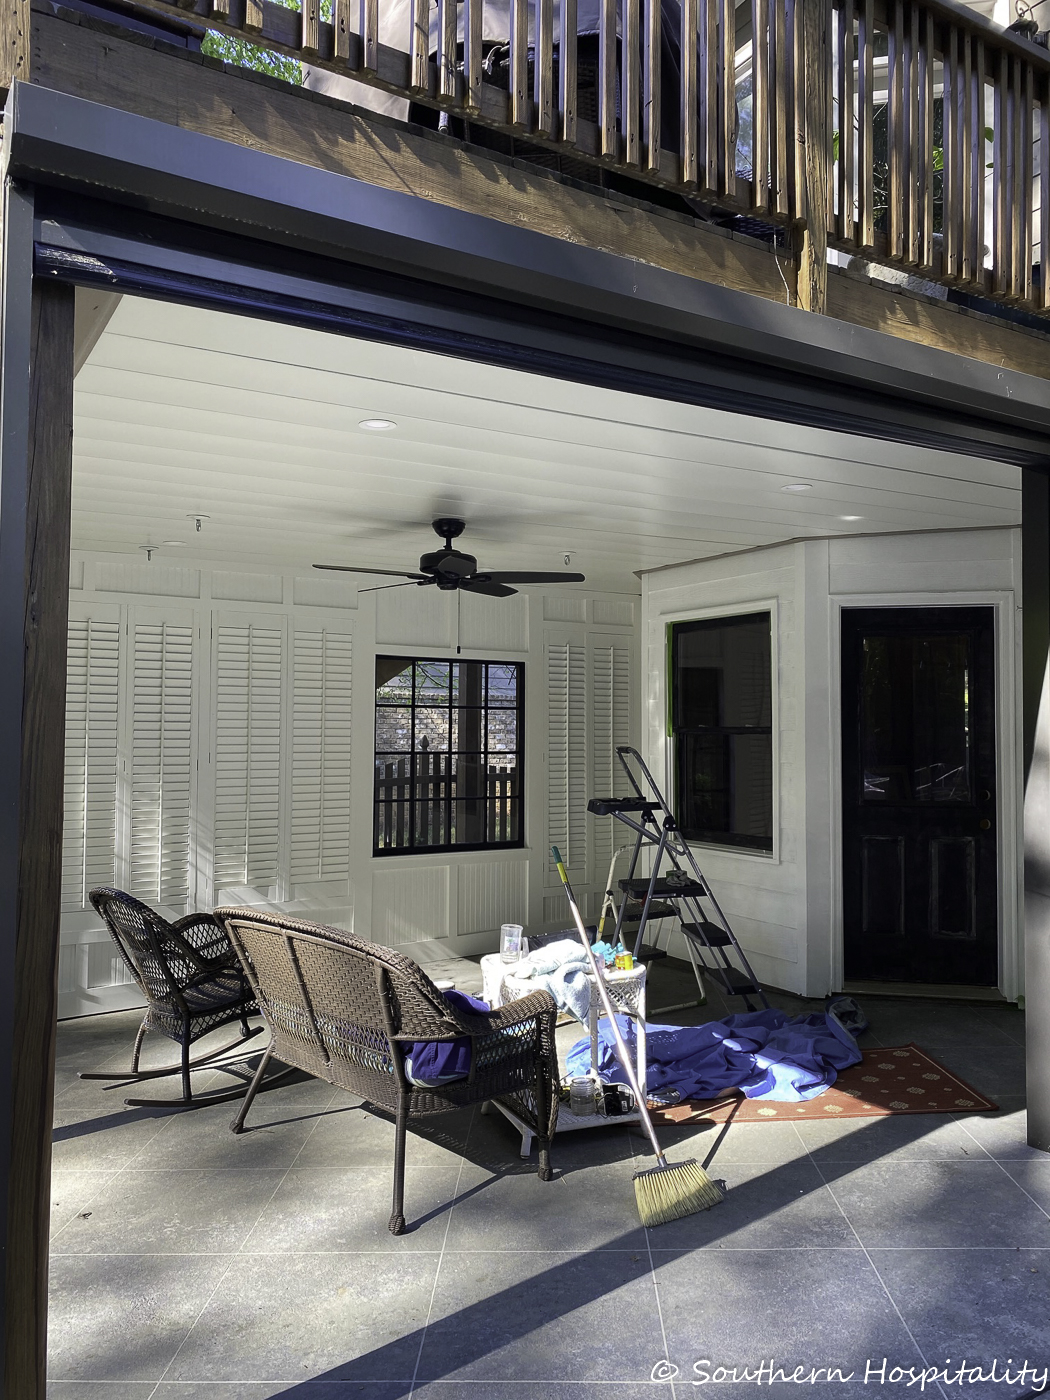
I snapped these pics as I finished all the painting and we were ready for everything to go back in there.
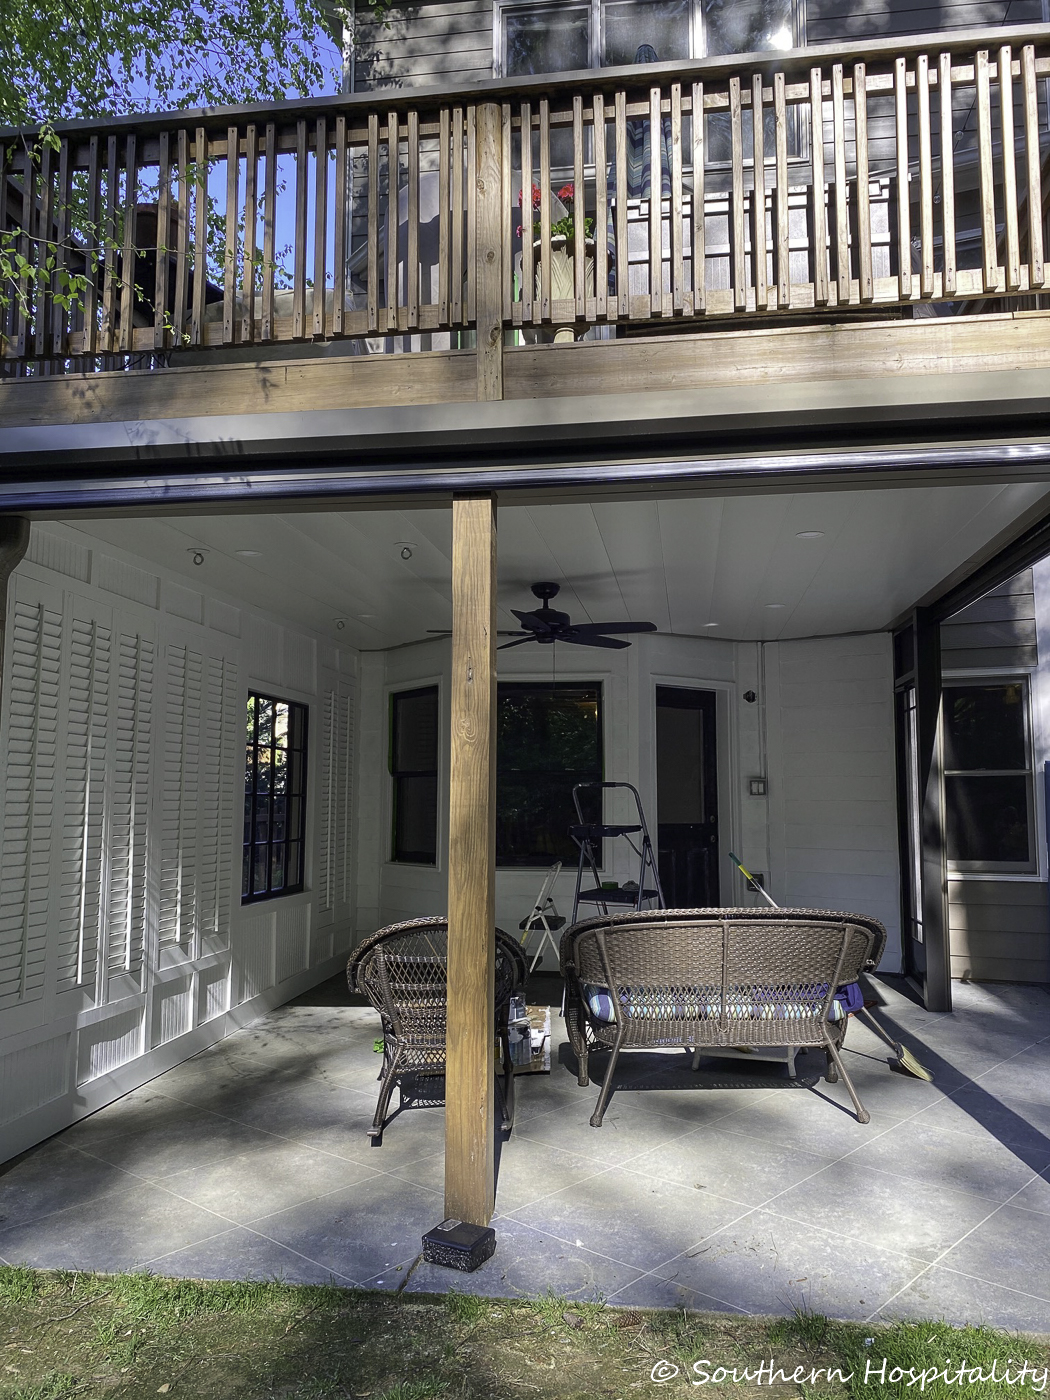
At last, our screen porch space was completed! I was one happy girl and I love how the other walls turned out with white paint.
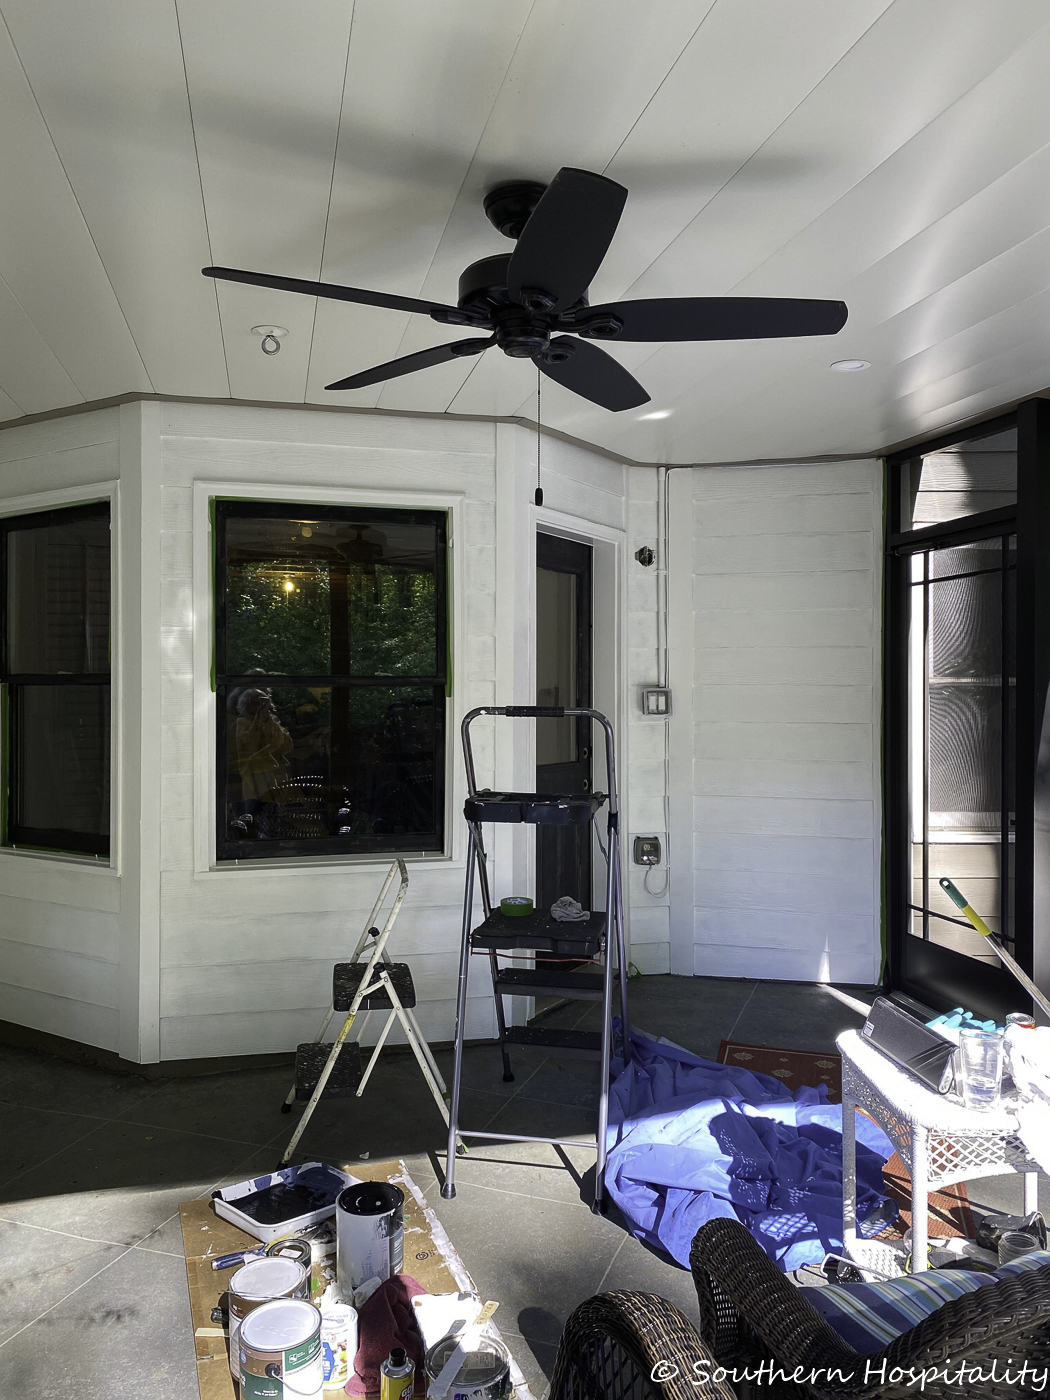
It was so great to finally be done with this project! Now on to the decorating part, which was so much fun!
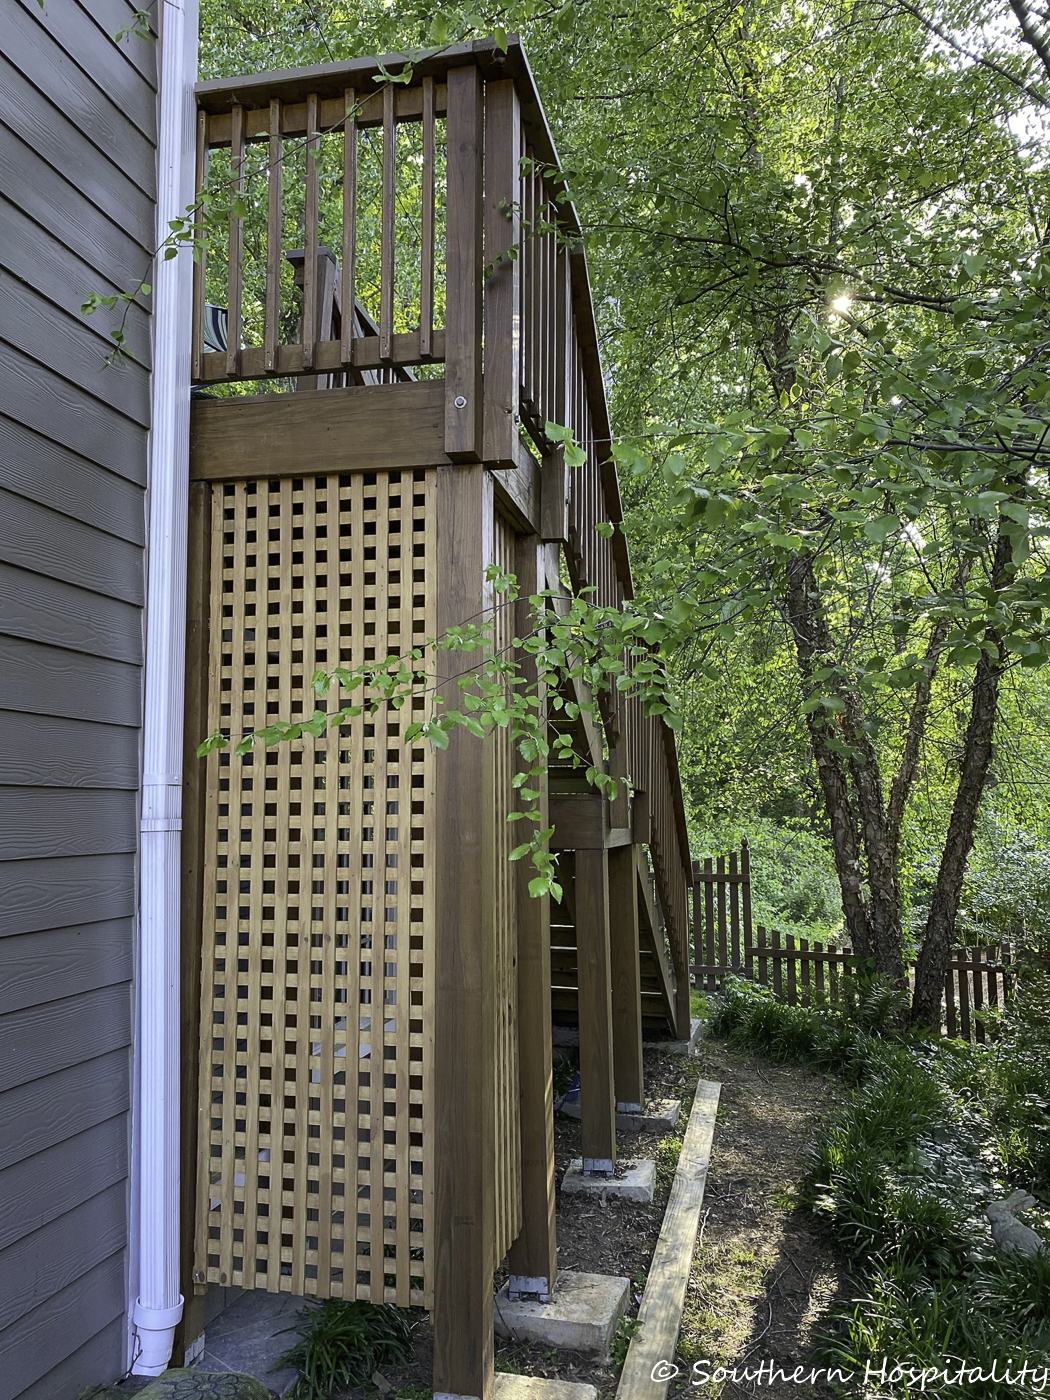
I’ll also share the other side of the wall with you. Several people asked about this when I shared on Instagram, so we decided to dress this side up too visually so it would look good from this side too. We had already bought square lattice (in stock at Home Depot) for the end of the stairs. This was something we planned to add all along so we took the time to do this too. We stained it a shade lighter and it turned out so nice.
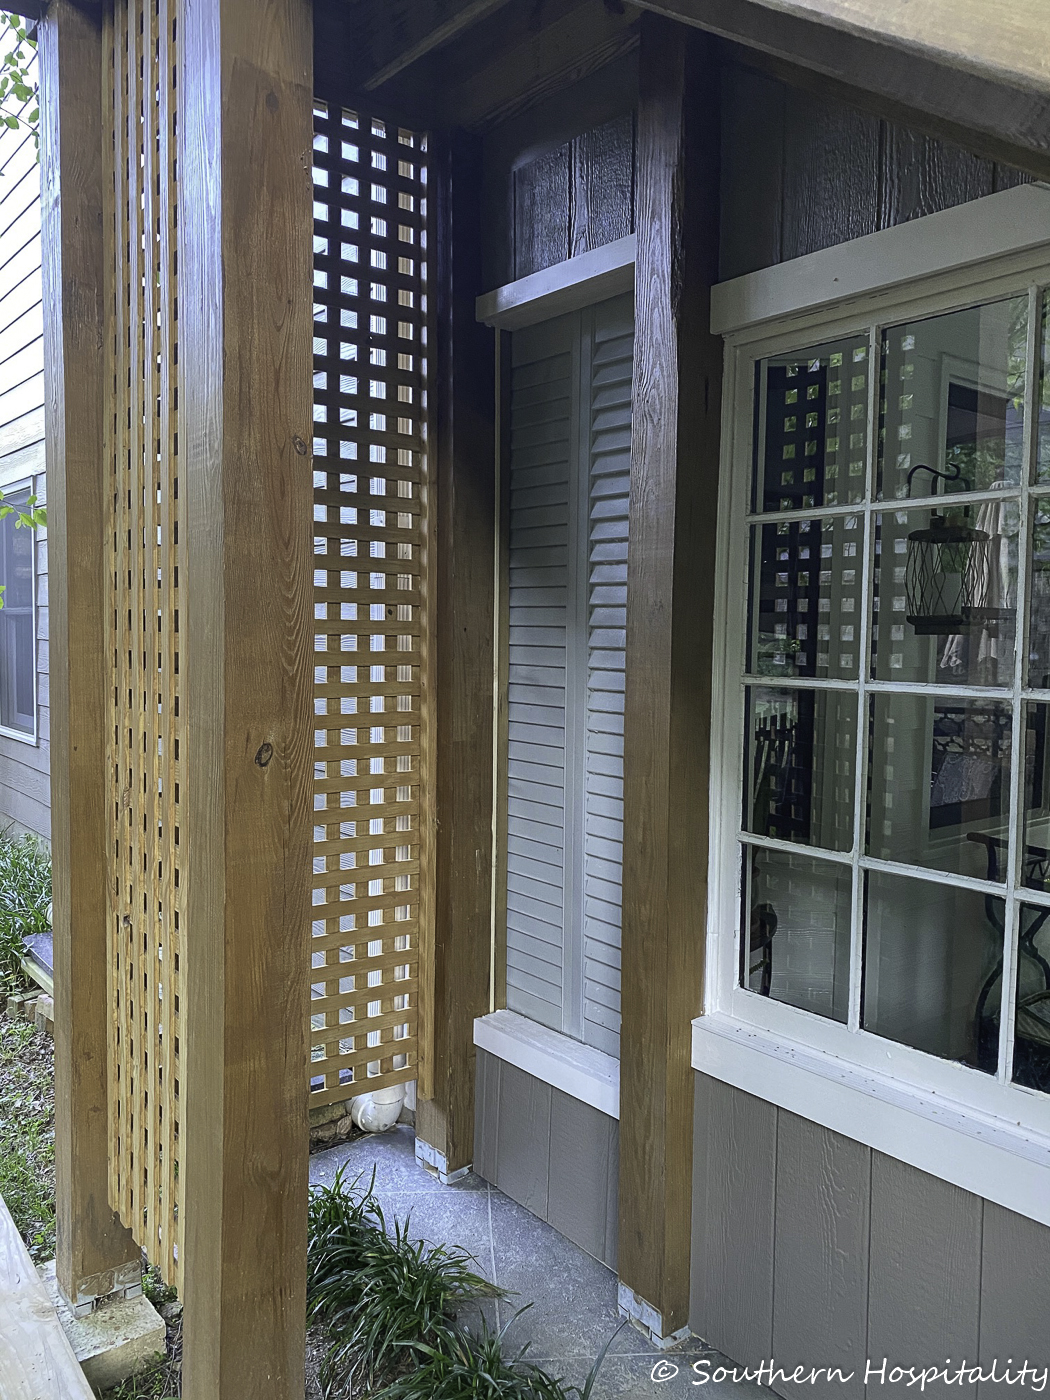
We decided to wrap it around just the corner that faces the street and keep the rest open for storage underneath. We also bought some exterior paneling that we could add over the beadboard to protect it and we could paint it the same color as our siding. I think it turned out so good! It looks good from both sides now.
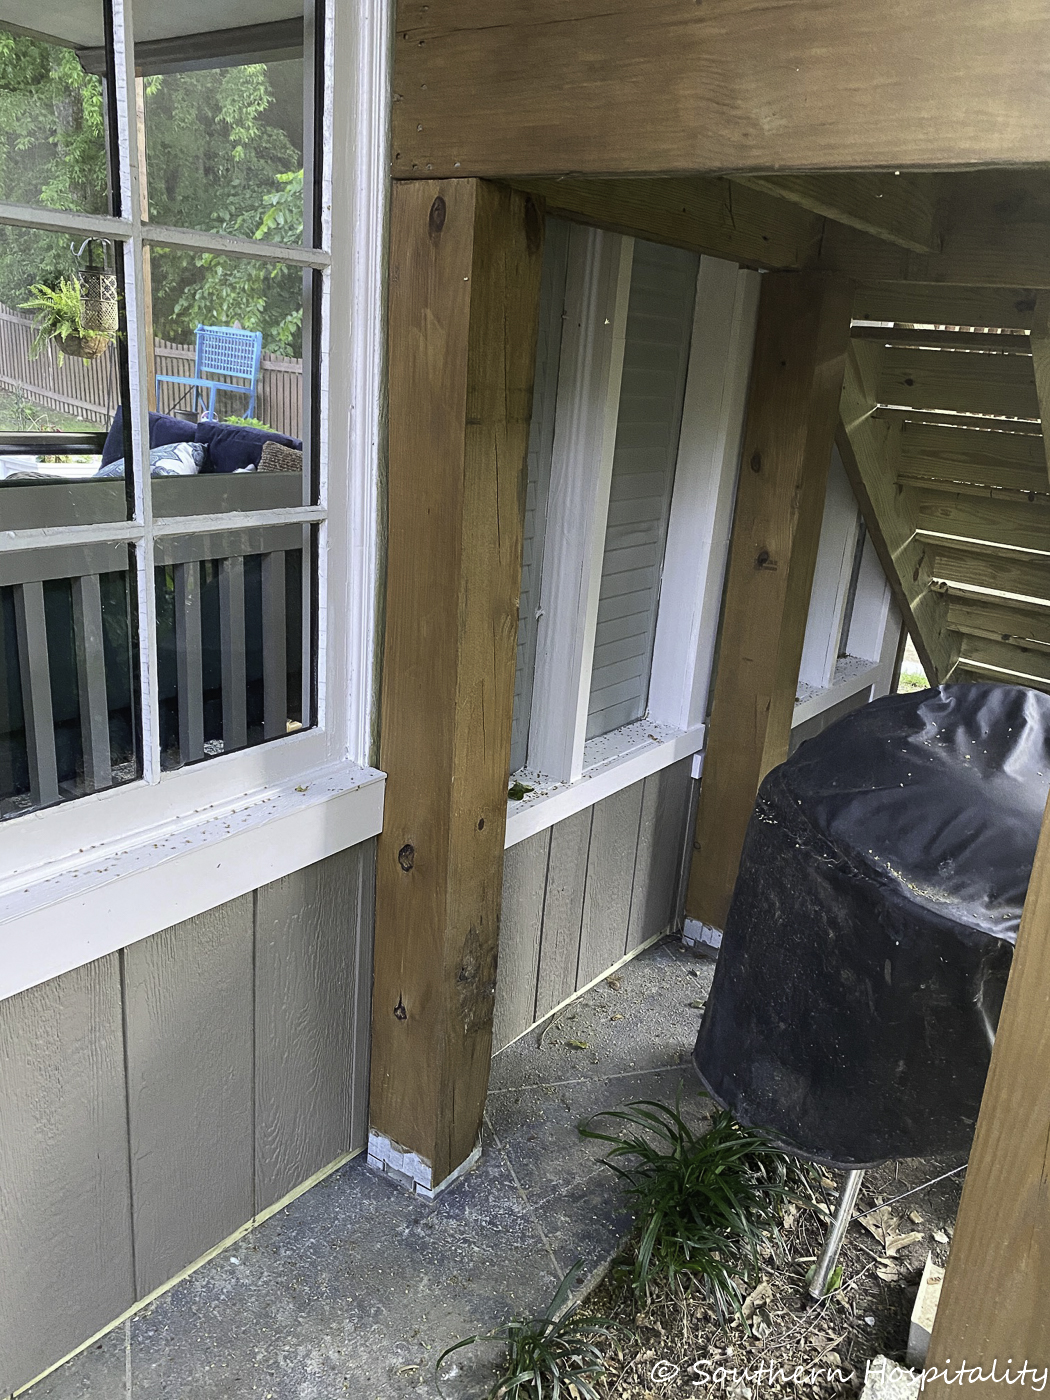
Mark added trim boards back here too and I painted it all the same white as our exterior trim paint. You can see the shutters backed with screening here too. We hope that the shutters last a long time.
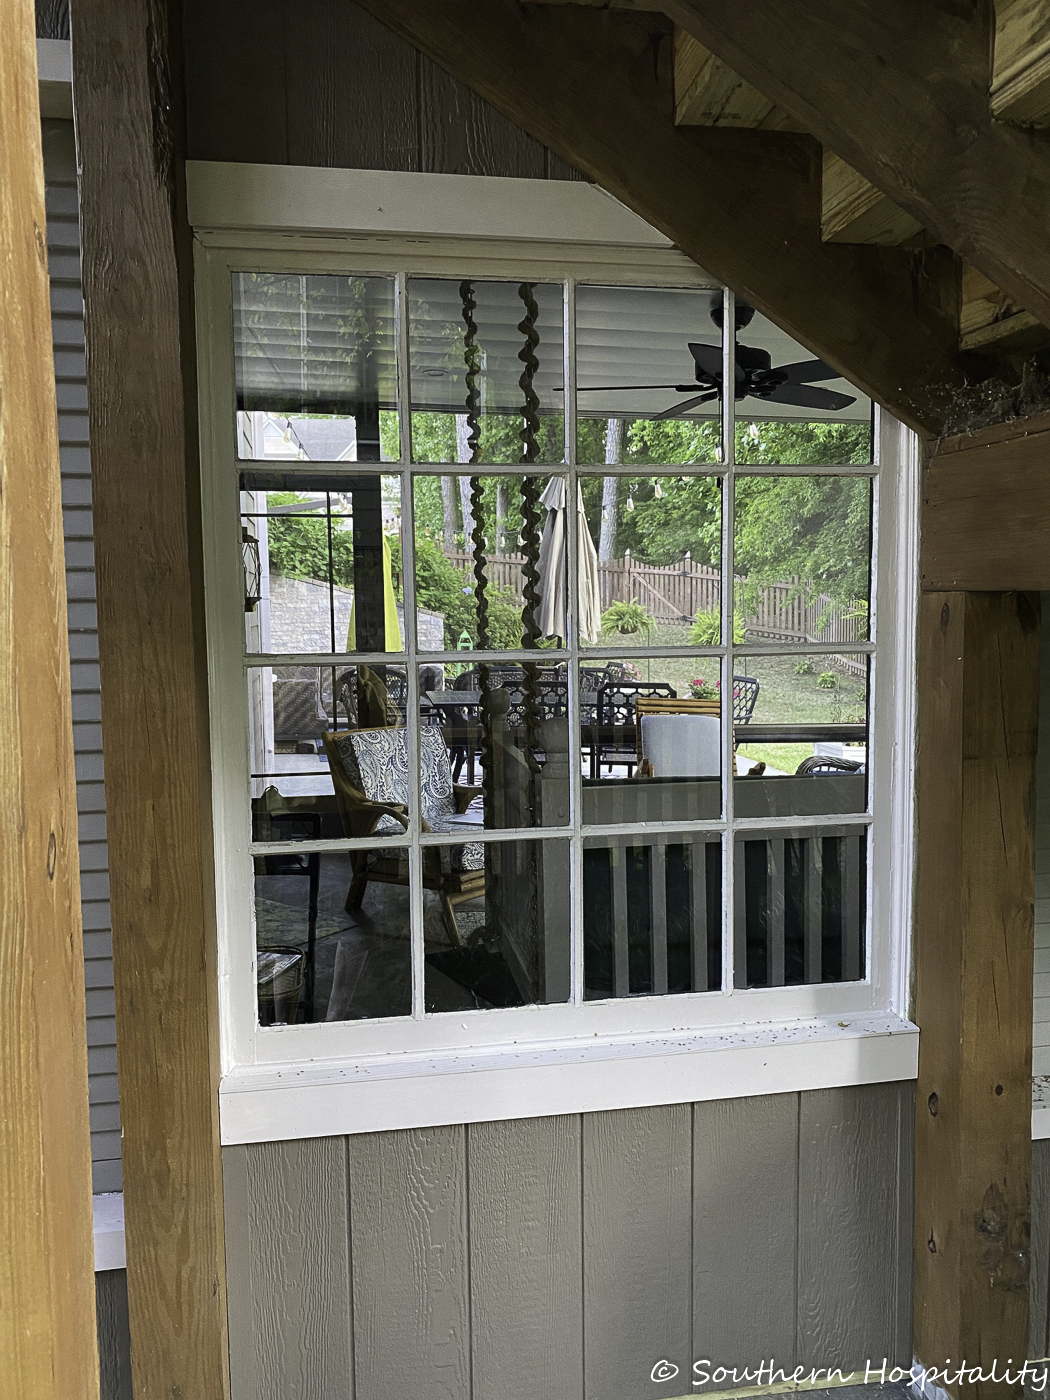
The big window from the backside looks good too.
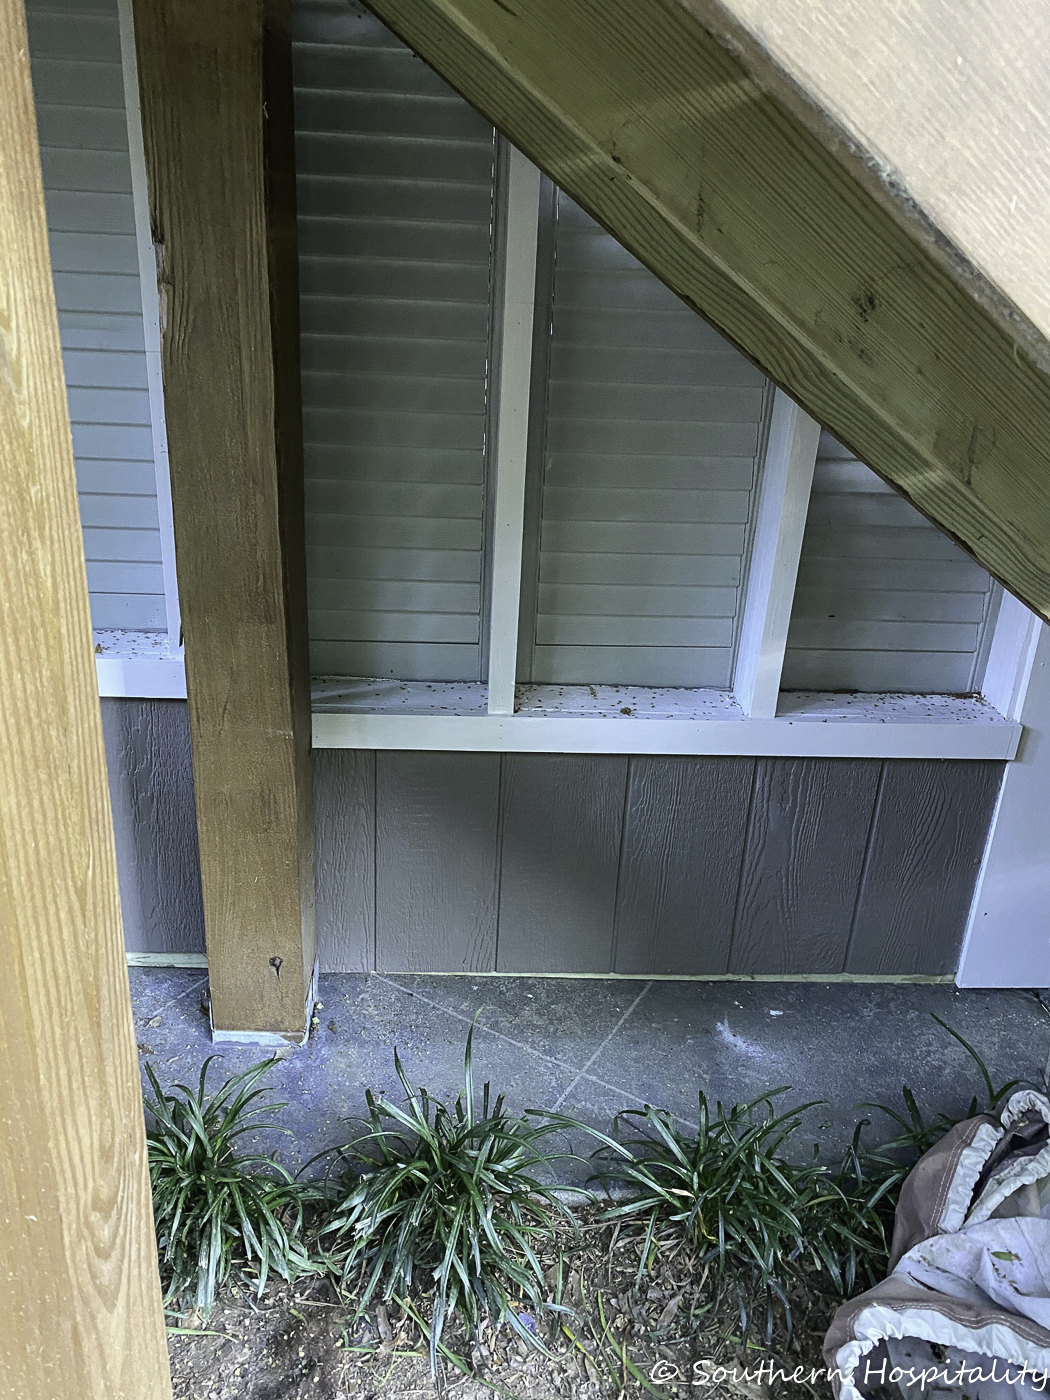
So now we don’t have to be embarrassed about the back side of the wall. It all looks good for the neighbors.
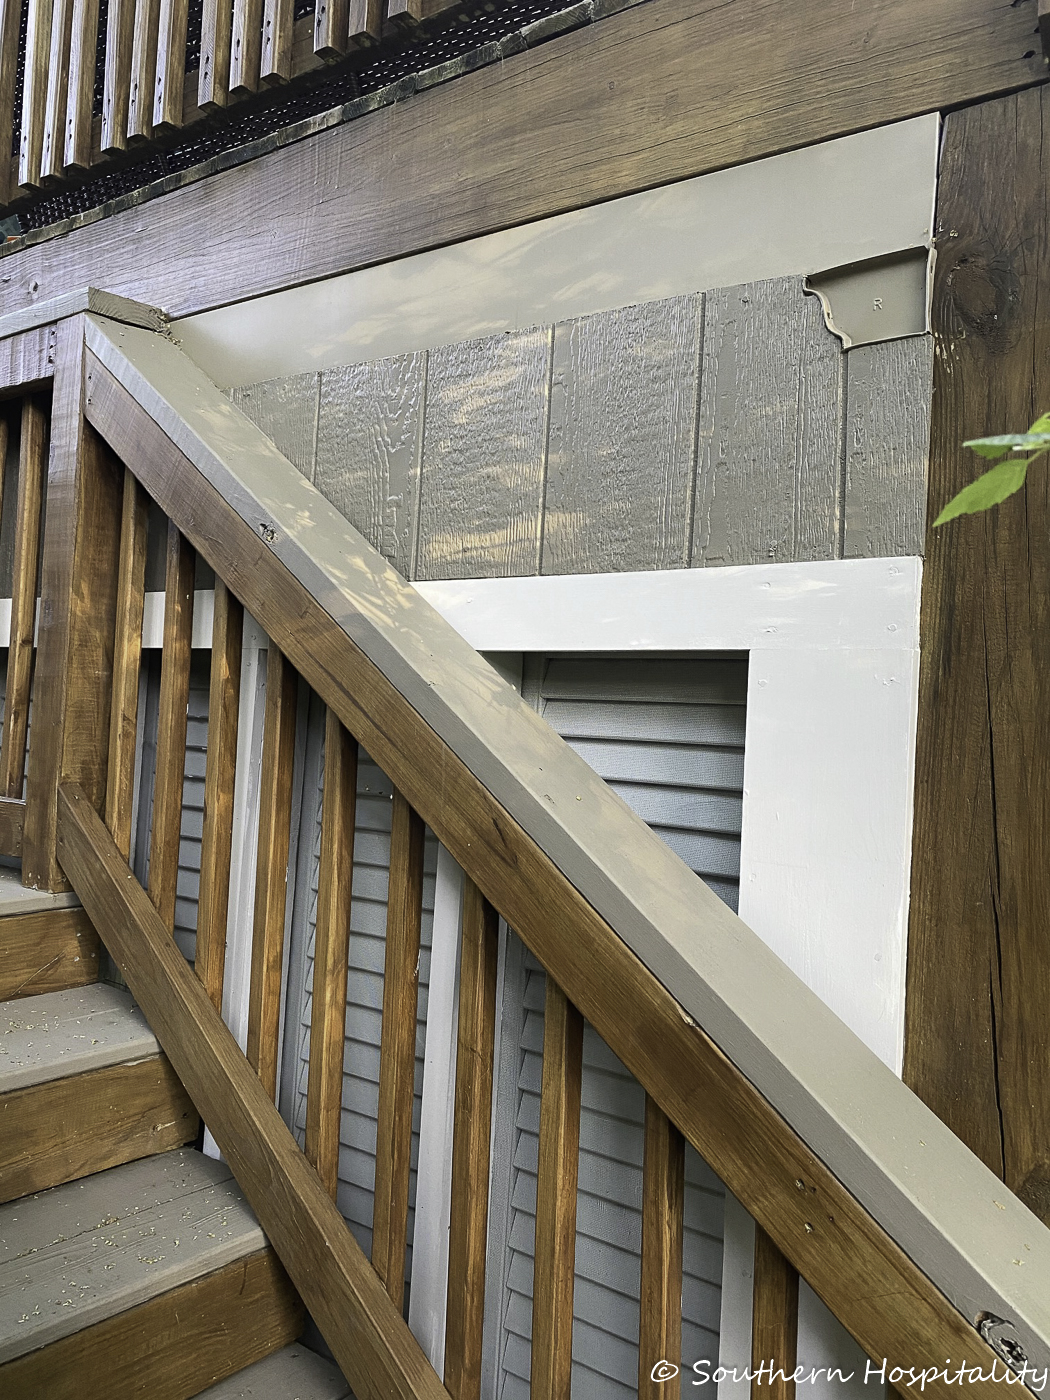
And here’s how it looks going up the stairs all trimmed out and painted. Mark did a great job trimming it all out with the exterior paneling and trim boards and all that looks good too.
So that’s a detailed look at how we did the shutter wall in case you might want to try something like this too. It was quite the project and we are so happy it’s completed. It was something we looked forward to for so long and we are thrilled that it’s behind us now and we can enjoy this new space!

We went from THIS wall……
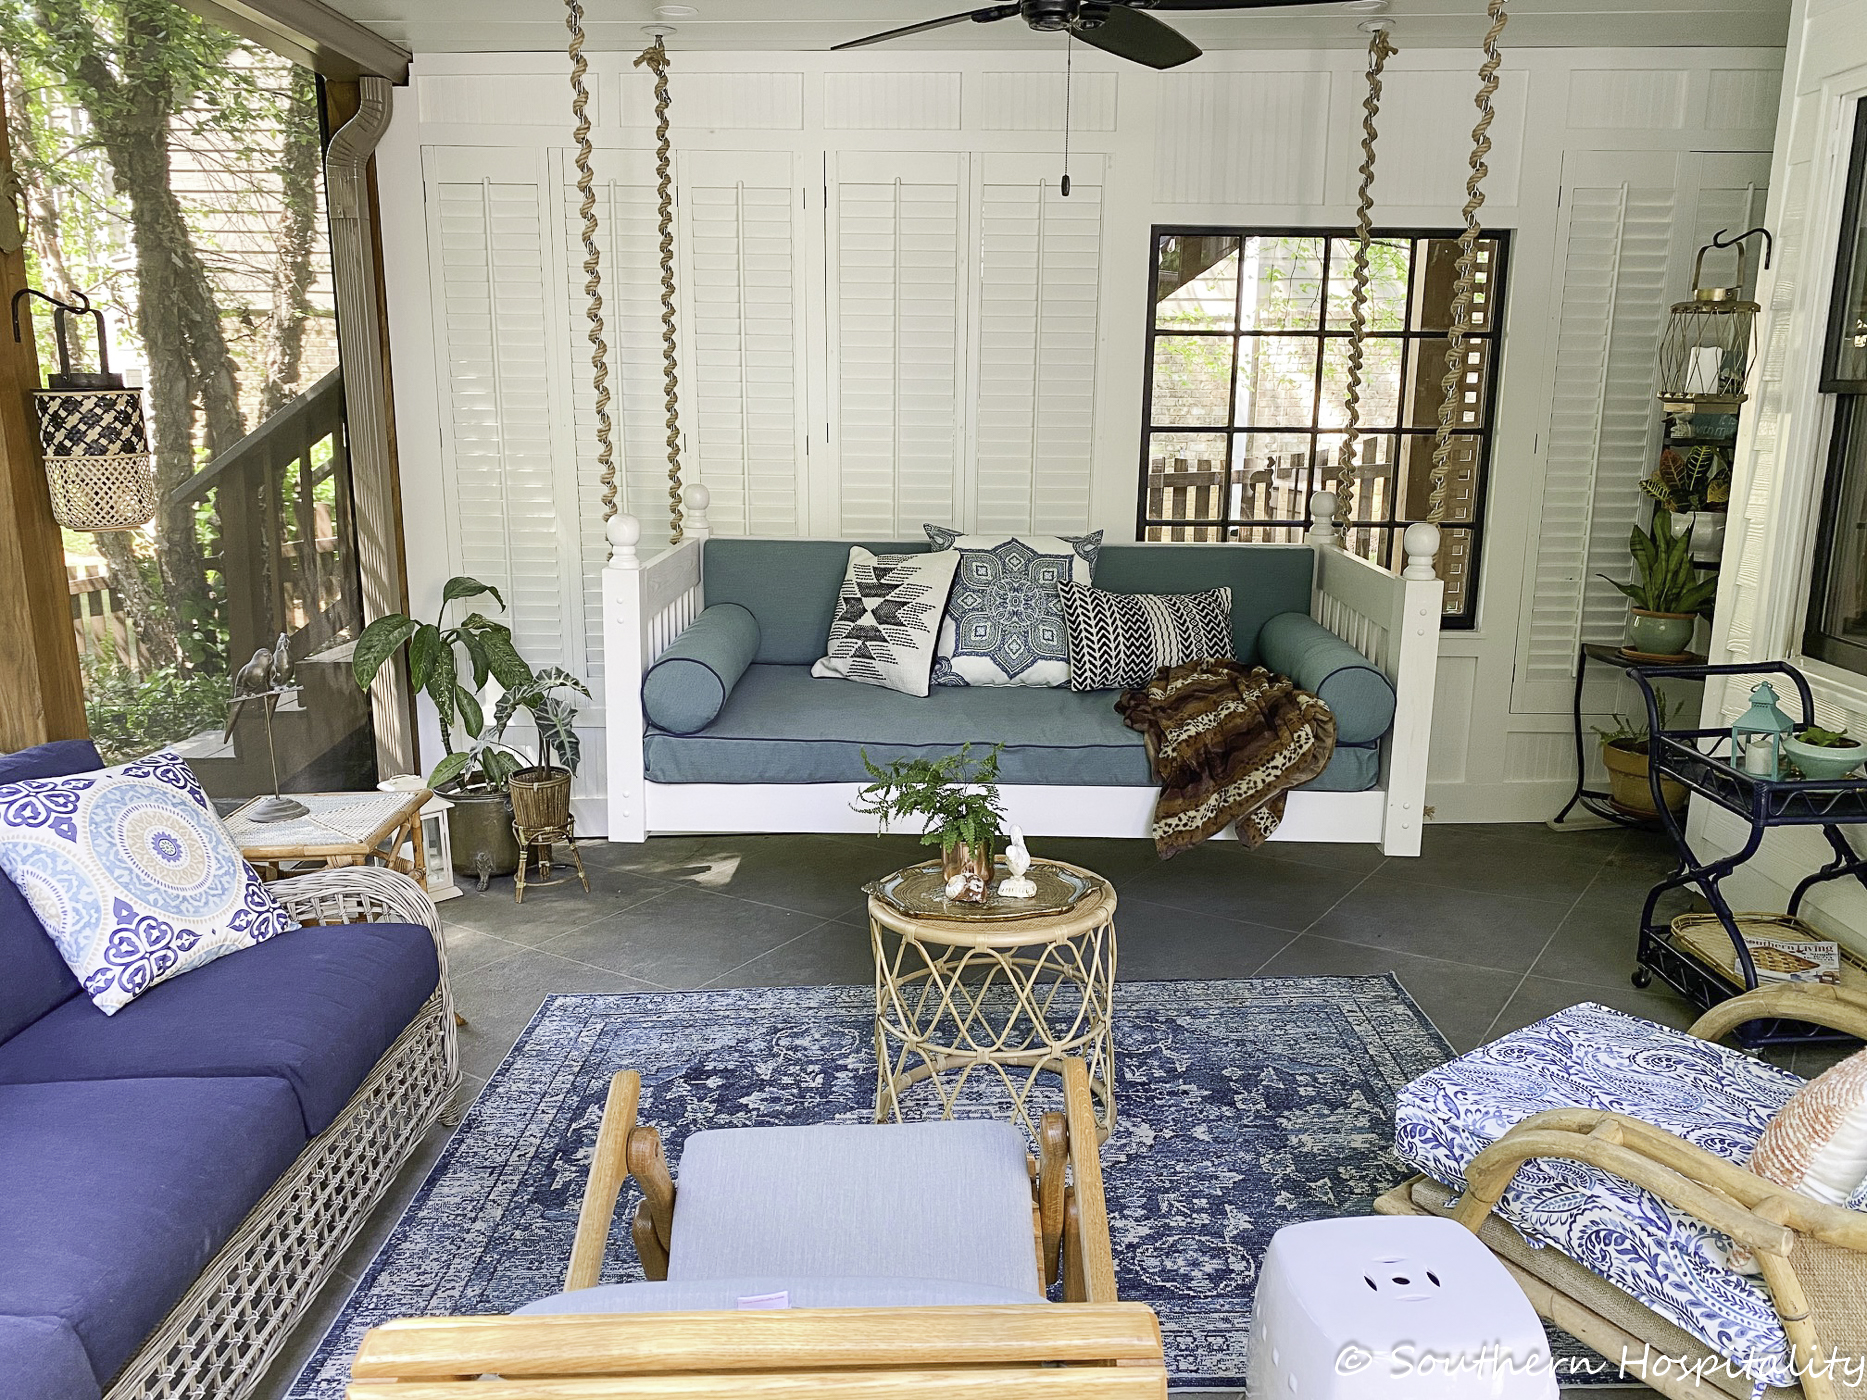
To this screened in room and as you can imagine, we love it so much!
If you missed the Patio and Screen porch reveal, please go there and take a look. It’s a beautiful patio project and we could not be happier with how it has extended our outdoor living space. We will be enjoying this space for years to come and I appreciate all the excitement you all have shown on this project too.


Interesting project !
Great use of space! The new “room” is really useful as well as beautiful! Thanks for sharing and the giveaway!!
The shutters add so much charm. Very clever use of materials you found there.
I love the swing too.
Great use of space beneath deck. How did you treat the ceiling to prevent rain from falling through the floorboard cracks to the room below?
Thanks, Judy, we had an under deck ceiling installed. It’s aluminium and the rain water runs to a gutter to keep it all nice and dry.
Such a cute idea! Love your home.
Lovely, just lovely
Loved your post! What a creative use of space and the final result is just beautiful!
What a wonderful project! Turned out perfect,as well…give that guy a big hug for a job well done.. you decorated it perfectly too! Thanks for the giveaway!!;
I love this idea. I have to start saving shutters.
I am so impressed with this project! Your husband’s skills are a huge asset!
WOW!!! Great project. Wonderful use of this space.
Excited about seeing your finished pool project!!
Beautiful!
A whole new room–so pretty! Congrats on a job well done!
Such a clever idea! It looks great!
Looks nice!
So clever!