I’m excited to share the progress on our under deck project with you all. It’s a little slow going and I’m waiting on the next steps now which will be working with Phantom Screens to get the rest of it finished, but Mark and I have a lot to still figure out too as far as finishing this space off. I shared in this post about our plans and now it’s just a matter of time before it all gets completed. An under deck aluminum ceiling is one of the best investments if you have a deck that’s high enough to be useable underneath. It creates a whole other room and we are so glad we got this done too!
The first step to finishing our under deck room was getting our under deck ceiling installed. We hired pros for this part and I got 3 estimates from companies here in Atlanta who do this sort of thing.
I ended up using Armando with All South Rain Solutions and his team did a fantastic job. We could not be happier with it all, so let me share the project with you! This is not sponsored at all, but I’m happy to share their information if you’re in the market for this too. Just check out the website link.
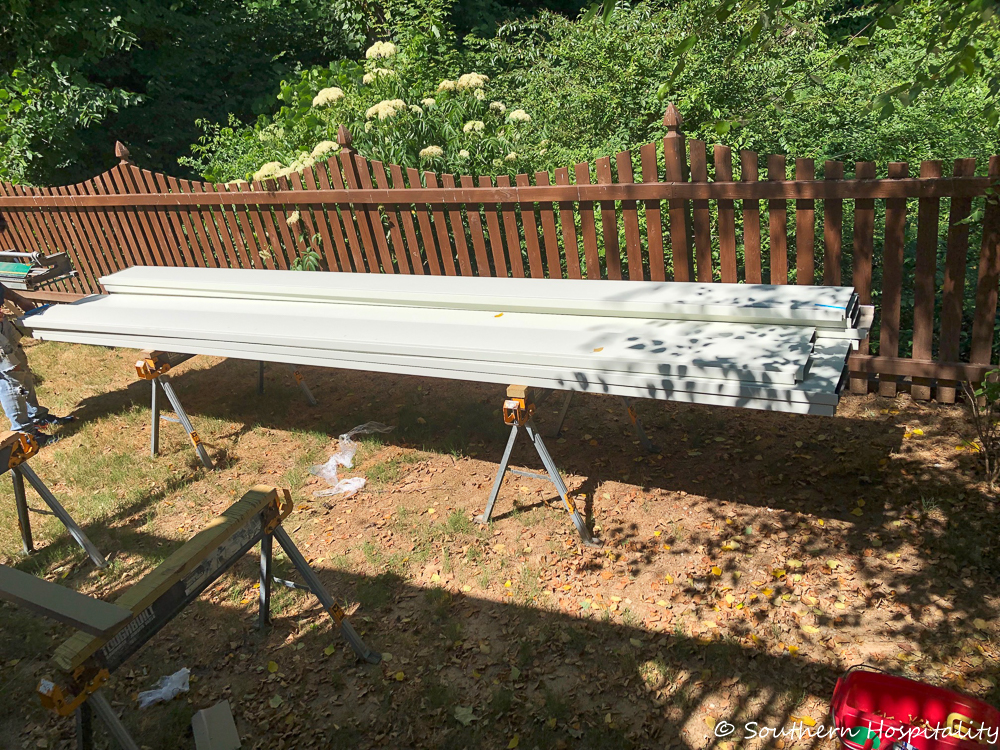
We had a day set up for installation and they actually got here a day early, which was fine with me and then they finished up the next day. The crew set up everything in the backyard and worked at getting it all done. I kept peeking during the day to see the progress.
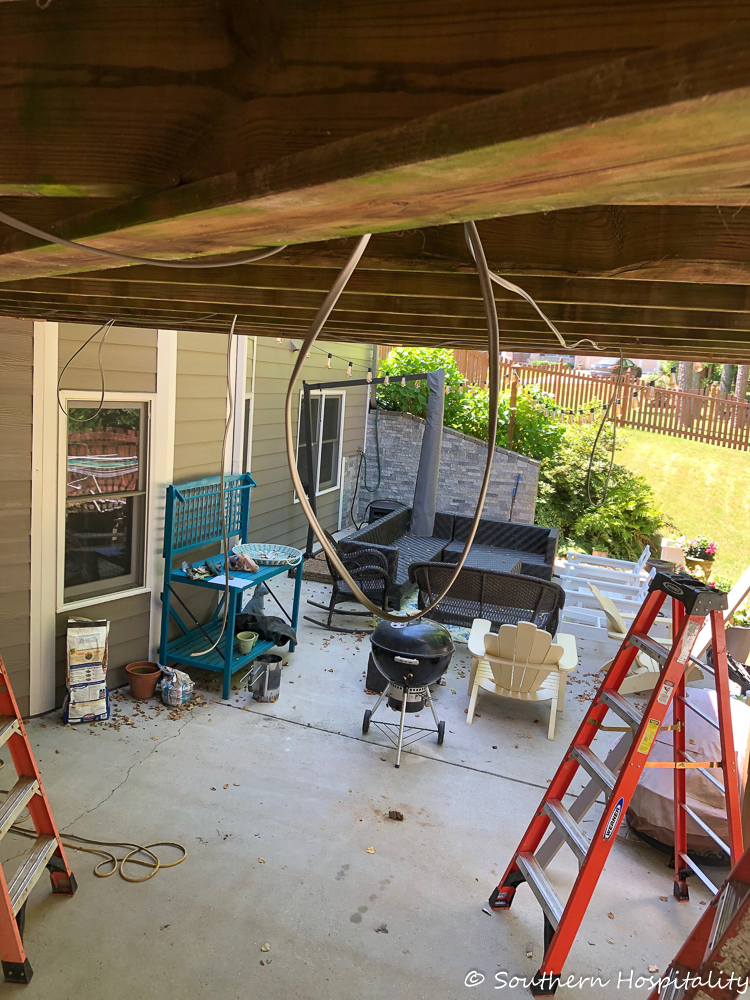
The wiring was time consuming, so it took most of the day to get all the wiring done and get it ready to install the aluminum panels. The price that we got included 4 can lights and a ceiling fan installation. I also paid extra ($300) to get 4 hooks installed for our new twin swing bed that will come later.
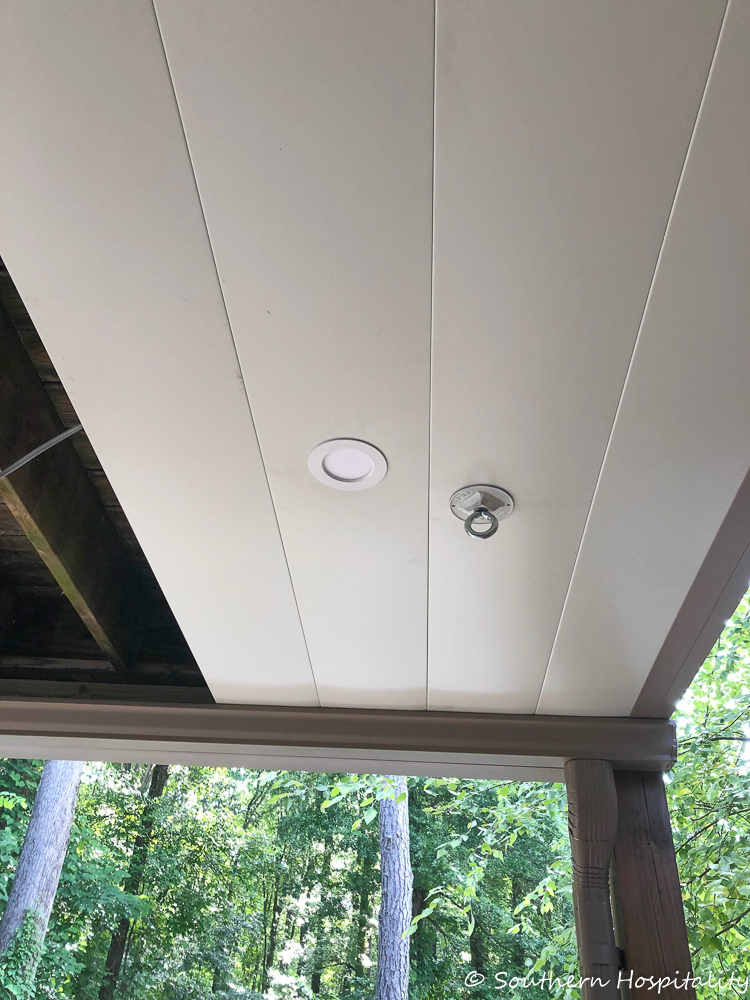
Here’s a look at the can lights as they were going in as well as the swing hooks.
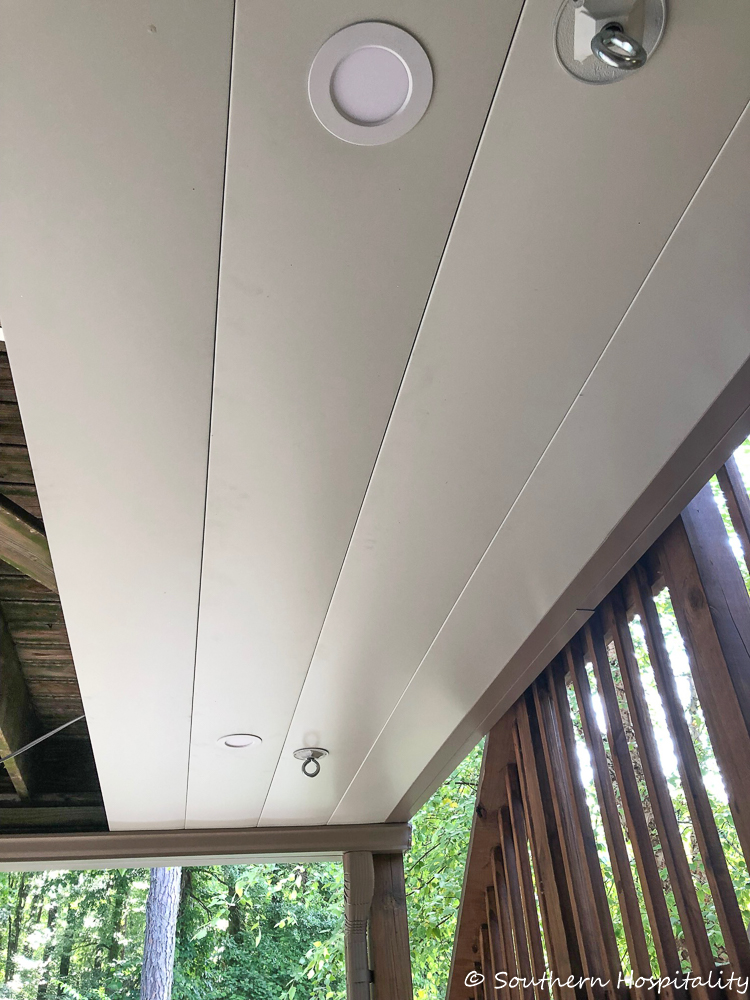
It’s an intricate project to add those swing hooks, but it will be worth it to have a secure space for the new swing bed. They have to make sure it’s all water proofed when it goes in too.
I chose the following colors:
Linen for the ceiling
Wood Beige for the trim.
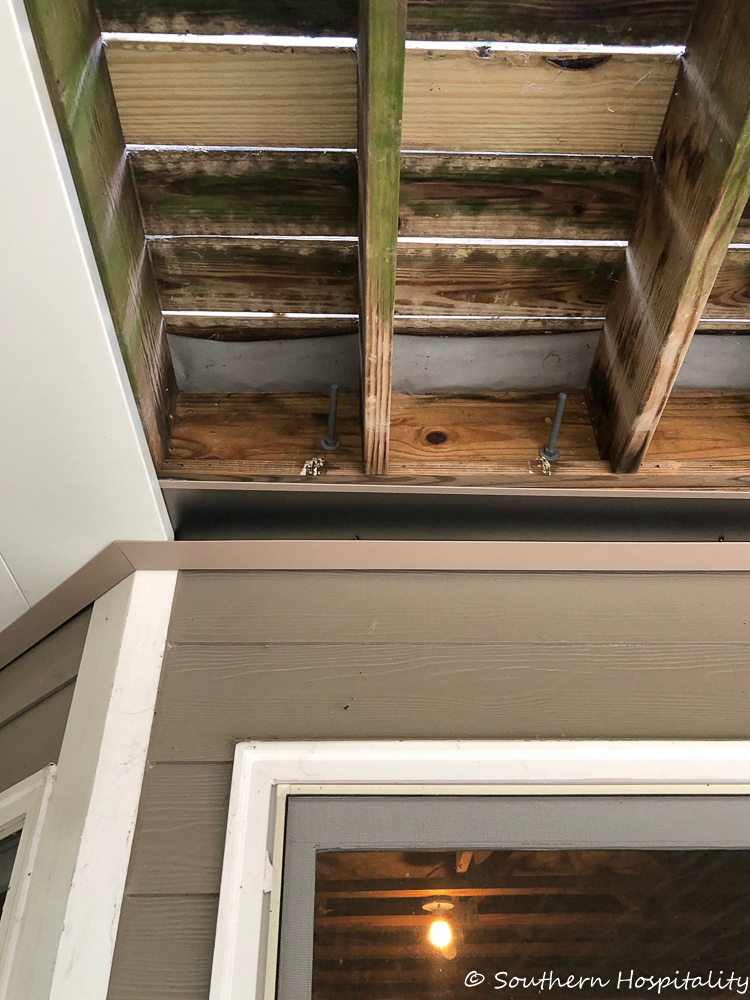
A look at the progress with the dirty old deck boards still showing, but soon they were all covered up.
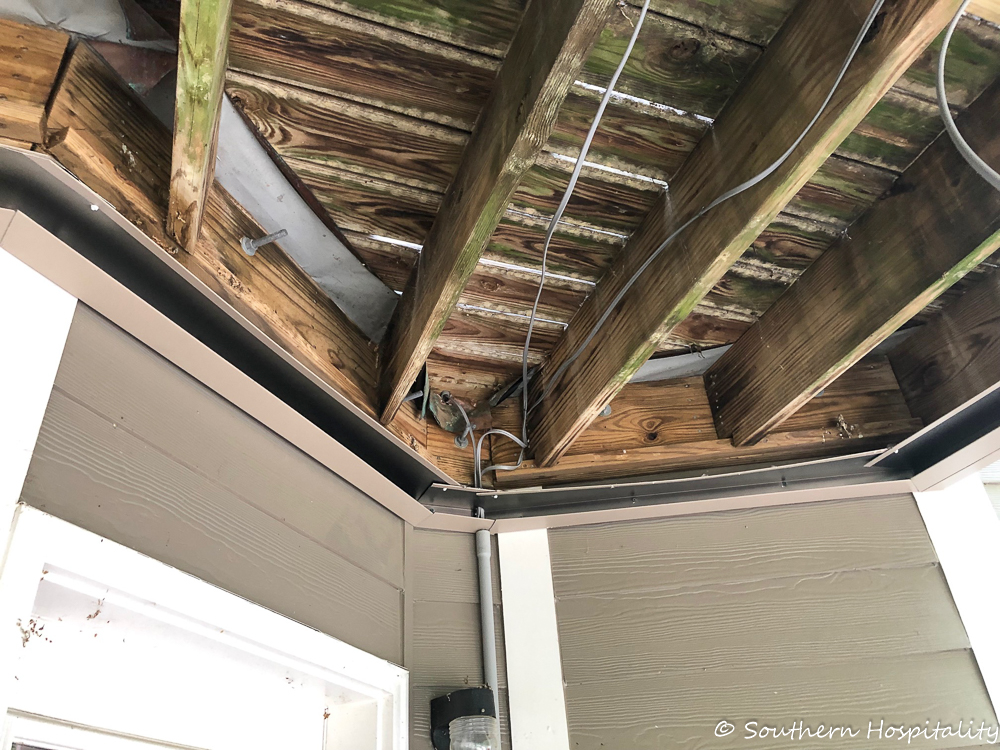
They had to install the metal framework for the panels to sit in so that had to go in first and was a bit time consuming because of our angled wall down there. I love how neat it all looks when finished.
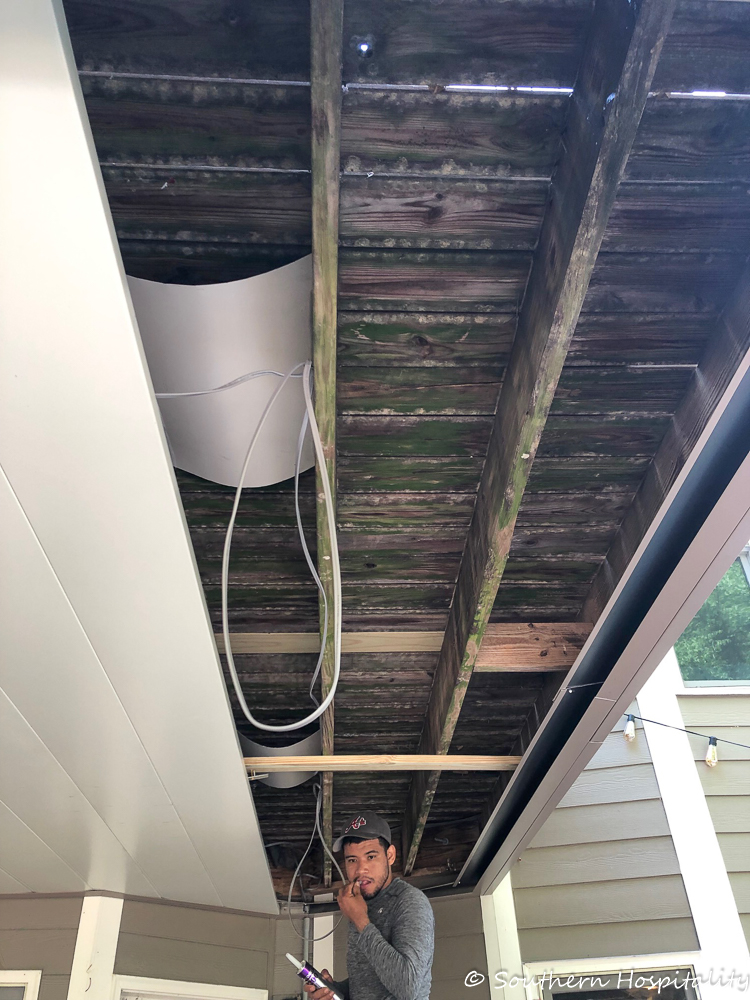
Adding the last of the panels in place.
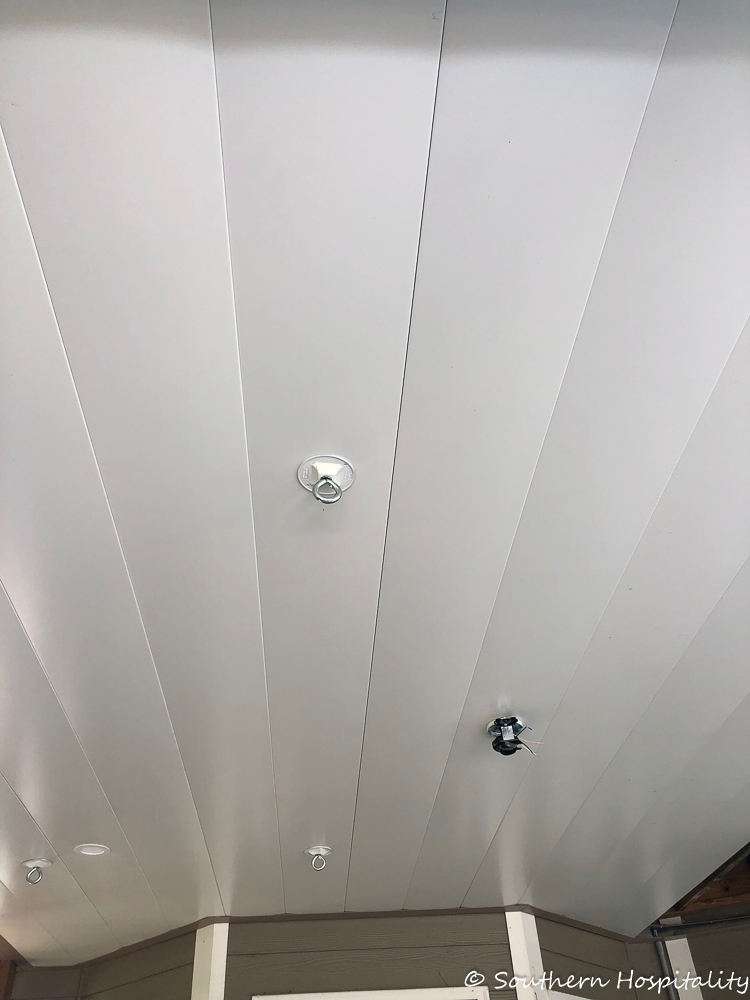
And here’s the finished ceiling! We just love it.
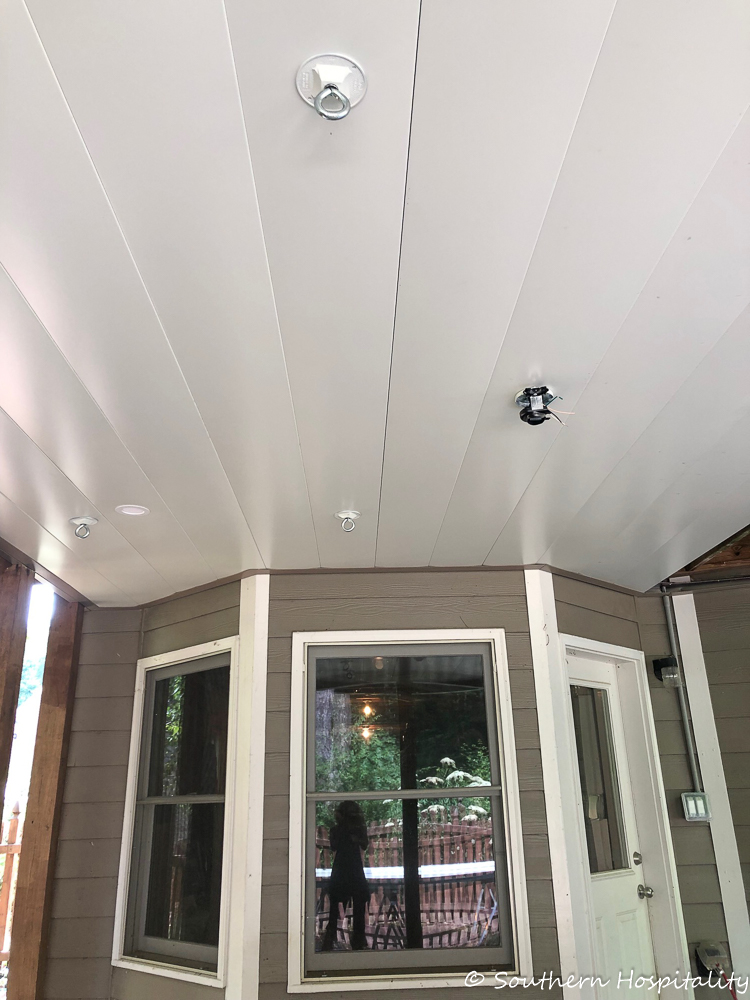
Before the ceiling fan went in.
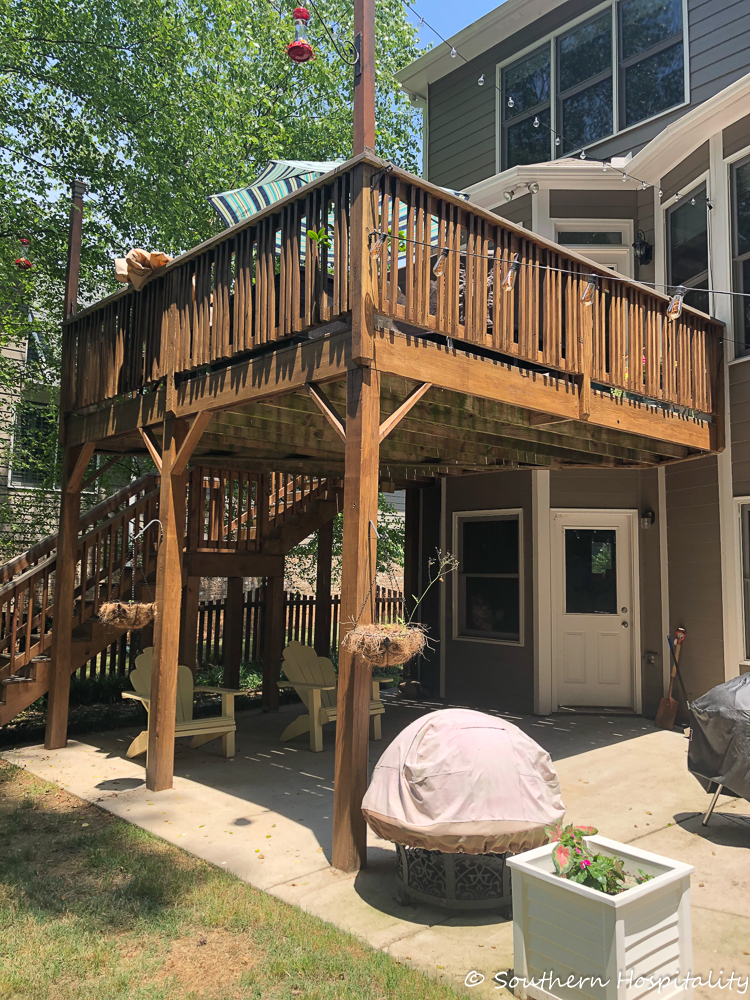
Here’s a reminder of the before of the under deck.
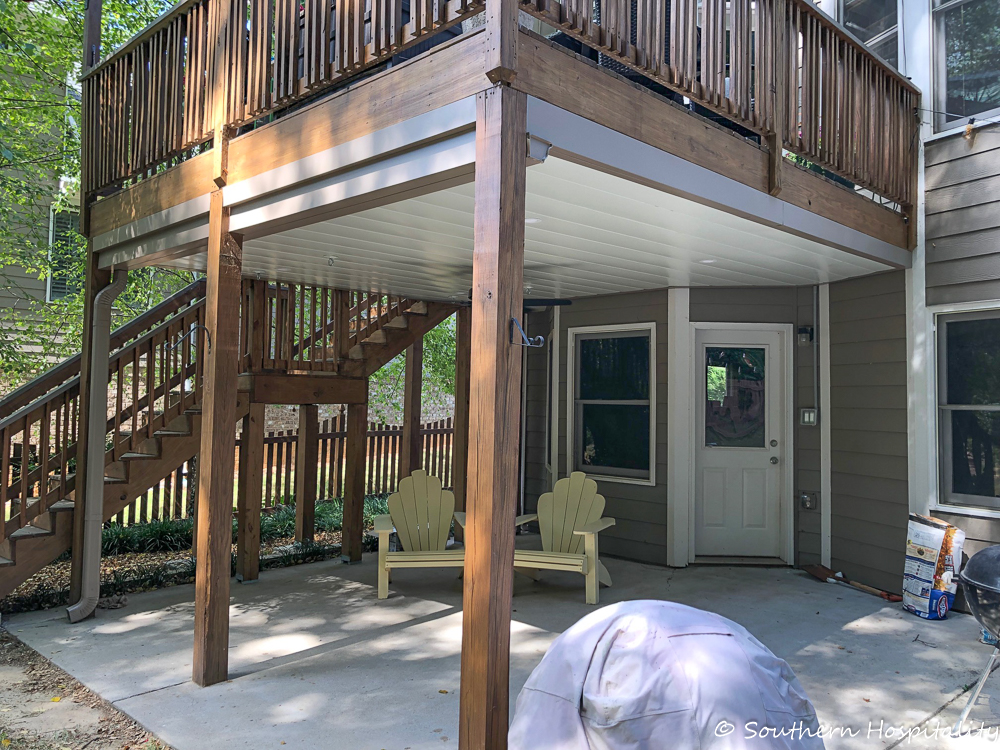
And now the AFTER! Doesn’t it look so good?! Notice the differences. They added extra wood below the deck boards all the way around and then wrapped them in aluminum. I chose a taupe color that was close to our siding color for the trim pieces and a Linen white for the ceiling. I wanted the ceiling to feel lighter and brighter so I’m glad I went with white. Definitely not stark white, but a pretty creamy white that blends great with our white trim.
You can see the gutter on the left side of the deck which leads to the downspout. That’s how all the water drains out of the ceiling now! This is the coolest system. Water that falls on the deck now collects in the aluminum panels and flows down the gutter to the down spout there on the left. It’s a perfect solution to dry in under a deck!
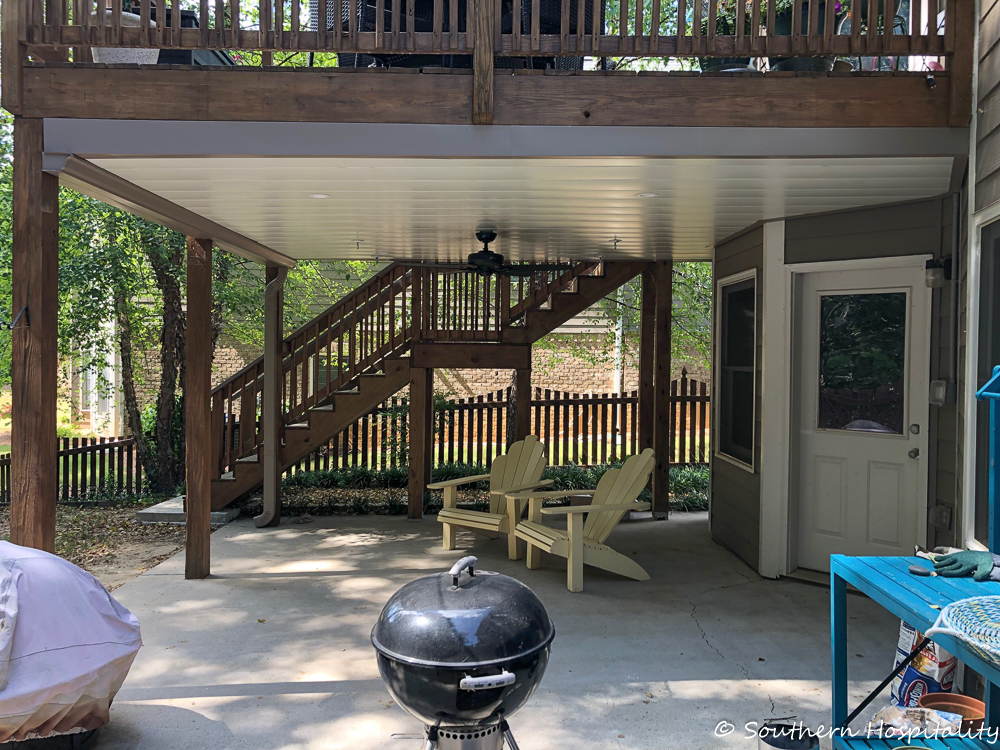
We absolutely love it and I couldn’t be happier with the colors I chose. It was a little agonizing choosing colors, but I’m thrilled with my choices.
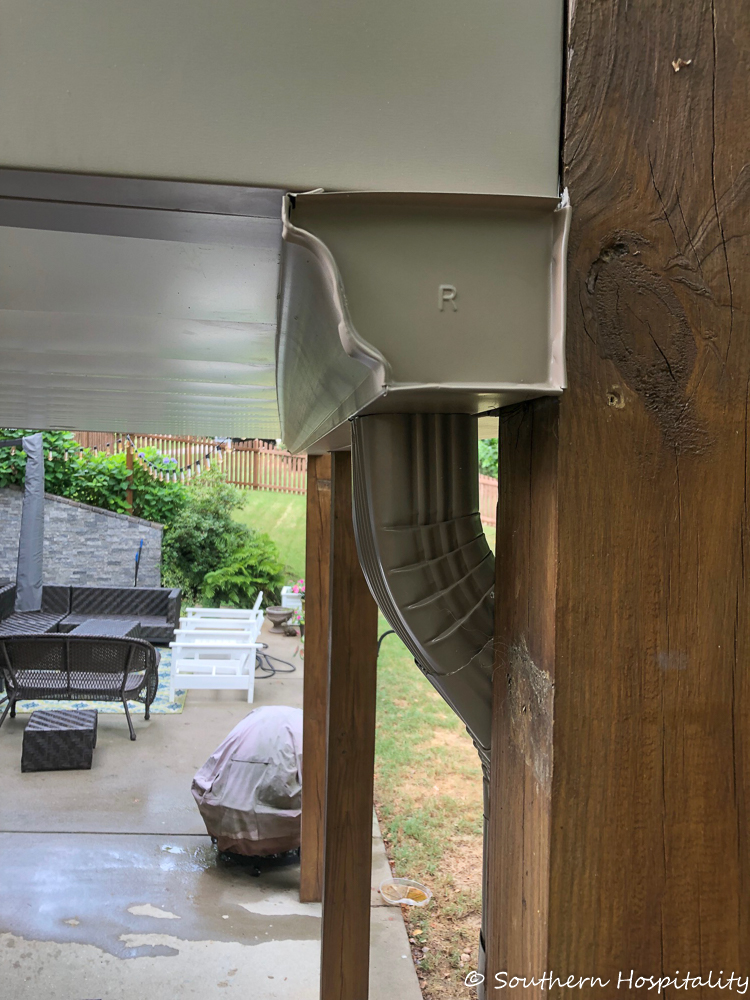
Here’s a closer look at the gutter.
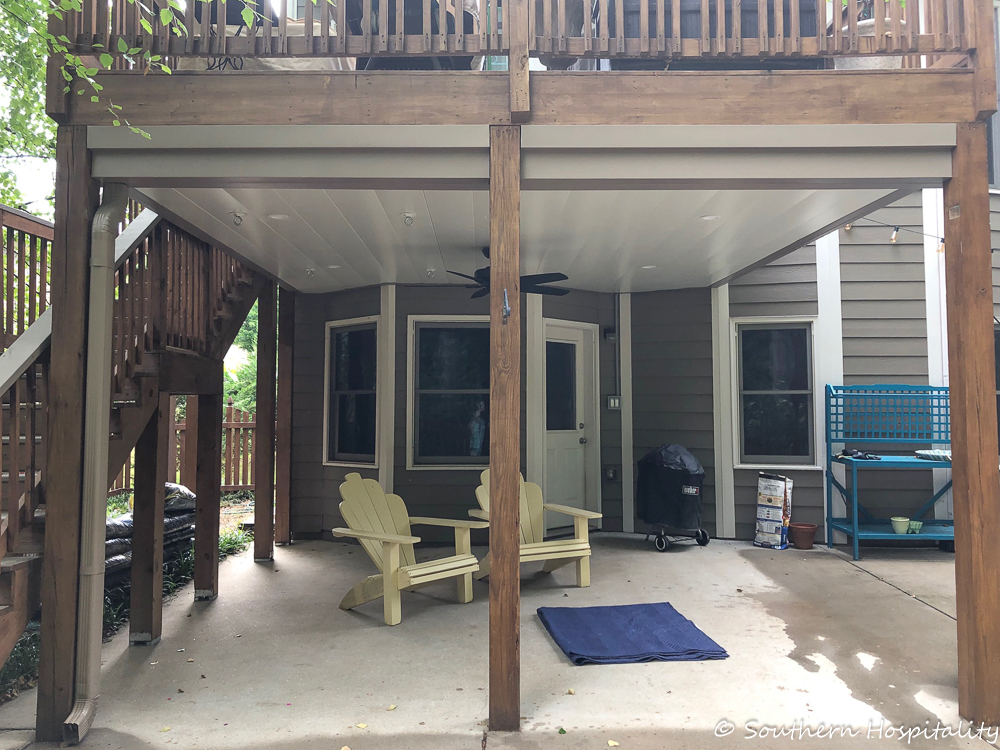
The wrapped wood looks so nice and neat and fits right in the deck.
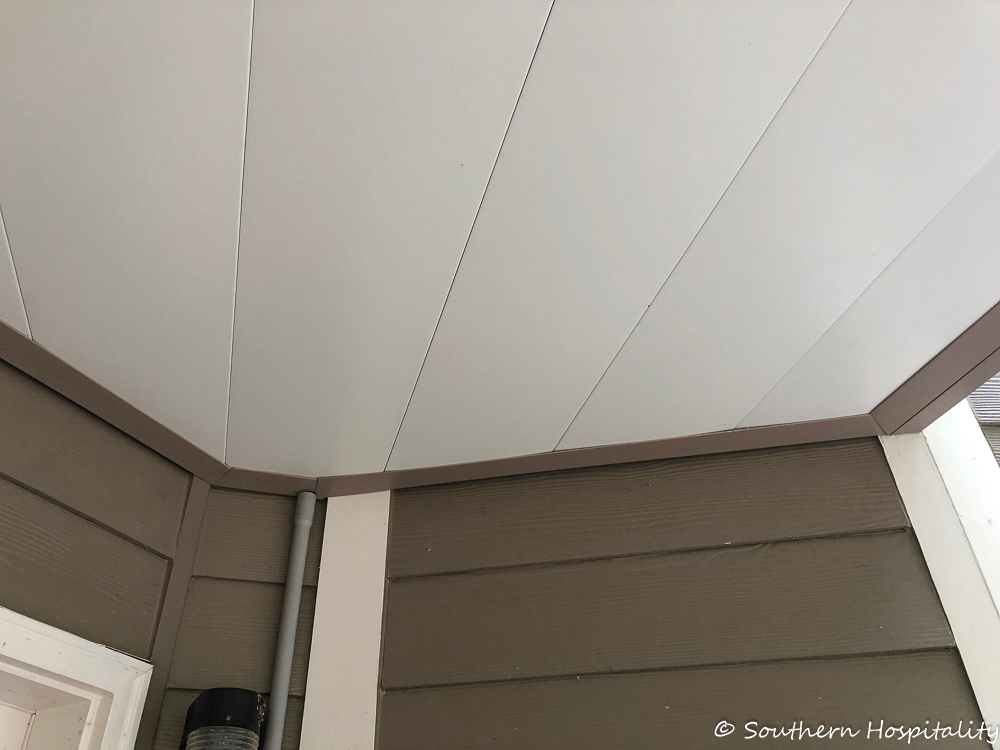
Here’s how the trim looks, all nice and neat.
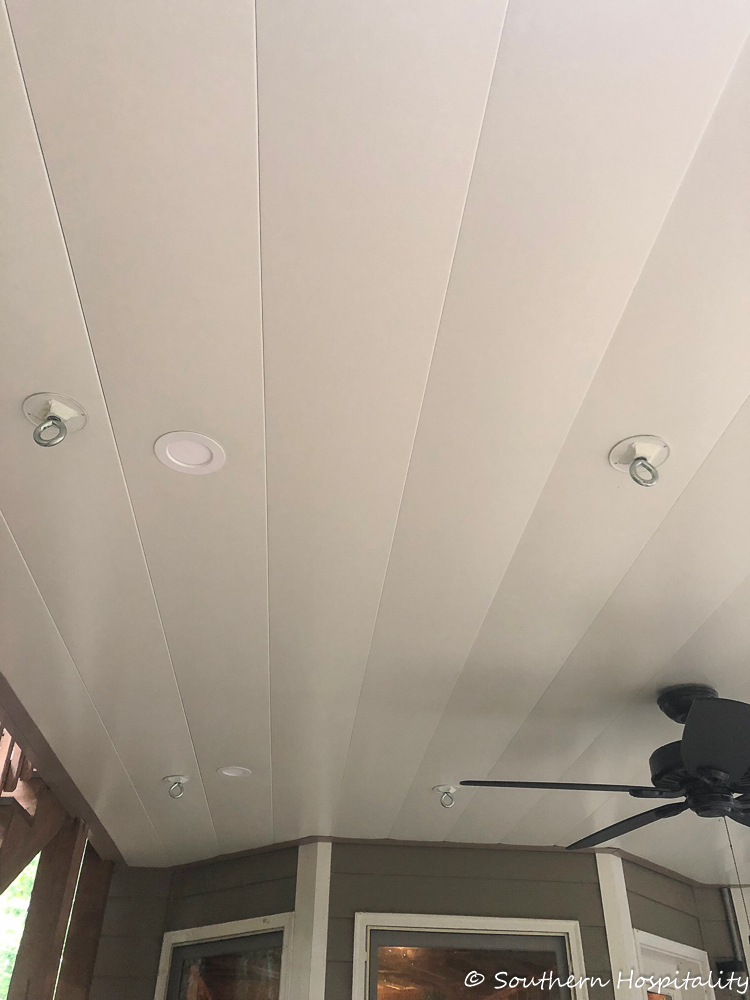
We just love it all and now sit down there at night to enjoy the cooler evenings we’ve been having.
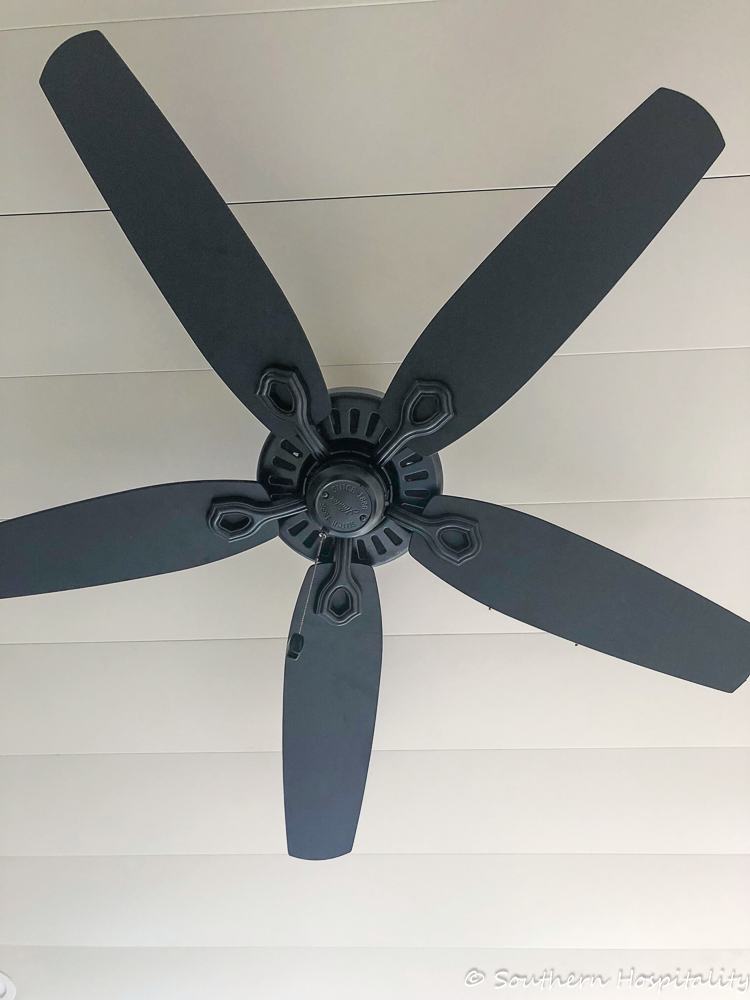
I ordered this pretty black outdoor ceiling fan from Amazon, it’s a Hunter. I just wanted something simple and dark and this one does the trick. We didn’t need lights on it.
Here’s the one I bought from Amazon (affiliate link):
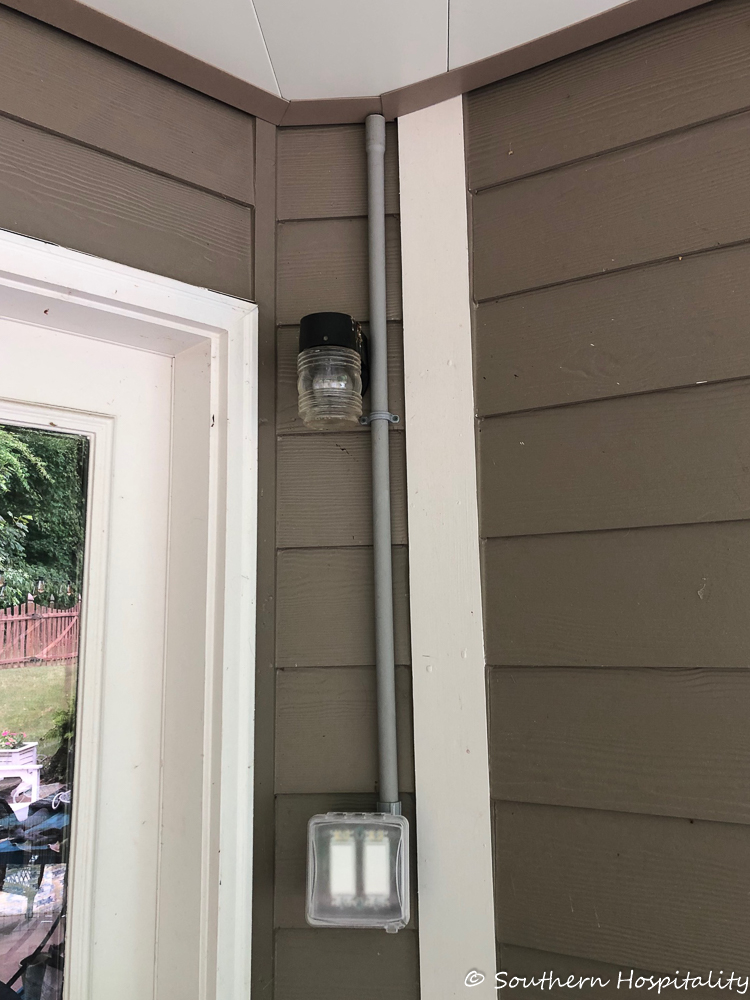
The only thing I’ll warn you about is the electrical wiring. We could have hired a separate electrician to come out and fish the wiring through the wall in our basement, but to just get the job done, we let the company do the wiring on the side of the house like you see above. Because he wasn’t a licensed electrician, he had to add a wire housing to the box. He actually changed out our boxes above and below the deck giving us more plug ins and a better box.

He had to pull wires from the top deck, added a new covered electrical box with 4 outlets instead of the 2 we had. And then he went below the deck and wired the fan and can lights on that switch that you see above. We didn’t really mind that part once it was finished. But again, if you don’t want that covered wire cable, you’ll have to hire a licensed electrician to finish it off. I’m going to paint it the same color as the house to help it blend in a bit more.
So that’s how an under deck aluminum ceiling system works. We are completely thrilled with getting the under deck dried in and ready for a real screened porch now. Stay tuned for more! Again, this is going to be a slow project, but we’ll get it done eventually!
All South charged us $2840 total for this job, which I thought was a very fair price. The other estimates I got were more, so I was very happy with this one and the job they did. That included the 4 can lights, wiring and installing the fan too, as well as the 4 hooks for the swing bed (that part was $300). Just wanted to let you know how much something like this costs!


Hi Rhonda,
I am considering contracting with Armando based on your blog and satisfaction. It would be extremely helpful if you can share your cost per square foot. We have estimates from 10.50 – 12.00 for a 320 square ft, area. Thank you in advance for your reply.
Hi Rhoda,
I so enjoyed your post on your under deck renovation. You have solved our issues with a similar project for which we are in the process of contracting here in Cumming, GA. Thank you! I noticed you mentioned a twin swing bed that you would be installing later. Coincidentally, I would like to have a swing bed in my under porch area. Would you mind sharing who constructed yours, its price point, and perhaps share a photo? Thank you for your inspiration and knowledge!
HI, Teresa, thank you that was one of the first projects we did last year to get ready for the underdeck porch.We are loving our new outdoor space.
Here’s the swing bed post:https://southernhospitalityblog.com/swing-bed-cushions/
And here’s the reveal of the entire porch and patio:
https://southernhospitalityblog.com/screen-porch-and-patio-reveal/
Hi! We are in the market for an under deck roofing system as well. I’m wondering what brand the roofing system is that your contractor installed? I am in the process of getting quotes for a system from Zip Up, and one from Under Deck Oasis. I would love to have a third system to consider. Thanks!
HI, Dena, here’s the link from the contractor that I used, directly to the company he uses. https://www.senox.com/colors/
We have a similar situation with a deck over a patio below. We want to add an under deck system and a ceiling fan and a quad electrical outlet below. Sound familiar? The only difference is we don’t need the hooks, although the canned lights sound appealing (I hadn’t thought of that before). I notice one of your other comments said Armondo was your installer. We live a little north of Cumming. Would you mind sharing his full name and contact info with me? Do you think he would do a similar job for us? Thanks so much for your time! It is difficult to find quality workmen who are dependable these days.
HI, thanks for stopping by. I linked Armando’s website, so get in touch with him. I’m sure he will come out and give you an estimate. Look for the link in the first couple paragraphs. HIs website is linked. We were very happy with his team.
Thank you Rhoda! I overlooked the link as I was scrolling through your blog.
Love it!! Could you please tell me the size of you deck? Thank you.
HI, Michelle, it’s about 15 x 17′ I think.
Hey there! Want to do this but my deck is right outside my bedroom door. Is it loud when it rains? I’m concerned the rain on the ceiling would be loud at night.
Hi, Syd, no it’s not that loud at all. The rain falls on the upper deck and then drains out through a gutter system, so it’s not bad. I doubt it would bother you at all inside the house.
Do you know of anyone who has ever experienced wasp nests with this under deck roofing?
Hi Chelsea, no I’ve never heard of that, but I suppose it could happen. I once had bees build a huge nest inside a bedroom wall in my old house. That was wild!
I want to do a similar style under deck system, but I am concerned that the few wasp nest that start under the exposed deck joists now would be in the void between the deck boards and the new under-deck roof panels where I couldn’t see or get to them to spray.
Great article! We are currently in the process of creating a screened porch under our deck right now. We, too, had the canned lights and ceiling fan in the plans. My electrician just shared that the canned lights are not safe to use even with silicone. The fan electrical will will be enclosed in a box with silicone around it. I’m disappointed and am scrambling to figure new lighting. I’m curious what products they used to insure safety around the lighting. Thanks for any insight shared!
Hi, Annette, I don’t know for sure but hopefully they are safe.So far, so good.
Hi Rhoda, Thank yo for sharing your under deck project. Love it! Please share Armando’s contact information again.
T. McCoy
HI, thanks for stopping by, the contact info is in the post.
What kind of can lights were used? We’re looking for waterproofed ones and are having trouble finding any.
Armado’s company provides the lights. During installation a piece of the aluminum is bent as an additional cover over the lights to direct the water away from the lights. The lights themselves are supposed to be waterproof to a certain degree but the added protection helps as well. They also covered them with additional silicone caulking as another layer of protection. Note that the led lights used are also dimmable. I added 2 ceiling fans and 6 lights to my project and have never had any problems and it’s been 4 years. Hope this helps you out.
Frank
In full transparency, Armando just replaced our lights over the weekend. A couple of them were not working properly so he switched them out to another brand he’s using now. So we hope these do last many more years. Armando is great to work with!