Over my years of home improvement projects, one of the best ways to update a house I’ve found, is to paint the interior doors a color other than white. I’ve long been a fan of this practice and it continues into our new house. I’ve shared part of our painted doors downstairs, as well as changing out the hardware to new and improved, but I’ve continued upstairs and have finished all of those as well, so wanted to share that with y’all! What a difference it makes!
Along with painting doors a color, another big difference is changing out the hardware from the original silver to an oil rubbed bronze. Sometimes builders put in the cheapest hardware available, and although it’s useful and works, it’s not always the prettiest. We don’t love silver toned hardware in general (although I do use it in bathrooms sometimes), but on doors a higher impact metal makes all the difference.
I did this same project in my old house and painted them a deep brown/black and updated the mismatched hardware to antique brass Although this time, I used a different color on the doors and the hardware, the final outcome is still highly impactful to our home in the way it all looks and feels.
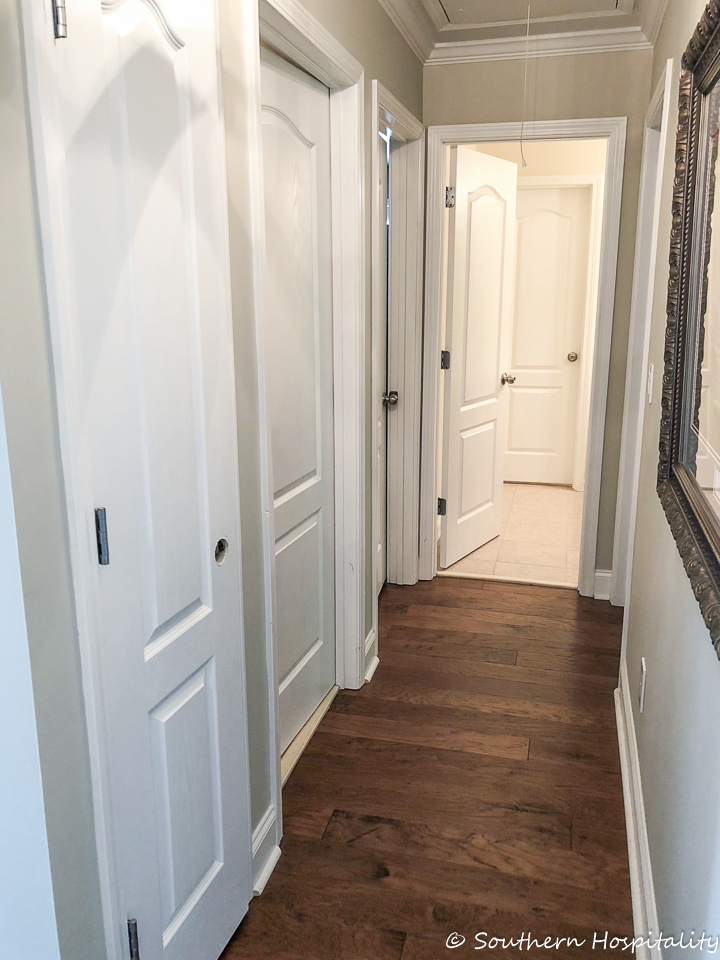
I had 7 doors to continue painting upstairs, as well as changing out the hardware to oil rubbed bronze. Here’s a look at the doors as they were when we moved in. White doors, silver toned door hardware and hinges. Nothing too exciting here to see. I’m all for anything I can do to make a hallway more interesting! There’s a closet to the left and then the laundry room door.
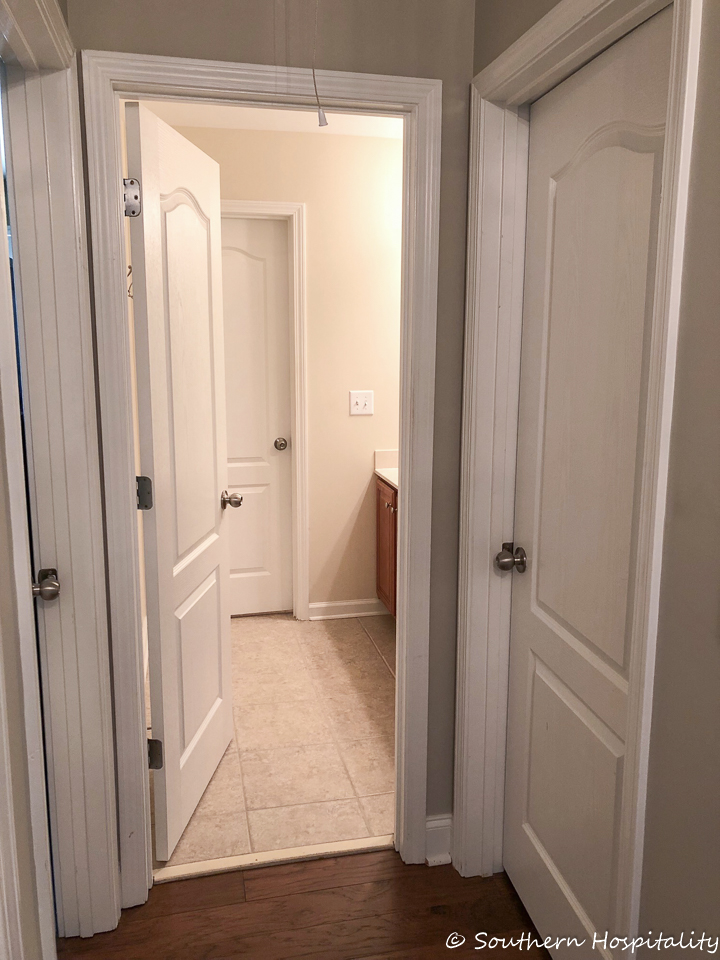
There are a lot of doors coming off this hallway, with Mark’s man cave on the left and my office on the right and the bathroom right in the middle with 2 doors.
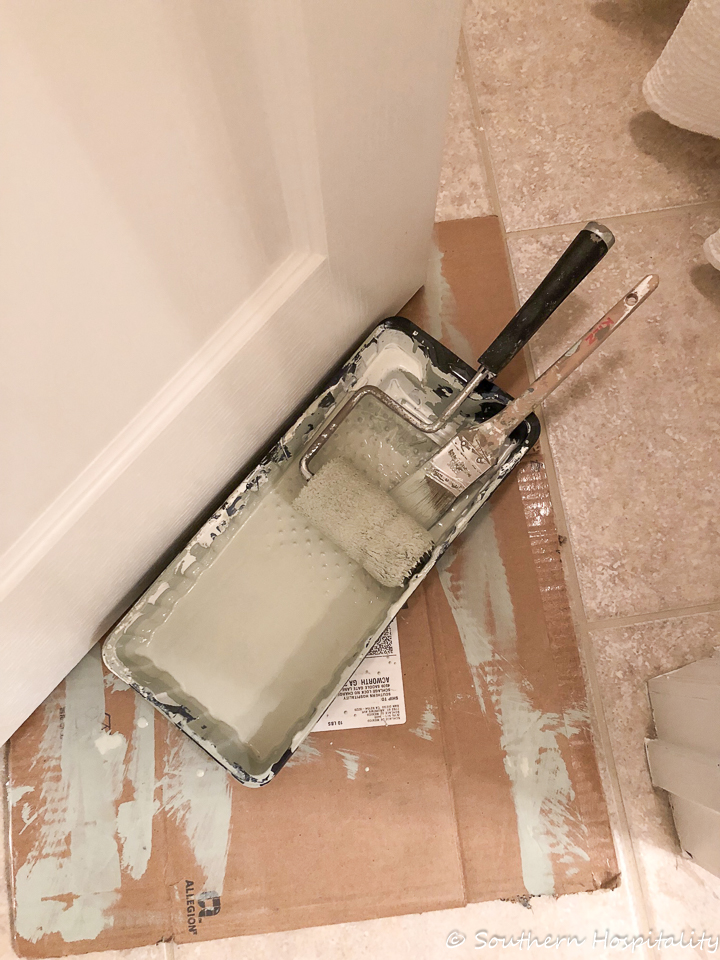
Painting Interior Doors
I’ll share my process for painting doors. It really isn’t hard at all, just a little time consuming. I do two coats on my doors, as it usually takes that to even things out. If your doors have been painted before, you don’t need to prime usually, unless by chance your doors have oil paint on them. Most paint used now is latex and water-based, so you can paint right over old latex with new paint, no priming needed. Our doors had been painted before and I assumed they were latex and I haven’t had any problems with these painted doors since I painted them. I had a pretty thick nap paint roller cover and used that, but you can also use a foam roller, which I used the first time I did the doors downstairs, but I think I prefer the cloth roller instead of foam since it distributes the paint a little thicker. If you place a thick piece of cardboard under the doors, you can use that to roll along the bottom edge of the door which makes a crisp line.
Materials I Use
I like to use a small roller and a small paint brush. I use the roller to roll over all the flat parts of the door, even using it in the grooved parts as much as possible, then I go back with the brush and brush out any paint runs and even it all out. I used Sherwin Williams Pro Classic paint on these doors and it levels out really nicely creating a beautiful smooth finish.
Paint Color and Finish
The color of our doors is Oyster Bay by Sherwin Williams, a beautiful blue/green/gray shade that is just gorgeous. In fact, I love that whole color strip and have used other colors from it as well. I used Satin finish on our doors.
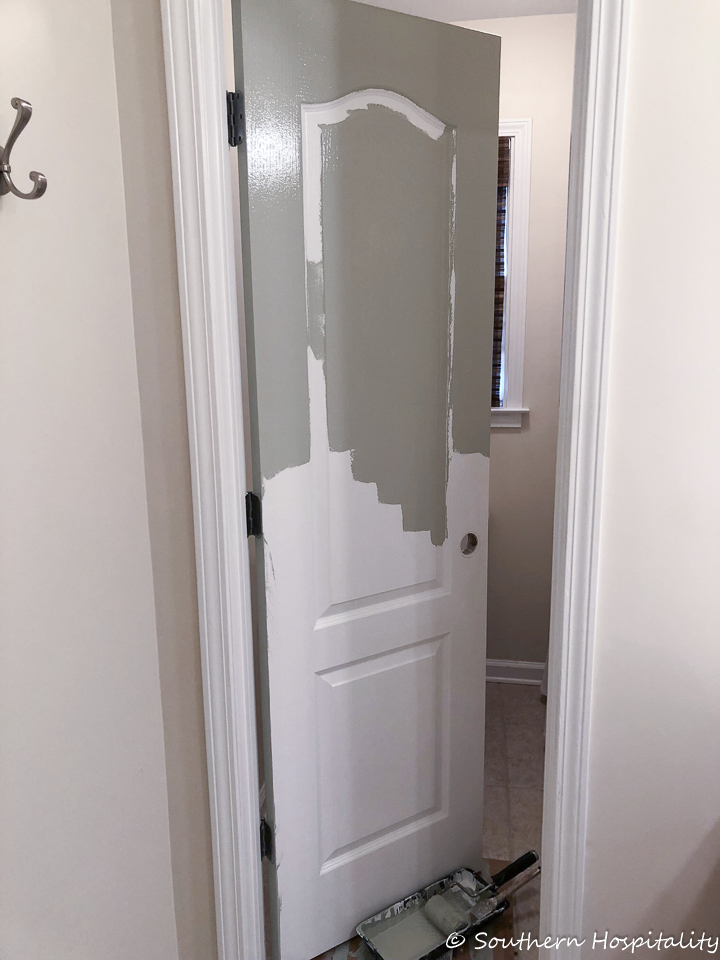
My Method for Painting Doors
I start at the top of the door and hold out the door from the hinges so that I can paint as close to the edge as possible, rolling over the door edges and covering the entire door, from top to bottom in this manner.
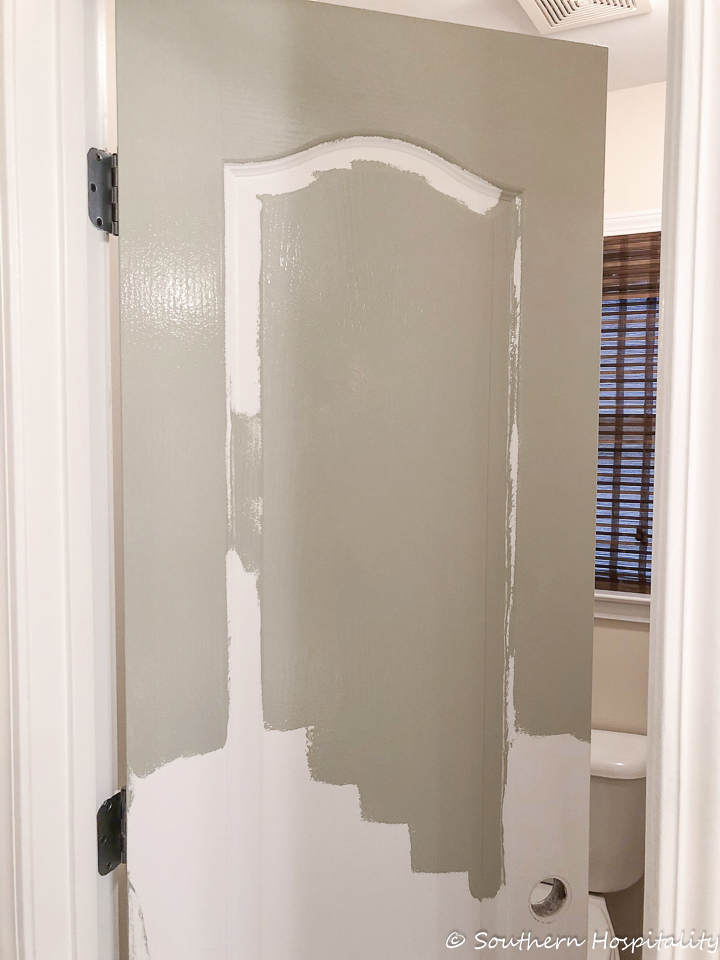
Then I go back and use the small paint brush in the grooved areas. After painting all the doors with 2 coats of paint, it was time to change out the hinges and doorknobs. This is like adding jewelry to your doors!
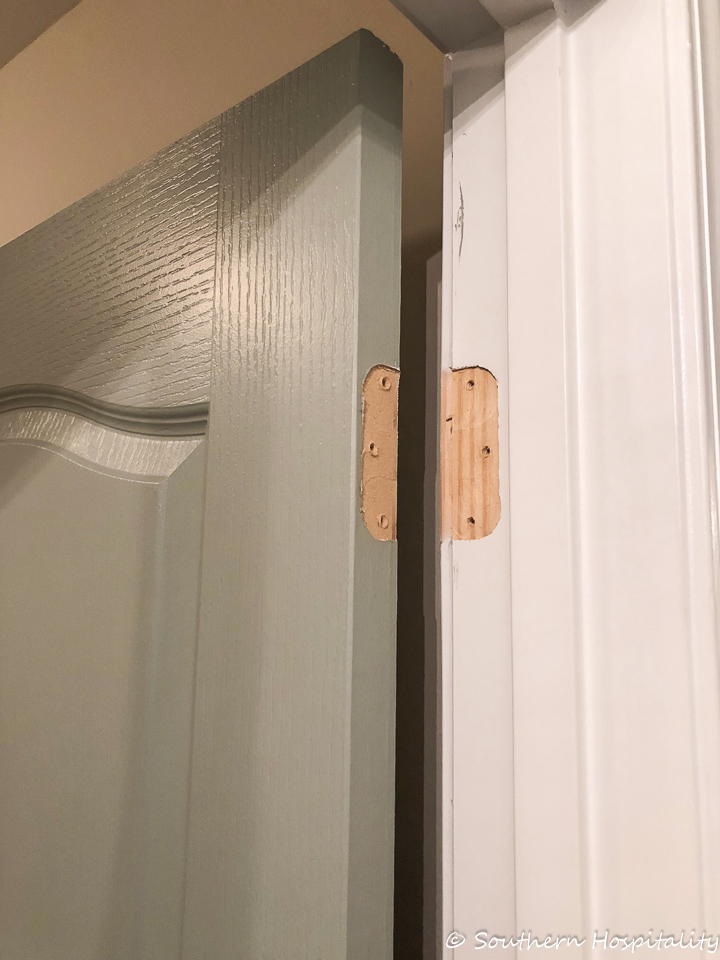
Changing Out Doorknobs and Hardware
You can see I also paint the edges of the door including the hinge side and the outside edge. Here’s a little lesson in changing out the hinges after all your doors are dry. There’s no need to take the doors off to change out hinges, just start at the top (or bottom) and change out one at at time. Take the old hinge off, add the new one.
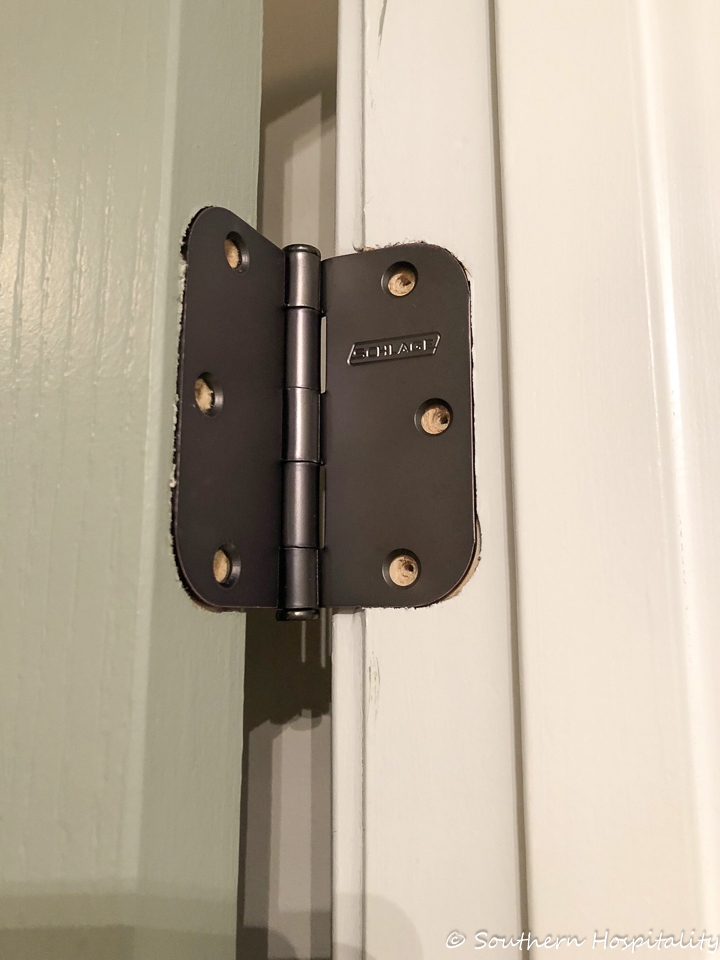
Continue on down the door until all hinges are replaced with the new ones. You just need to be sure you get the same size hinges that match the grooves you already have that have been cut out of your door.
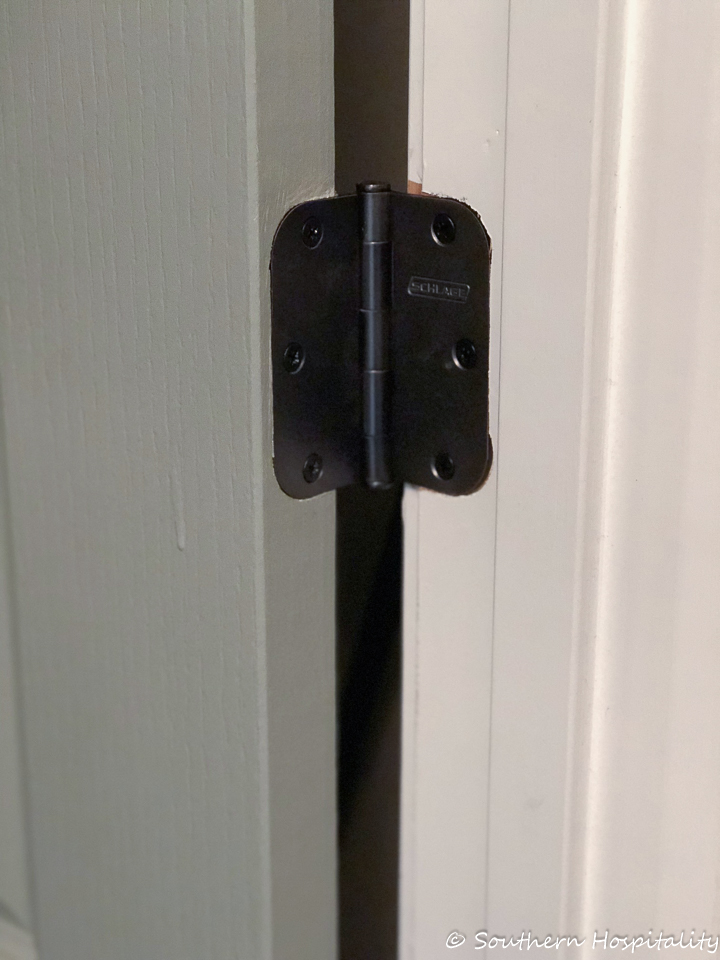
If you don’t have a battery or electric drill, get one for this job! It will go much faster with a good drill and drill bit. Six screws go in each hinge securing it to the door and facing. (I think that little drip was already on the door before I painted them.) I tried to be really careful with runs and drips, but sometimes you have to work behind someone else.
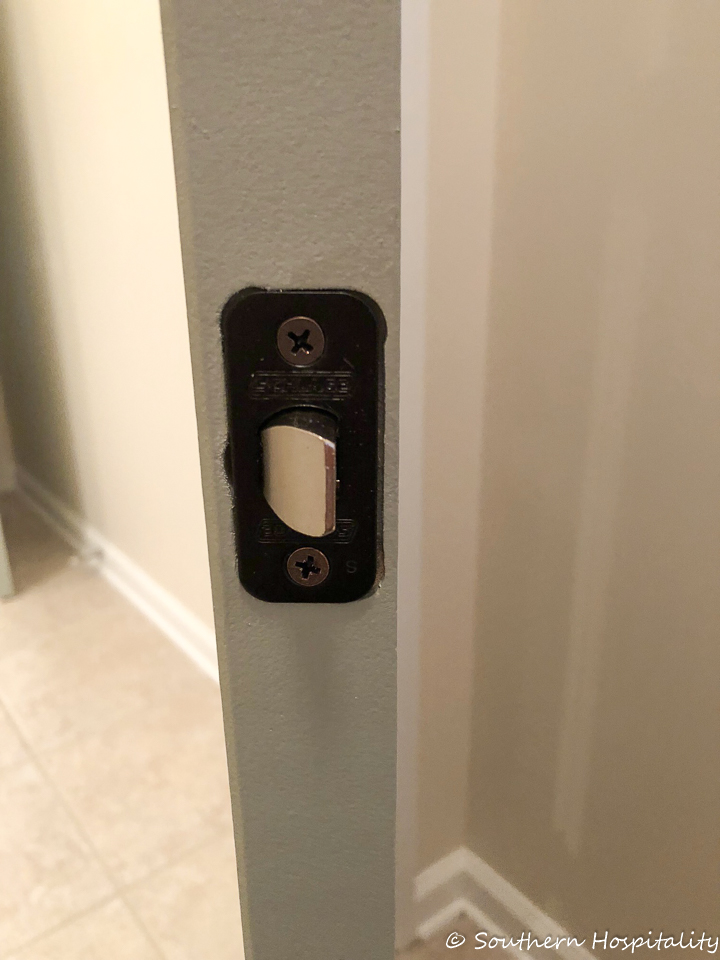
Once you remove the old doorknobs, it’s time for the new ones. You will need to add this part first before the new knob goes on. Two screws hold this piece in place. Be sure to face it in the right direction, so that it hits the strikeplate at the right angle, you want the slanted part to hit the strikeplate, otherwise the door won’t close properly.
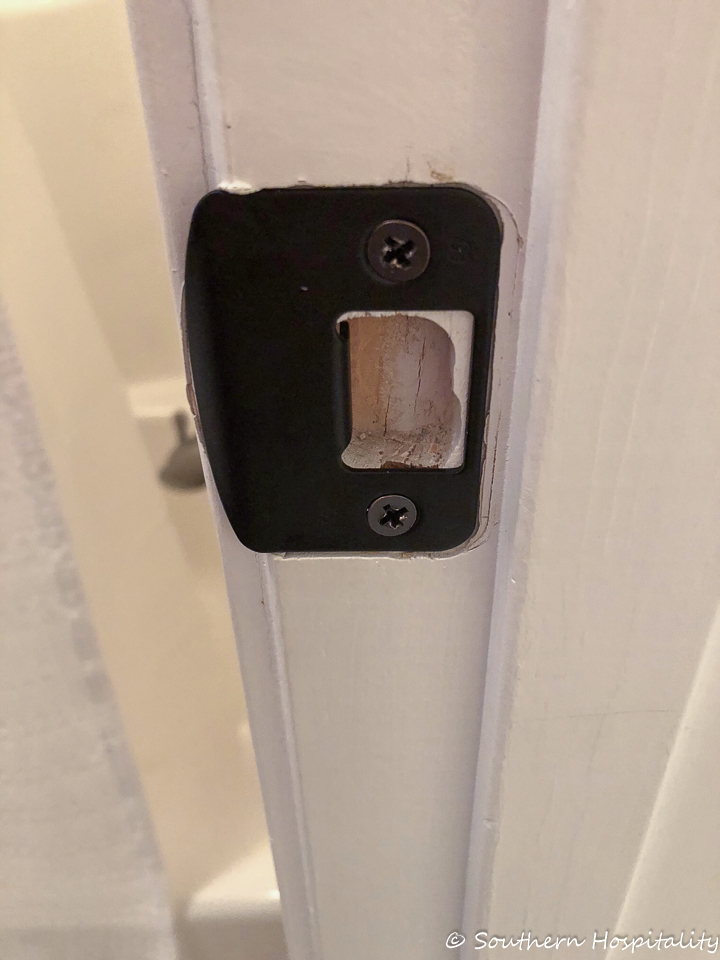
Here’s the new strike plate, it gets changed out too and all of these parts come with a new doorknob set.
Our New Door Hardware
We worked with Schlage on this project, as I mentioned before and they sponsored all new hardware for our entire house including the front door and all the doors inside our house. What a difference this hardware makes in the look of our house! It feels so much more high end and luxurious with the new hardware installed.
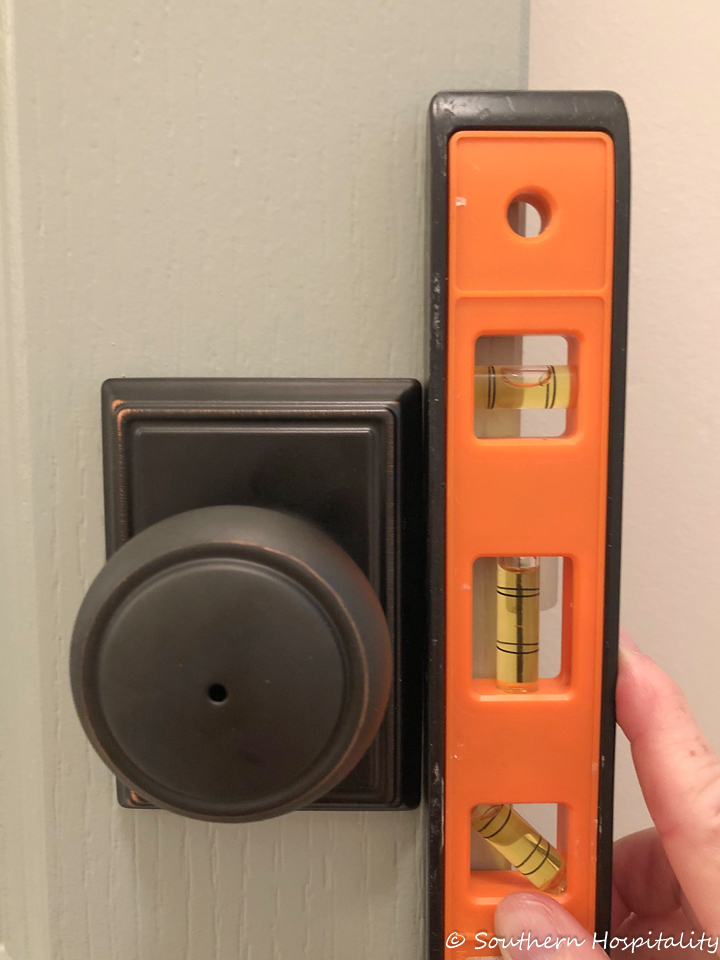
We chose the Andover knob with Addison trim for our interior doorknobs and wow, what a difference they make. I love the shape and how the backplate makes them look so special. When installing the doorknobs and backplates, it’s a good idea to use a level on them to keep them straight. The doorknob side that has the screws will go inside the door so the screws aren’t seen. There’s a small pin to take off the doorknob on that side so that you can easily insert the screws to set the doorknob and once secured, the knob snaps back into place and then you’re done with that one!
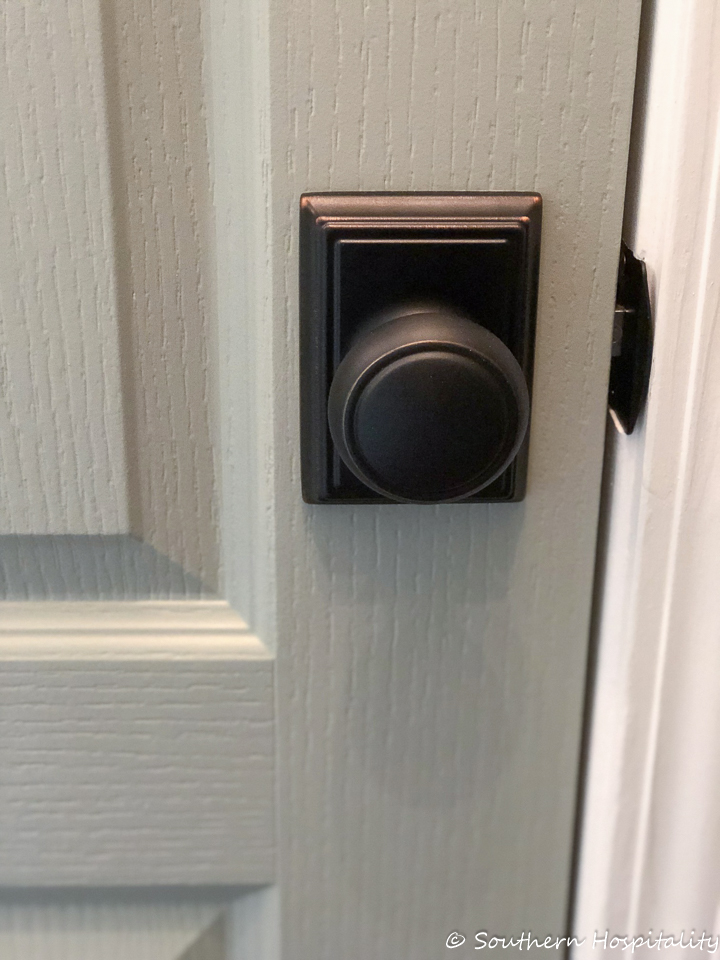
The new oil rubbed knobs and hinges look fantastic and we couldn’t be happier with them! This is a job anyone can learn and do yourself, so I hope this gives you the confidence to try this yourself at your house.
Let’s take a look at the old doors again, in their white state…..

and drumroll, please…..
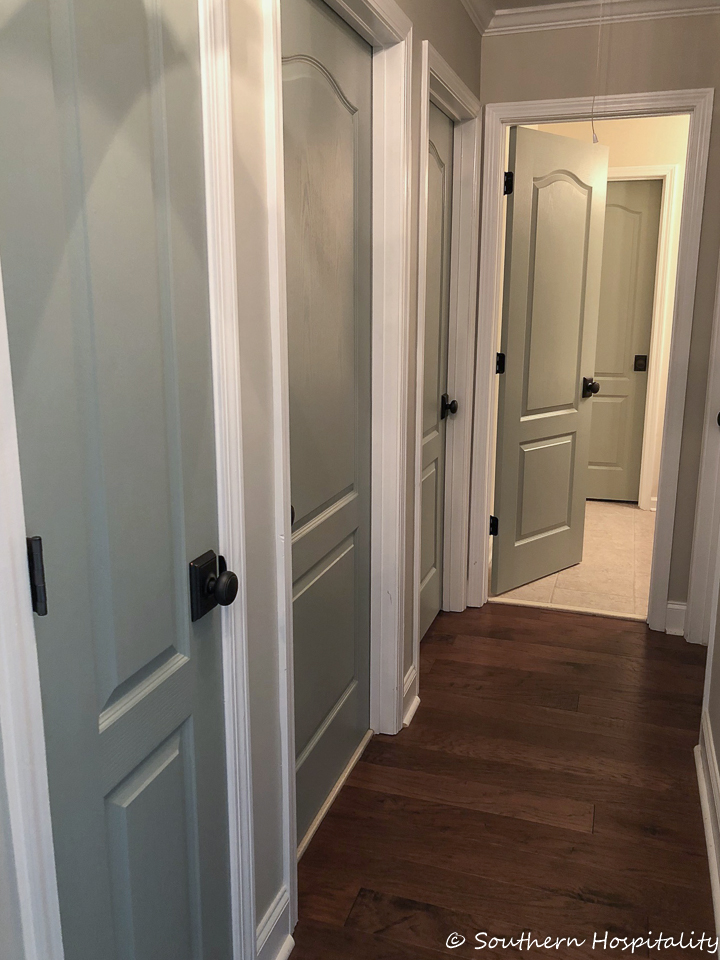
Aren’t they gorgeous? You have to admit they are so much prettier, richer looking, and overall more interesting with their new paint color and those gorgeous doorknobs!
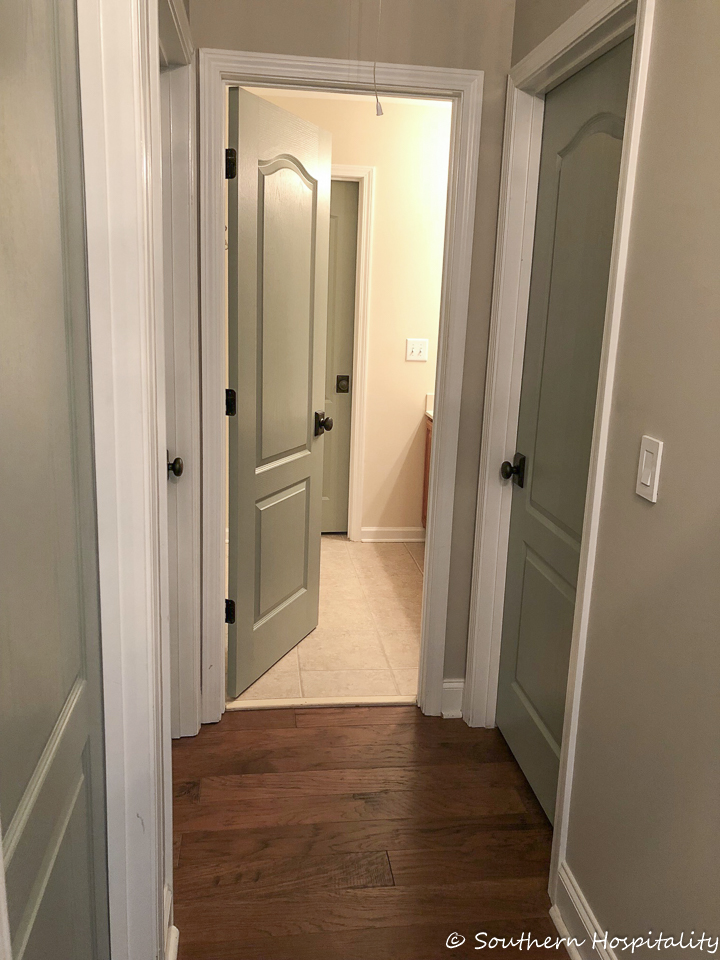
I just love the difference in this hallway and how much better it all looks up here.
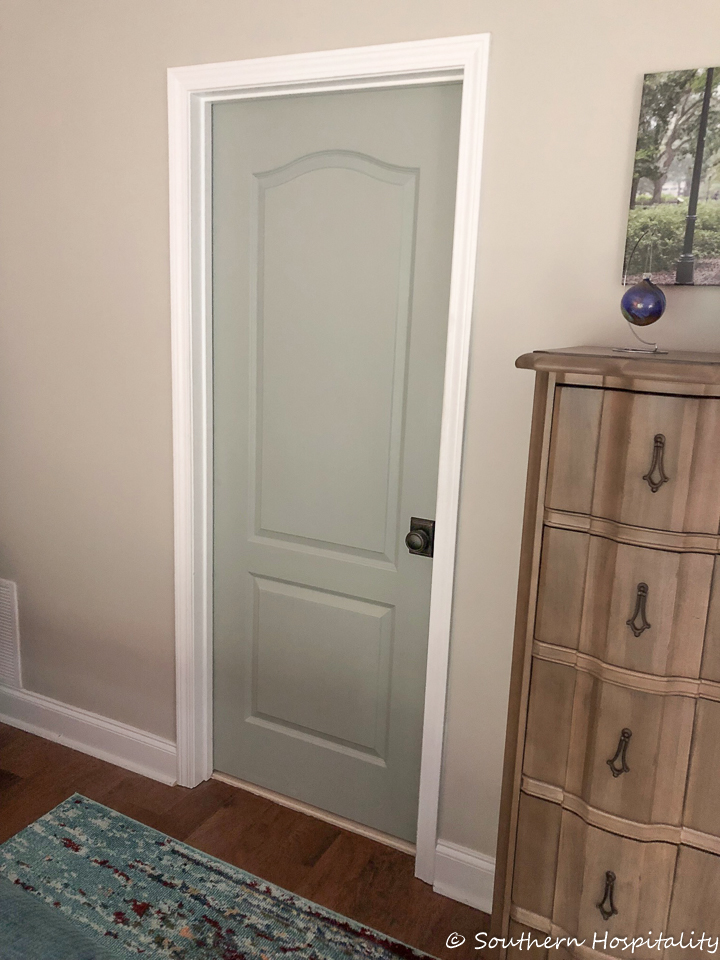
Here’s a shot inside our bedroom going into the bathroom. In case you are wondering, our main paint color throughout the house is Magnolia Home Gatherings, a soft gray beige. It’s in our foyer, keeping room, family room, guest room and hallway downstairs as well as upstairs hallway and master bedroom. We love it that much!
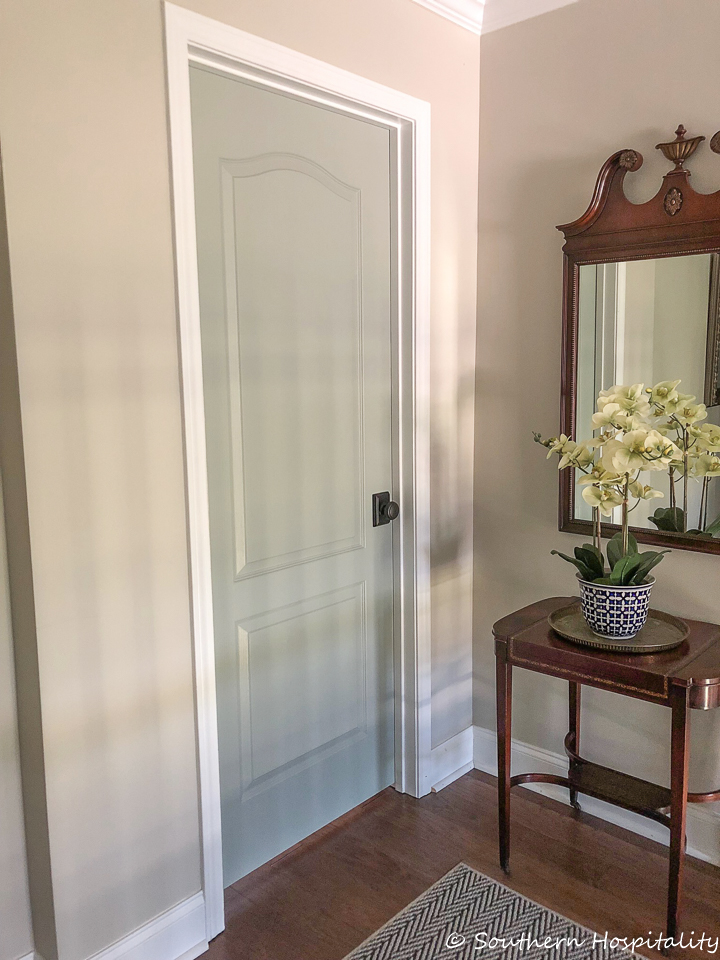
And the master bedroom door from the hallway.
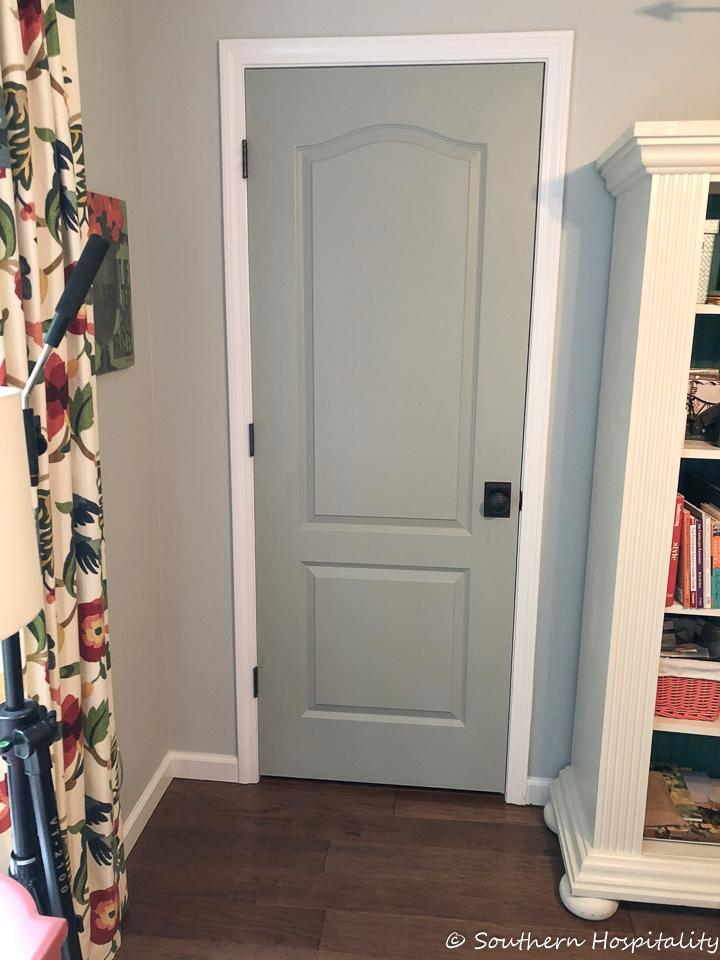
I chose a color for the doors that I thought would flow and blend in with all the colors in our house and that’s how I settled on Oyster Bay. This pretty blue/green shade with gray undertones makes a nice statement without being bright or too bold. I love it in my office too! Wall color in my office is Magnolia Home Emmie’s Room.
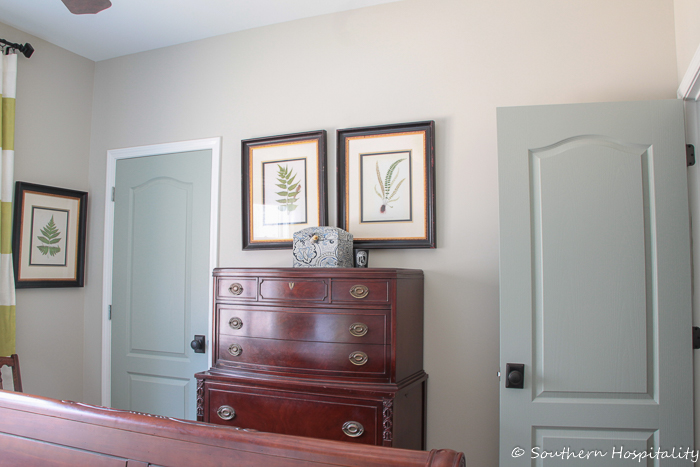
Here’s another peek of the guest room downstairs with the new door color and hardware. Magnolia Home Gatherings is in here too.
So, that’s a look at changing interior door colors to something besides white and also changing out the hardware. Both of these just kick up your interior doors several notches on the design appeal and makes a home look that much better. If you’re thinking about painting your interior doors, just think about what color will blend in with your furnishings the most.
I chose a deep chocolate brown for my last house and I really loved how those looked in that cottage style home with light walls white trim. For this house, I just felt that a softer hue would flow better and we are so pleased with Oyster Bay. You could easily do a soft gray, greige tone, black or another color that you are just in love with. I’ve seen blush pink used as well and that’s also gorgeous.
I love the trend of painted interior doors, do you? And again, changing out that builder’s grade hardware made all the difference in the world on our doors. I hope this post gives you ideas on updating your doors and hardware too!
This post is sponsored by Schlage. Thanks to them for sending us the new doorknobs and all the hardware for our interior makeover.


Really, really nice!!
What an amazing difference! I love the Oyster Bay color, and those Schlage door knobs make such a statement…
Your doors turned out beautiful, what a great idea! Your paint color is great & goes so well with your walls & decor. Nice job!
That’s a lot of work but it sure looks great! The new hardware is gorgeous.
Gorgeous! I love the color and how beautiful it blends with your wall color. I have a friend who recently painted all her interior doors black and it really looks beautiful with her light grey walls and white trim.
The upstairs hallway looks great with the new paint and hardware! Great job Rhoda and worth the effort and time you put into it, I know that’s a tough, time consuming project.
That all looks great! The door color is dreamy, and I love those knobs and the square plates. Very upscale. Schlage is good quality hardware.
I love the new hardware. Now I want to change out all of mine!
Beautiful as always! It looks like you painted both sides of the doors. Is that because the color just happened to blend with all the room colors that the doors were attached to? Even Marc’s man cave? Did you paint both sides with the black in your old house?
Hi, Kate, oh yes, I always paint both sides of the doors! The only exception is in Mark’s man cave. He didn’t want the inside painted, so I left his door white inside the room on the backside. It looks fine and you can only see the white side of the door when his door is closed from the inside. Everything else is painted both sides and I did this in my old house too. It looks strange if you only paint one side. I made sure this color blends with all our furnishings before I chose it and I’m very happy with the color everywhere.
Your doors look great! Thank you for sharing your tips and steps. Working on my door now (finishing up a room Reno). I found a sample of a soft grey and my walls are lighter soft grey. Hopefully the door will turn out as nice as yours! Also the door is a fifty year old sold wood exterior door with 9 window pane on the top half.
I love it Rhoda. Do you think that paint would work for kitchen cupboards?
Hi, Sandy, sure it would, it’s a gorgeous color!
Rhoda did you change out the handle sand hinges in each of the bedrooms as well? I want to change out mine as you have done but was curious about the other doors?
Hi, Carolyn, yes every single doorknob, hinge, hardware on the doors, all got changed to this Schlage hardware.
Another bravo, Rhoda! The door color is wonderful! It adds such a richness to your rooms and hallway. I so admire you for doing an upstairs painting project in (hot) August…
Black is my preferred color of choice for interior doors truly adding a sophisticated look.
Glad you like the color you chose – Enjoy!
Love the door color and new hardware! I changed out all my doorknobs a couple of years ago (oil rubbed bronze) but didn’t do the hinges- I thought they’d be too hard to do and not noticeable anyway. Now that I see your photos I know that I was wrong! I’ll be buying oil rubbed bronze hinges now that I see how easy that change would be.
Thank you!
HI, Jeanne, so glad you’re motivated to change them now, I know you’ll love it even more.
I love that shade of paint! The doors and new knobs totally great a fabulous new look! Very chic!
Love the new door color and the hardware!
Door hardware makes such a difference! We refreshed the upstairs of our home last summer to sell it; painted the entire upstairs (4 bed/2 bath) , painted cabinets, new light fixtures, new carpet; the old hardware looked bad! It was Schlage but 20 years old bright brass–it had to get changed; we changed to all brushed nickel by Schlage . It really made everything look new and finished–best money we spent on the makeover; the house went on the market at 11 am and sold to the first visitor at 2:00 that day. I know that hardware helped; all those details make a difference; your doors are lovely. I love the color!
Love the new knobs… but I still like the all white doors , the color is beautiful though.
Love that blue/green/gray shade . I had natural wood color doors and repainted exactly the same gray shade, with white walls and ceiling created realy nice combination.