I’m so excited to share this laundry room makeover finale with you!
Can you believe it’s been a whole year since I moved in this house? Yep, this month (the 18th) marks my one year anniversary of moving in my new house. It’s flown by and I can hardly believe it’s already been a year. A really good year! I still had several things to do in this house after moving in, not to mention unpacking and Christmas right after, so we really haven’t taken a lot of breaks along the way. After Christmas last year, it was on to doing more things in the laundry room and that space has evolved bit by bit, with getting a new sink and toilet installed and making the room even better.
The last big project in that room was putting up a wall to create a storage room for me to store my Christmas bins and other things. I needed a place to hide things away so that they could be accessible, but not in plain sight. And this large, bowling alley sized room was perfect for splitting up and using part of the space for storage. Not everything needs to be seen. I ended up with a 6 x 9.5’ storage room and my laundry/mudroom is now 22 x 9.5’, a really good sized room, just to give you perspective on what you’re looking at.
This mudroom/laundry room that I ended up with was a pit when I first walked in this house. If I haven’t convinced you from any of my home projects that ANY space can be enhanced, well, this one should do the trick.
I can’t even believe how bad it was and it’s a good thing I took BEFORE pics, because we tend to forget the ugly after something has been improved upon and we live with it for awhile. This space was beyond UGLY and I’m sure most people would say there was no hope for it, but I’ve lived long enough to know that any space, no matter how bad it is, can be made better, even pretty with effort. Paint does wonders, I’ll say it again and really, that’s the biggest tool that was used in this room.
PAINT! Yep, the power of paint does it again.
After painting the ceilings black first, I then tackled stripes on the floor and finally painted the walls white. I’ve shared all of this process along the way and at the bottom of this post you can see links to all of the how-to’s and progress on this space as it happened, along with source lists for all that I got for this room.
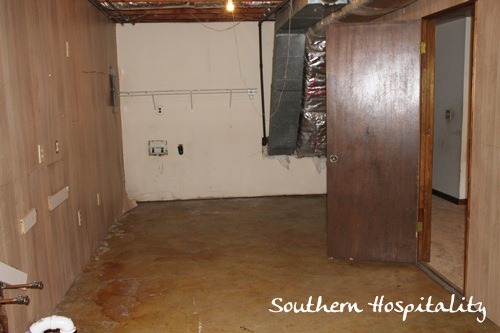
So, let me remind you again what I started with in this space. A total and complete pit of a room. It was BAD! But, I saw potential in this space. It was large and I knew I could do something with it.
And I’m happy to say that Phase II of the after is finally, finally DONE! We worked on the screened porch and stairs this spring and tools and junk were piled in this laundry room. There wasn’t time to finish it then, but since we just completed the wall in there, I can now call it done. I have it organized, pretty and functional and now I’m really shouting for joy! It’s beautiful and I love this space!! It just might be one of my most proudest DIY moments ever!
That’s how good I think it turned out.
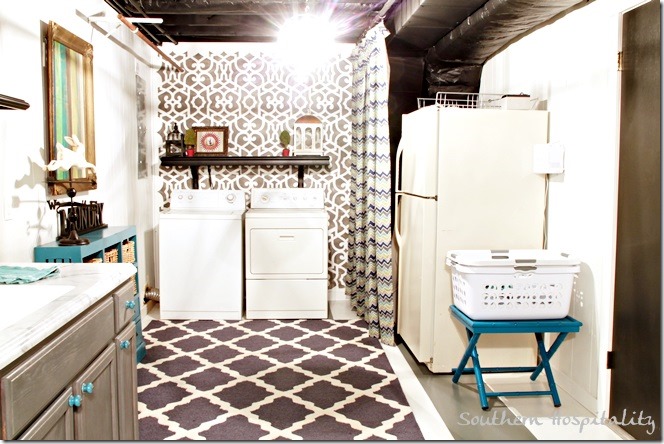
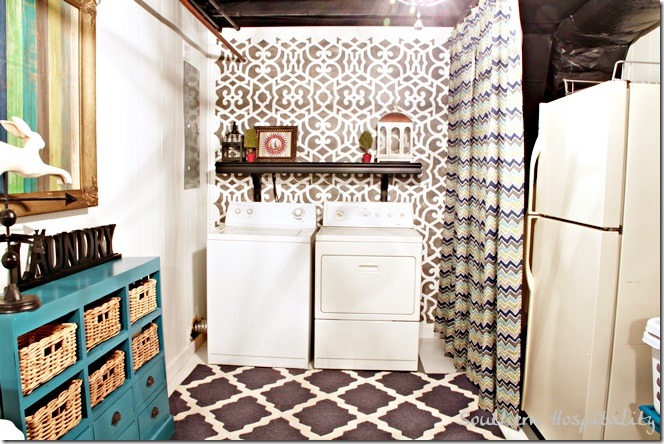
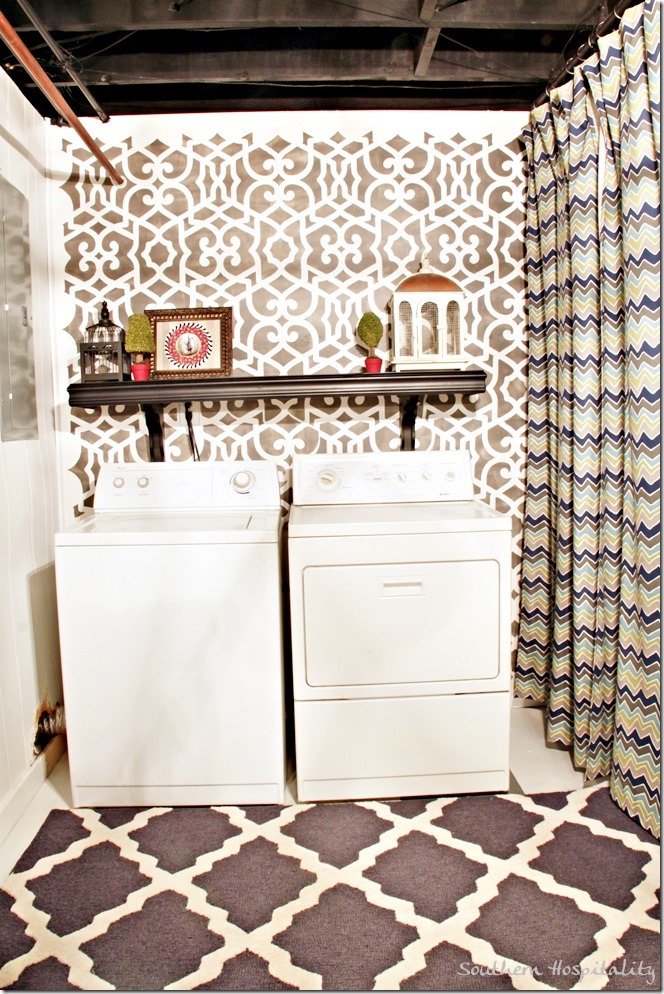
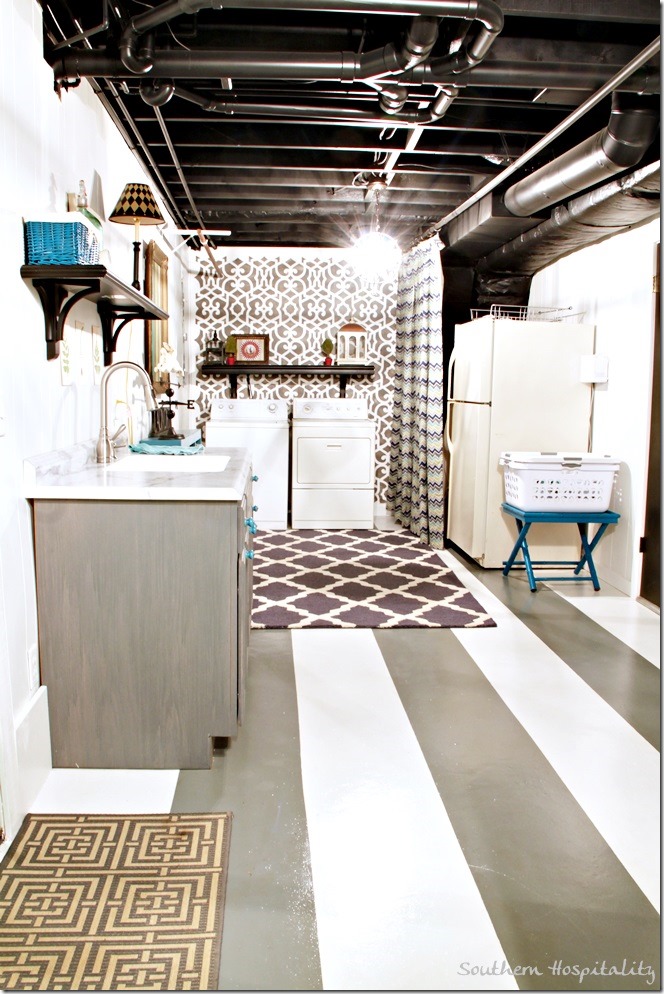
Here she is in all her glorious beauty! The laundry room side of my space. This is where the outlets were stubbed for the washer and dryer and when I first walked in here, I secretly felt a little sorry for myself, having to do laundry in that pit of a room and remembering my beautiful old laundry space that I used to have. But, no longer do I feel sad in here. It’s bright and beautiful and I love every bit of it.
Now, don’t get me wrong, this space is FAR from perfect. FAR! It has paper paneling that is wavy in areas and a little buckled in others, but instead of taking all of that down, I embraced it and painted it. We added the wall and we are far from experts on how to finish off drywall. That’s not perfect either! But, it’s fine for this space. My goal was to paint the ceiling black for an industrial feel and to paint the walls white to brighten it up and then add some accent colors to make it happy. OH, and to paint out the crappy concrete floor that would make me not cringe when I walked in here at the dirty and dinghy floors.
And now it’s happy! Completely and utterly happy and a big, big part of it has to do with paint. Keep that in mind!
I still have a mismatched washer and dryer, but that’s OK. A Craigslist find of $150 for the pair, they are still washing my clothes just fine. If a brand sponsor comes along that wants to give me a brand spankin’ new set to try out, yep, I’ll take it. 🙂 But, in the meantime, I’ll be grateful for what I have and enjoy my pretty laundry area now. I have plans to do something cute with paint to that hand me down fridge that was in the kitchen when I bought the house, so stay tuned for that. Not sure yet, but I’m gonna do something fun with it using paint.
Adding those drapes (from Wayfair) to hide the really ugly ductwork coming out of the wall behind the fridge was one of my best brainstorming moments ever. It really hides a lot of ugly behind there and there is still room for me to put my Christmas tree in an urn as well as a vacuum cleaner and a large trash can, all hidden behind the curtains. Love that! And those rings are large metal shower rings that I hung right over one of the pipes up there. I had a built in rod!
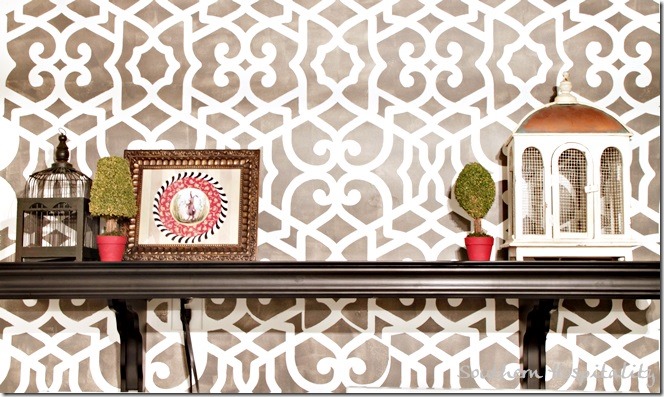
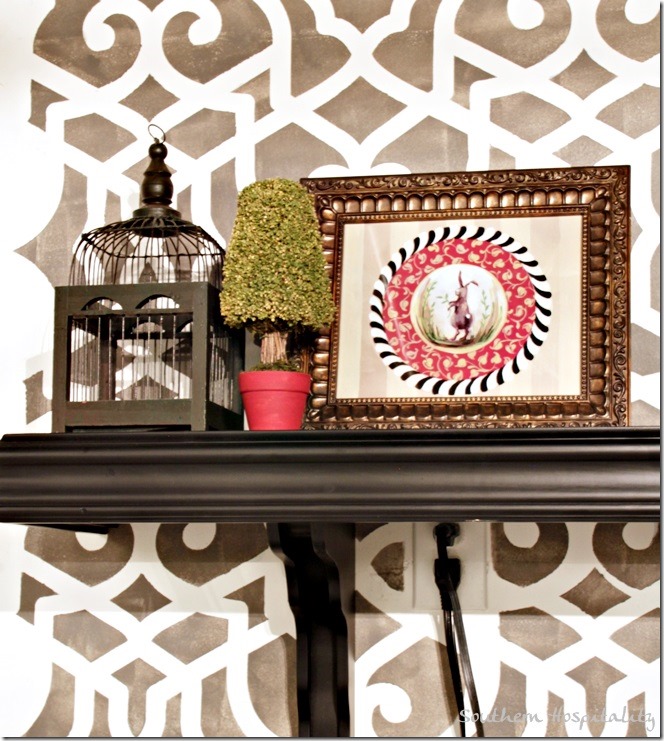
This Ballard shelf holds some pretty birdhouses and garden things that I had in my old laundry room.
Fun to reuse them again!
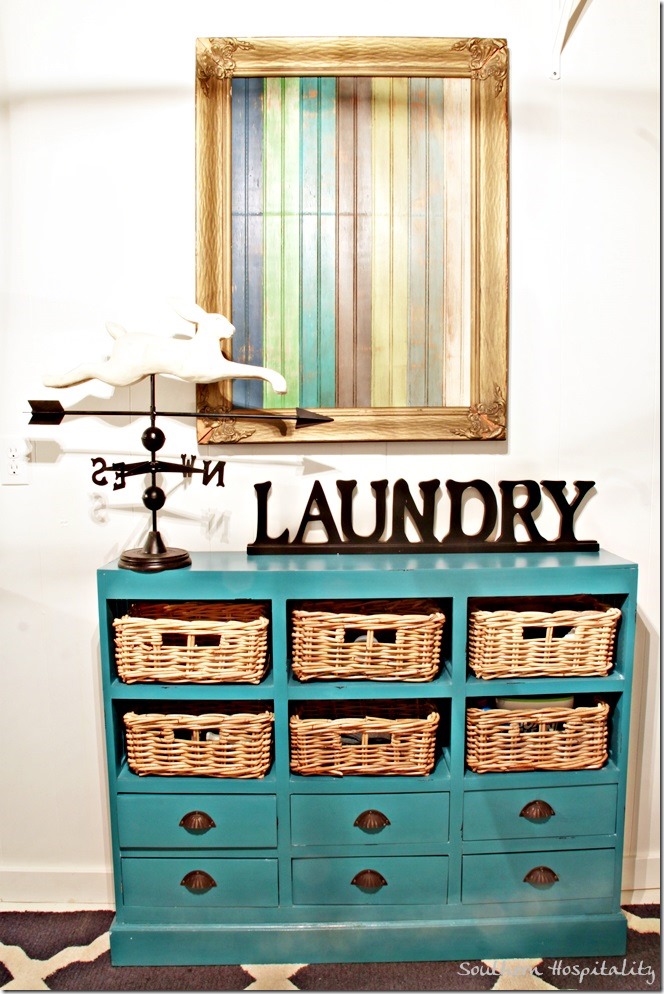
This cute cabinet that I found at Homegoods will come in handy for more storage. All those baskets and drawers can hide things, but be accessible. I’ll put garden gloves in there, tape, lots of things can go in there.
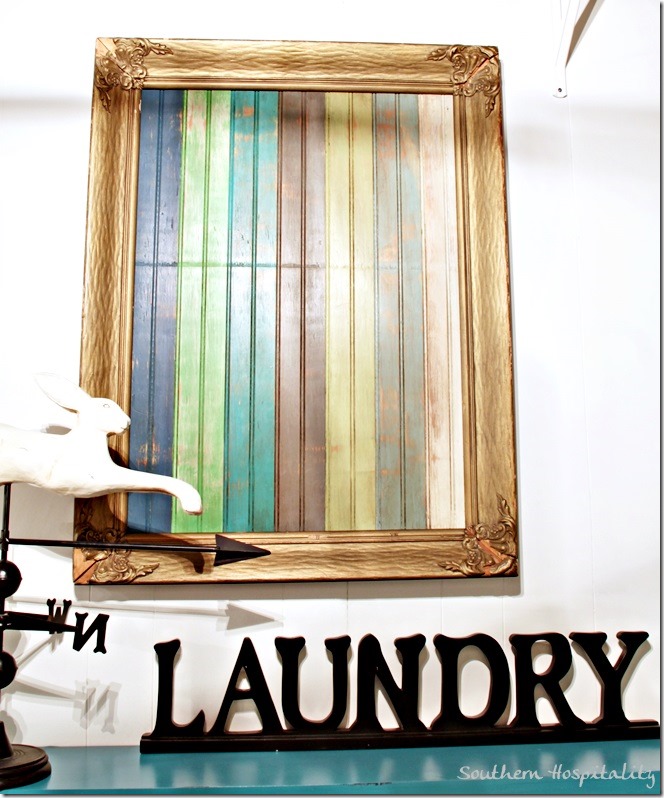
And I found a spot for my DIY beadboard art that I shared with you earlier. I love this piece in the vintage yardsale frame and it’s perfect for adding some color to my laundry space.
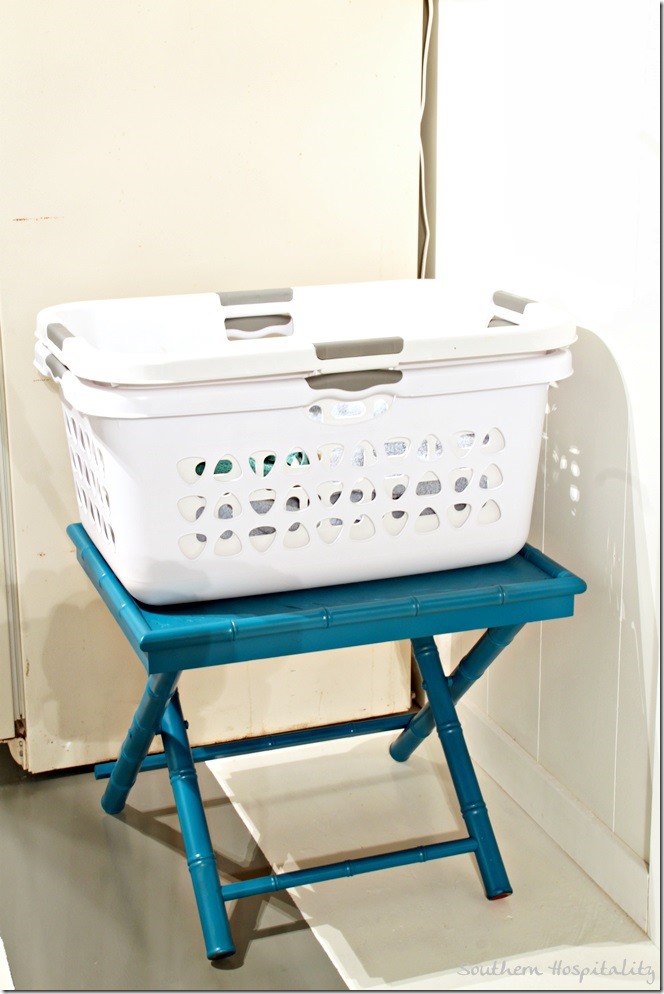
Another yardsale find from long ago, this bamboo table was $5 and I decided to give it a coat of paint, Rustoleum’s Lagoon. Great way to freshen up old things and it’s perfect for holding the laundry baskets behind the door. By the way, this room is downstairs, off my den (the blue painted paneled room). And this room also goes outside to the backyard, so it makes a great mudroom too.
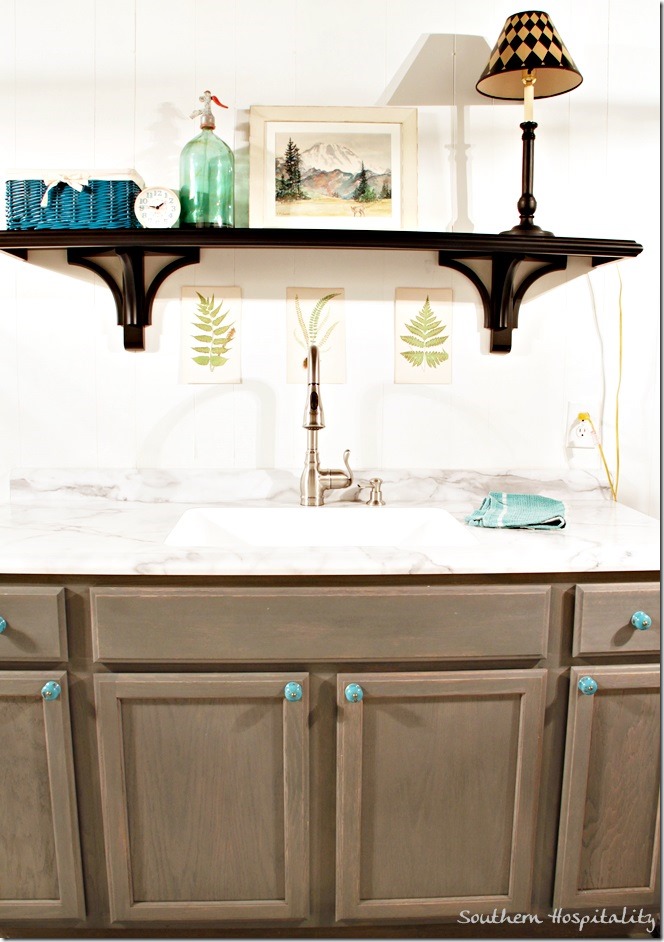
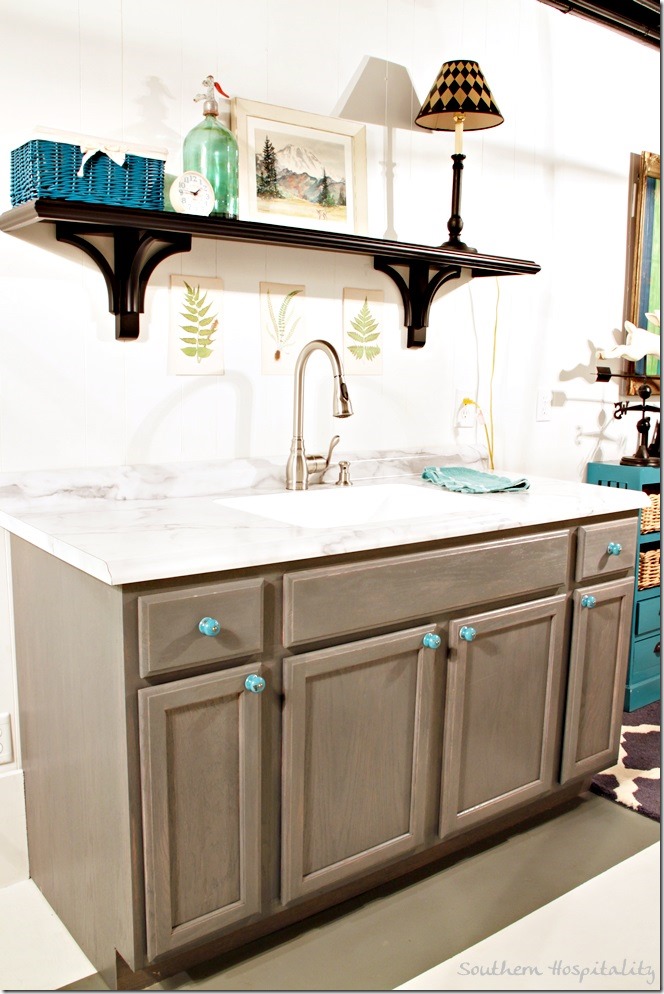
Here’s another good look at the pretty stained gray cabinet that we installed earlier this year, along with those beautiful laminate marble countertops with integrated Karran sink. You can read all about that at the links provided.
Another Ballard shelf is above the sink and I added some of my cute vintage things I’ve collected. This sink is SO handy to have here!
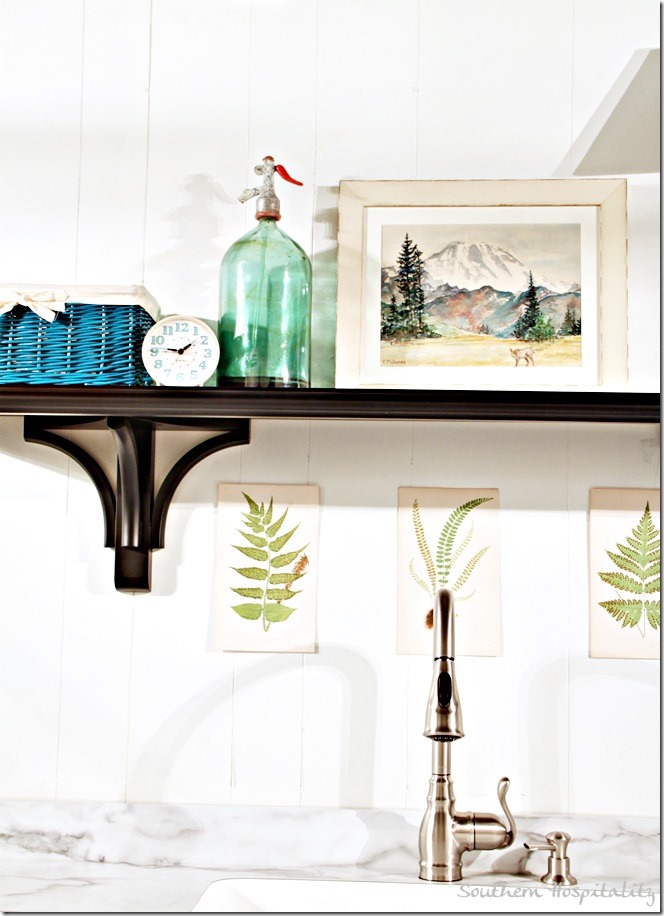
A look at the Moen Annabele faucet and the shelf again. Those vintage botanical bookplates have stayed up there and I really love them. They are just taped up with double sided tape.
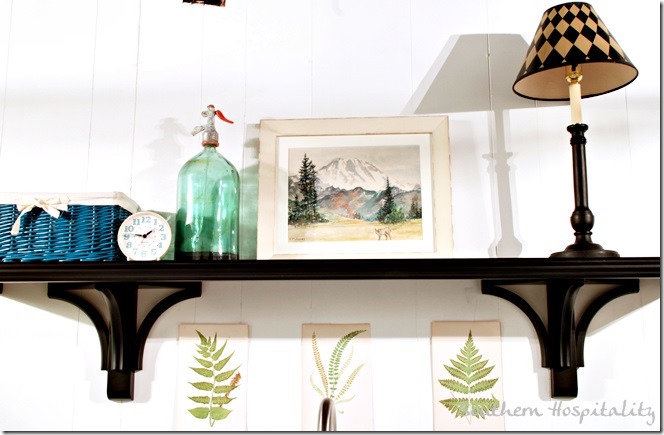
The complete shelf.
Now, let’s look at the other end of the room BEFORE…..
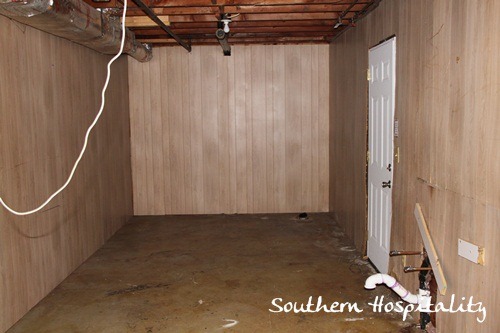
See what I mean?? A PIT! Take a good look at this pic, it’s about to change drastically. Notice the little round black stub in the right corner for a toilet.
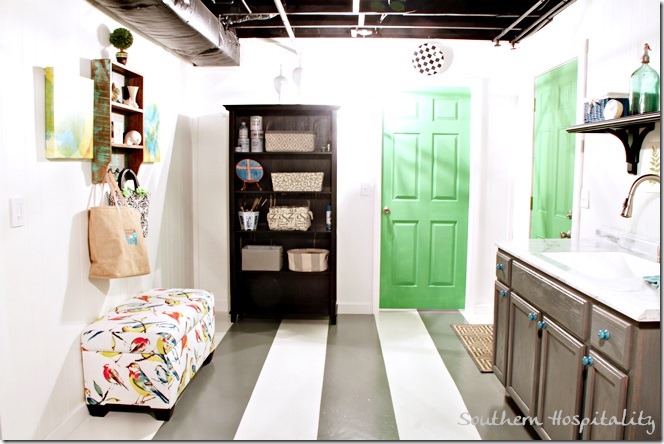
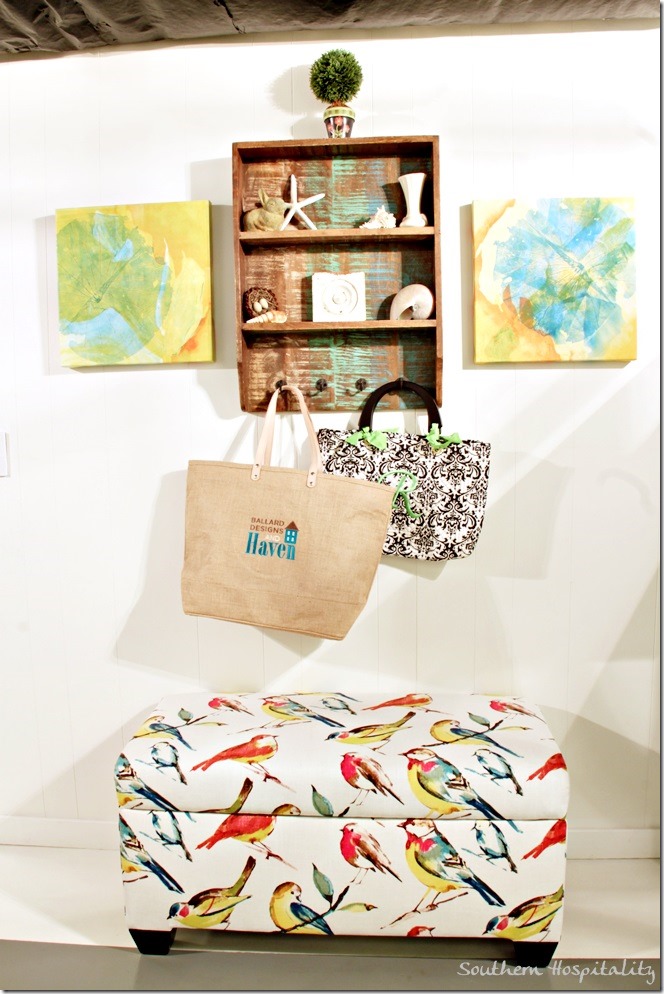
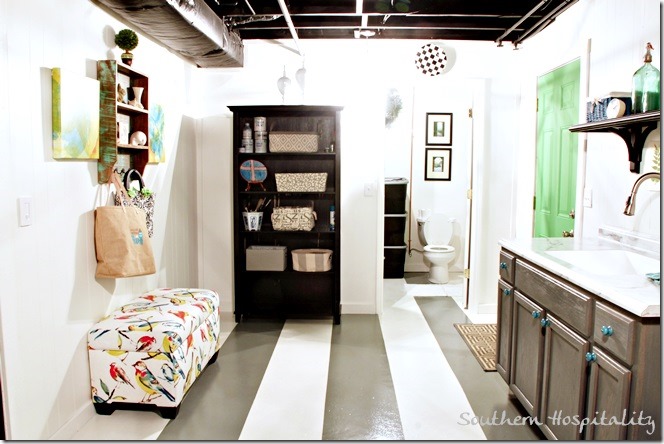
So, now let’s look at the new area, where we added the wall and door to the storage room. The door got painted Annie Sloan Antibes Green just like the back door and I love that pop of green in here. Welcome to my mudroom!
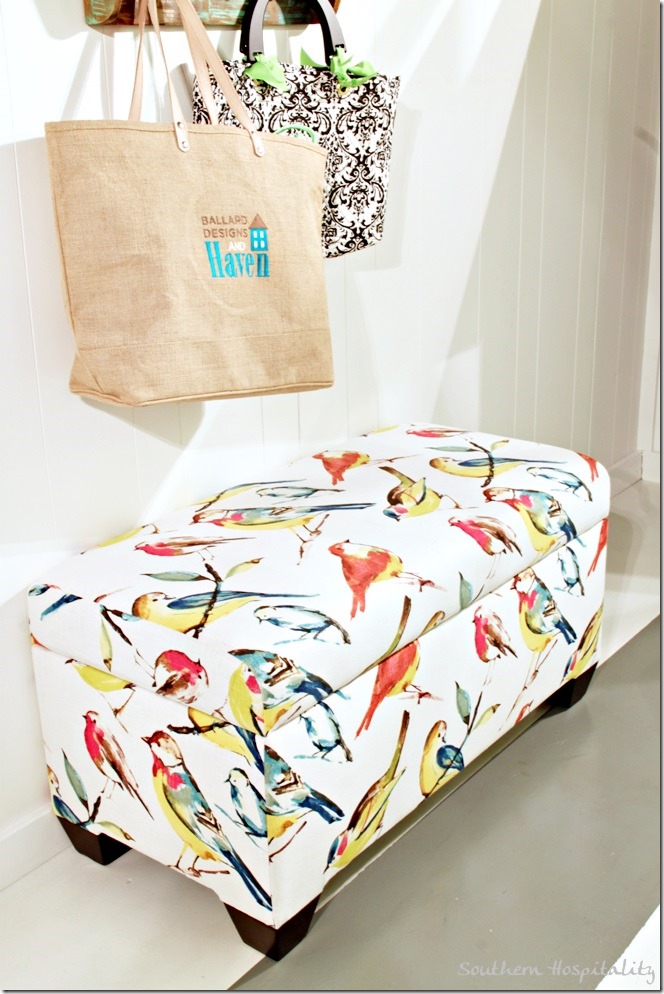
I work with Wayfair writing some posts for them and they are always very gracious to send me things when I need something and this beautiful bird fabric storage bench is perfect in my mudroom. All my outdoor shoes are inside, hidden away.
I thought the bird fabric would be perfect in here and it is. I love it! Thanks Wayfair (link below to the bench)!
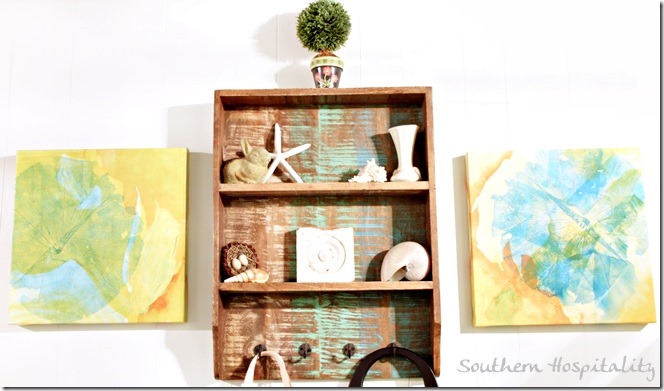
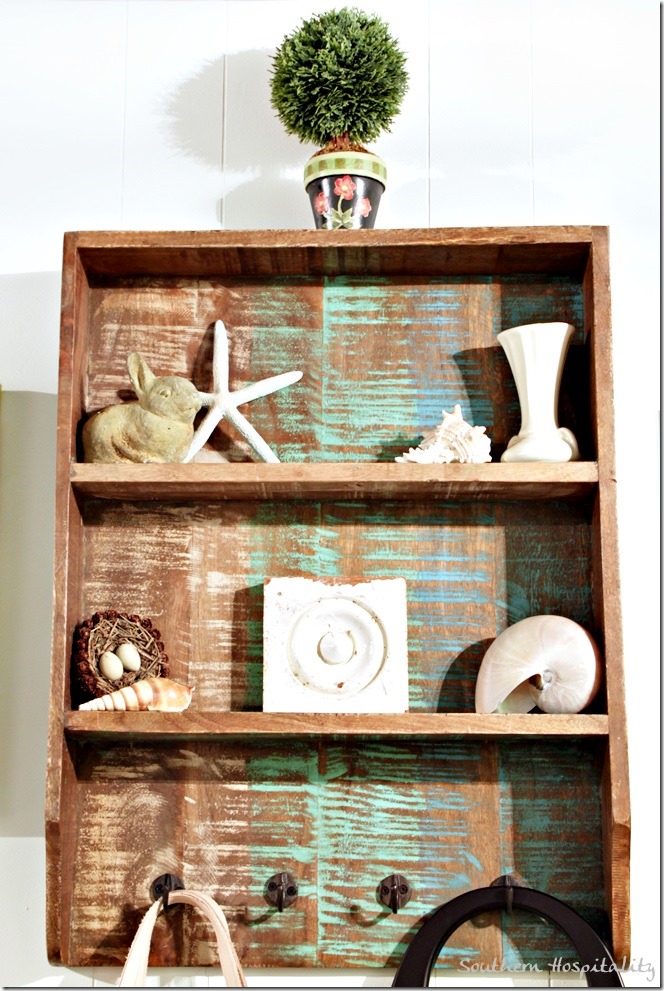
The pretty reclaimed wood shelf is a Homegoods find and I love it too. I couldn’t resist the painted wood in my colors. Those cute abstract paintings are a Joss and Main sale find.
I adore this shelf with hooks and had plenty of garden/shells to put in here for display.
It’s so nice to have all of this organized now. Now you can see the door open to the toilet and storage area.
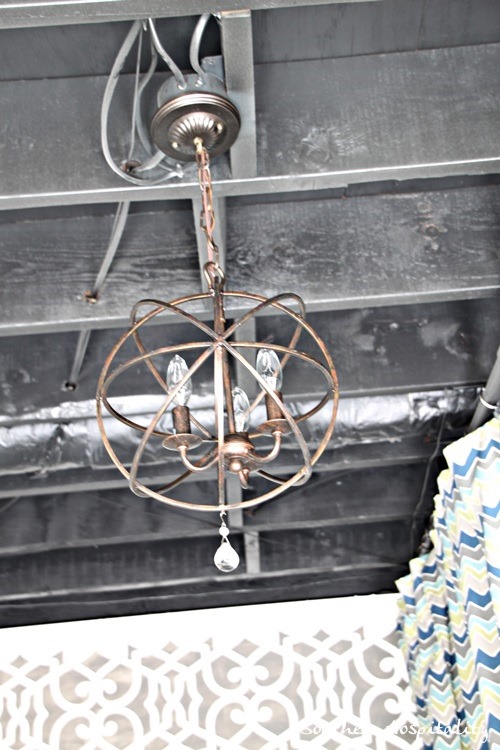
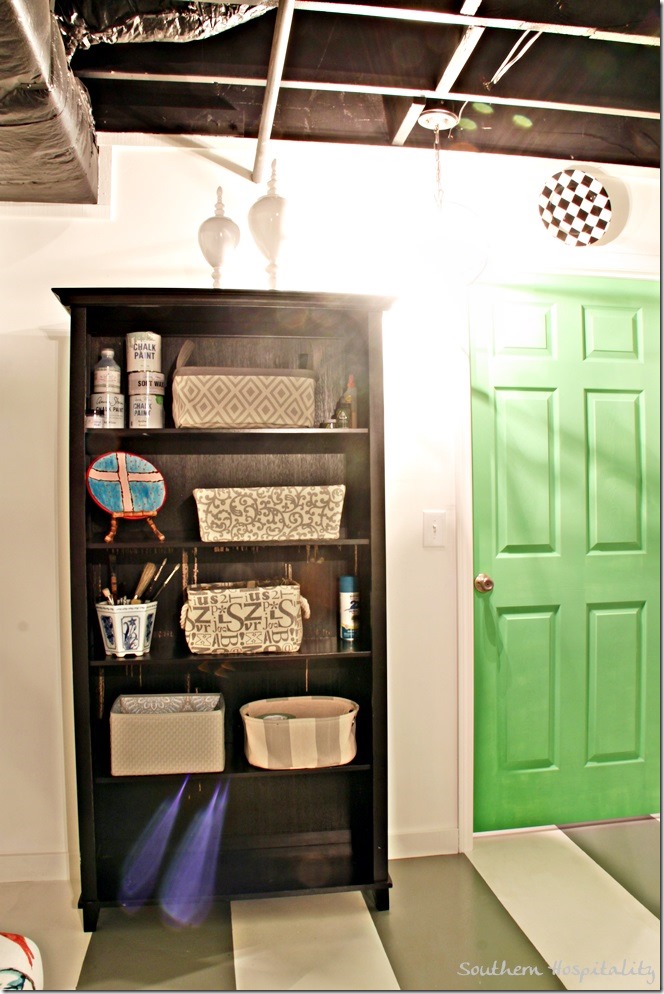
One more piece to check out, this is a bookcase from World Market that I bought in Birmingham for my old office space. I’m going to add beadboard wallpaper to the back of the shelves eventually and paint them a color, but for now it’s organized and ready to use. That weird light at the bottom is a glare off the overhead lights, I think. By the way, it’s so hard to photograph a room with no windows, so I had to keep on the lights and they completely blow out so you can’t see that they are pretty orbs from Ballard Designs (see pic below).
That cute checkered black and white plate is not only decorative, but it’s hiding a taped seam on the drywall. I decided that was the best solution. If you can’t work it out, hide it! I’d much rather look at a pretty plate than a drywall seam gone wrong.
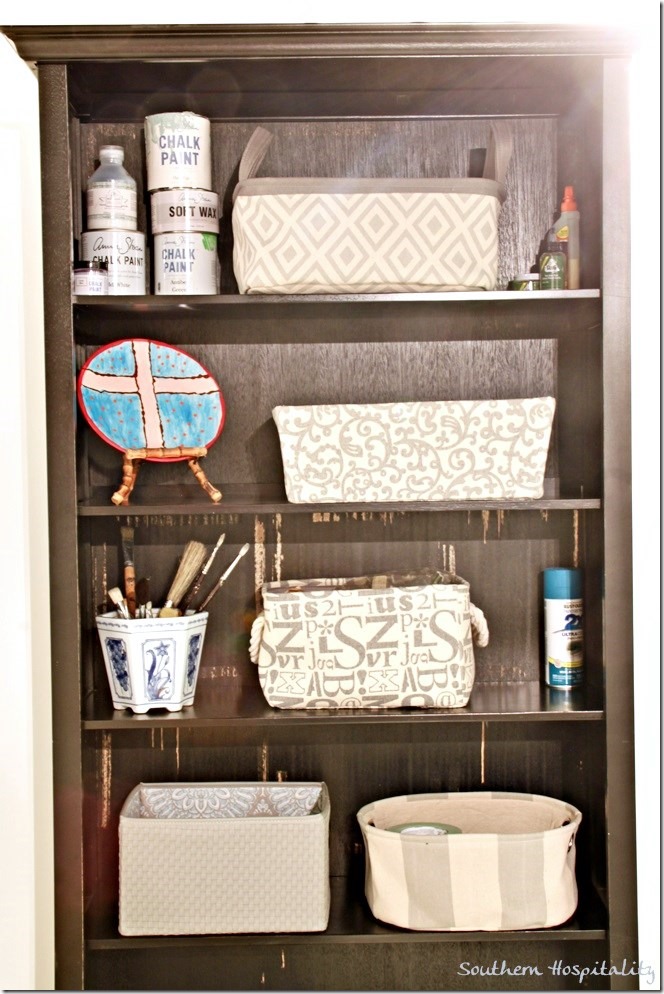
I found all of these pretty gray and cream fabric baskets from Marshalls and they were very inexpensive at $5 to 8 each, perfect for keeping things organized. I have Frogtape in one, paint brushes in another, hooks and clips in another, my glue gun and sticks in one, and all my Annie Sloan paint stored here too. This will be so nice to have handy and pretty too.
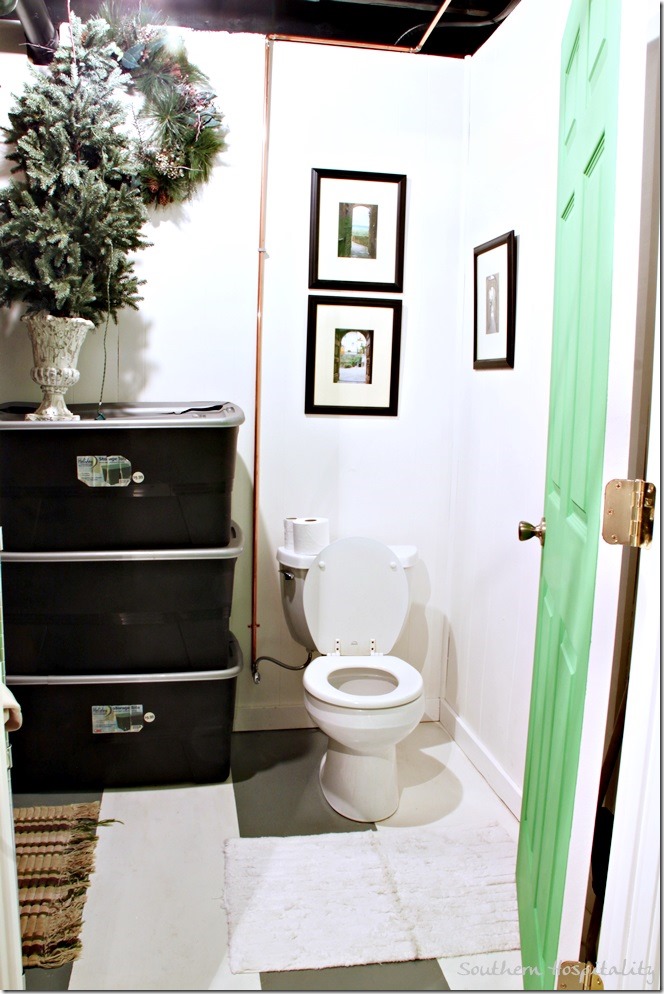
Now let’s go into the potty room. When I first saw this space was stubbed for a toilet, I laughed at the thought of really putting a toilet in here, but as time went on, I changed my mind. My parents upgraded their toilet, so I got their old Kohler, which still works fine and had my plumber install it earlier this year, when I added the sink. It has come in handy SO many times. Now when we are in the den or outside, it’s right there to use and I don’t have to climb 2 sets of stairs to get to the bathrooms.
No more laughing for me, I’m convinced if you have room for an extra toilet, ADD IT! I had these pretty photographs that I didn’t have room for elsewhere, so they are nice to look at too in here.
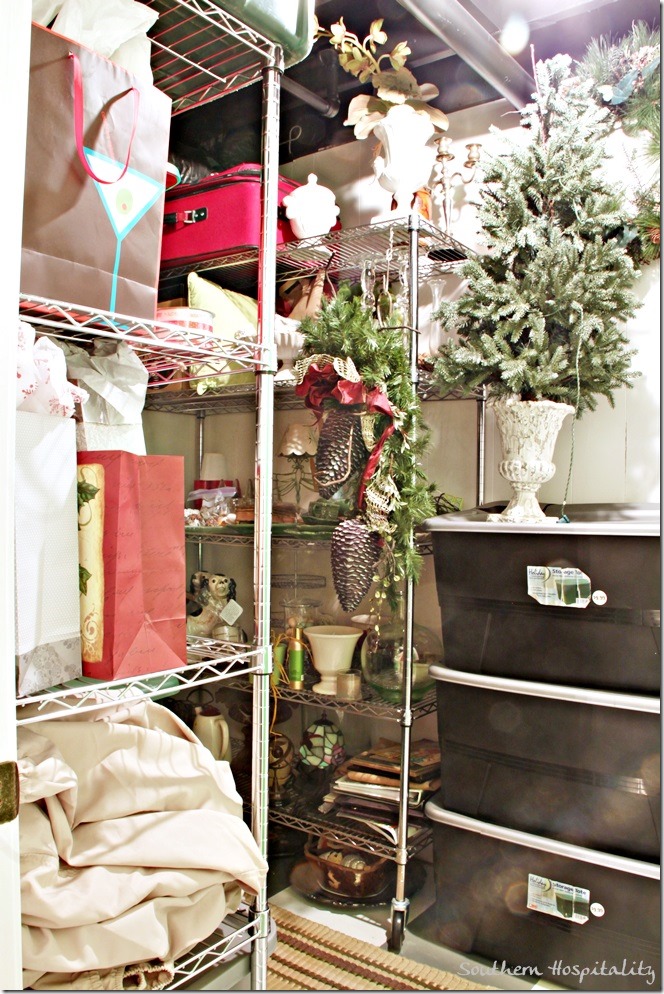
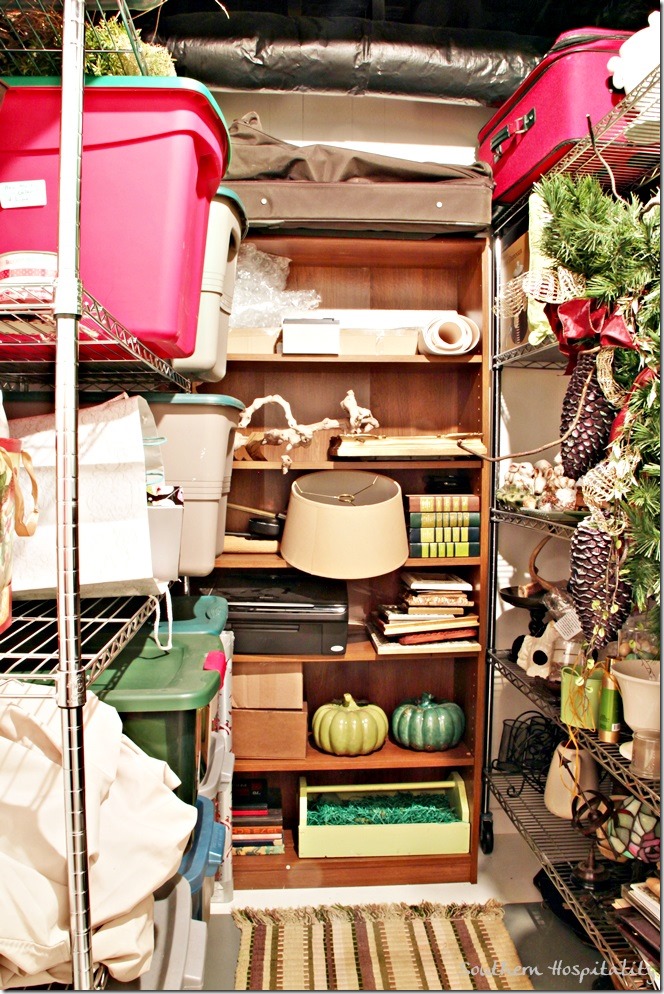
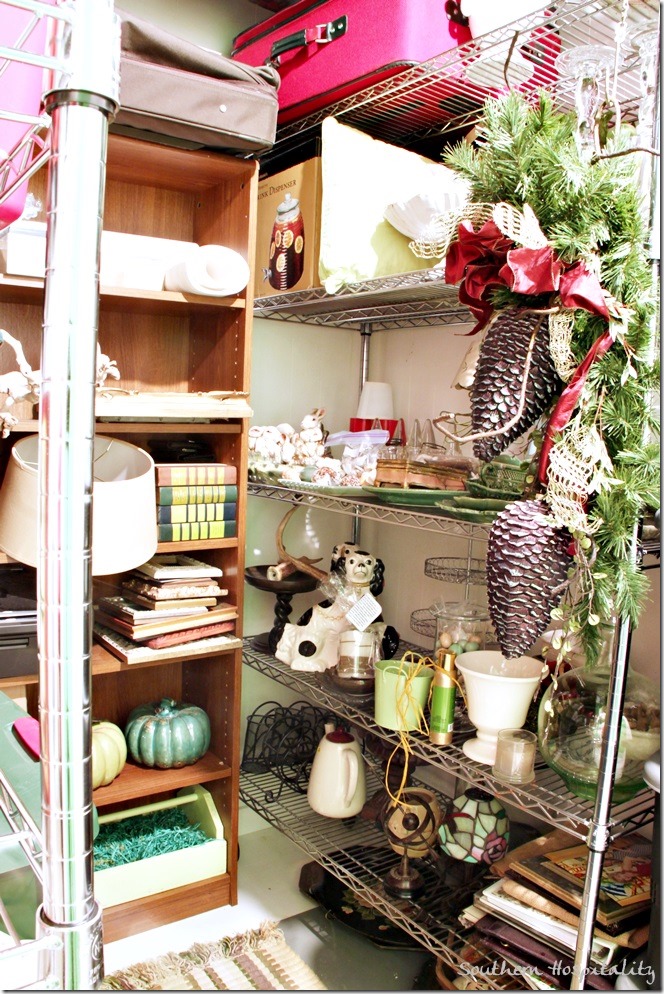
I just love my new storage area, where my Christmas bins can be hidden away and all my extra seasonal stuff can too. I had one of these steel shelves that came from Costco and added another one from Lowes and they are great for getting things organized. I bought another one for my garage too. Now, I can see what I have and where it is located. I’m on a mission this year to really get all my spaces organized and the den and garage are next on my list of places to whip into shape. This gets me inspired!
I had that old bookcase too, so I just used all 3 of these shelves together in this 6.5 x 9’ room. It’s not big, but it’s filled from floor to ceiling and I’m happy to have it. Christmas bins on one side and seasonal décor on the other.
When I finally get around to adding some Ikea bookshelves to the nook in my den, I’ll be using some of this stuff in there, so maybe I really can go yardsale shopping again! I’ve missed it badly. ![]()
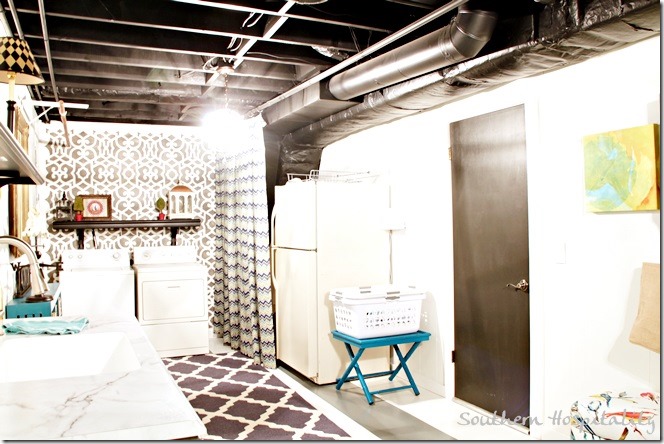
So that’s a look at my new and improved laundry room, a space that I’m truly proud of now. The door to the right goes to my den so it’s very handy in here.
This gives a good view of the black ceilings and how I painted all of this space out. I’m so glad I took it in phases and finally got it looking and feeling the way I wanted it.
Happy laundryroom and mudroom, that’s what I got and it’s not only functional now, but clean and fun and I couldn’t be happier with it. So, if you have a space you hate, take a look at my Before pics. If my space can be enhanced and made better, ANY space can!
Source List:
You can find more information for each project in all the posts linked here below:
Paint on Floor: Stripes on Floor: Sherwin Williams concrete paint in Alabaster and Cityscape. H&C clear sealer for concrete on top (this clear sealer makes the floors so pretty and shiny).
Walls: Sherwin Williams Alabaster
Black Ceiling: Spray painted by professional sprayer
Trellis Rug: Rugs USA
Greek Key rug by door: Ballard Designs
Cabinet: Kitchen sink cabinet from Lowes, unfinished and stained in Rustoleum Weathered Gray.
Countertop and integrated sink: Formica countertop and Karran Nova sink
Faucet: Moen Annabele in brushed chrome
Stencil: Royal Design Stencil Chic Moroccan
Black Shelves: Ballard Designs
Drapes: Chevron design from Wayfair
Blue Cabinet with baskets: Homegoods
Rustic wall shelf: Homegoods
Bench with bird fabric: Wayfair
Light Fixtures: Ballard Designs
Modern Art Canvases: Joss and Main sale
Black bookcase: World Market, Riley design
Gray Fabric Baskets on Bookshelf: Marshalls
Green Door paint: Annie Sloan Antibes Green
Linking up to Beth’s Tutorials and Tips Party for October!


I was looking at different laundry room and found yours, this is a great laundry room and so many uses. I just finished mine and we are lucky to have such cool laundry spaces.
Maria
We’re in the middle of a renovation for a fixer-upper we just bought and the laundry room is going to be the last room we touch. There are some beautiful hardwood floors in there that just need finishing. Once that’s done we’re going to try to model the room very similar to yours. Thanks for sharing your tips.
LOVE YOUR LAUNDRY and potty rm in the basement. VERY COLORFUL!!! And the patterns are eye catching too.
Did you also put a small sink in your potty
room?
HI Su, thank you for stopping by. That was my old house and no I didn’t put a sink in the potty room, just a toilet in there for convenience. I had a sink in the laundry area though so that was great.