One of my favorite things to do in my home to give it a sense of age and create interest is to add architectural features. From real beadboard, to beadboard wallpaper, board and batten and other wainscot and millwork ideas, even if you don’t have a lot of moldings and trimwork in your home, you can add them for very little money and some DIY planning. Take your space from plain to wow with just a few elements of architectural pieces. I’ve added them to both my houses in the past 8 years and it made a huge difference.
This is an updated post that I shared 6 years ago, but many new spaces have been added. Hope you enjoy seeing how adding molding and architecture to your home can make a huge difference.
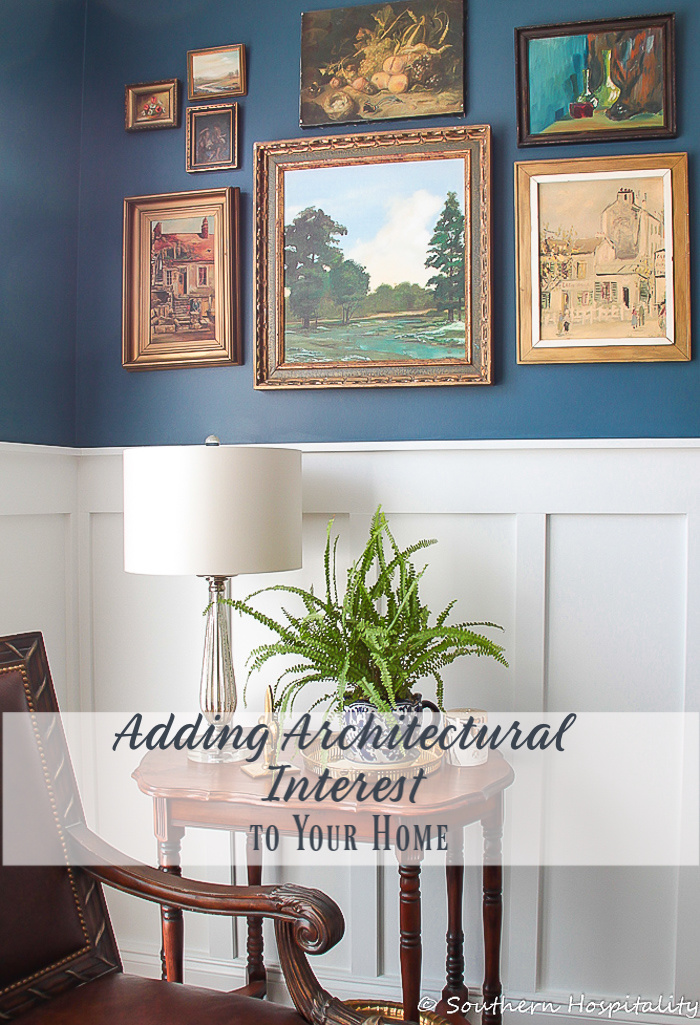
One of the things I did when we were renovating my previous house several years ago was really concentrate on ways I could add some architectural interest to this plain 1979 home and I found several ways to do that.
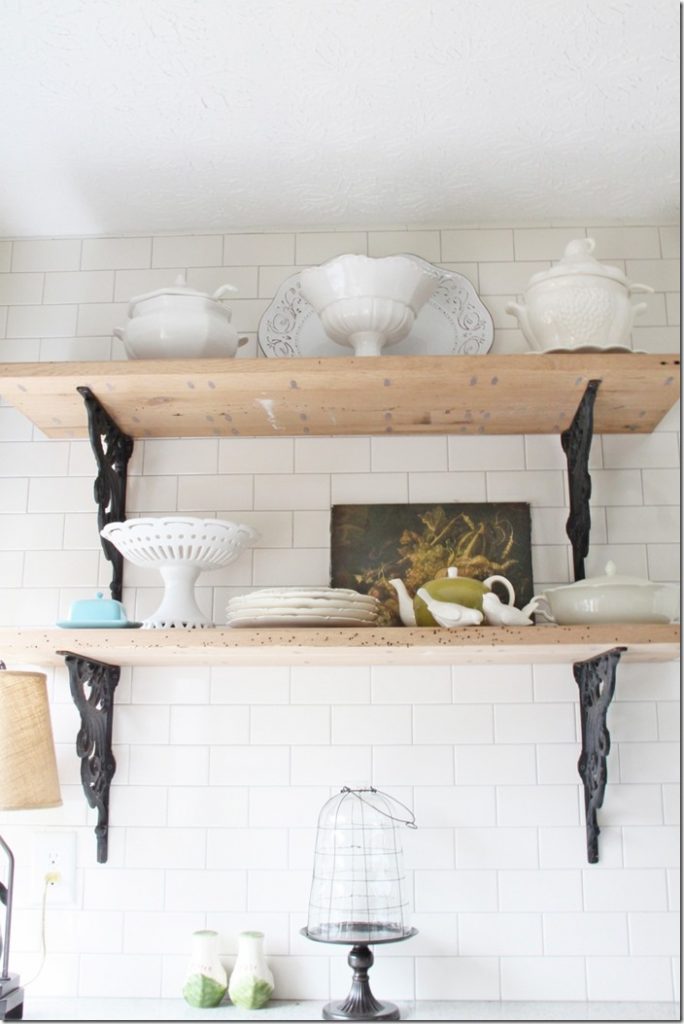
Open shelving has become so popular in kitchens now and I bought these shelves even before I knew I’d be using them in this kitchen. They turned out to be the perfect accent above my countertops since I didn’t want to continue the upper cabinets all the way over this area. Rustic wood and iron brackets add a touch of vintage charm to a brand new kitchen.
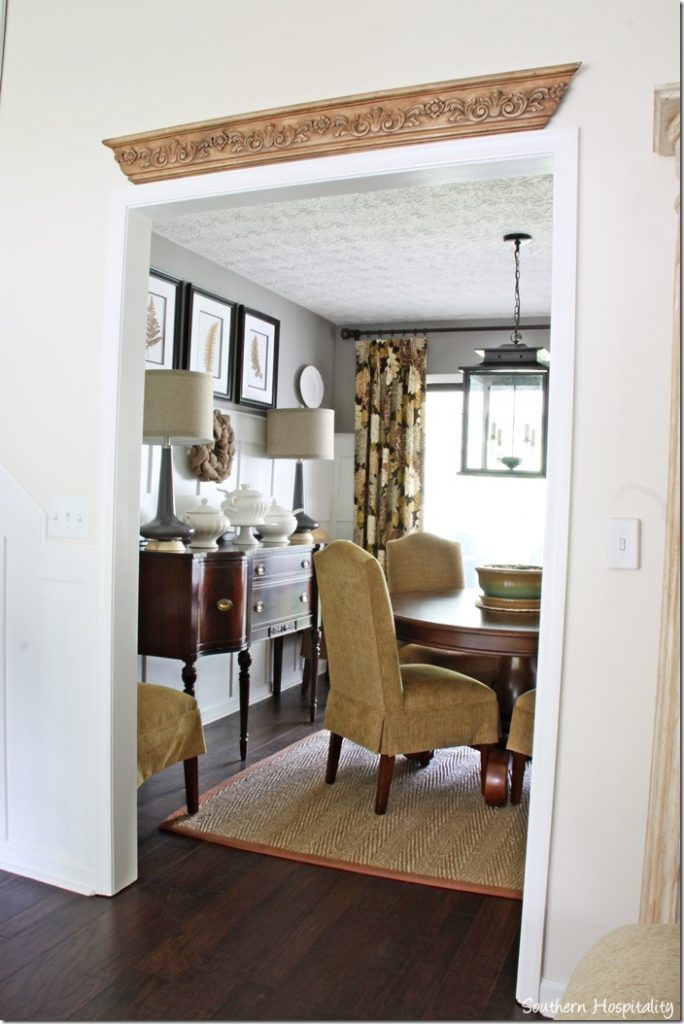
I salvaged this piece of expensive crown molding over 10 years ago and layered it with stain back then and have hung it over several doorways in my house since. Just that bit of beautiful stained wood adds such a nice touch, crowning the doorway.
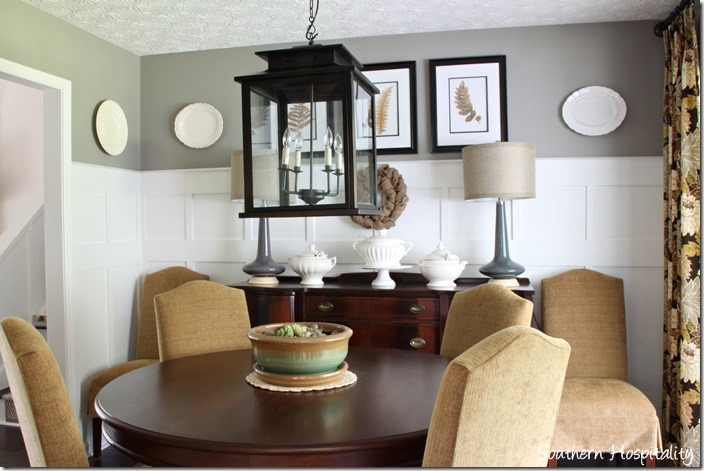
My previous dining room was one plain little box, but I was determined to bring it alive with board and batten molding, which is really cost effective. We bought sheets of MDF and ripped them up to fit the walls and then made our way around the room, adding board and batten strips 3/4 way up the wall for lots of architectural interest. I got a lot of comments about this treatment when folks came in my house and I’m so glad we took the time to add it.
It adds not only an architectural feel to the room, but vintage appeal as well. All on a budget, it’s a very cost effective way to add molding yourself.
In our new house, Mark and I have worked hard at creating a more upscale look with a few well planned architectural ideas.
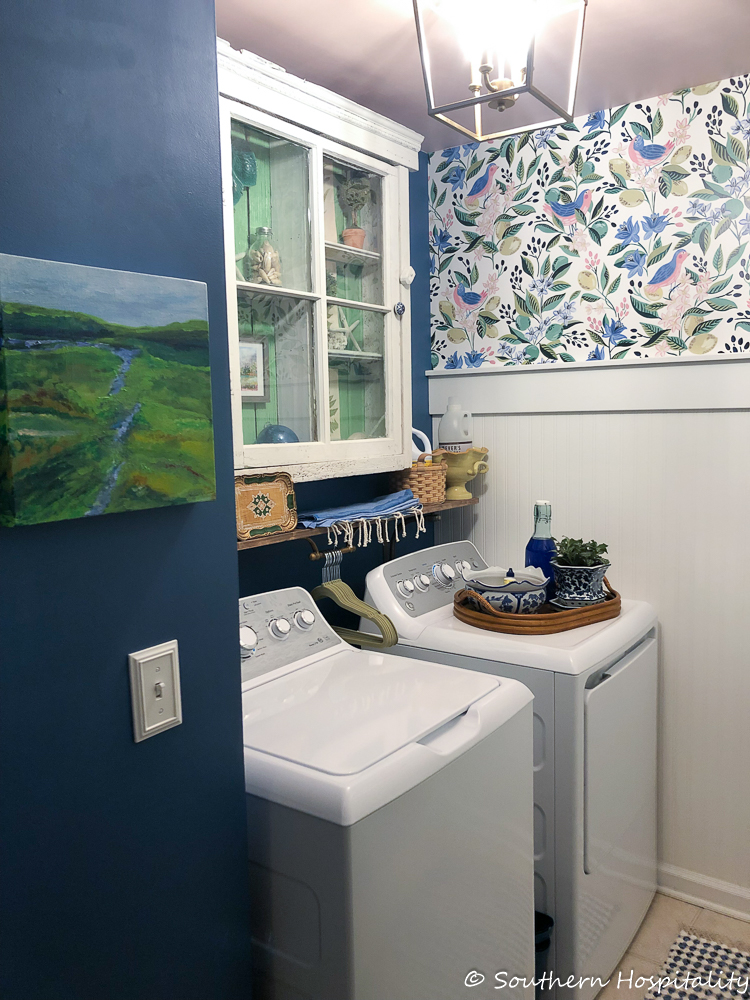
Our current laundry room got a vintage cabinet and beadboard wallpaper wainscot. What a difference it all made to this plain space!
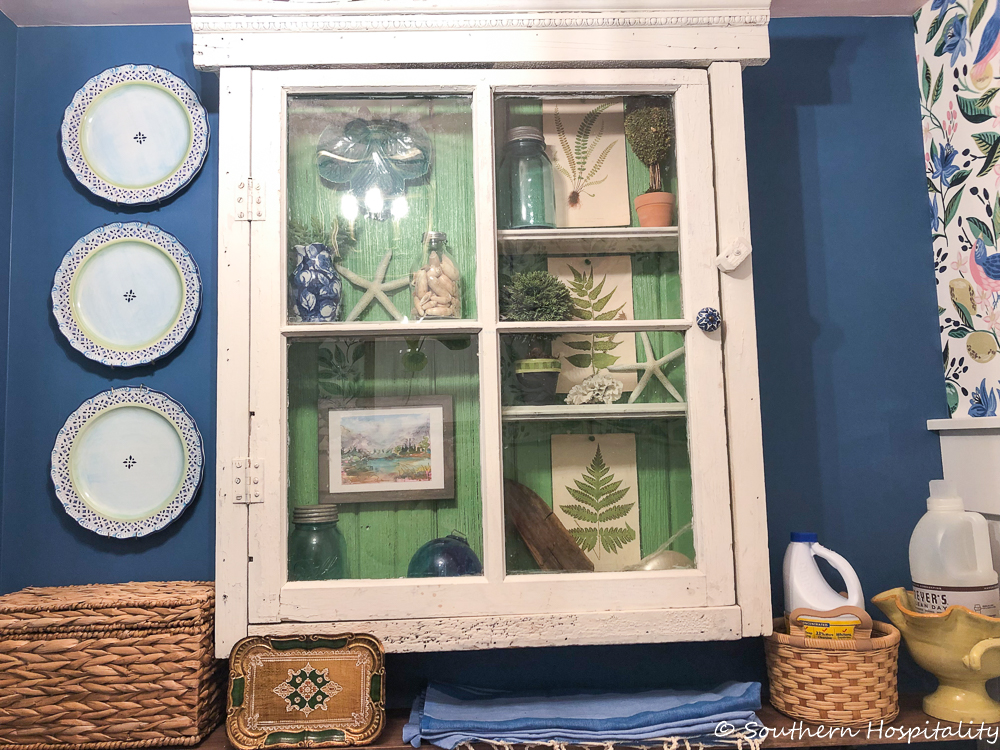
Consider adding a vintage cabinet or salvaged wood piece on the wall. That too will add lots of interest and details to an otherwise plain space.
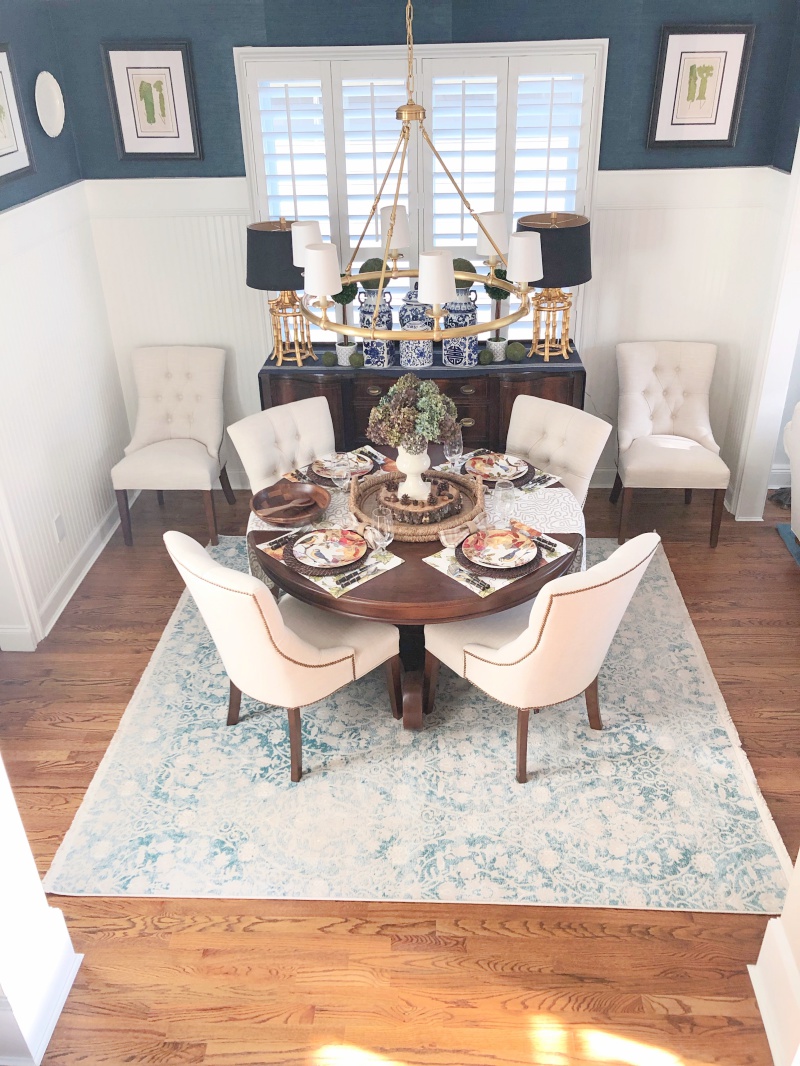
Our current dining room got a pretty beadboard wainscot treatment with molding at the top taking this room over the top wow. I also added grasscloth wallpaper which also adds lots of texture and interest to the room.
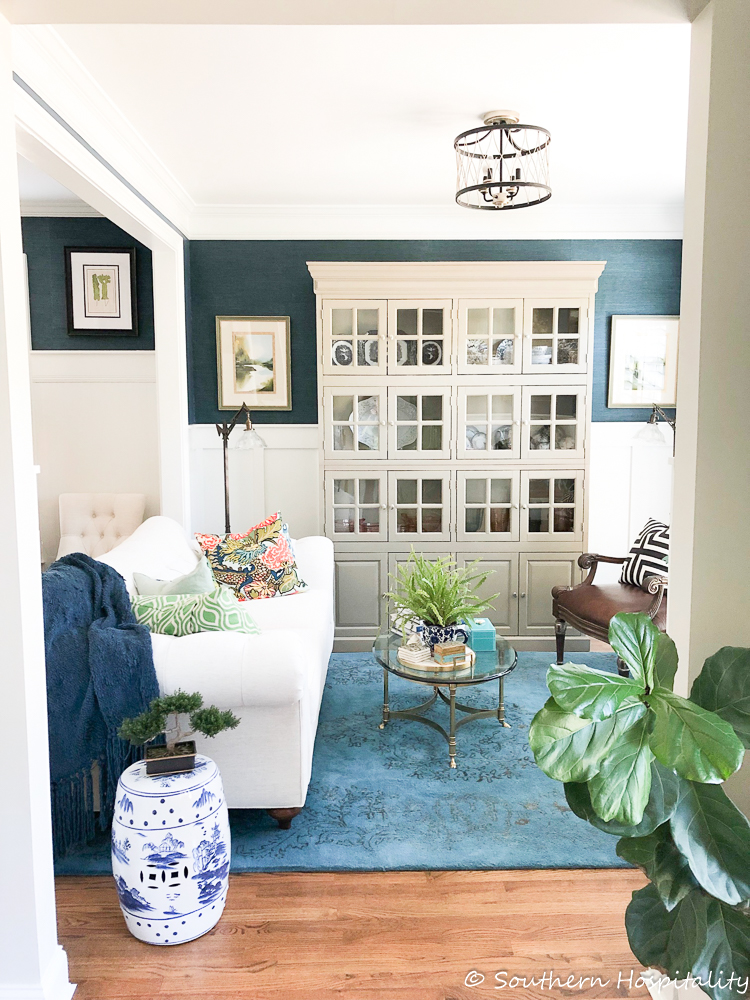
Our living room also got a pretty board and batten treatment, which made a huge difference in the space.
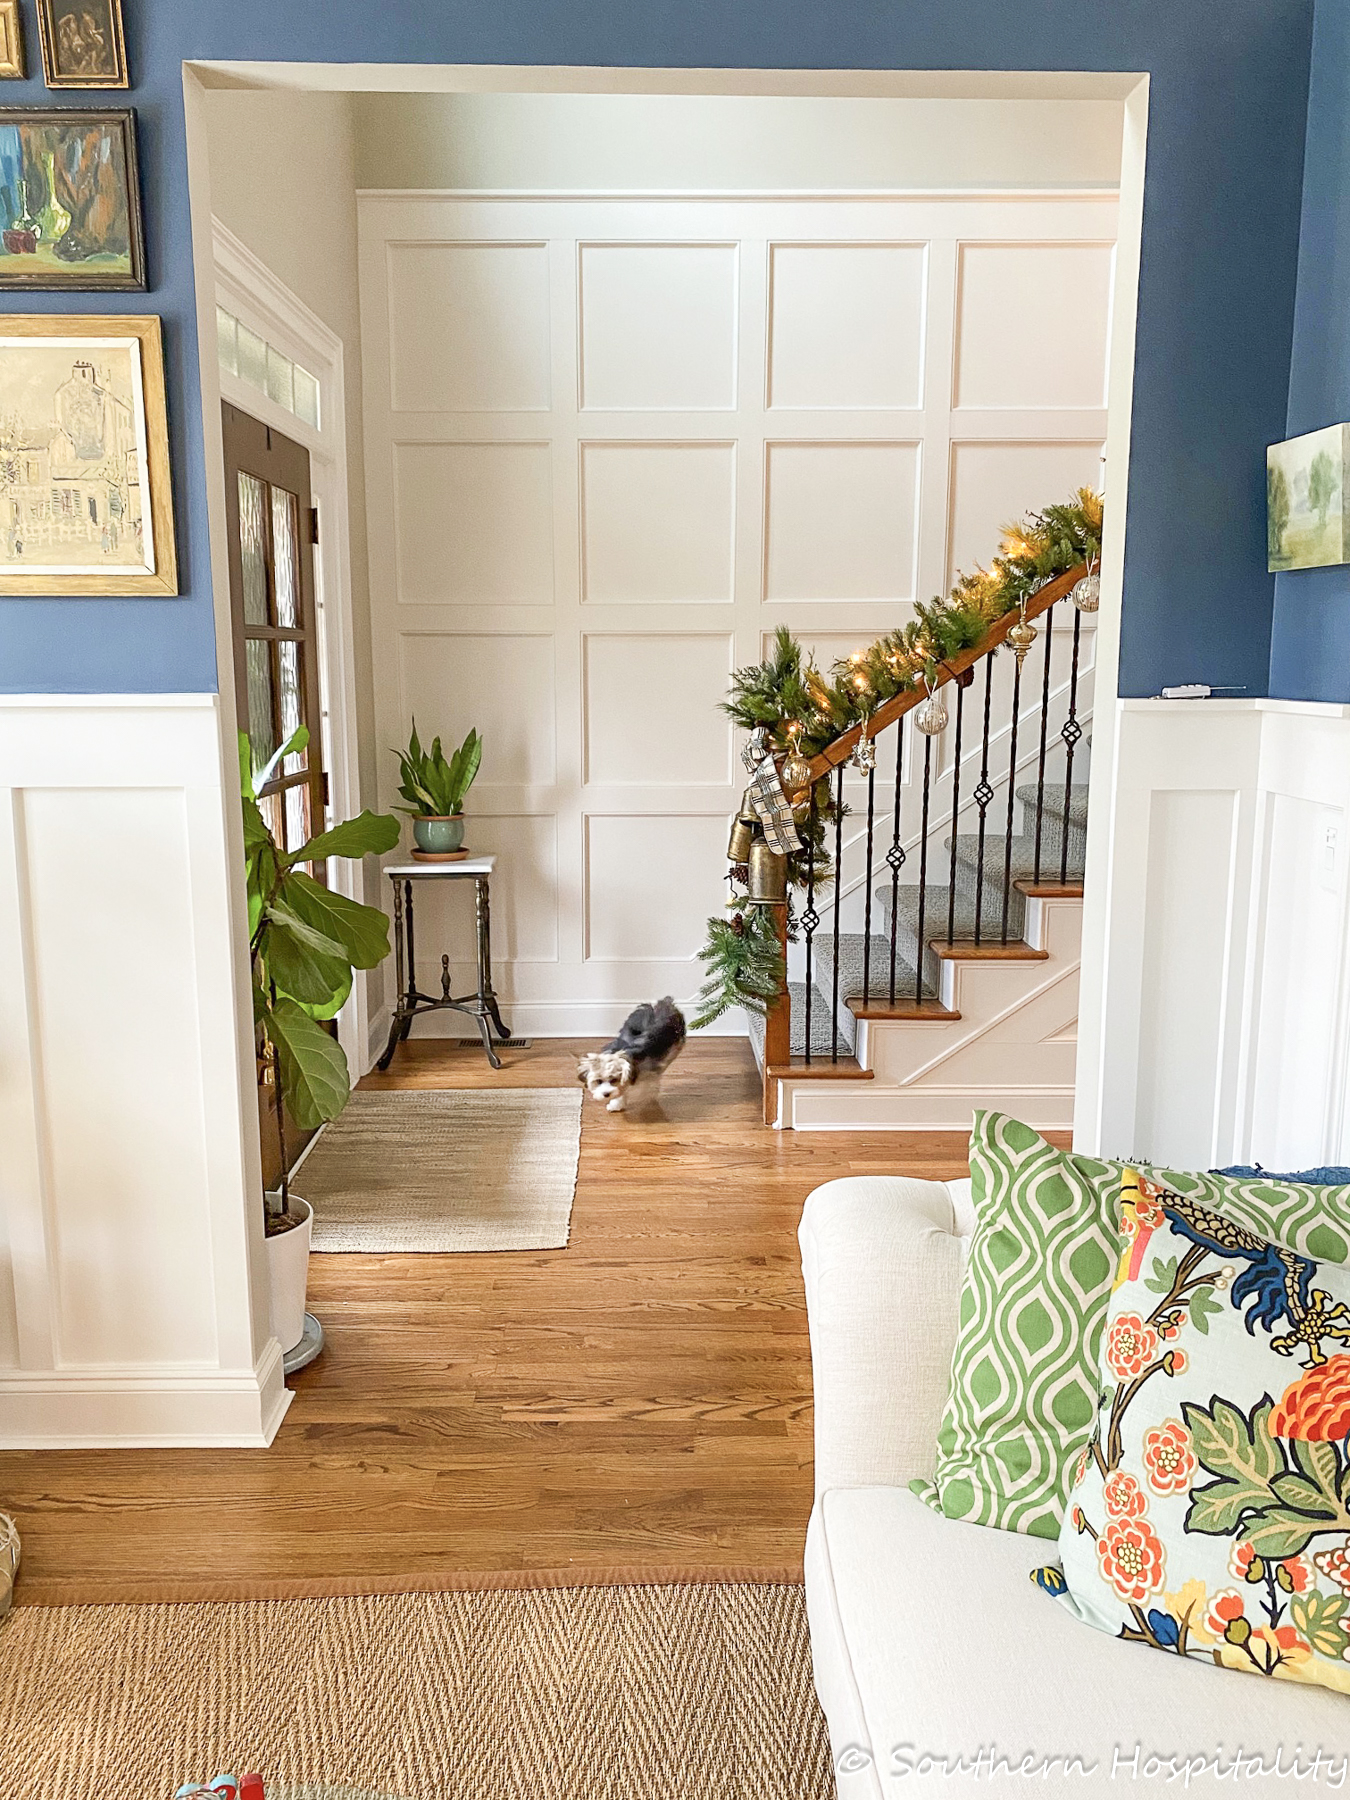
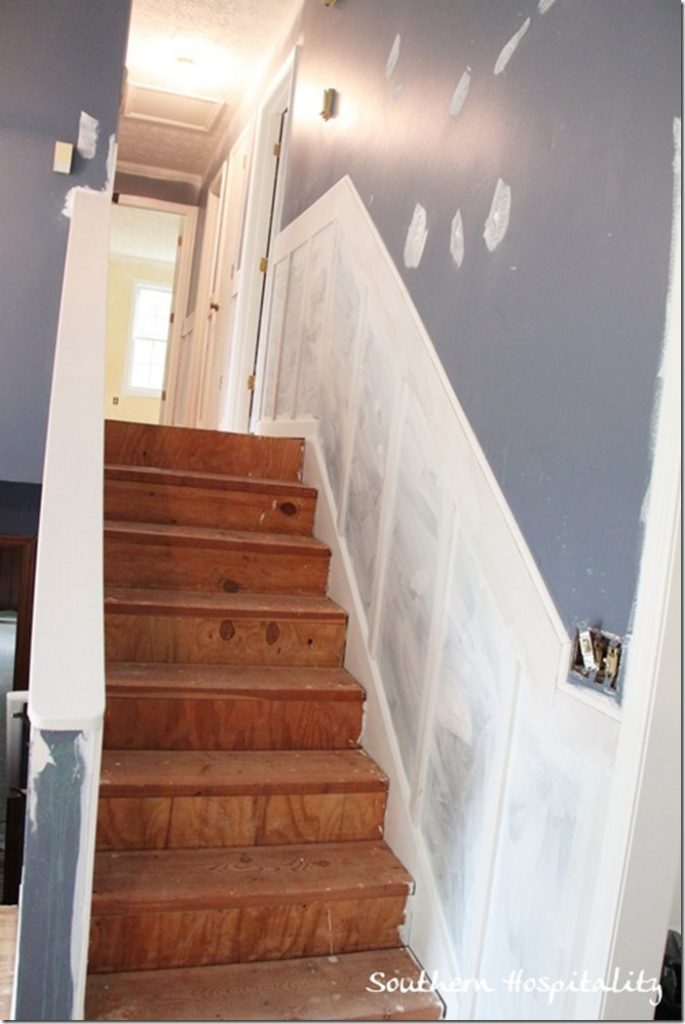
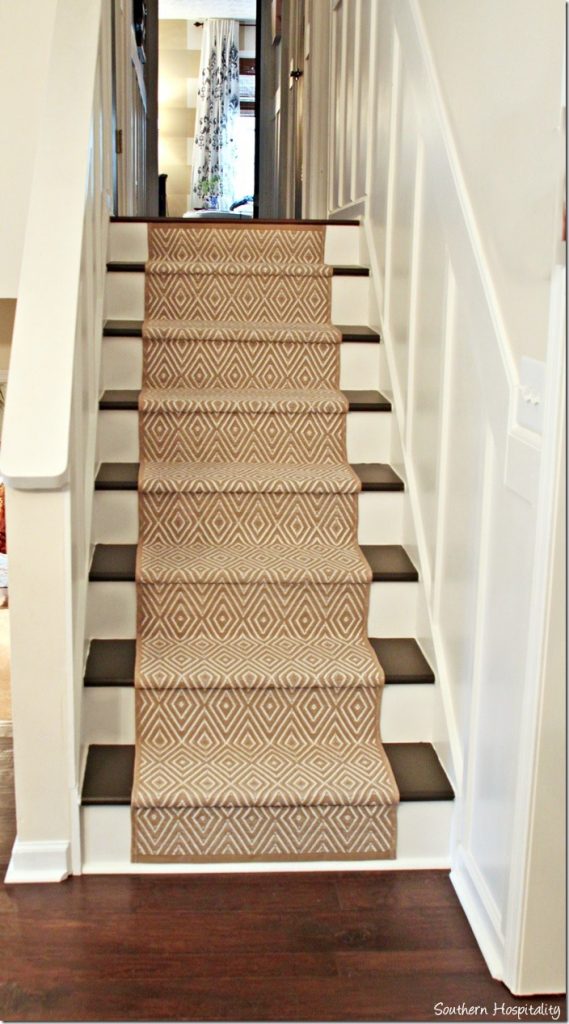
We also added a beautiful box molding treatment in our foyer going up the stairs.
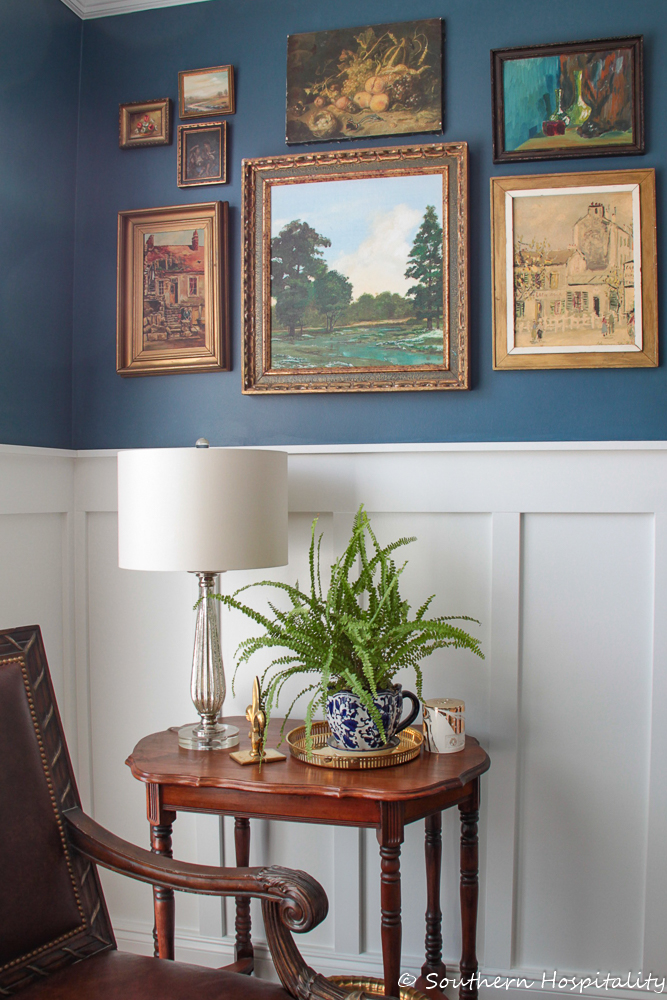
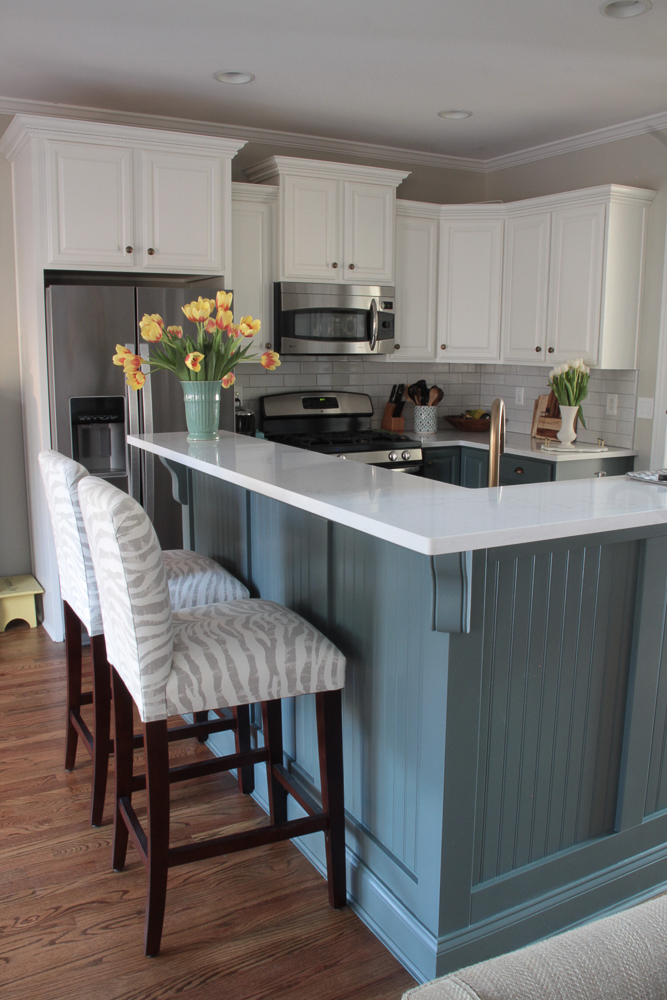
Our kitchen bar area was one of the first projects we tackled in this house and Mark added all that molding and beadboard to really make that space completely different. From plain drywall to this treatment, there’s no comparison.
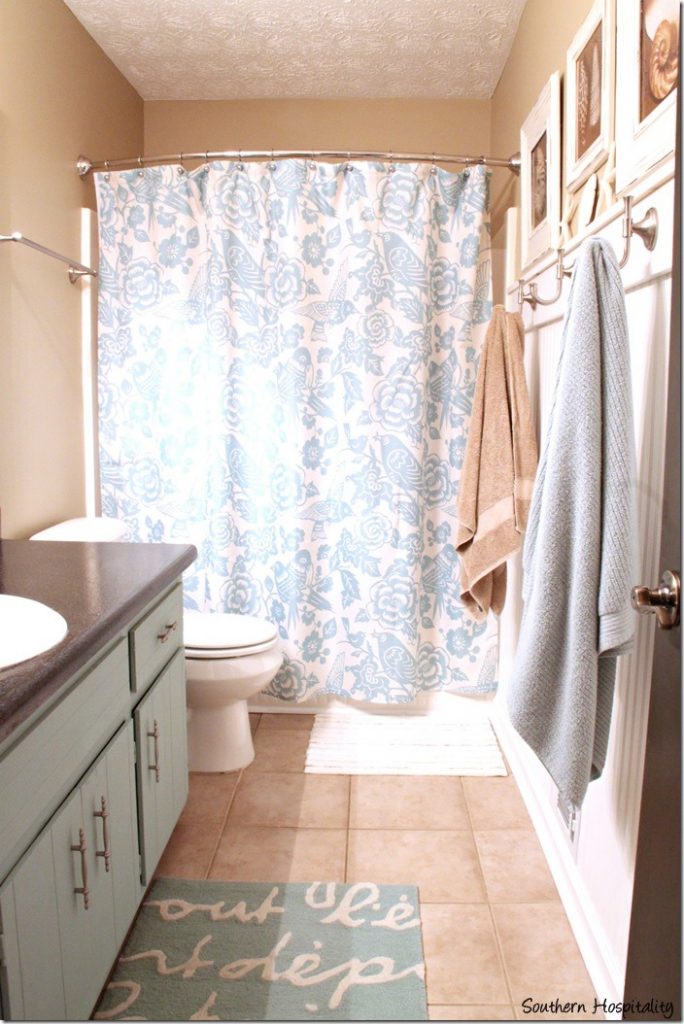
My old guest bathroom was very plain too, with original 1979 vanity and nothing too appealing about the space. I added my beadboard wallpaper with a nice chunky 6” board on top for a lot of interest.
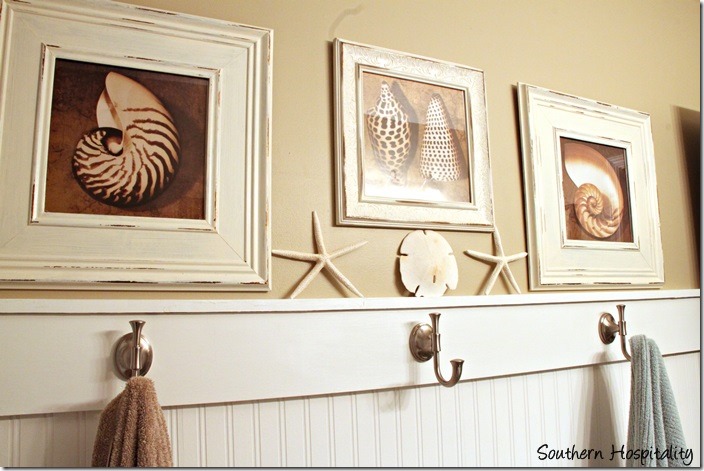
It became a focal point for adding 3 towel hooks and some pretty coastal art above. This wall really came alive with the addition of the beadboard wallpaper, just on this wall.
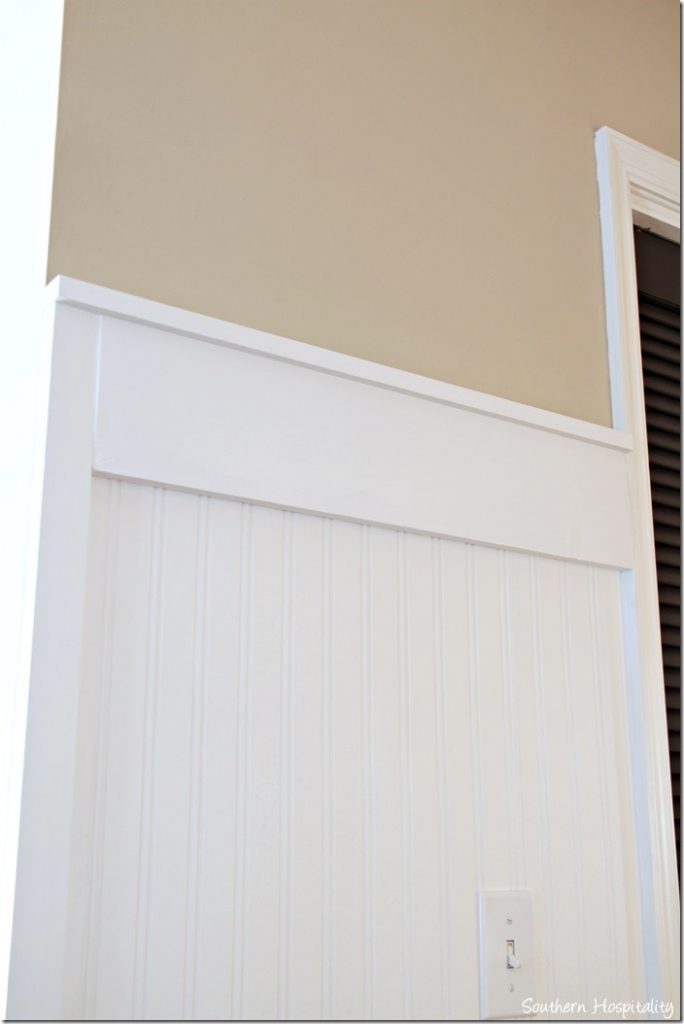
Adding real wood on top and painting it all out with semi-gloss trim paint makes it look real.
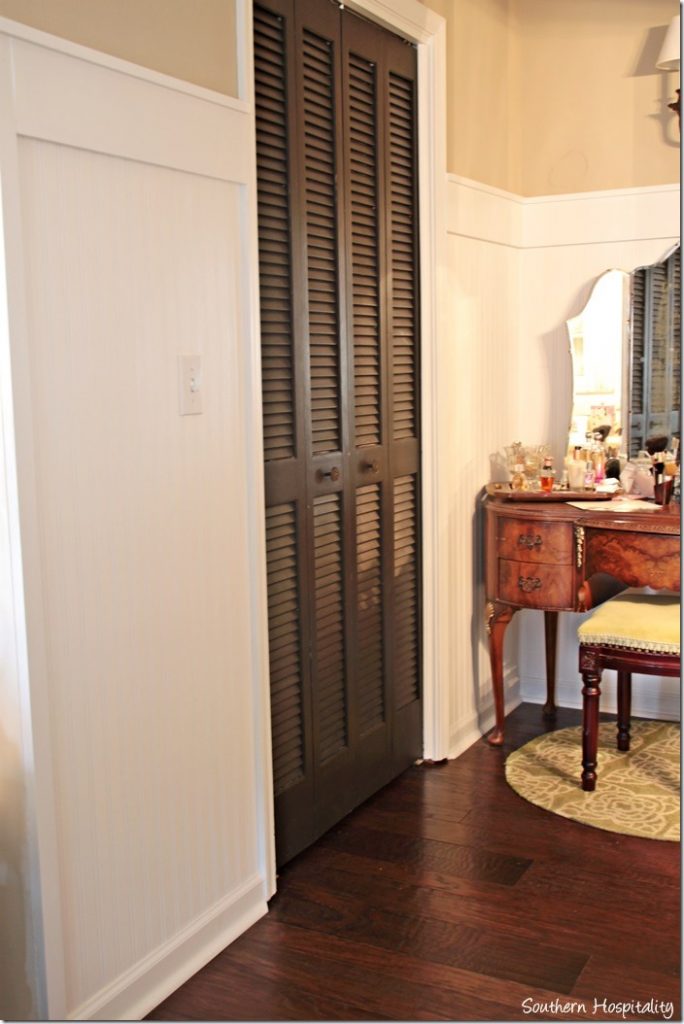
I did the same thing in my vanity area. This little nook was perfect for my vanity and bench and adding that beadboard wallpaper and molding just in this little space delineated it from the bedroom and gave it extra special presence in the whole room.
Again, trimming it out with real wood and painting it all the same as the trim makes it look so real and no one knows it’s not.
Board and batten was also added up my main staircase going up to the bedrooms. You might remember this awful progress pic from 2 years ago when we were working on this place. I had the vision to make it pretty and thankfully, that vision was realized.
I lined the staircase with board and batten and took it down the hallway to liven up the whole hall. Painting my stairs and adding runners was the final touch to a beautiful staircase.
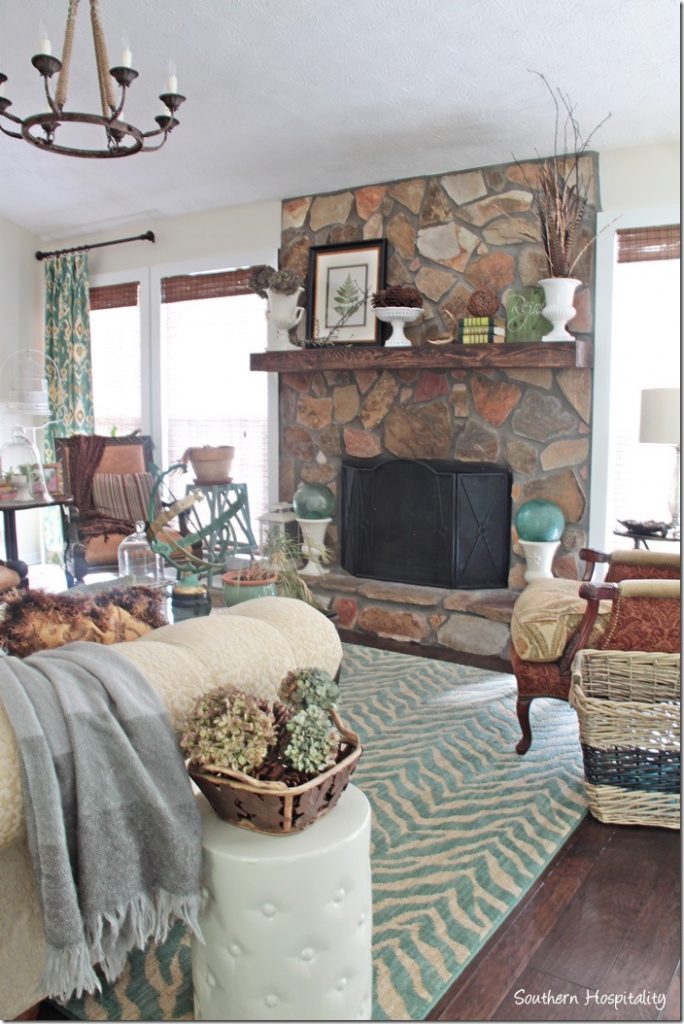
Add planks over a fireplace. My old house had an entire rock wall on the fireplace and I wanted to get rid of some of that so I added planks right over the rocks and painted it a creamy white which made a huge difference to decorating the fireplace.
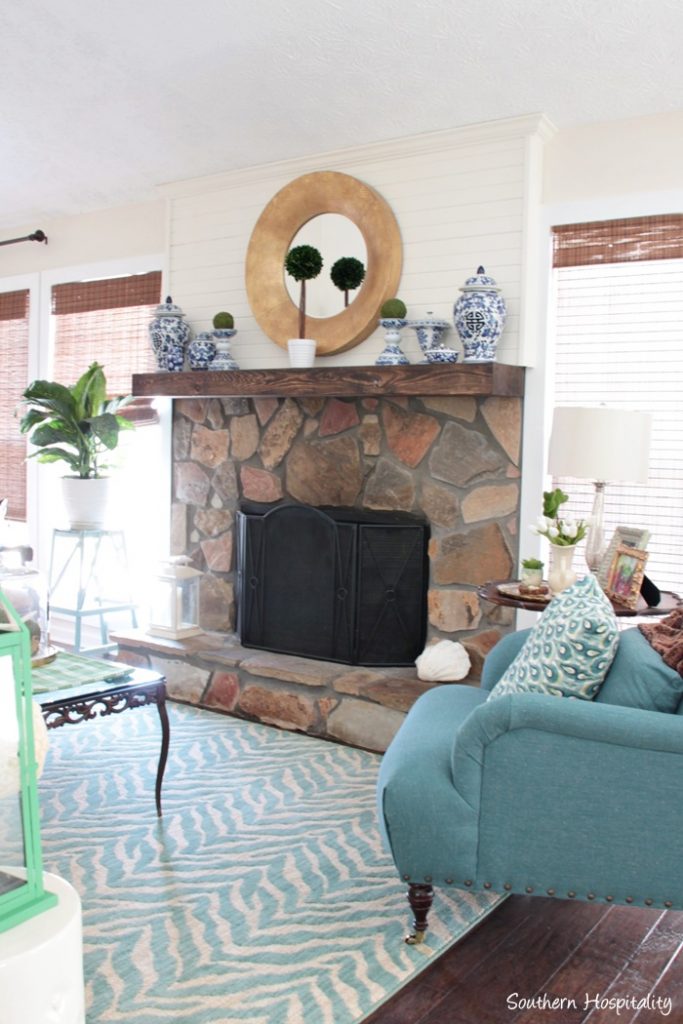
See how much better it looks with white planks?
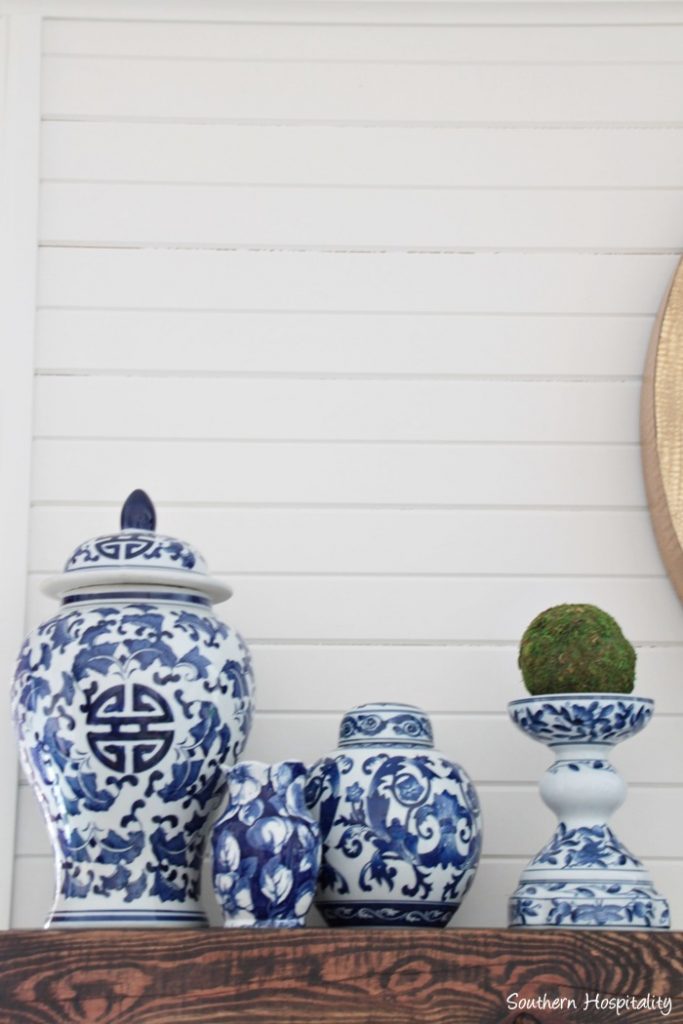
I love all the little touches we added to this house and it’s amazing what those architectural details will do for a space. The best bang for your buck that I’ve found yet and all of these treatments are inexpensive and can be DIY’d by a savvy homeowner, like YOU! Looking back on my previous house Before and After Pics that my dad helped me renovate makes me proud all over again at what all we accomplished!
Mark and I just added more board and batten to our new master bathroom renovation and I can’t wait to share ALL of that with you soon!
So, I hope these ideas gave you a little bit to ponder in your own home on ways to up the interest factor on a wall in your home. Molding and paint does wonders and it’s a tried and true method that works every single time.
For more ideas and decorating tips, please visit these great ladies who are very talented in their homes!
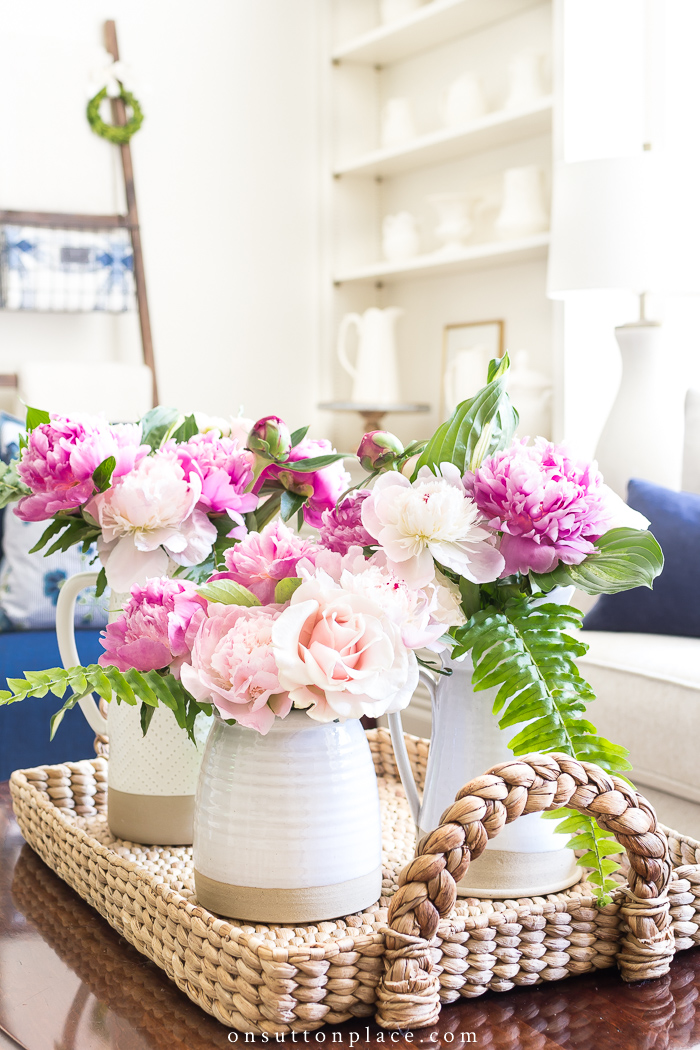

Add Natural Elements
From Ann at On Sutton Place
My best decorating tip is to always add natural elements to your space. Natural elements add warmth and life to any room. They can take a basic space and transform it into something wonderful. A few examples are preserved boxwood, a grocery store bouquet of flowers, or something clipped from your yard like branches, hosta leaves, or garden flowers. Place these natural elements in pitchers, bowls, or baskets, and layer them on trays or shelves. Natural elements say cozy and welcome. They immediately send out the message that you love and care about your home. That’s definitely a good thing! For more on the layered coffee table vignette, click {HERE.}
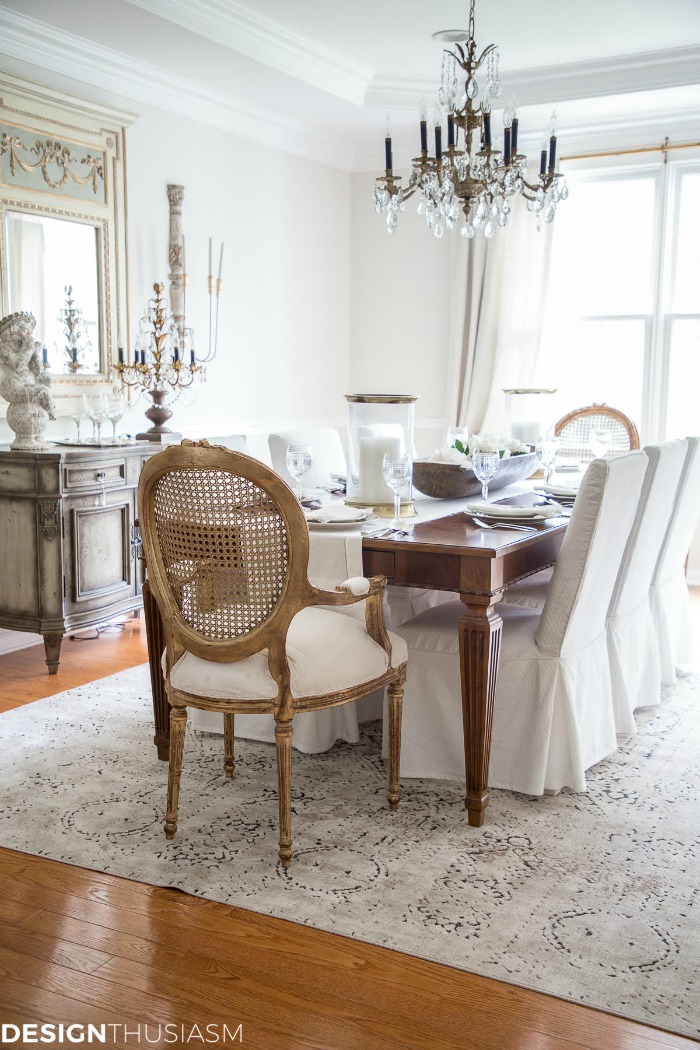
Add an Investment Piece
From Lory at Designthusiasm
One of the best ways to upgrade the look of your decor is to have one investment piece in each room. For me, that usually means a fabulous antique like a gilded mirror or an aged urn, but it can be any accent piece that fits your style. It could also be a smaller piece of furniture like a wonderful table or a statement chair, or a lovely piece of art. The key is to have the item be a focal point in the room, while the surrounding players are more like a supporting cast. I aim for classic and understated for my bigger pieces, saving money where it makes a difference, then use these powerhouse pieces to add personality and style. There are certain decorative elements I return to over and over to make this kind of impact and you can read about the 6 defining style elements I use in the rooms in my home. Join me at Designthusiasm for more decorating ideas and tips for living your life with casual elegance.
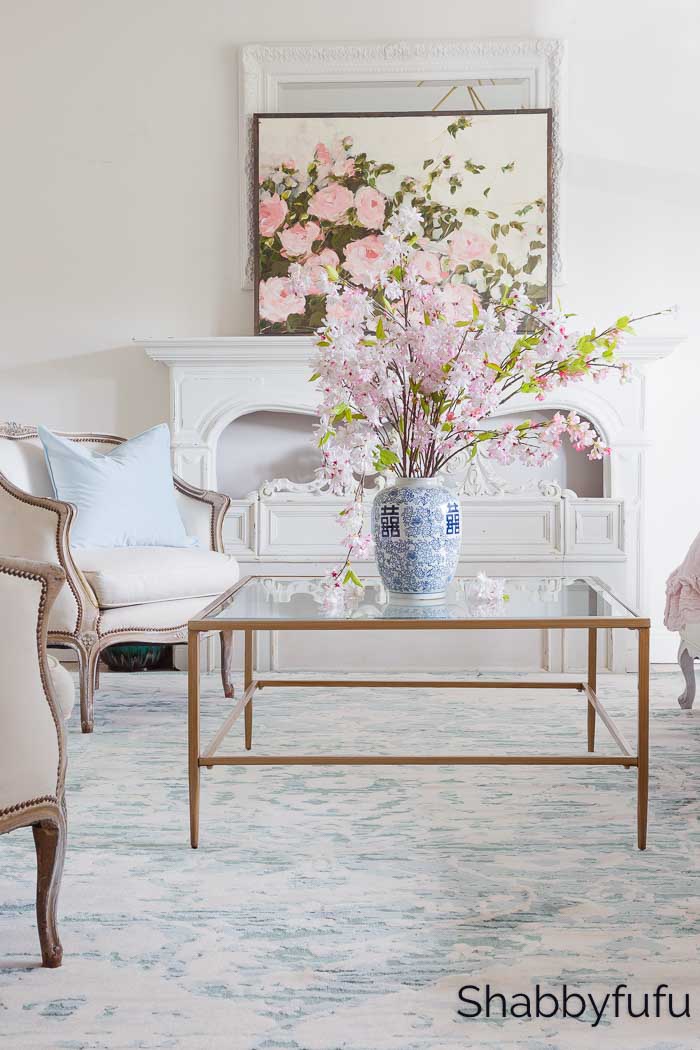
Decorate with Soft Colors
From Janet at Shabbyfufu
If you’re looking to decorate a room with soft colors, there are several points for doing so without compromising your budget. Freshening up the walls with a coat of white paint will bring in instant light, no matter what the previous shade was! Once you think about putting the room back together, it’s time to add a soft shade of color via an area rug. Not only will a rug aid in defining your space but it will give you that feeling of warmth and ground the furnishings. Today’s area rugs are so affordable and available in just about any colorway! Bring in soft shades with a new piece of art and make it large enough to create a focal point. From this artwork, draw out key colors and accessorize with coordinating muted pillows and throws. The final touch to your pale palette can be a floral arrangement, and there you have it! Soft colors in a minimalist style that should reflect your own taste and without great expense.
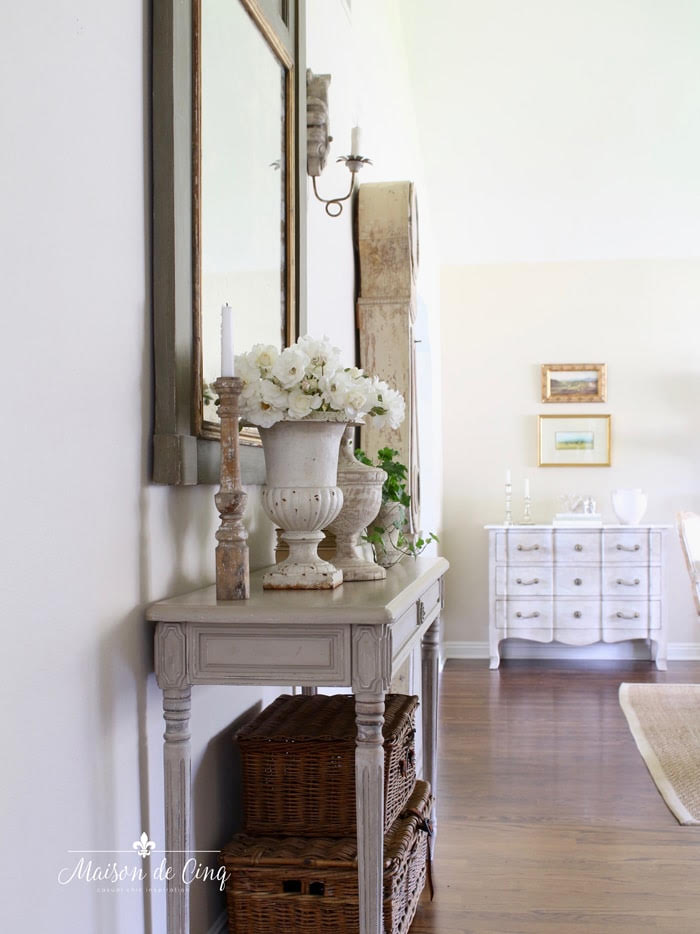
Five Essential Textures Every Room Needs
From Sheila at Maison de Cinq
Wondering why you’ve bought furniture or re-done a room and yet it feels like something’s missing? Do you look at rooms in magazines or online and wonder what they have that yours don’t? Try adding texture! Decorating with texture is key to creating a space that has depth and interest, and something that we all see, whether we recognize it or not. In fact, texture can make a difference between an average room and one that really wows.
There are five essential textures that every room needs; antiques, wovens, metallics, glass or mirrors, and woods. Go here to see how they make a huge difference in any space, as well as why you absolutely have to mix your wood tones!
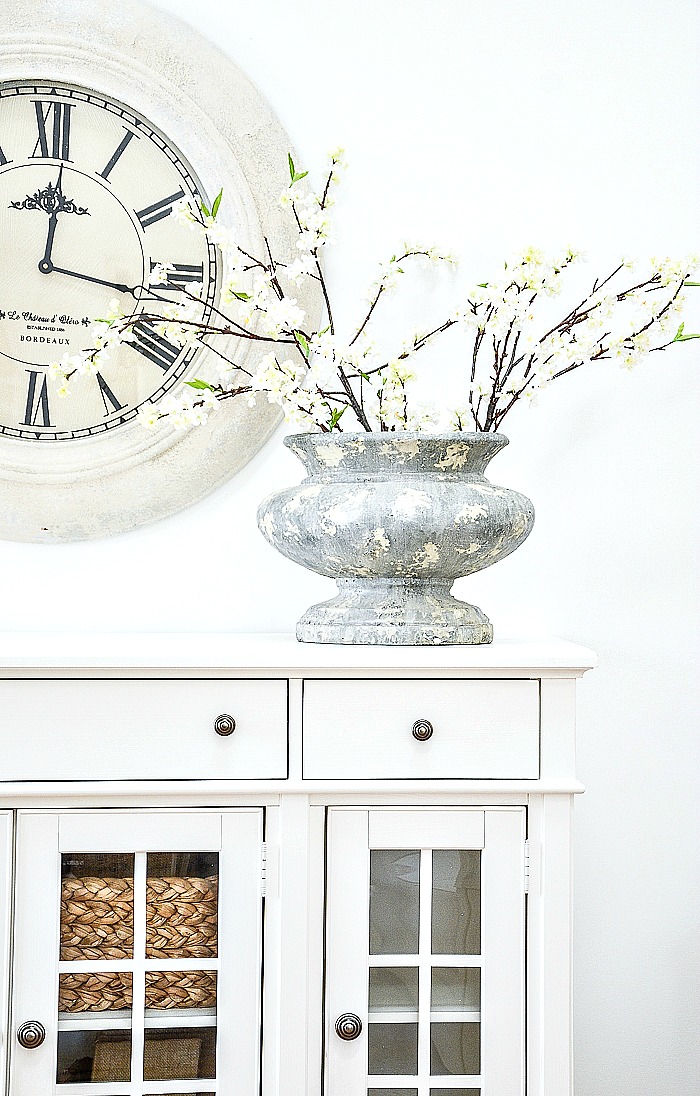
Know Your Decorating Style
From Yvonne at StoneGable
Knowing your own unique decorating style is one of the most important things a home decorator can know. It will help you decorate a home that works with your lifestyle and feels beautiful and comfortable! And knowing your decorating style will help you know what furnishings will work in your home and also decor that will not! One of the big advantages of knowing your style is you will avoid lots and lots of costly decorating mistakes! Here’s a great way to think about the importance of knowing your decorating style. Just pretend you want to get a puppy. So you go to your local dog shelter and there are tons and tons of puppies!!! Who doesn’t love darling, cuddly puppies? And you love them all! They are all so cute and sweet. But you wouldn’t take them all home with you, right? That would be crazy!!!! They would make a mess or fight and they would be a whole lot of work! You would pick the puppy that works with your lifestyle and one that would be a wonderful addition to your family. Think of decorating the same way. You would not, or should not put everything you love into your home! Styles would fight, your rooms might look messy and disjointed and decorating will be a whole lot of work! Knowing your unique decorating style is the key to decorating a home you love! You can see HOW TO KNOW YOUR DECORATING STYLE HERE.


Wow, Rhoda your house is beautiful! I love all of the architectural details you’ve added. My house is a pretty basic builder grade box, so I neeeed to incorporate some of your ideas! 🙂 See you in a couple of weeks! I can’t wait!
Thank you, Kimm! Looking forward to finally meeting you too.
How did you attach the runner to your steps? I think it’s one the of the visuals you have added …along with the beadboard touches!
Hi, Carol, here’s the post I did on how the runners went in:
http://southernhospitalityblog.com/painted-stairs-and-adding-runners/
I absolutely LOVE that board and batten treatment and would love to duplicate it in a hallway in my own home. I love the bead board wallpaper too. Hmmmm, which to choose. Which one is easier for a novice, but patient and determined, DIY-er, do you think?
HI, Marianne, I think the beadboard wallpaper is really easy. If you have just a miter box you can cut the wood to go on top, so it’s really easy cuts and measurements. The wallpaper goes up so easy since it is prepasted.
May I ask where you got the curtains in your dining room? They are exactly the kind of thing I’m looking for in my living room/morning room. Your home is gorgeous, and all the changes you’ve made (with your father) have been so worth it! In the next year or so, I’m going to be purchasing some of “your” beadboard wallpaper to re-do our powder room. I’ve always wanted that look in a powder room, and you’ve made it possible.
Love your blog!
Hi, Lisa, thank you for stopping by! I bought the fabric for those dining room curtains at a local fabric store and had them made at another fabric store that does panels. They charge about $55 per panel to make them, lined and pinch pleated. You should check with a local shop and see what they offer.
Hi Rhoda,
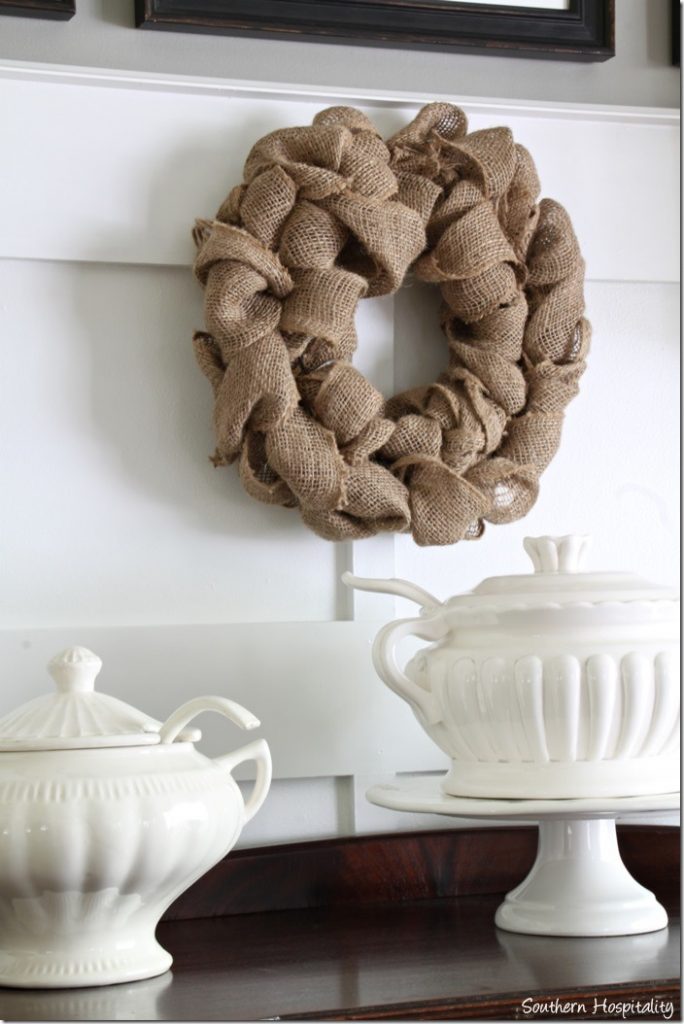
Where did you get that burlap wreath or did you happen to make it?
HI, Becky, my blog friend, Laura, from Top This Top That made it and gave it to me.
Oh man , I remember all those pics ! I remember how you and your Dad had “hearty discussions “where to place those boards. Then Ted and I were doing it at out home and we’re getting into it about where to place those boards in the studs. I had to laugh at you and your Dads discussions now we were doing the same thing. Ted won too. It looked so pretty when y’all were finished though. I still love what you did at that little house. It was a lot of fun to be able to come see it. We enjoyed that trip.
Thank you, Carole! It was a very special time with my dad in that house. I’m so glad we had it together, something I’ll never forget and the blog documented it all. But I’m so thrilled to now be in a house with Mark and we are putting our stamp on this one together.
All the things you and your dad accomplished at that sweet little house were magical. It was so inspiring to see you ‘rebloom’ right along side with the house. Fun to see it again! And you and Mark are doing it again! Love it all.
Thank you, Barbara, it was a sweet time that I’ll never forget. It’s so much fun to do it again with Mark!
Love your home. So many wonderful details. The architectural designs are wonderful, especially the wood carving piece you have above your dining room entrance. And I love how you arranged your pictures. Thank you,
You have a lovely home!
I’m actually figuring out the deets on adding panel molding to our very plain walls…and have been scouring photos for how to tackle the awkward spaces. I think I have it all figured out and am ready to get started.
Did you have any quirky spots like wall slivers or low windows that required some extra creativity?
HI, Em I think all homes have quirks of some sort, so just lay things out before you get started. Spacing is not always possible to get exactly even between battens, but an inch or so won’t be so evident to everyone else. We had different areas where things were not all spaced evenly.